


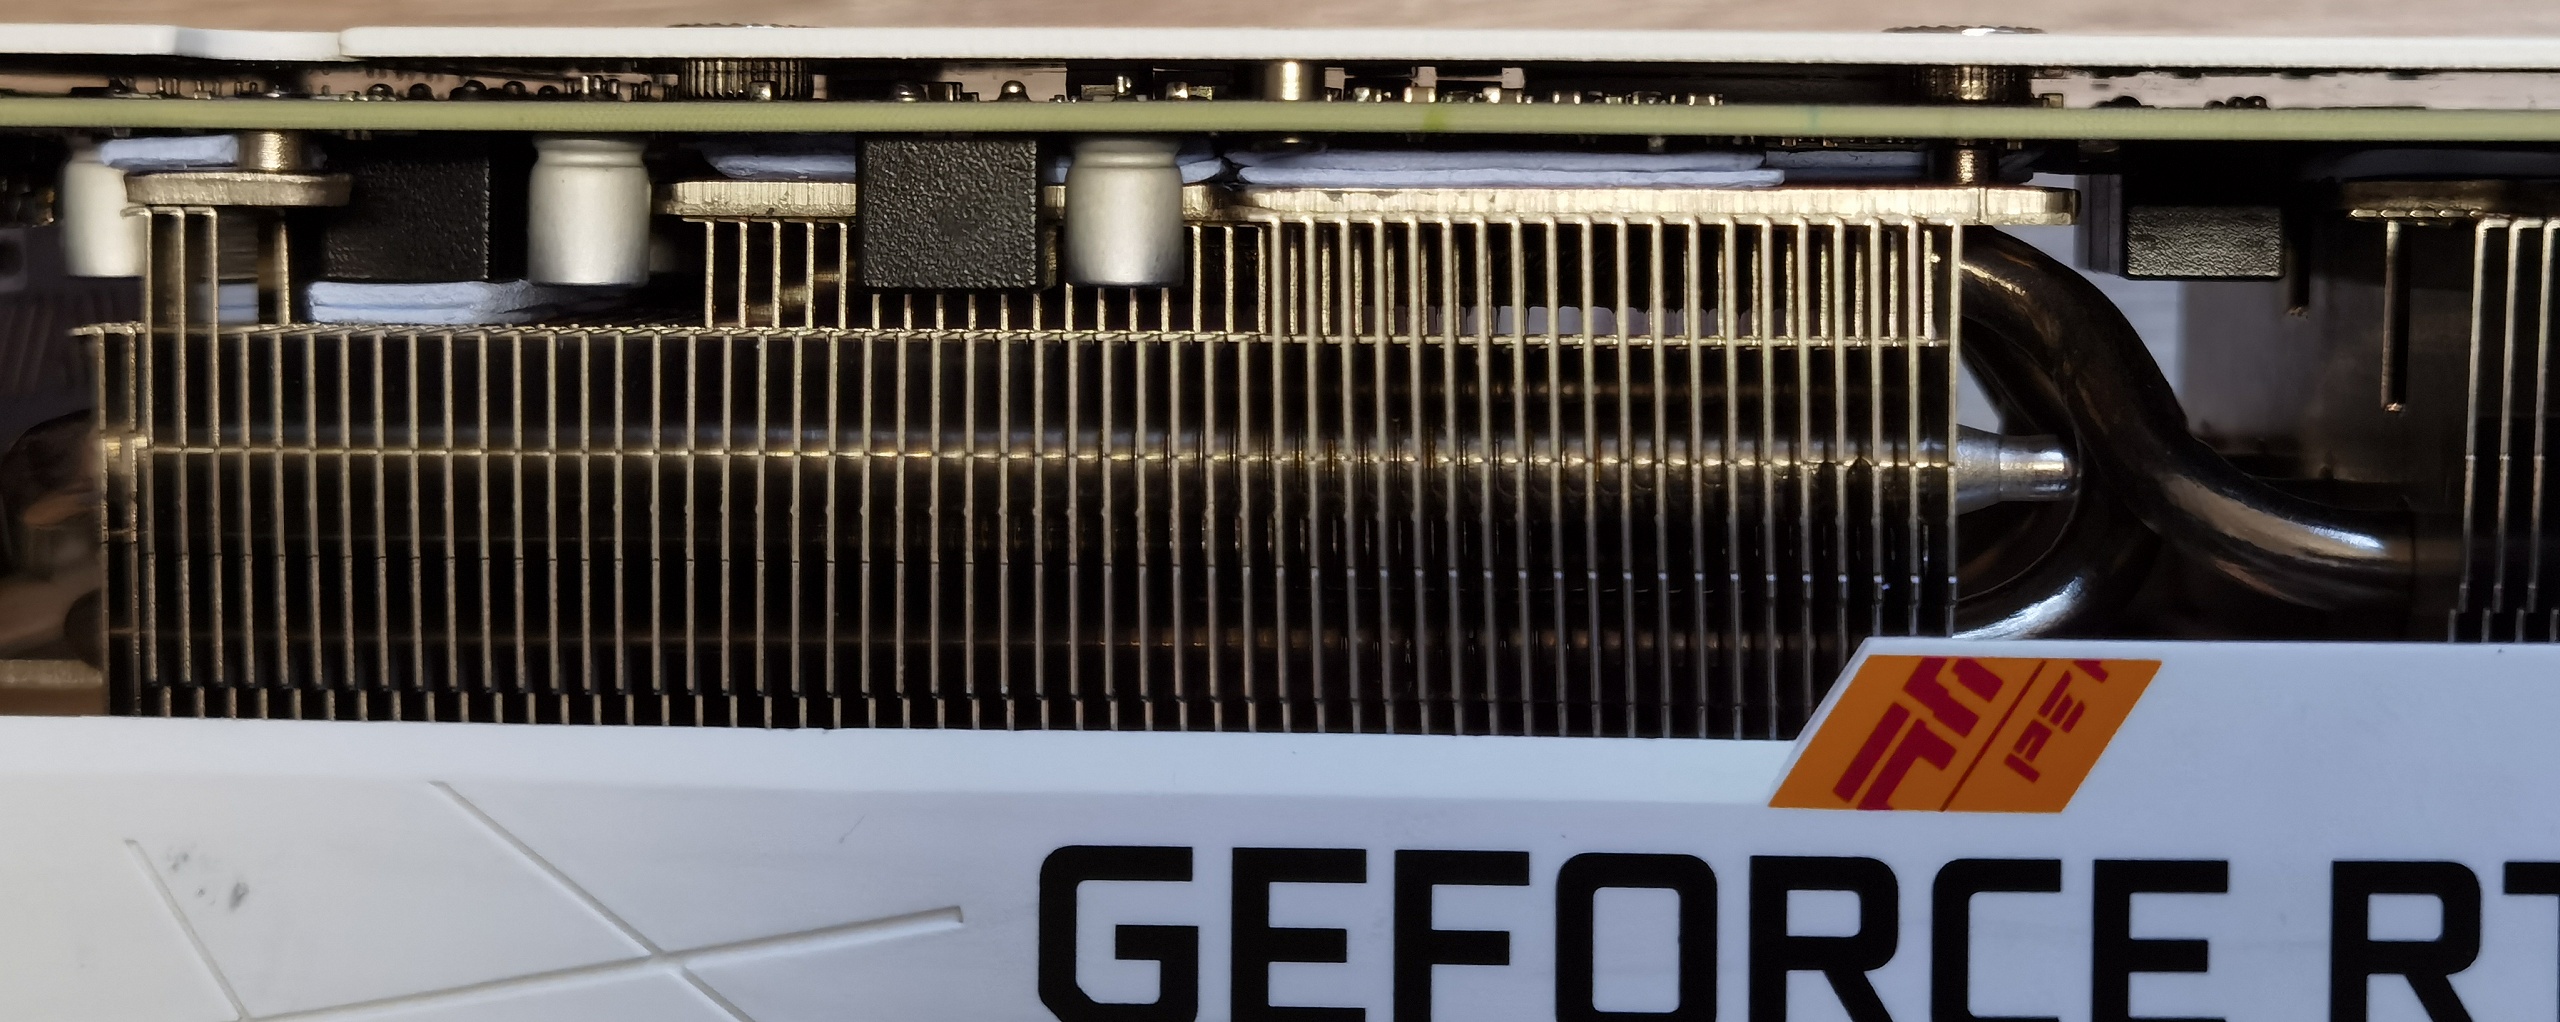
In the next picture you can see the back of the board and that four large polymer caps are installed under the GPU in the plastic housing. But more on that in a moment.
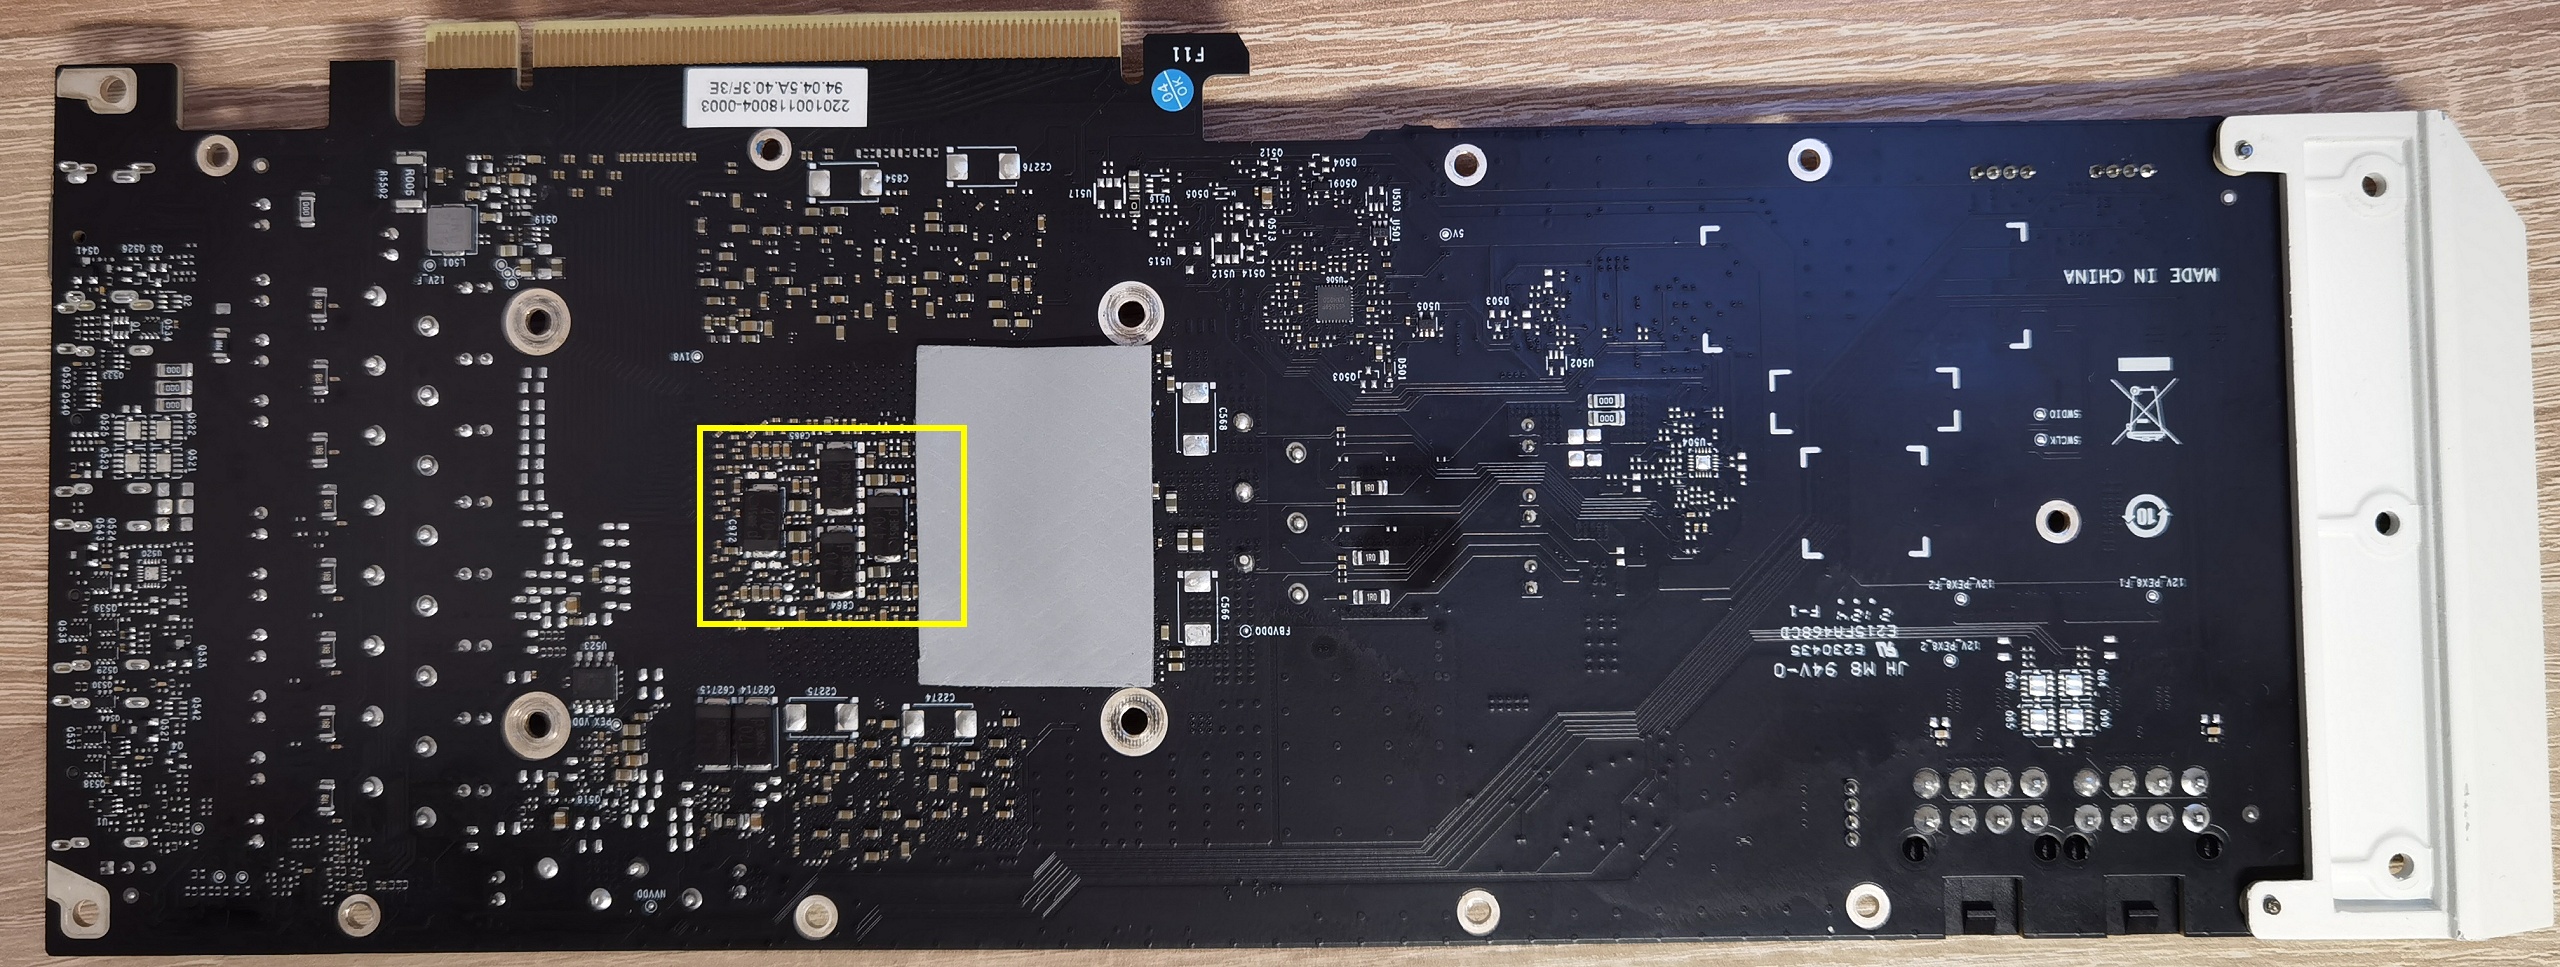
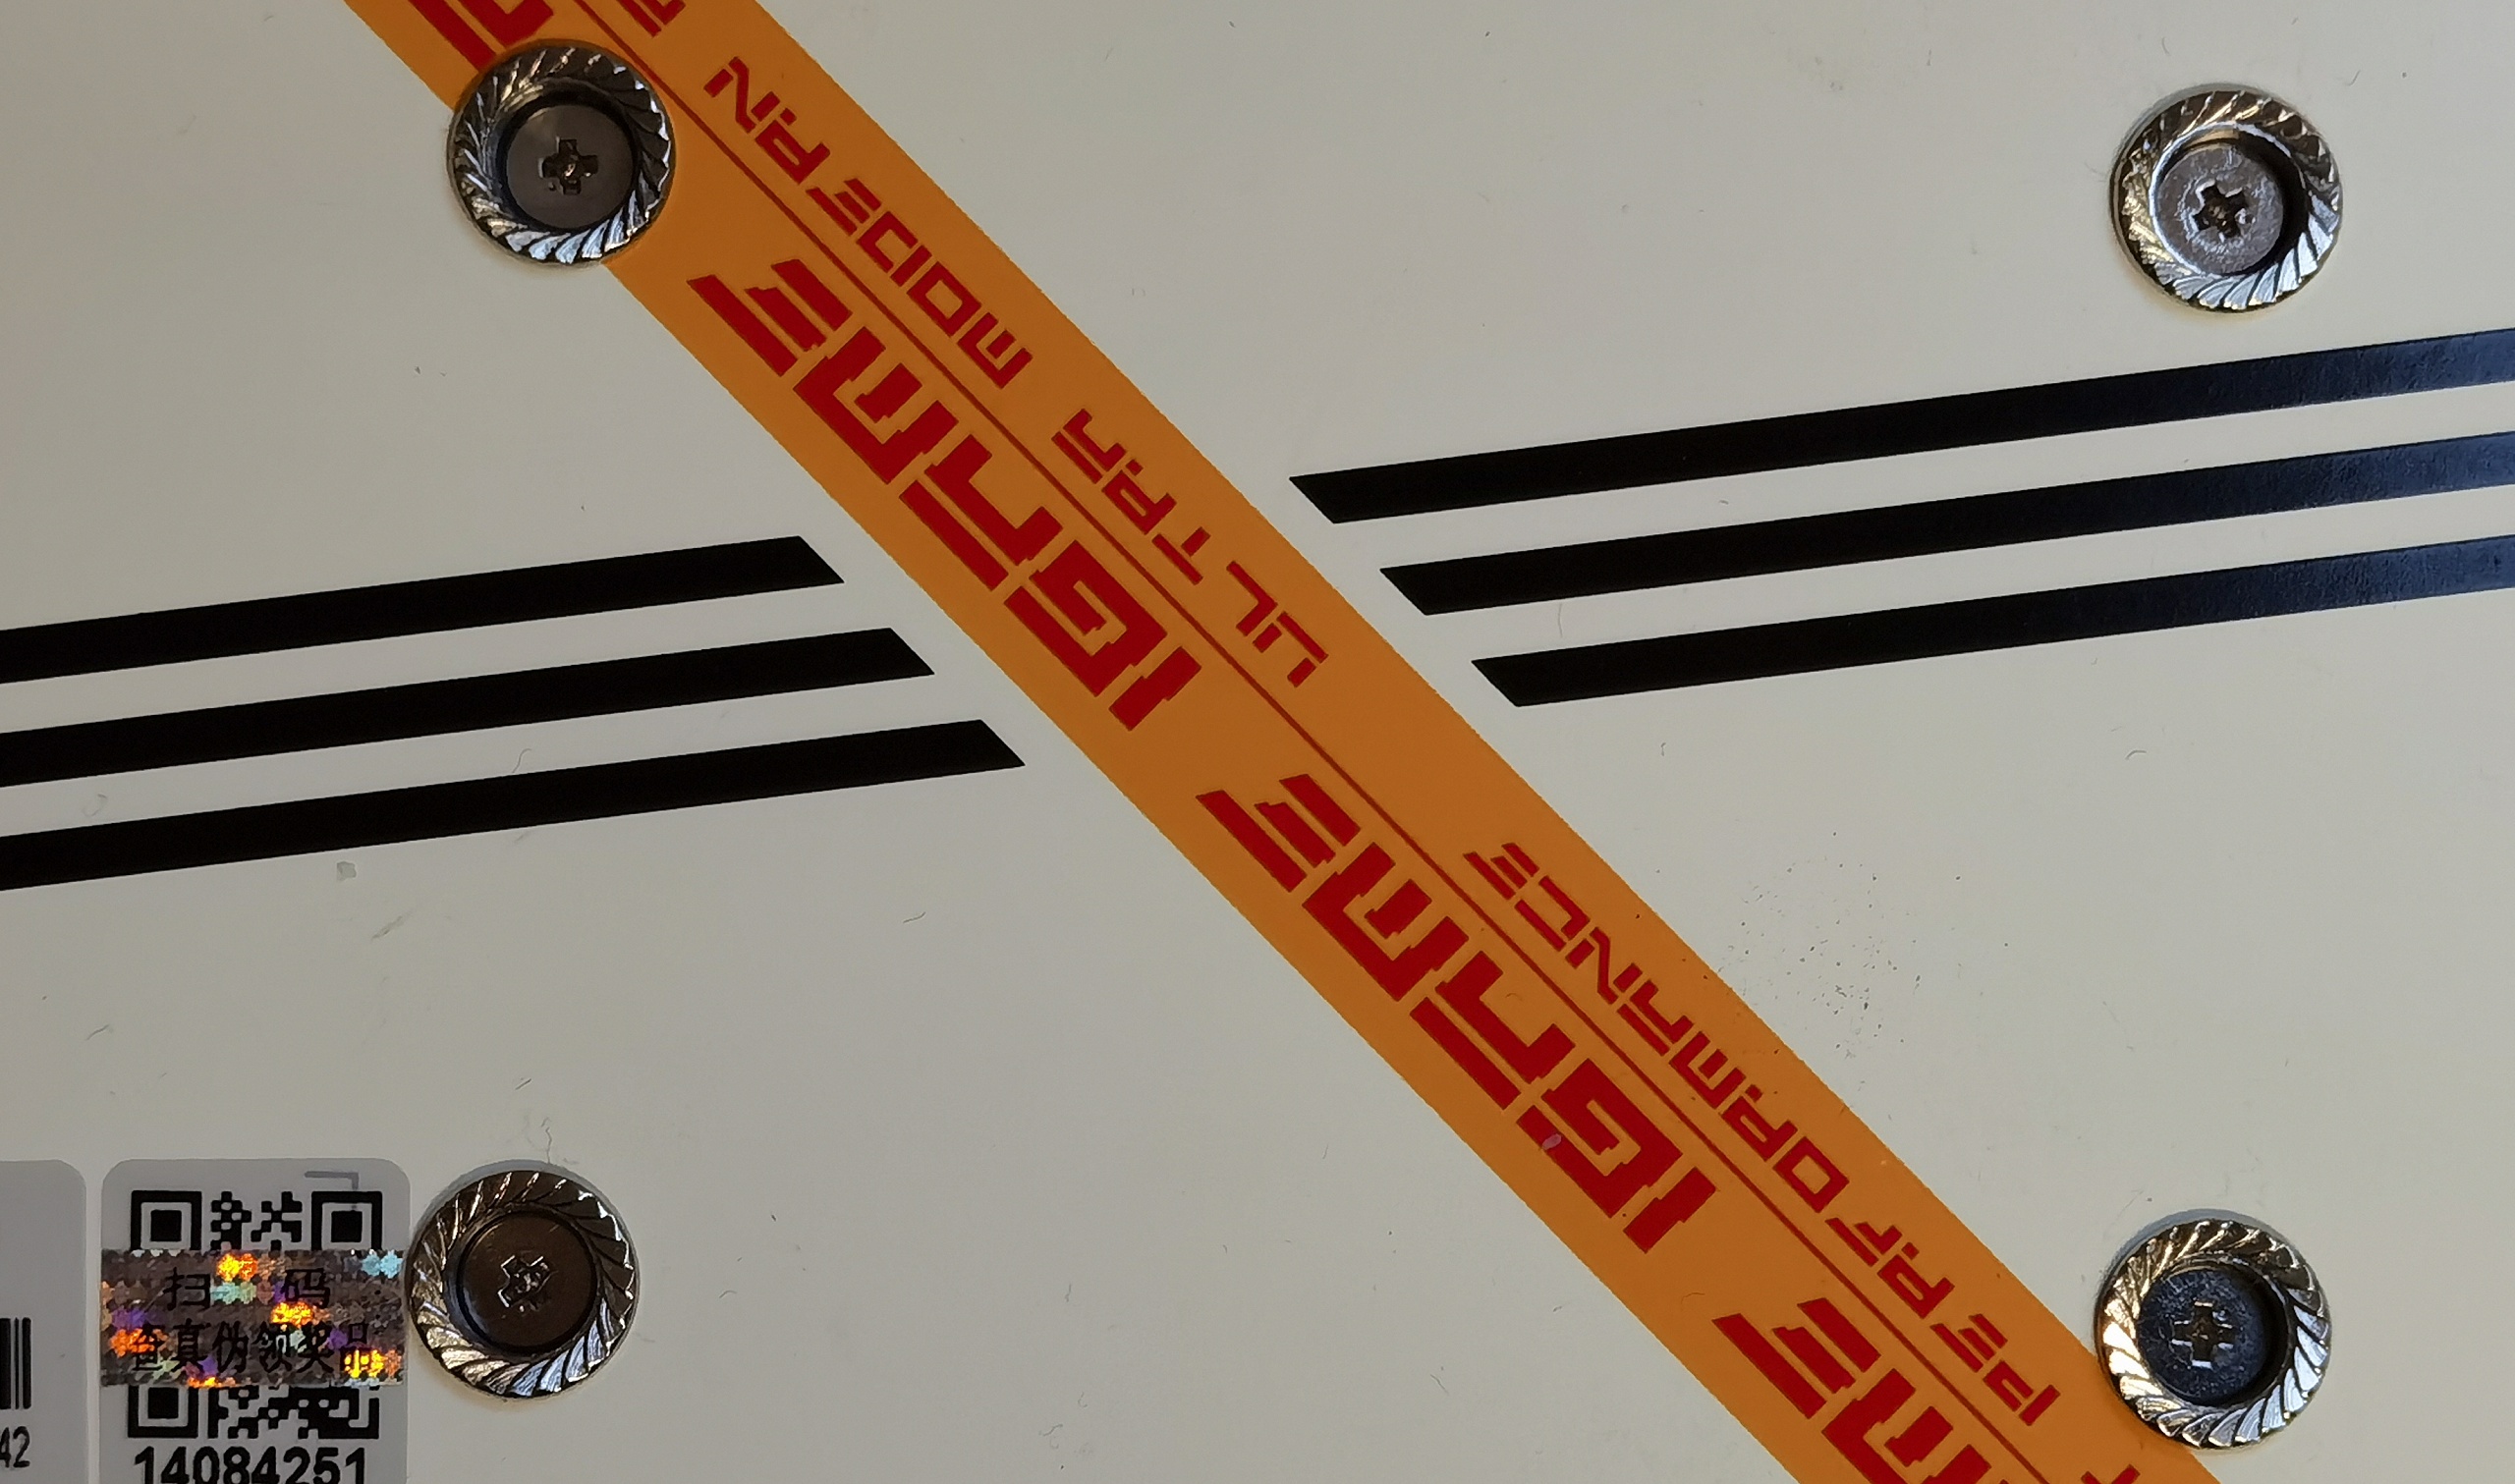
Since there is no clamping cross on the card or there was no other option, I had the idea of using the backplate as a clamping element. As the polymer caps were already resting on the backplate anyway and the backplate is quite stable, I had the idea of inserting cap nuts into the 8.3 mm holes in the backplate and then applying some pressure from the backplate via the polymer caps to the GPU so that the GPU is pressed straight against the heat sink. I found the matching cap nuts on the cardboard boxes from a large Swedish furniture store.
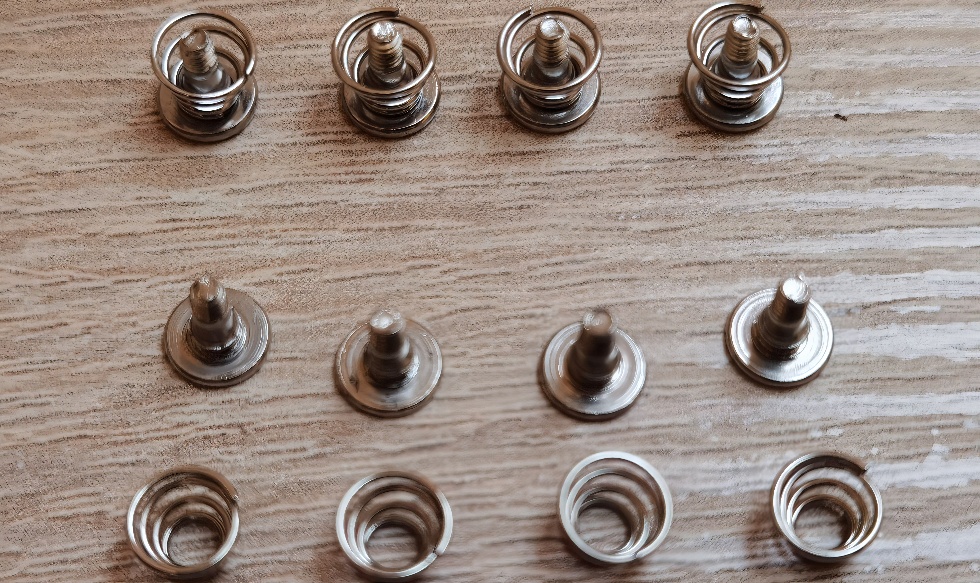
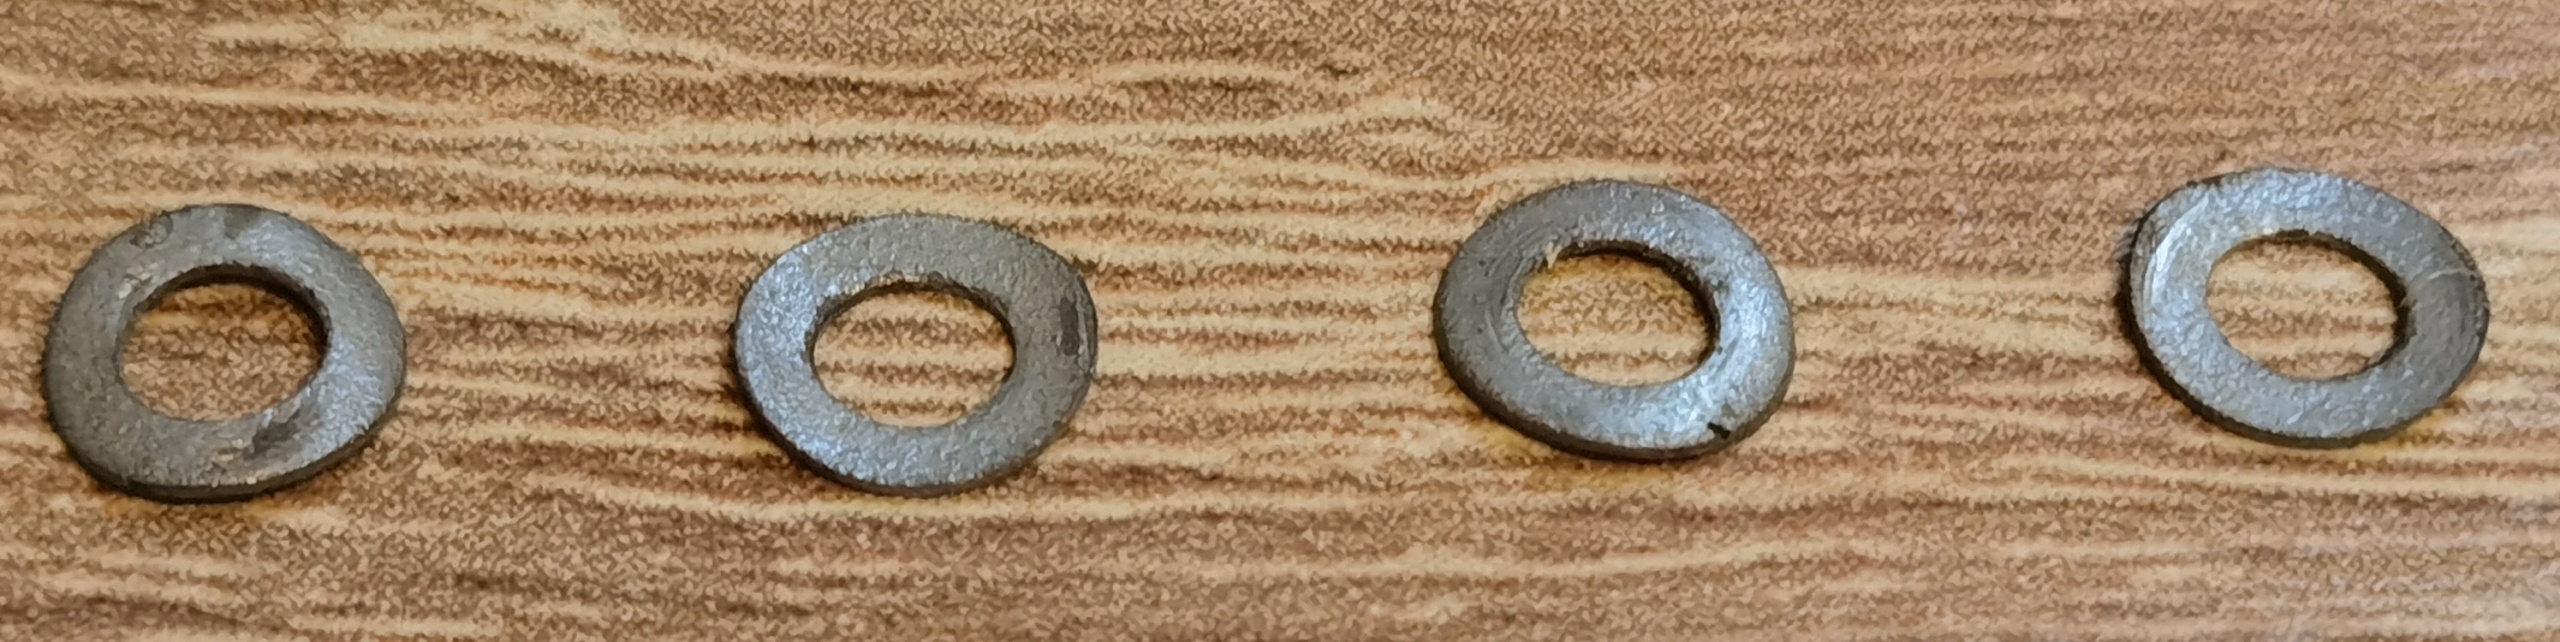
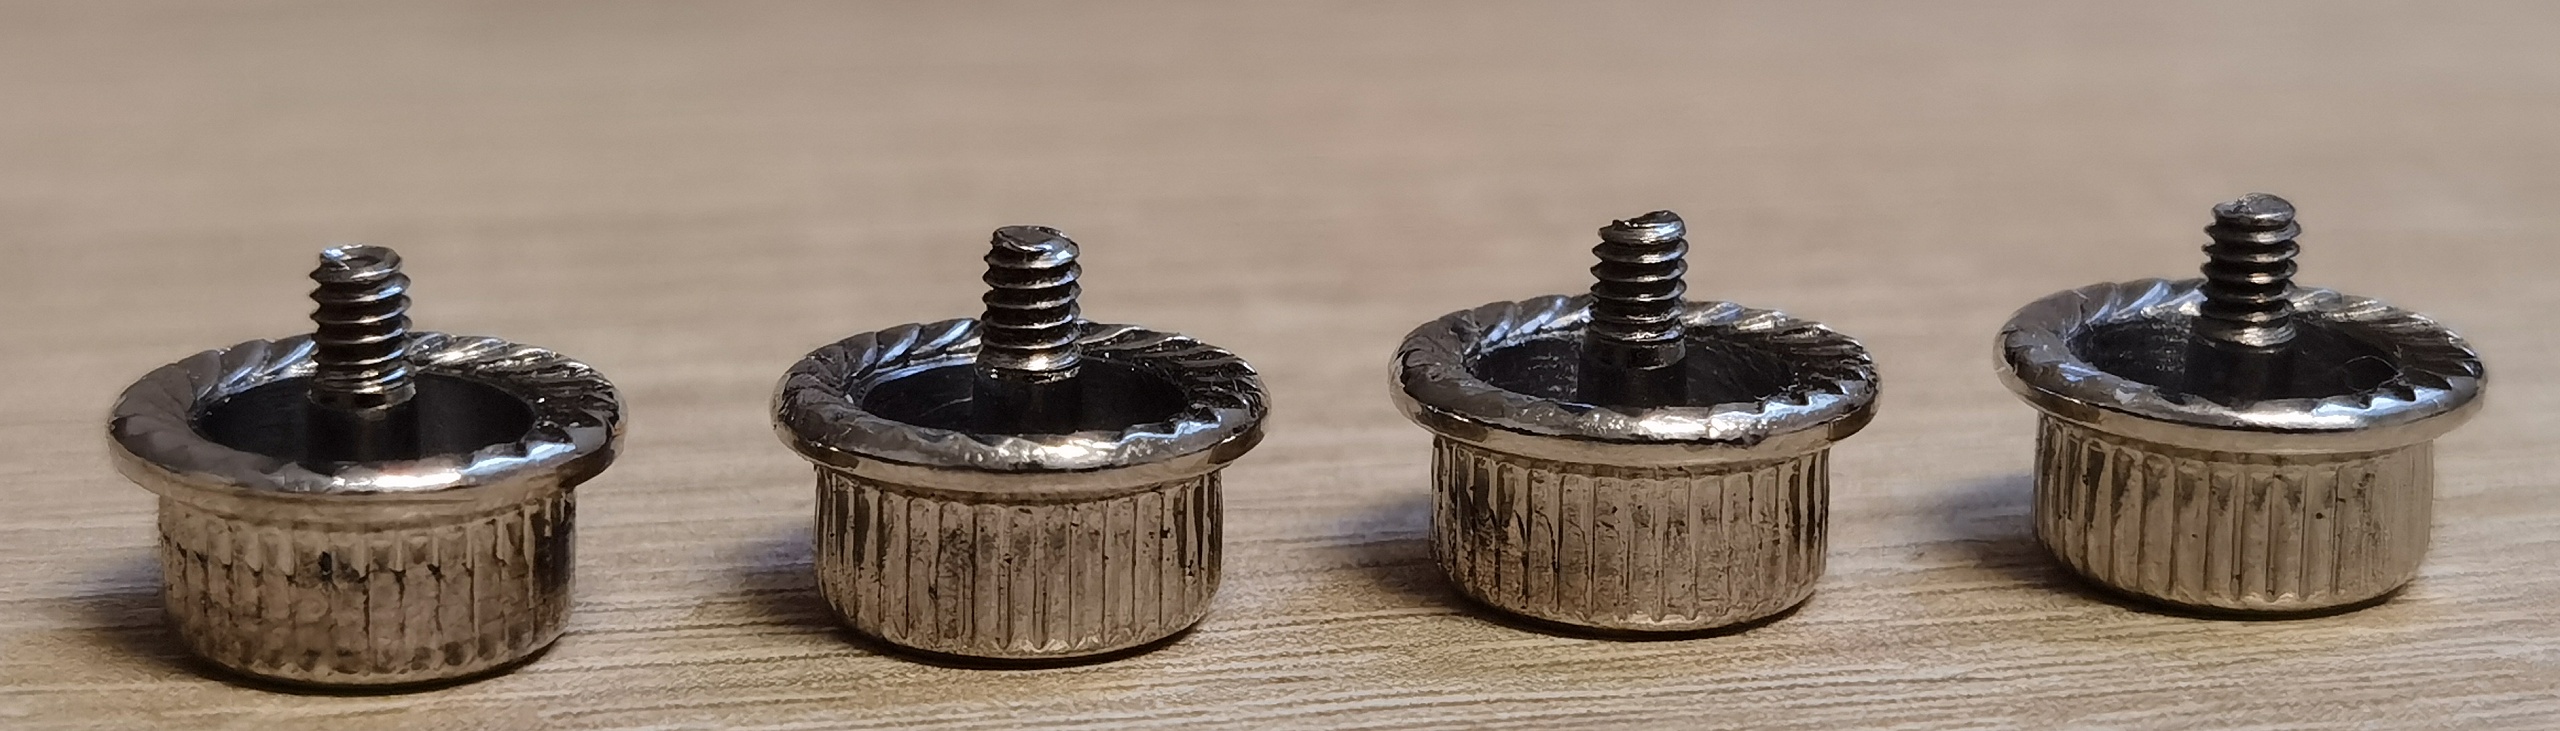
Since I had to use the original mounting screws, but because of the 2 mm thread the springs no longer fit, they were removed without further ado. Above you can see the screws in their original state, below you can see the individual parts. Of course, I only wanted to apply as much pressure as necessary and was concerned that too much pressure could cause damage to the components. After some measuring and trial and error, I came up with the following result for the cap nuts: These have to be drilled out to 6.1 mm because of the screws. The depth is 3 mm because the cap nuts only have a height of 4.5 mm and therefore there is not much material left to hold them. The whole thing was then adapted to the length of the screws so that thin corrugated washers fit in between to provide the necessary pressure.
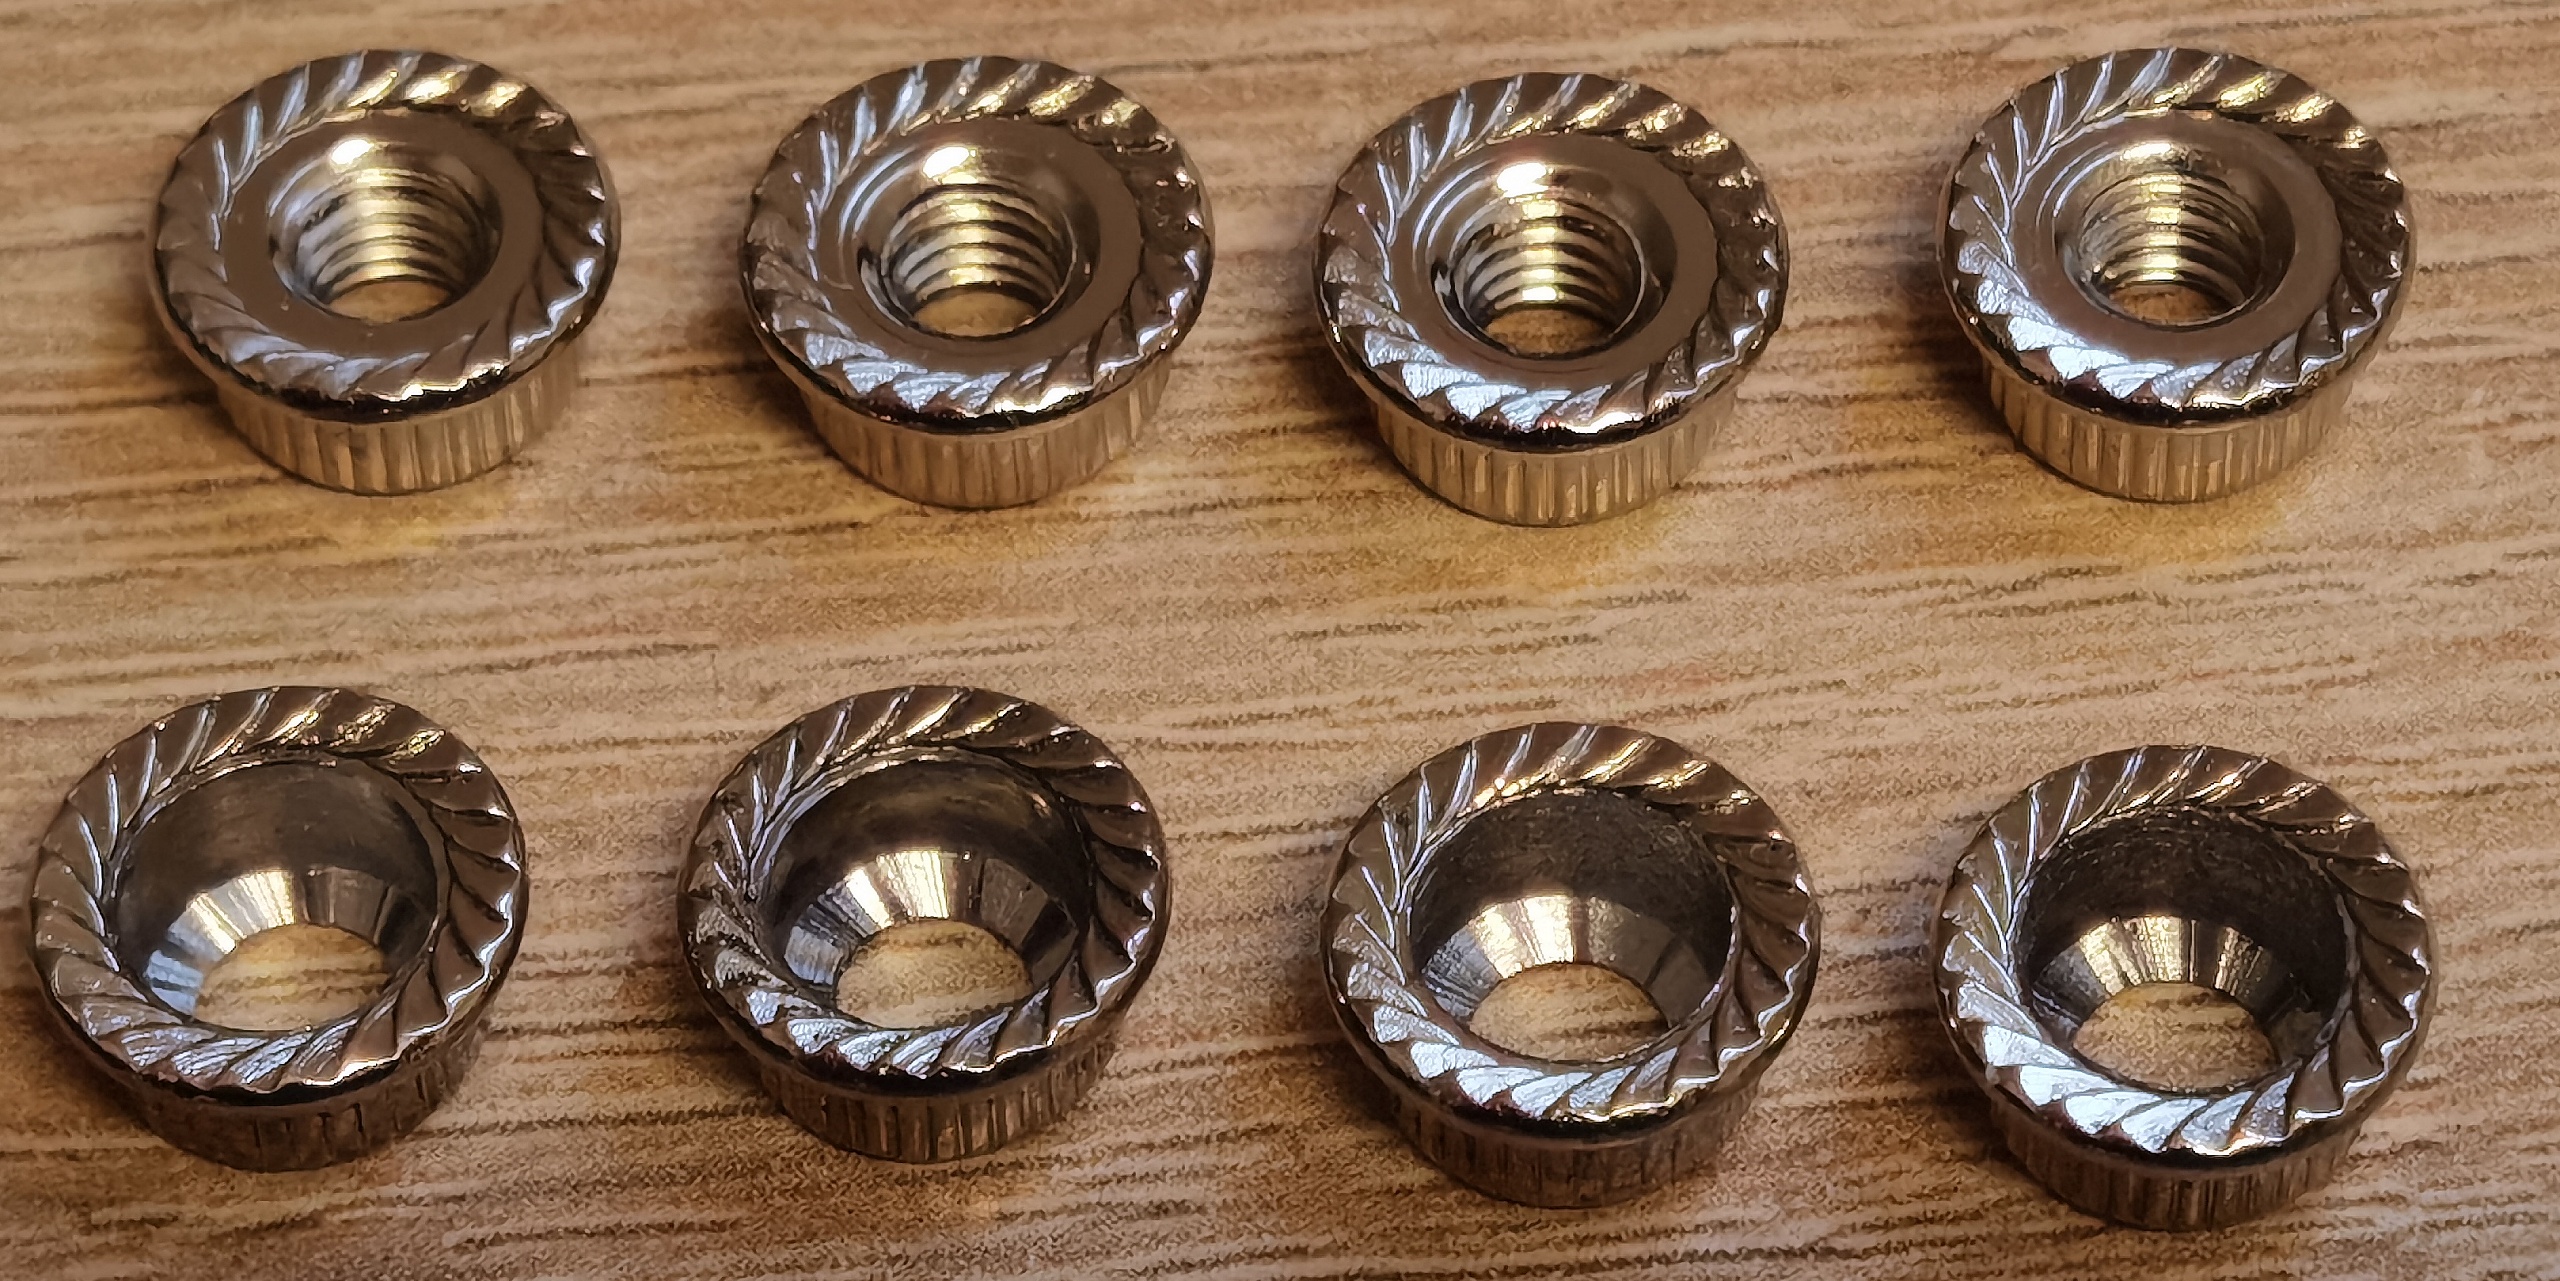
The picture shows the original cap nuts at the top and the machined cap nuts at the bottom.
The fixing screws were also put in for a test.
Then the whole thing was assembled this time with the cap nuts and without the spacer rings. In terms of the feel of the screws, this was already quite good. As a precaution, I also fitted additional pads on the left-hand side of the GPU because of the missing spacer rings. Only the backplate is now screwed to the heatsink at the four GPU attachment points. This means that the GPU still gets pressure from below in the middle and the board only has additional mounting points further out and can therefore adapt better if necessary.
Finally, some pictures of the finished graphics card assembly. Yes, it looks much better this way!
But of course I still have to test it first. Let’s go!


42 Antworten
Kommentar
Lade neue Kommentare
Mitglied
Veteran
Urgestein
Urgestein
Urgestein
Urgestein
Urgestein
Urgestein
Urgestein
Urgestein
Urgestein
Urgestein
Urgestein
Urgestein
Urgestein
Urgestein
Urgestein
Urgestein
Urgestein
Alle Kommentare lesen unter igor´sLAB Community →