


Of course, what I’m doing today is just a first taste of what’s to come later in full glory. But large workloads also take time to prepare, because it’s supposed to add real value. And that’s where I’ll be bringing a larger review, which will then include the usual things like teardown, power consumption, power supply tests, acoustic chambers, etc. in addition to benchmarks from production use. So that you (and I) don’t have to wait too long until then, here is an early part with games in higher resolutions and first impressions of the new, large Ampere card.
The GA102 used in the Quadro RTX A6000 has all 7 GPC (Graphics Processor Cluster) with 12 SM (Streaming Multiprocessor) each in the uncut maximum configuration, which then means 10,752 CUDA cores. As is known, two SM are deactivated in the GeForce RTX 3090, which results in “only” 10,496 ALUs and thus corresponds to 97.6%. So it is rather unlikely that a consumer card could be added here in the full version. Jensen Huang’s codename “BFGPU” for the GeForce RTX 3090, which ultimately means nothing more than “Big Ferocious GPU”, will probably remain the maximum version for consumers. But today is about more, because today I want everything. Can it run Crysis? Yes, that too, but much more.
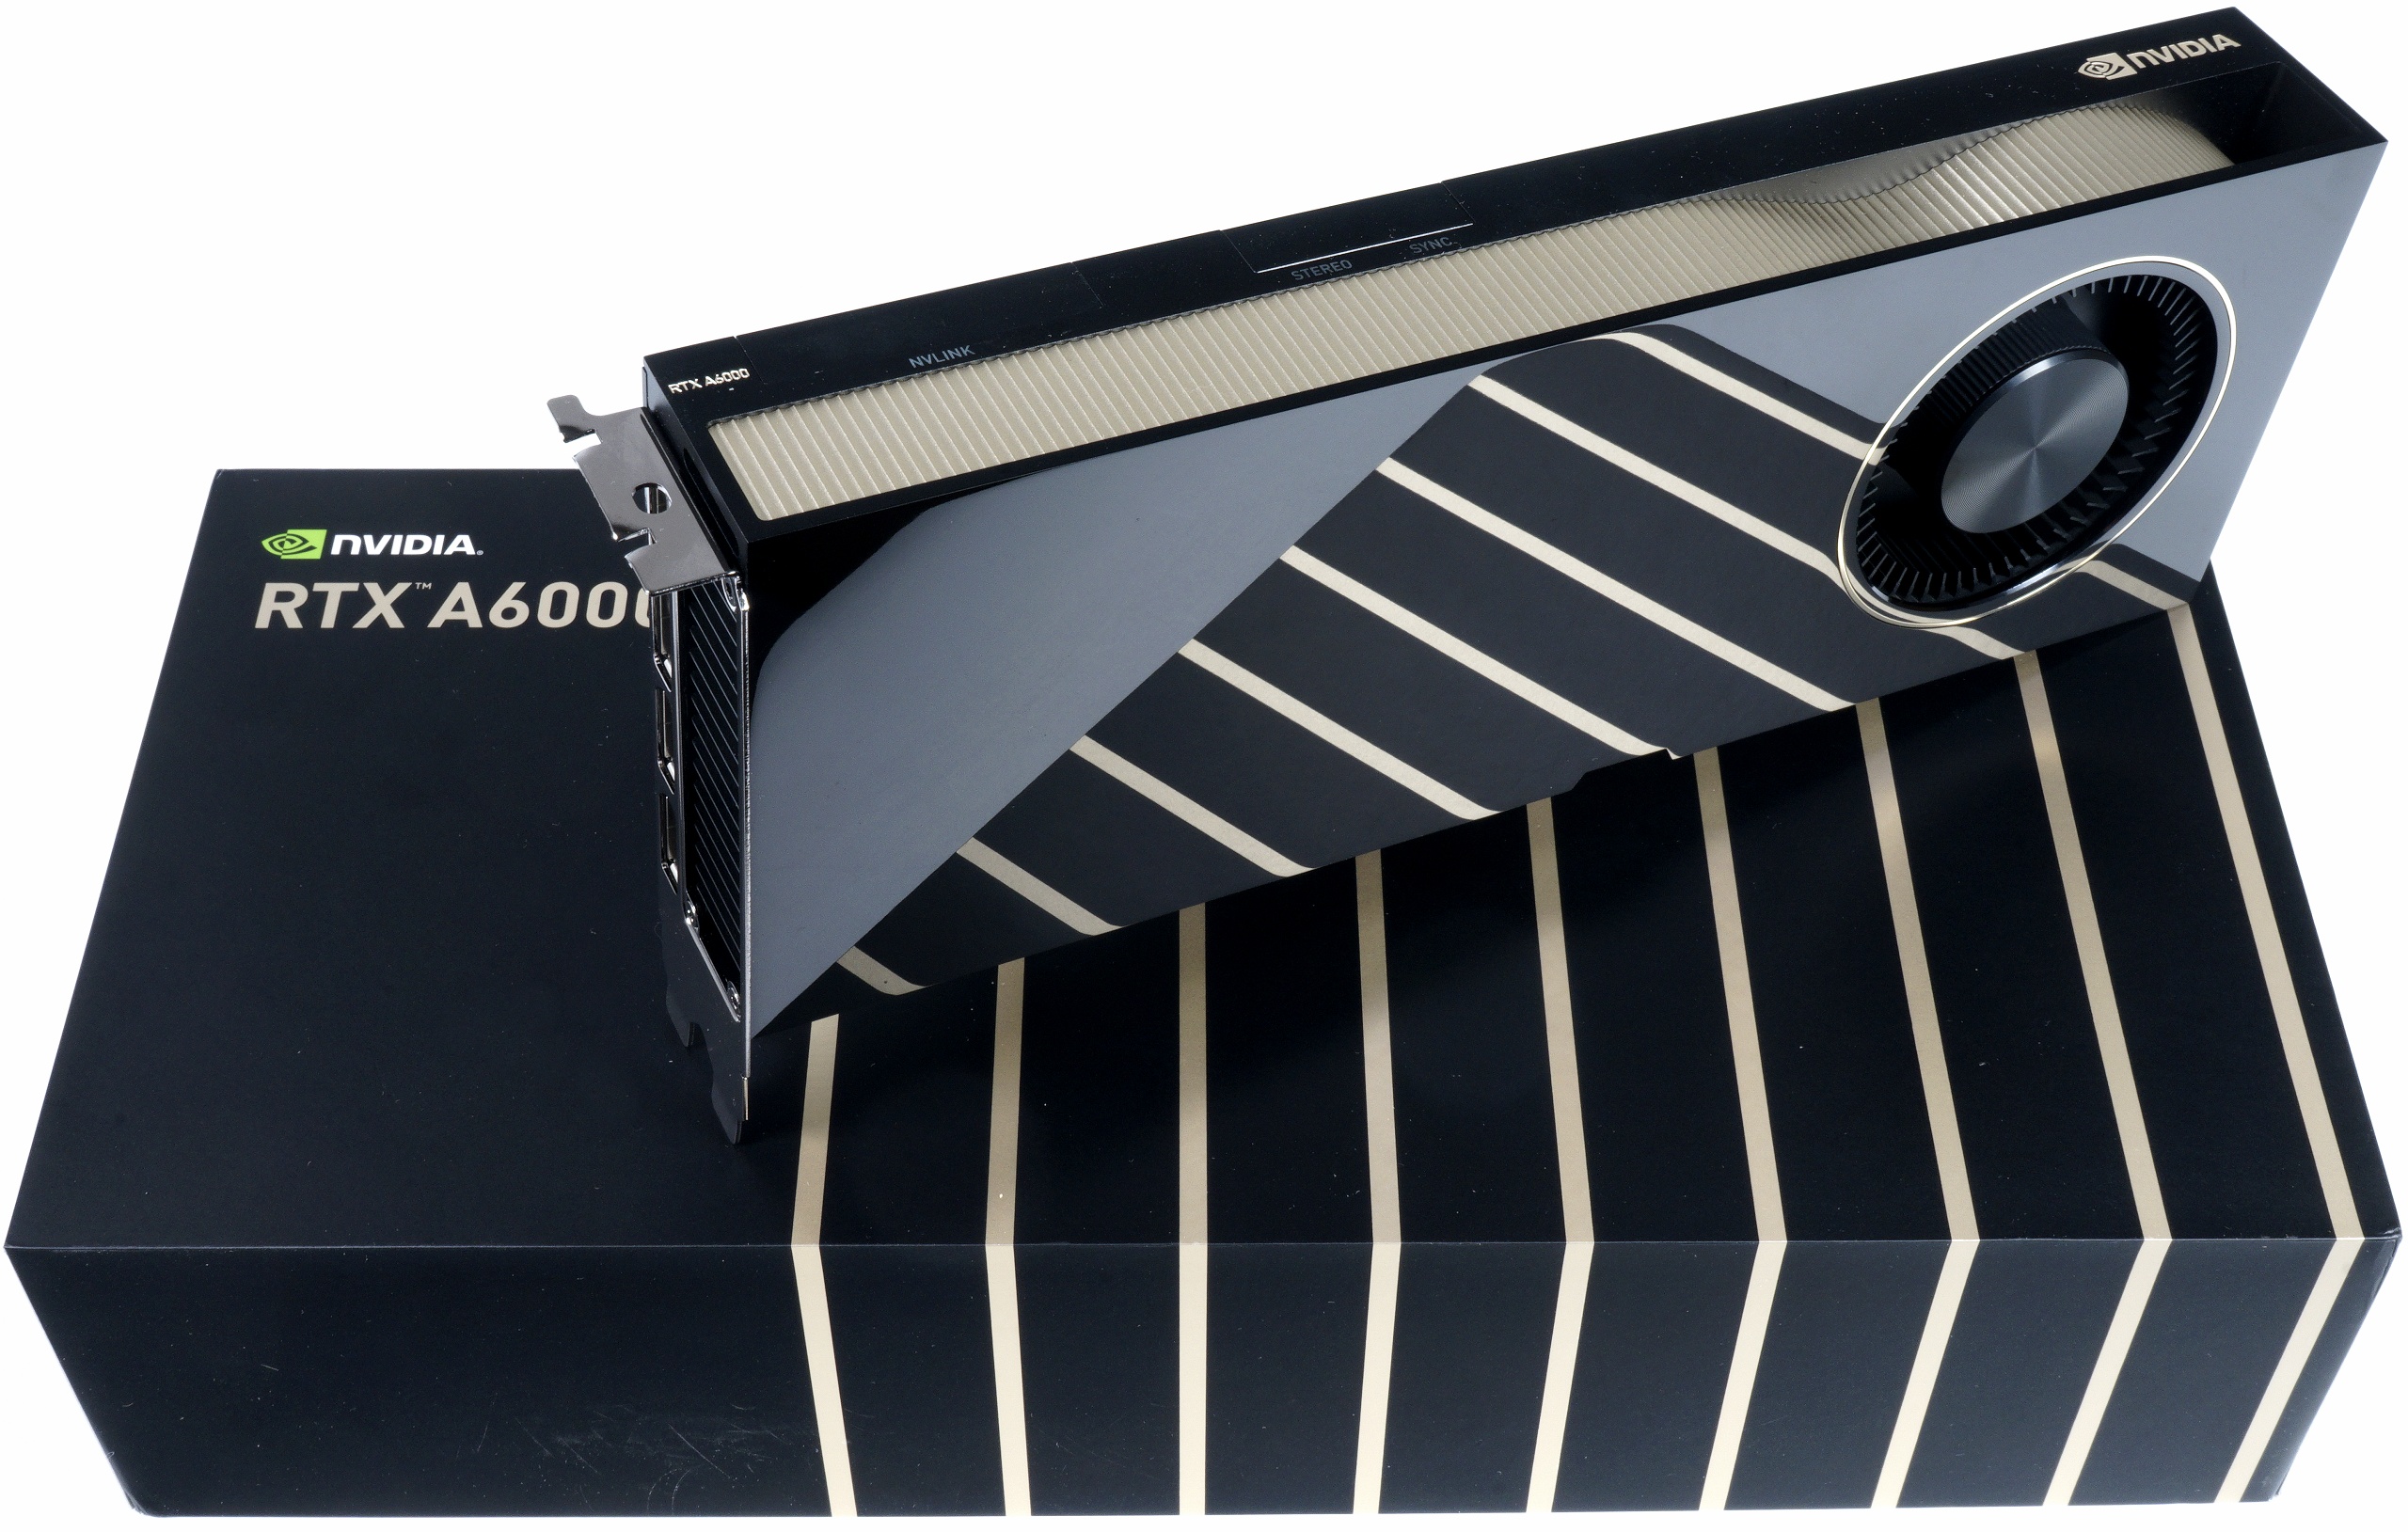
You already know it from the tools, because everything that you have to earn money with, costs the same and not too little. The target group is actually complete, because the specialist in visualization is addressed as well as the creator, for whom a Quadro RTX is not too expensive. It is the desired object of all those who need graphics and computing power in one, who want to have a lot of ECC memory and who depend on the certified drivers. Whereby the price is put into perspective when you consider what you can do with such cards in the production area and ultimately also earn.
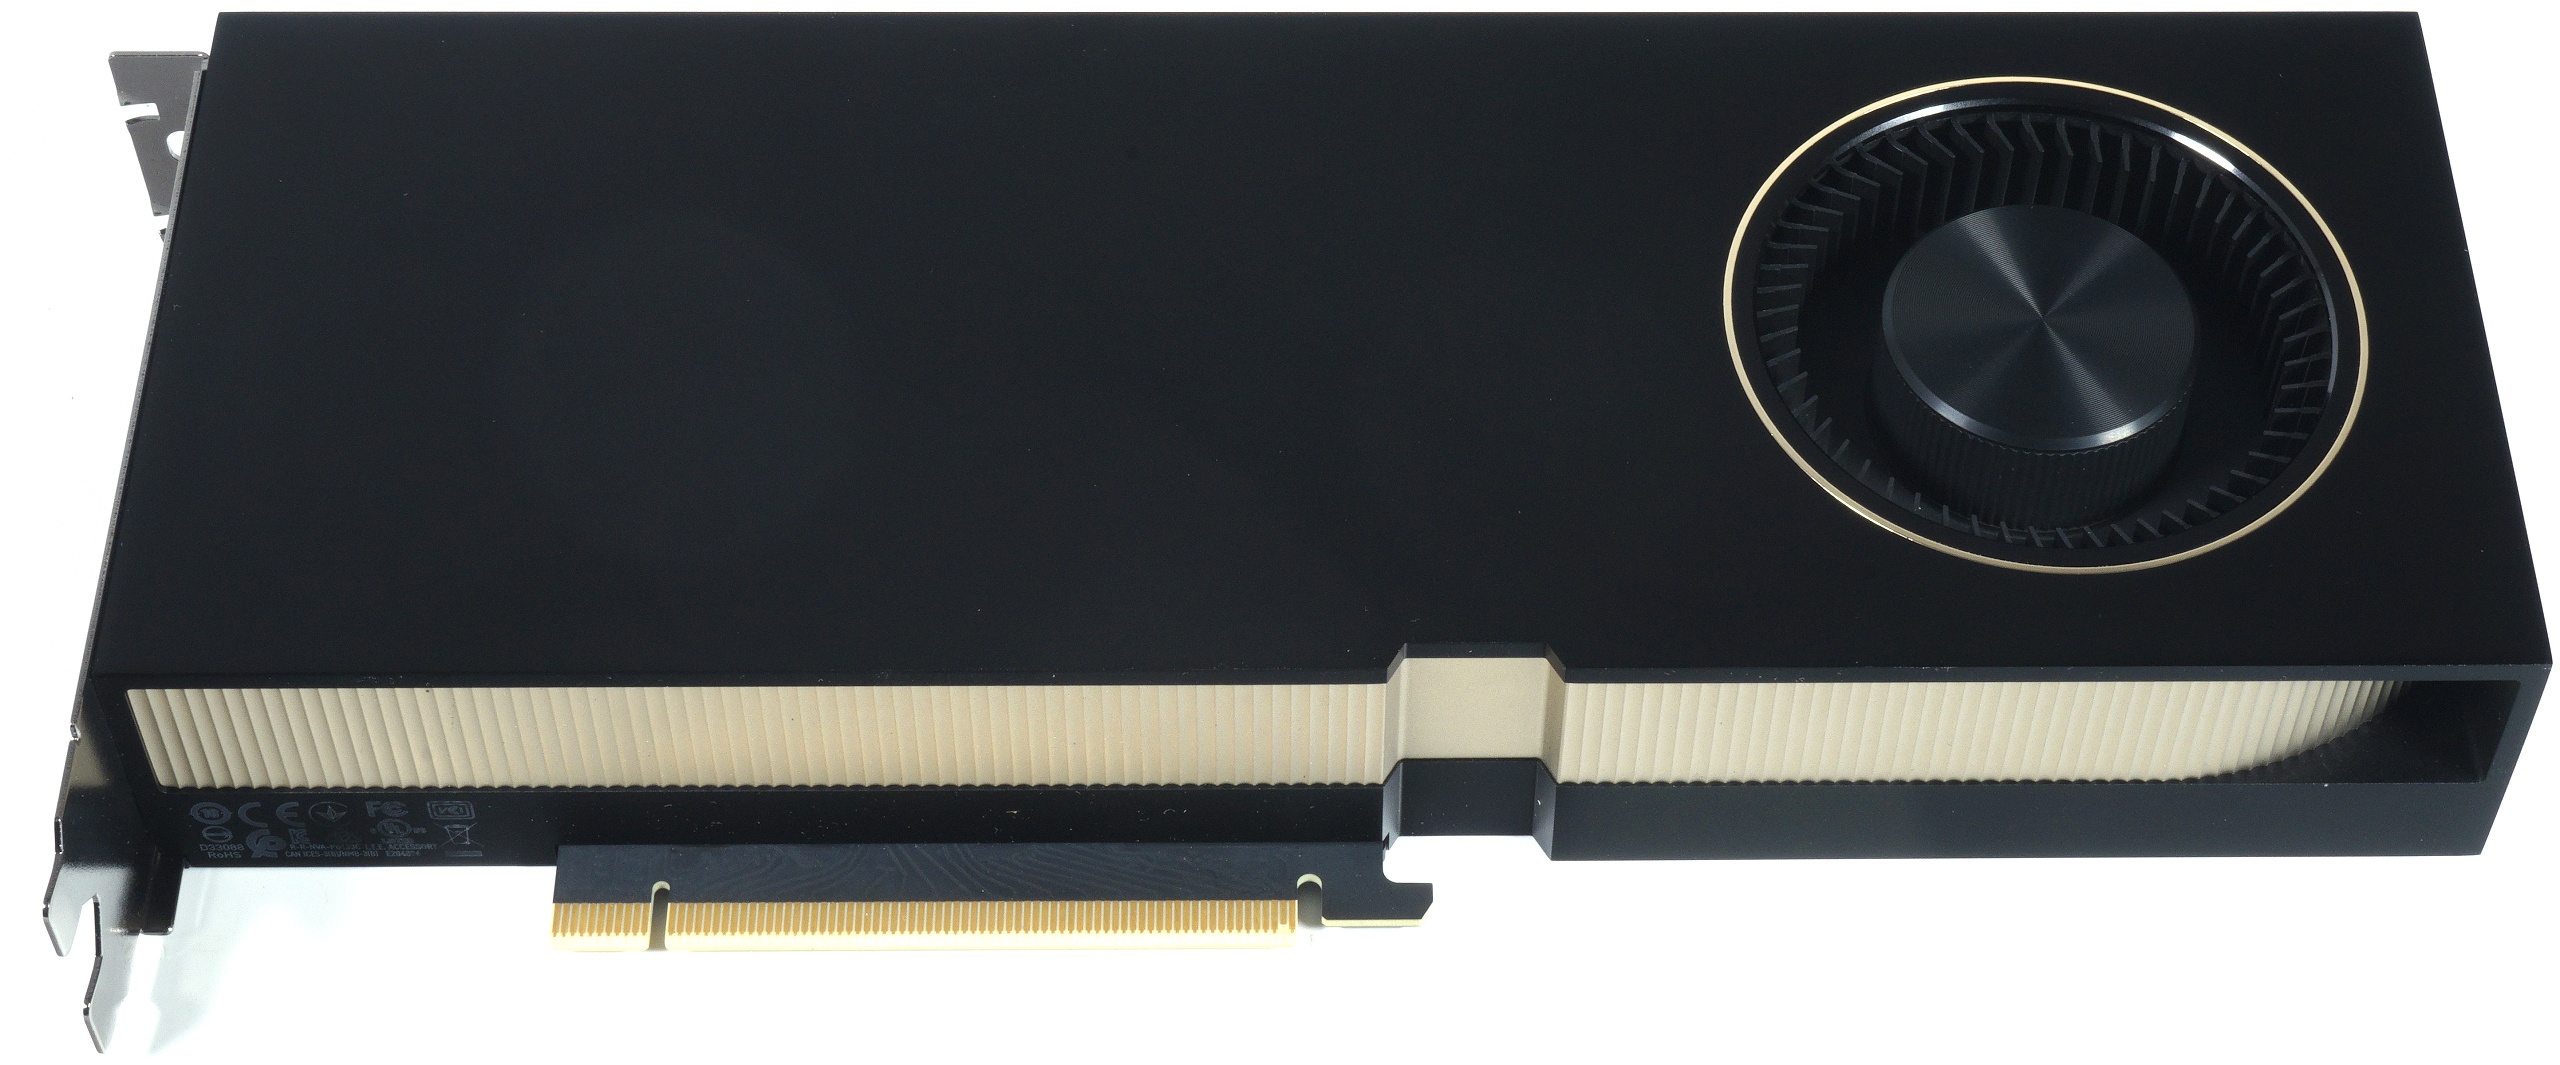
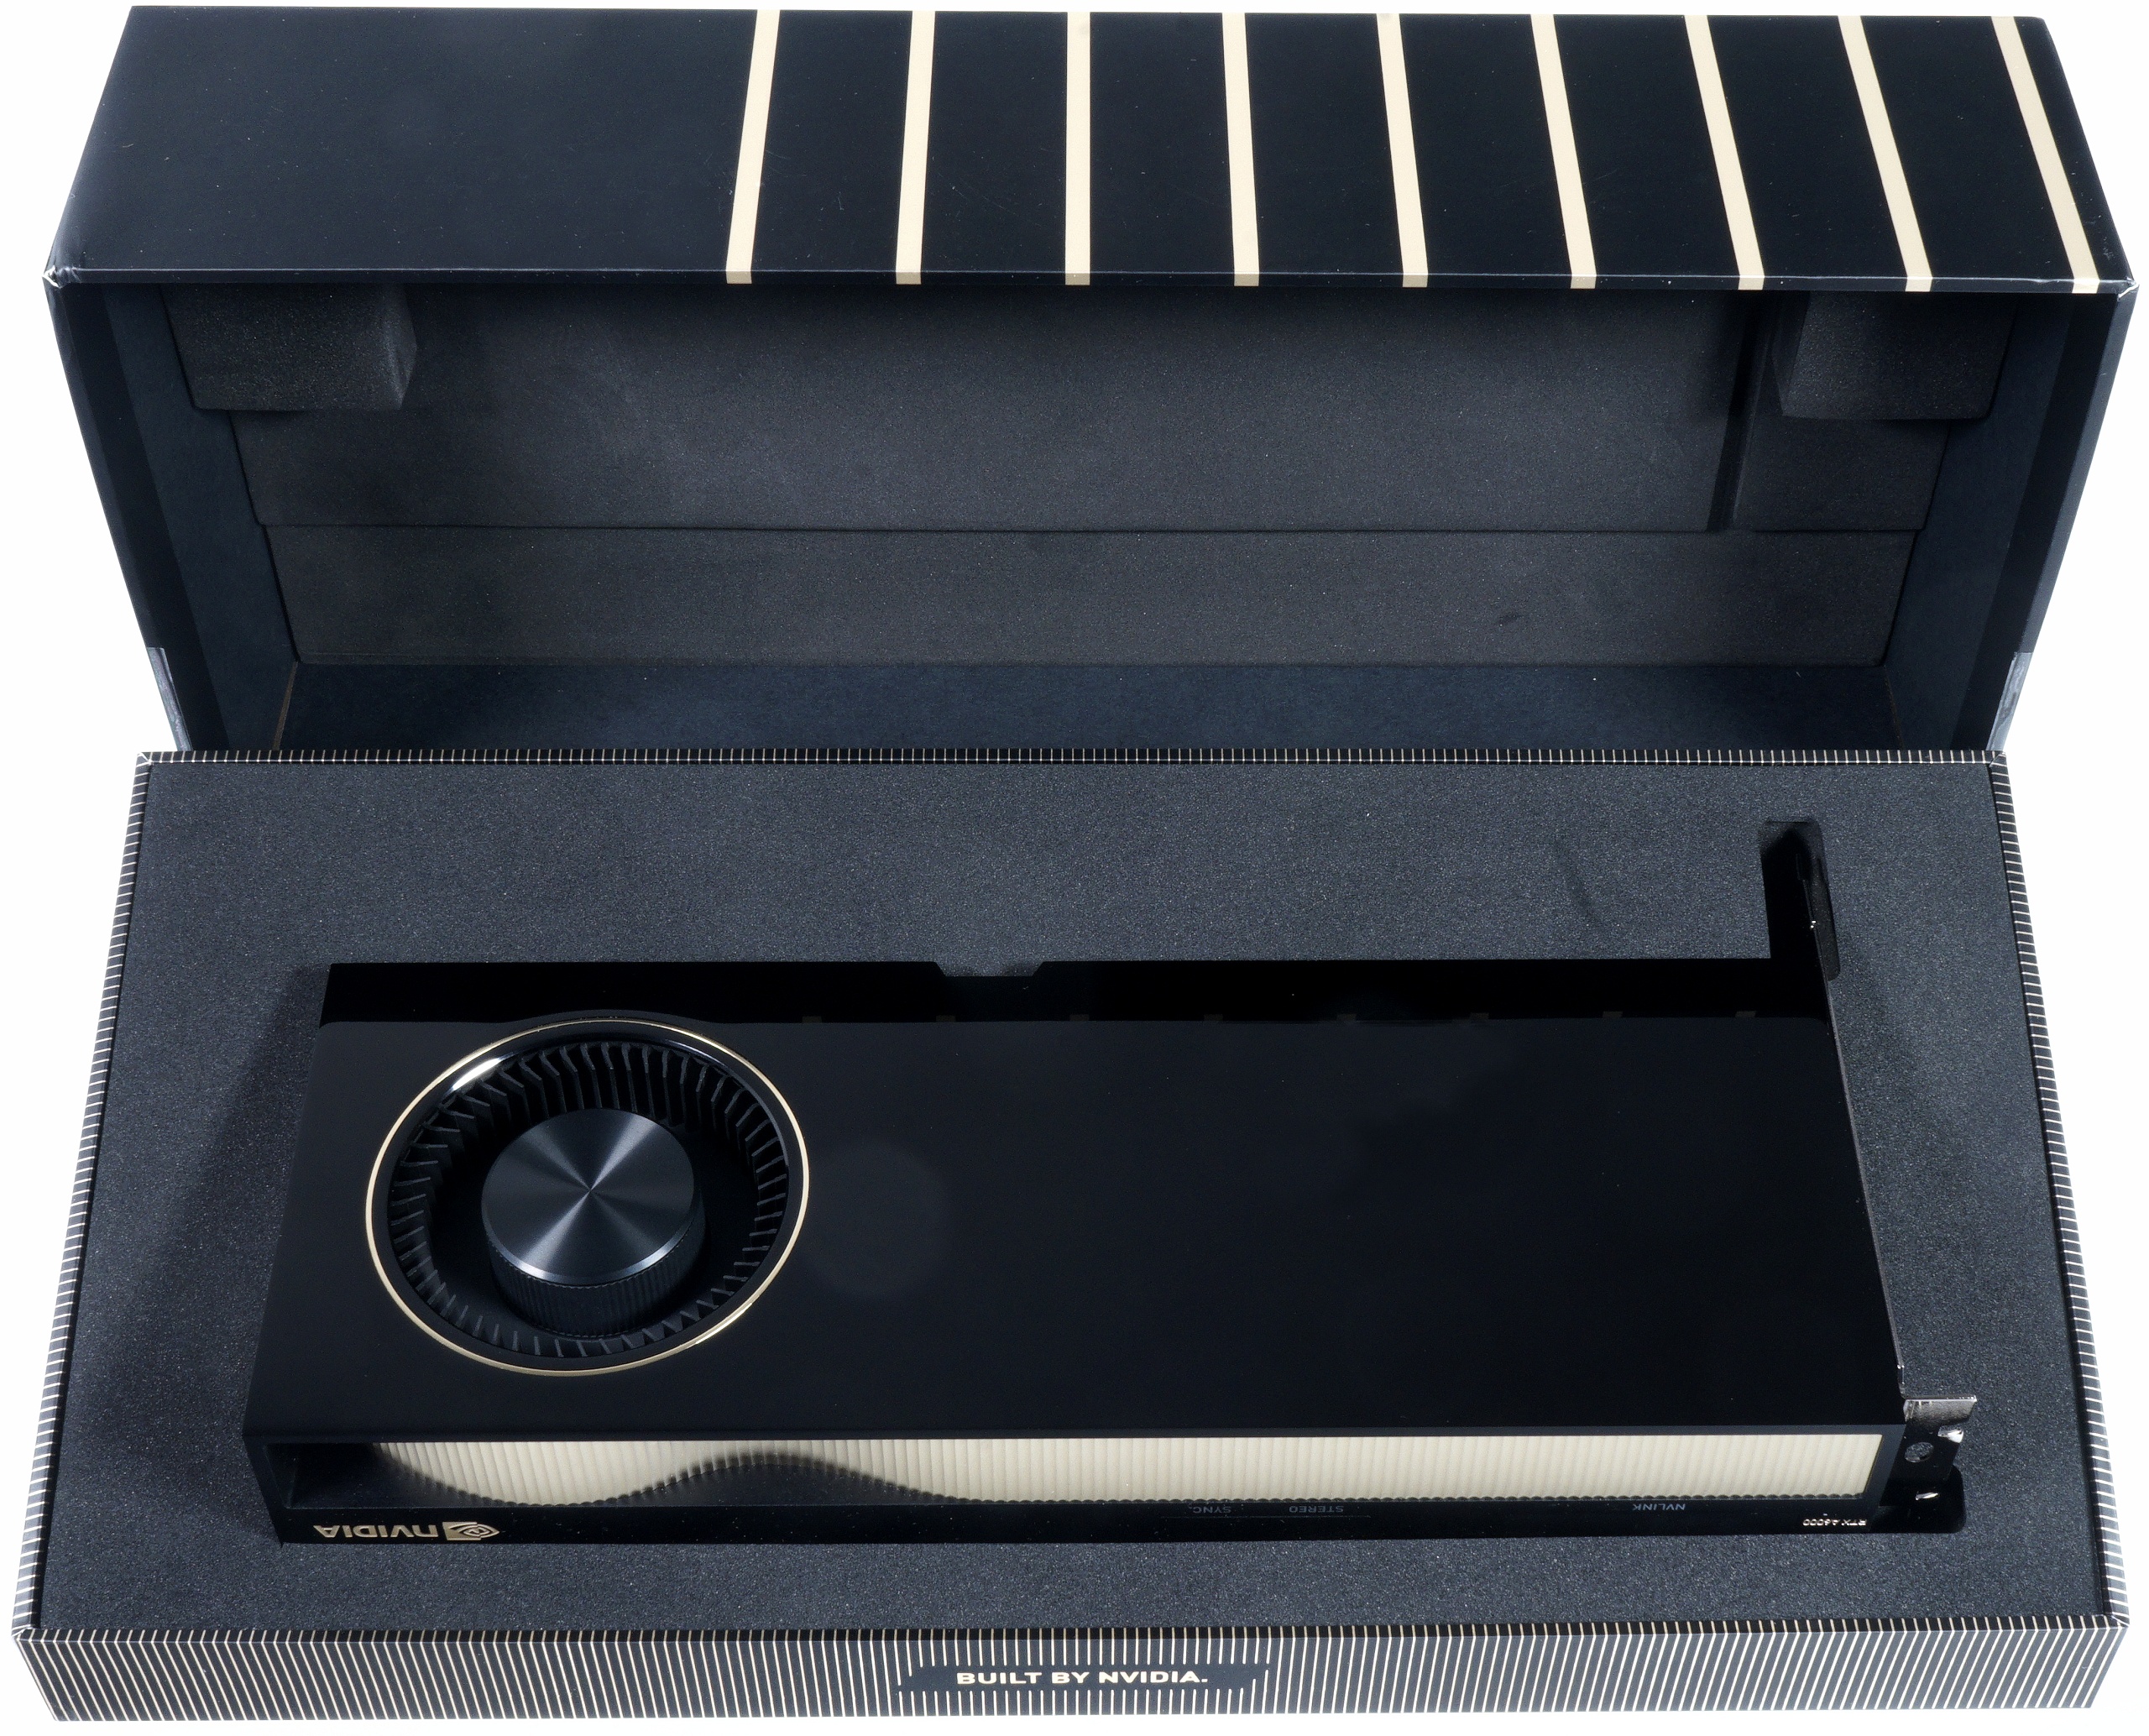
Theory, well, it’s nice to take along, but now it’s straight down to the nitty gritty. The case of the card is a visually appealing mix of light metal, plastic and hardware, which feels quite valuable and also lives from the nice look. The design with the slim 3.5 cm installation depth including the 4 mm backplate makes this card a true dual-slot design with all known advantages and hardly any disadvantages.

It implies performance and good cooling all in one, and I may spoil now that it is the quietest radial fan on a 300 watt card I have ever run next to. It’s hard to believe, but it’s true. NVIDIA has a few tricks up its sleeve here, but you can only see them by looking inside and at the radial fan used. Incidentally, the new type of fan may suck from both sides, also a very interesting variant.
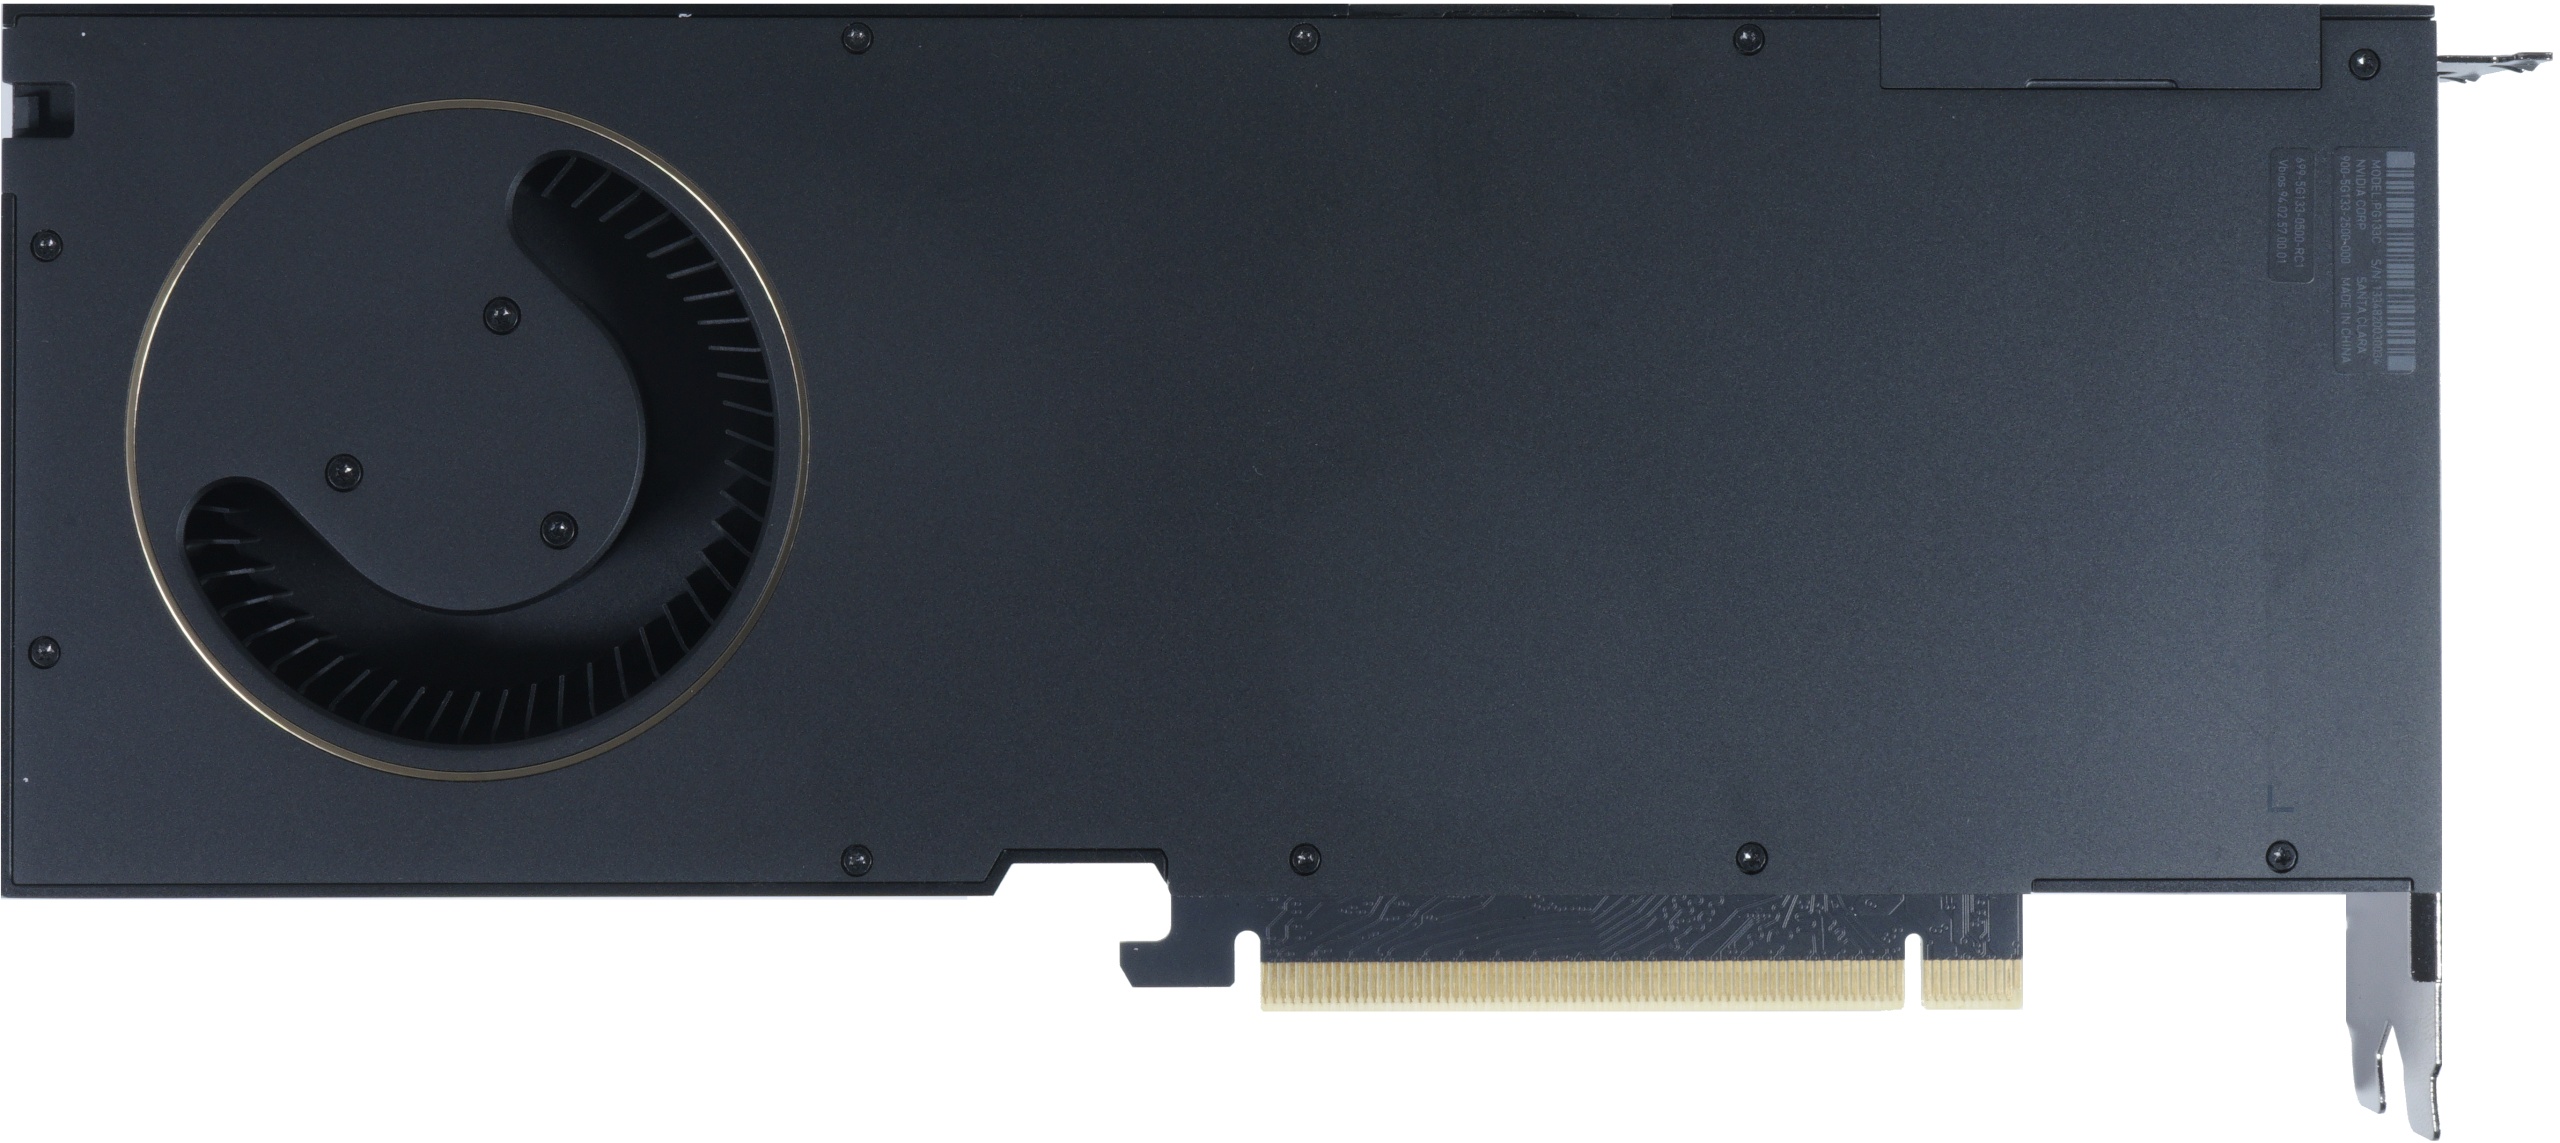
With 1168 grams, the card isn’t even that extremely heavy, but it’s not ultra-light either, which is due to the cooler and the very massive, squat construction. The length of just under 27 cm is standard for the class and also the installation height of 10.5 cm from the upper edge of the PCIe slot with the card installed to the top of the cover is fully within the standard. Nvidia has hidden the NVLINK port behind a cap.
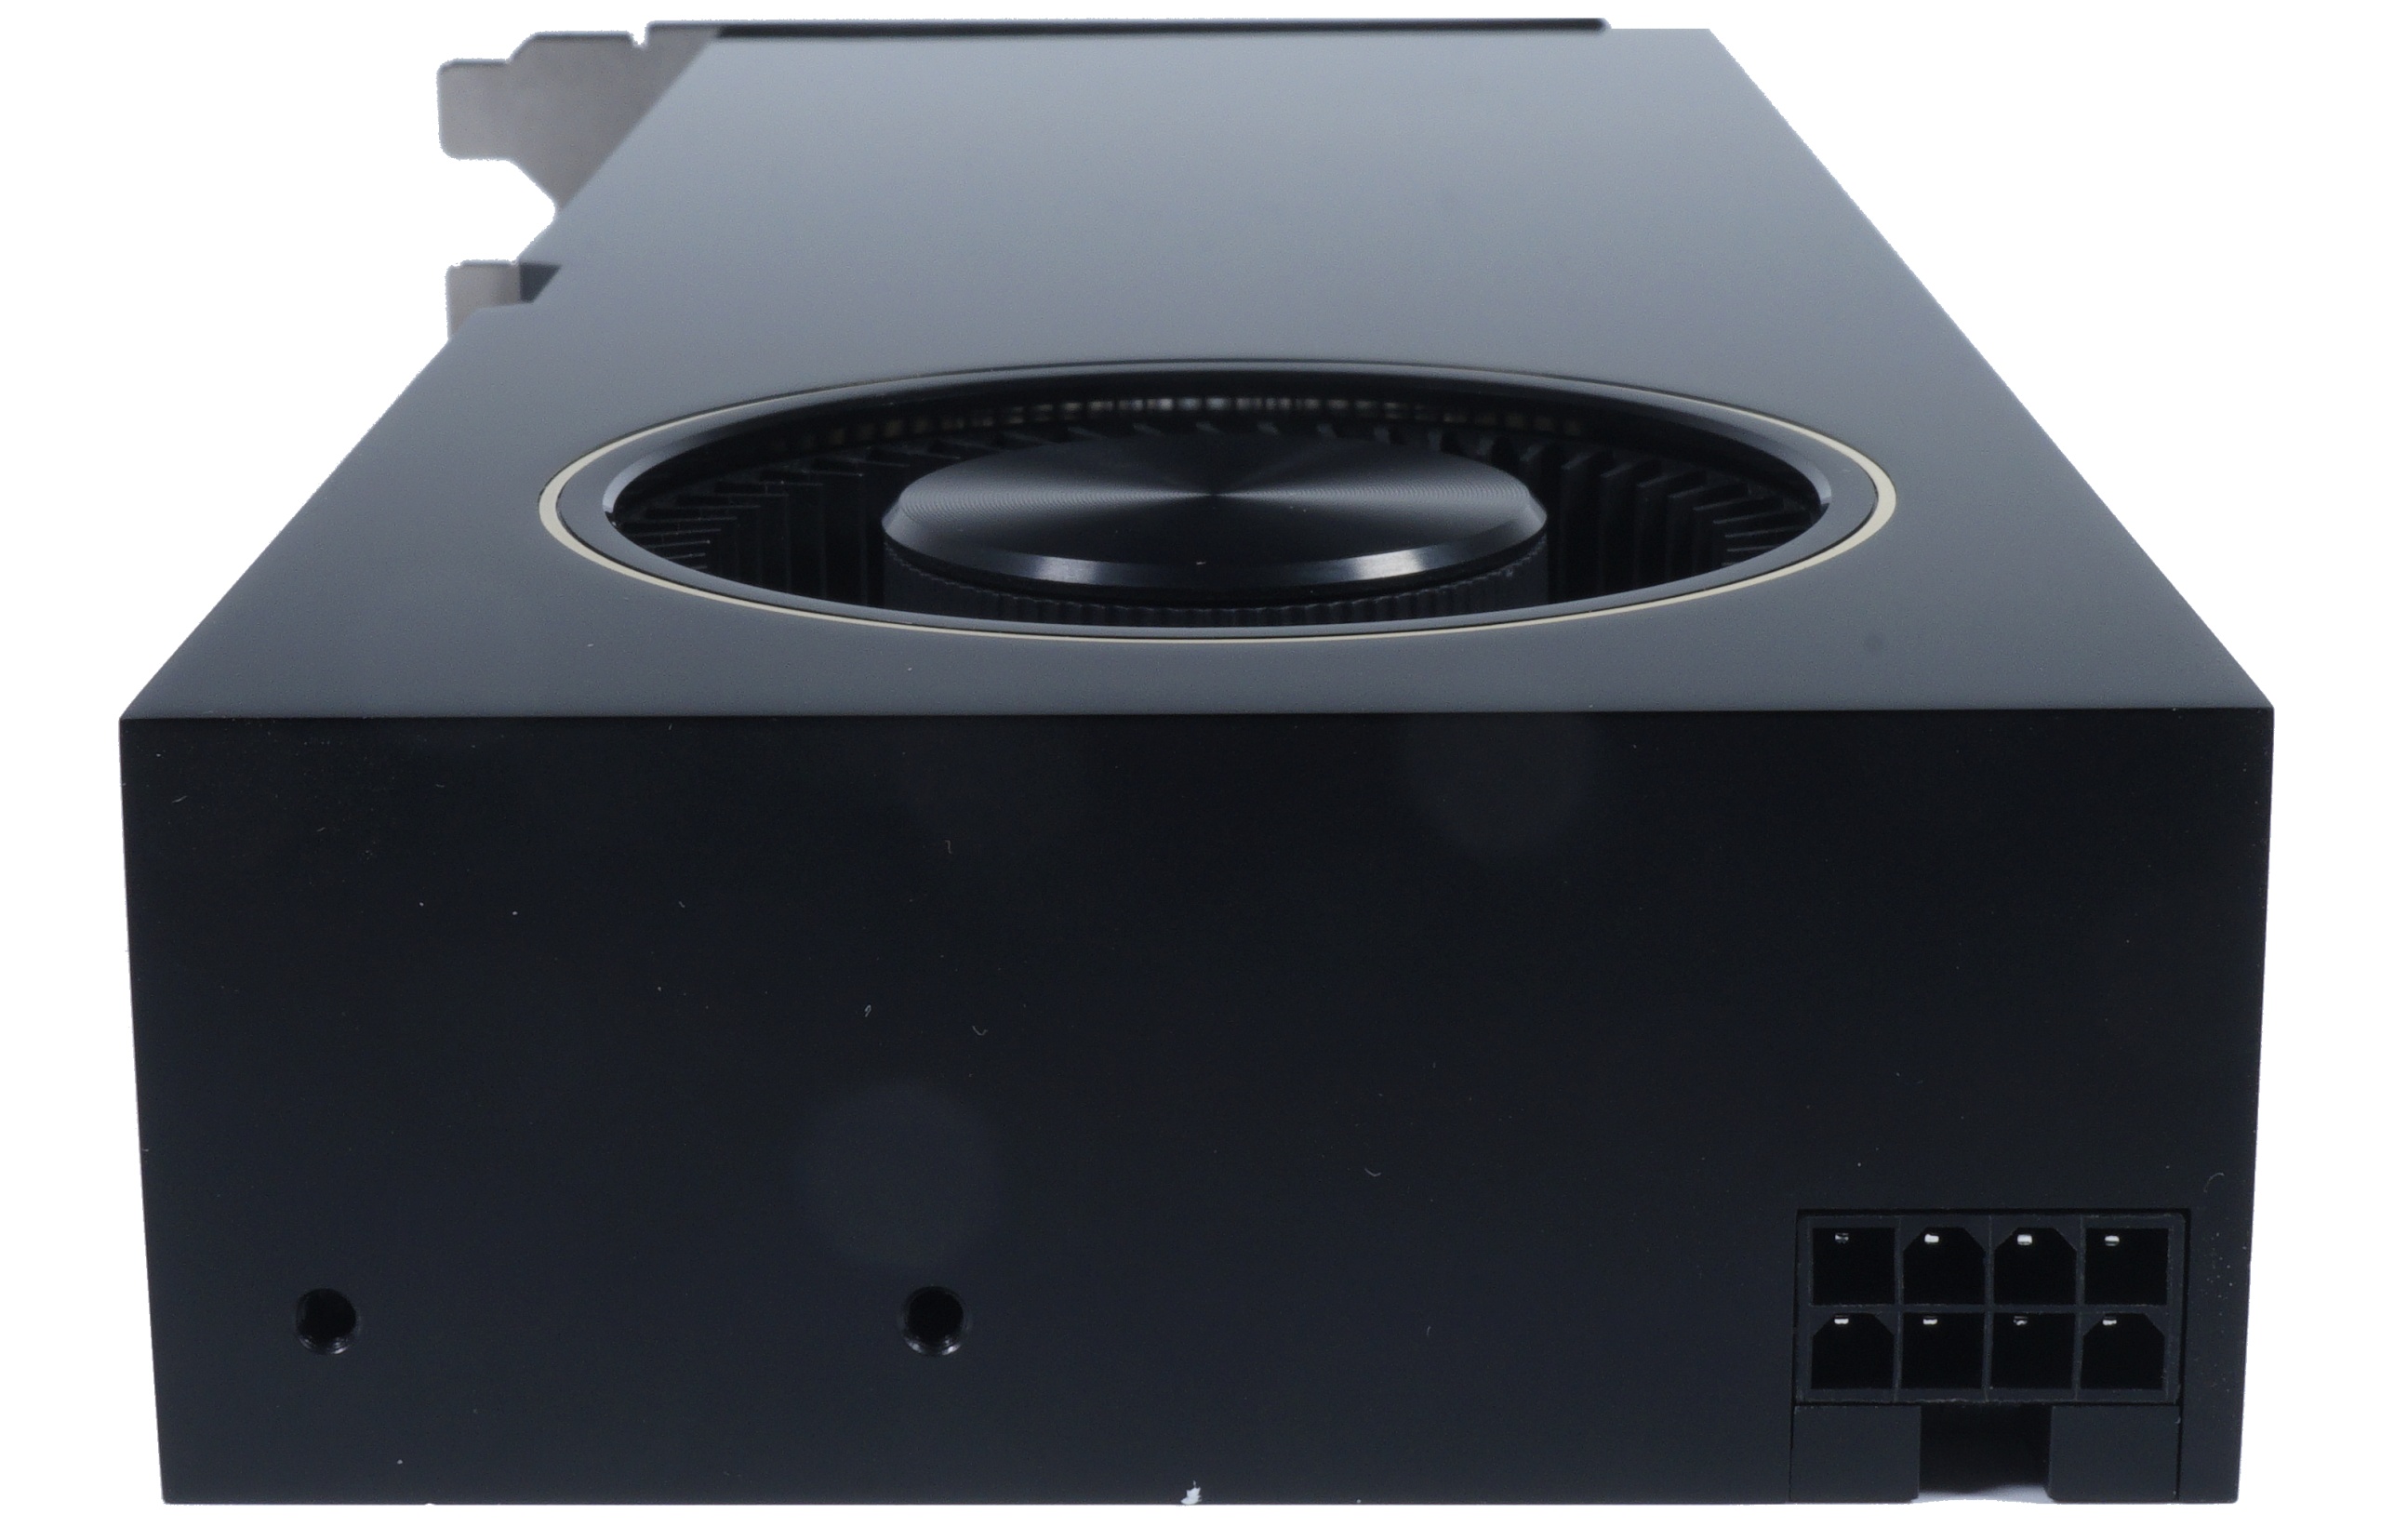
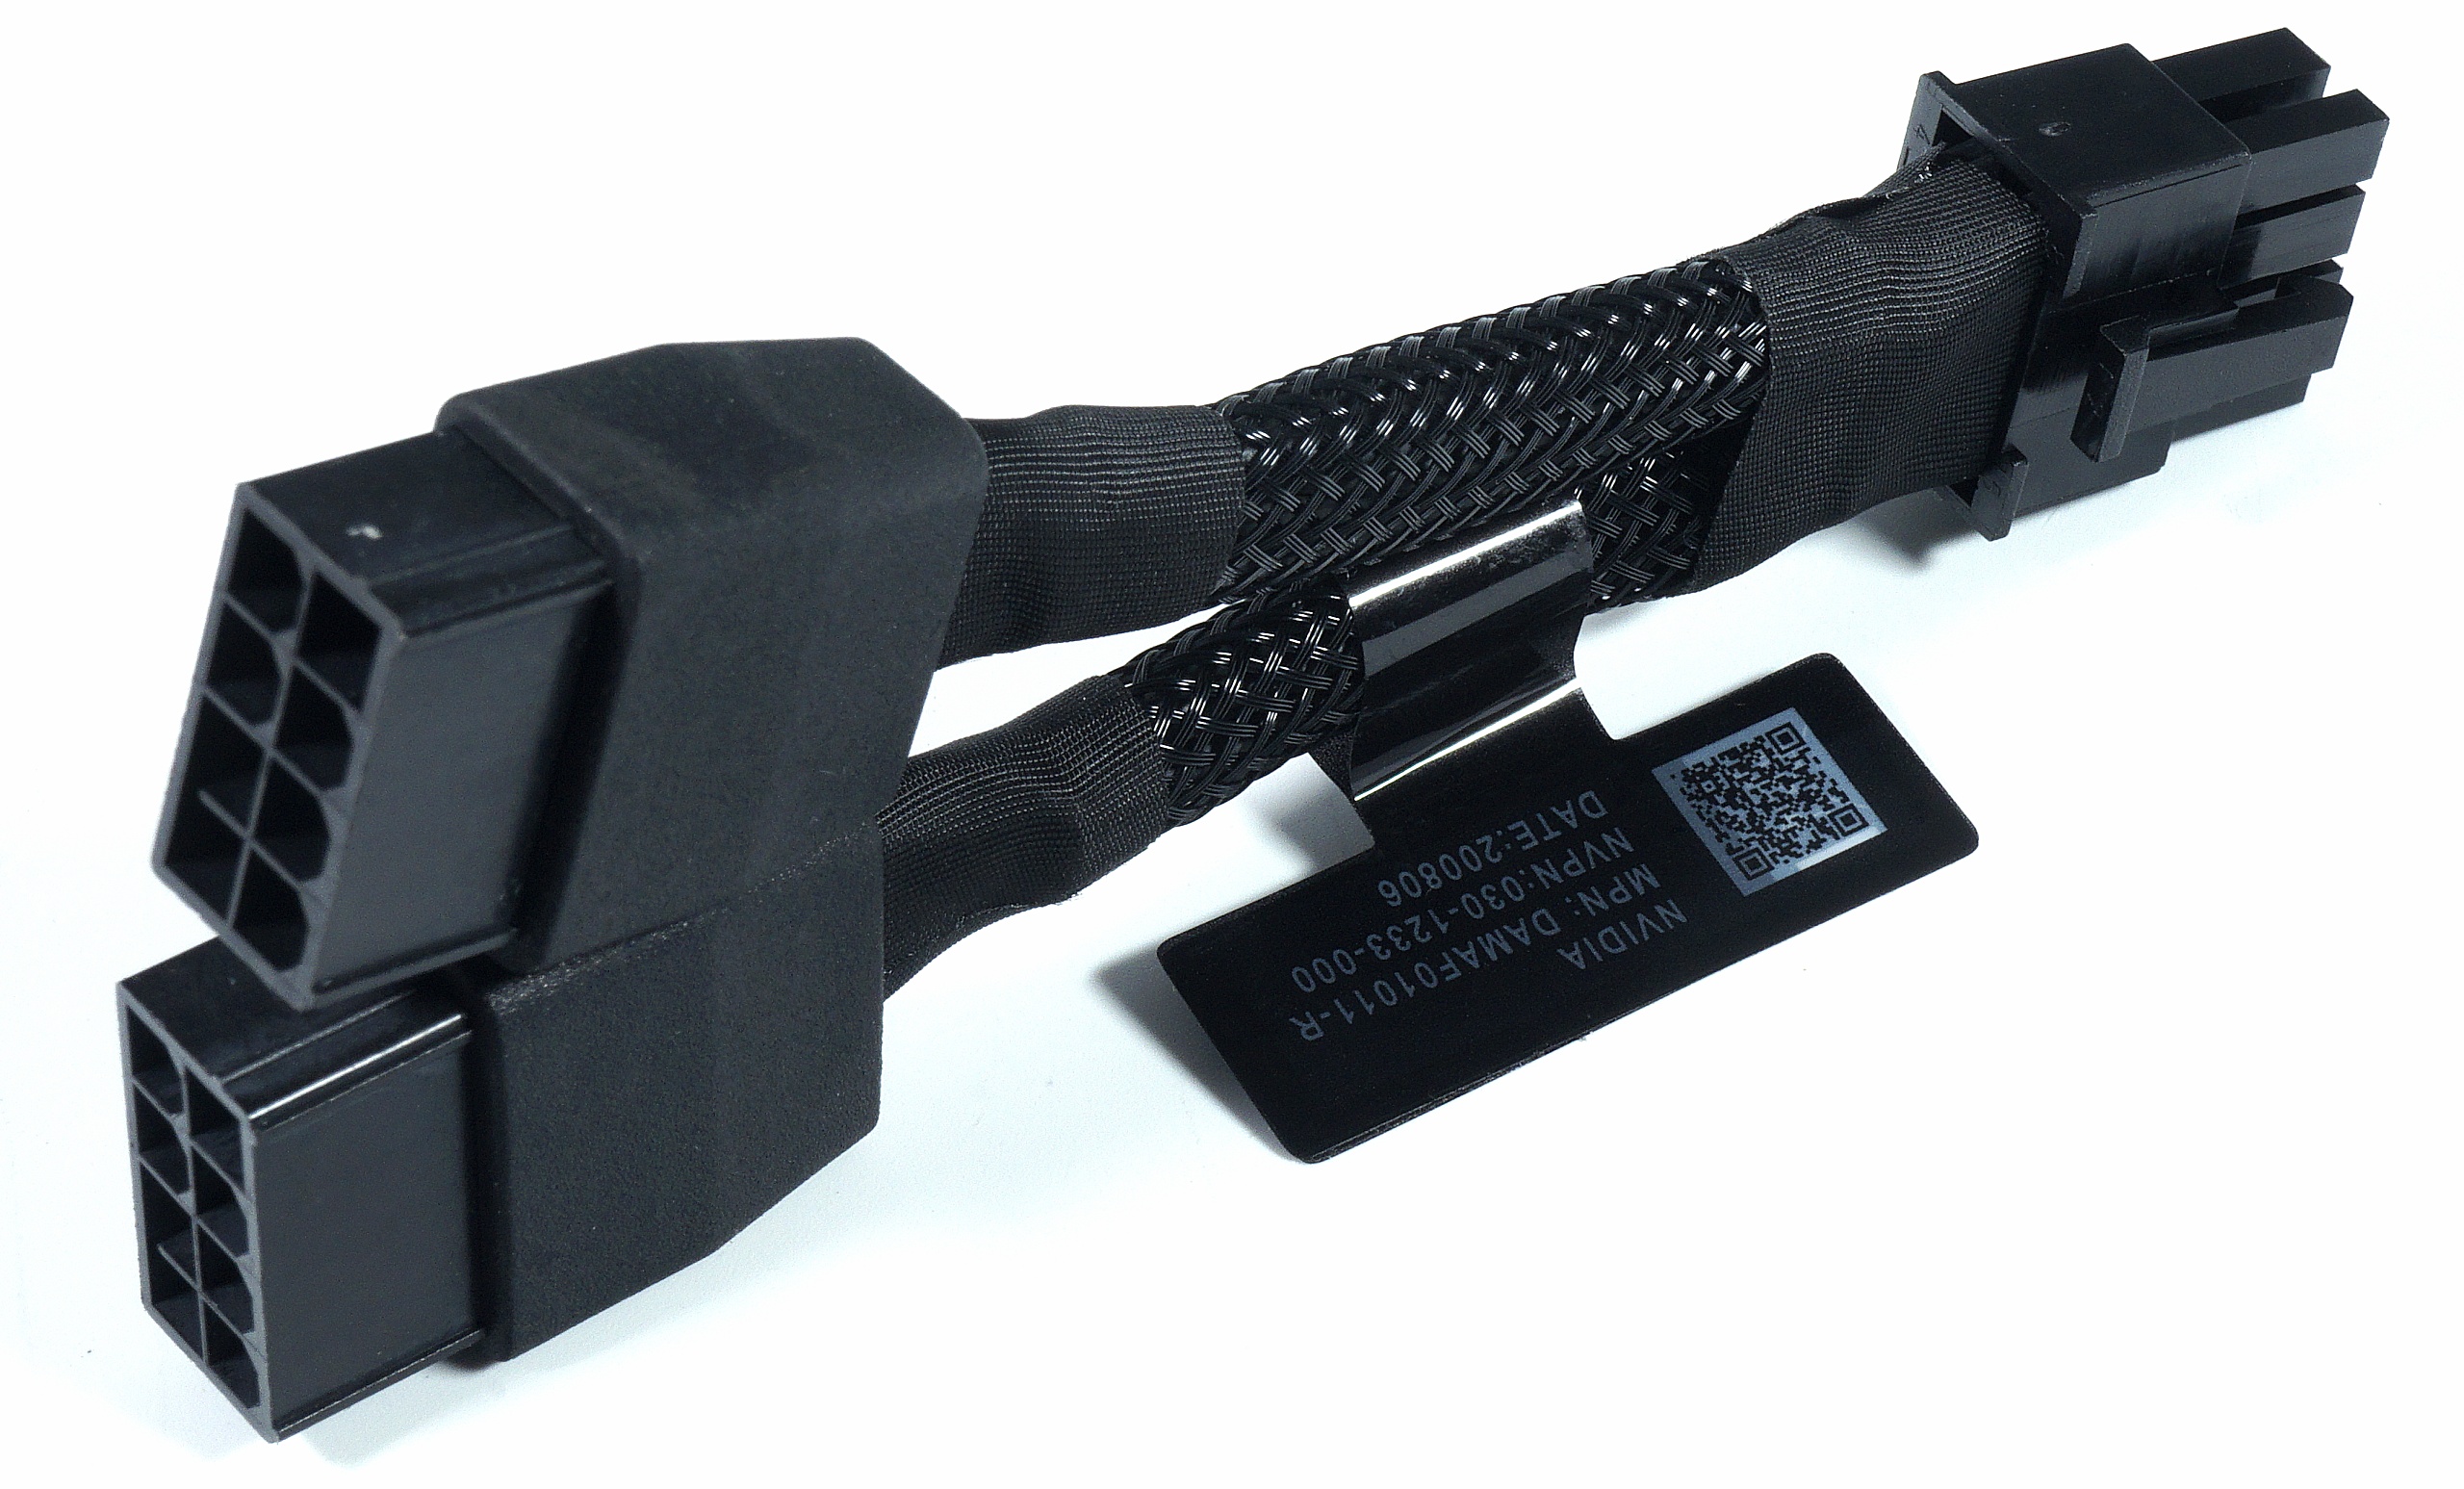
Interestingly, the card’s 8-pin EPS connector is analogous to the motherboard’s 8-pin EPS. Here you could either connect a suitable EPS cable directly or 2x 6+2-pin PCIe via the included adapter. NVIDIA has it with Ampere thus really with new ways with the connection of the power supply.
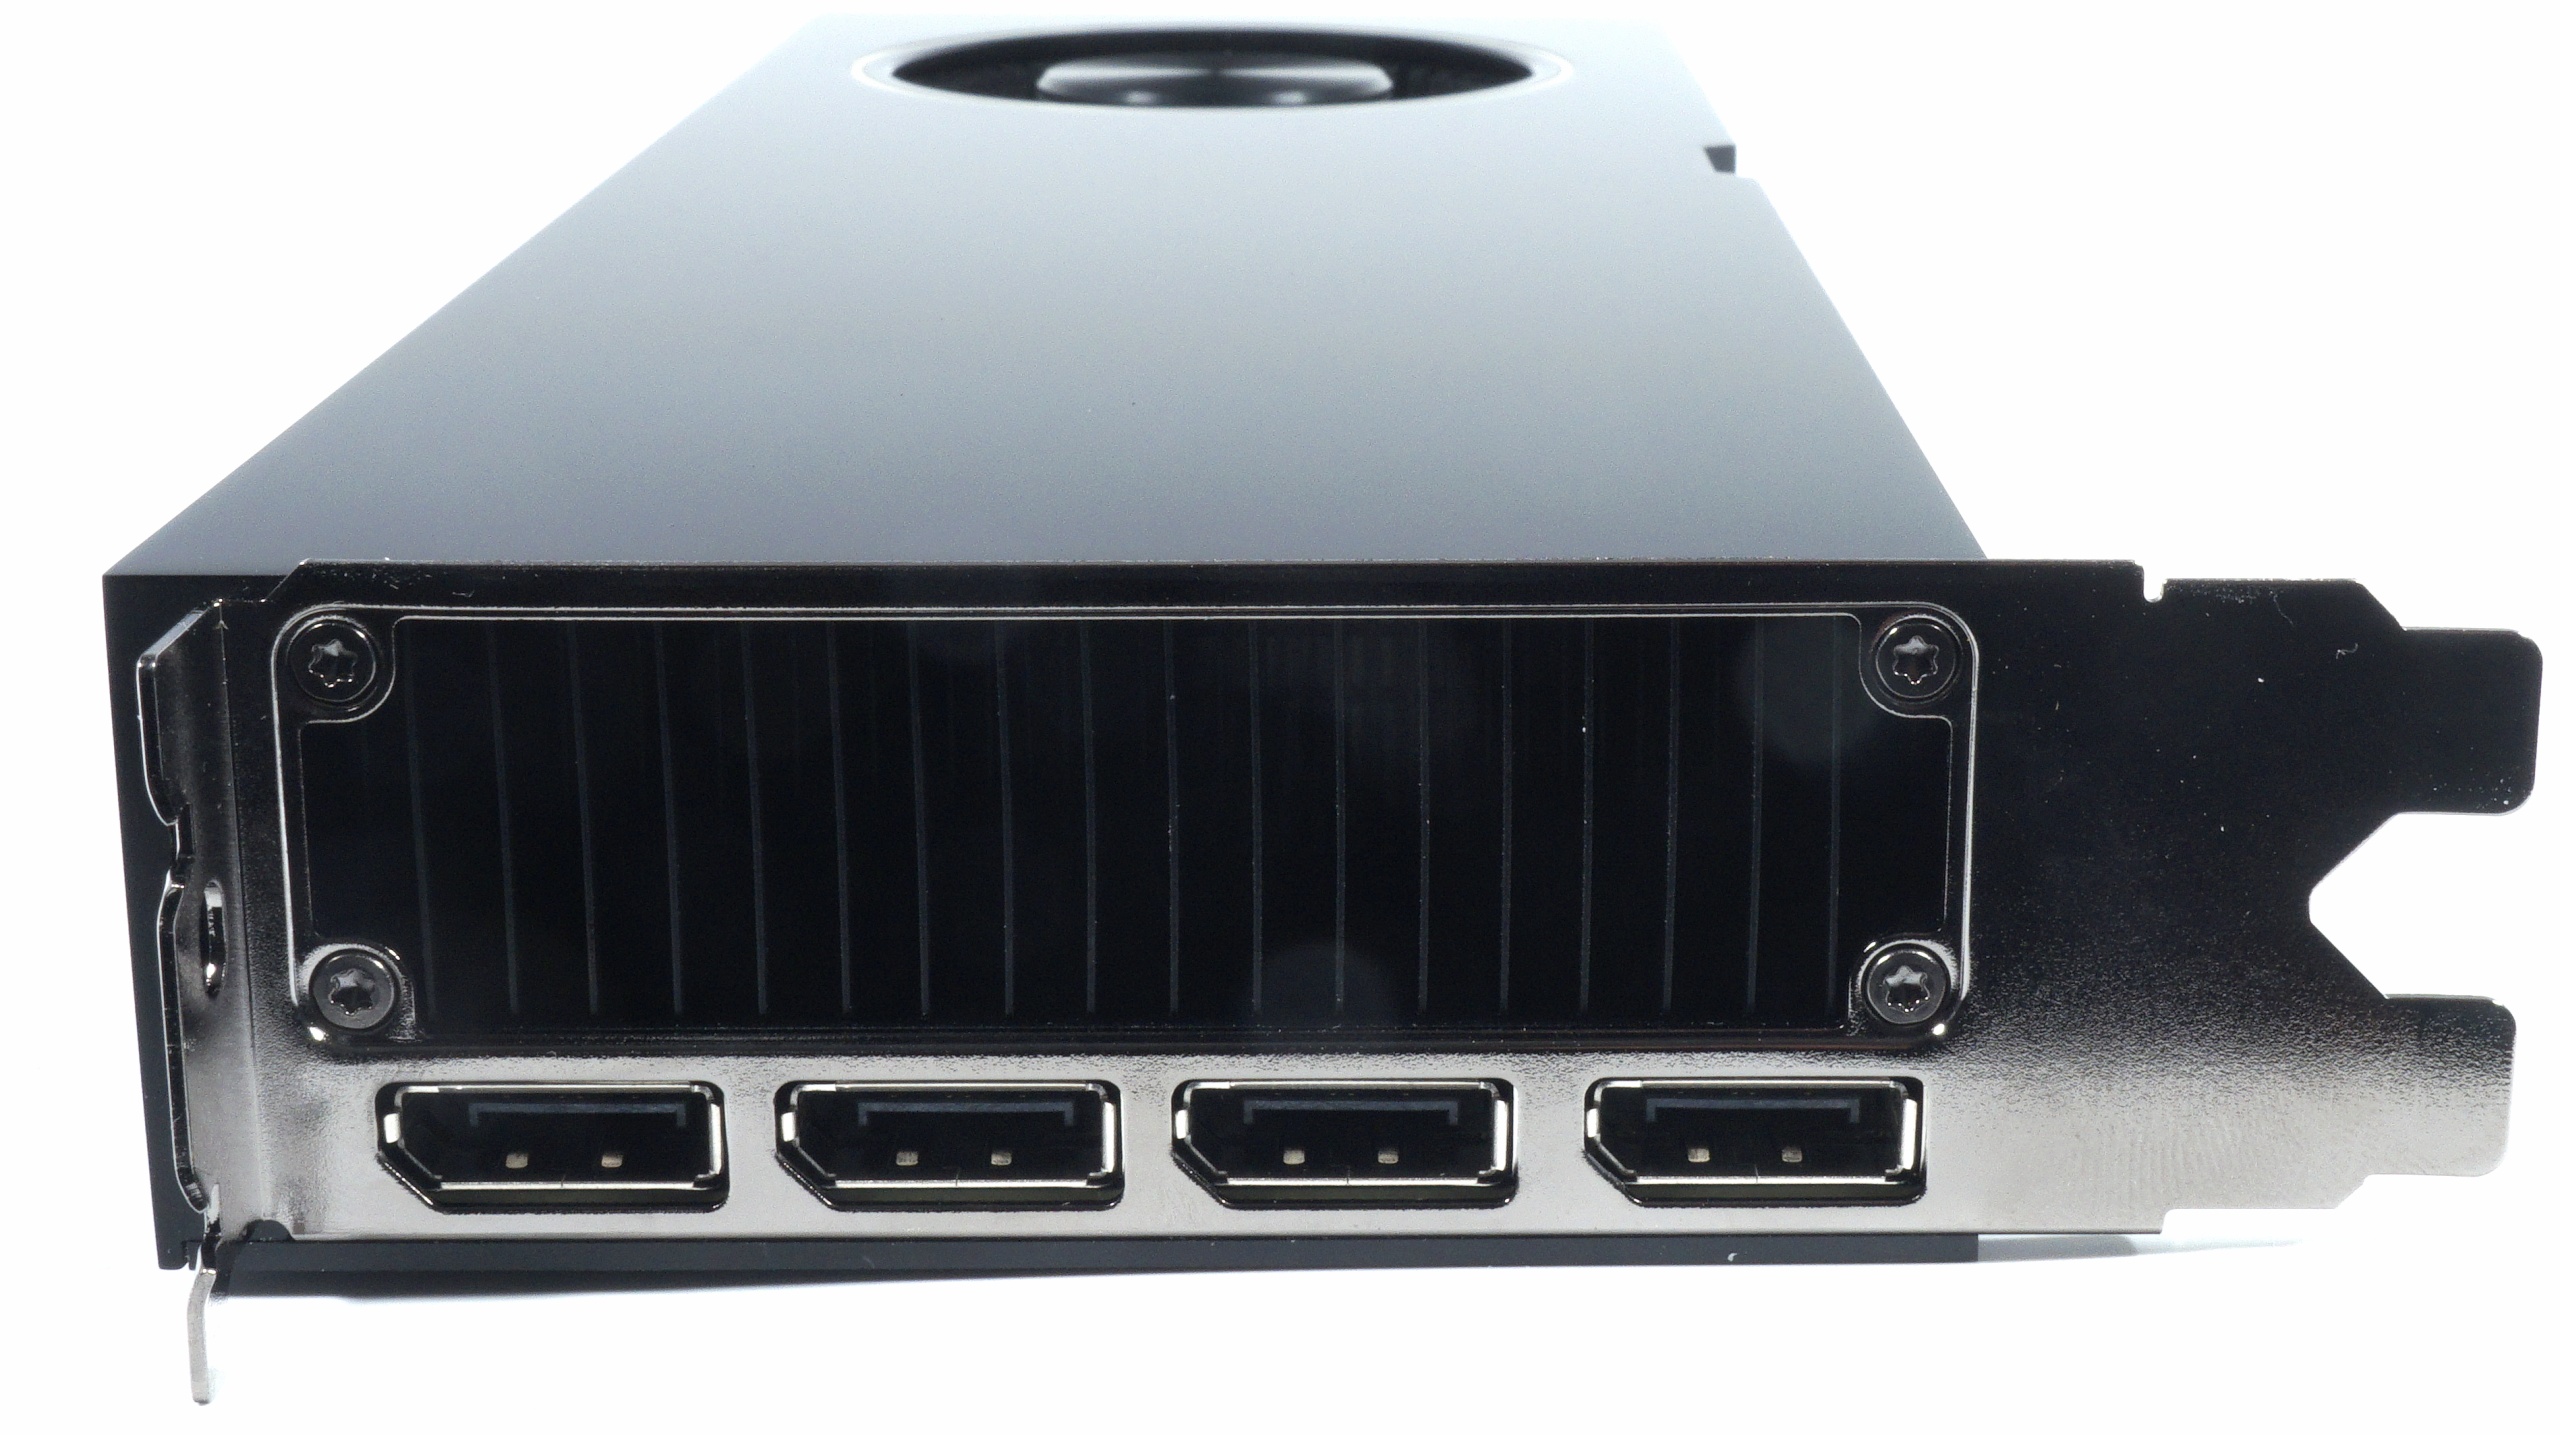
The four DisplayPort 1.4 ports deliver up to 7680 x 4320 pixels at 60 Hz and can handle a maximum of 4 displays. The rest of the slot bezel is for hot air removal and yes, it even works as a hair dryer. But more on that another time.
The data of the Quadro RTX A6000 is shown in the latest GPU-Z screenshot, the rest I already mentioned above. The 1410 MHz base and 1800 MHz boost clocks aren’t bad, and the GDDR6 memory runs at a full 2000 MHz. By the way, Resizeable BAR is also on board.
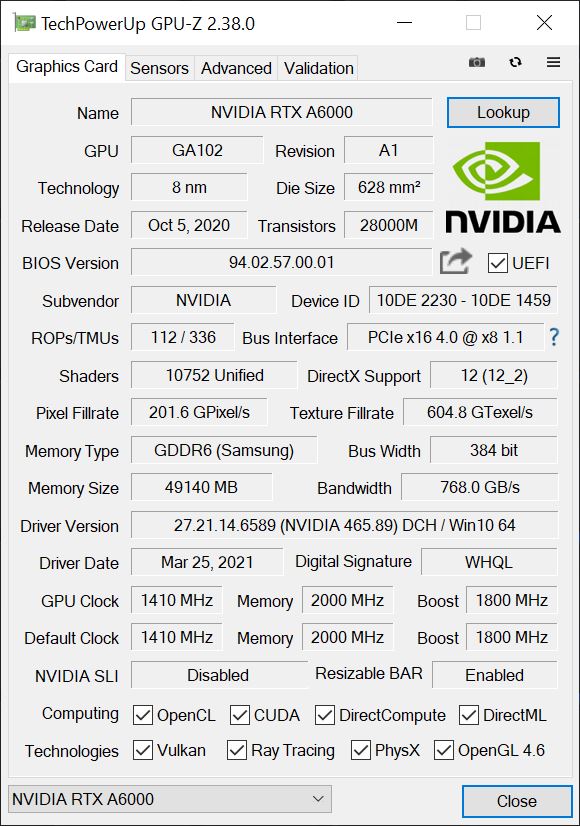
On the basis of the extract we also see that a TBP of 300 watts is deposited and also cannot be exceeded.
Again, I have a table for all statisticians among you, before it really gets going from the next page on.
| Quadro RTX A6000 |
GeForce RTX 3090 | |
|---|---|---|
| GPU | GA102 | GA102-300 |
| Process node | Samsung 8nm | Samsung 8nm |
| The Size | 628.4 mm2 | 628.4 mm2 |
| Transistors | 28 billion | 28 billion |
| CUDA Cores | 10752 | 10496 |
| TMUs/ROPs | 336 / 112 | 328/112 |
| Tensor/RT | 336 / 84 | 328 / 82 |
| Base clock |
1410 MHz | 1400 MHz |
| Boost clock |
1800 MHz | 1700 MHz |
| Memory | 48 GB GDDR6 | 24 GB GDDR6X |
| Interface | 384-bit | 384-bit |
| Throughput | 16 Gbps | 19.5 Gbps |
| Bandwidth | 768 Gbps | 936 Gbps |
| TGP | 300W | 350W |
Test system and evaluation software
The benchmark system is new and is now no longer in the lab, but back in the editorial office. I now also use PCIe 4.0, the matching X570 motherboard in the form of an MSI MEG X570 Godlike and a Ryzen 9 5950X that has been overclocked with water cooling. Add to that the matching DDR4 3800 RAM, as well as several fast NVMe SSDs. For direct logging during all games and applications I also use NVIDIA’s PCAD, which increases the comfort immensely.
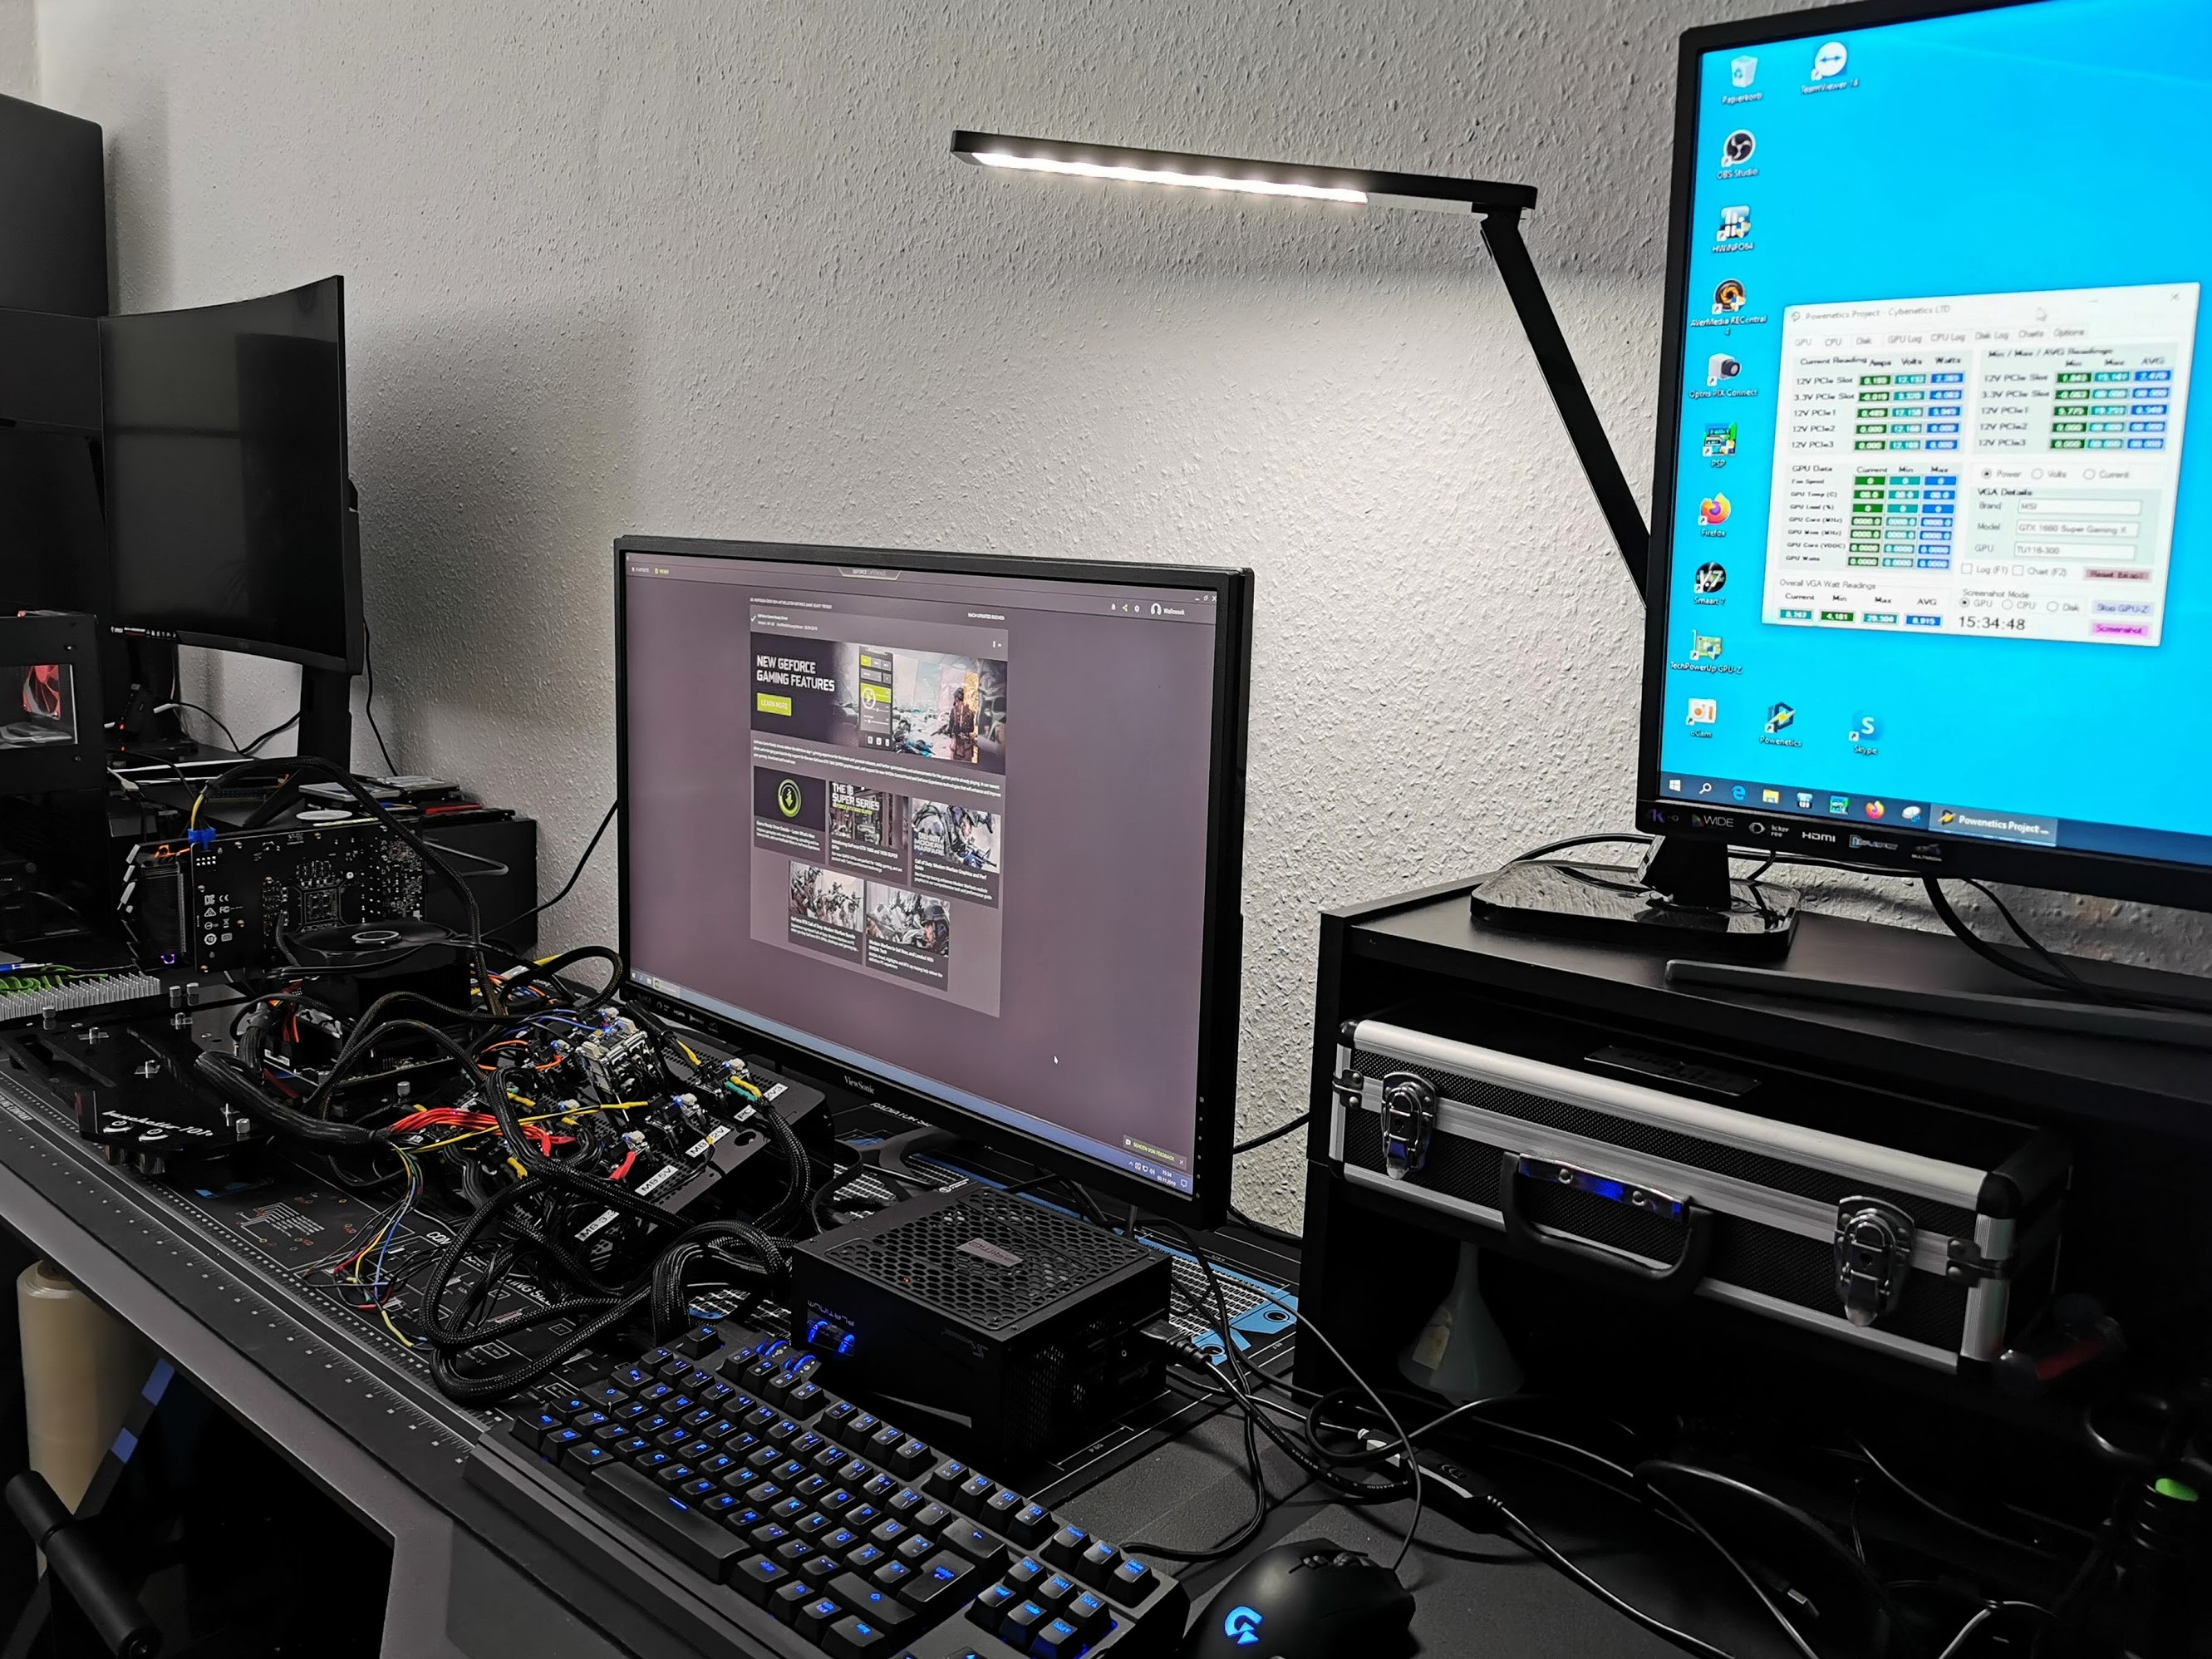
The measurement of the power consumption and other things takes place here in the special laboratory on a redundant and in detail identical test system then double-tracked by means of high-resolution oscillograph technology…
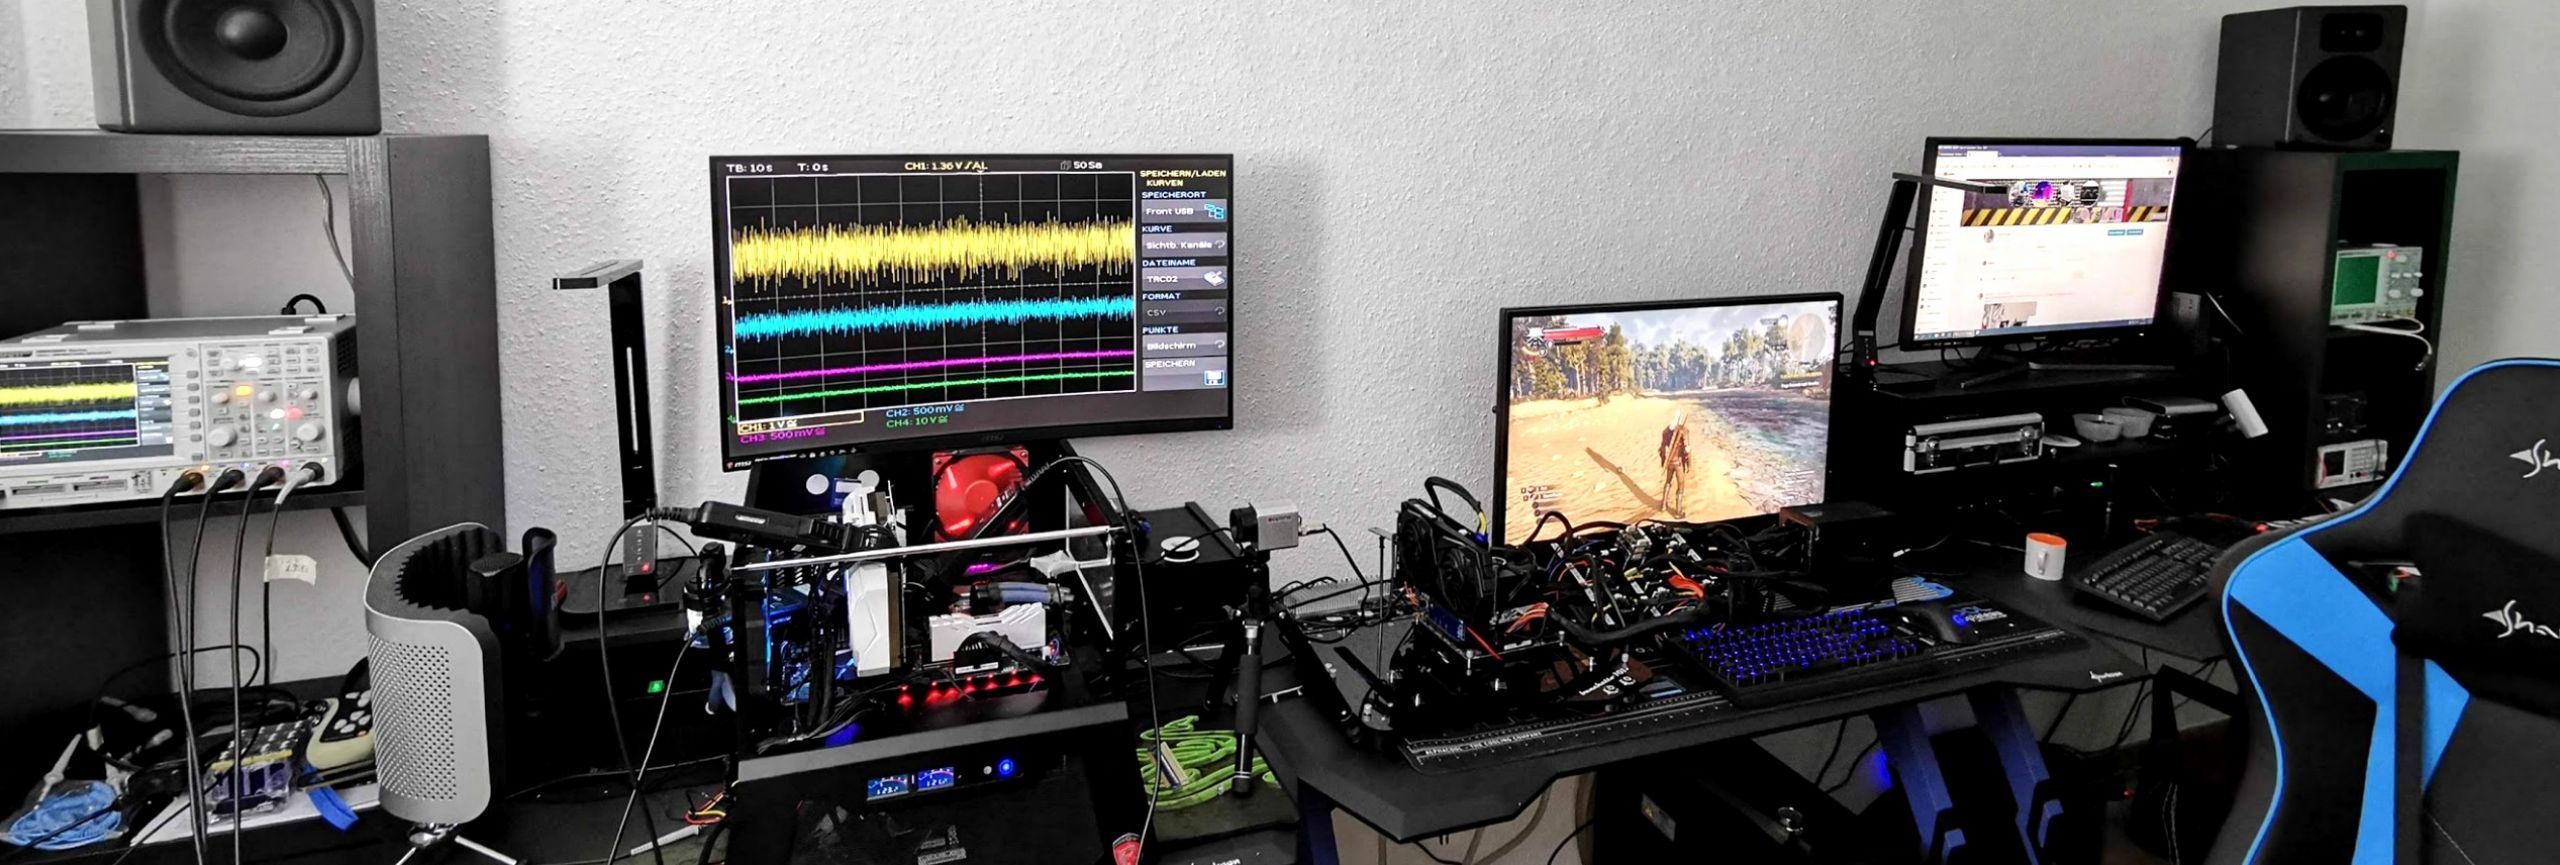
…and the self-created MCU-based measurement setup for motherboards graphics cards (pictures below), where at the end in the air-conditioned room also the thermographic infrared images are created with a high-resolution industrial camera. The audio measurements are done outside in my chamber.

I have also summarized the individual components of the test system in a table:
| Test System and Equipment |
|
|---|---|
| Hardware: |
AMD Ryzen 9 5950X MSI MEG X570 Godlike 2x 16 GB Corsair Vengeance Pro RGB DDR4 4000 @DDR4 3800 1x 2 TByte Aorus (NVMe System SSD, PCIe Gen. 4) 1x 500 GB Toshiba RC500 1x Seagate FastSSD Portable USB-C Be Quiet! Dark Power Pro 12 1200 Watt |
| Cooling: |
Alphacool Ice Block XPX Pro Alphacool Ice Wolf (modified) Alphacool Subzero |
| Case: |
Raijintek Paean |
| Monitor: | BenQ PD3220U |
| Power Consumption: |
Oscilloscope-based system: Non-contact direct current measurement on PCIe slot (riser card) Non-contact direct current measurement at the external PCIe power supply Direct voltage measurement at the respective connectors and at the power supply unit 2x Rohde & Schwarz HMO 3054, 500 MHz multichannel oscilloscope with memory function 4x Rohde & Schwarz HZO50, current clamp adapter (1 mA to 30 A, 100 KHz, DC) 4x Rohde & Schwarz HZ355, probe (10:1, 500 MHz) 1x Rohde & Schwarz HMC 8012, HiRes digital multimeter with memory function) MCU-based shunt measuring (own build, Powenetics software) Up to 10 channels (max. 100 values per second) Special riser card with shunts for the PCIe x16 slot (PEG) NVIDIA PCAT and FrameView 1.1 |
| Thermal Imager: |
1x Optris PI640 + 2x Xi400 Thermal Imagers Pix Connect Software Type K Class 1 thermal sensors (up to 4 channels) |
| Acoustics: |
NTI Audio M2211 (with calibration file) Steinberg UR12 (with phantom power for the microphones) Creative X7, Smaart v.7 Own anechoic chamber, 3.5 x 1.8 x 2.2 m (LxDxH) Axial measurements, perpendicular to the centre of the sound source(s), measuring distance 50 cm Noise emission in dBA (slow) as RTA measurement Frequency spectrum as graphic |
| OS: | Windows 10 Pro (2004, all updates, current certified drivers) |


32 Antworten
Kommentar
Lade neue Kommentare
Veteran
Urgestein
Urgestein
Veteran
1
Veteran
Mitglied
Veteran
Urgestein
Urgestein
Urgestein
Mitglied
Urgestein
Veteran
Veteran
Mitglied
Urgestein
Alle Kommentare lesen unter igor´sLAB Community →