


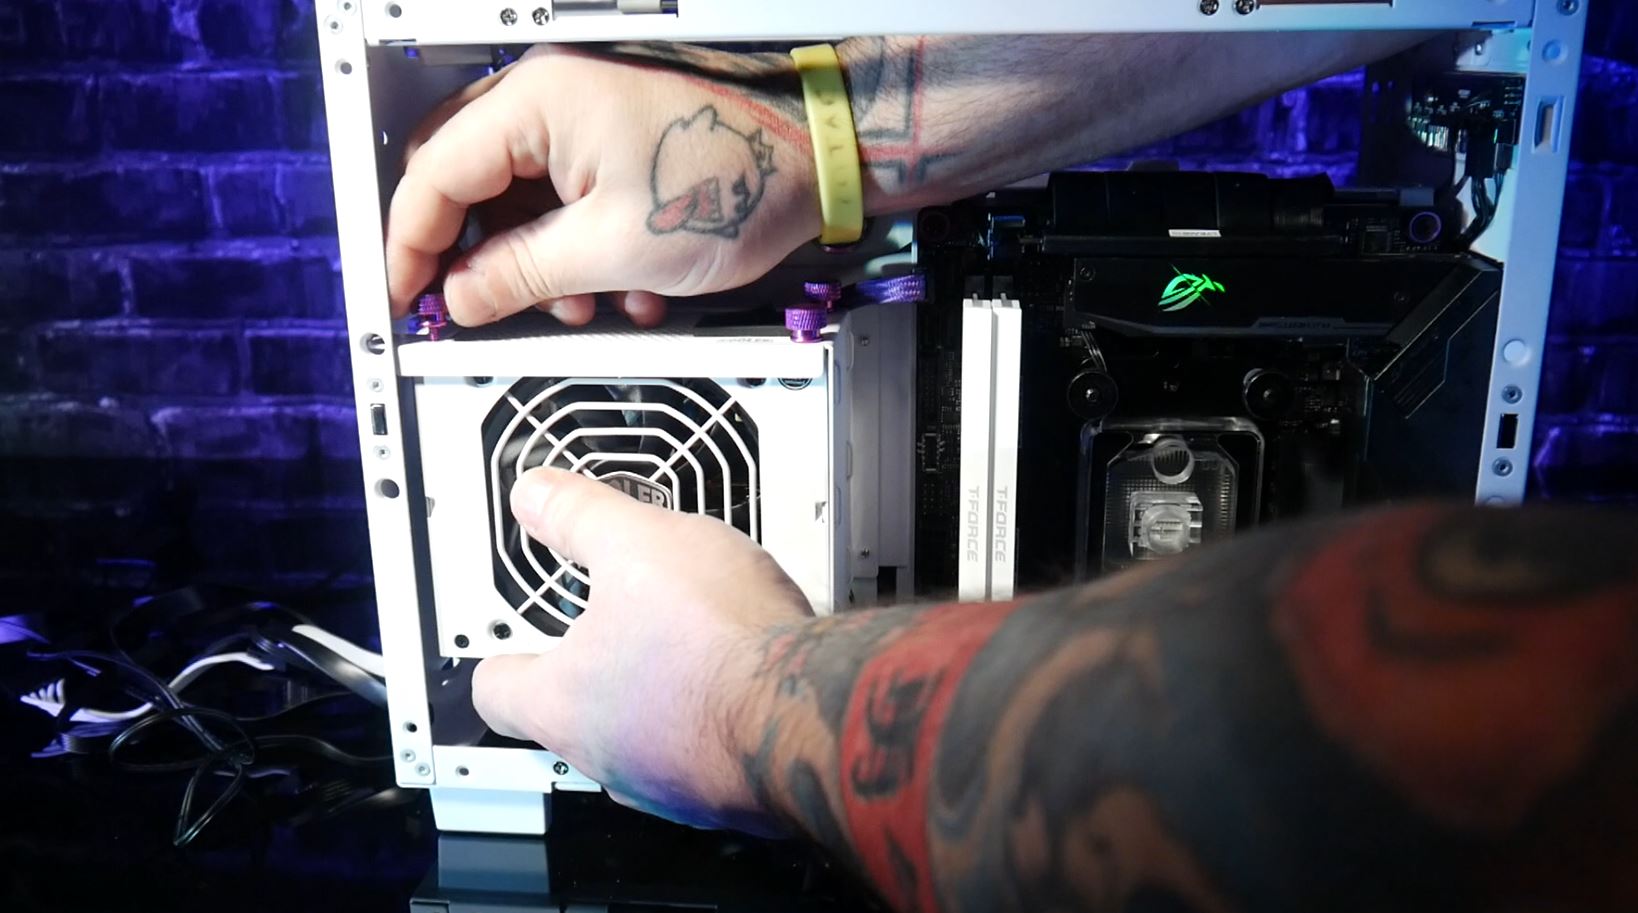
Next would be the power supply, which can be installed intuitively. Again, I used anodized purple thumbscrews. To connect all the cables, I opened the bottom panel, which was a real asset at this point, because the Cablemod cables I used are not as flexible as the originals included with power supplies due to their sleeves. But these original cables are not so nice either, that has to be said at this point. If you want to be beautiful, you have to bend. Or like this.
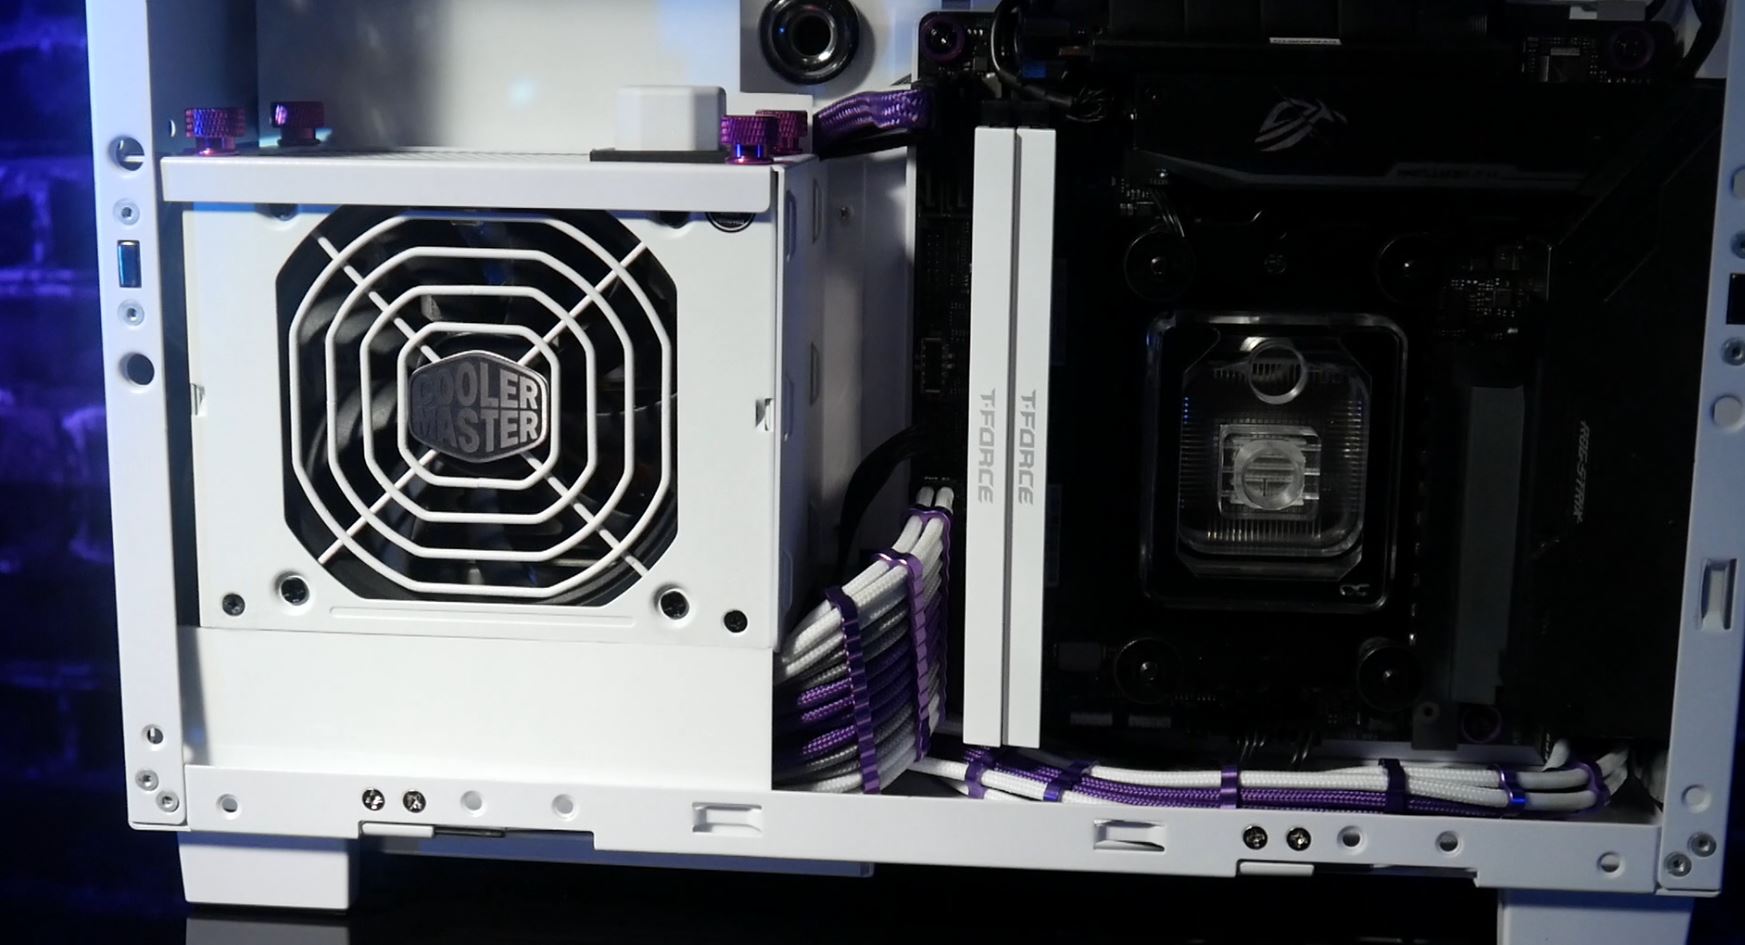
After connecting everything, I noticed that there was a 3 cm wide gap or tunnel between the power supply bay and the back panel where the excess cables could be hidden. Lian Li has probably also thought about cable management here and solved it well. To hide all the cable clutter, I also built a cover here with the tinker PVC. I then clamped this between the power supply and the base and it can also be easily removed as needed.
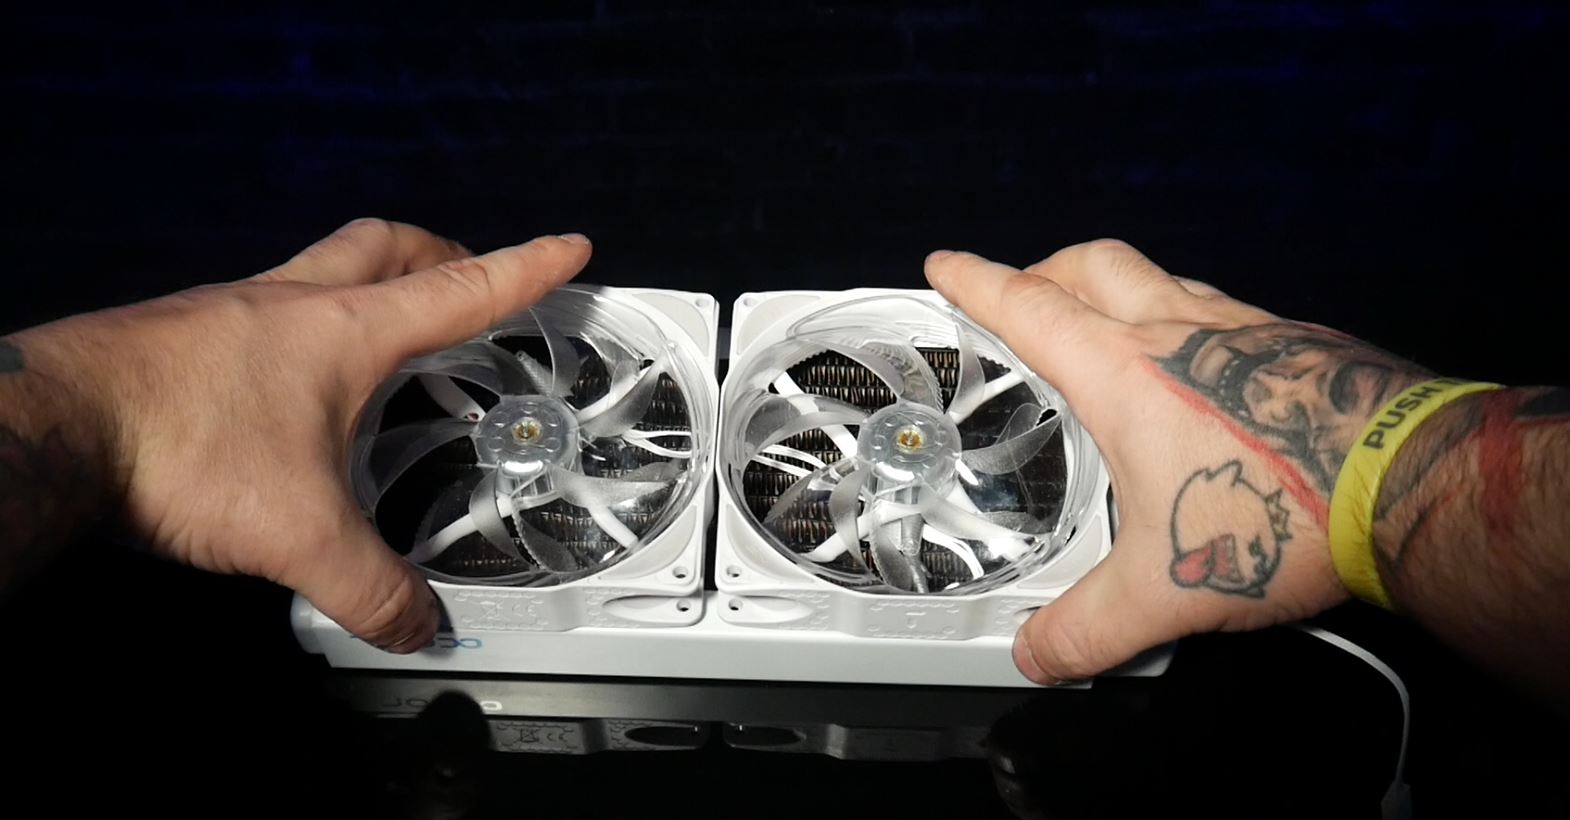
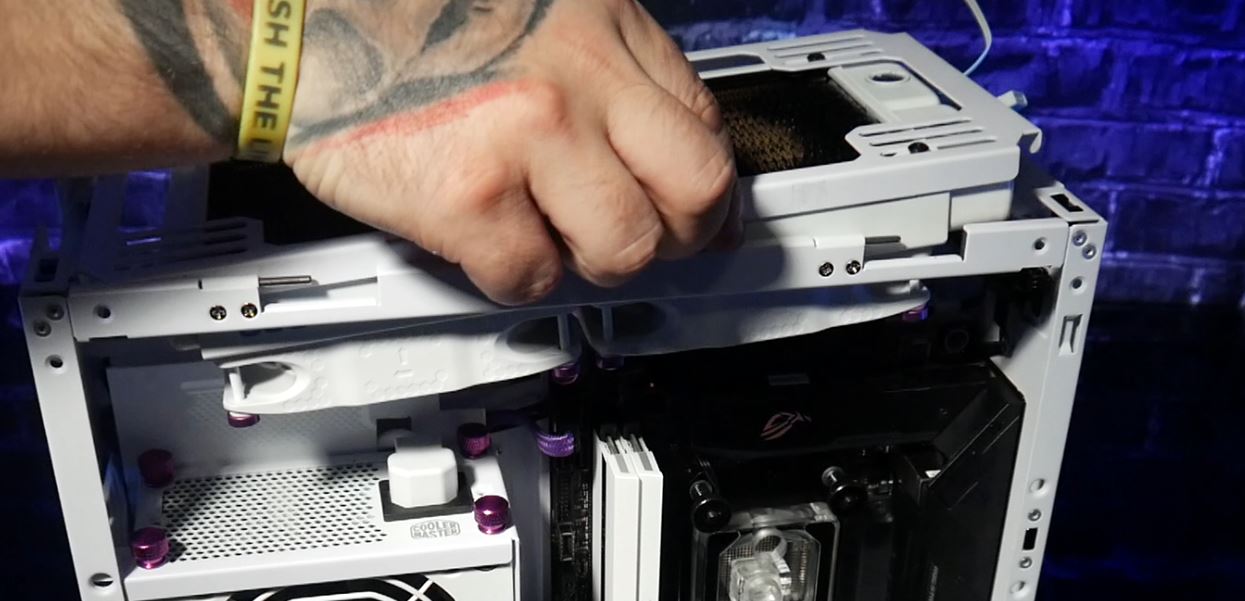
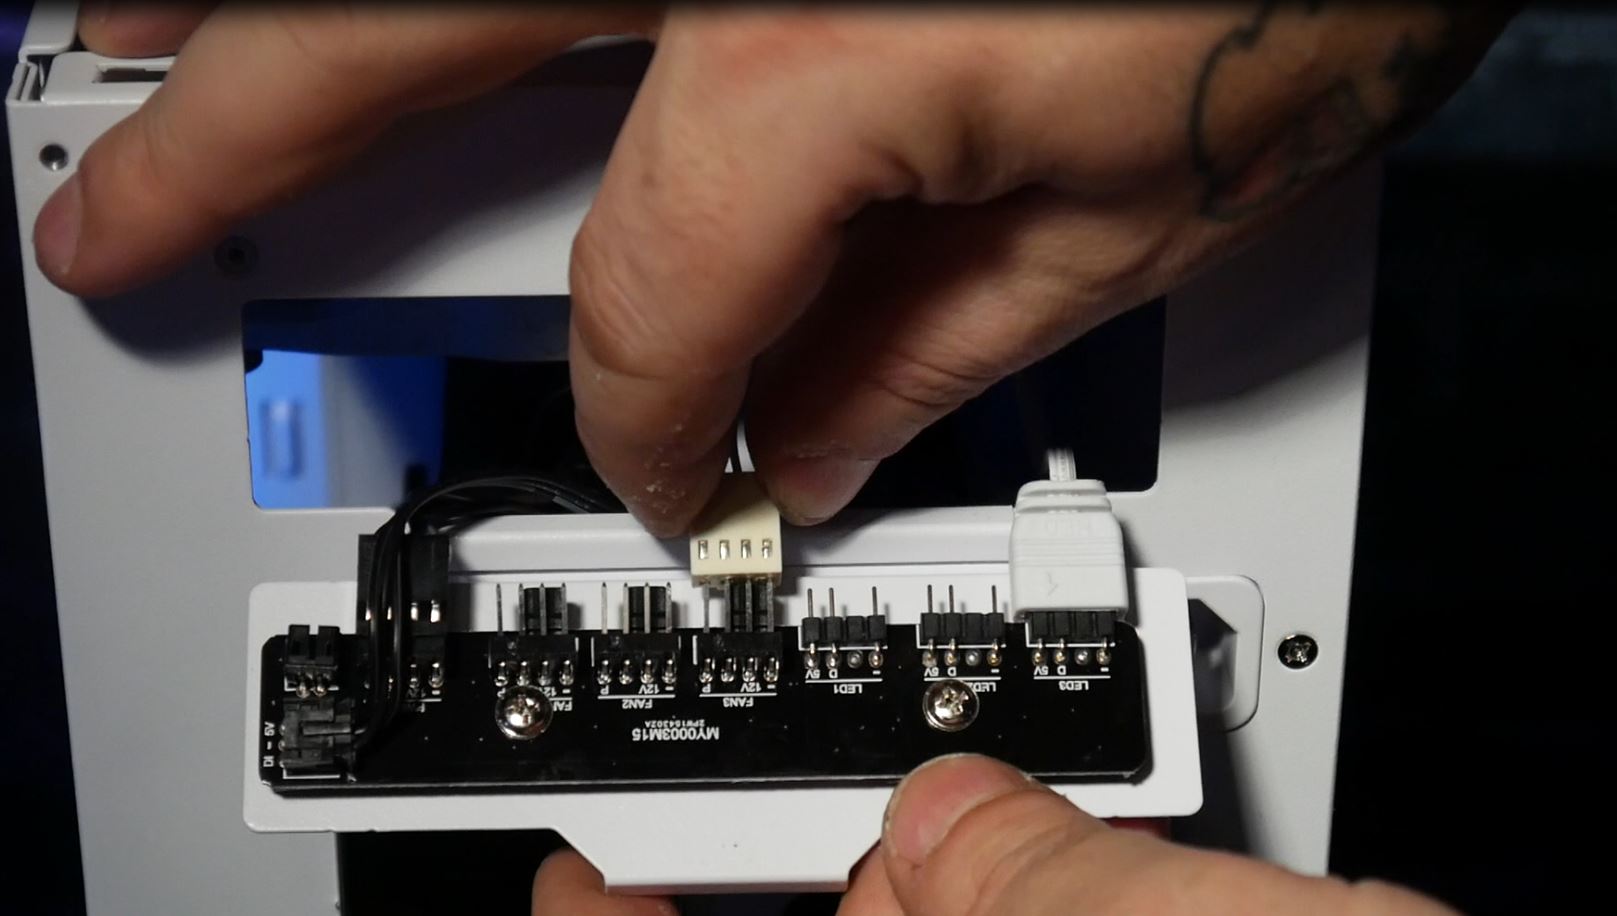
Now let’s move on to the cooling. For this, I chose the Alphacool NexXxoS 240 radiator and installed it in combination with Noisblocker eLoop from our tests. But I modified them a bit, i.e. I cascaded them so that I only needed two connectors for ARGB and PWM in the end and thus could realize a clean cable management. I then screwed the radiator together with the mounted fans to the top bracket, then installed it in the case and connected it to the fan/ARGB hub right away. Child’s play.
Finally, we come to tubing. This turned out to be quite easy, at least at first and only until we came to the place of the cold device connection. Because tubing was not possible here, because there was simply no more space for the fittings and the bending radius was too tight. At least with this block to cleanly connect the loop here. Well, and now? After long attempts, it finally worked. And it does so with a combination of angles, extensions and the star of the connectors: a so-called Snake connector. This has several turning, öglichkeiten and thus I could connect the radiator with the graphics card in the end but successfully. Whew!

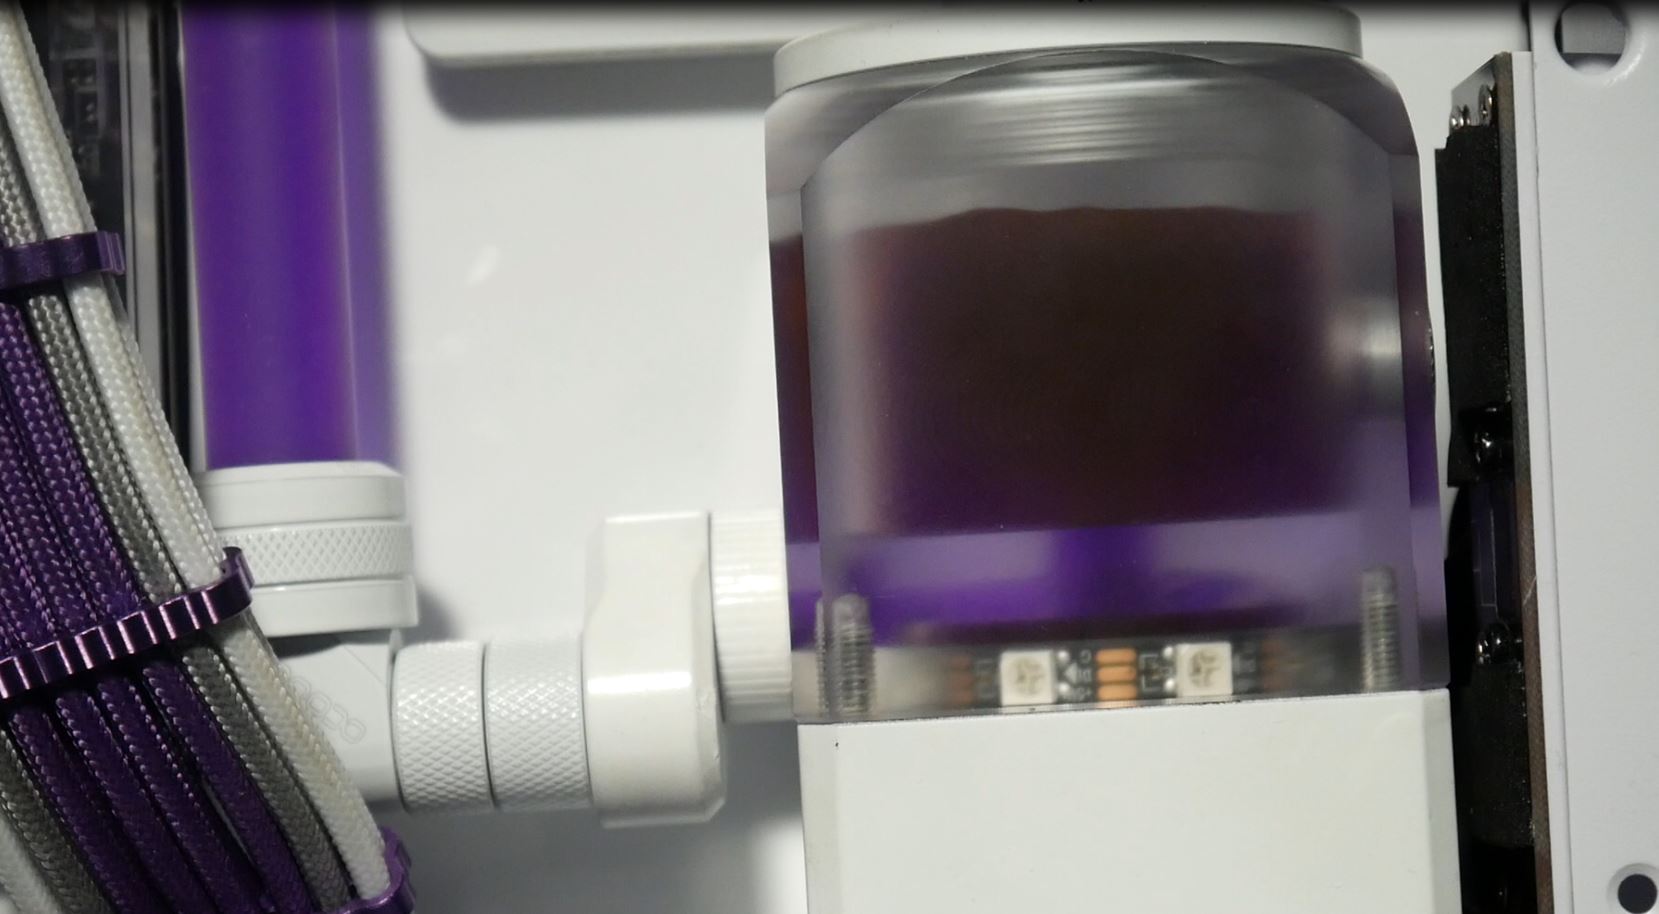
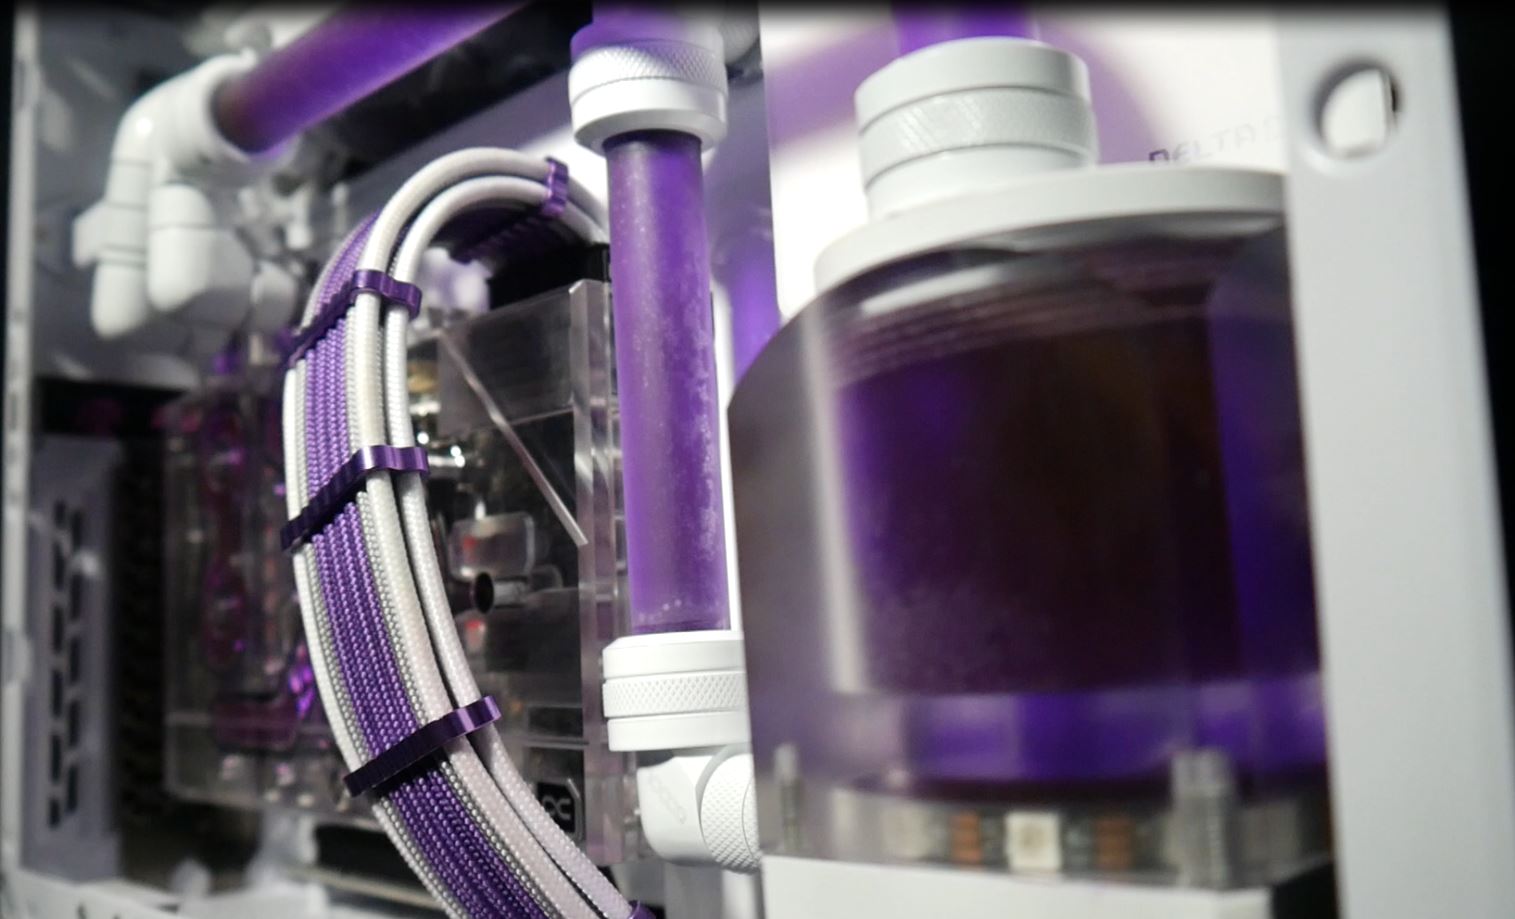
After that, it was just a matter of filling the loop. For this, I used a mix of the Corsair Hydro X Violet and EK Violet Indigo, because the goal was to get as close as possible to the violet of the cables. Well, normally you don’t mix unknown liquids, but I had tested it before – it definitely works in this particular case. Of course, this also results in an important warning!
Not all liquids can be mixed just like that. To ensure that the pigments do not separate and there are no clumps, I recommend mixing the liquids in a jar in advance and letting them stand for at least 1 week. This prevents unpleasant surprises and unnecessary disassembly of the loop for time-consuming cleaning. I would also like to share my personal experience here, because transparent liquids can usually be mixed with other transparent liquids (as long as the rest of the chemistry is right). But in any case, you should not mix pastel shades and especially those from different manufacturers. At worst, it damages our water cooling system by clumping or oxidation as chemicals can react unintentionally
If you have remembered this hint well, then nothing stands in the way of starting the system.


23 Antworten
Kommentar
Lade neue Kommentare
Moderator
Mitglied
Urgestein
Veteran
Urgestein
Mitglied
Urgestein
Urgestein
Mitglied
Urgestein
Mitglied
Urgestein
Urgestein
Mitglied
Urgestein
Urgestein
Mitglied
Urgestein
Urgestein
Alle Kommentare lesen unter igor´sLAB Community →