


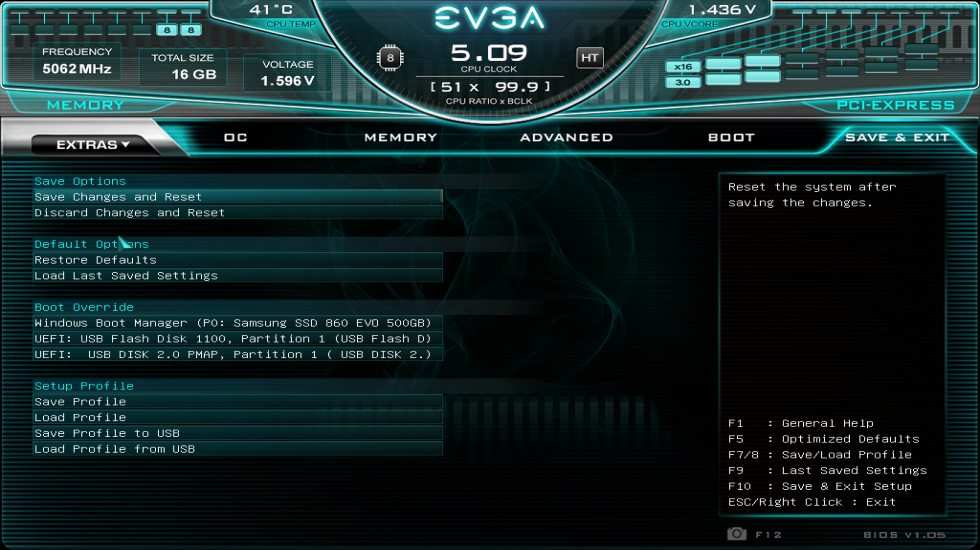
Let’s now take a look at the BIOS, whose usability is probably at least as important as the hardware it controls. First of all, the following screenshots and tests refer to BIOS version 1.05, which I strongly recommend. Older versions had various compatibility issues and teething problems, but EVGA has been able to fix most of them already.
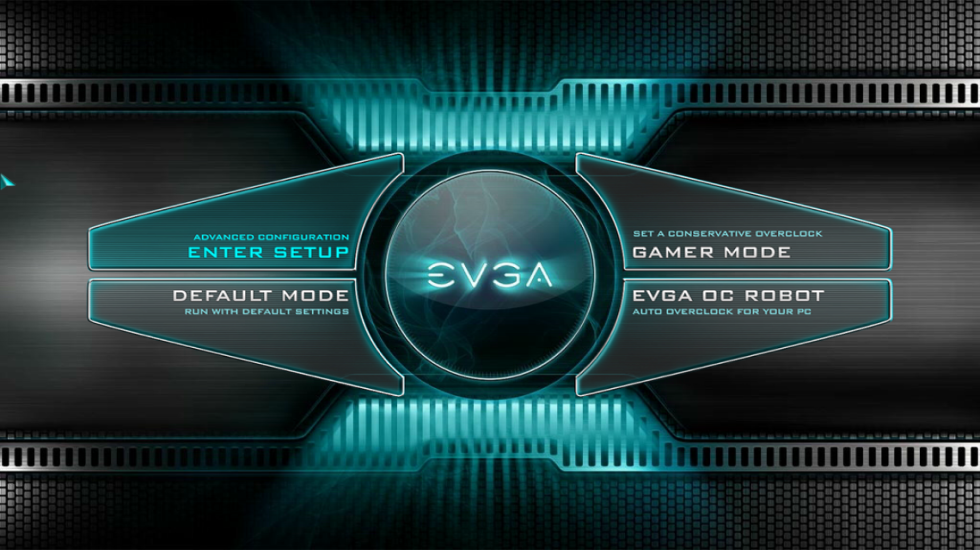
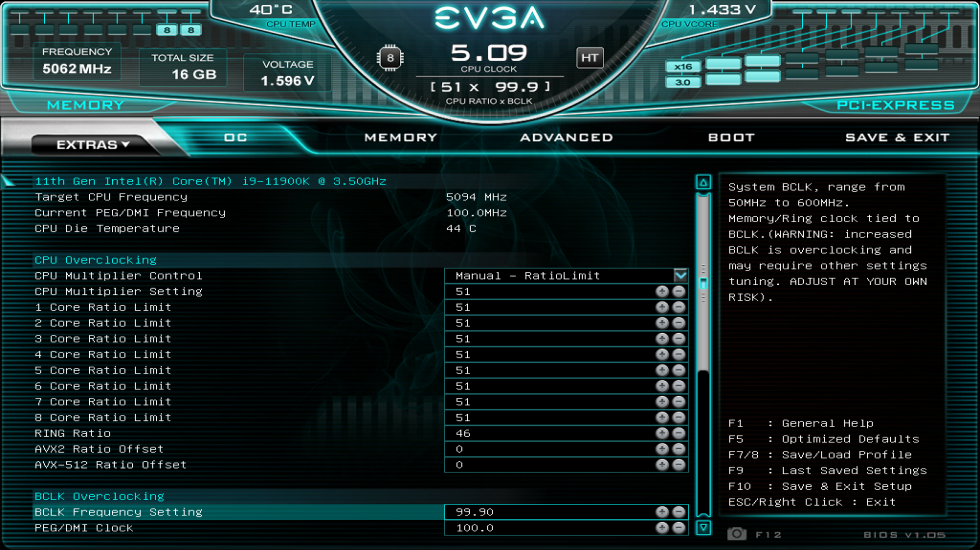
If you’ve ever used an EVGA BIOS before, you’ll feel right at home here too. After the splash screen and a click on “Enter Setup” we get into the BIOS and have an overview of the installed RAM with its capacity, clock rate and voltage in the upper third on the left. In the middle you can find information about the CPU like the current temperature, voltage, active cores, active hyperthreading and the clock rate consisting of base clock and multiplier. On the right we can see schematically which PCIe lanes are connected, like in this case with a GPU via 3.0 x16.
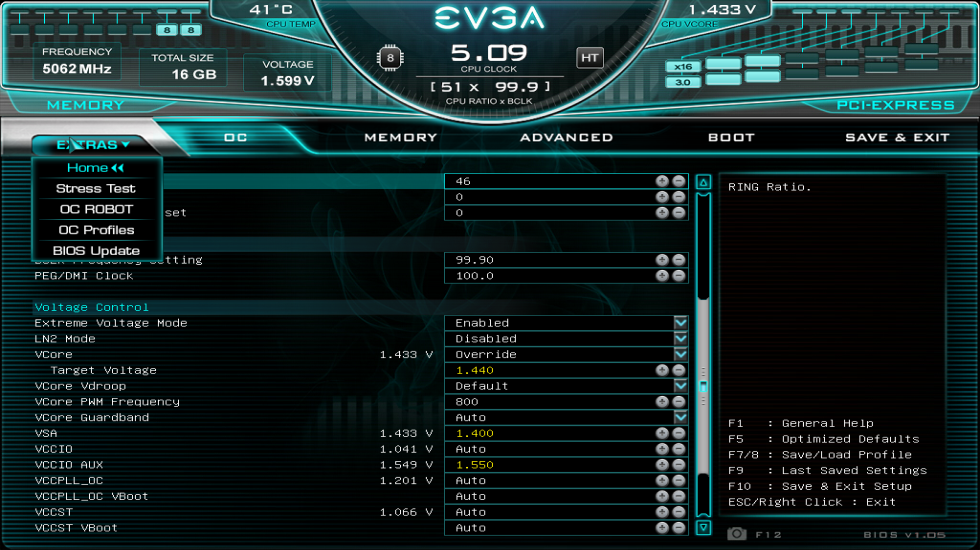
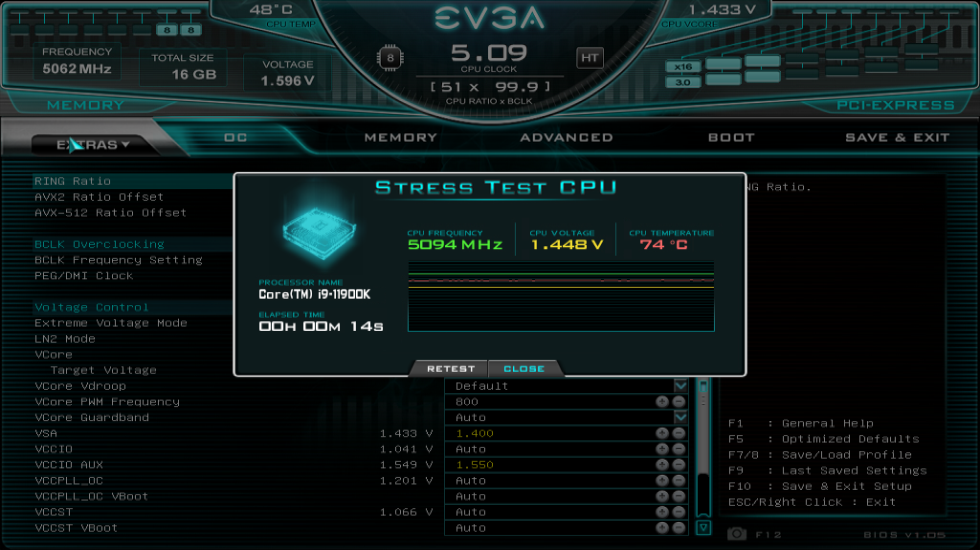

Beside the BIOS update function, predefined profiles and the “OC ROBOT” for automatic overclocking of the CPU, the “Extras” Menu also includes a stress test for the CPU. Here, an AVX load is applied to the CPU to test stability under full load. However, full load is not always the same as full load, depending on which instructions are used, and thus the integrated stress test is more similar to Cinebench R20 in voltage drop and temperature than real stress tests like Prime95 or LinpackXtreme.
So to ensure the stability in all imaginable usecases, this BIOS test is not really useful, but at least as a rough check of the BIOS settings, the function can certainly be of help. The OC profiles are predefined overclocking settings for CPU and RAM from the overclockers K|ngp|n and Luumi, based on Samsung 8 Gbit B-Die memory. Since the silicon lottery can of course not be taken into account by these profiles, they should rather be used as a reference point for your own tuning.
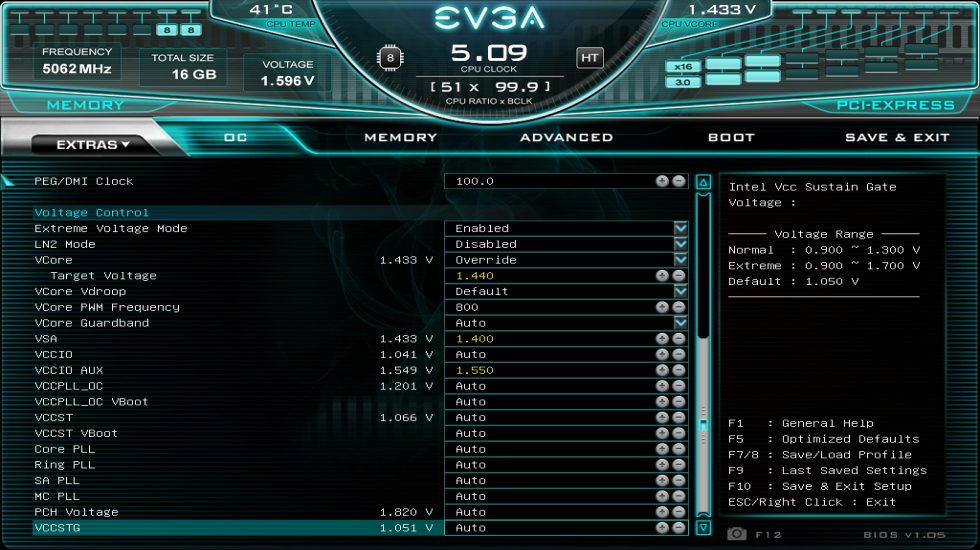
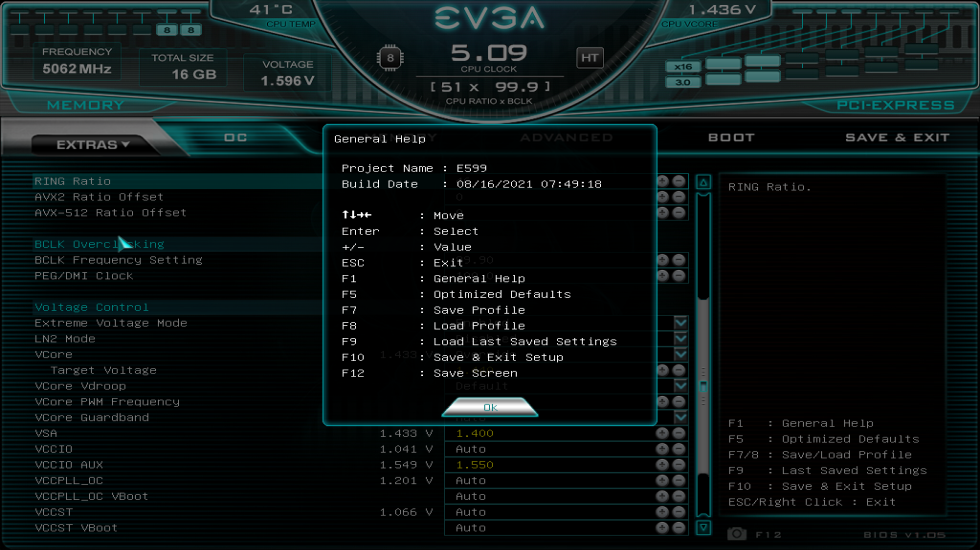
As expected, all settings for overclocking the CPU and cache can be found in the “OC” tab. Special features to note here are: The base clock of the CPU can only be set in 0.1 MHz steps, while 0.05 MHz steps are possible on many competing products. Especially for benchmarking in the border area this could turn out to be an annoying obstacle, but more about that later.
Furthermore, the voltage is limited to a “normal” range by default, e.g. 1.5 V Vcore or 1.55 V for VSA and VCCIO Aux. If you want to apply more voltage, you first have to activate the “Extreme Voltage Mode”, which then opens up the limits. It is commendable that EVGA has included this protection feature against accidental input errors. However, as we will see in a moment, this may still hide a pitfall for overclocking.
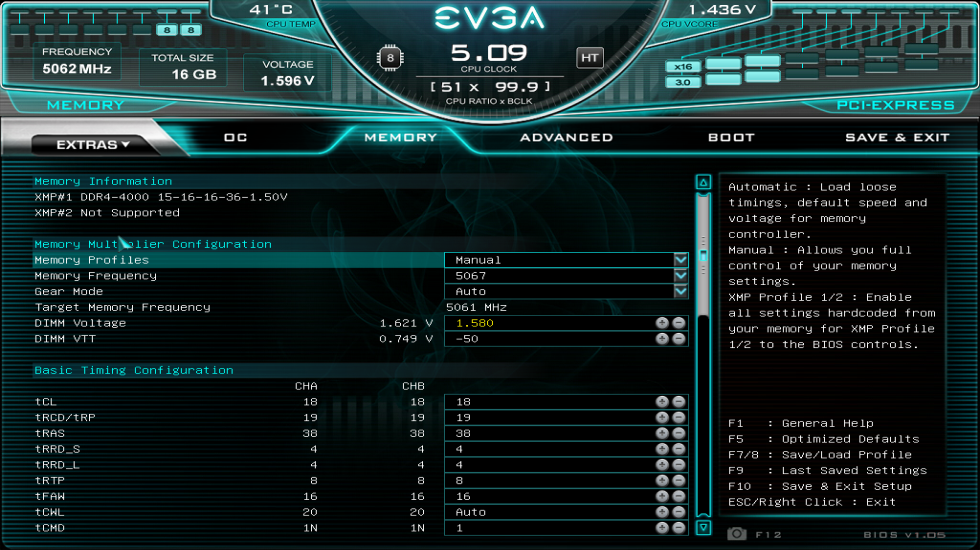
In the “Memory” tab you can find – who would have thought it – all settings for the working memory. The VTT voltage cannot be set absolutely, but only as an offset to half of the RAM voltage, but the timings are sensibly and clearly grouped. Another special feature worth mentioning is tREFI, which can only be set to 65000 and not to the 65535 actually allowed by the platform. Again, this isn’t a deal breaker, has minimal if any performance impact, and can be worked around with software from within the operating system, but it’s still a bit weird.
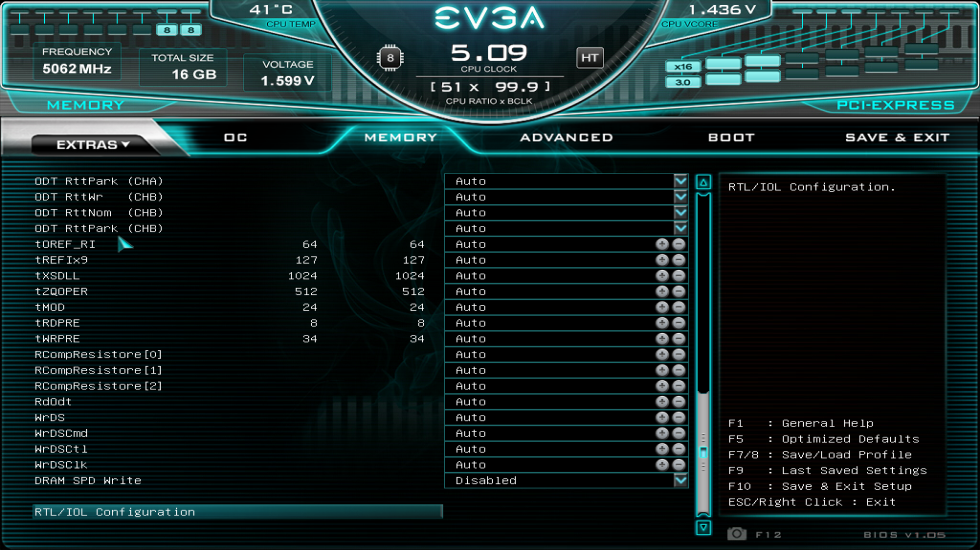
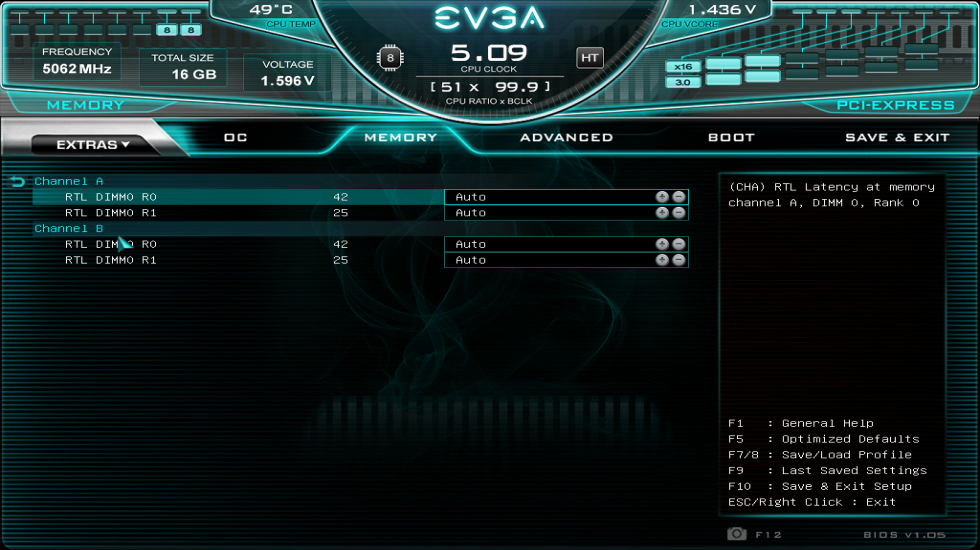
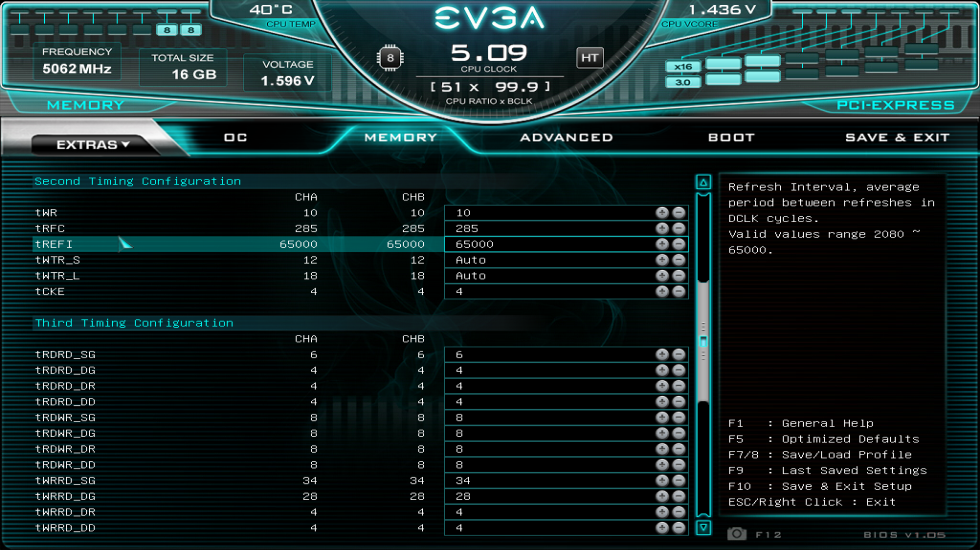
Termination values and other rarely needed settings are also listed in the same menu if you scroll all the way down. Only the RTL/IOL configuration has its own sub-menu, probably because there are differences between Comet Lake and Rocket Lake CPUs and the BIOS having to display different options accordingly. The RTL settings work as you would expect, but are already set to a near optimal value with Auto. Even in the Gear 1 you get very low latencies without having to activate special options like on other motherboards.
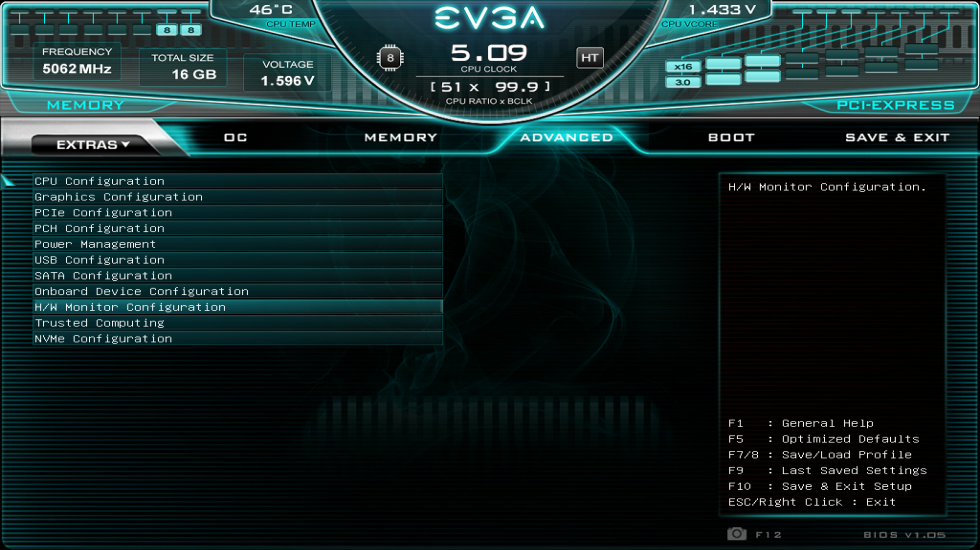

In the “Advanced” tab you will find the usual settings for the CPU and onboard components, as on other boards, which is why I won’t go into detail here. Special here, however, is the “H/W Monitor Configuration” menu, with which the postcode display and the fan control can be set. The four-digit postcode display or debug port display can be inverted, e.g. if the mainboard is installed in an inverted case, and in addition, after the post process has been completed, either a temperature or voltage can be displayed, the latter with an accuracy of up to 3 decimal places, which is a very useful feature.
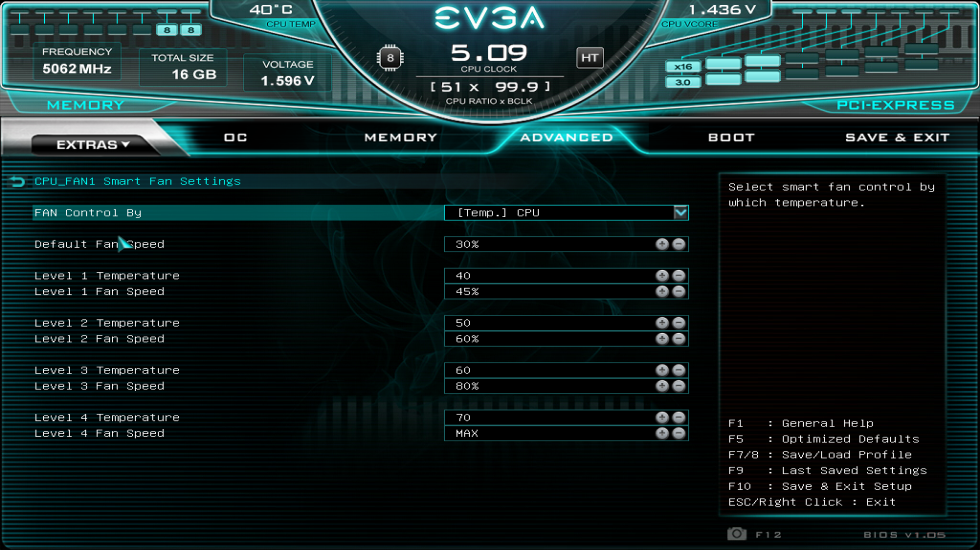

Below this, the fans can be configured, either in “Smart” mode with a temperature sensor as a reference value and with 4 gradations or statically. Furthermore, it is possible to switch between DC and PWM mode for the fan connections here.
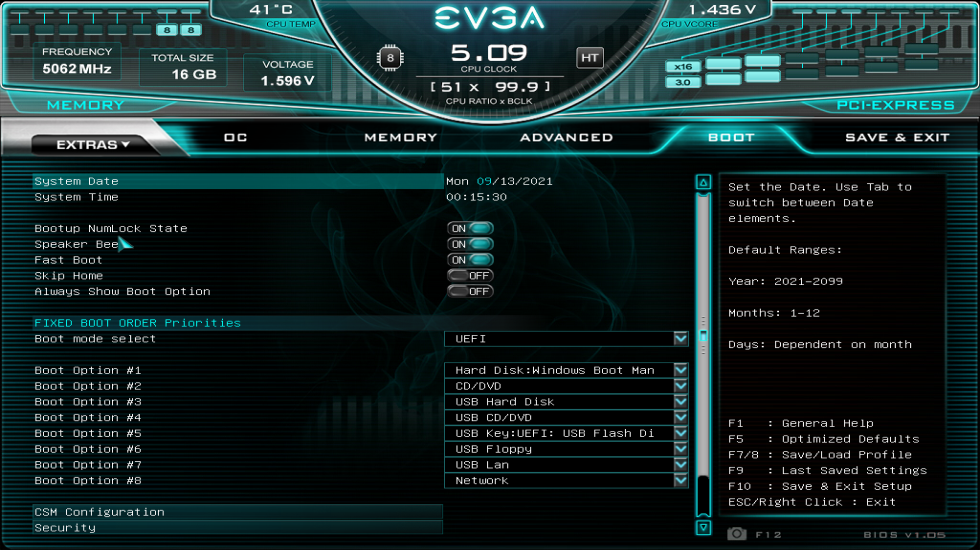
In the remaining tabs you find the usual suspects, as you know it from other motherboards. Probably interesting for many is the switch to disable the on-board speaker in the “Boot” tab. With F1 you get as usual to a help menu, which also lists all shortcuts again. For example, F9 can be used to return to the last saved setting without having to exit and restart the BIOS completely.


21 Antworten
Kommentar
Lade neue Kommentare
Urgestein
Moderator
Urgestein
Mitglied
Veteran
Urgestein
Urgestein
Veteran
Urgestein
Urgestein
Urgestein
Urgestein
Veteran
Urgestein
Veteran
Neuling
Urgestein
Veteran
Alle Kommentare lesen unter igor´sLAB Community →