


Simple, cheap and effective: the ghetto mod
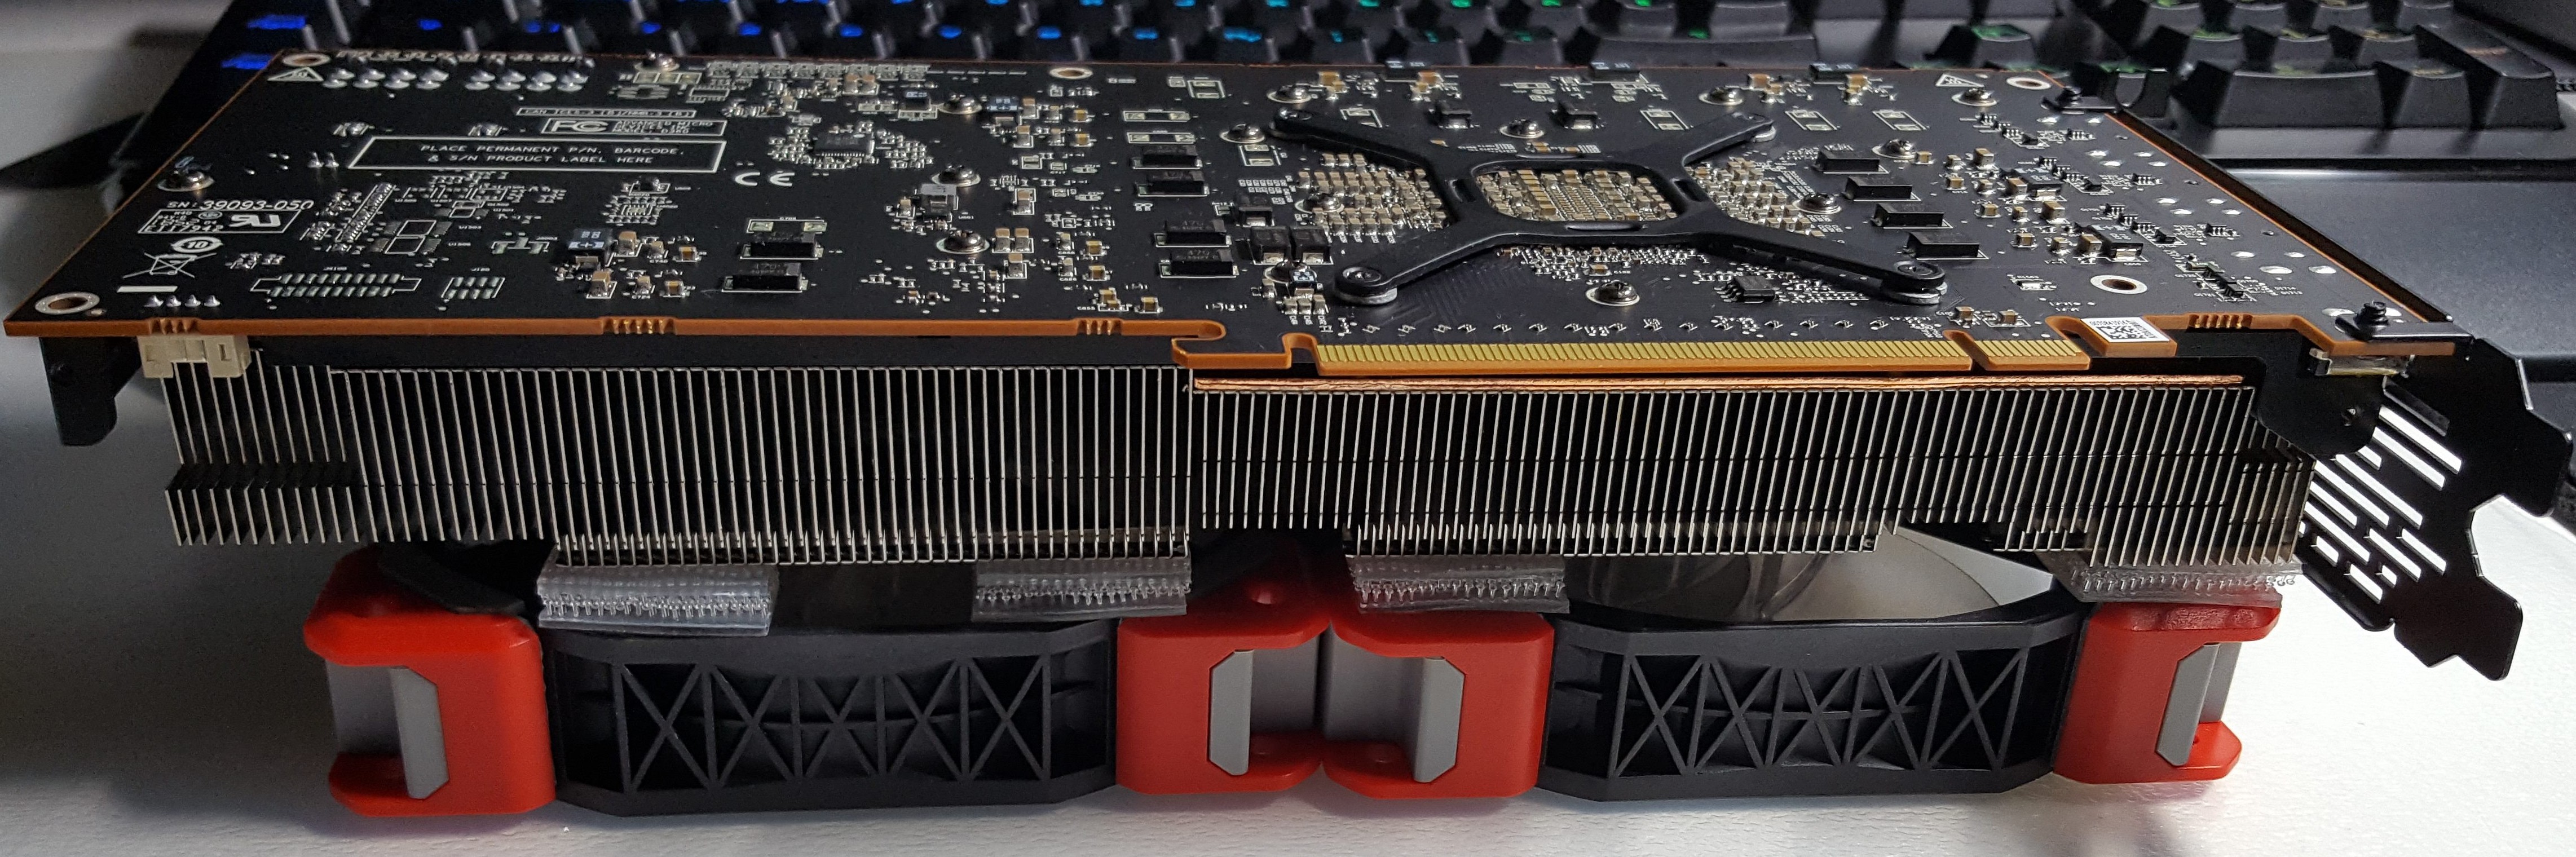
The simplest variant is a ghetto mod. The card is very suitable for this, and the guarantee is basically retained, because it is completely sufficient for this to unscrew only the upper radiator cover (Shroud) and thus expose the heat sink. The map offers enough mounting possibilities, here the resourceful hobbyist should hardly have any problems.
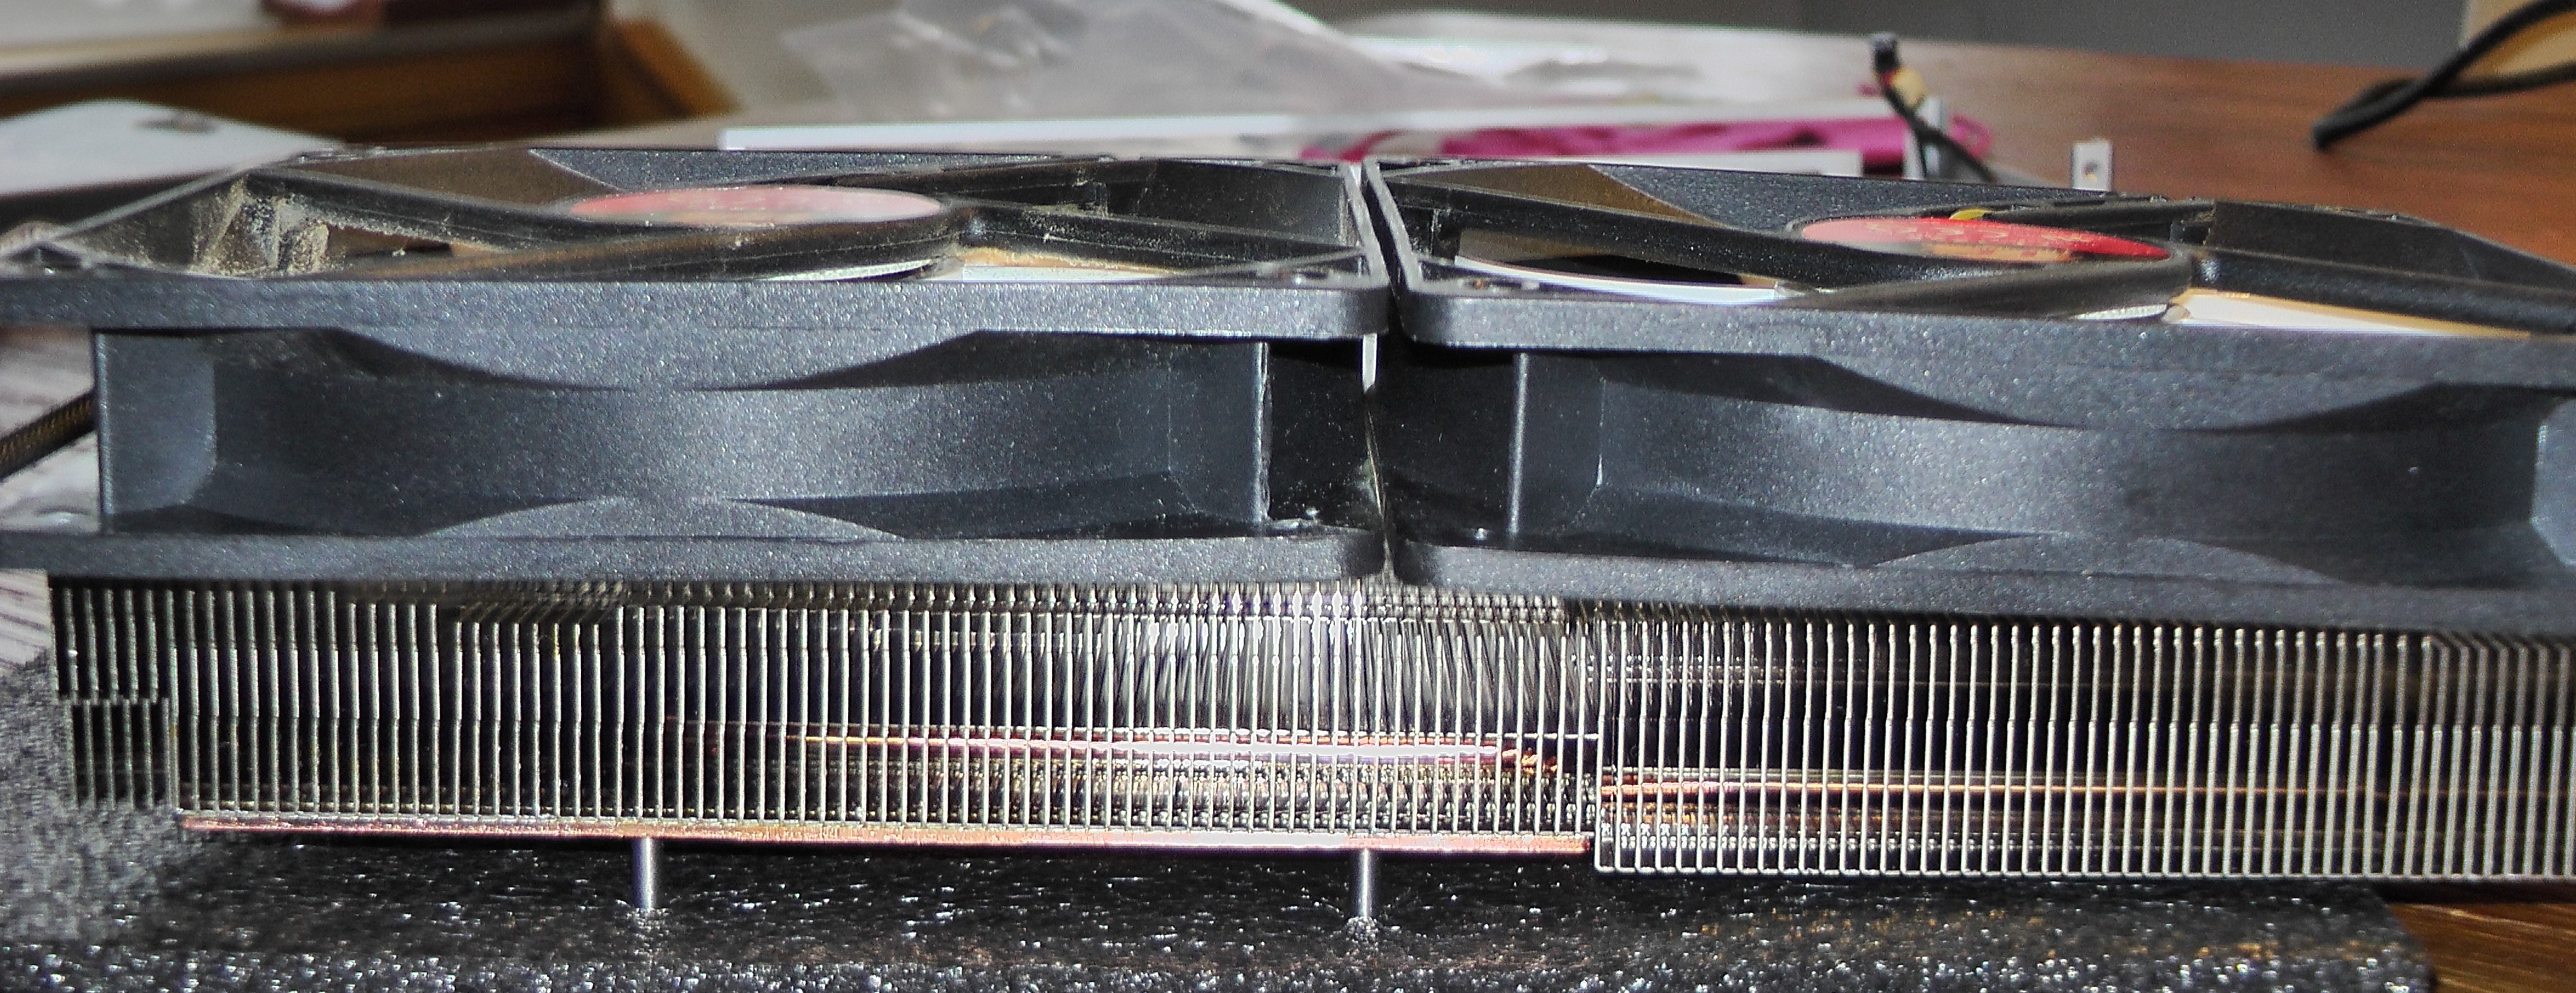
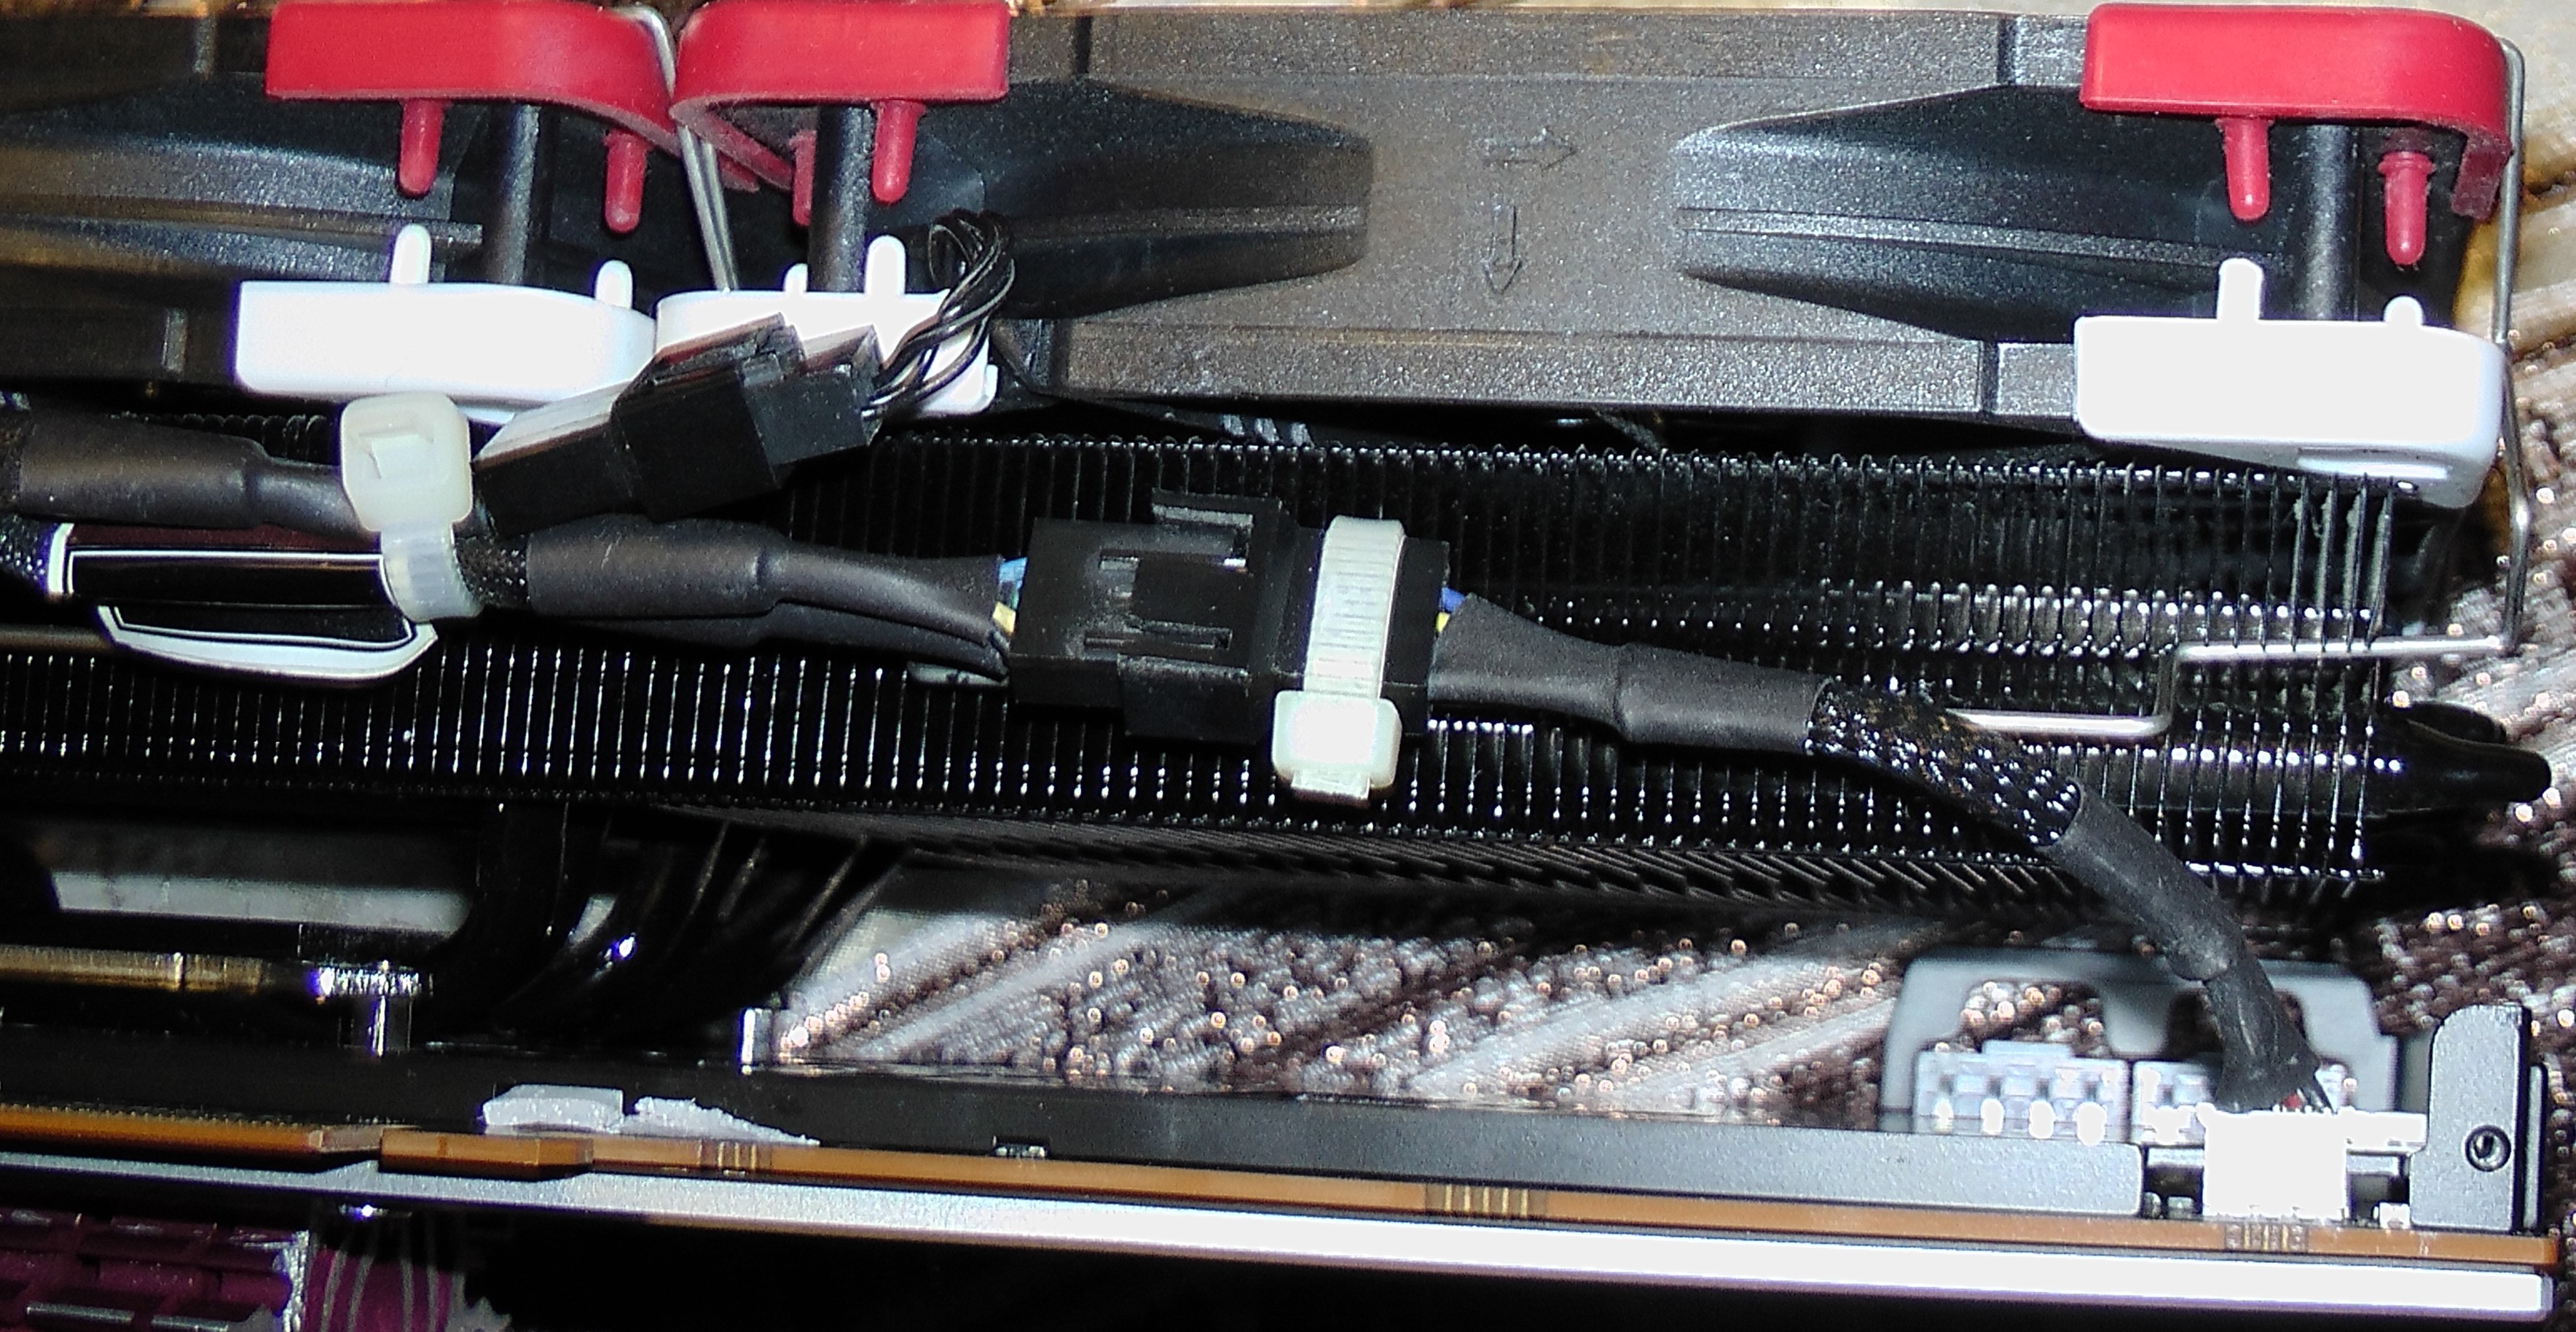
Cable ties or good Velcro pads that interlock allow a two 120 fan to be mounted quickly. With a suitable adapter cable for the 4-pin connection on the card and a Y-adapter to 2x 4Pin, the fans are quickly installed and are still controlled as usual via the graphics card. The following image shows two (temporary) mounted fans to check the size.
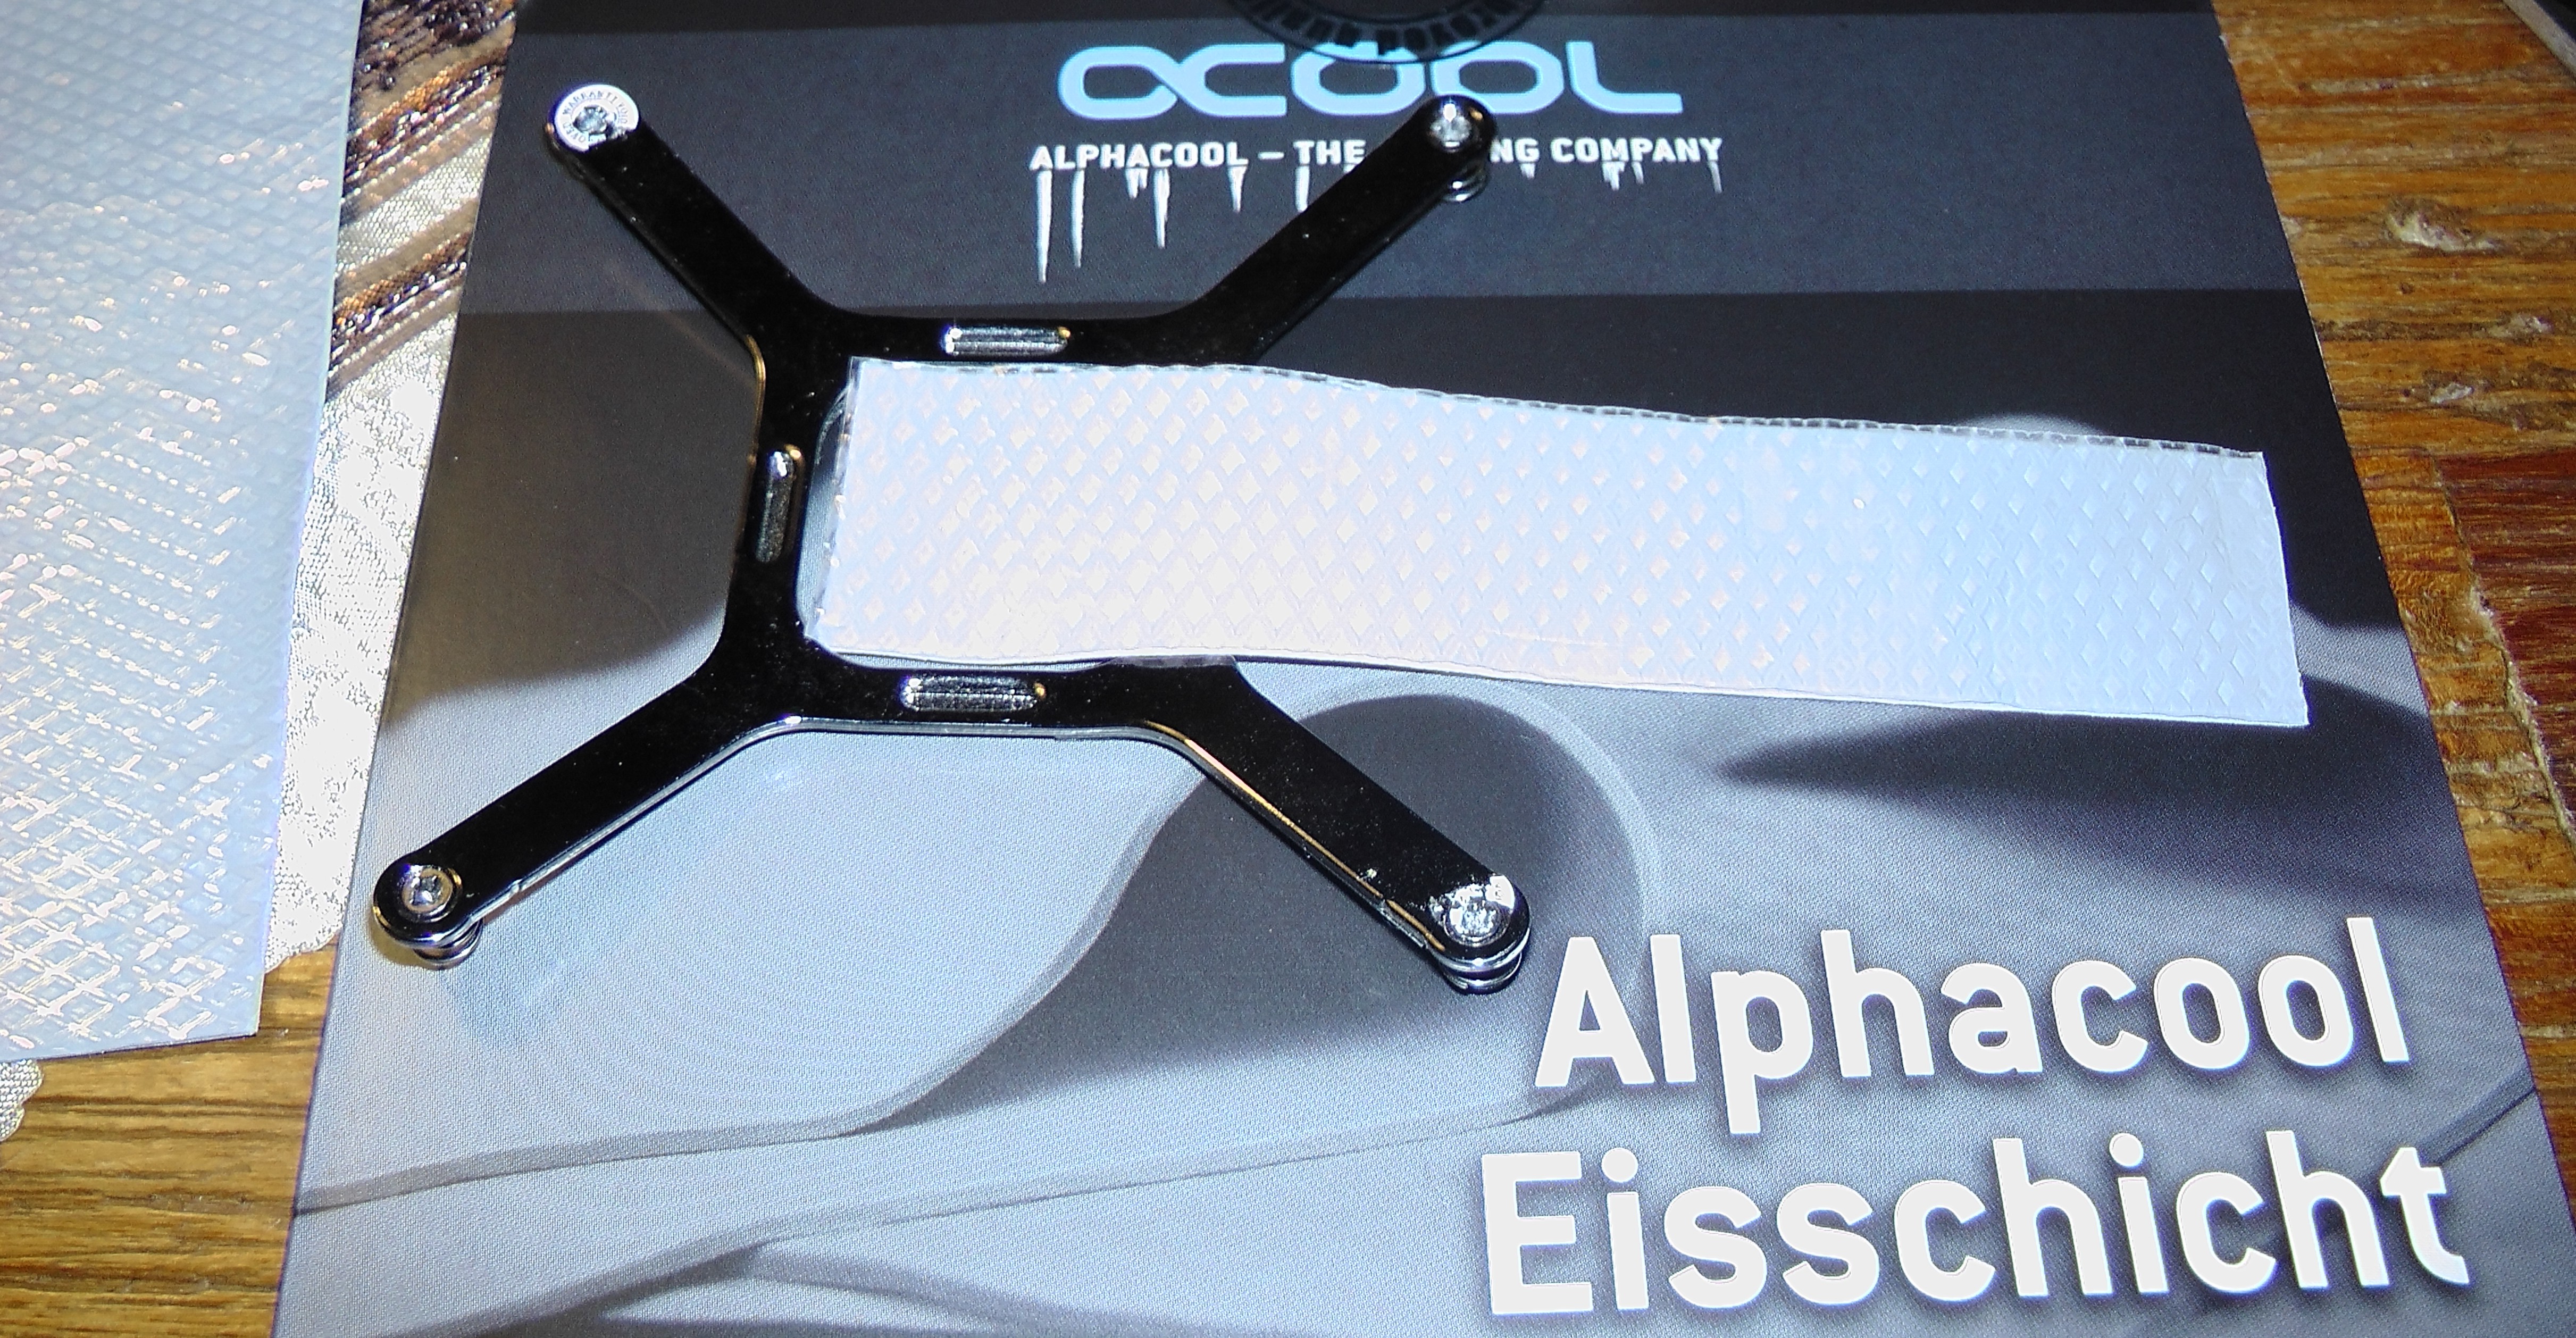
The Gauss mod from ZeroStrat, on the other hand, relies on Velcro straps from 3M. This also keeps you safe and also offers a welcome sound decoupling.
Depending on the fans used, the setting and the claim, you will either get the card significantly quieter and/or have much more room for overclocking. As long as you don't remove the GPU bracket and you don't damage it during the conversion, there should be no risk to the warranty claim if you don't cause visible scratches or mechanical damage.
Correctly mounted and equipped with two Noctua F12 fans at 1400 revolutions, the temperatures @Stock (1059mv) improve as follows: Stock:67 °C GPU and 105 °C Junction when using a Fractal R5 Define like Gurdi. Since the results of this conversion can of course vary greatly depending on the fans used, your housing and other circumstances, flat-rate comparisonvalues make no sense. It is best to test the specific impact of this on you using a well-reproducible scenario.
Conversion with the Raijintek Morpheus
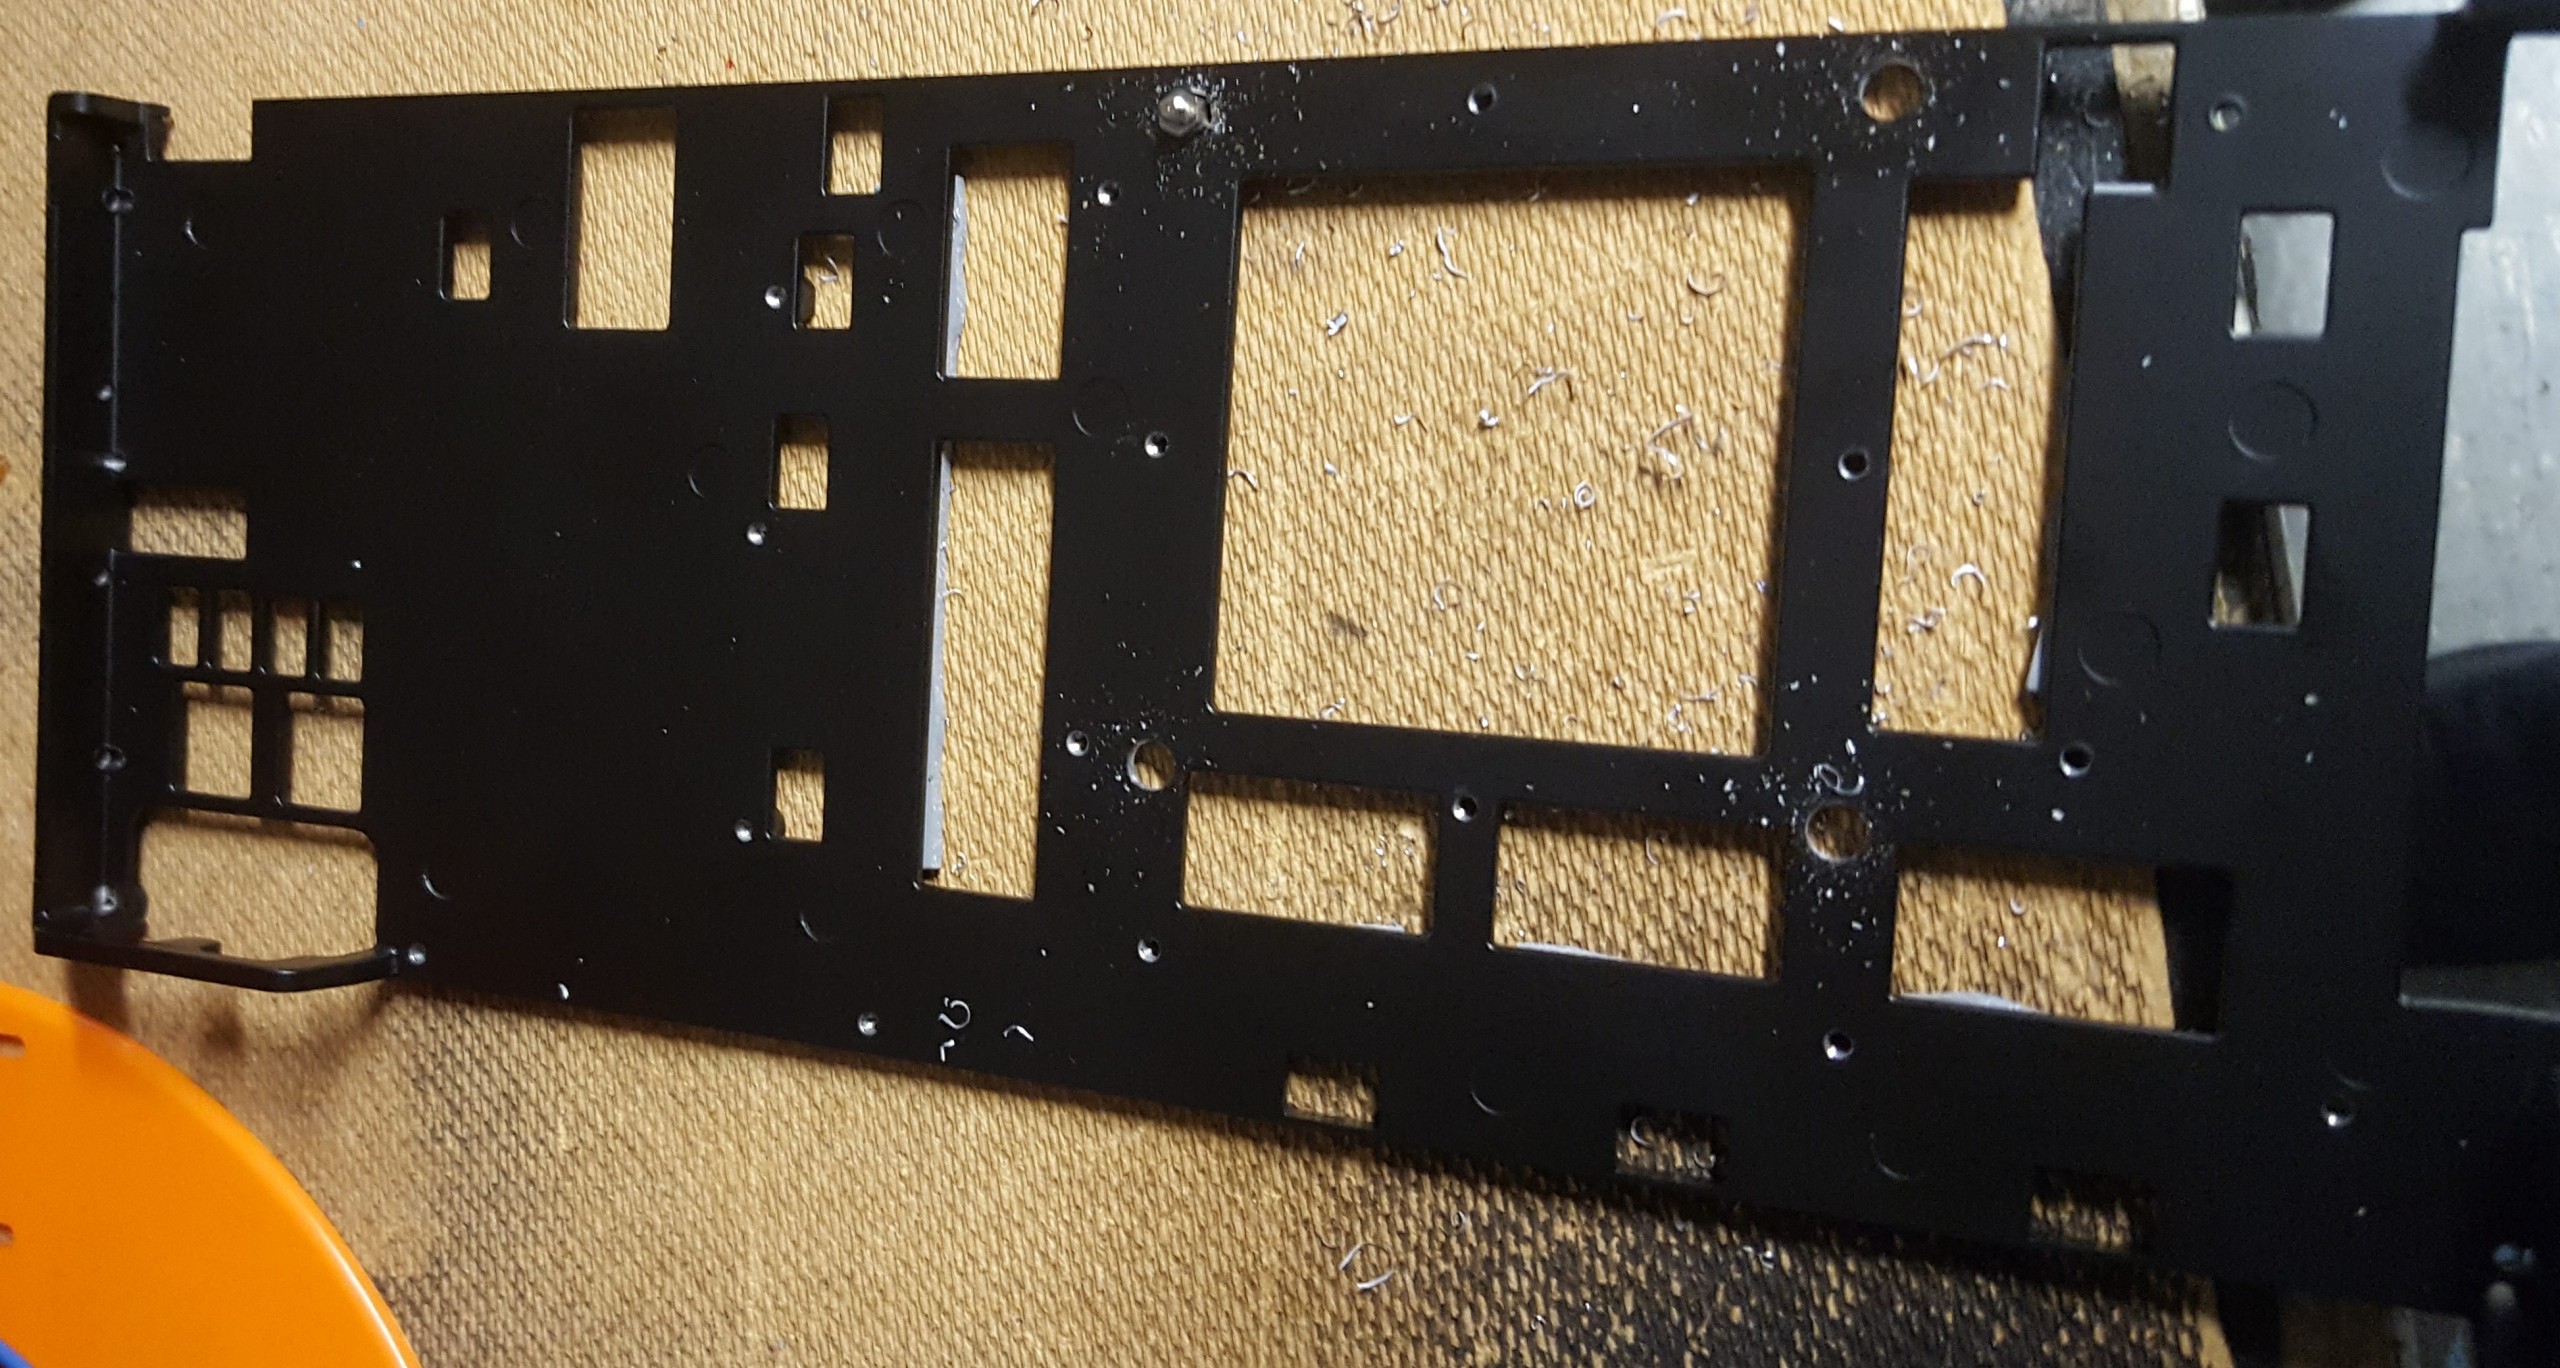
I would write "Pending" now, because I have spoken to the manufacturer and a special adaptation for the Radeon VII is planned there. Until then, some manual work is required, which of course is also worthwhile. However, you should already bring some skills, because you also have to drill. Don't worry, not on the board, but on the cooling frame, i.e. the so-called base plate, which cools the voltage converters. This stays on it, because this does not seem very safe and stable with the glued-on coolers of the Morpheus. But that's easy to do.
Therefore, the complete conversion instruction is repeated later with the new Morpheus. To get a first impression, I have summarized some community pictures of Gurdi in a short documentation. Since one prefers to rely on the original cooling of the components, Gurdi has continued to use the frame of the Radeon 7, but has drilled the necessary 5 mm holes for the Morpeus. Warning: After that, the original cooler and warranty claim are over. But it's worth it if you have the courage to have your own skills.
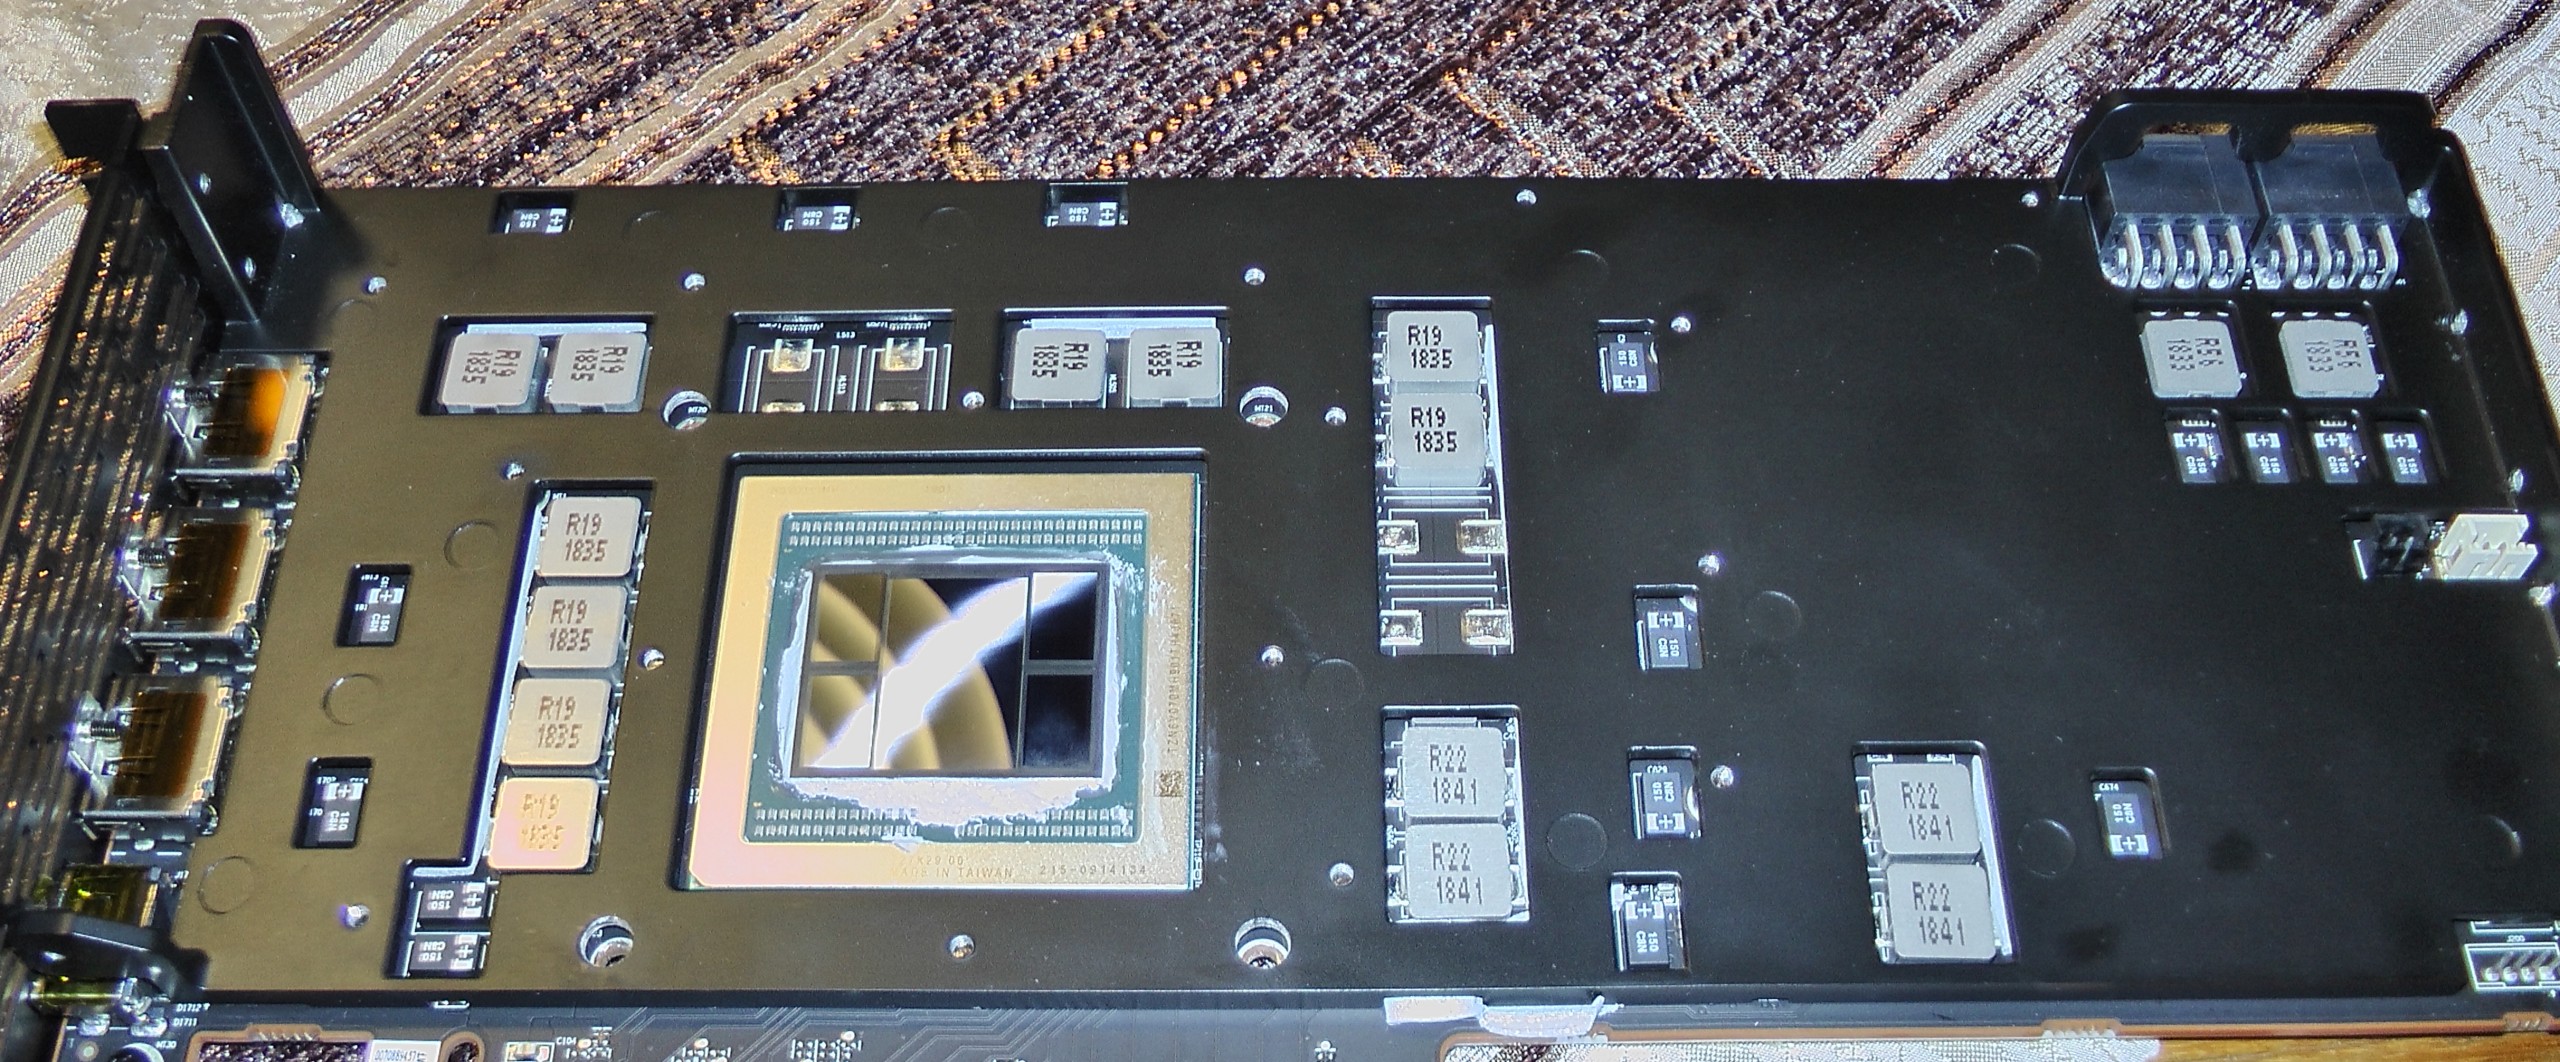
Deburring is a matter of honour and the replacement of possibly damaged original pads is of course also a matter of honour. After that, the frame is applied and sits like one.
You can also see the combination of 4-pin adapter and the Y-cable for the fans. If you think smartly, you buy a Y-piece as a distributor with long cables and thus save the intermediate piece. The fact that the fans are PWM-controlled must be taken care that the speedometer signal is only picked up by one of the fans (master slave). I've already found adapters at Amazon where this was wired in parallel. Then only the shaking of a wire helps.
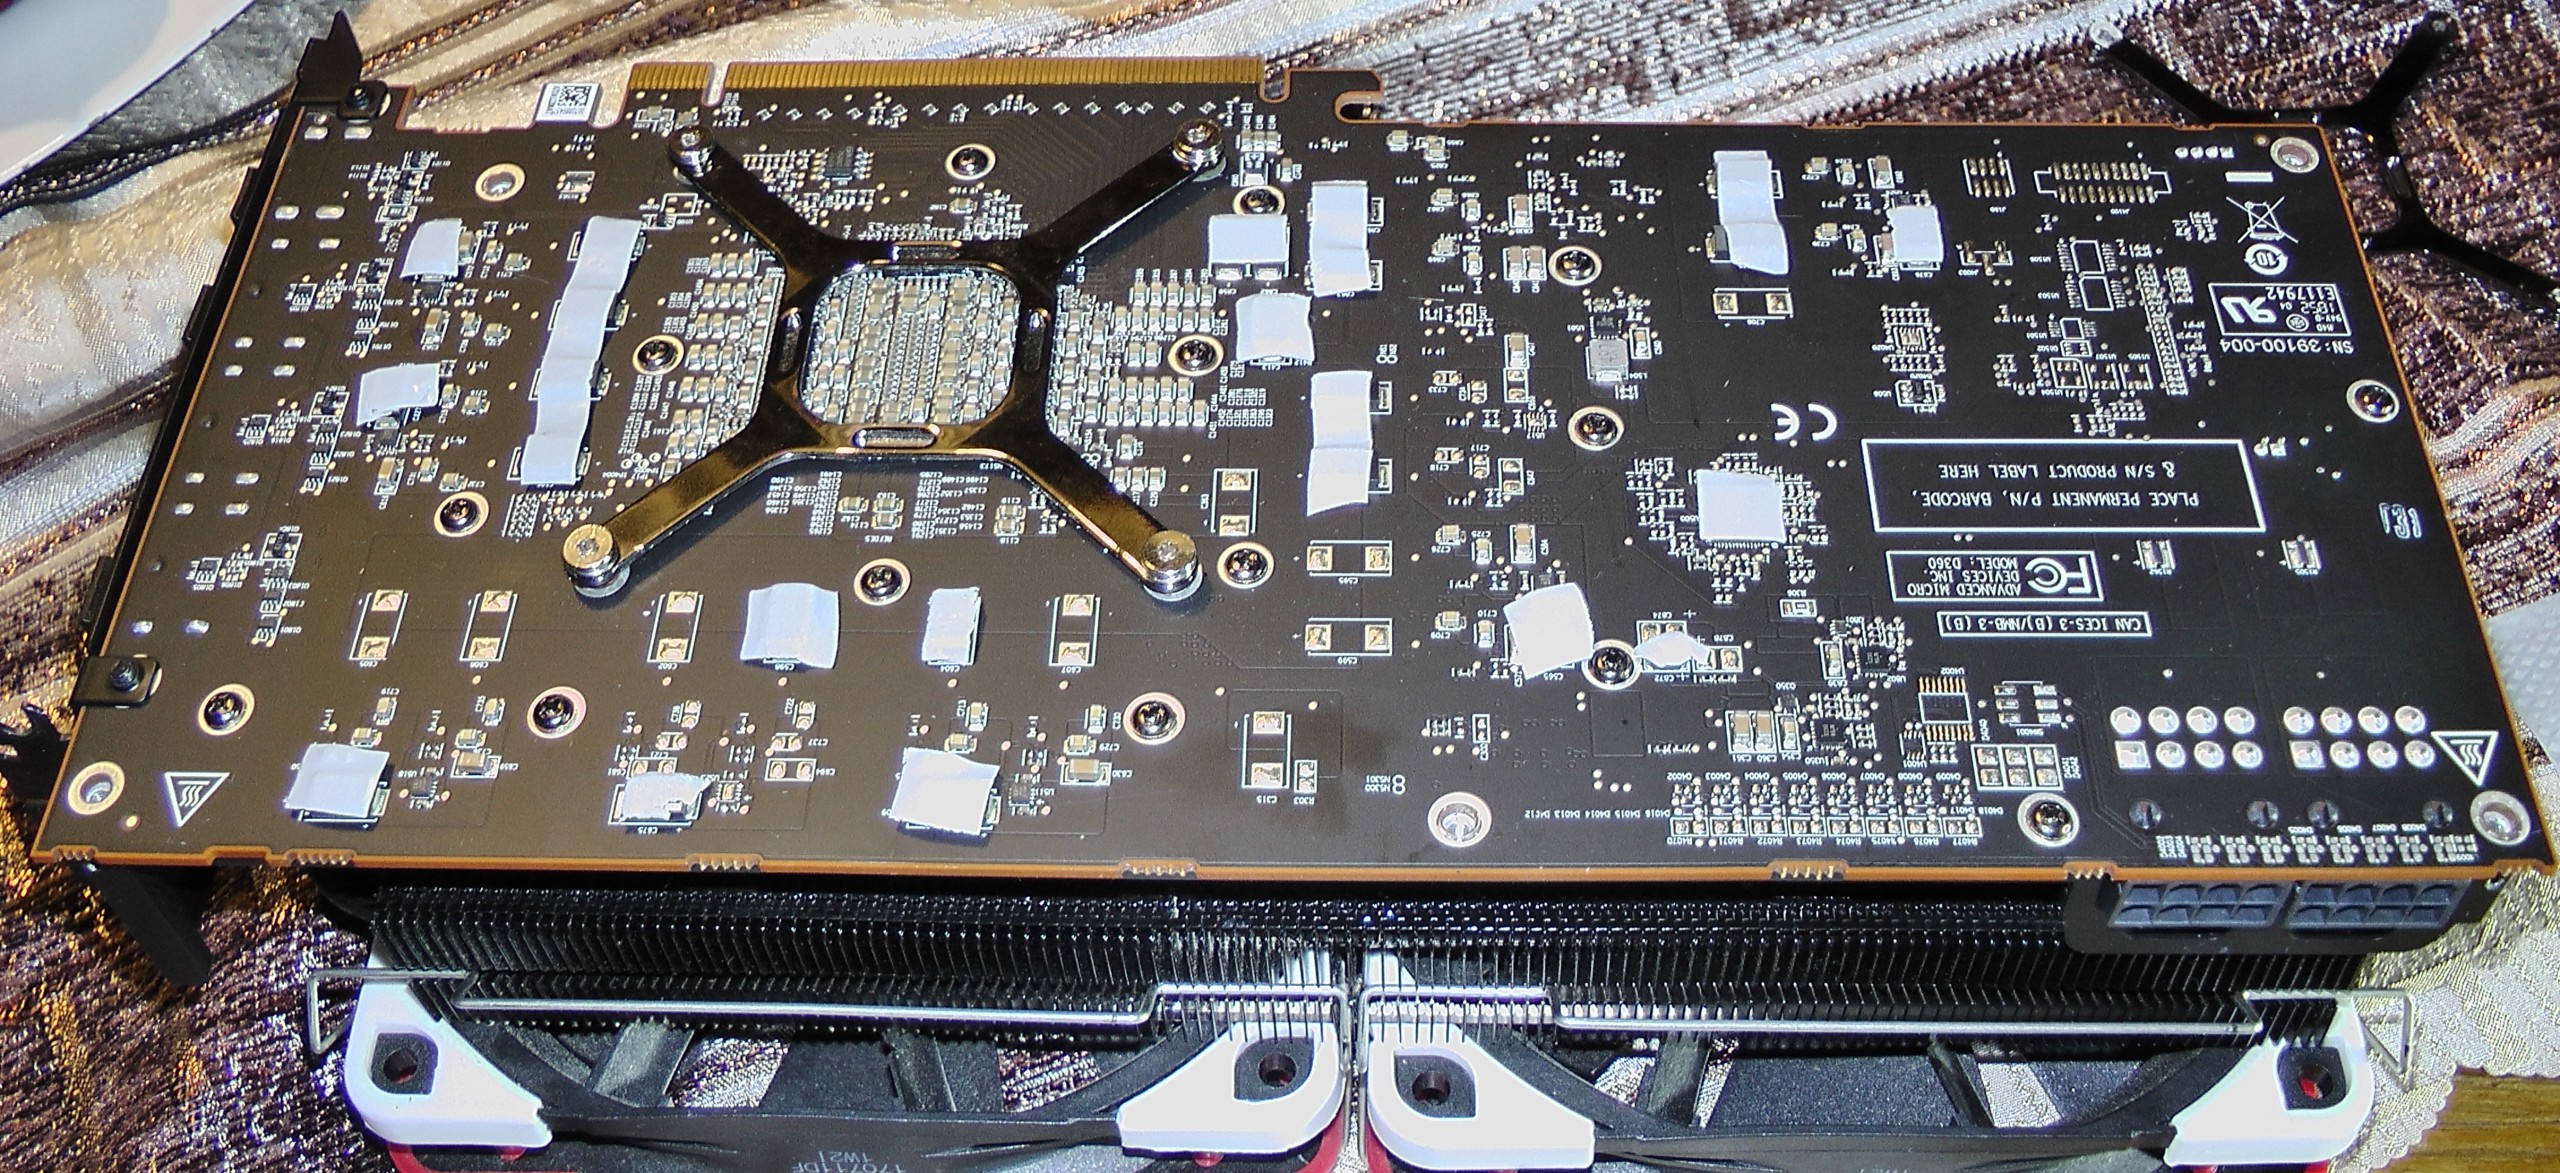
Including the backplate in the cooling is quite effective if you take good pads, however, quality always has a price for them.
Simply place the matching pads on the relevant areas and then mount the original backplate of the Radeon VII.
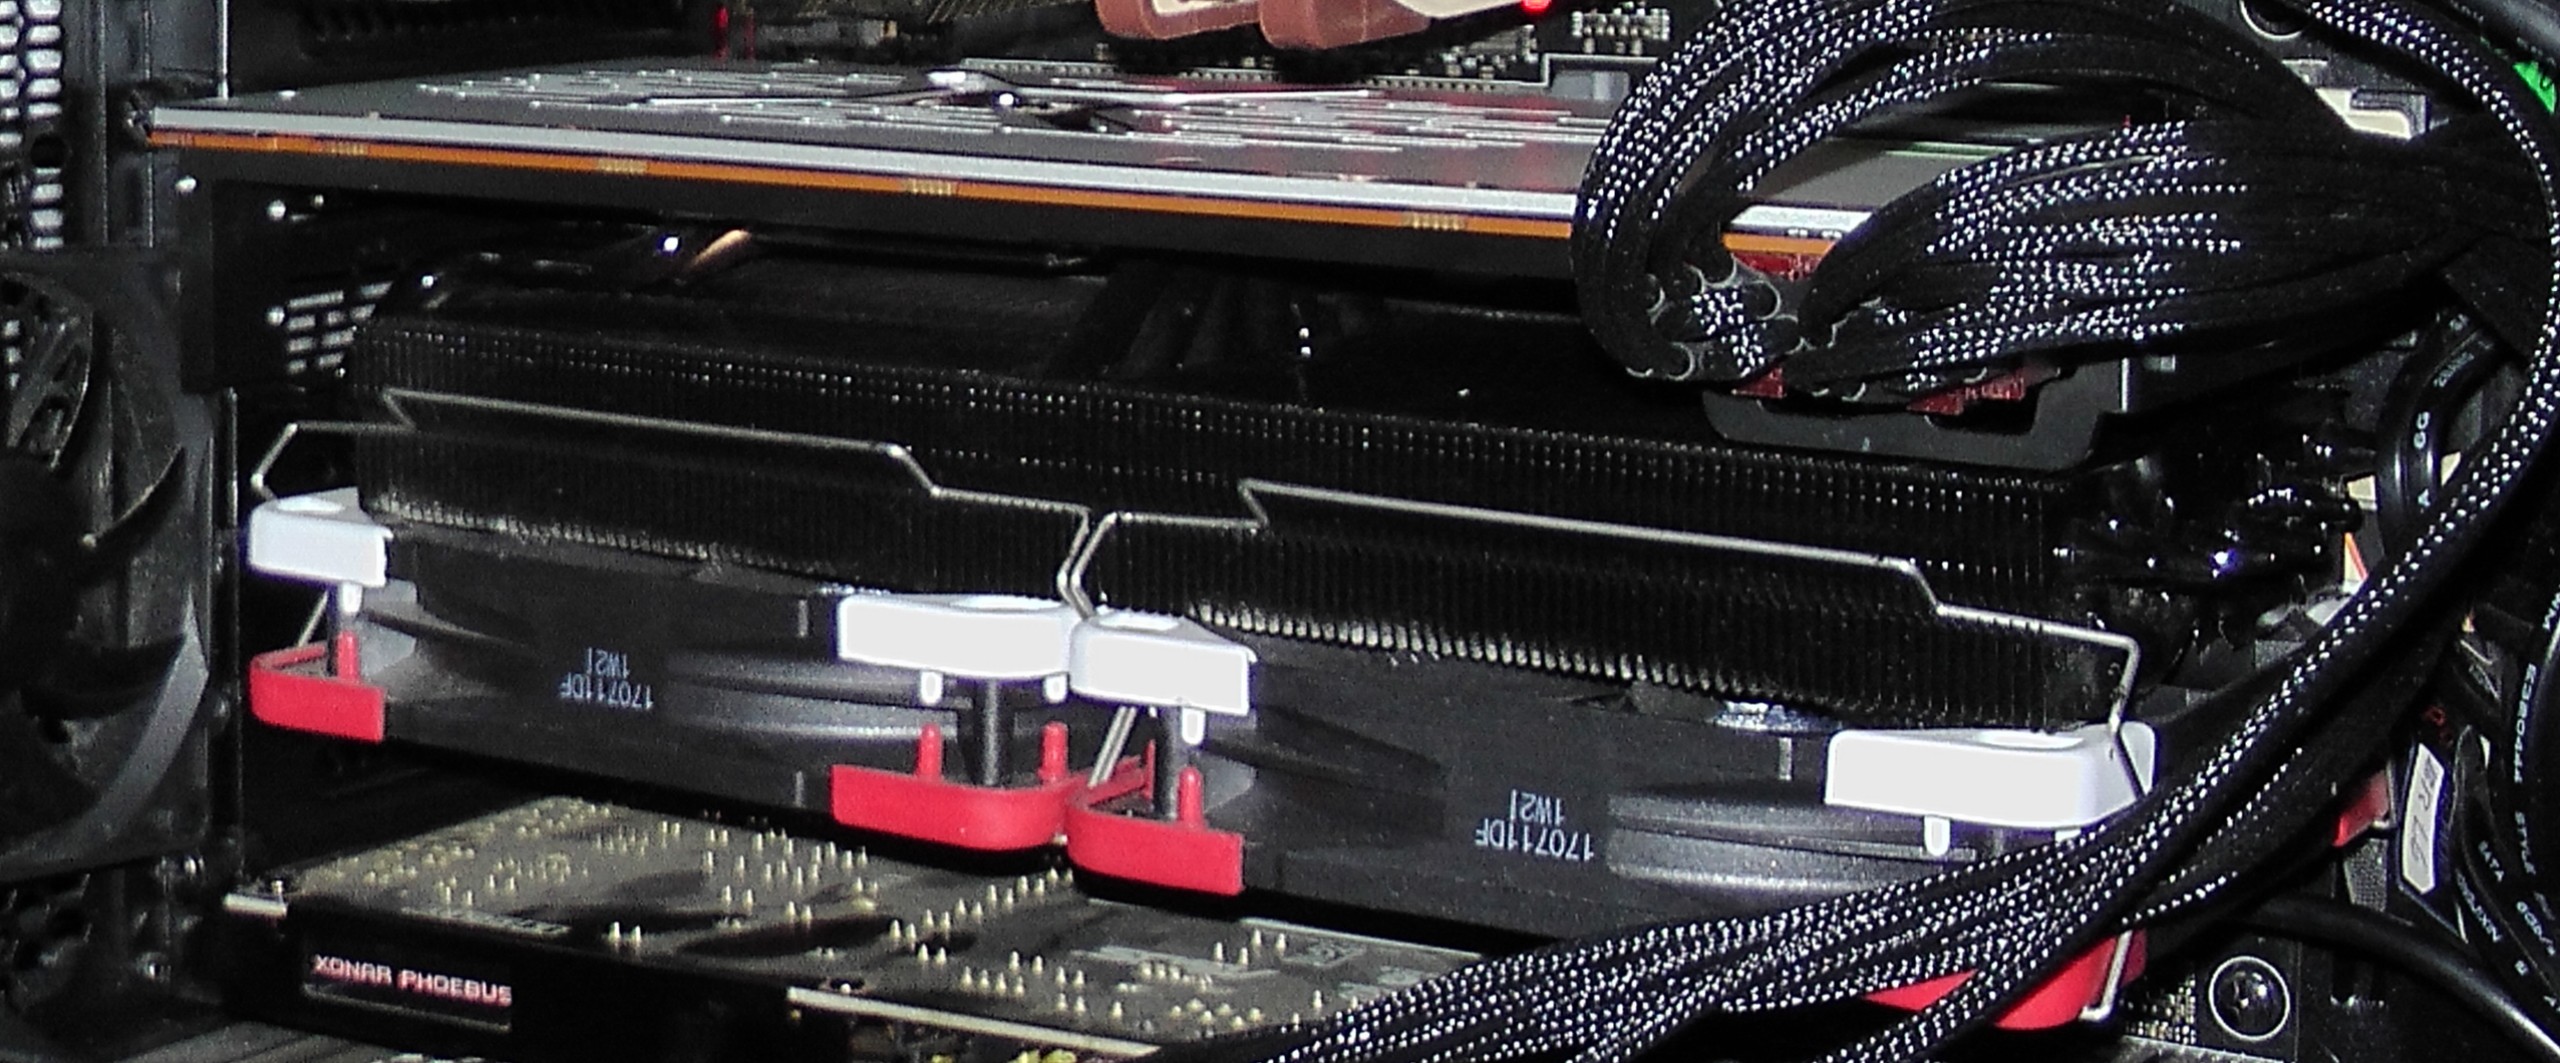
Over and out. The installation is checked and Gurdis card runs quietly and quickly. More economical anyway.
If you now run the card with AMD's factory settings, you can reach with the Morpheus:52 °C for the GPU and 78 °C Junction. If you then subvolted all this as described on page 2, you have 47 °C on the GPU and 68 °C for Junction. This would make it quite relaxed and that is exactly what we are doing now!
- 1 - Vorwort zur RTG
- 2 - Untervolten mit dem Wattman leicht gemacht
- 3 - Leistungsaufnahme und Temperaturen mit Low Voltage Settings
- 4 - Lüfter-Umbau mit Originalkühler (Ghetto-Mod) und dem Raijintek Morpheus
- 5 - Erklärung und Hilfestellung zu den PowerPlay-Tabellen (PPT)
- 6 - Übertakten mit den PowerPlay Tabellen und Fazit


Kommentieren