


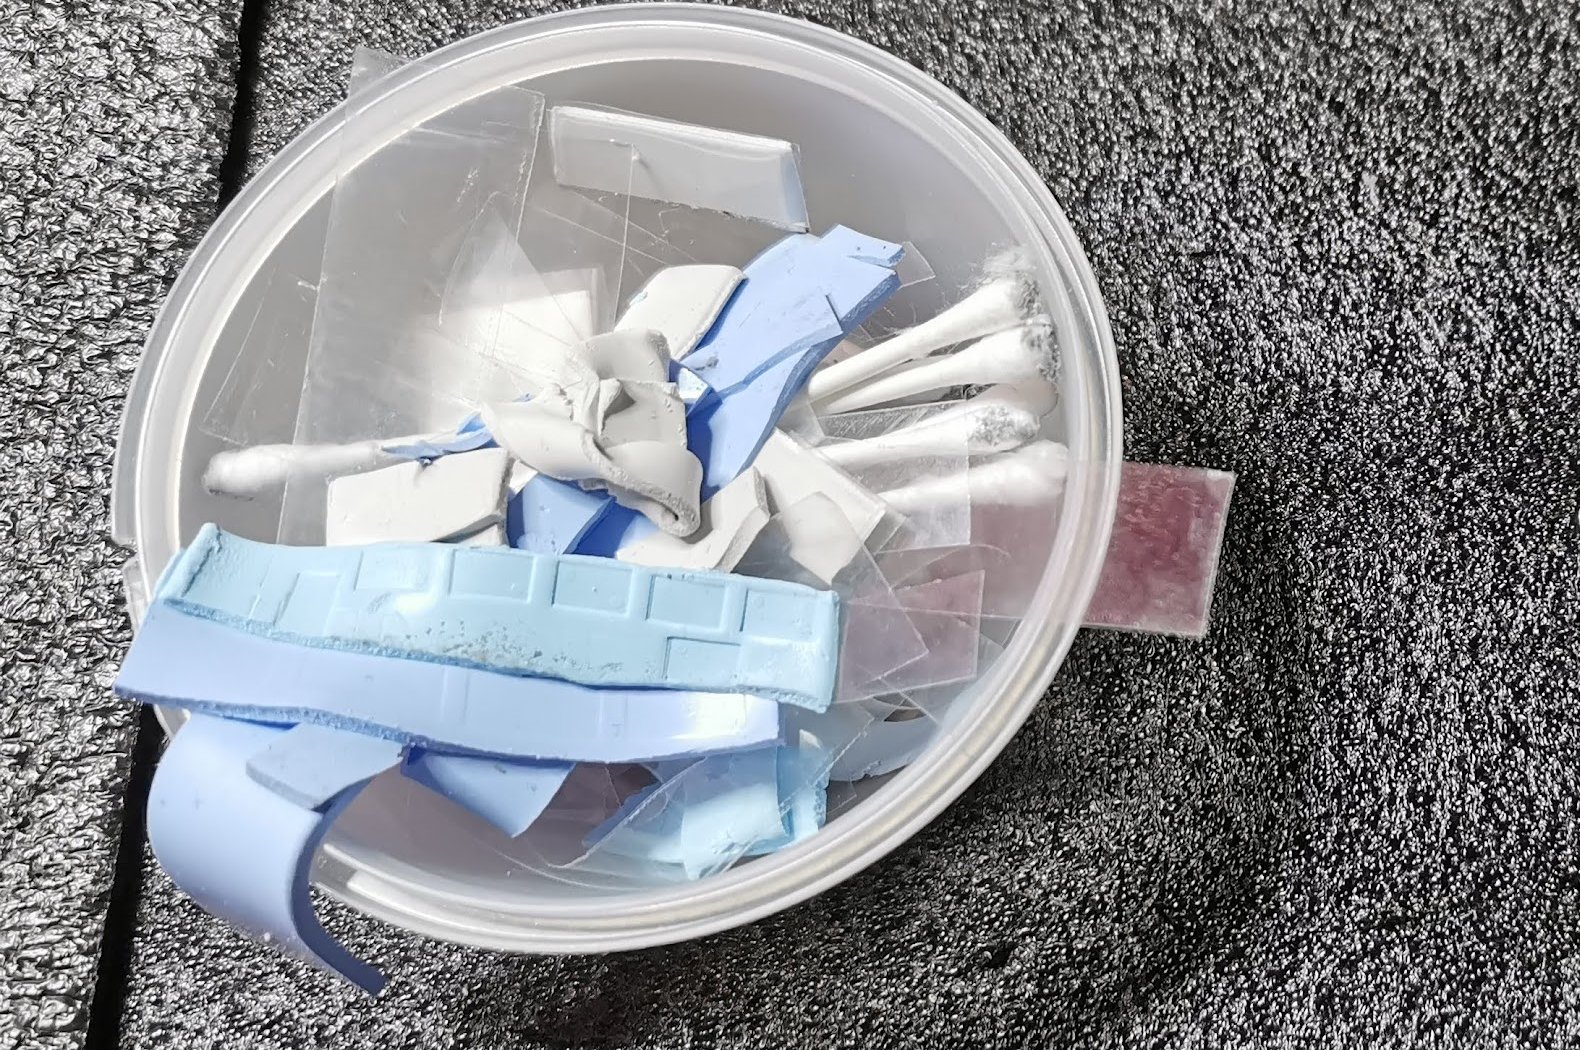
The cooler and GPU are first roughly cleaned by carefully lifting off the largest amount of paste with a spatula and then wiping it clean again and again on a piece of kitchen paper. If you go straight for the cooler or the GPU with a cloth or a rag, you’ll first smear everything properly and also press the paste into the last corner. You can see this in the picture below with the GPU, where the user had spread the paste all the way into the crevices under the metal frame.
The radiator is mechanically less sensitive, here you can do the final cleaning with isopropanol and cloth quite easily. If you just use hard kitchen paper, like the colleague before me, you will quickly get ugly grinding marks on the very soft copper. A soft cloth can help here. This is even more true for the GPU! First of all, after rough cleaning with the spatula, the surface will be thoroughly cleaned with isopropanol and rags. There is also usually a lot of paste stuck between die and the small SMD components of the package. This can be removed with a dry cotton swab (ear cleaner) easily rotating best. If you use isopropanol here, you’ll just smear everything again.
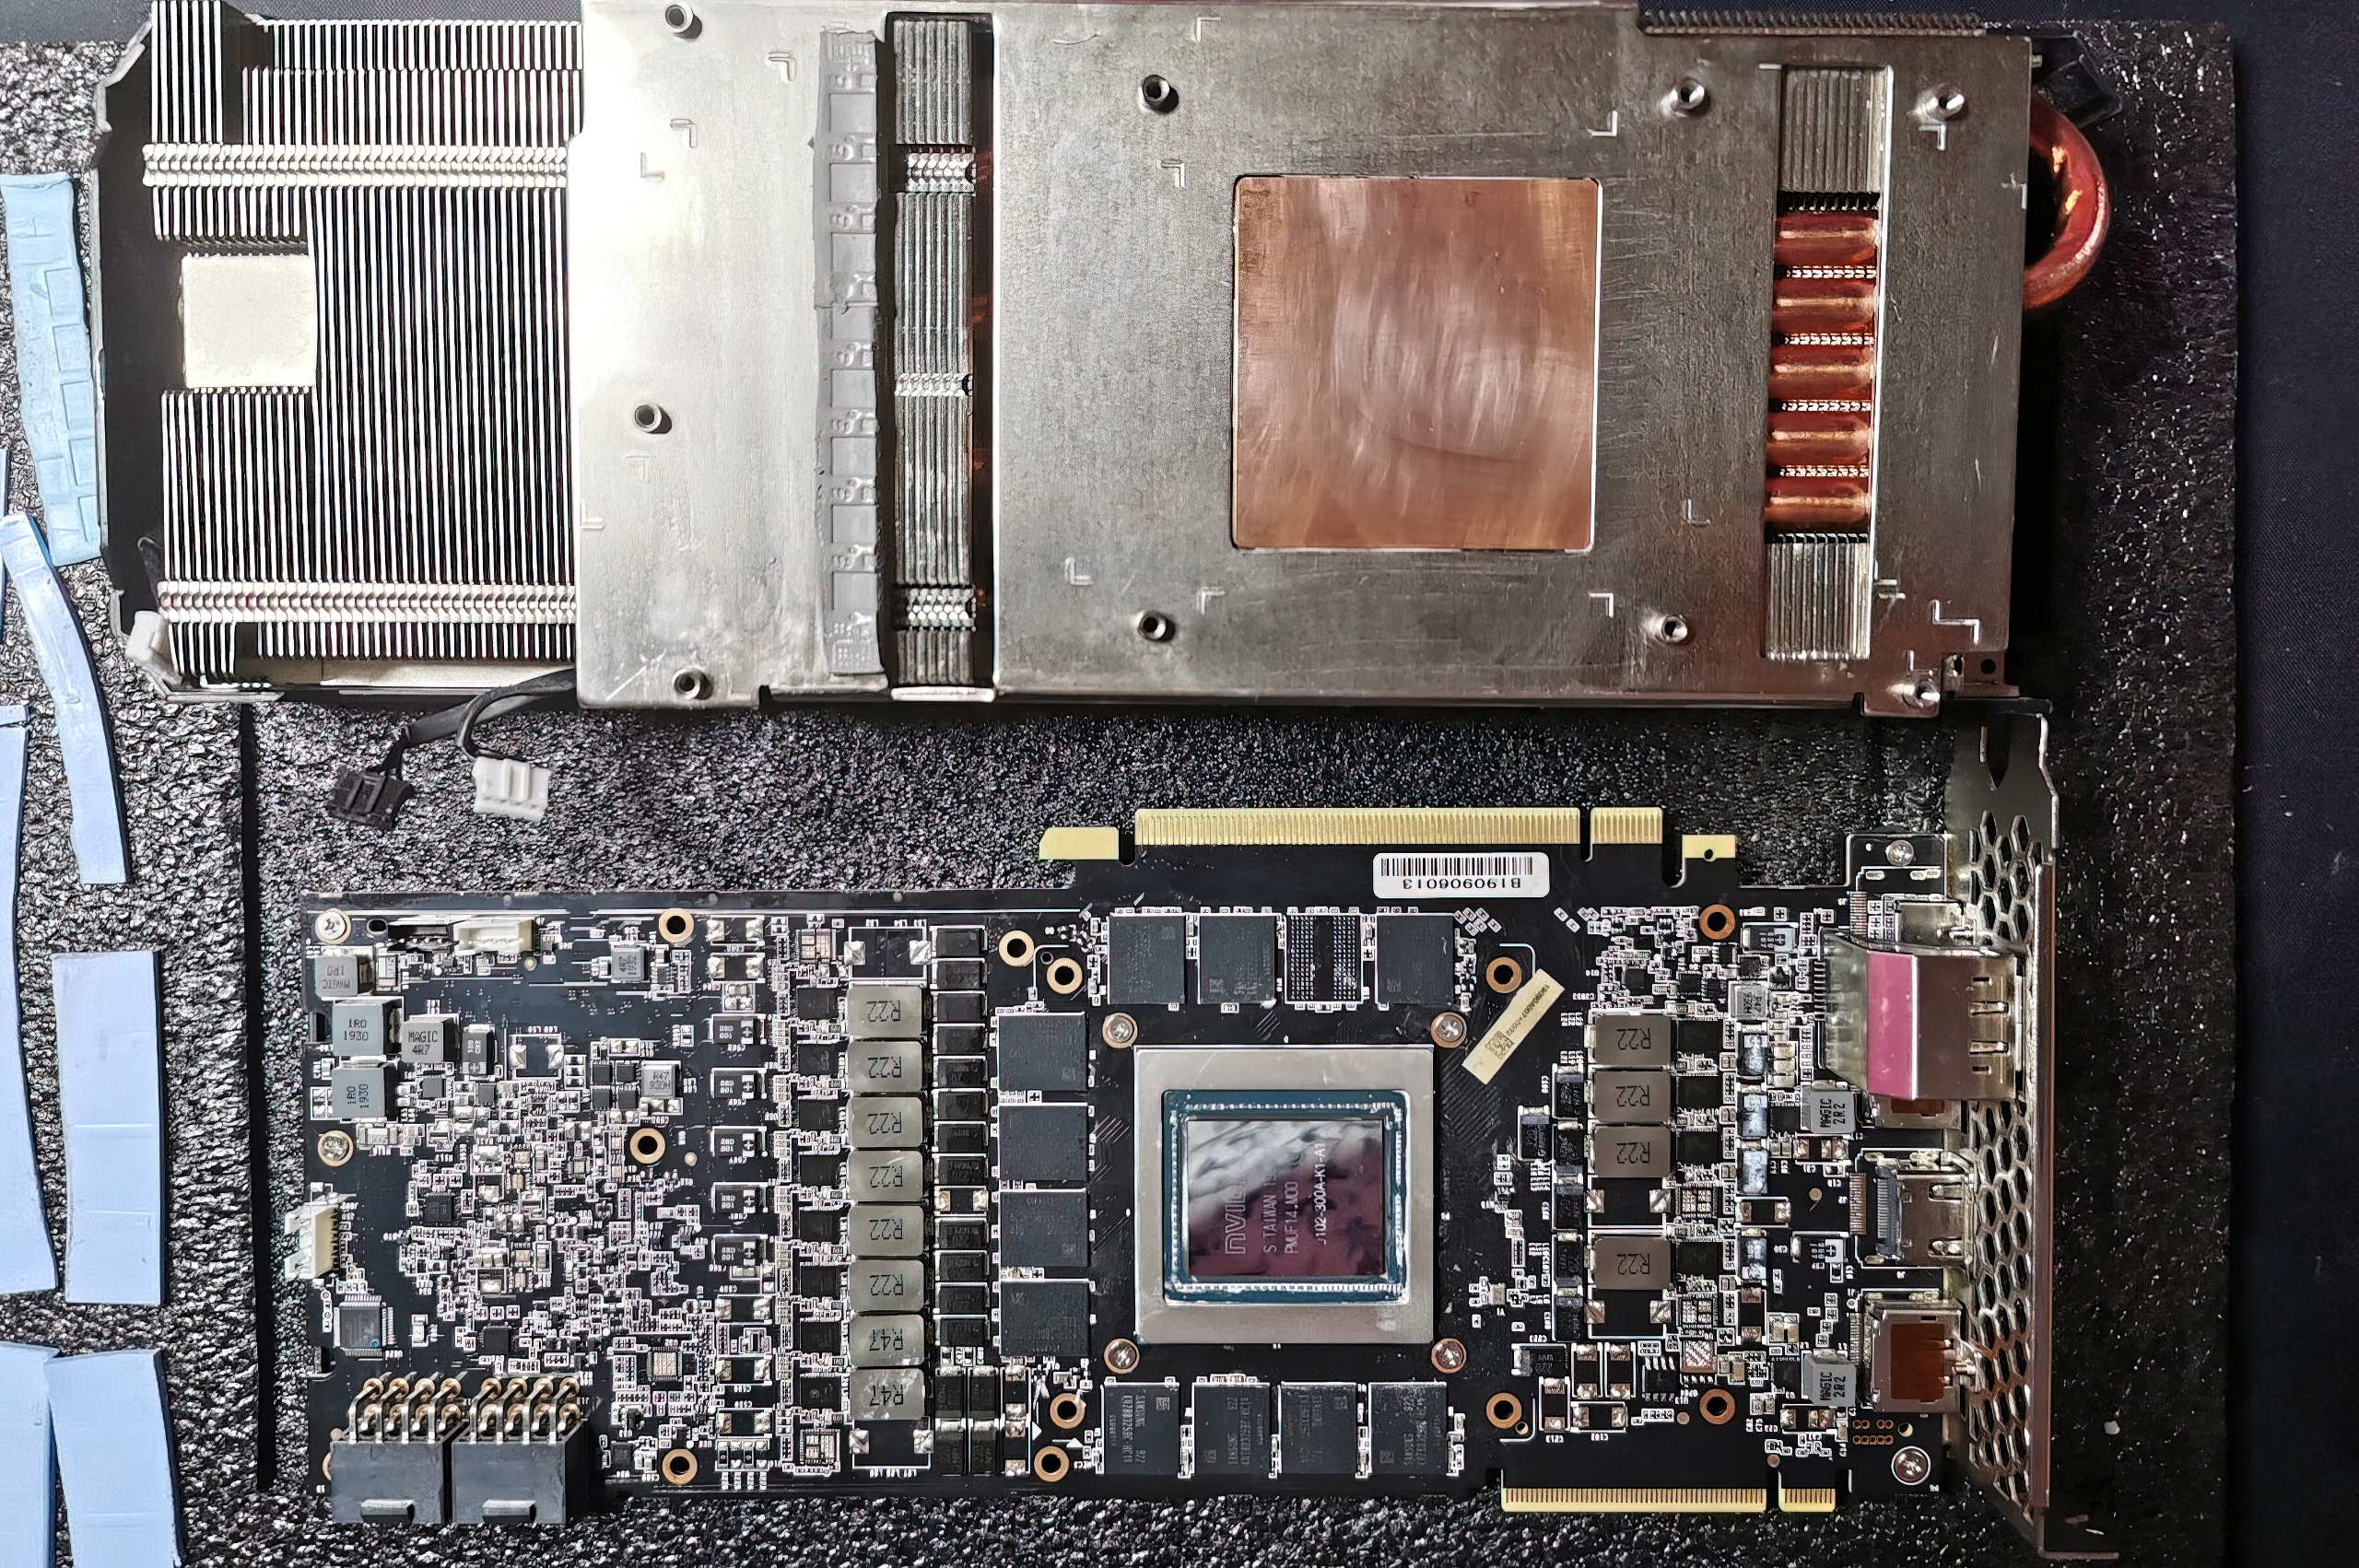
It is generally important not to apply too much pressure so as not to destroy anything or tear off small components. This often happens faster than you might think!
If the surface of the GPU is clean and also next to the die the coarsest removed, you’d better stop. It will never cool better, but the chance of the card dying early grows all the faster. Clean, yes, but this isn’t a hospital! If everything seems cleaned, then you can now re-pave the patient. So please turn the page!


18 Antworten
Kommentar
Lade neue Kommentare
Veteran
Urgestein
1
Urgestein
Veteran
Mitglied
Neuling
1
Veteran
Mitglied
Neuling
Urgestein
Mitglied
Mitglied
Urgestein
Mitglied
Urgestein
Mitglied
Alle Kommentare lesen unter igor´sLAB Community →