


After the assembly line entry into this furnace, the underside of the board and the component connections are carefully preheated in order to keep the subsequent temperature difference between the solder and the board as small as possible. An optimal setting and sufficient time for the process thus also decide on the solder quality and the appearance of the bottom.
- 1 - Wir starten mit der leeren Platine
- 2 - Automatische Bestückung - Teil 1
- 3 - Zwischenstopp: Teilbestückte Platine
- 4 - Bestückung mit SMD-Bauelementen
- 5 - Automatische Bestückung - Teil 2
- 6 - Automatische Bestückung - Kontrolle
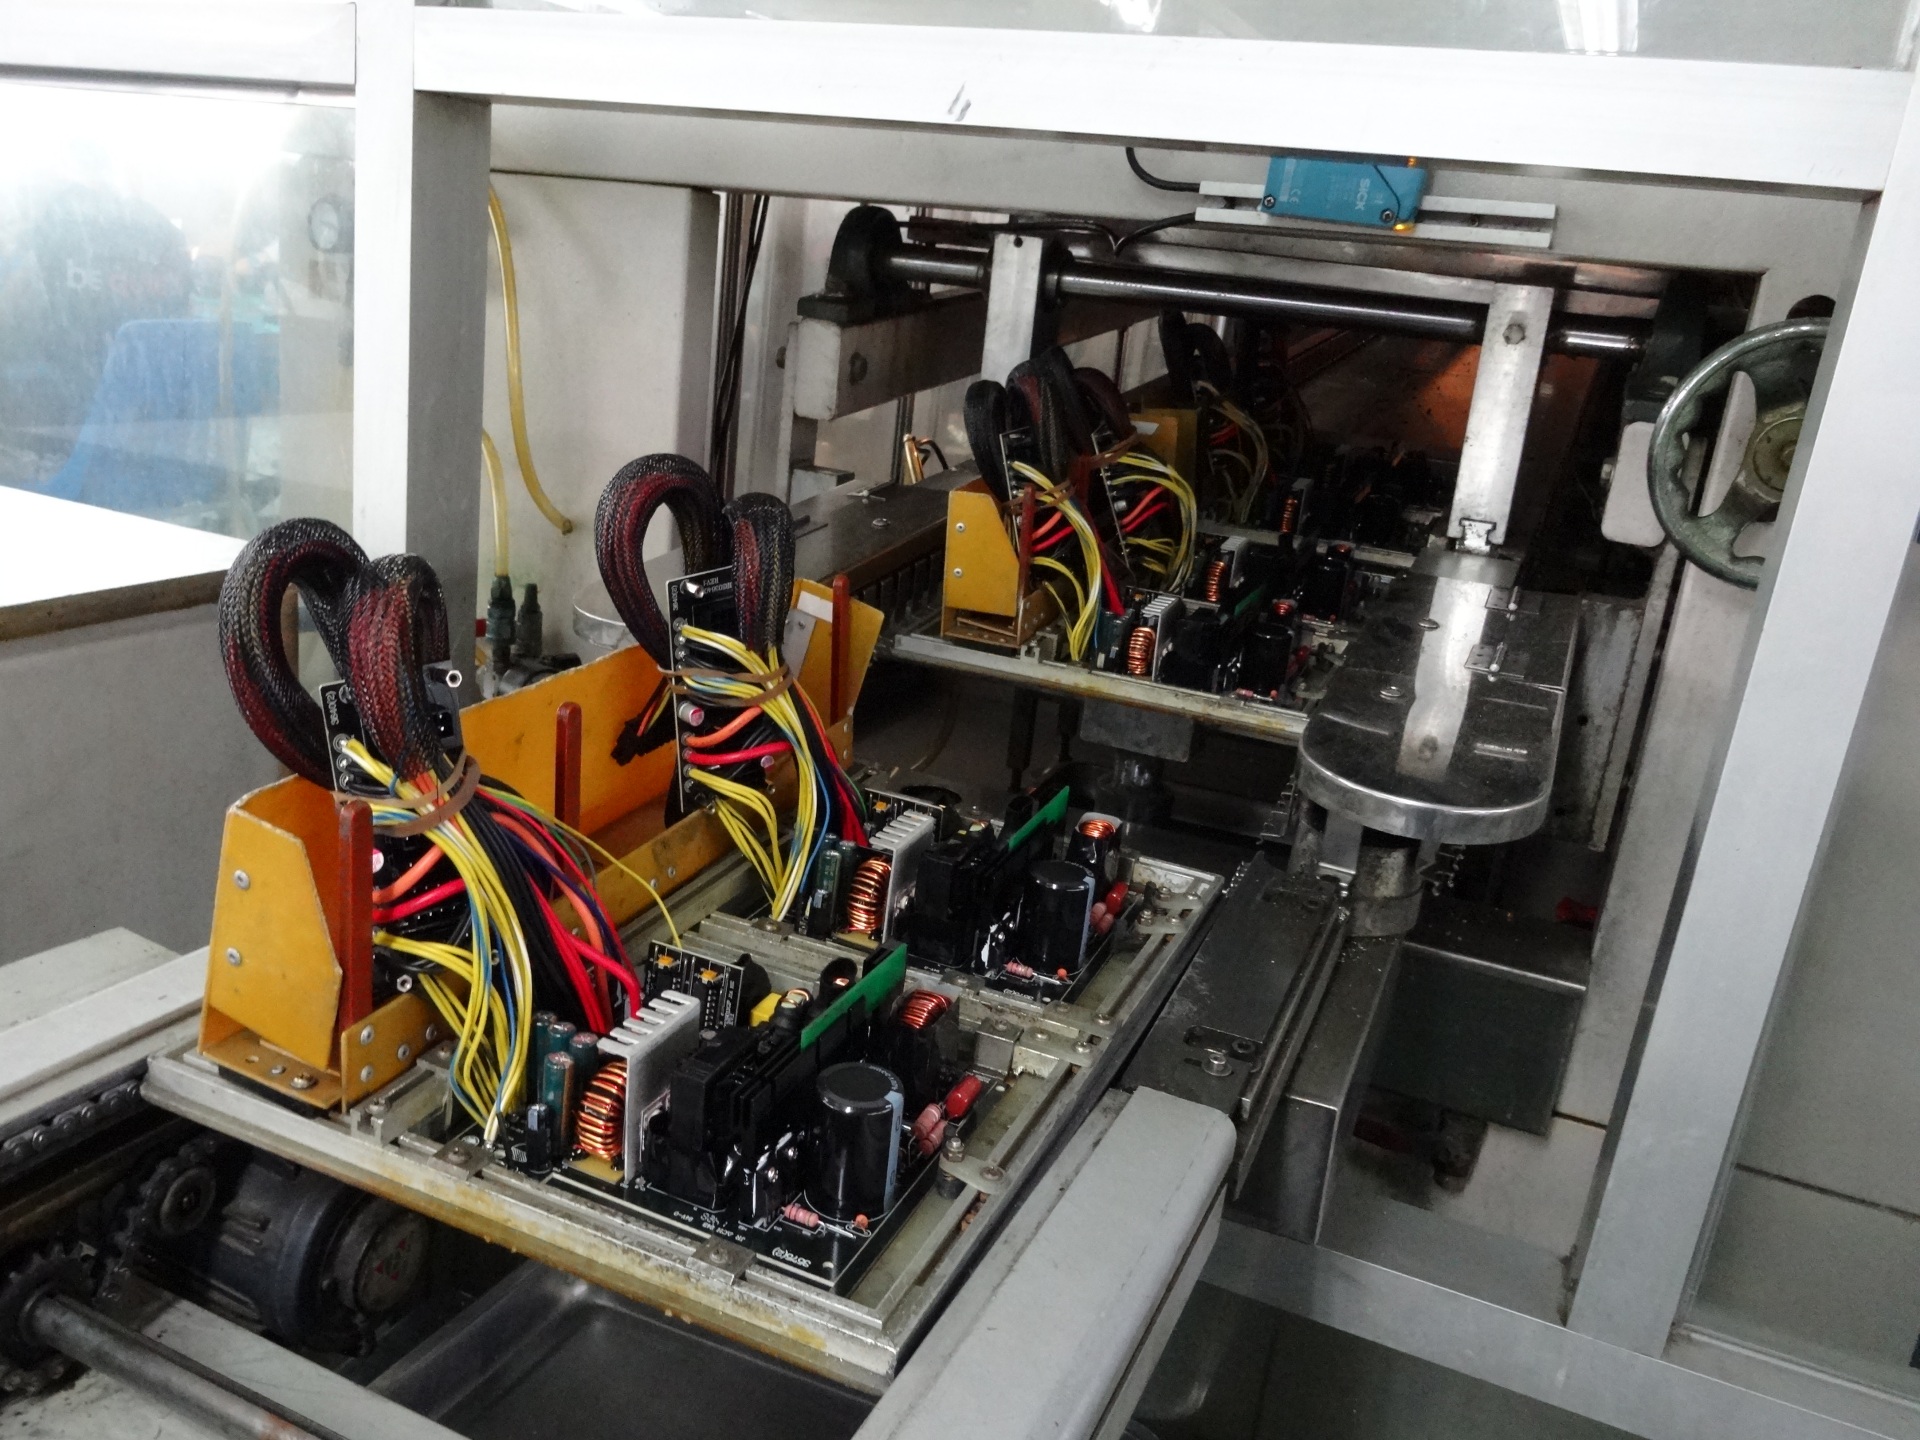
- 7 - Zwischenstopp und Überführung
- 8 - Manuelles Bestücken mit Bauelementen
- 9 - Kürzen der Anschlüsse
- 10 - Kühlkörper einsetzen...
- 11 - ...und verschrauben
- 12 - Kabelbaum einsetzen
- 13 - Kabelmanagement anschließen
- 14 - Kabel abbinden
- 15 - Finale Bestückung
- 16 - Automatisches Wellenlötbad
- 17 - Überwachung des Lötvorgangs
- 18 - Abschluss des Lötvorgangs
- 19 - Qualitätskontrolle nach dem Löten
- 20 - Korrektur und Nachlöten
- 21 - Grobreinigung
- 22 - Feinreinigung und Seriennummer
- 23 - Sichtkontrolle
- 24 - Test aller Anschlusskabel
- 25 - Netzanschluss vorbereiten
- 26 - Hochzeit! Die Platine kommt ins Gehäuse
- 27 - Lüftermontage
- 28 - Geschlossene Veranstaltung
- 29 - Heiße Sache: Burn-In-Test
- 30 - Burn-In-Test: Aus dem in den Ofen in die Freiheit
- 31 - Funktionstest nach dem Burn-In
- 32 - ATE-Test (Automatic Test Equipment)
- 33 - HiPot-Test: Hochspannung pur
- 34 - Finaler Test aller Kabel und Stecker
- 35 - Label aufkleben und Endsäuberung
- 36 - Finale Kontrolle
- 37 - Boxing: Ab in die Kiste
- 38 - Versandfertig im Sechserpack


Kommentieren