


Web UI, software RAID and storage facilities
Instead of the IP address that was displayed to us in OMV after the restart, the web UI can usually also be accessed from another computer in the network using the name assigned during installation. For example, I have assigned “printnas” as the name and “.local” as the domain, so via http://printnas.local it also works. Important: It can only be accessed http://, https:// does not work without an later assigned certificate!
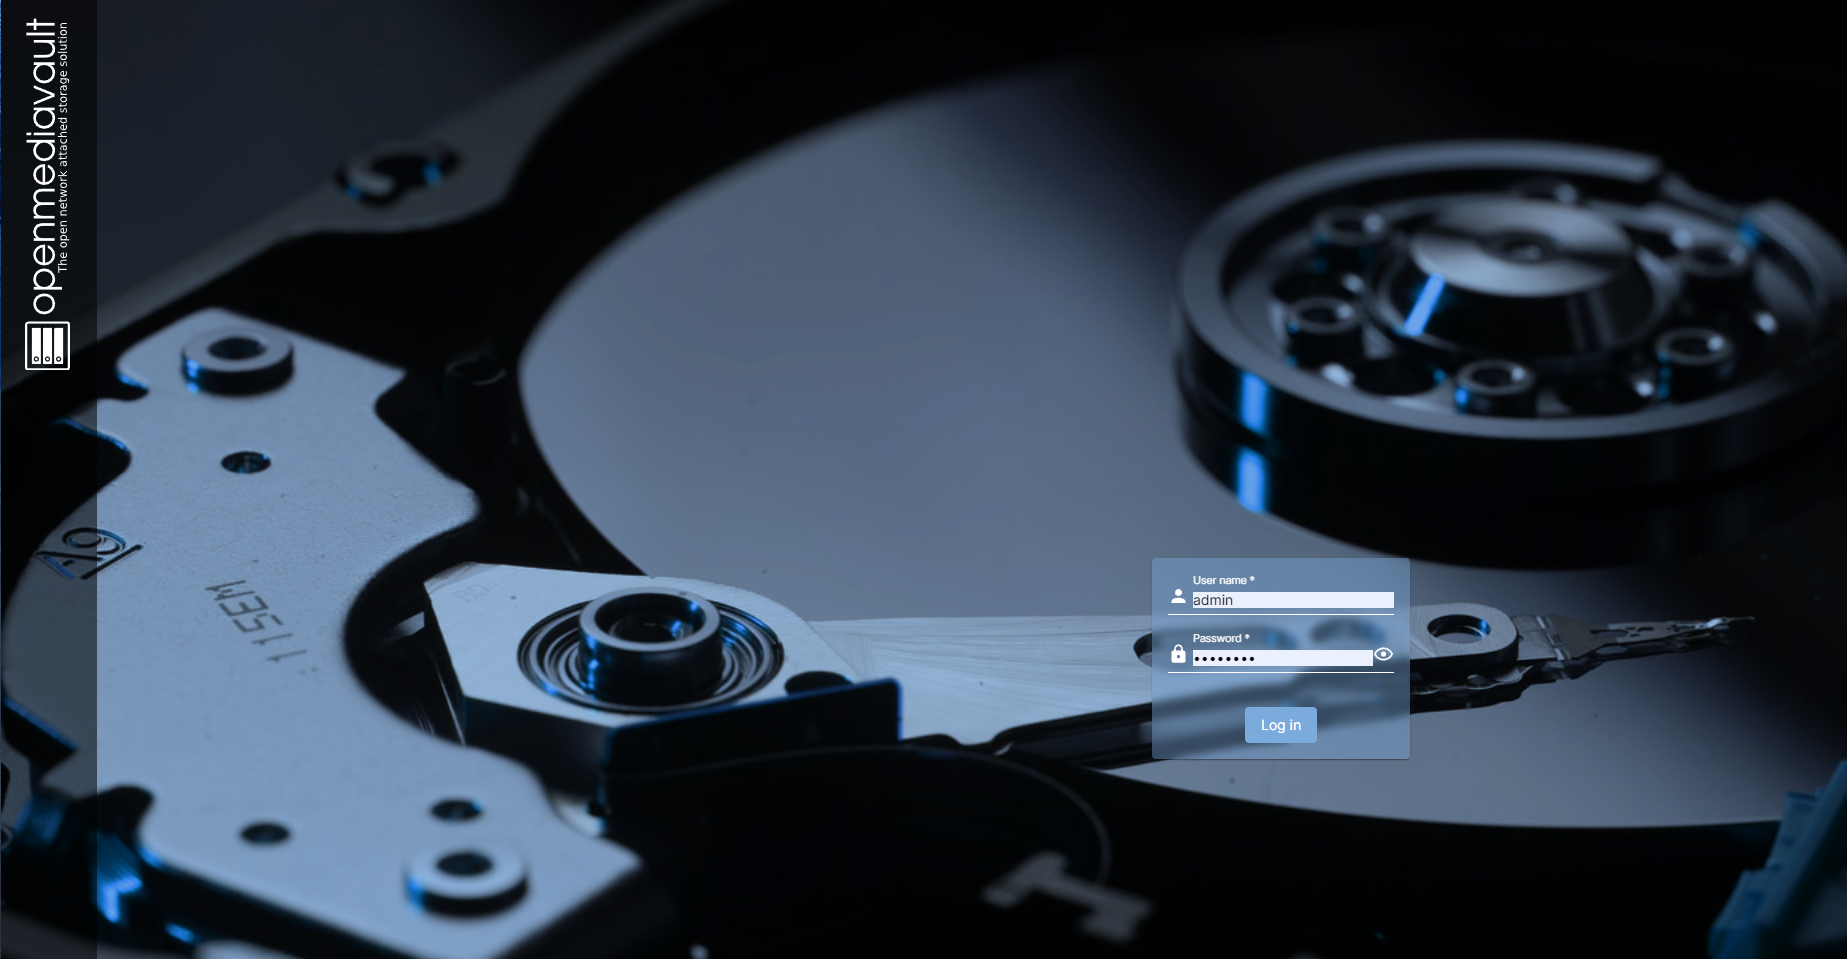
The username and password are “admin” and “openmediavault” by default in this version of OMV.
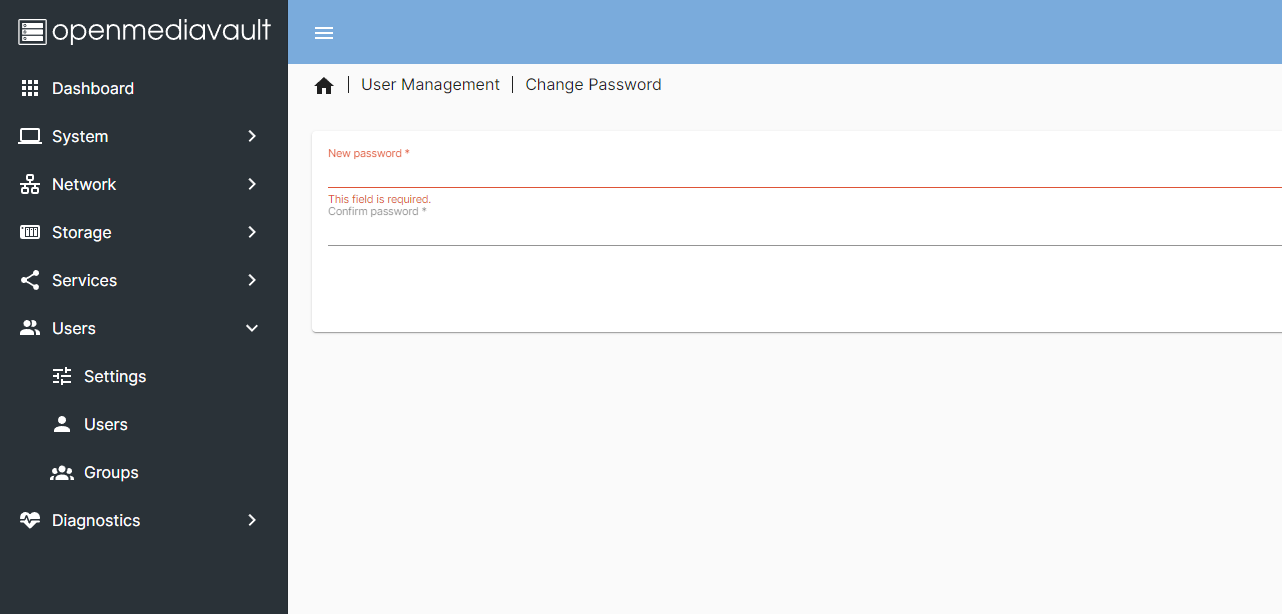
For security reasons, the password should of course be changed immediately after the first login. To do this, simply click on the small user icon at the top right and select Change Password.
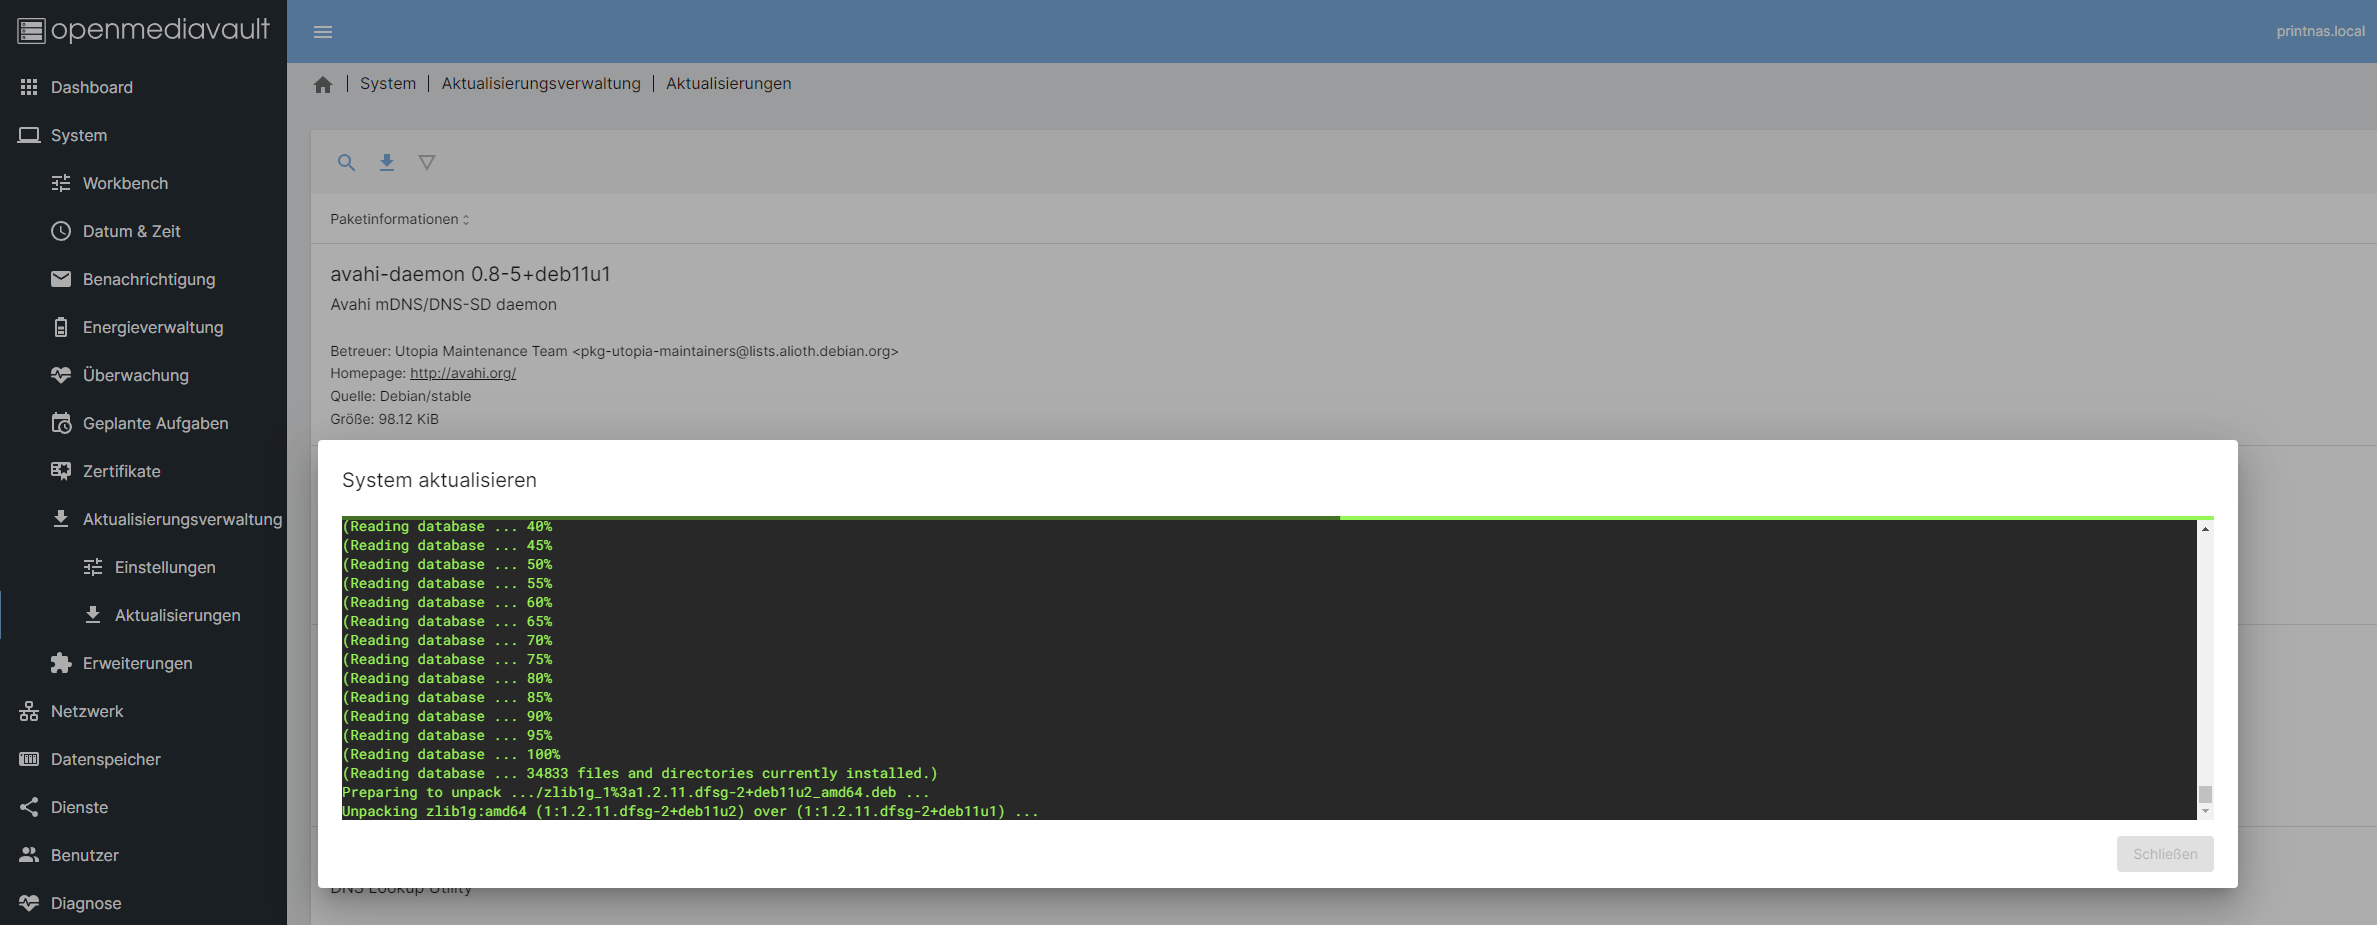
The next step should then be to first perform all outstanding updates. To do this, navigate to System > Update Management > Updates and click the magnifying glass there. Then install all updates by clicking on the download icon. This process can take quite a while, you may have to confirm the banner at the top of the screen afterwards with the execution of all changes!
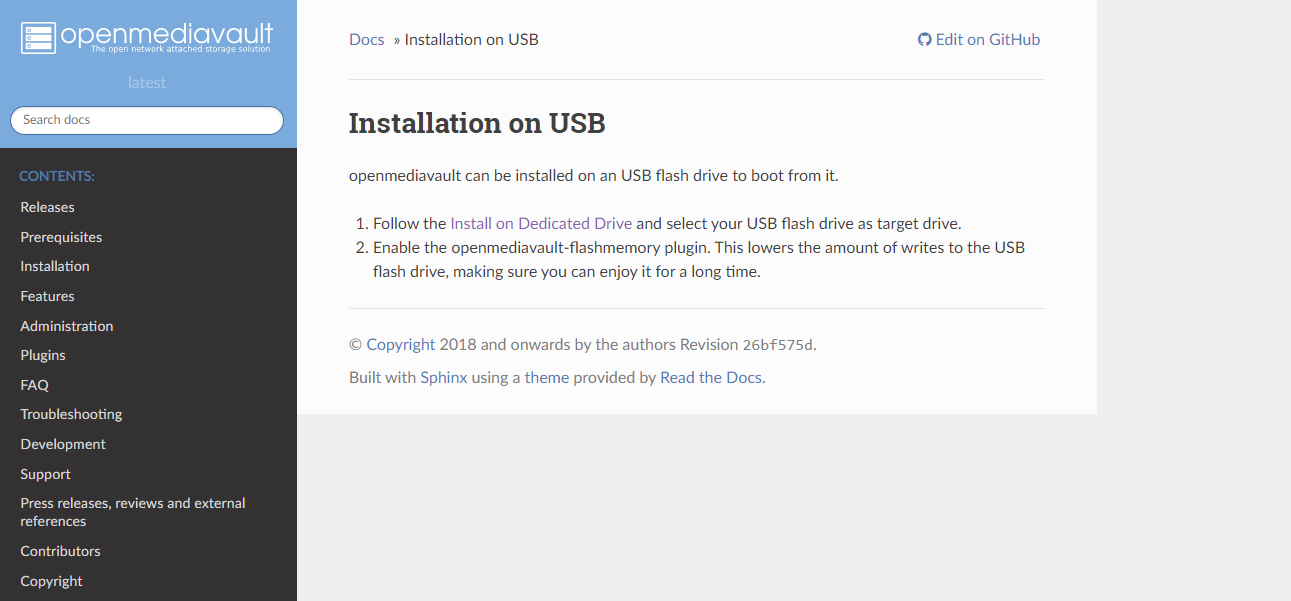
If you have installed OpenMediaVault on a USB flash drive, it is recommended to install the flashmemory plugin. With this only the most necessary changes are written to the memory, everything else runs out directly on the RAM and preserves the USB flash drive.
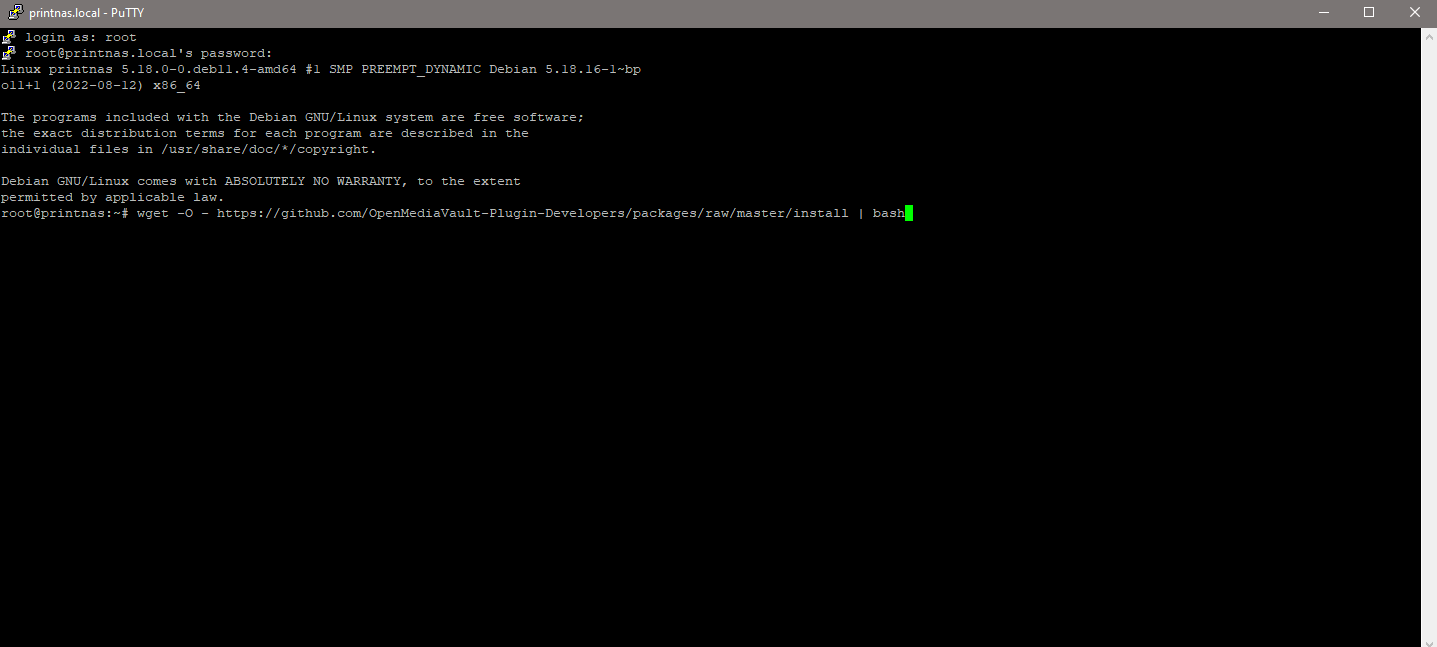
To do this, it is best to follow the official instructions from the OMV forum. If version 6 or higher, an SSH connection must be established via PuTTY, for example. The username there is “root” and the password would be assigned during the installation itself.
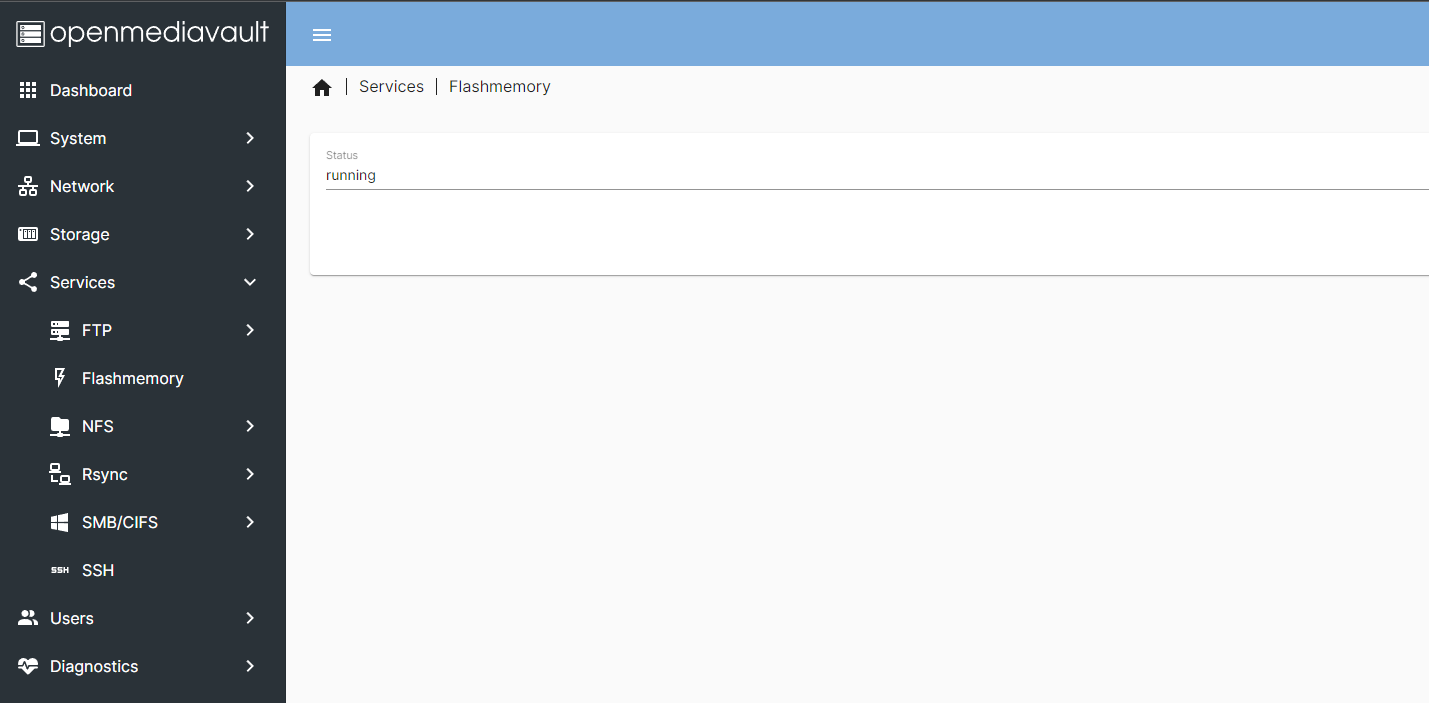
After entering the command and restarting, you can check the status under Services > Flashmemory to see if everything has been installed correctly.
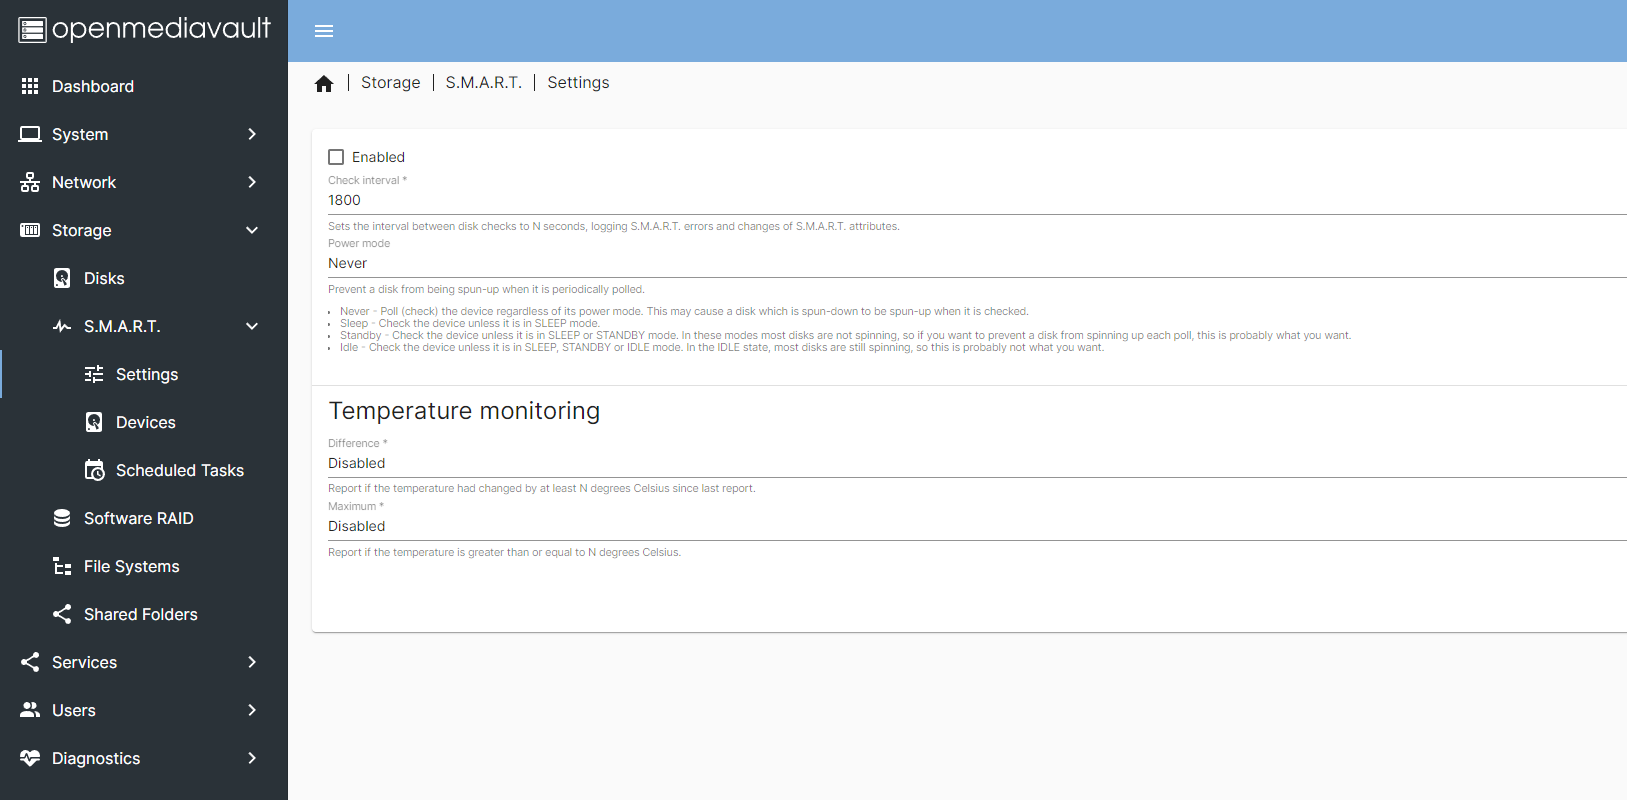
The best NAS is of no use if the disks installed there die away and take the backed up data with them. So first we activate the monitoring under Storage > S.M.A.R.T. > Settings. The interval is specified in seconds, 3600 corresponds to a full hour. If you want, you can still adjust the value.


But that’s not all, in Storage > S.M.A.R.T. > Devices each HDD must first be selected individually and added to the monitoring via the pencil icon.
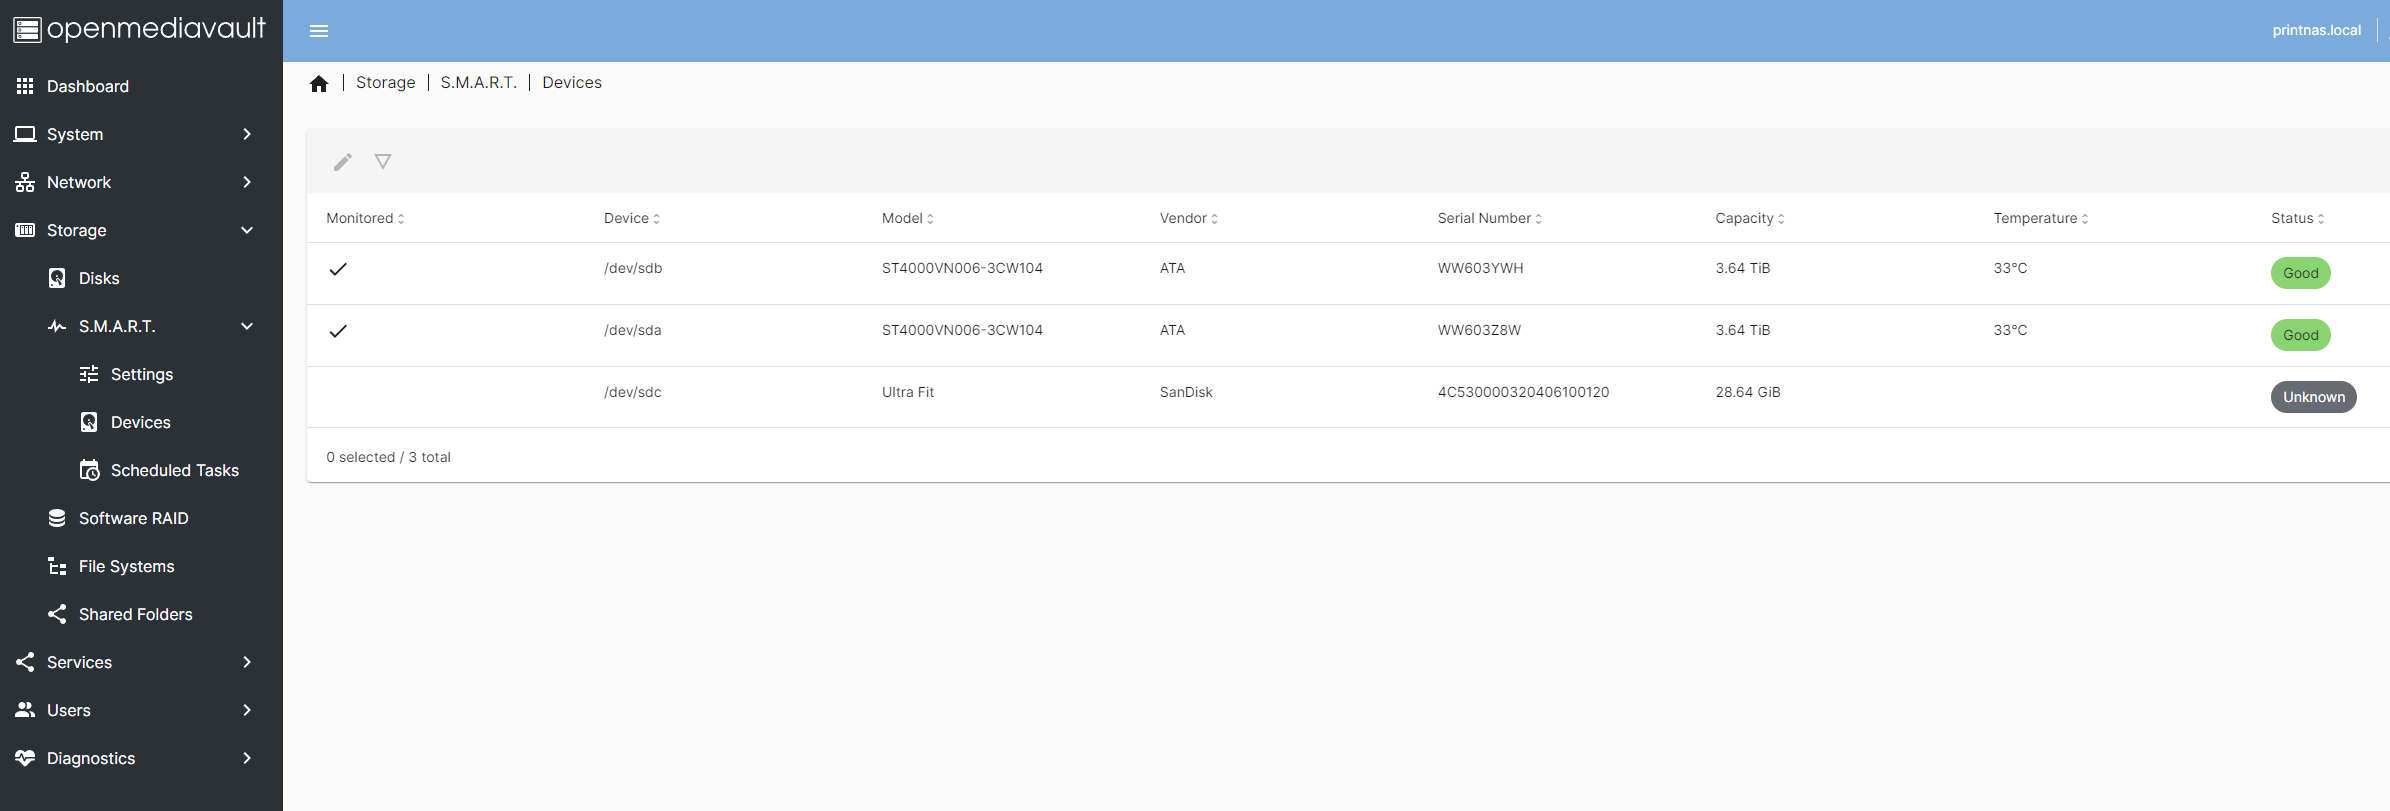
If the check mark is at the very front of all drives, after a while the column with the temperature and status should be filled. Also in the dashboard, a green background of the name indicates the current status.

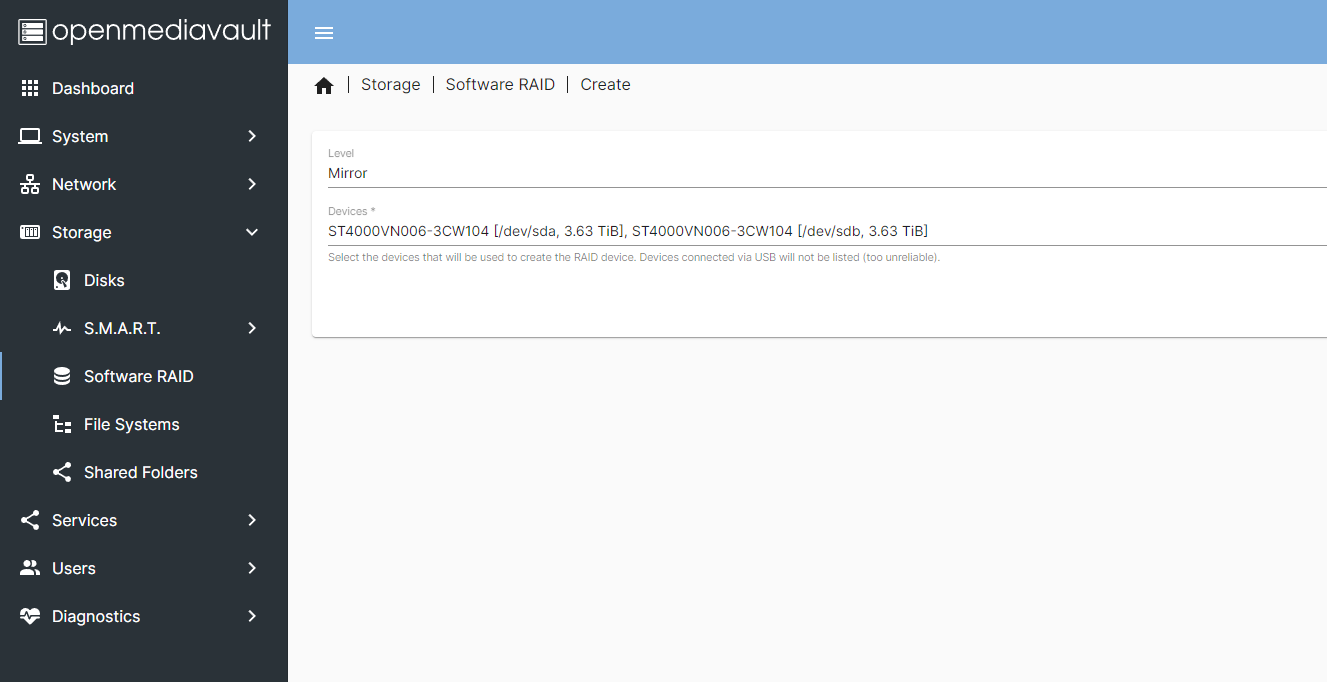
In the menu Storage > Software RAID a new RAID array can be created via the plus symbol. At this point I would like to point out the RAID calculator, which can be helpful for the level decision. Since I only have two HDDs installed so far, it will be a Raid1 mirror for me.
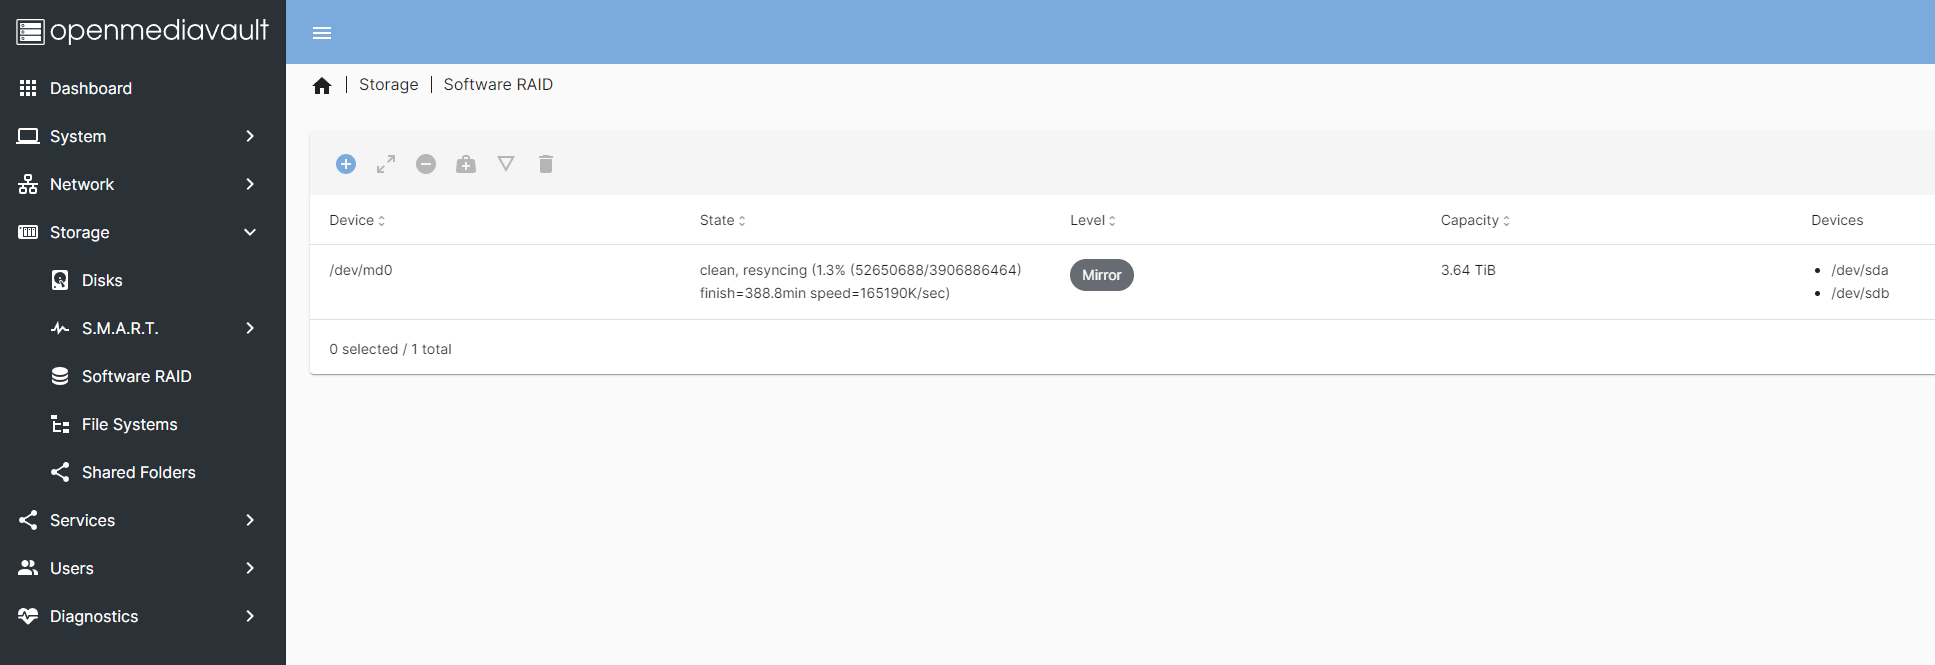
Then you have to wait, because it can take quite a while until the resyncing process is completed.
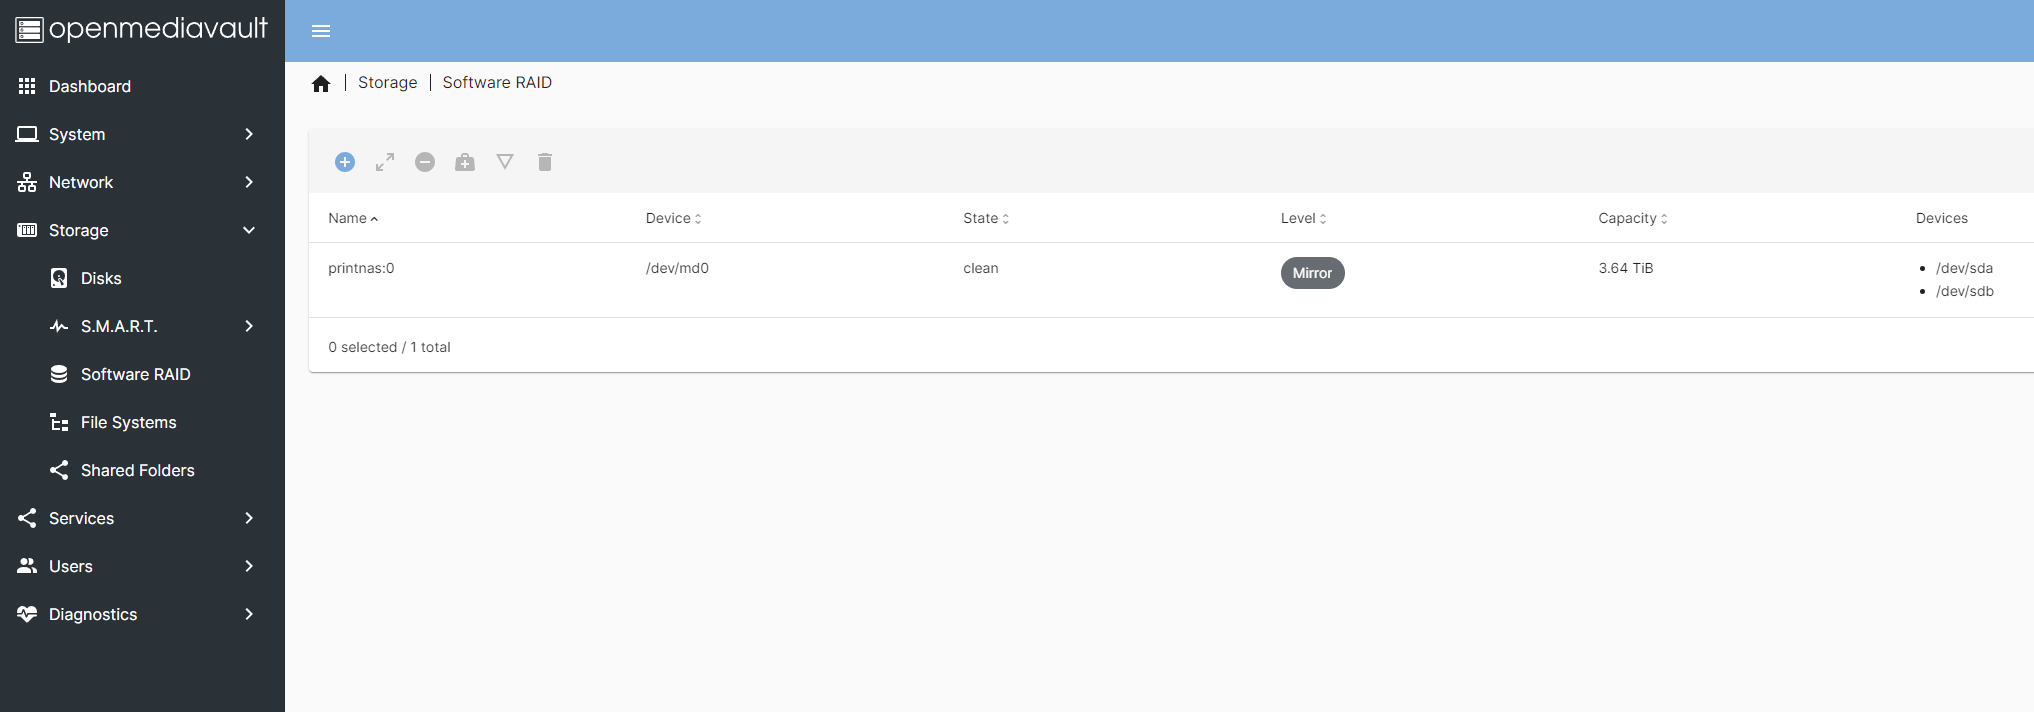
Depending on the size of the hard disks, the RAID is then created within a few hours and the status simply shows “clean”.
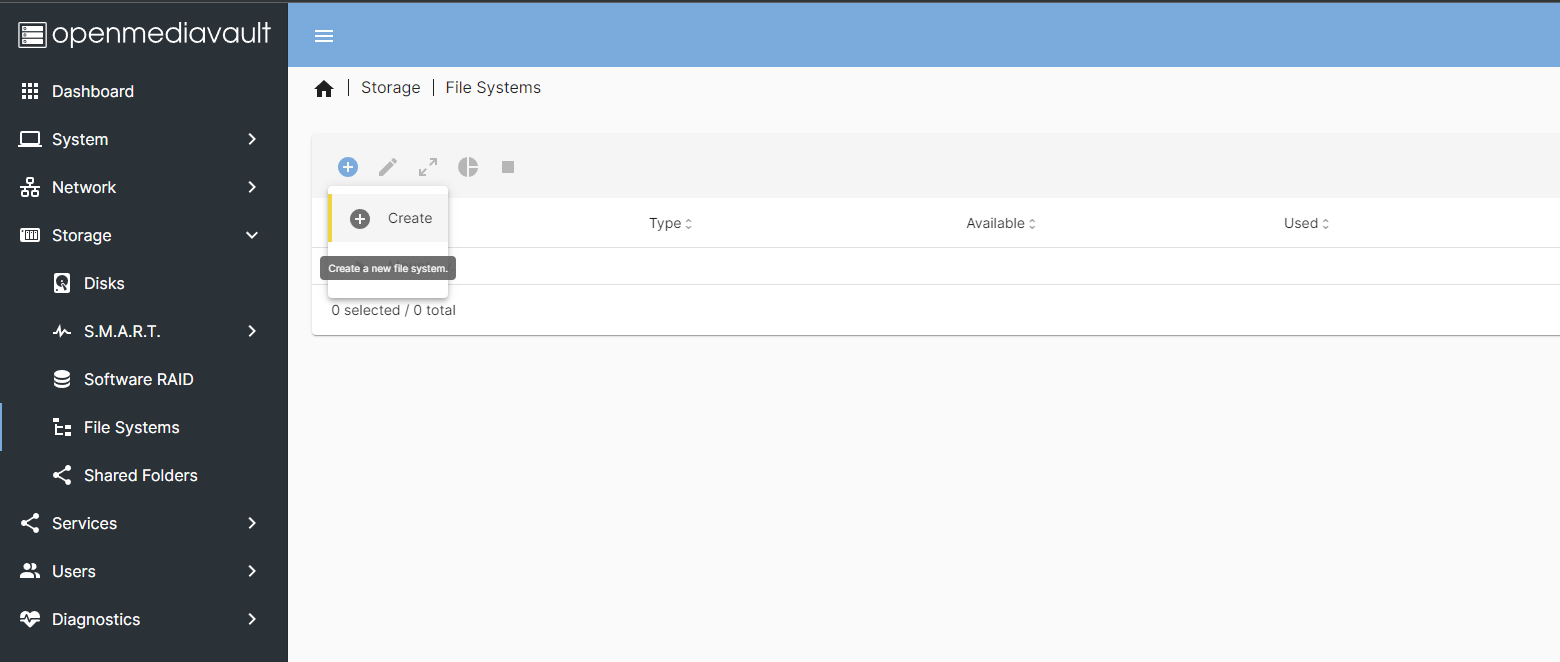
Now the file system can be created, this is possible under Storage > Filesystem via the plus symbol.


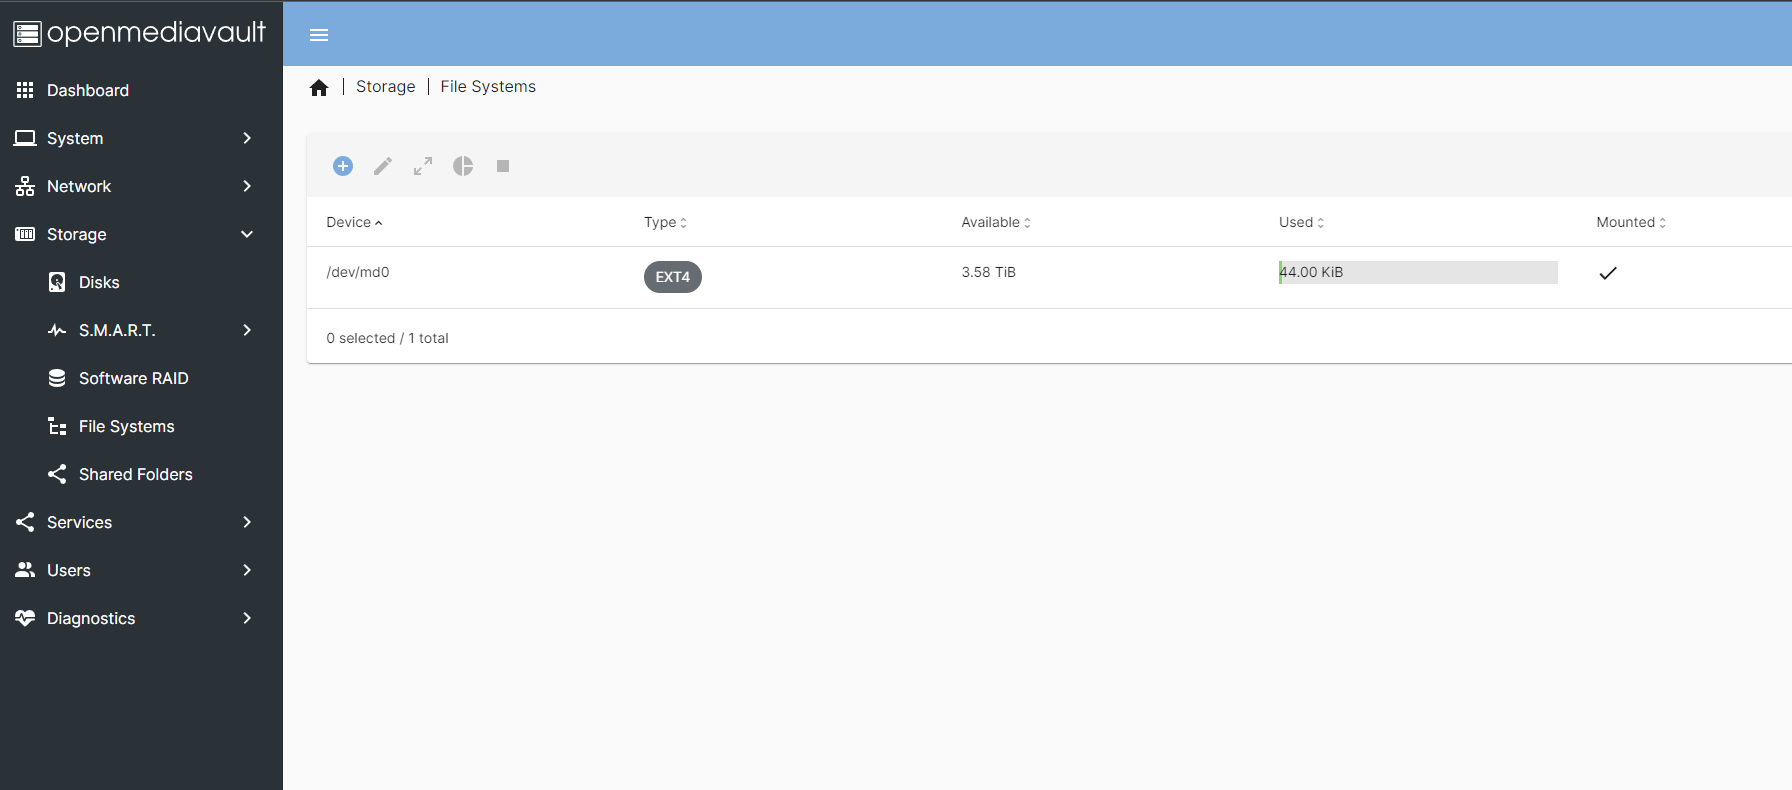
There select the created RAID and a type as the target device, EXT4 is suggested and is usually best suited. The creation of the file system can take some time, as soon as it is ready the final size will be displayed.

Under Storage > Shared Folders now set up a share so that a parent folder can be displayed via network.
And “already” we are done, what follows now is dependent on the own purpose. I show here exemplarily the way to prepare the NAS as a network drive for Windows. But you can also configure it as an FTP server or target device for backing up macOS devices.

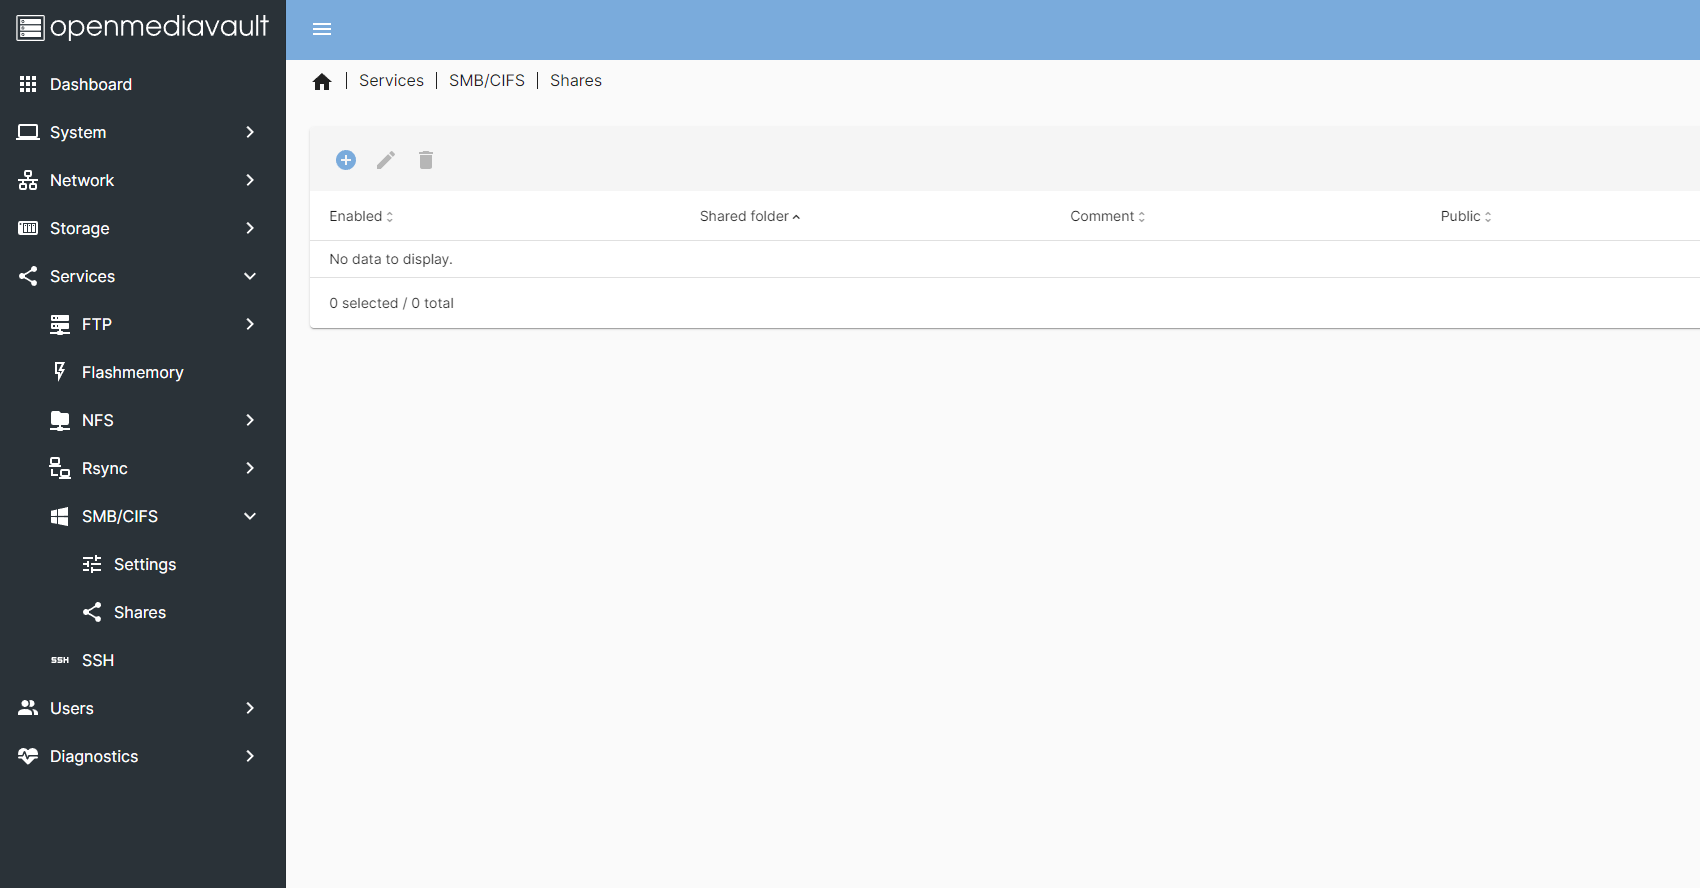
To do this, activate the service under Services > SMB/CIFS > Settings and select the shared folder you just created in the Shares tab using the plus symbol.
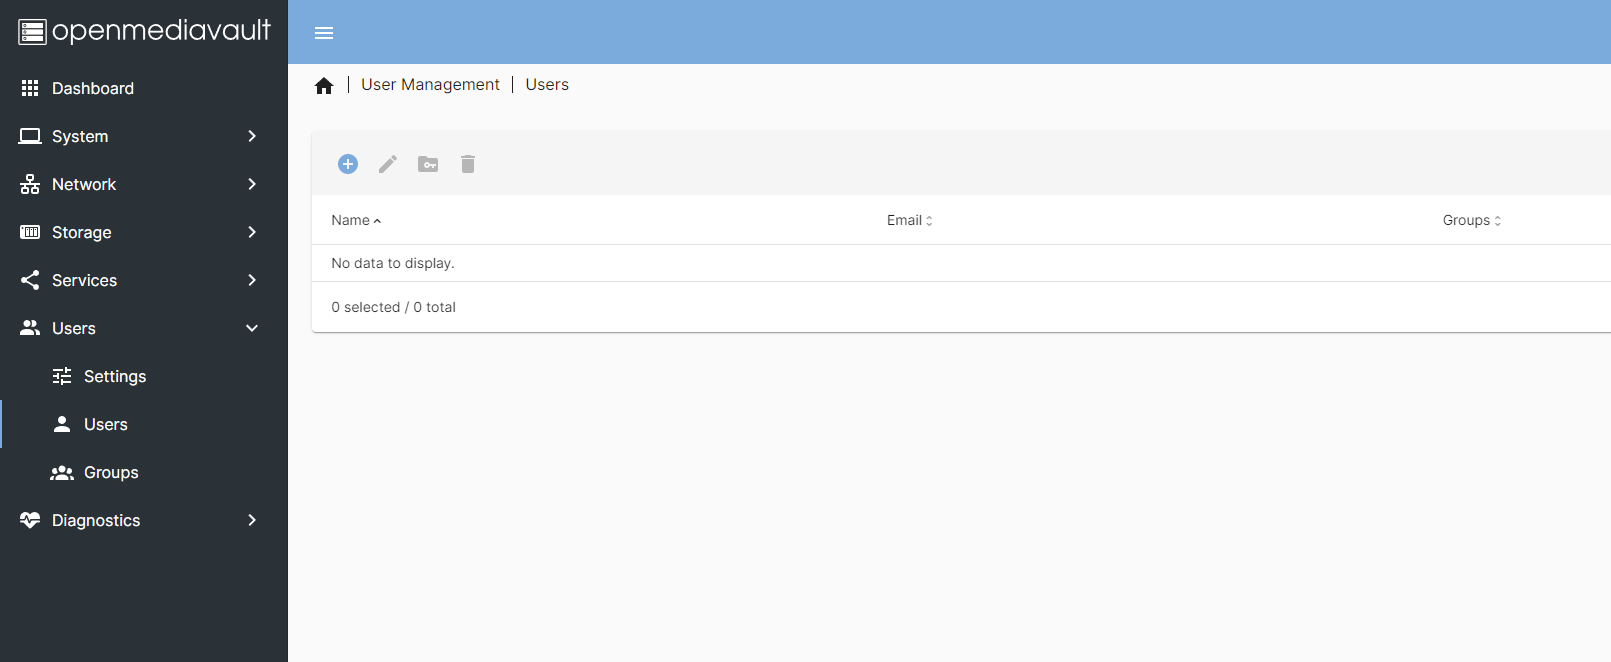

Finally, don’t forget that for the access at least one user has to be created in the group “adm” in Users > Users, which has to be provided with the Read/Write Permission in Storage > Shared Folders after clicking on the folder via “Privileges”.


20 Antworten
Kommentar
Lade neue Kommentare
Urgestein
Urgestein
Moderator
Urgestein
Veteran
Moderator
Moderator
Veteran
Urgestein
Mitglied
Urgestein
Moderator
Mitglied
Moderator
Mitglied
Moderator
Urgestein
Moderator
Alle Kommentare lesen unter igor´sLAB Community →