


We seamlessly follow up on the last article about my 3D-printed NAS, then today it’s all about commissioning and also finally performance testing. If you haven’t read the last article yet, you should definitely catch up on it. In this one, it does get very software-heavy.
Your own ITX NAS from the 3D printer – Part 1: Introduction, hardware and assembly
Preparations
As already announced, I decided to use OpenMediaVault. The reasons for this, besides personal familiarity and good experiences in the past, are also quite objective, because it combines low hardware requirements and good documentation as well as helpful community. This OS can also be easily installed on a thumb drive. This way you can use all available SATA ports for the storage of the NAS.
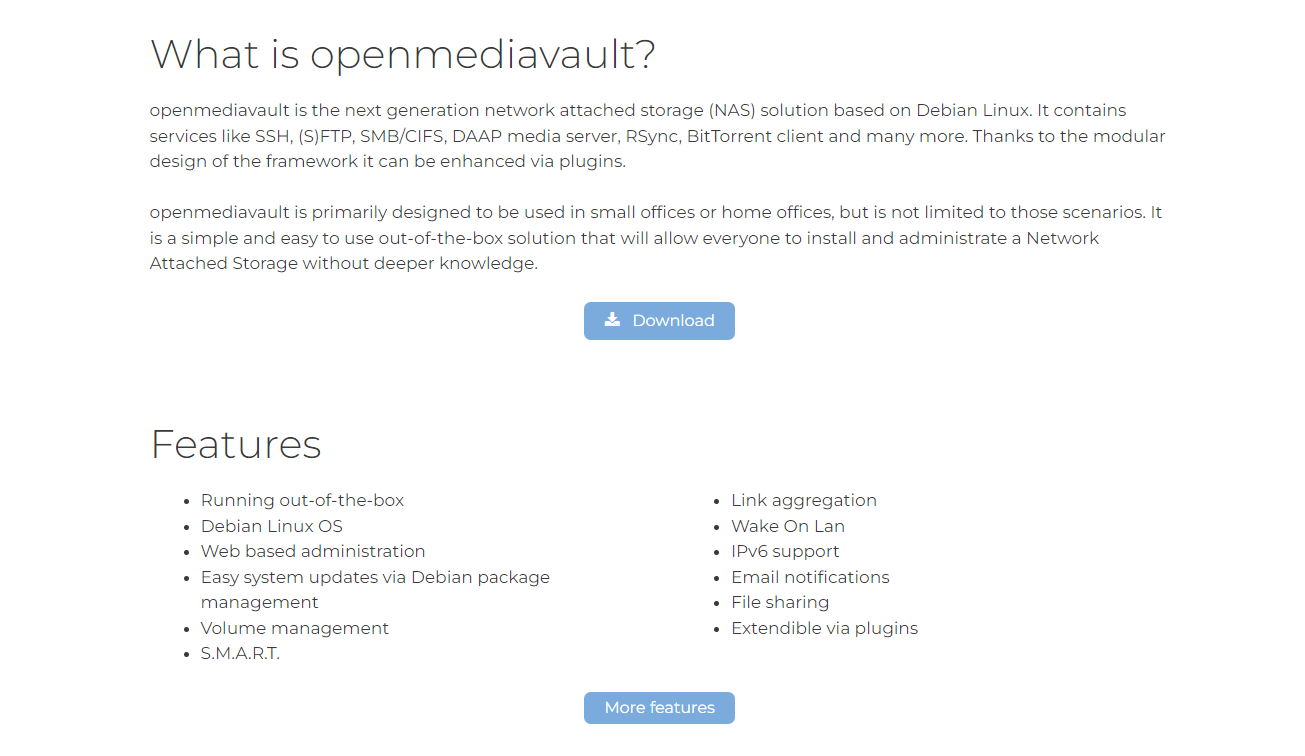
So quickly visit the homepage and download the installation package! One thing should be noted: On the download page, the upper link is still for OMV version 5 (latest old stable version), but I use and advise OMV version 6 (latest stable version) and thus the second link.
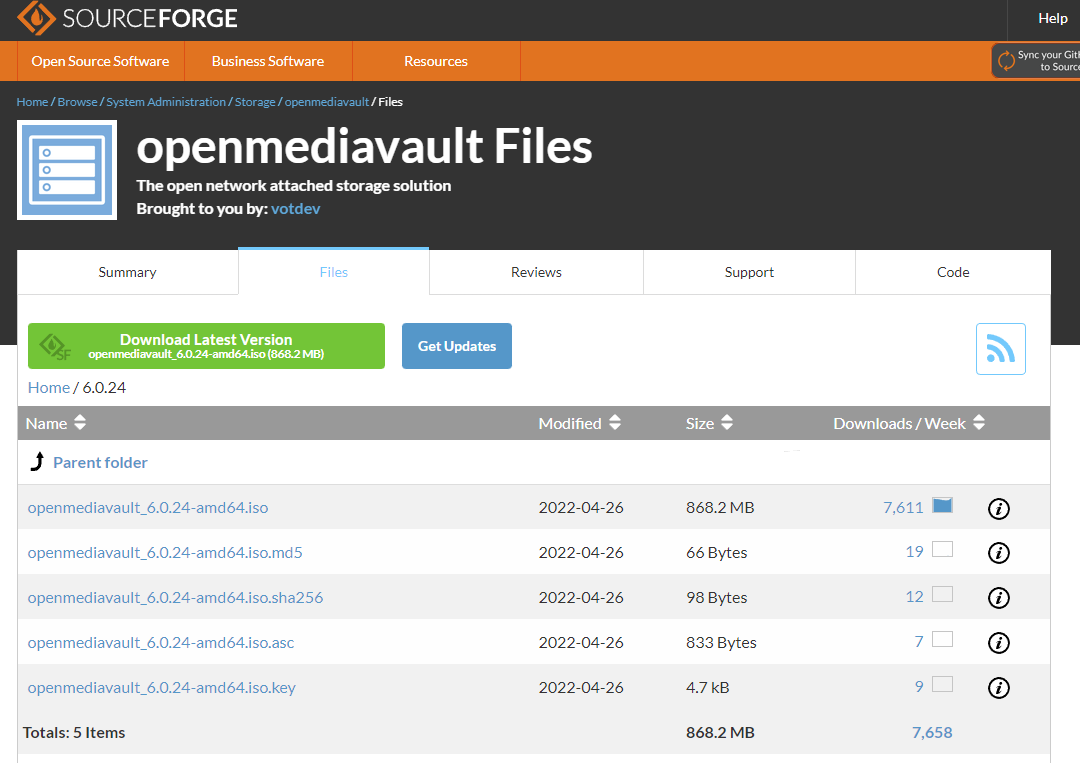
This leads us to SourceForge, where the version can be checked again. Don’t be surprised, the ISO available there is usually not quite up to date. Updates are applied later in the web UI.

For flashing the ISO file to a USB flash drive, balenaEtcher is recommended, so we’ll use that too. However, another program that supports DD mode should also work. If you want to run OMV only from the thumb drive and not from your own SSD or hard disk, you need two USB drives! Flash one with the ISO as shown here, leave the second empty and connect both to the NAS.
On the next page we will go through the individual stages of the setup step by step.


20 Antworten
Kommentar
Lade neue Kommentare
Urgestein
Urgestein
Moderator
Urgestein
Veteran
Moderator
Moderator
Veteran
Urgestein
Mitglied
Urgestein
Moderator
Mitglied
Moderator
Mitglied
Moderator
Urgestein
Moderator
Alle Kommentare lesen unter igor´sLAB Community →