


What’s on the other end of the graphics card? Right! A cable leading to the monitor. In most cases, this will be a DisplayPort cable. The connection to the monitor is now established. The monitor can now render everything the GPU outputs to your eyes. Or at least it could. In almost all the articles you have read from me so far, I refer to my test monitors. Why? The subject of the monitor is still far above the other hardware components for me, because in the end you see everything that the PC spits out on the monitor. And that should just look good (and right)!

That’s why the monitor is the most important thing for me, and that’s exactly where you shouldn’t be stingy. If you buy cheap here, you buy twice. But that doesn’t mean you necessarily have to spend €1000 or more. Good monitors are available in all price ranges. I will go into more detail about monitors in further articles (yes, the plural is deliberately chosen). Today, we’ll take a quick and painless look at the topic of monitor calibration for everyone.
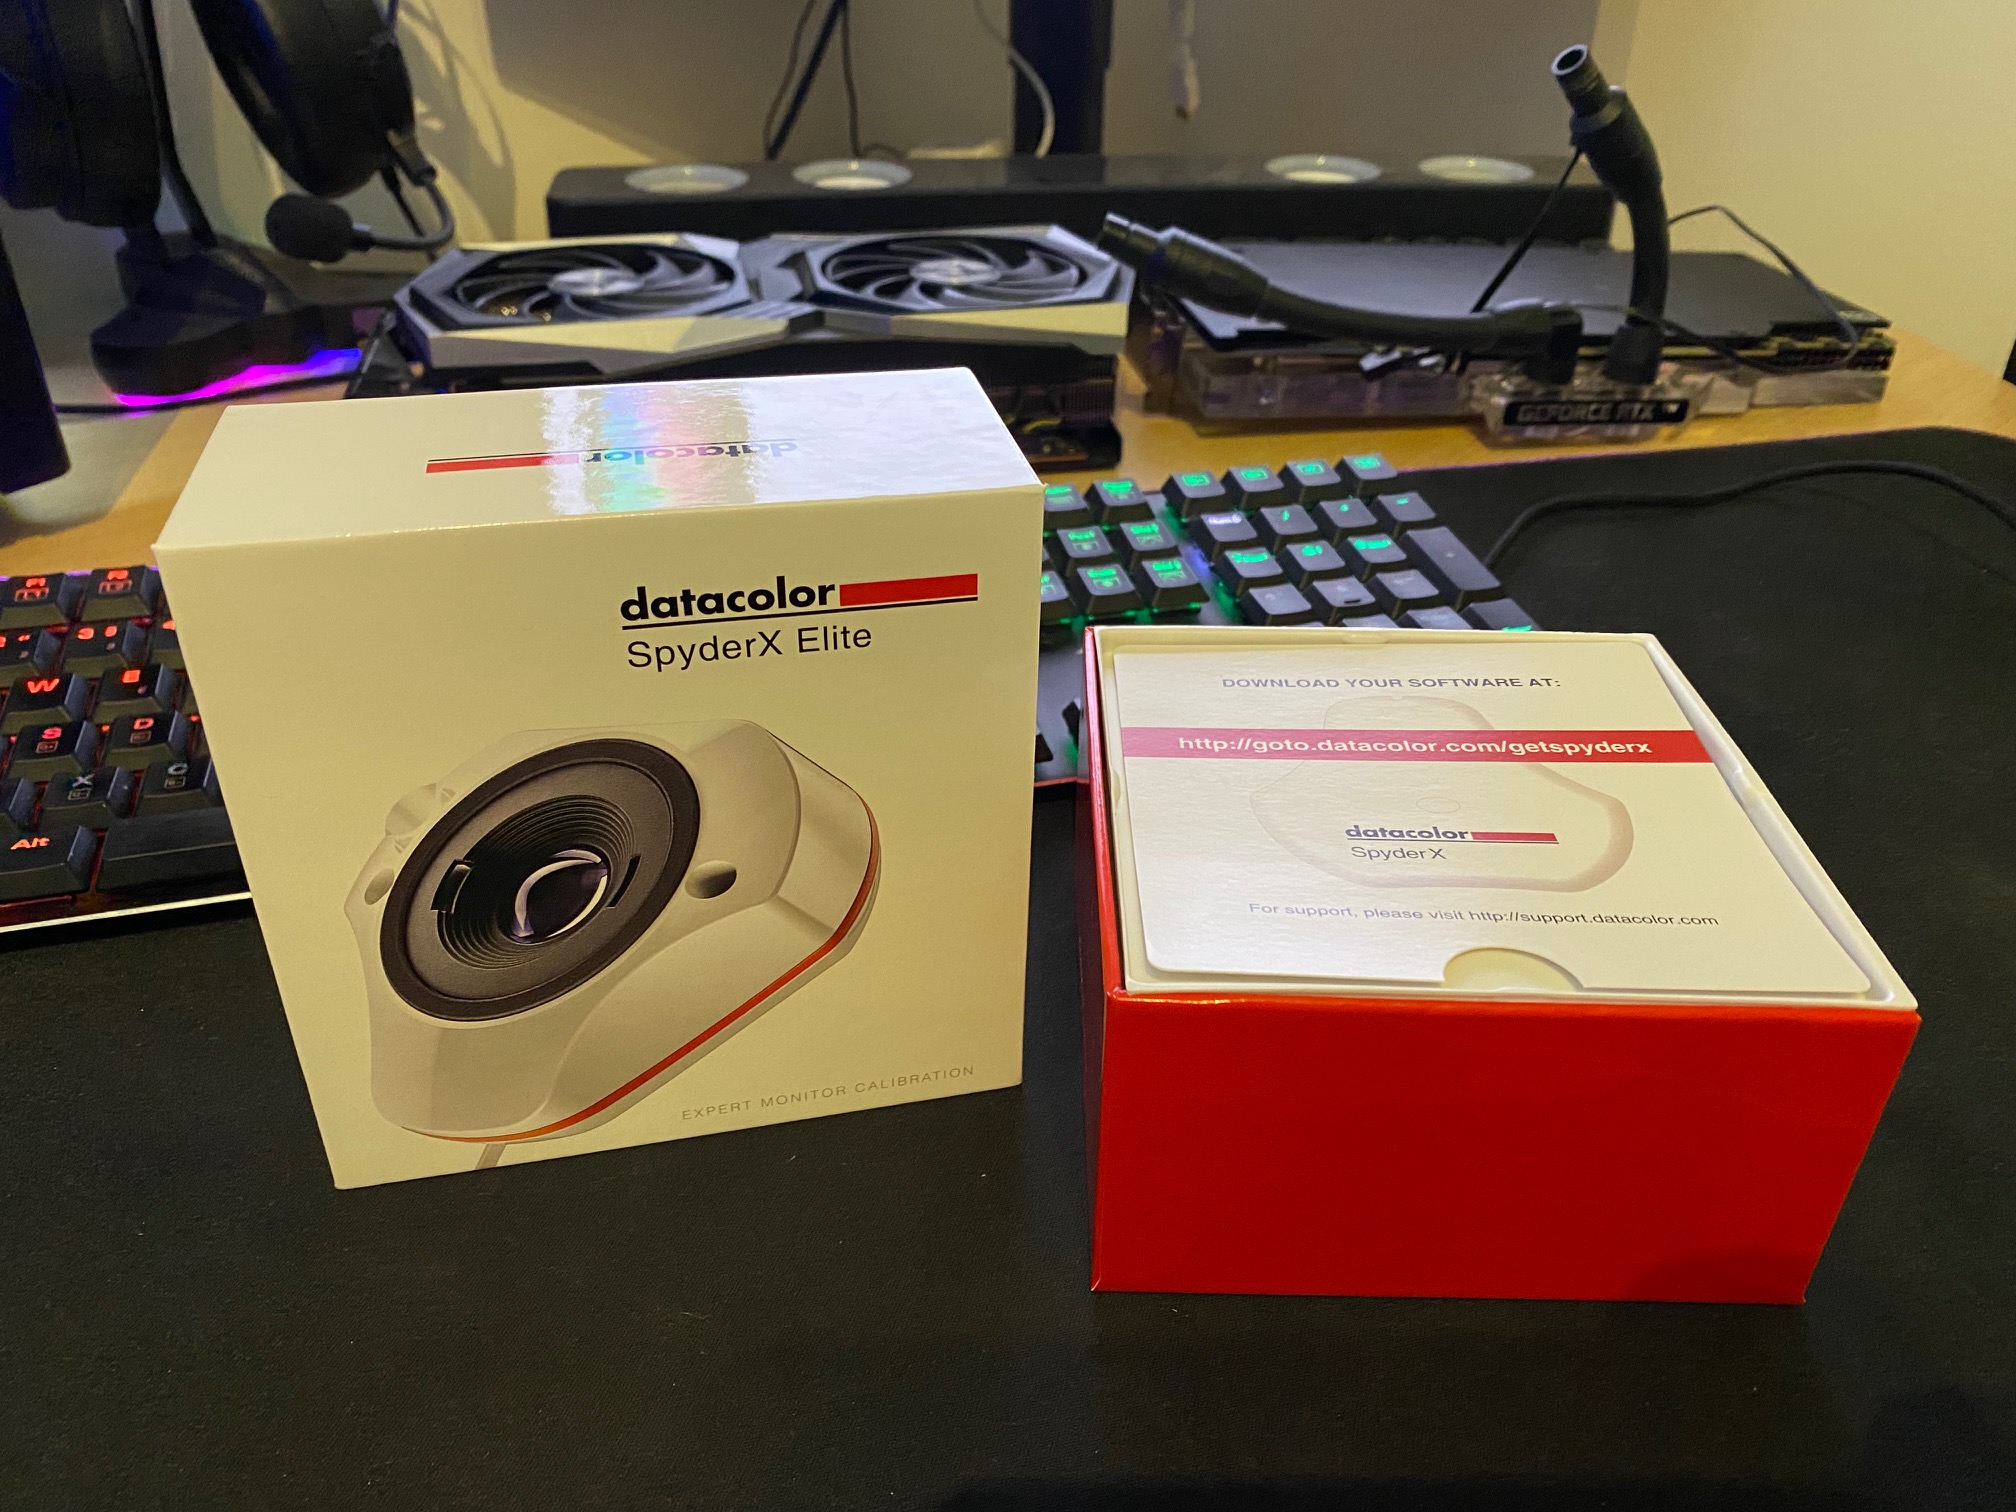
One option that can be purchased quite cheaply for around €160 is the SpyderX Elite from Datacolor. Of course, there is much more choice on the market here. For example, the ColorChecker. Both the SpyderX and the ColorChecker are colorimeters that you place directly on the screen. This is also completely sufficient for home use. If you want the whole thing to be even more professional, you’ll quickly spend over €5,000 here. But you don’t really need that for gaming and it’s more for filmmakers, professional photographers, etc.
Packing and contents
The SpyderX Elite comes in a small package and the contents are manageable. In my view, this is also sufficiently protected. Perhaps the plastics could still be exchanged for cardboard? Makes recycling easier…

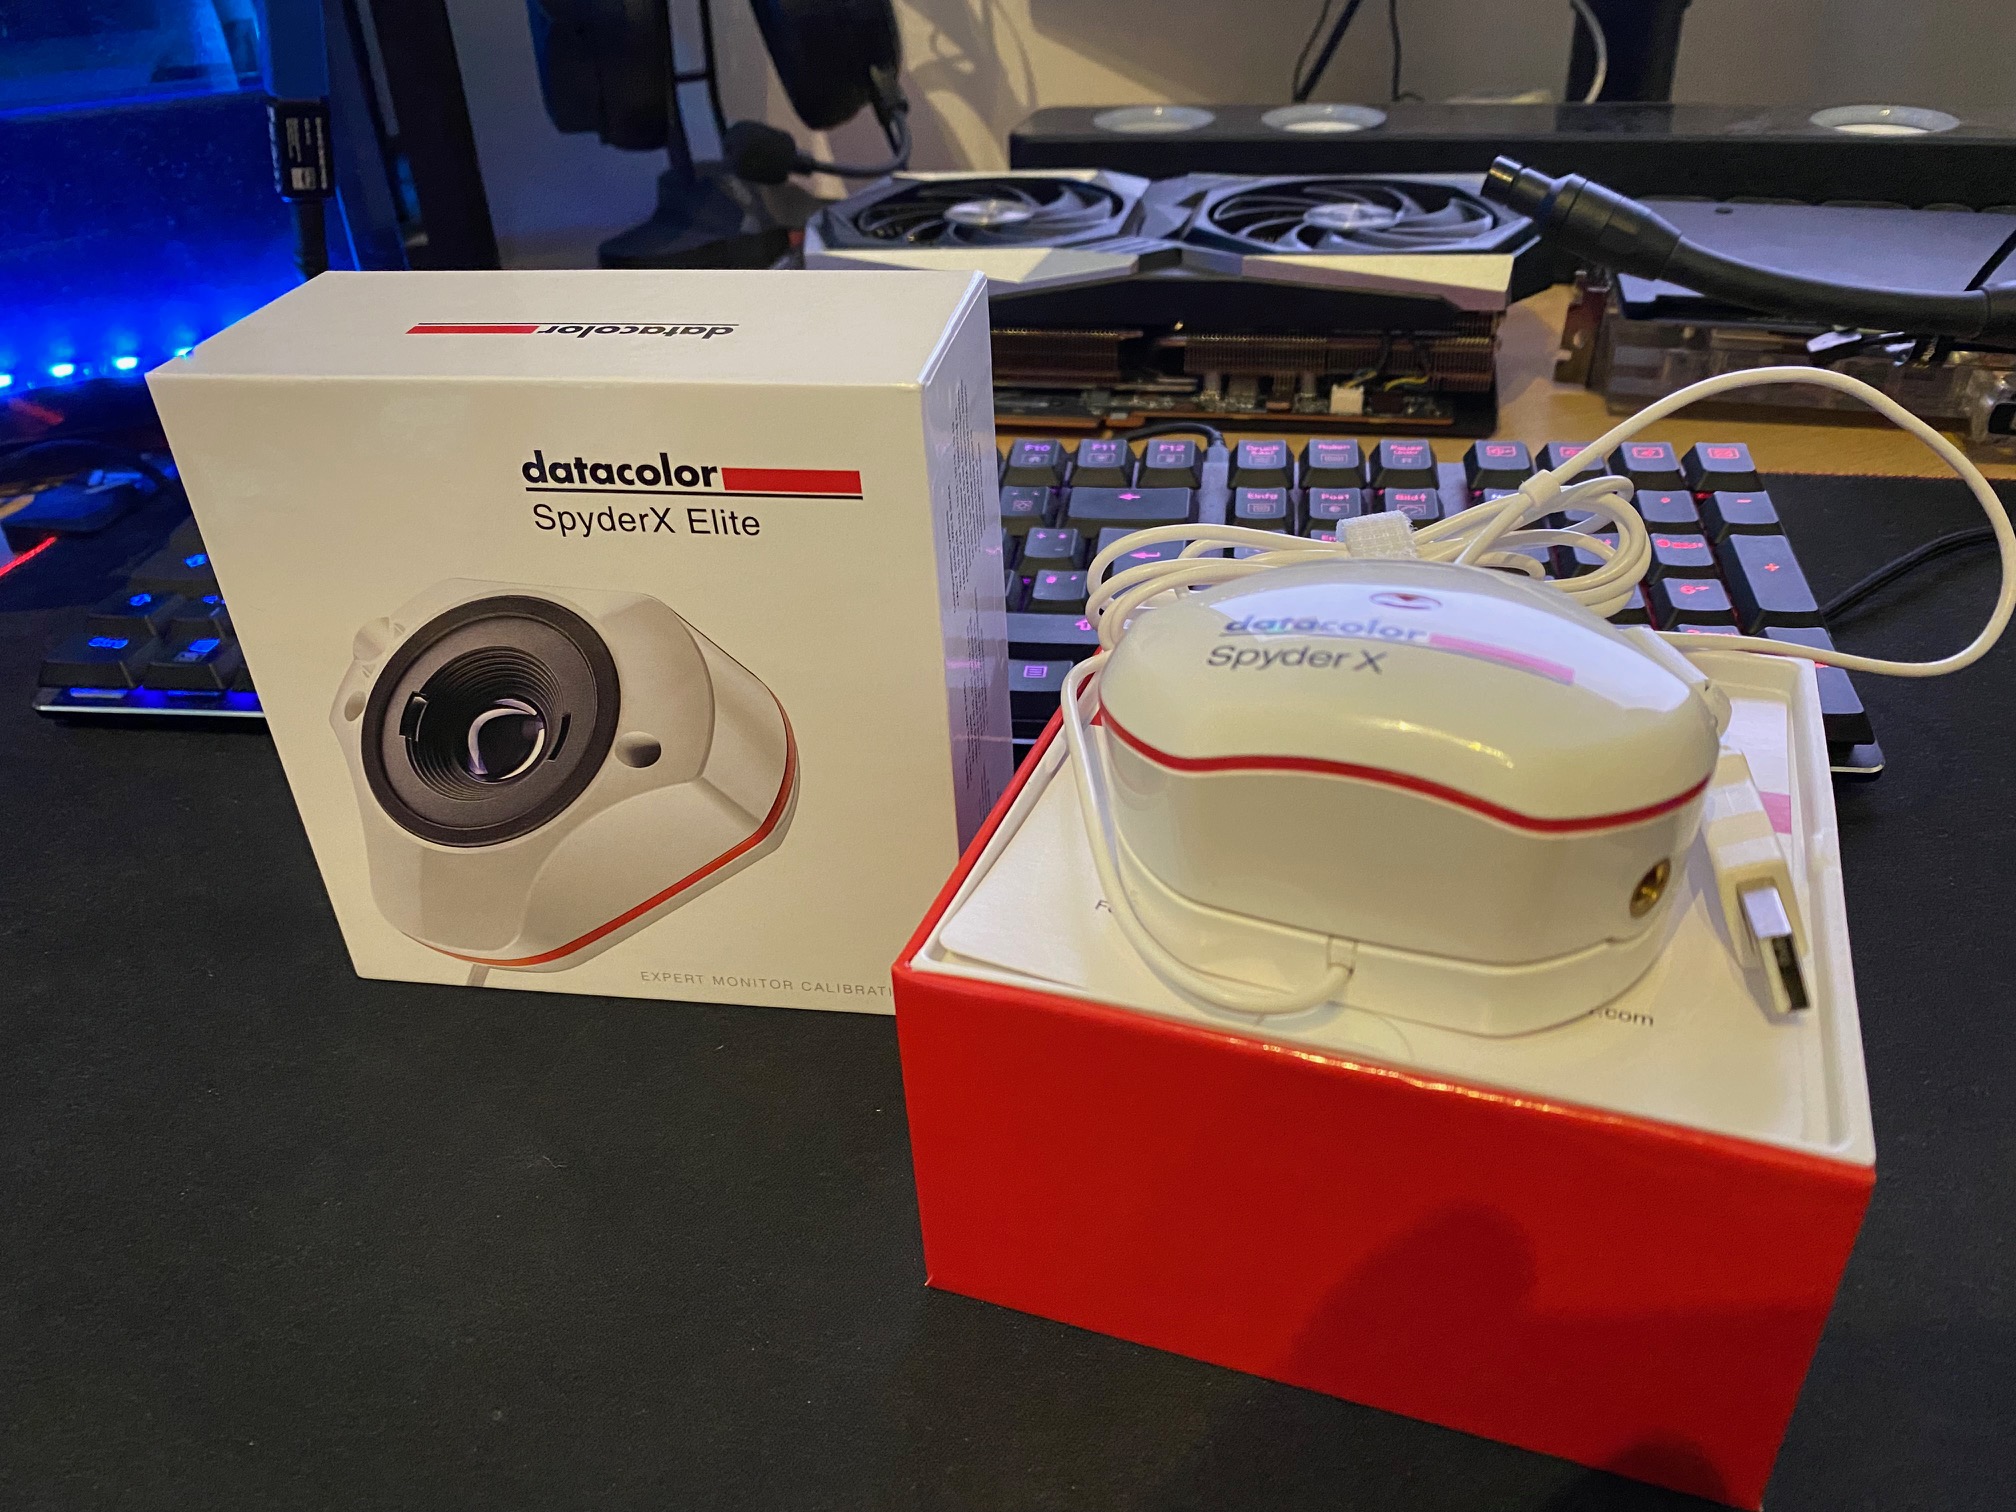
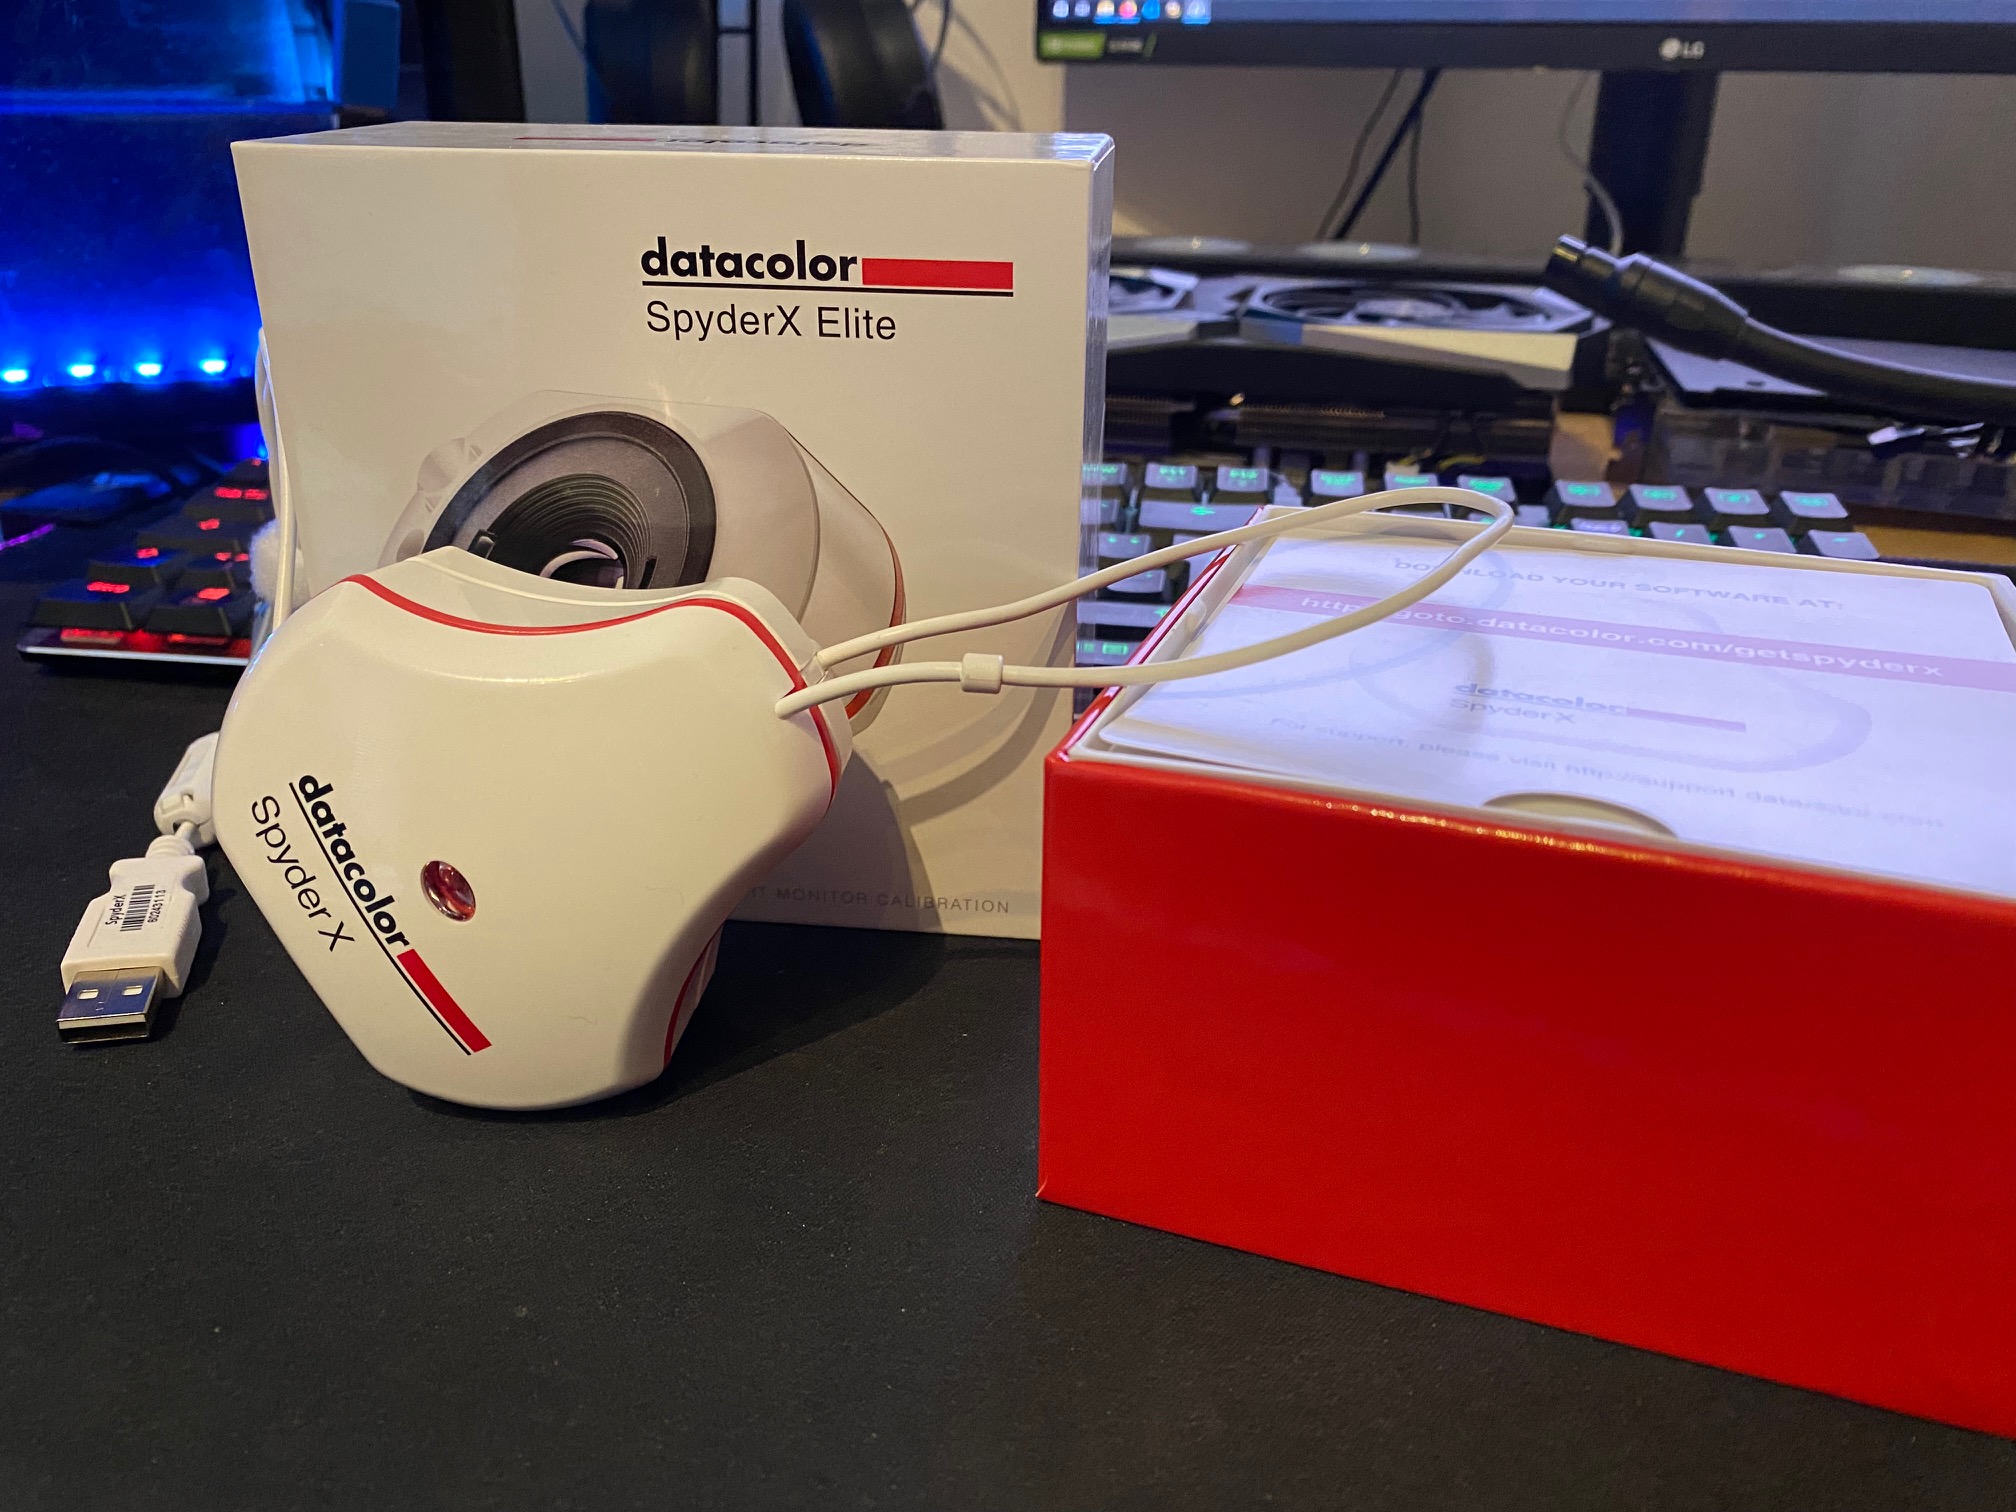

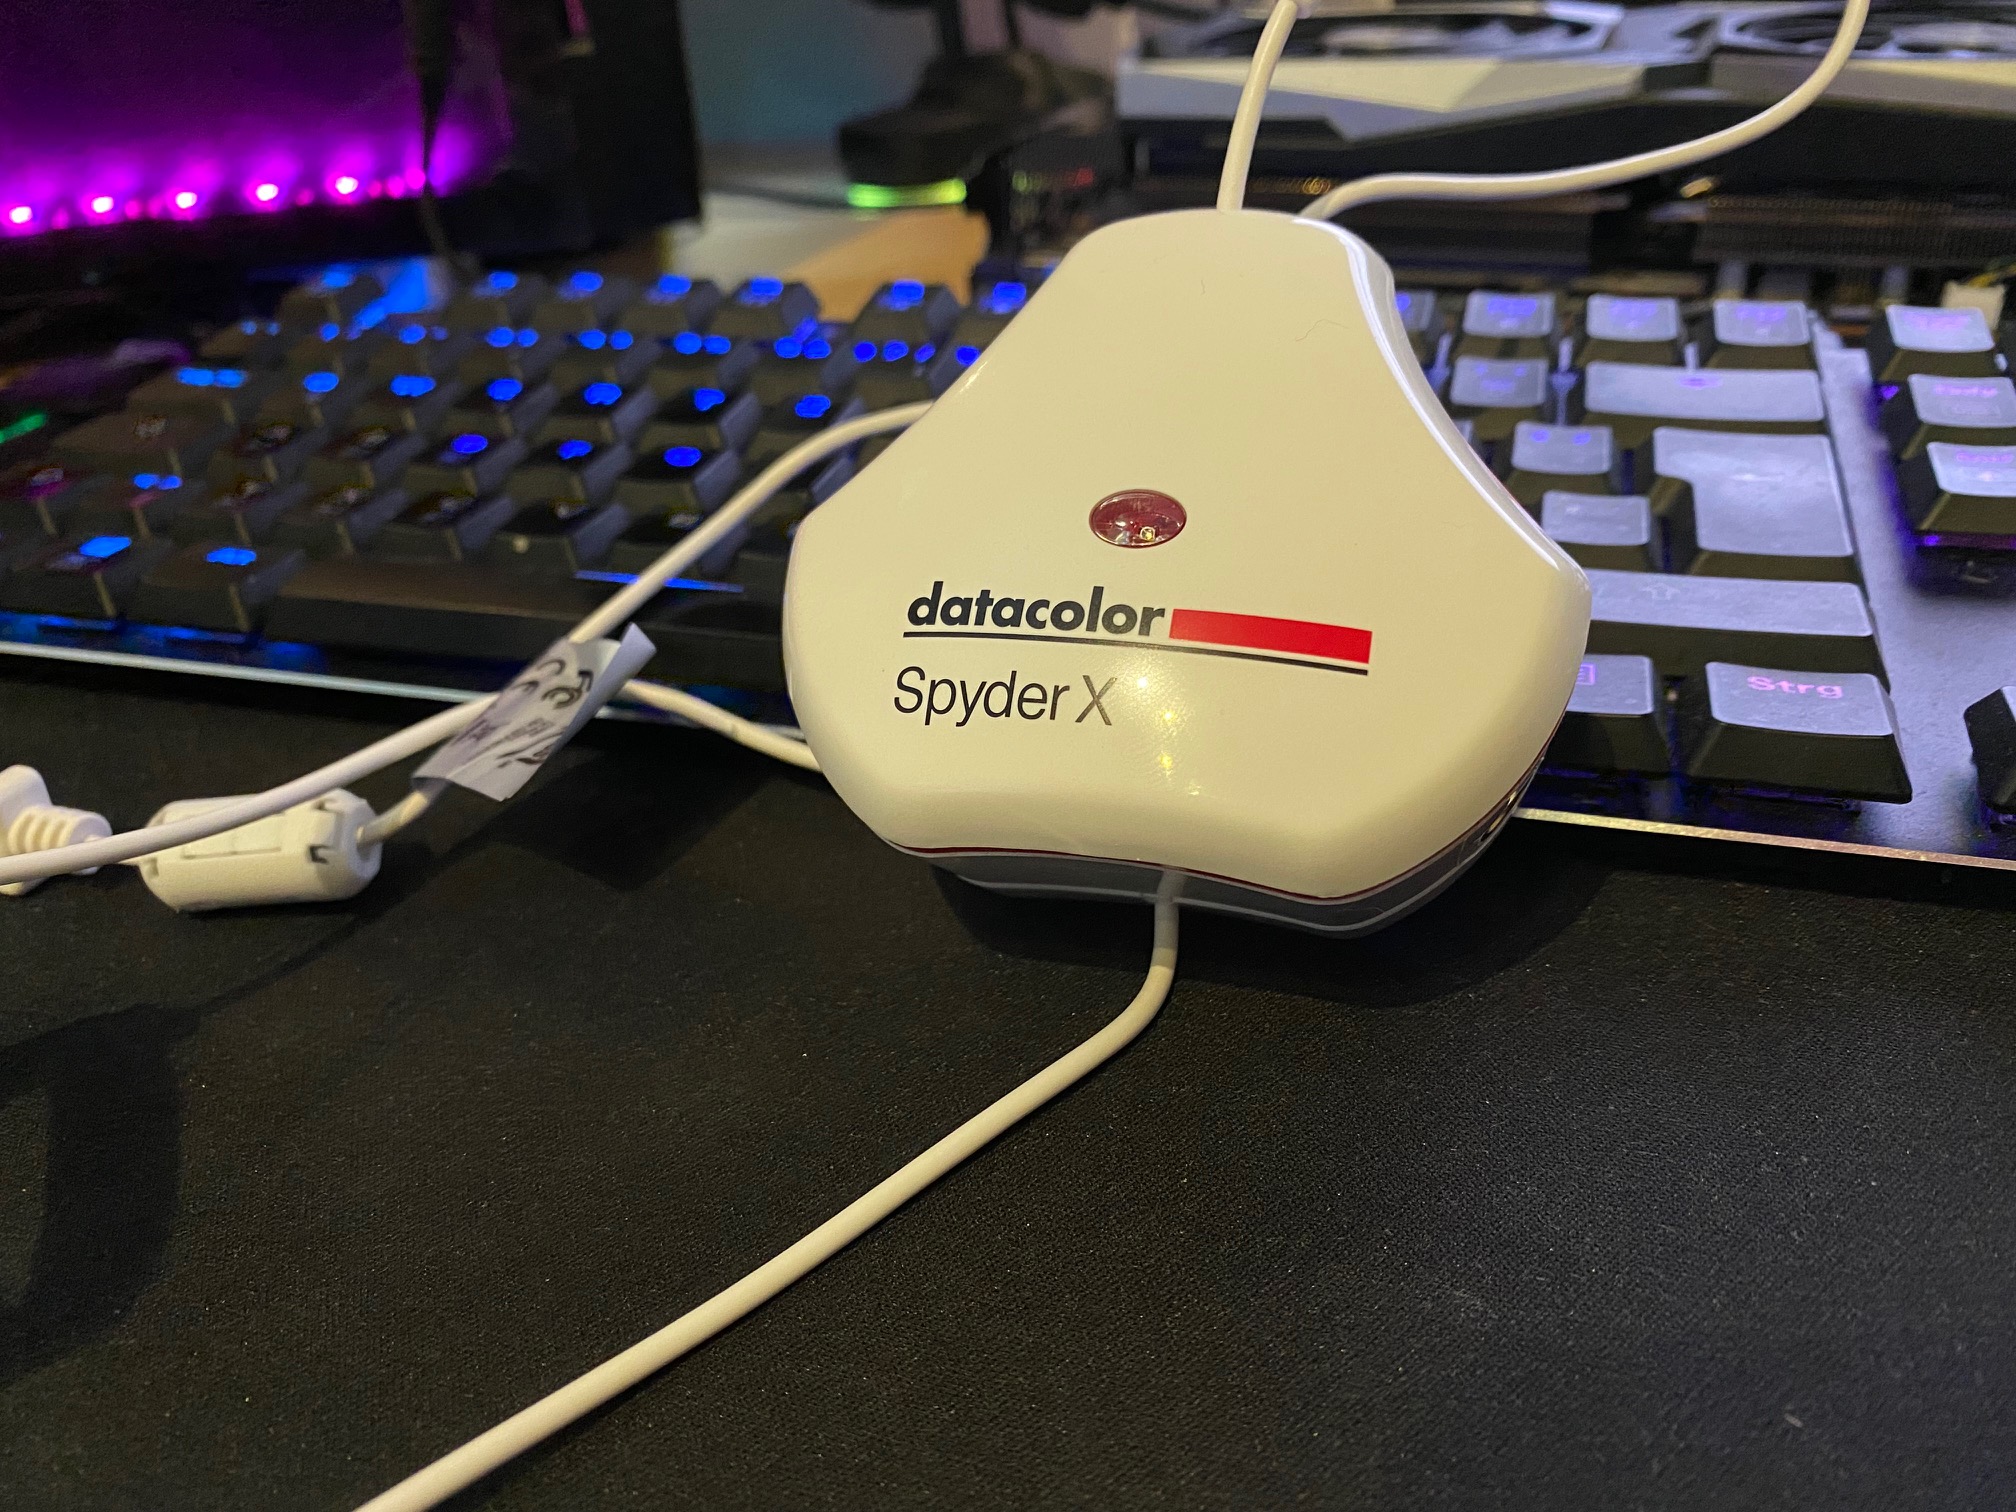
The colorimeter has a cover to protect it from contamination. At the same time, it serves as a counterweight and everything is held together via the USB-A cable. You can move the cable individually through the cover and thus adjust it. The length of the cable is about 1.7 m and should therefore be sufficient for most!
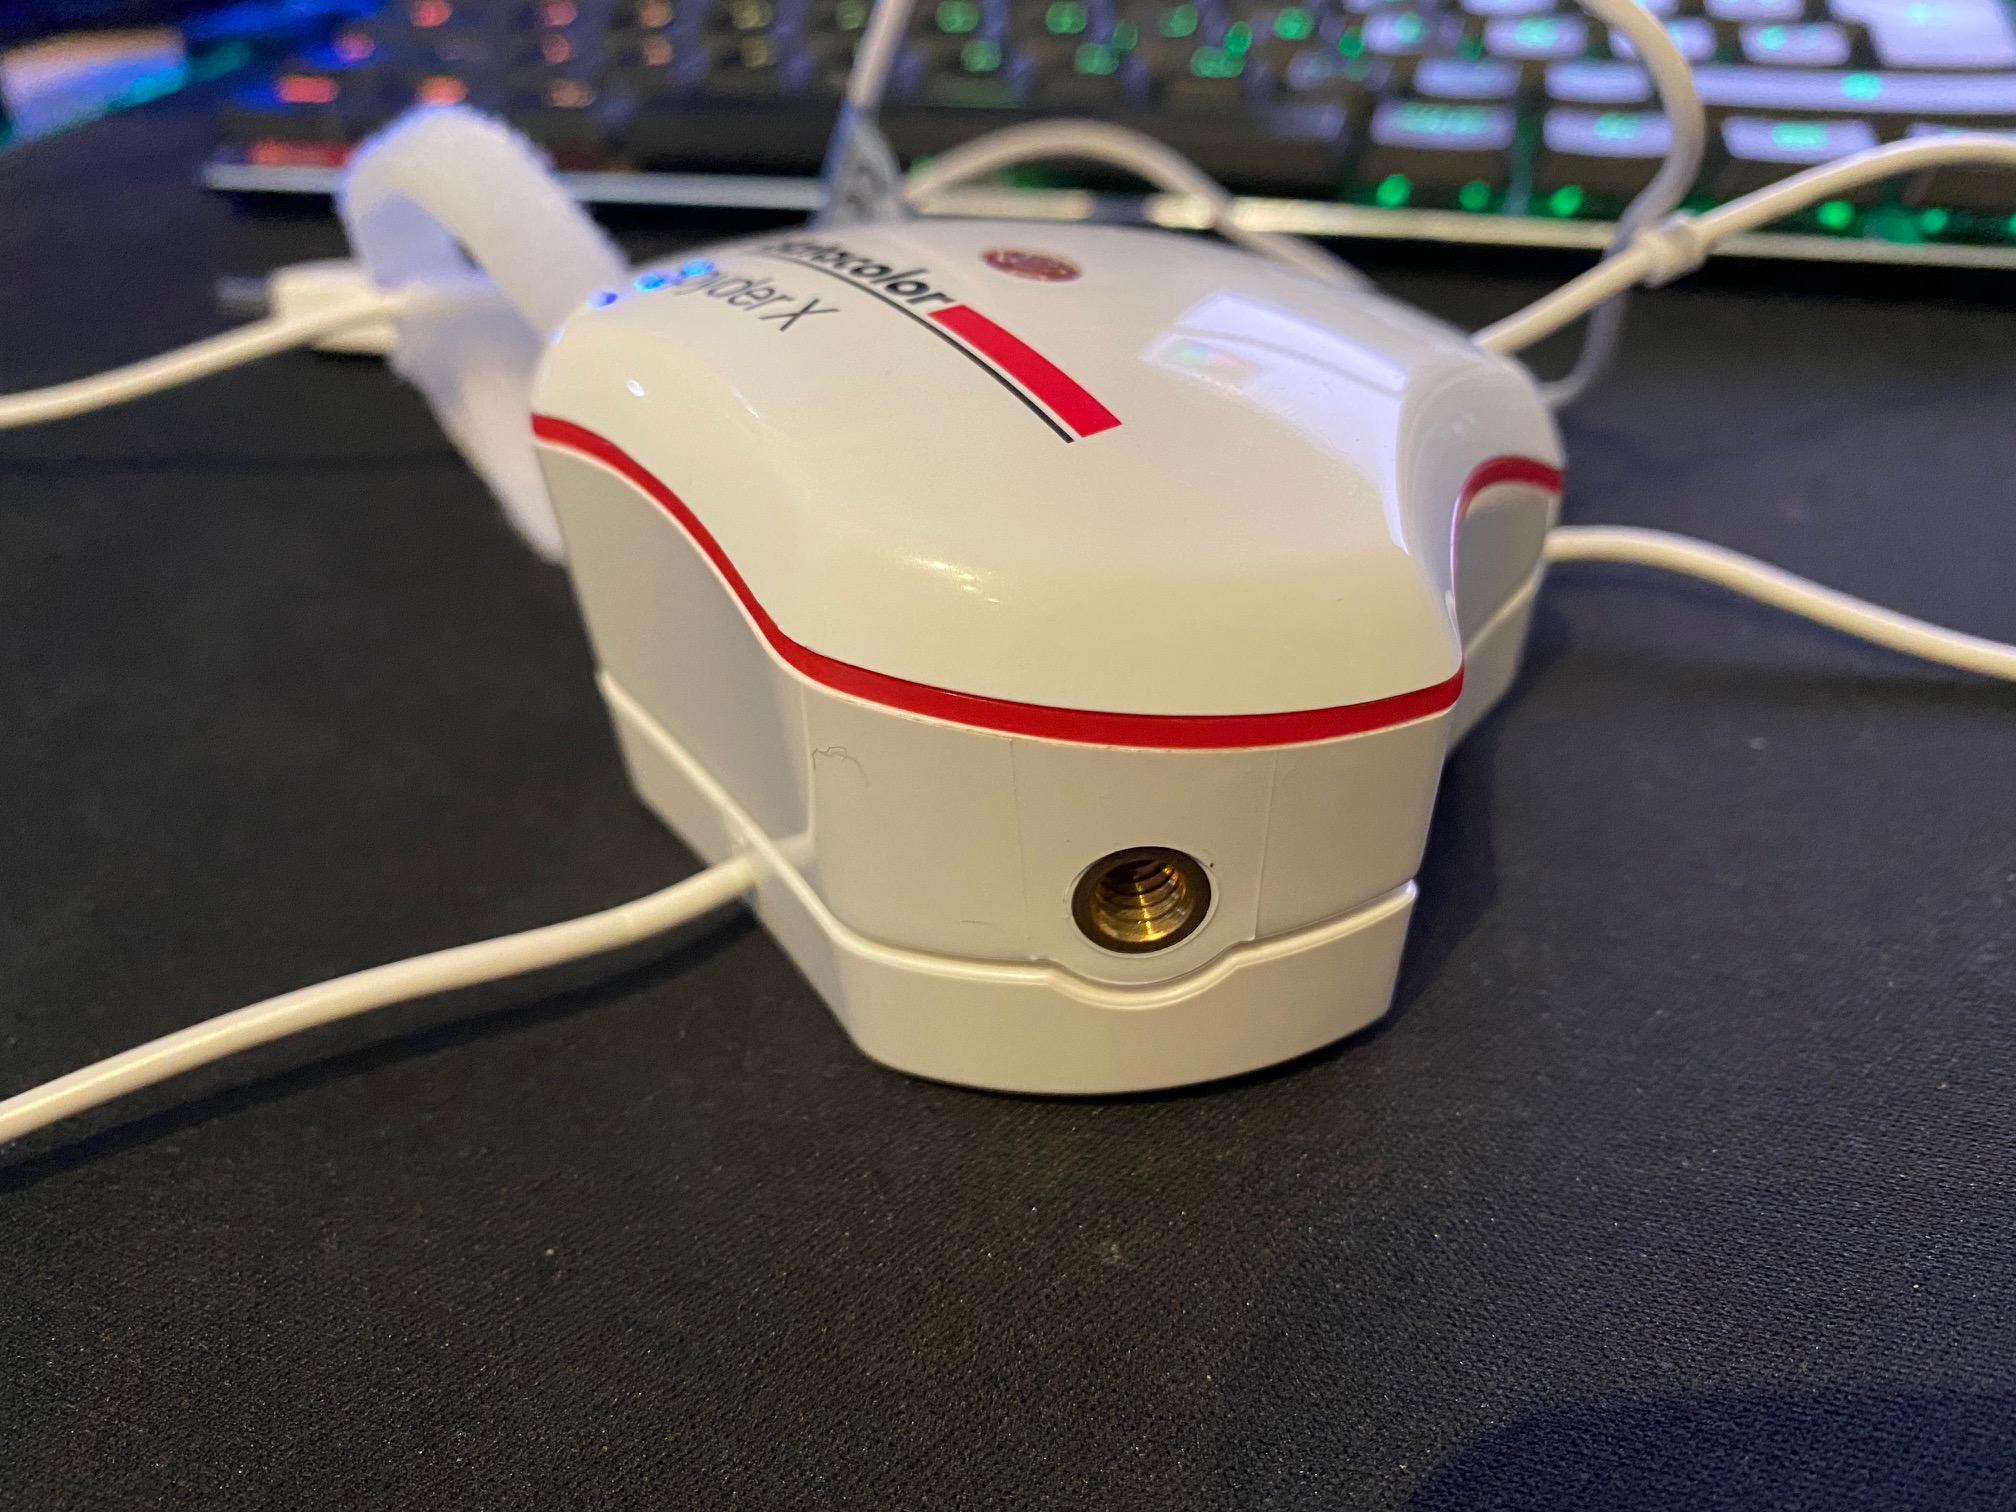
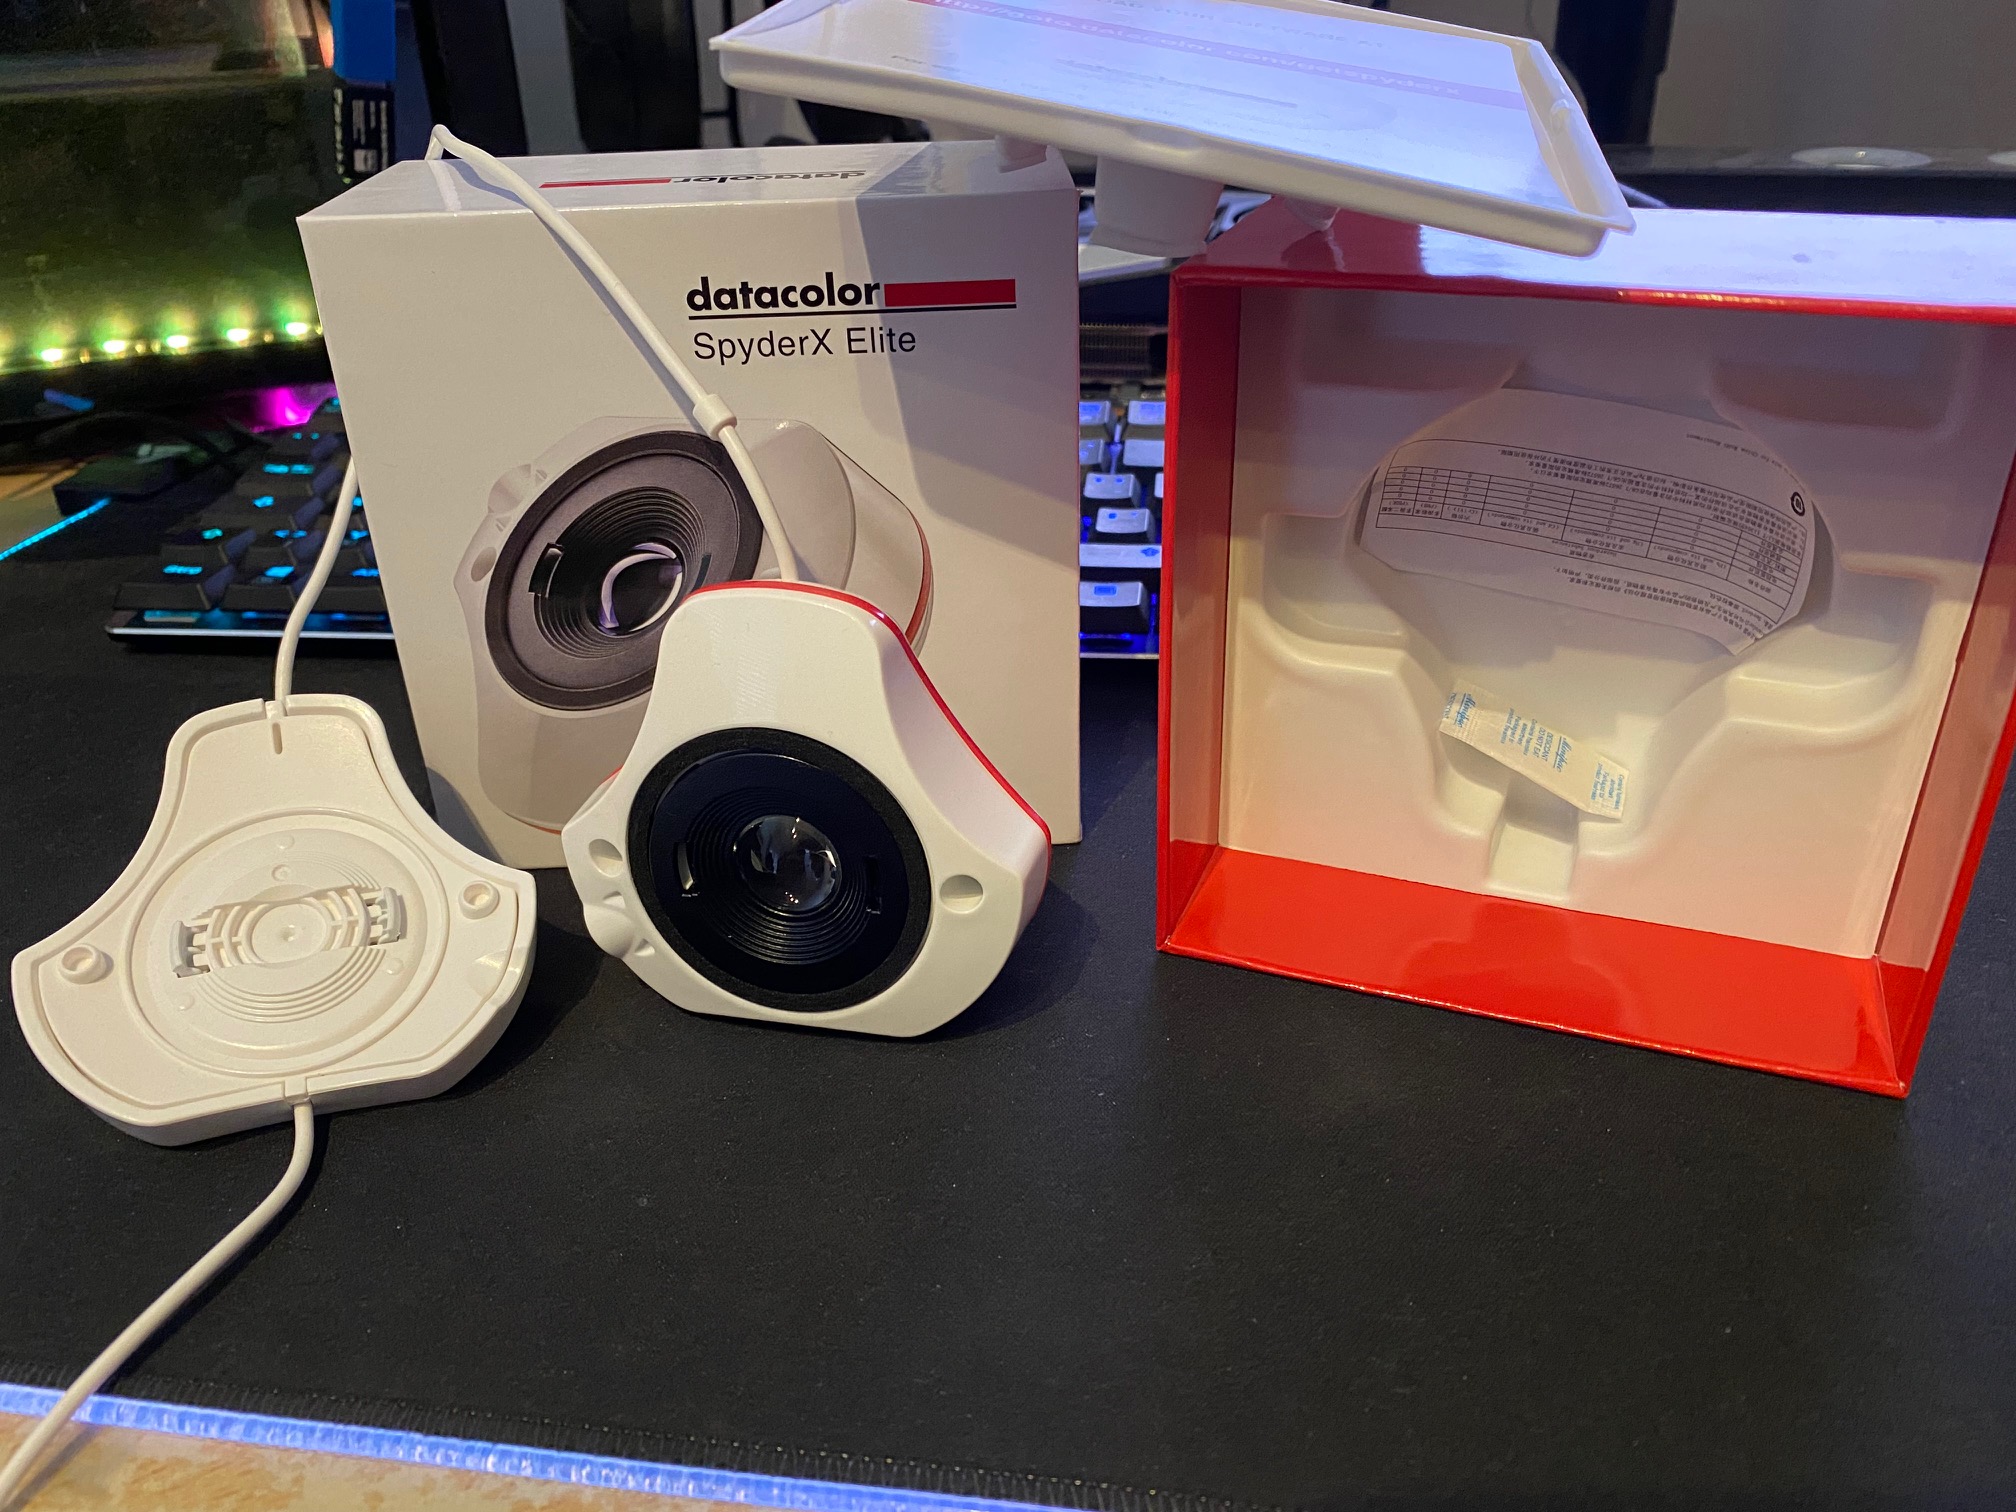
The SpyderX Elite has a recording as you know it from cameras. So if you have a small stand, you can use the SpyderX with its light sensor and use it to control the screen brightness (depending on the light in the room). Nice to have, but not a purchase criterion for me personally.
Test system:
Today times at my “old” gaming system! On the testbench – with the two (expensive) monitors – various tests are already running in terms of input lag measurements. Cable clutter, I tell you… Stay tuned!
| Motherboard | MSI X470 Gaming Pro Carbon |
| CPU | Ryzen 7 3800X @4.45 GHz all core |
| Memory | 16 GB (2×8) G.SKill 3200 MHz CL-16-18-36 |
| SSD 1 | Samsung 500 GB 970 EVO Plus (system) |
| SSD 2 | Samsung 500 GB 860 EVO (backup) |
| SSD 3 | Crucial P1 1000 GB (Gaming Storages) |
| Power supply unit | 750 Watt Enermax Revolution D.F. |
| Housing | Corsair Carbide 275r (modified) |
| CPU cooling | Cooler Master ML240L RGB AIO |
| Monitor | Monitor LG 27GL850-B (1440p @ 144 Hz) via DP |
| Keyboard | Sharkoon PureWriter RGB @1,000 Hz polling rate |
| Mouse |
Sharkoon Light² 200 @1,000 Hz |
| Sensors | SpyderX Elite |
Let’s move on to the next page and take a look at the topic of software, measurements before and after. For all those readers who are already familiar with the subject of calibration, there will probably be nothing new for you. The article is more for beginners and is an important piece of the puzzle on our joint journey through the topic of monitors. Then turn the page.


51 Antworten
Kommentar
Lade neue Kommentare
Mitglied
Veteran
Moderator
Urgestein
1
Mitglied
Veteran
Veteran
Neuling
Moderator
Urgestein
Moderator
Mitglied
Mitglied
Moderator
Mitglied
Veteran
Alle Kommentare lesen unter igor´sLAB Community →