


Unboxing and features
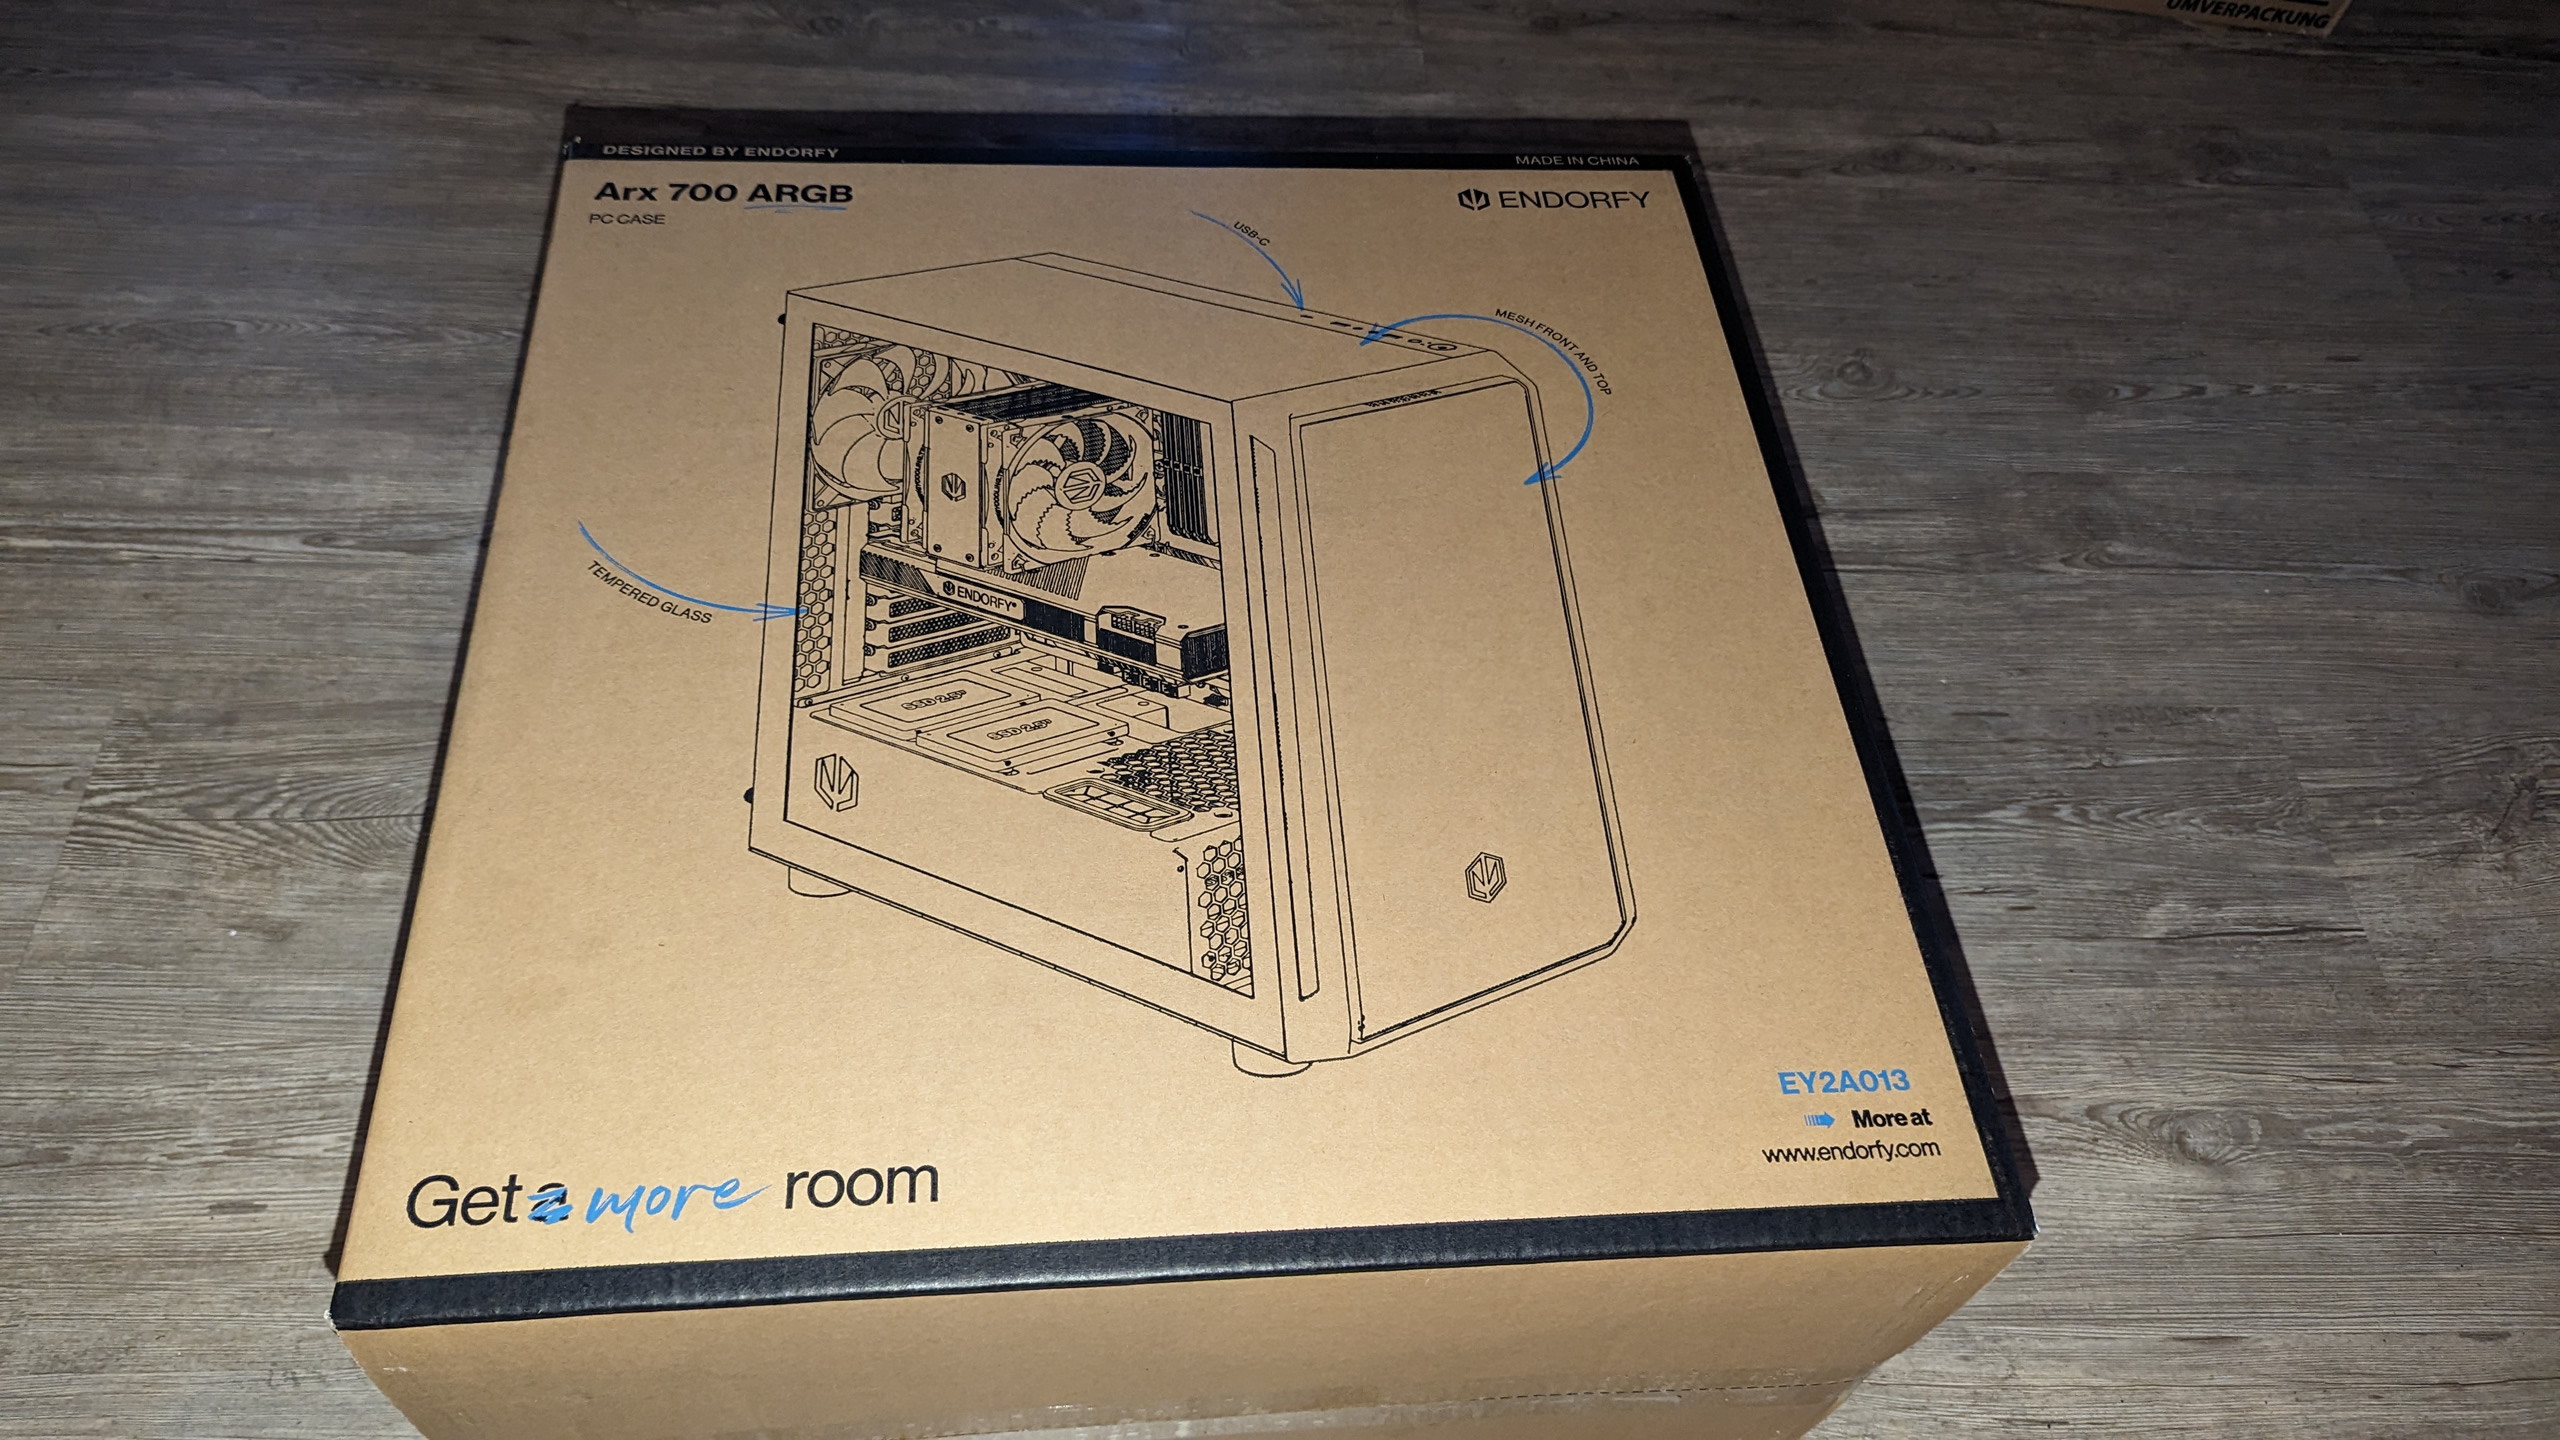
The packaging can also tell a few stories about the company and the product, depending on the case. The ARX 700 ARG arrived with me in a fairly simple box. Cost-down or a focus on the essentials? We’ll see in a moment. The front shows the closed housing…
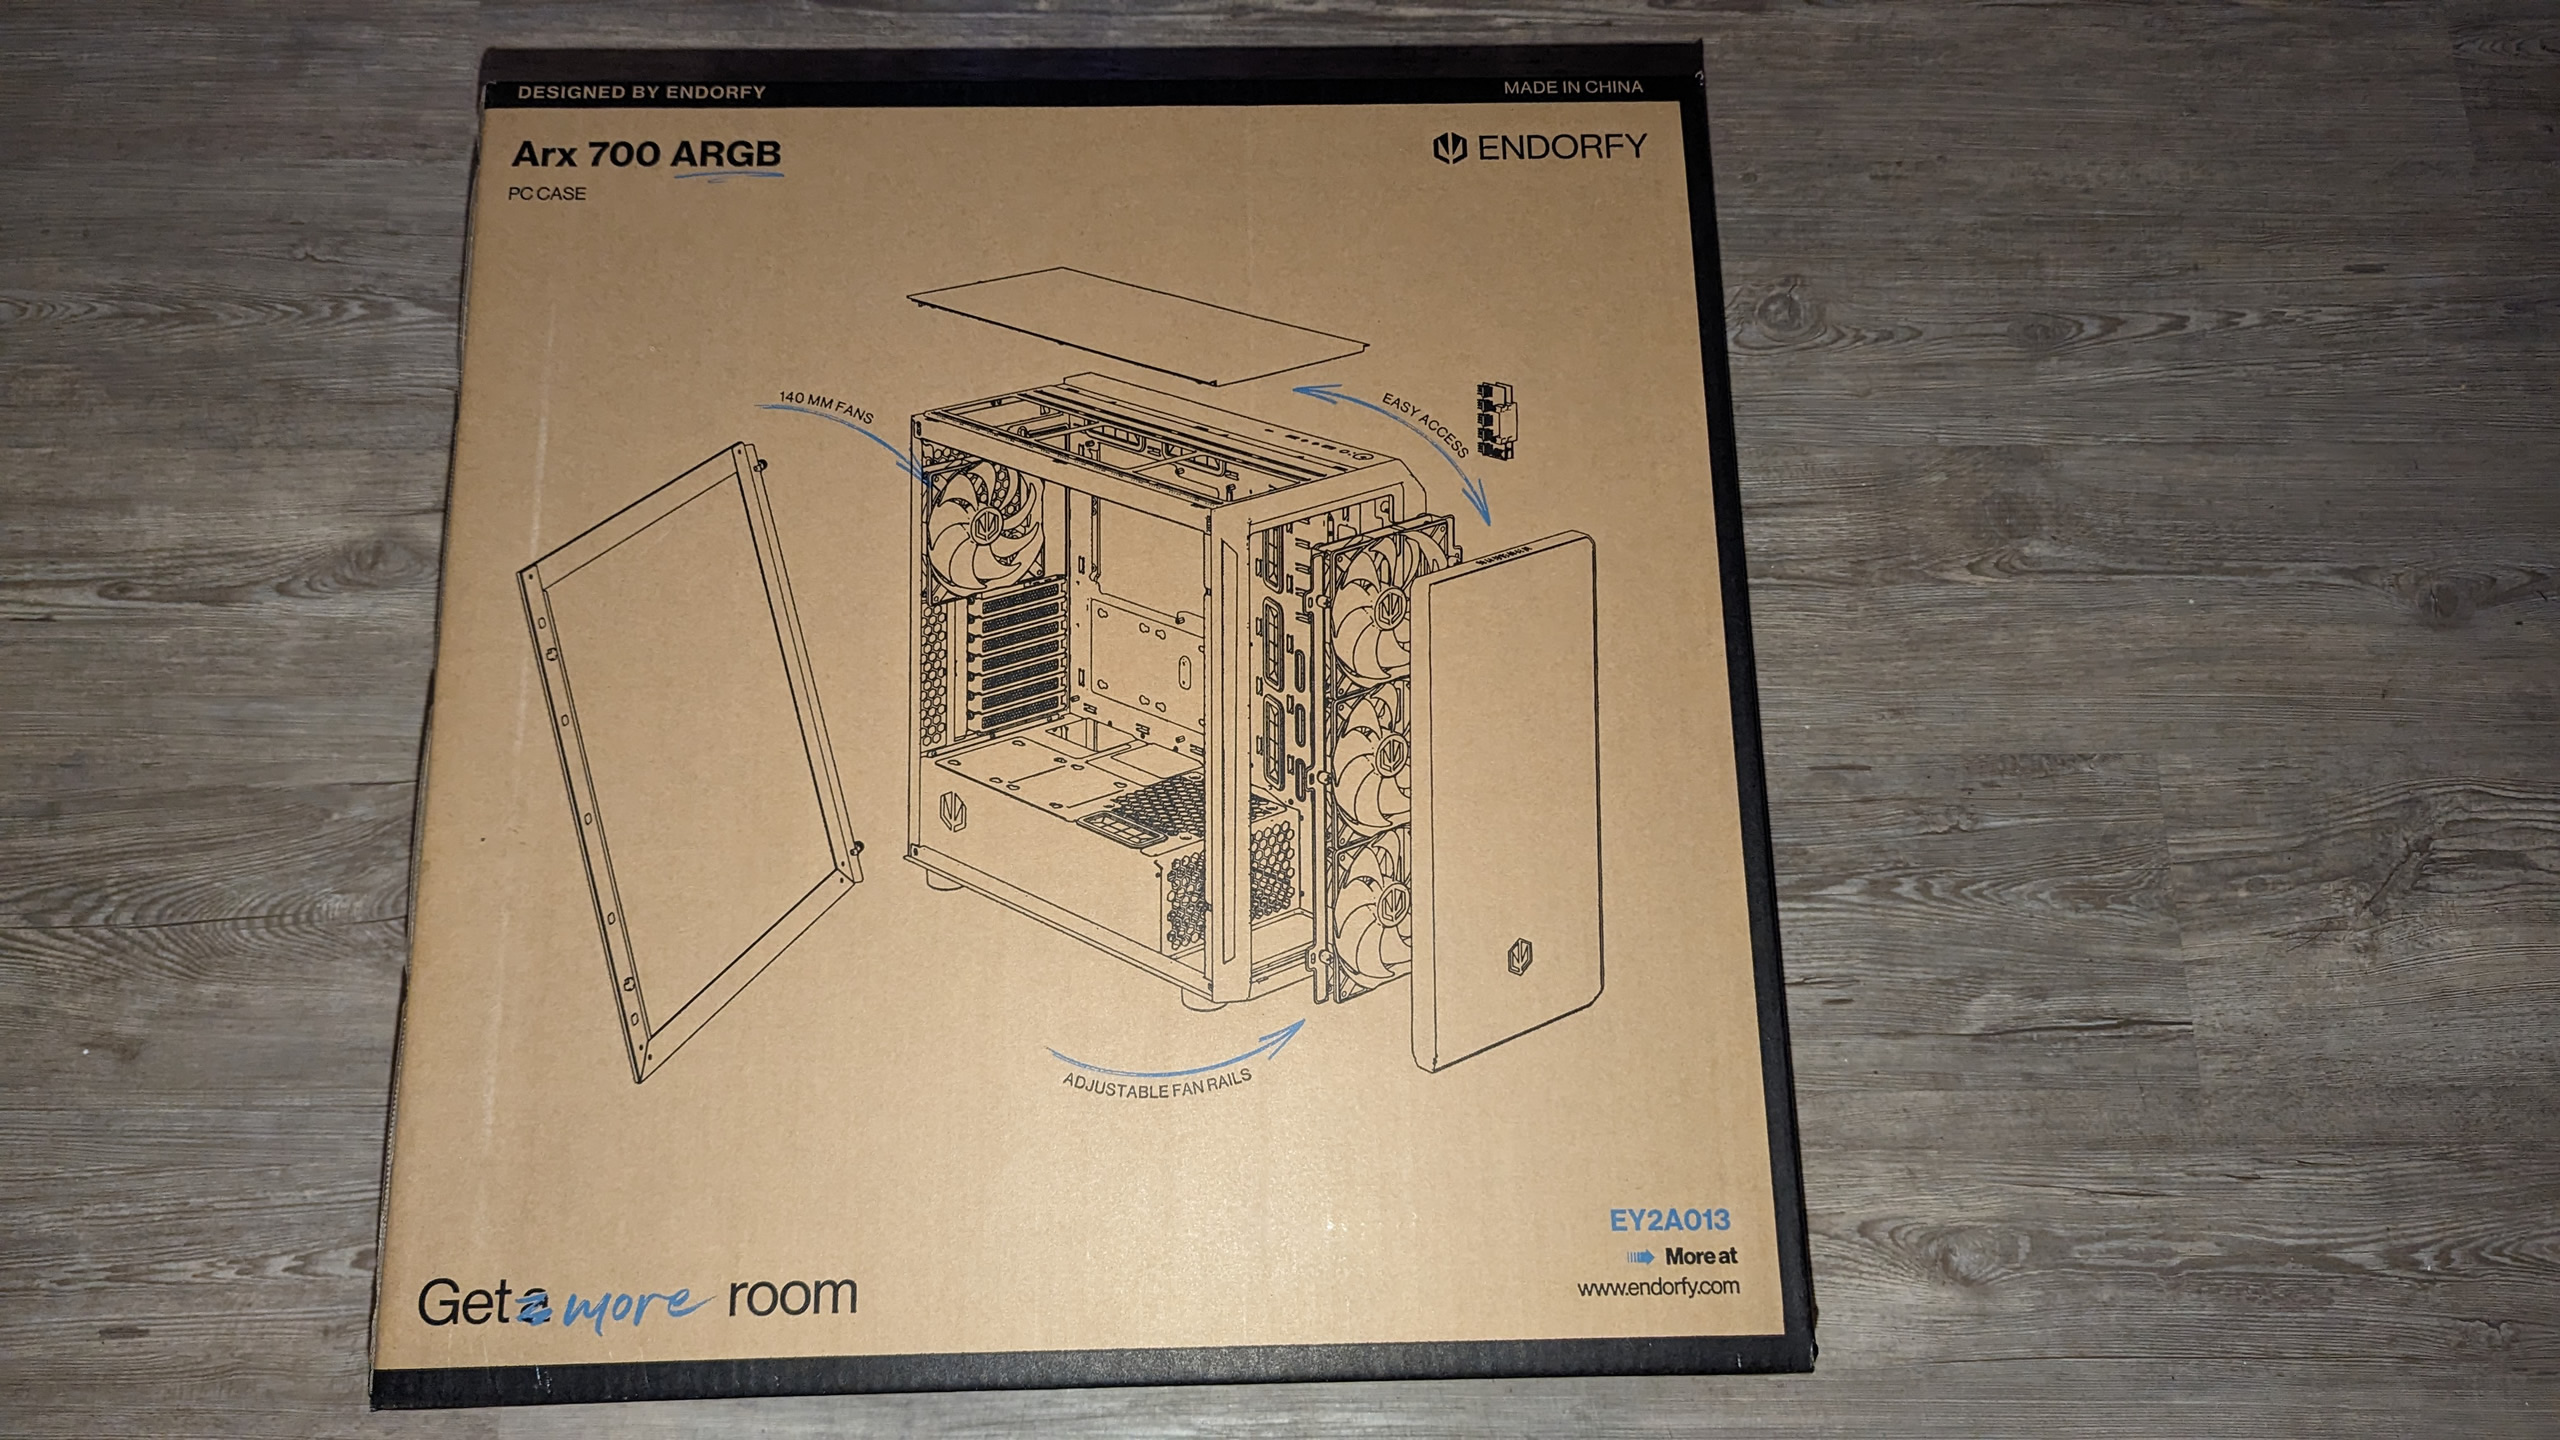
… the back shows the split of the individual components. At least we can also see here what it might look like if the box had fallen off the truck.
The short side shows the specifications again. Quite nice, but it’s because of this data that cases are bought.

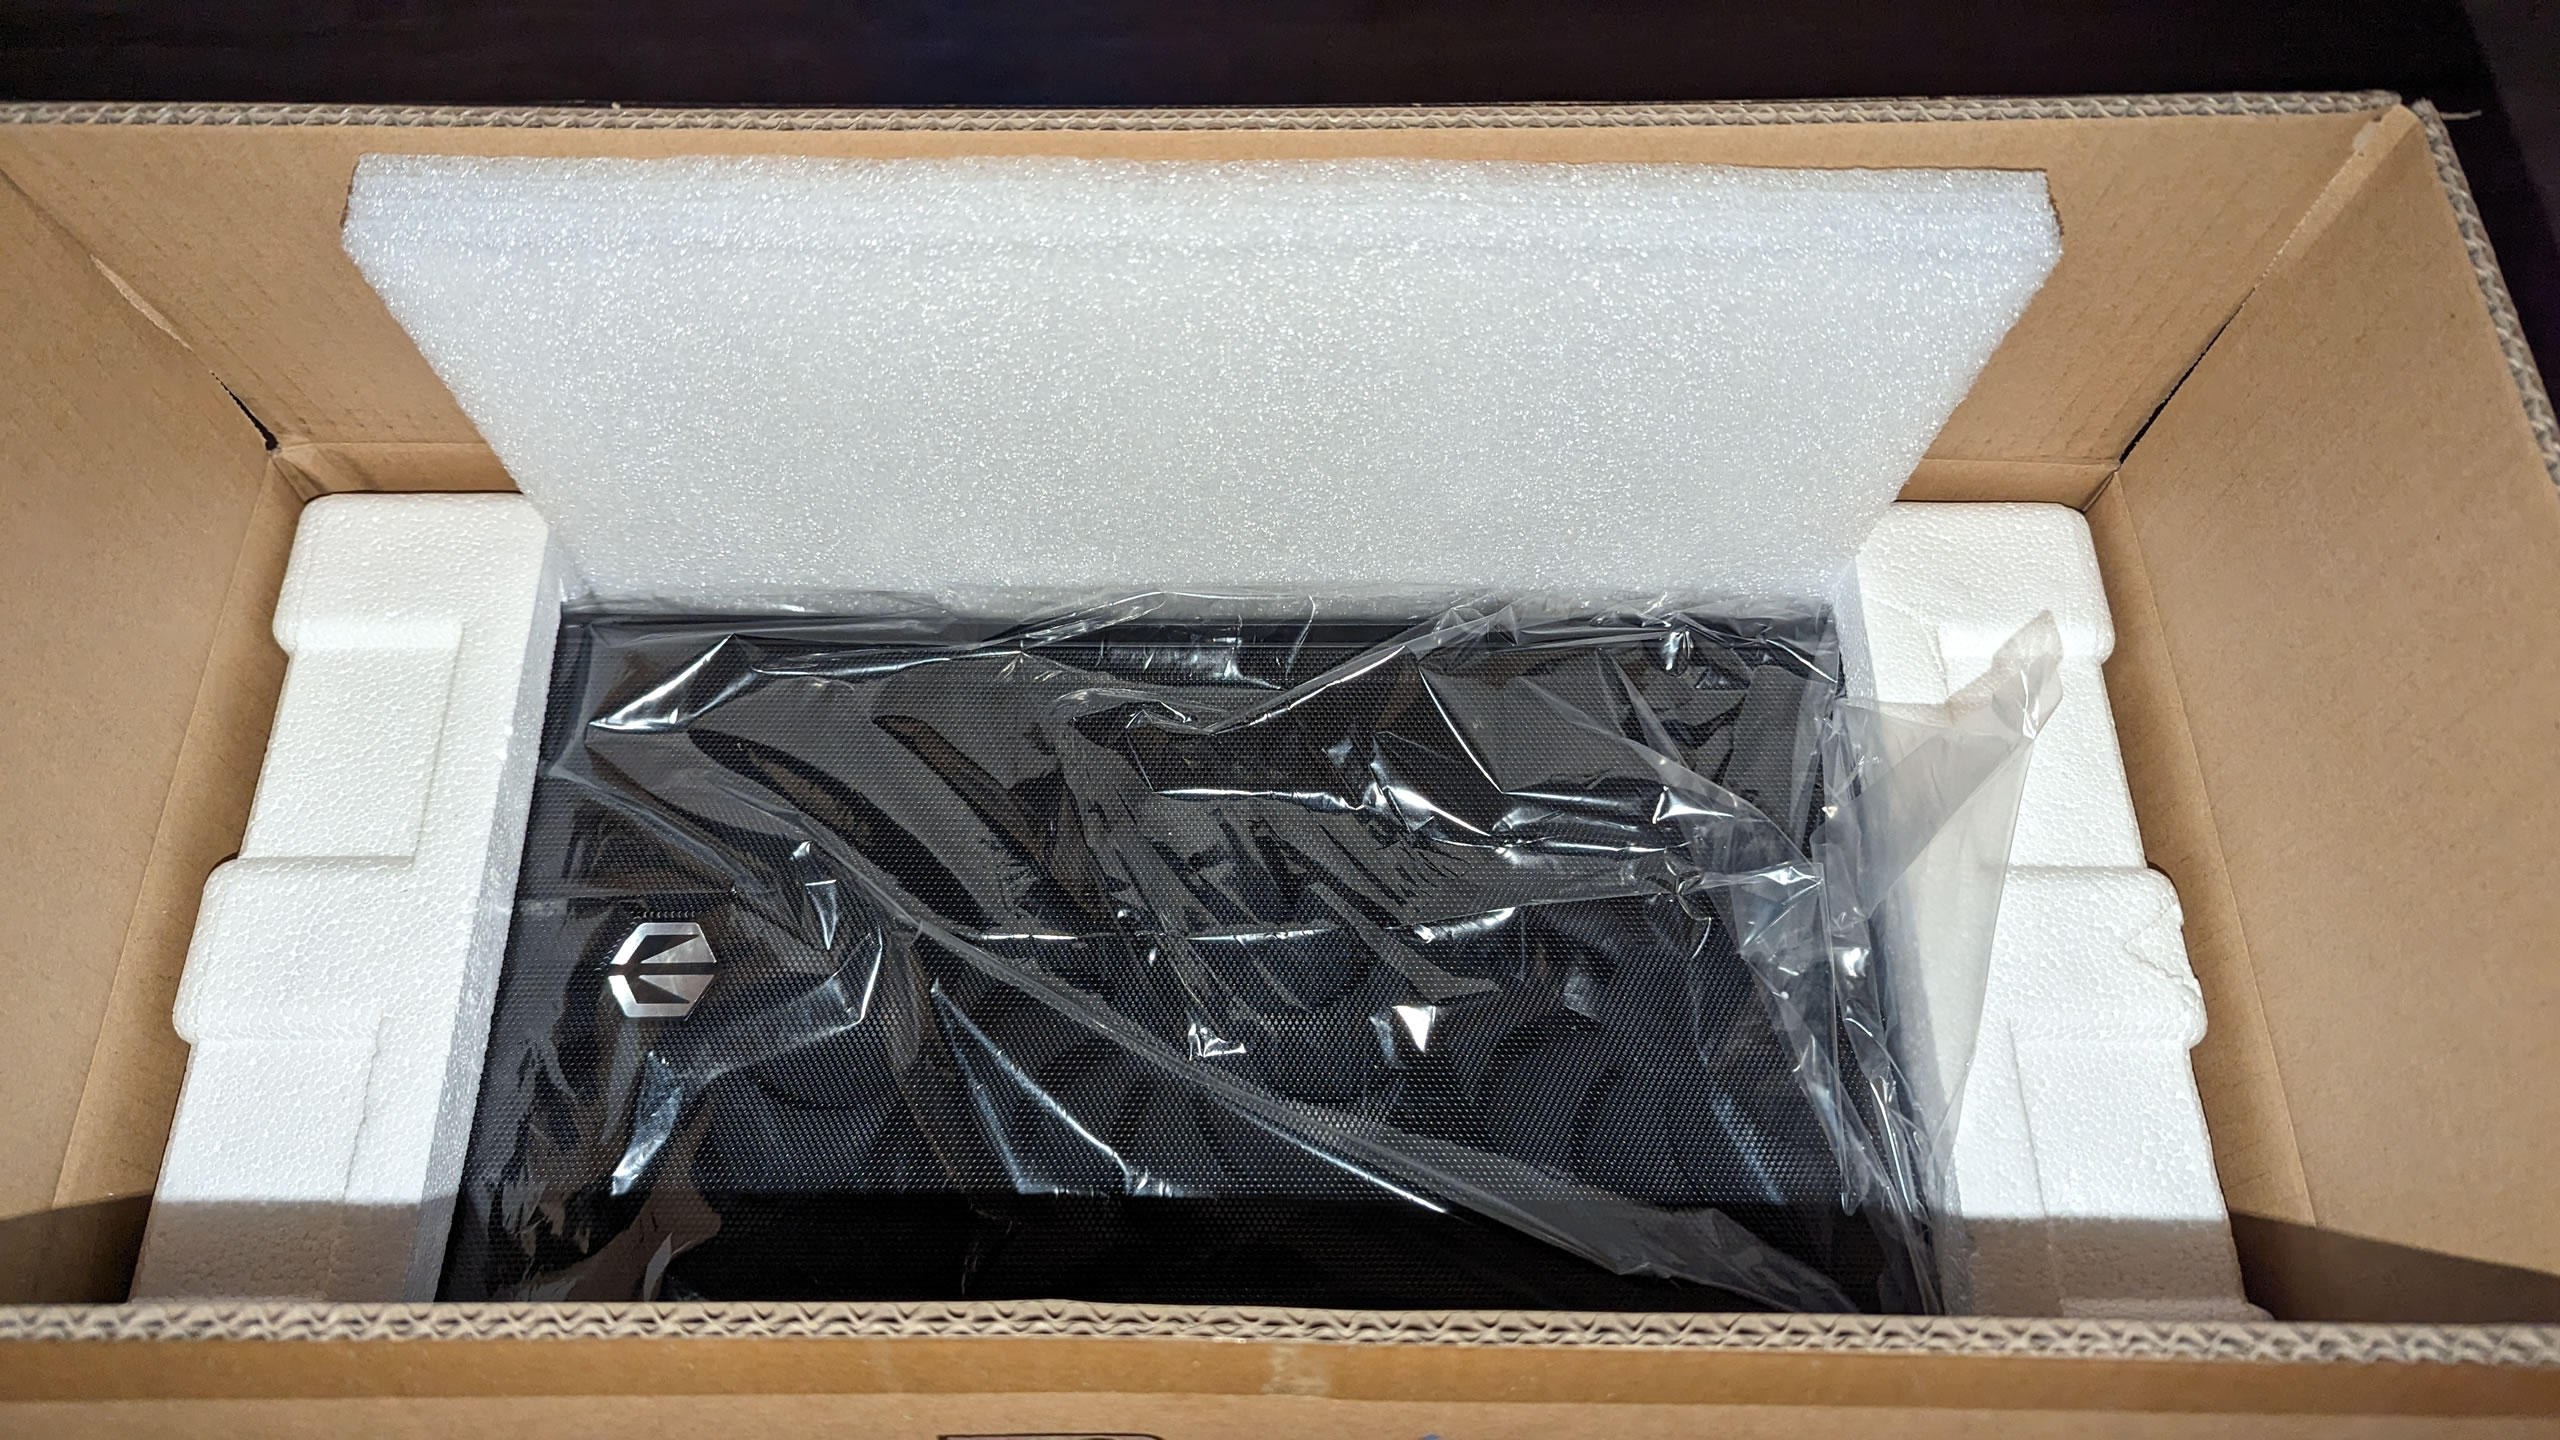
When I unpacked the case, I immediately noticed the foam mat that was supposed to protect the glass panel from breakage. That surprised me in this price segment, because not everyone does that. The case was otherwise packed in a bag as usual and protected from impact with polystyrene. Storyopor can of course be considered ugly, especially as even the housewife will frown at it.
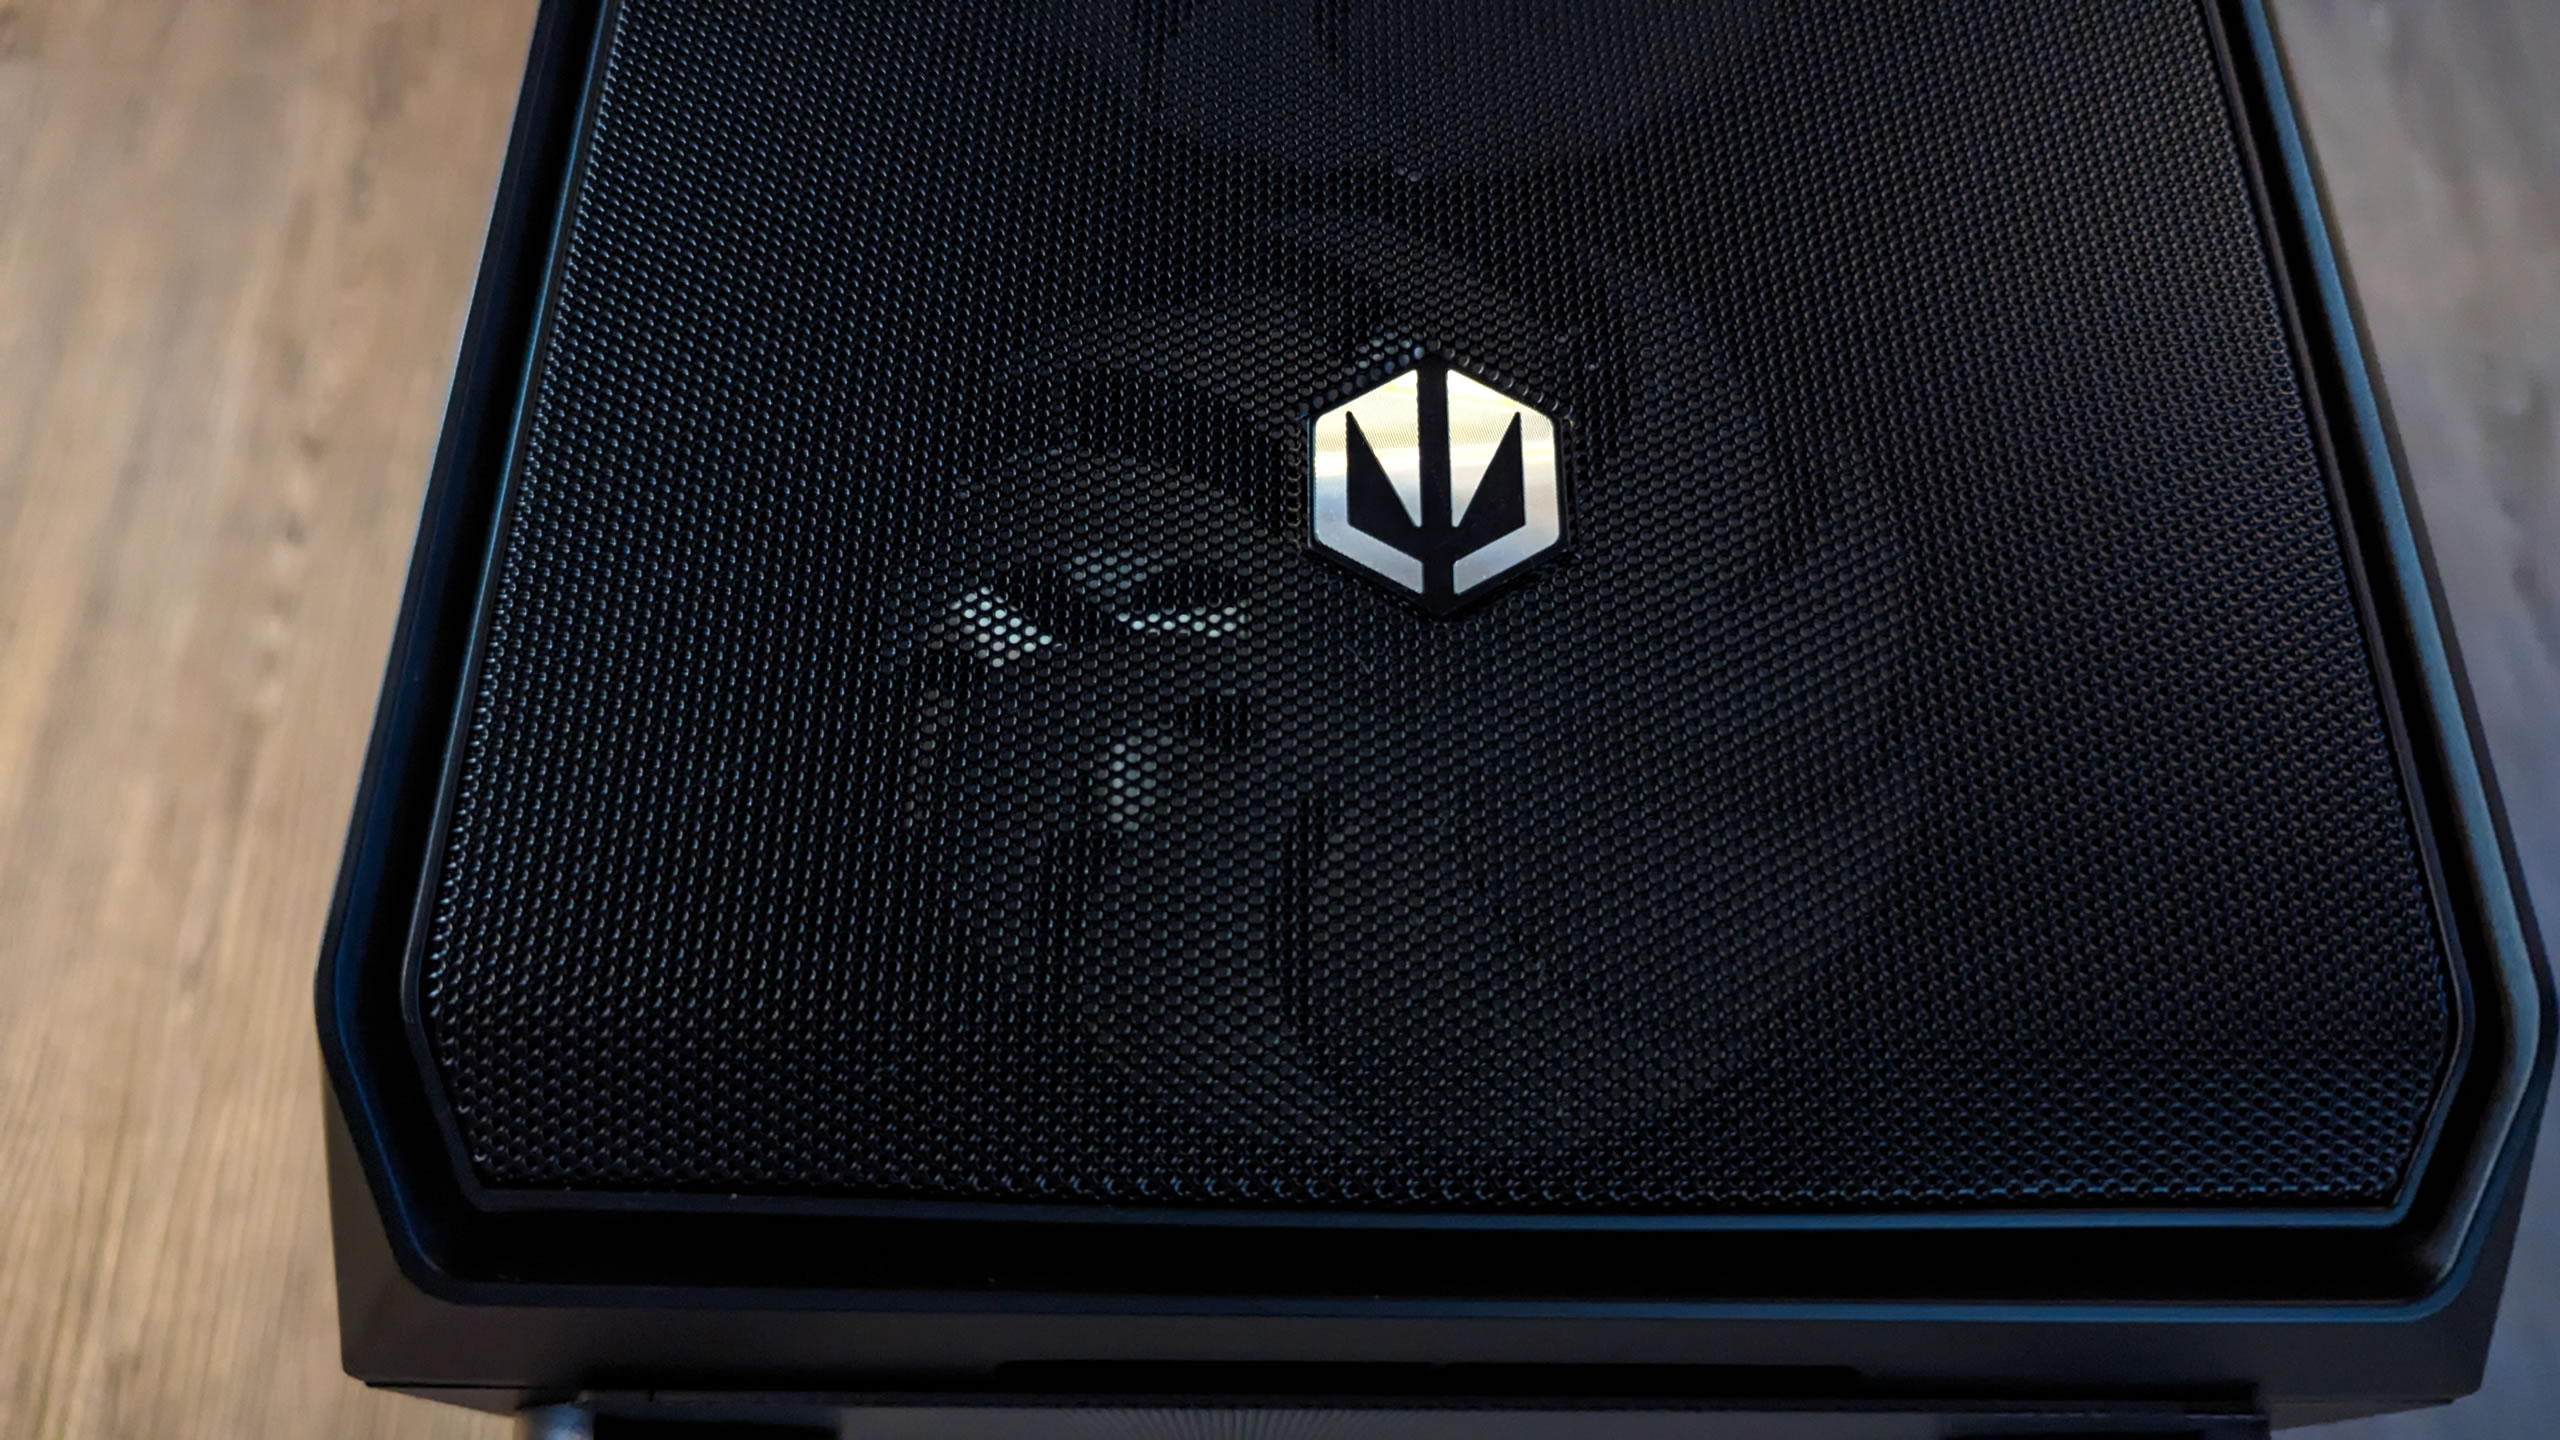
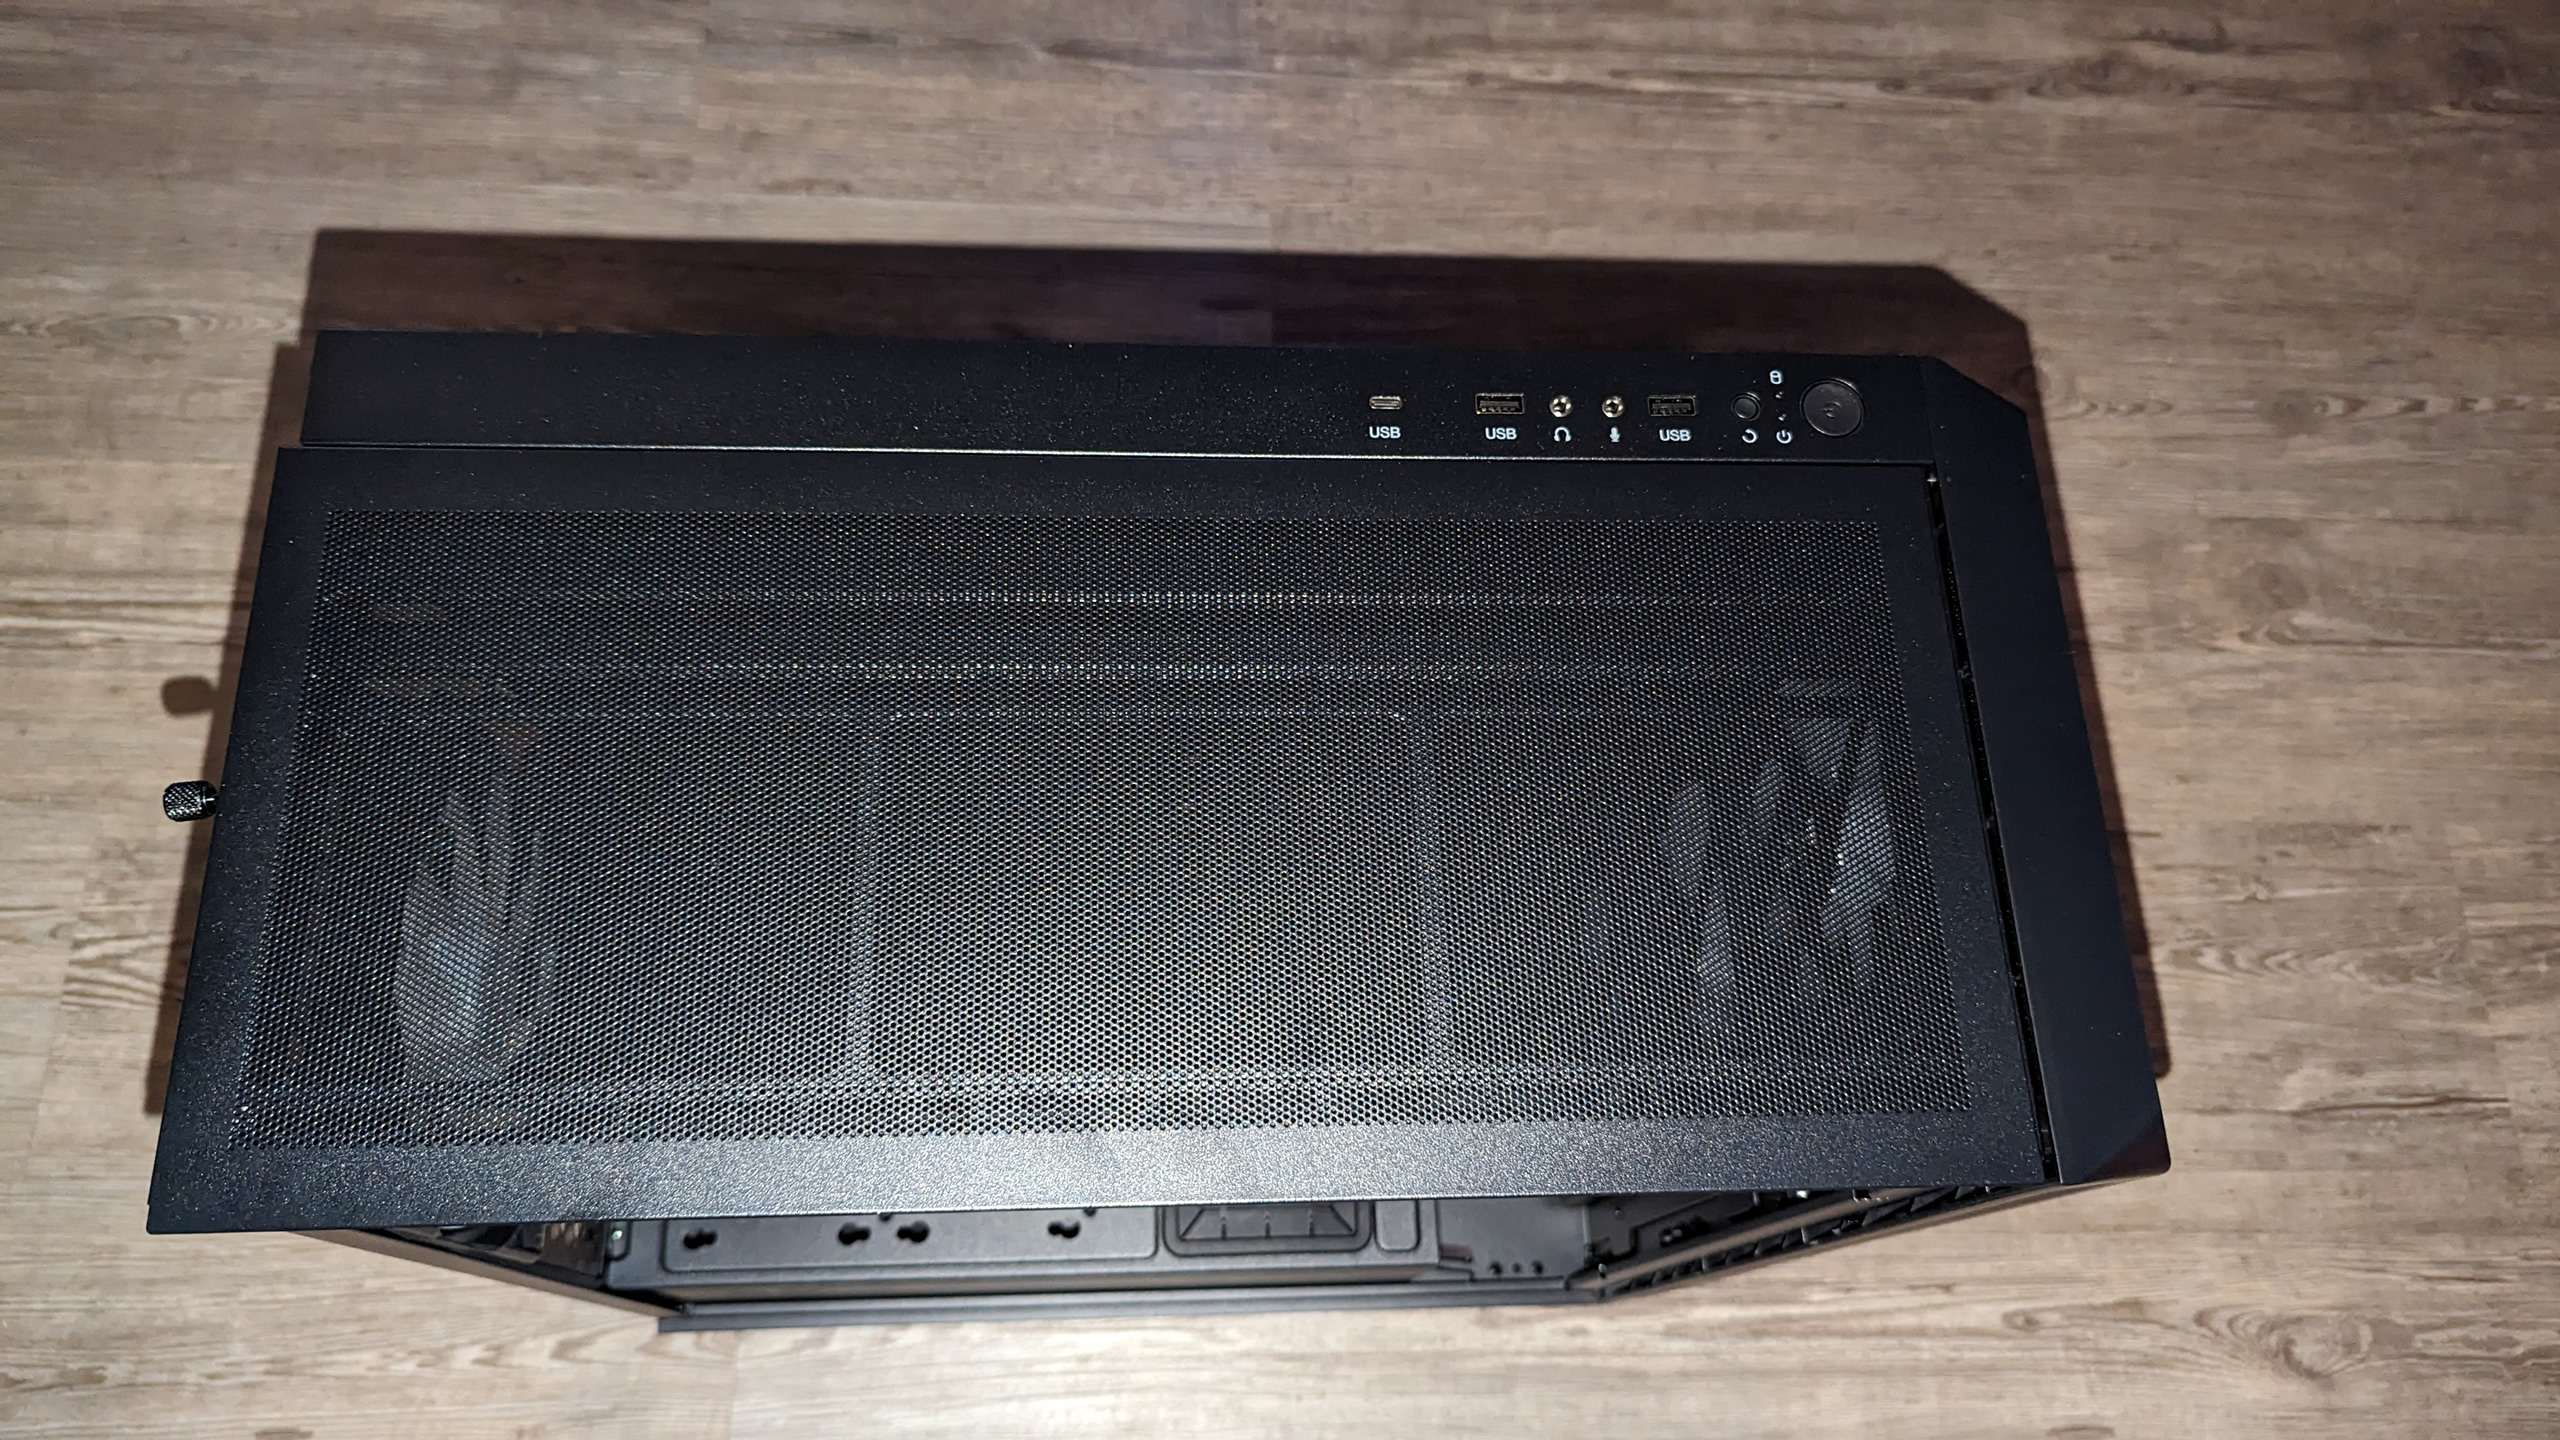
Unpacked, you immediately notice the mesh front adorned with the Endorfy logo.
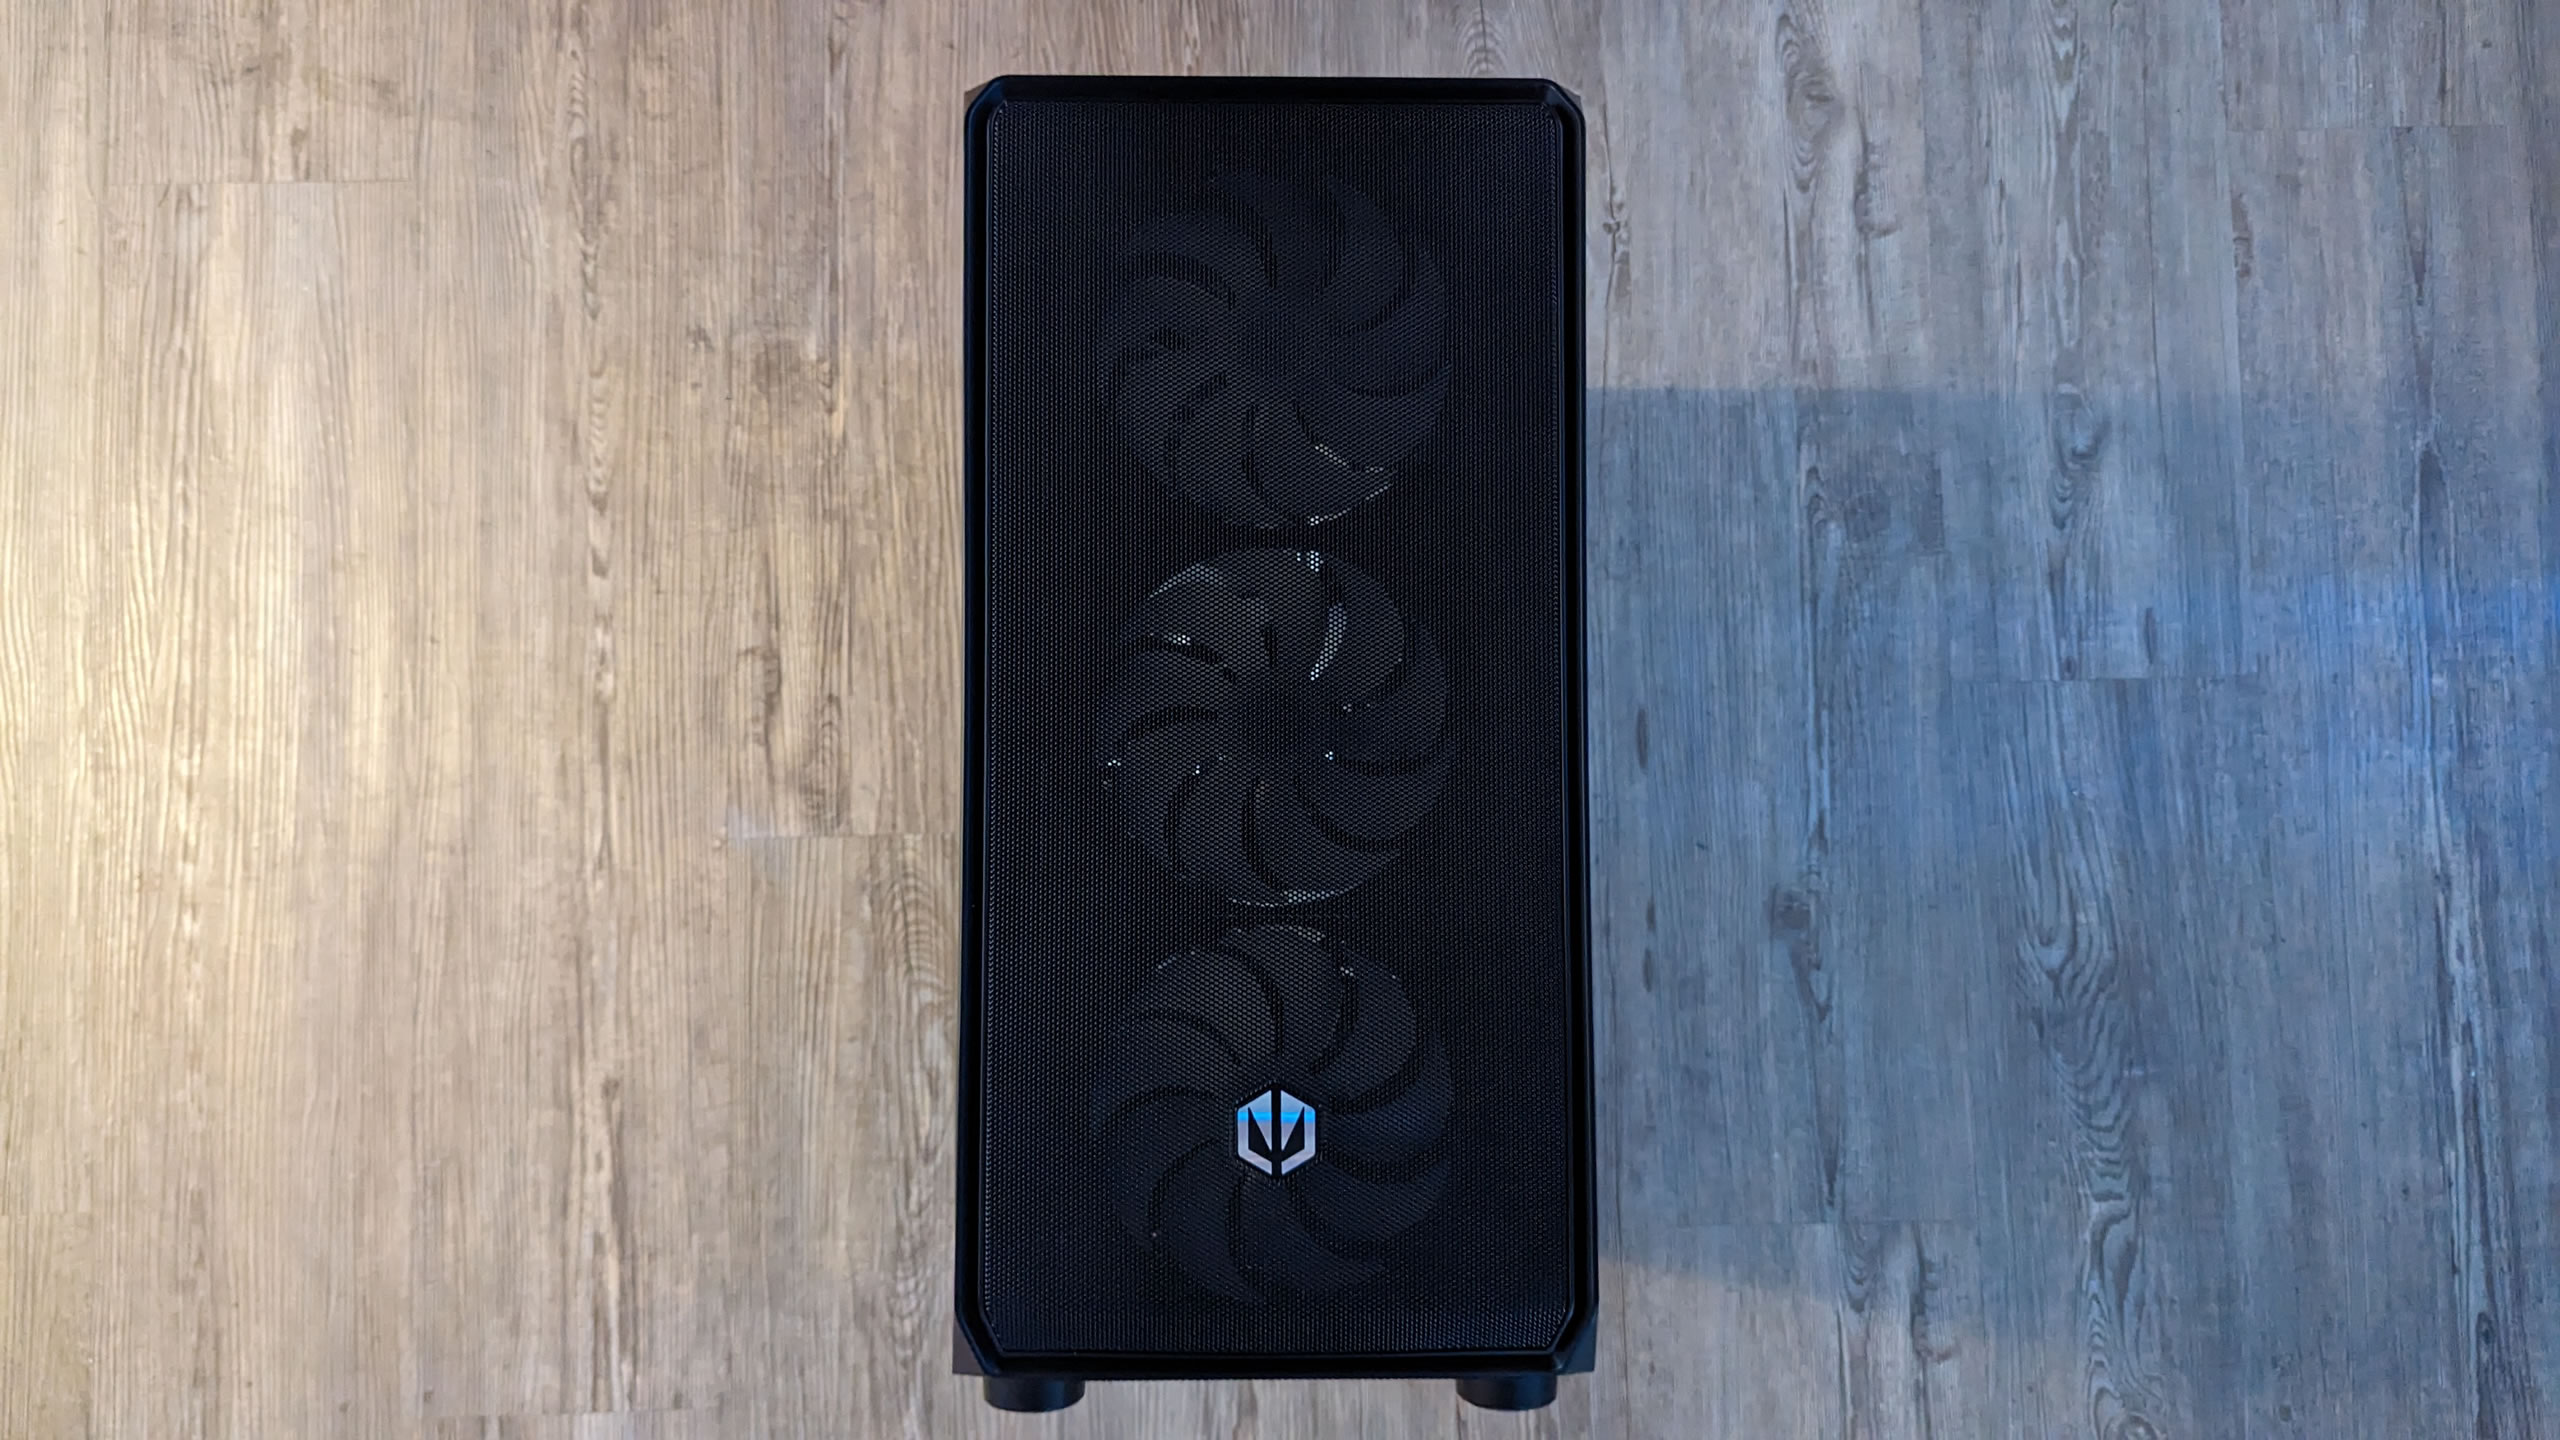
In itself, the entire case looks very solid and really pretty. But when you touch it, you immediately notice that the perforated mesh front seems a little too elastic. It can be pressed in too much for my liking, especially in the lower area. The additional mesh slits on the sides provide a pleasant airflow and a little design. However, as you can see, these are not 100% cleanly finished or inserted. I wouldn’t say unstable, but high-quality and solid is a different story.
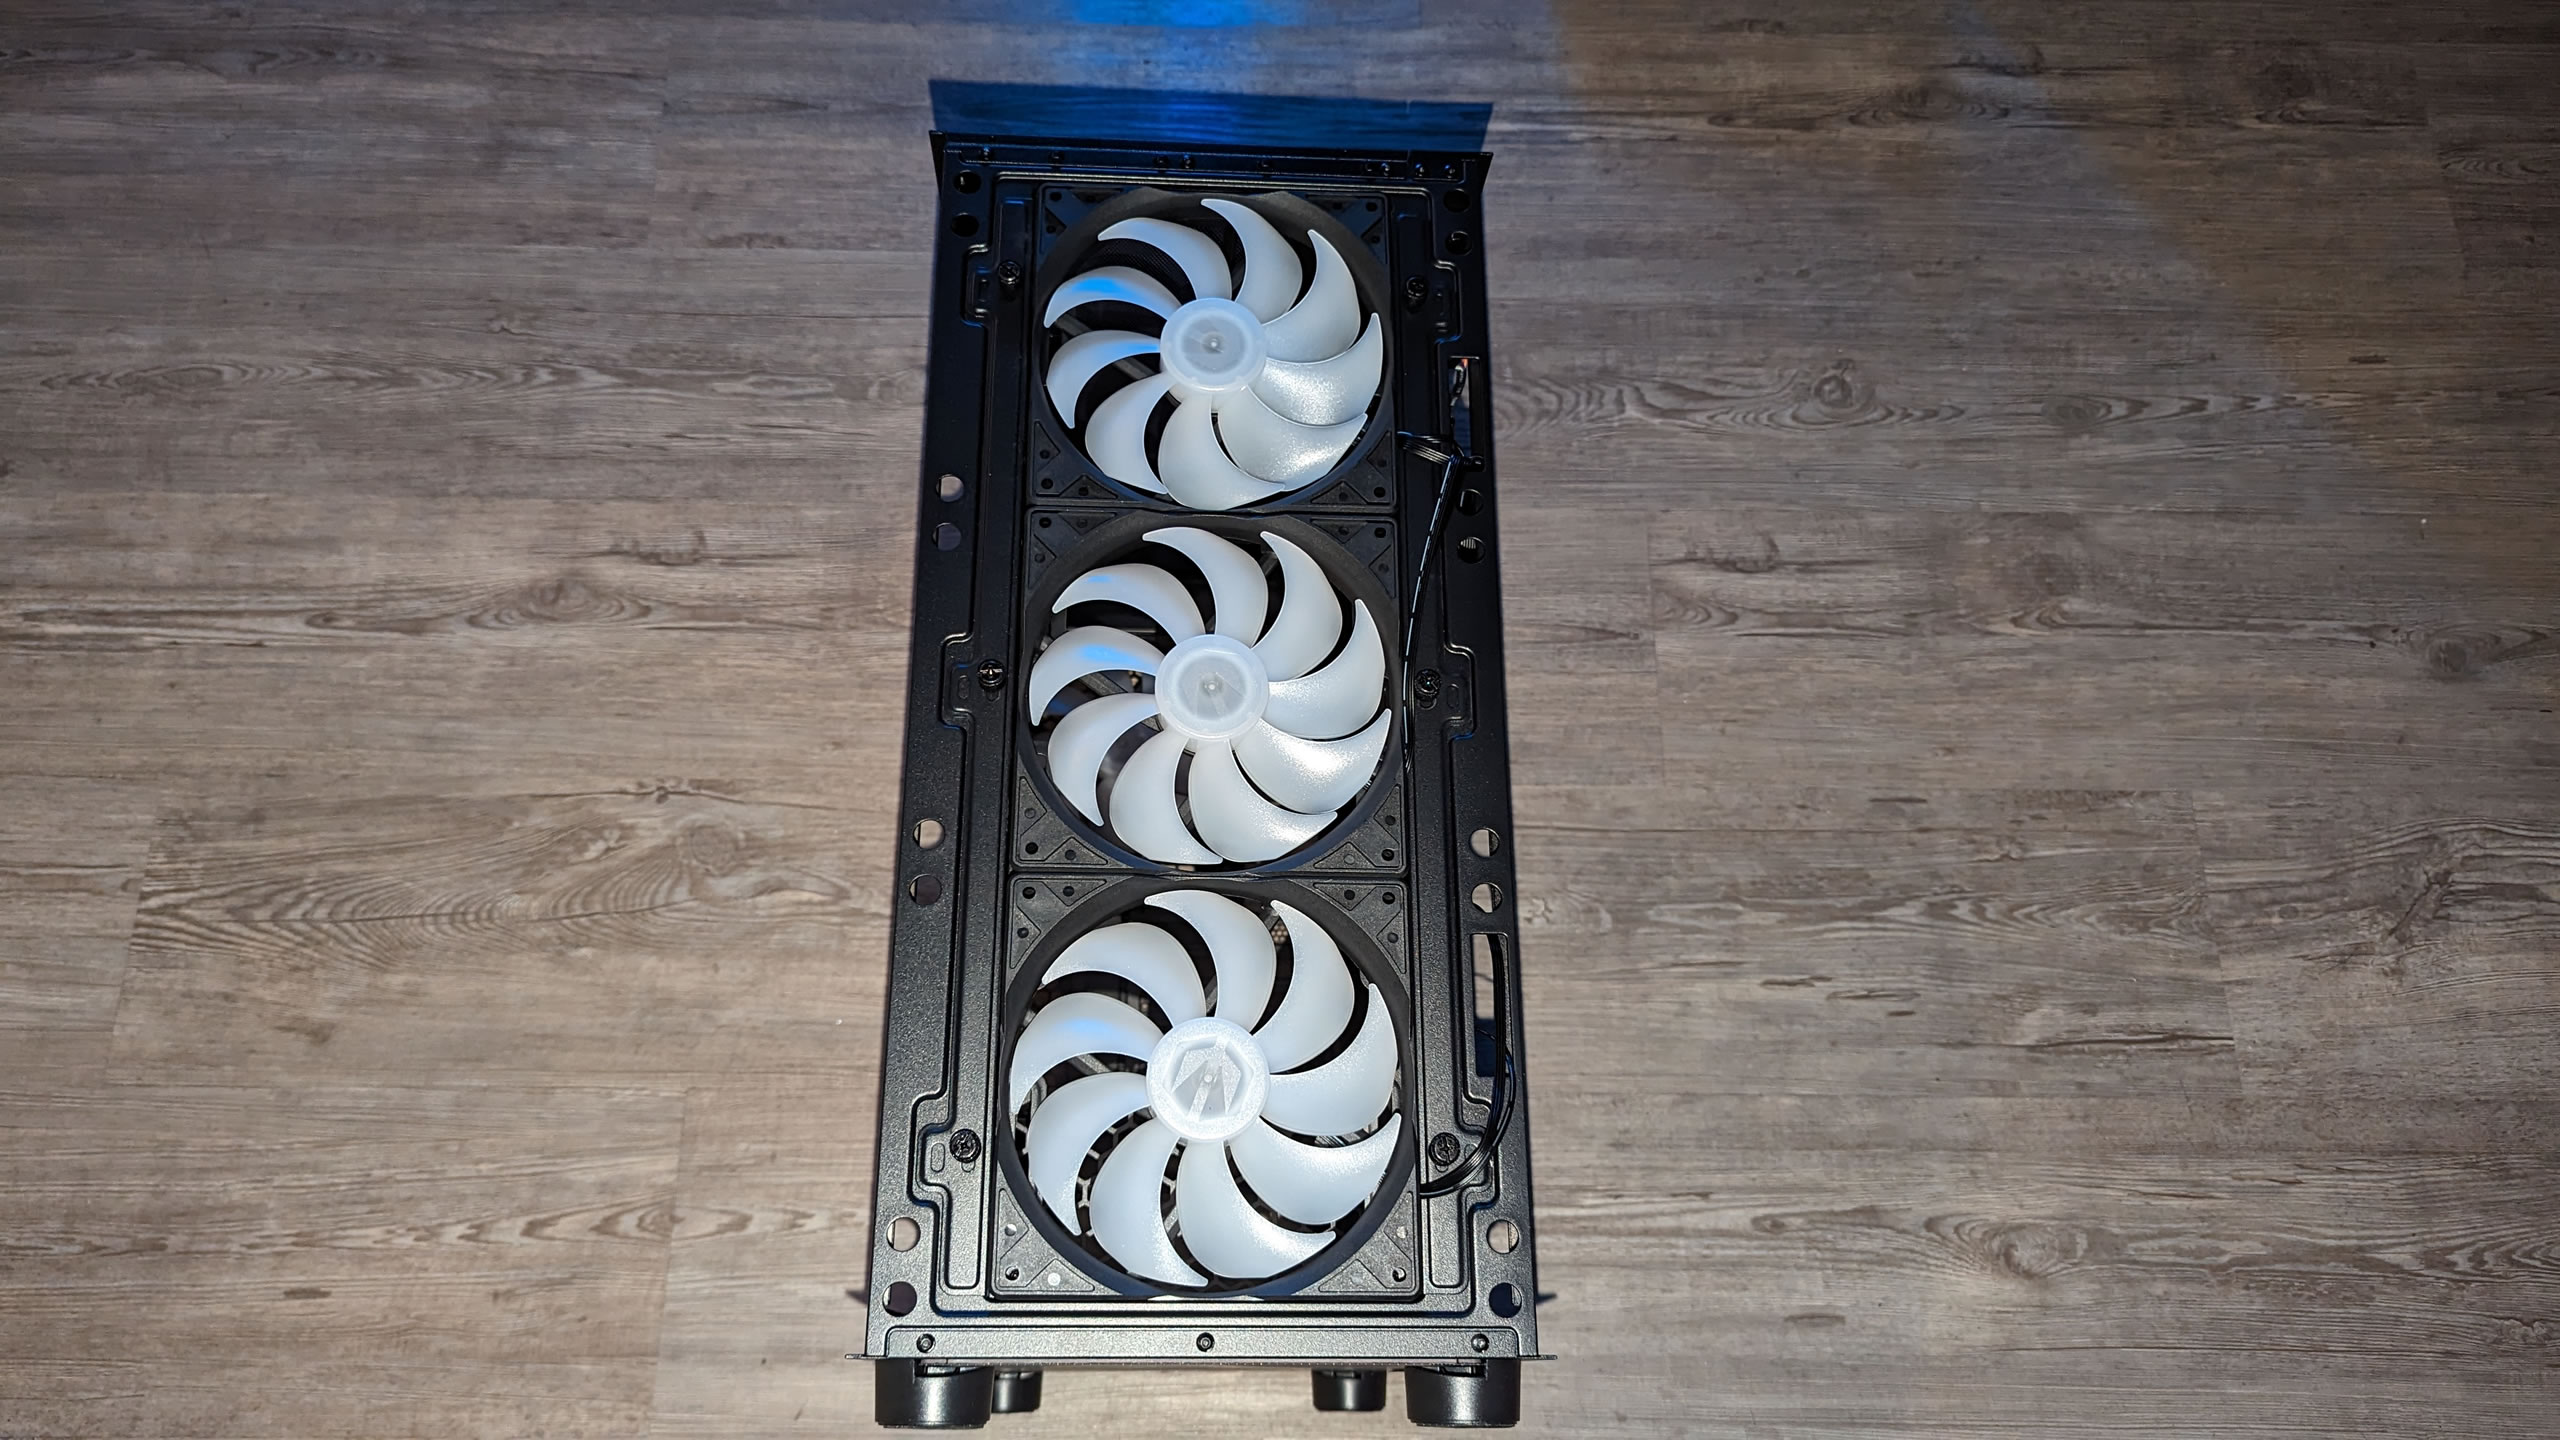
The lower part protrudes slightly. This only applies to the left-hand side. All edges have been rounded. The front can be pulled off with a little force to reveal the first 3 140mm ARGB fans.
The lid is made of finely perforated sheet metal and therefore also acts as a dust filter, similar to the front.
It can be easily pulled back after loosening a knurled screw.
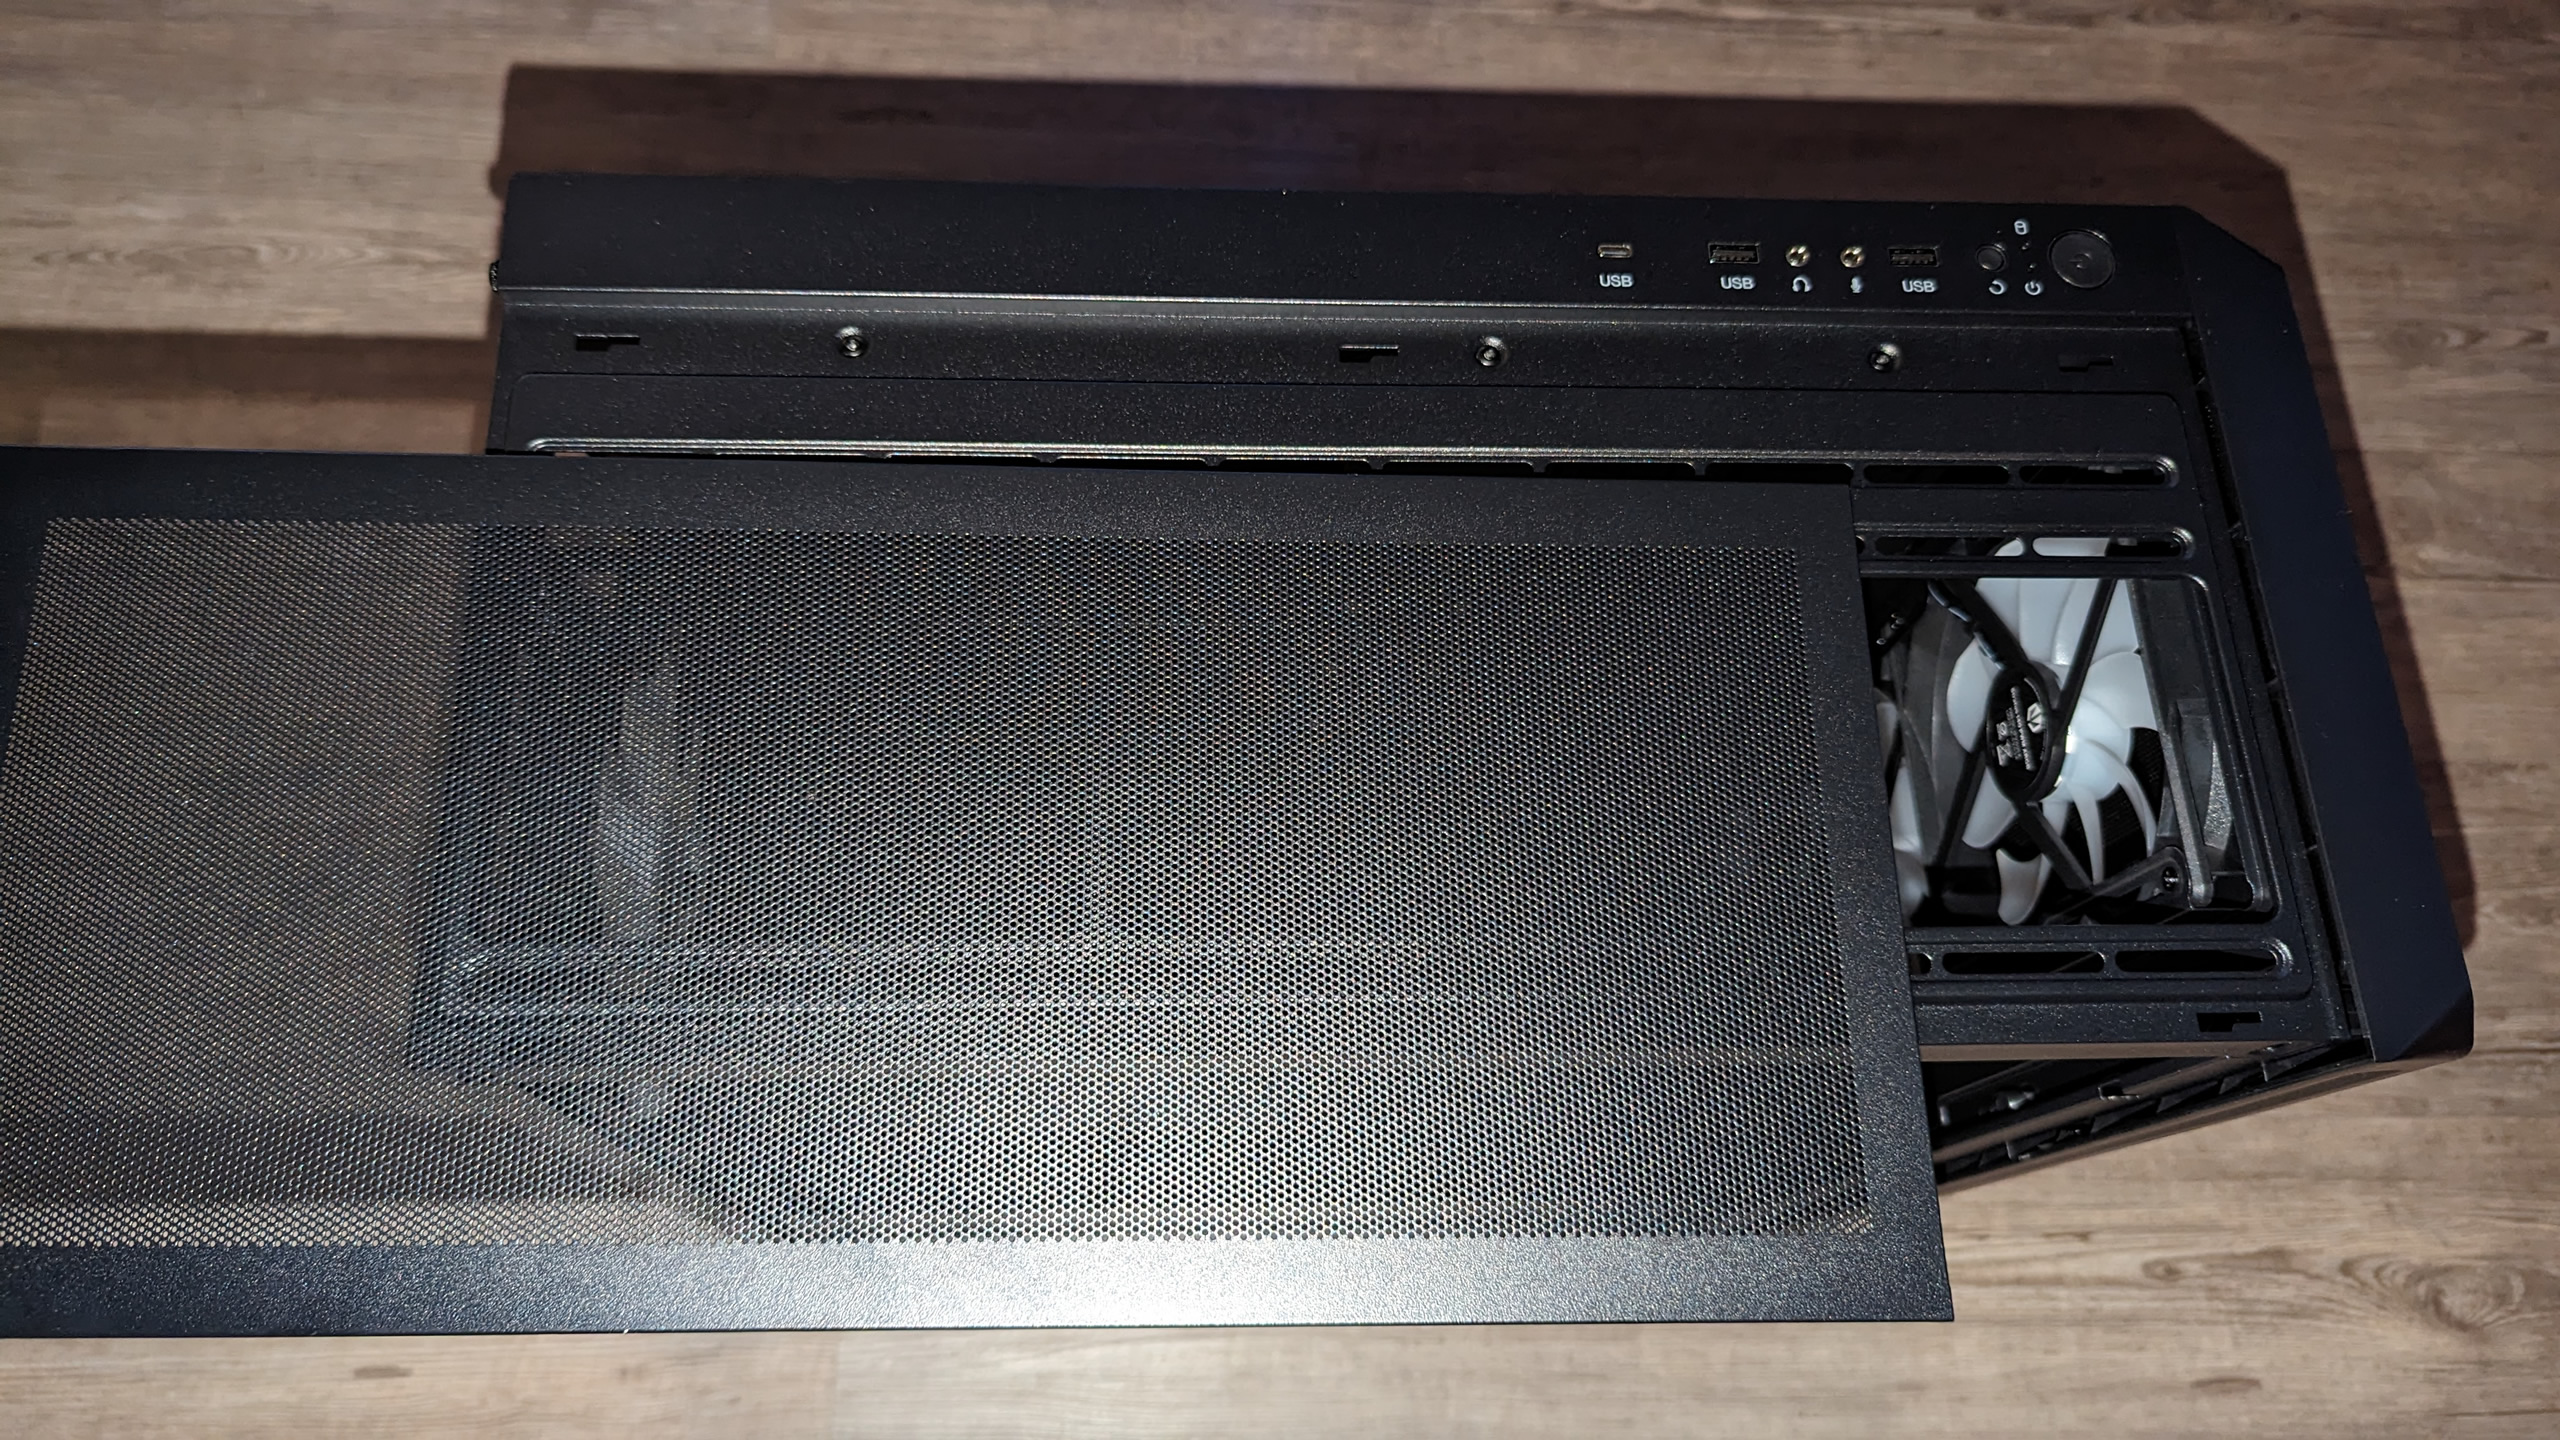
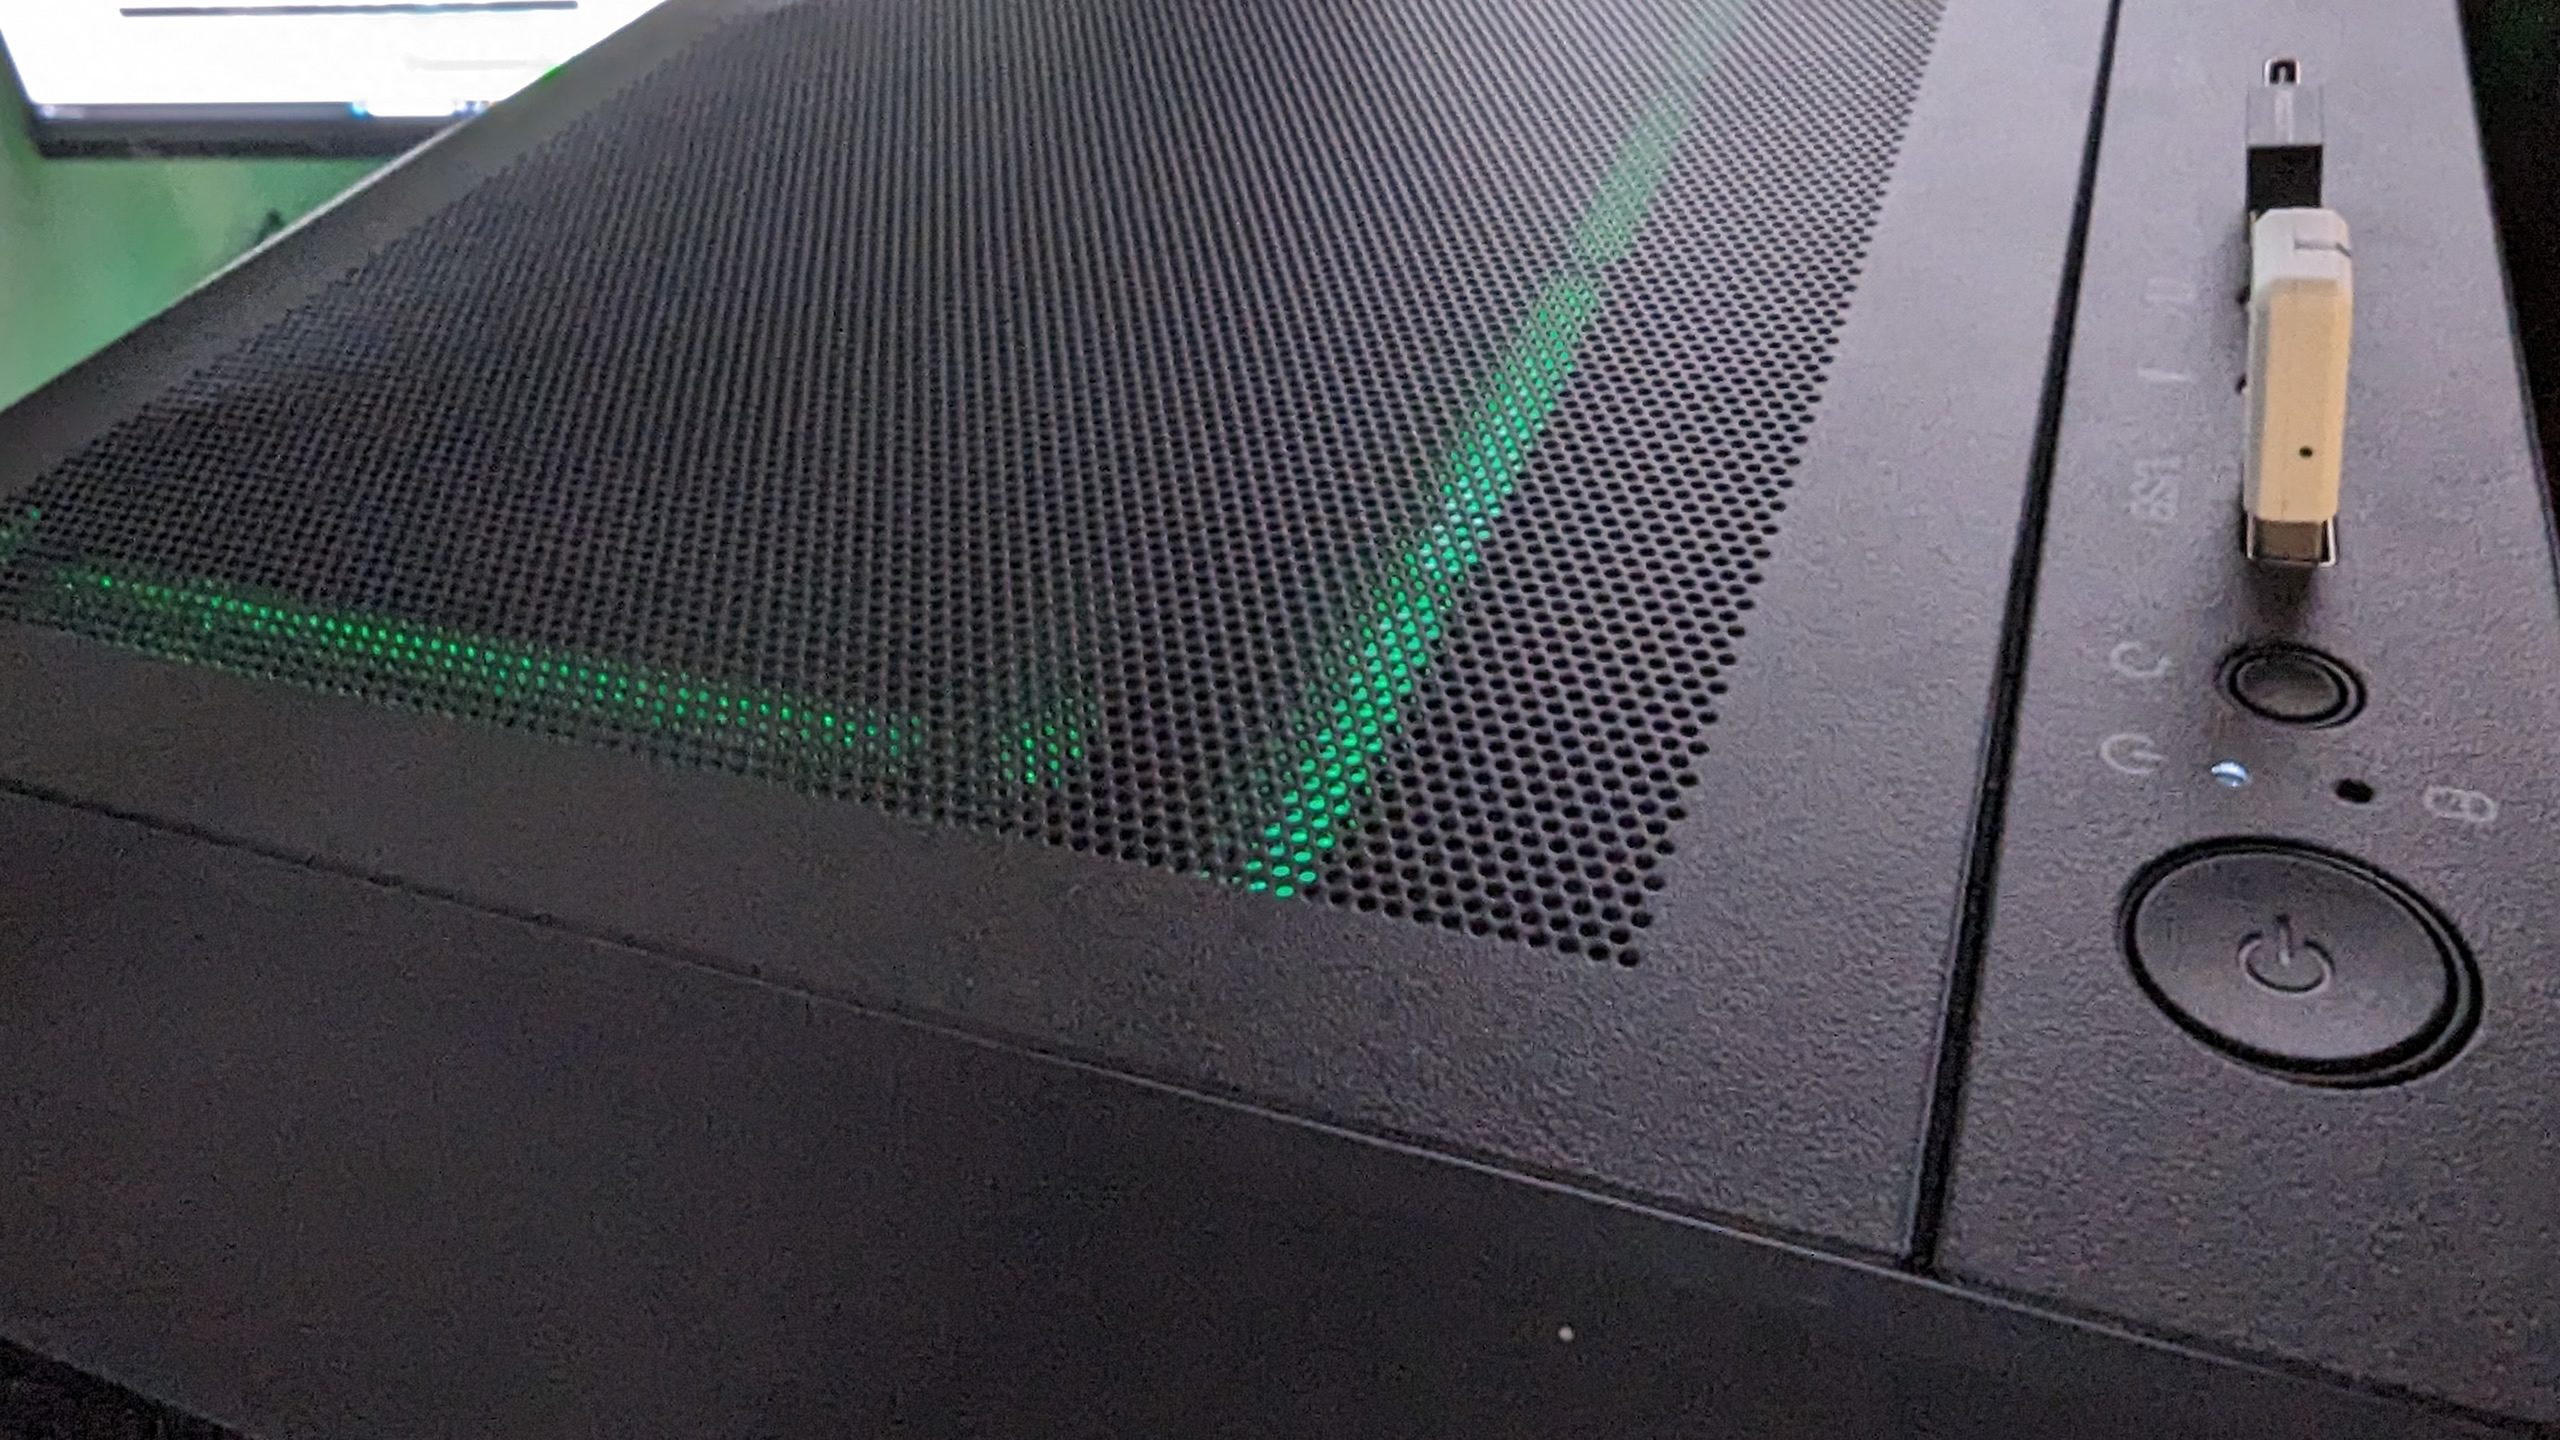
The I/O panel is located on the right. There are 2x USB 3.0, 1x USB-C, a jack plug for the headset or headphones, 1 jack plug for the microphone and the reset and power button. There is also a small ARGB controller on the side behind the side panel. When inserting the wireless dongles for the mouse and headset, I subsequently noticed that the I/O panel was not inserted completely straight. All buttons and USB inlets are slightly to the left.
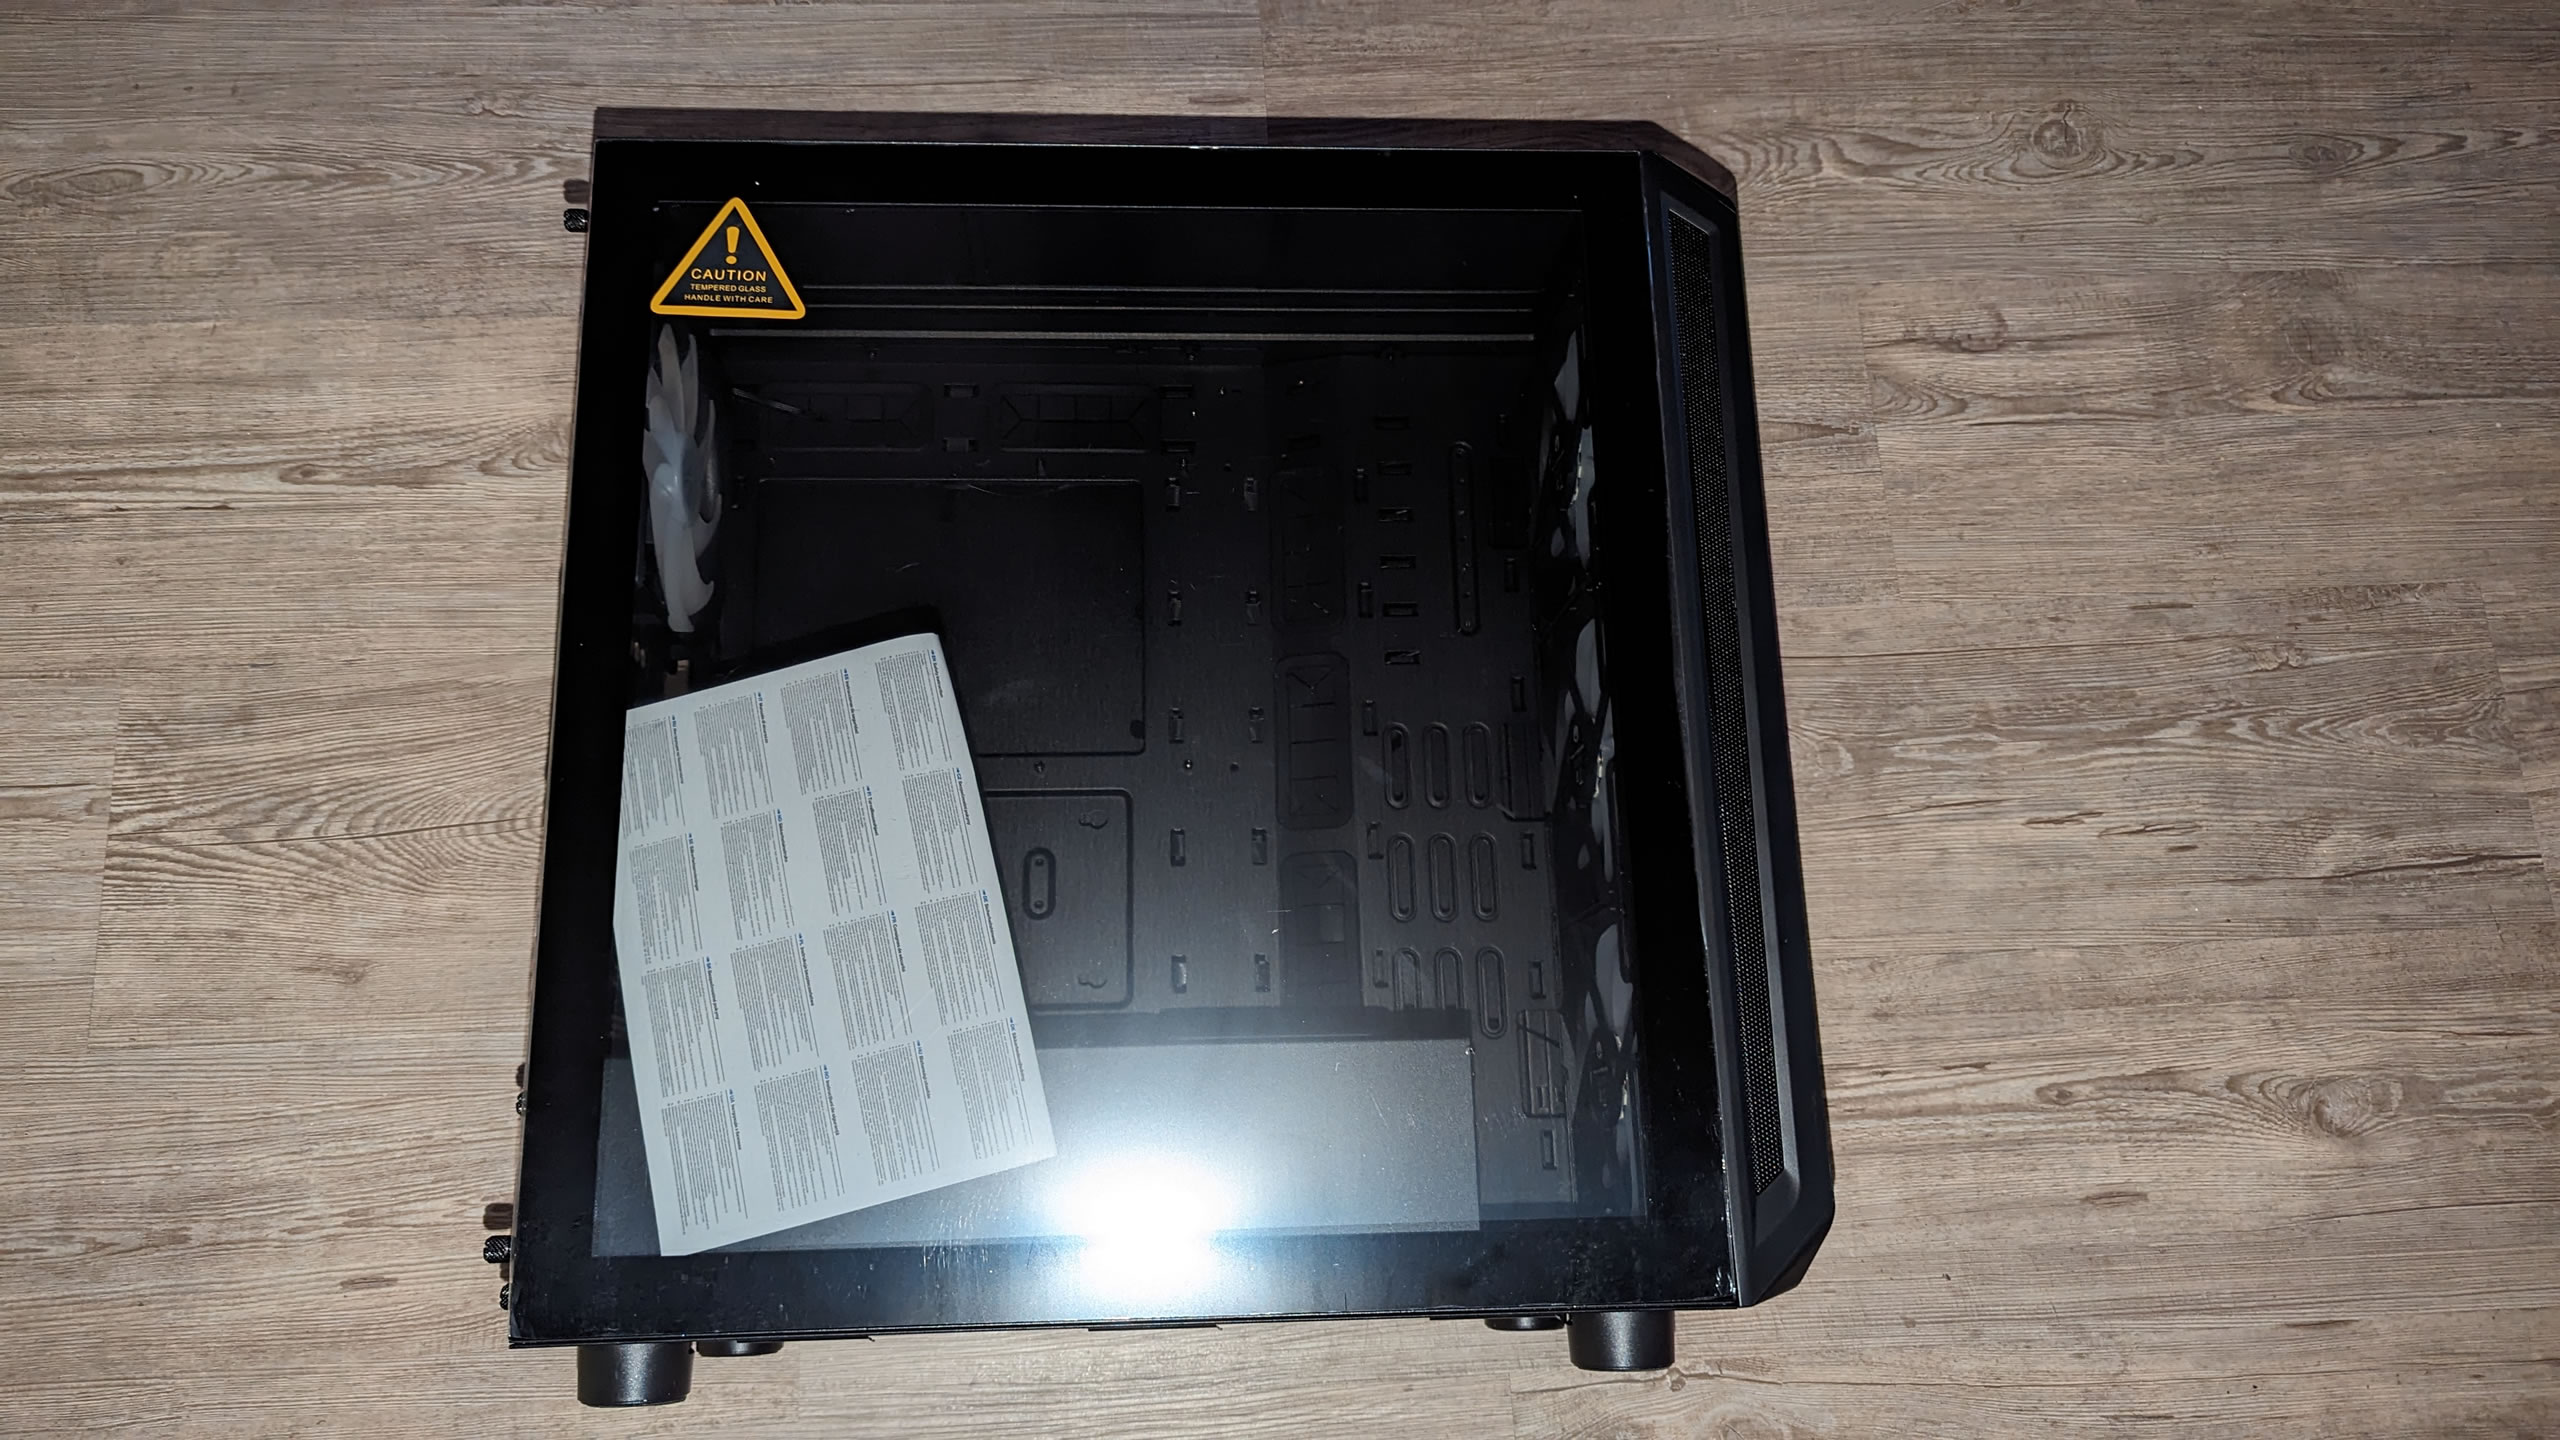
Hidden behind the glass panel is the mainboard tray and many cable grommets for cable management.
ATX, ITX and Micro ITX mainboards fit into this case. Due to the very compact design, the installation can already be guessed, especially if you want to install in the ATX size. Otherwise, it should be mentioned that 120 mm and 140 mm models can be installed in the fan category.
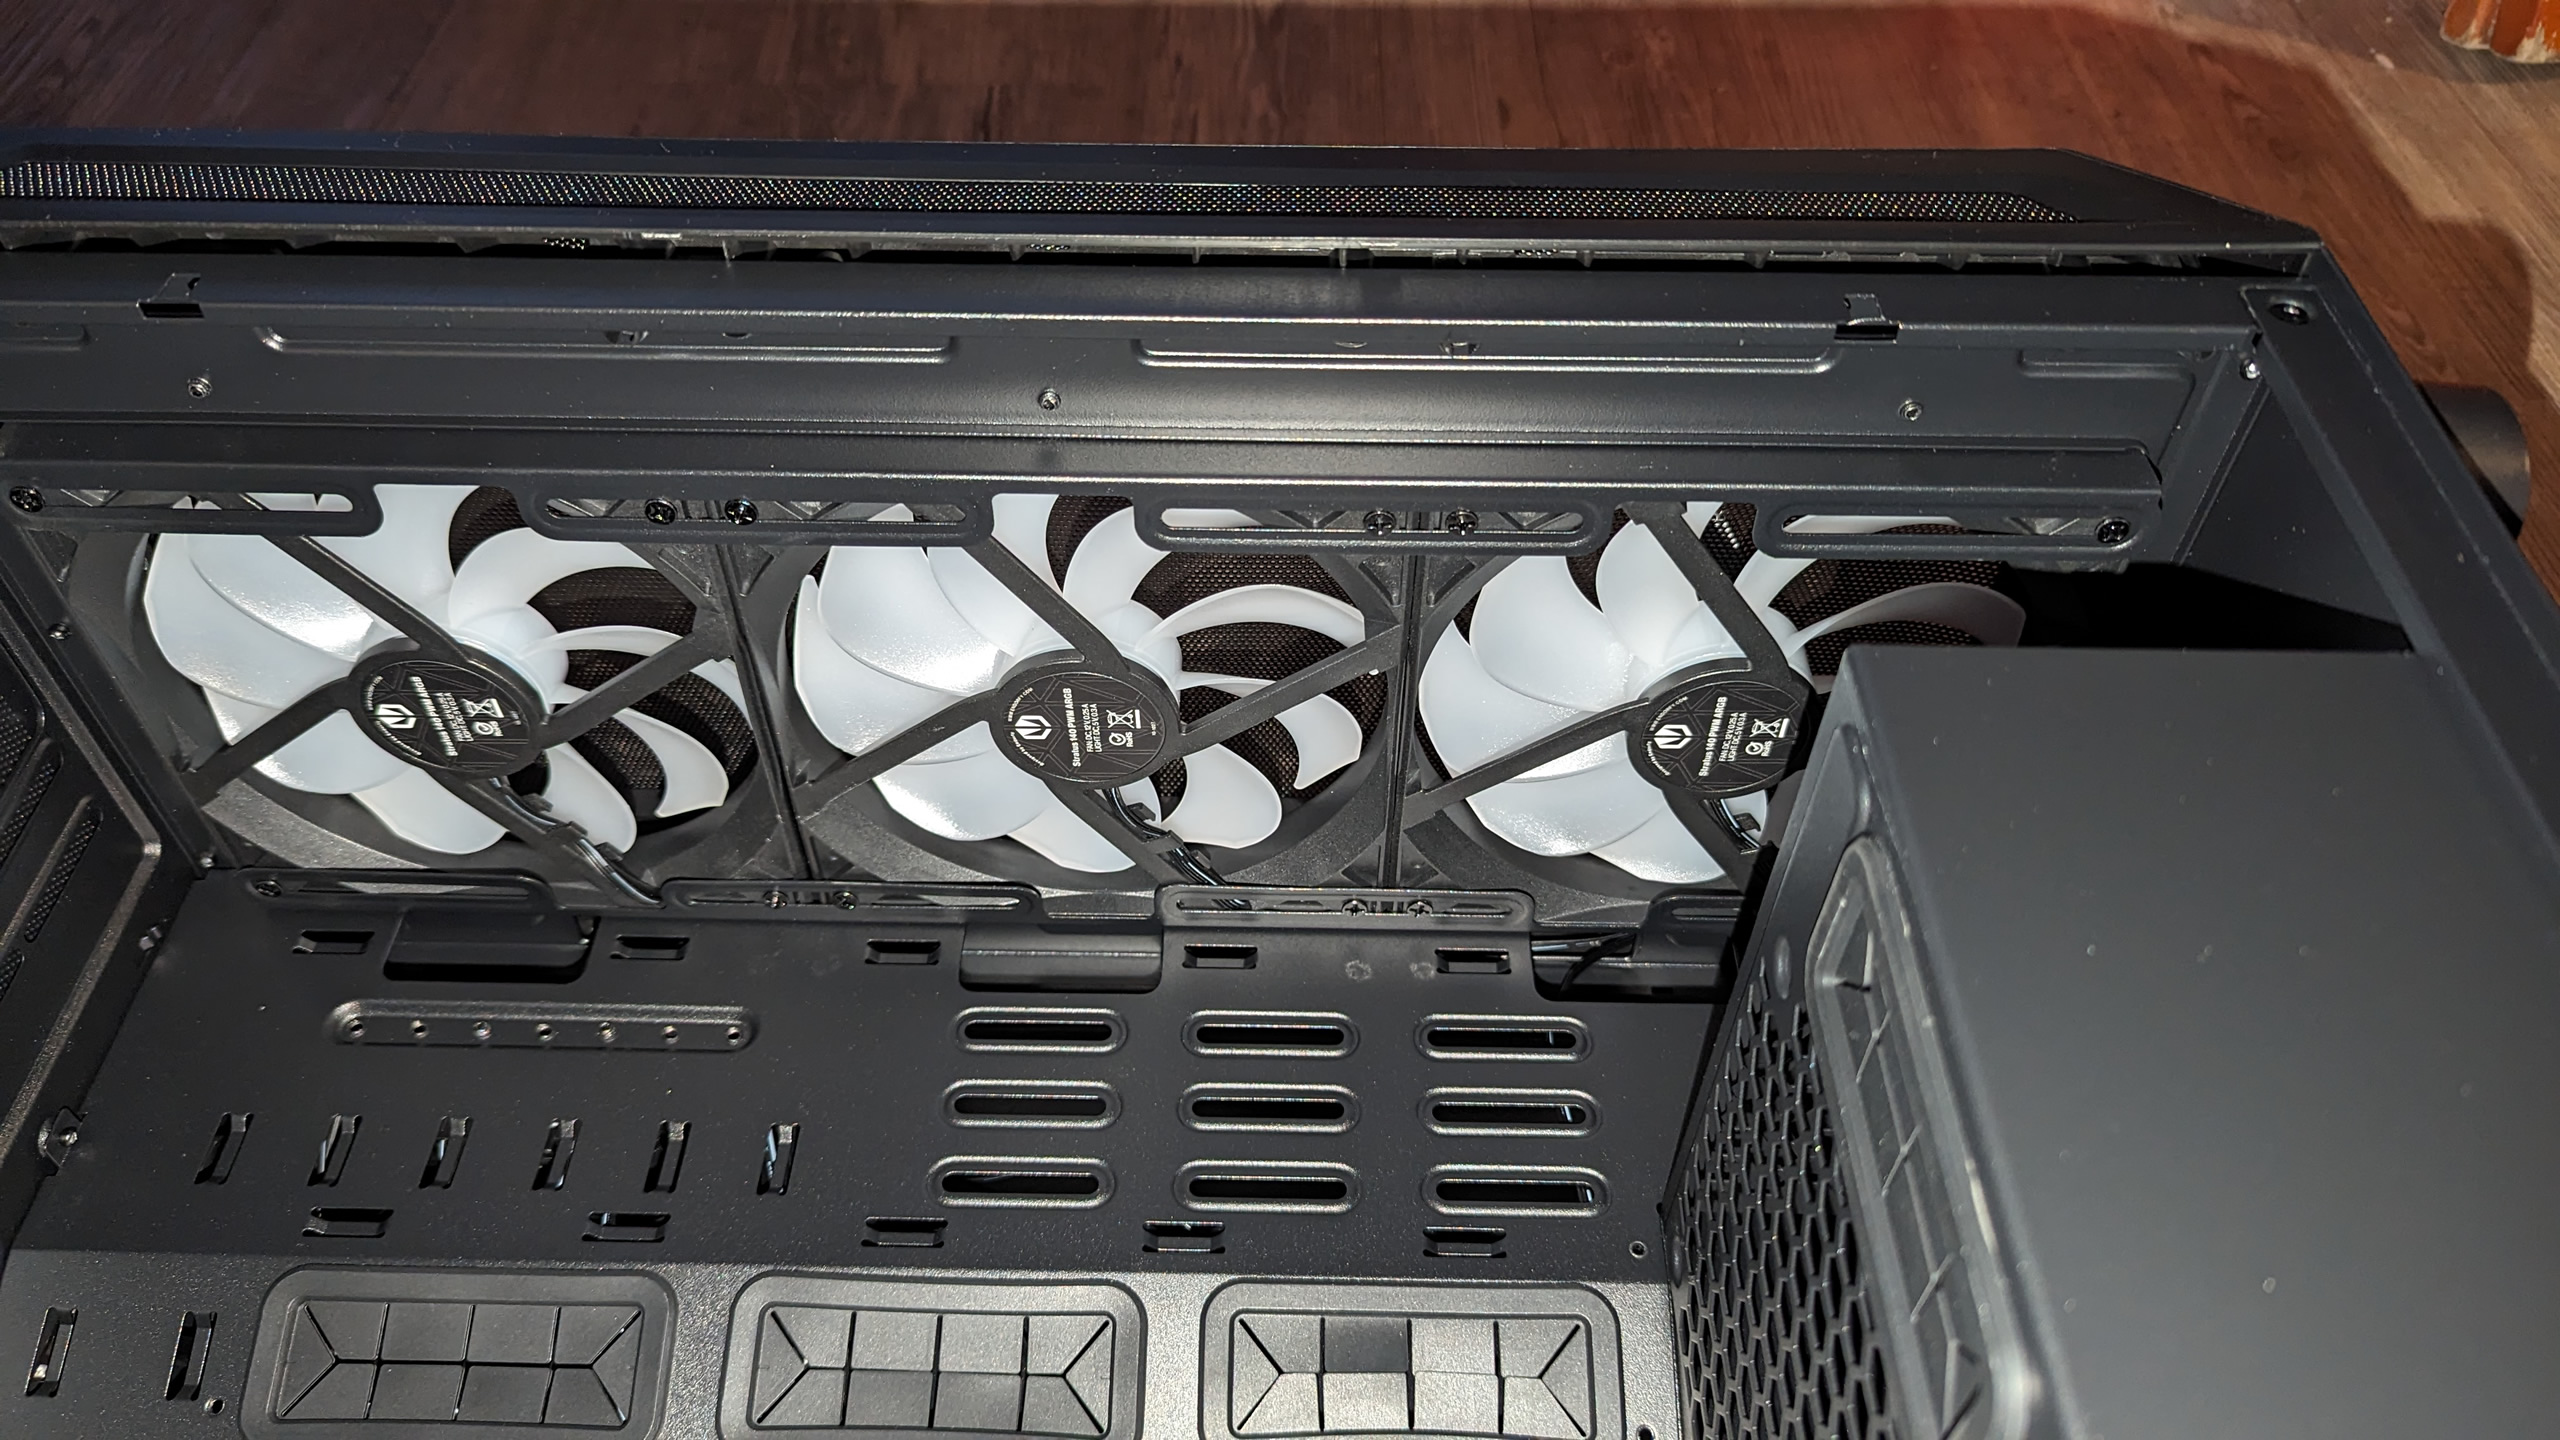
If you want to change the fans in the front, you can do so via a screwed rail. However, there is very little space for a custom water cooling system with expansion tank or distro plate. I would definitely recommend an AiO water cooling system for the CPU. This leaves enough space for a 360mm AiO water cooling system. This can be installed in the upper area or in the front.
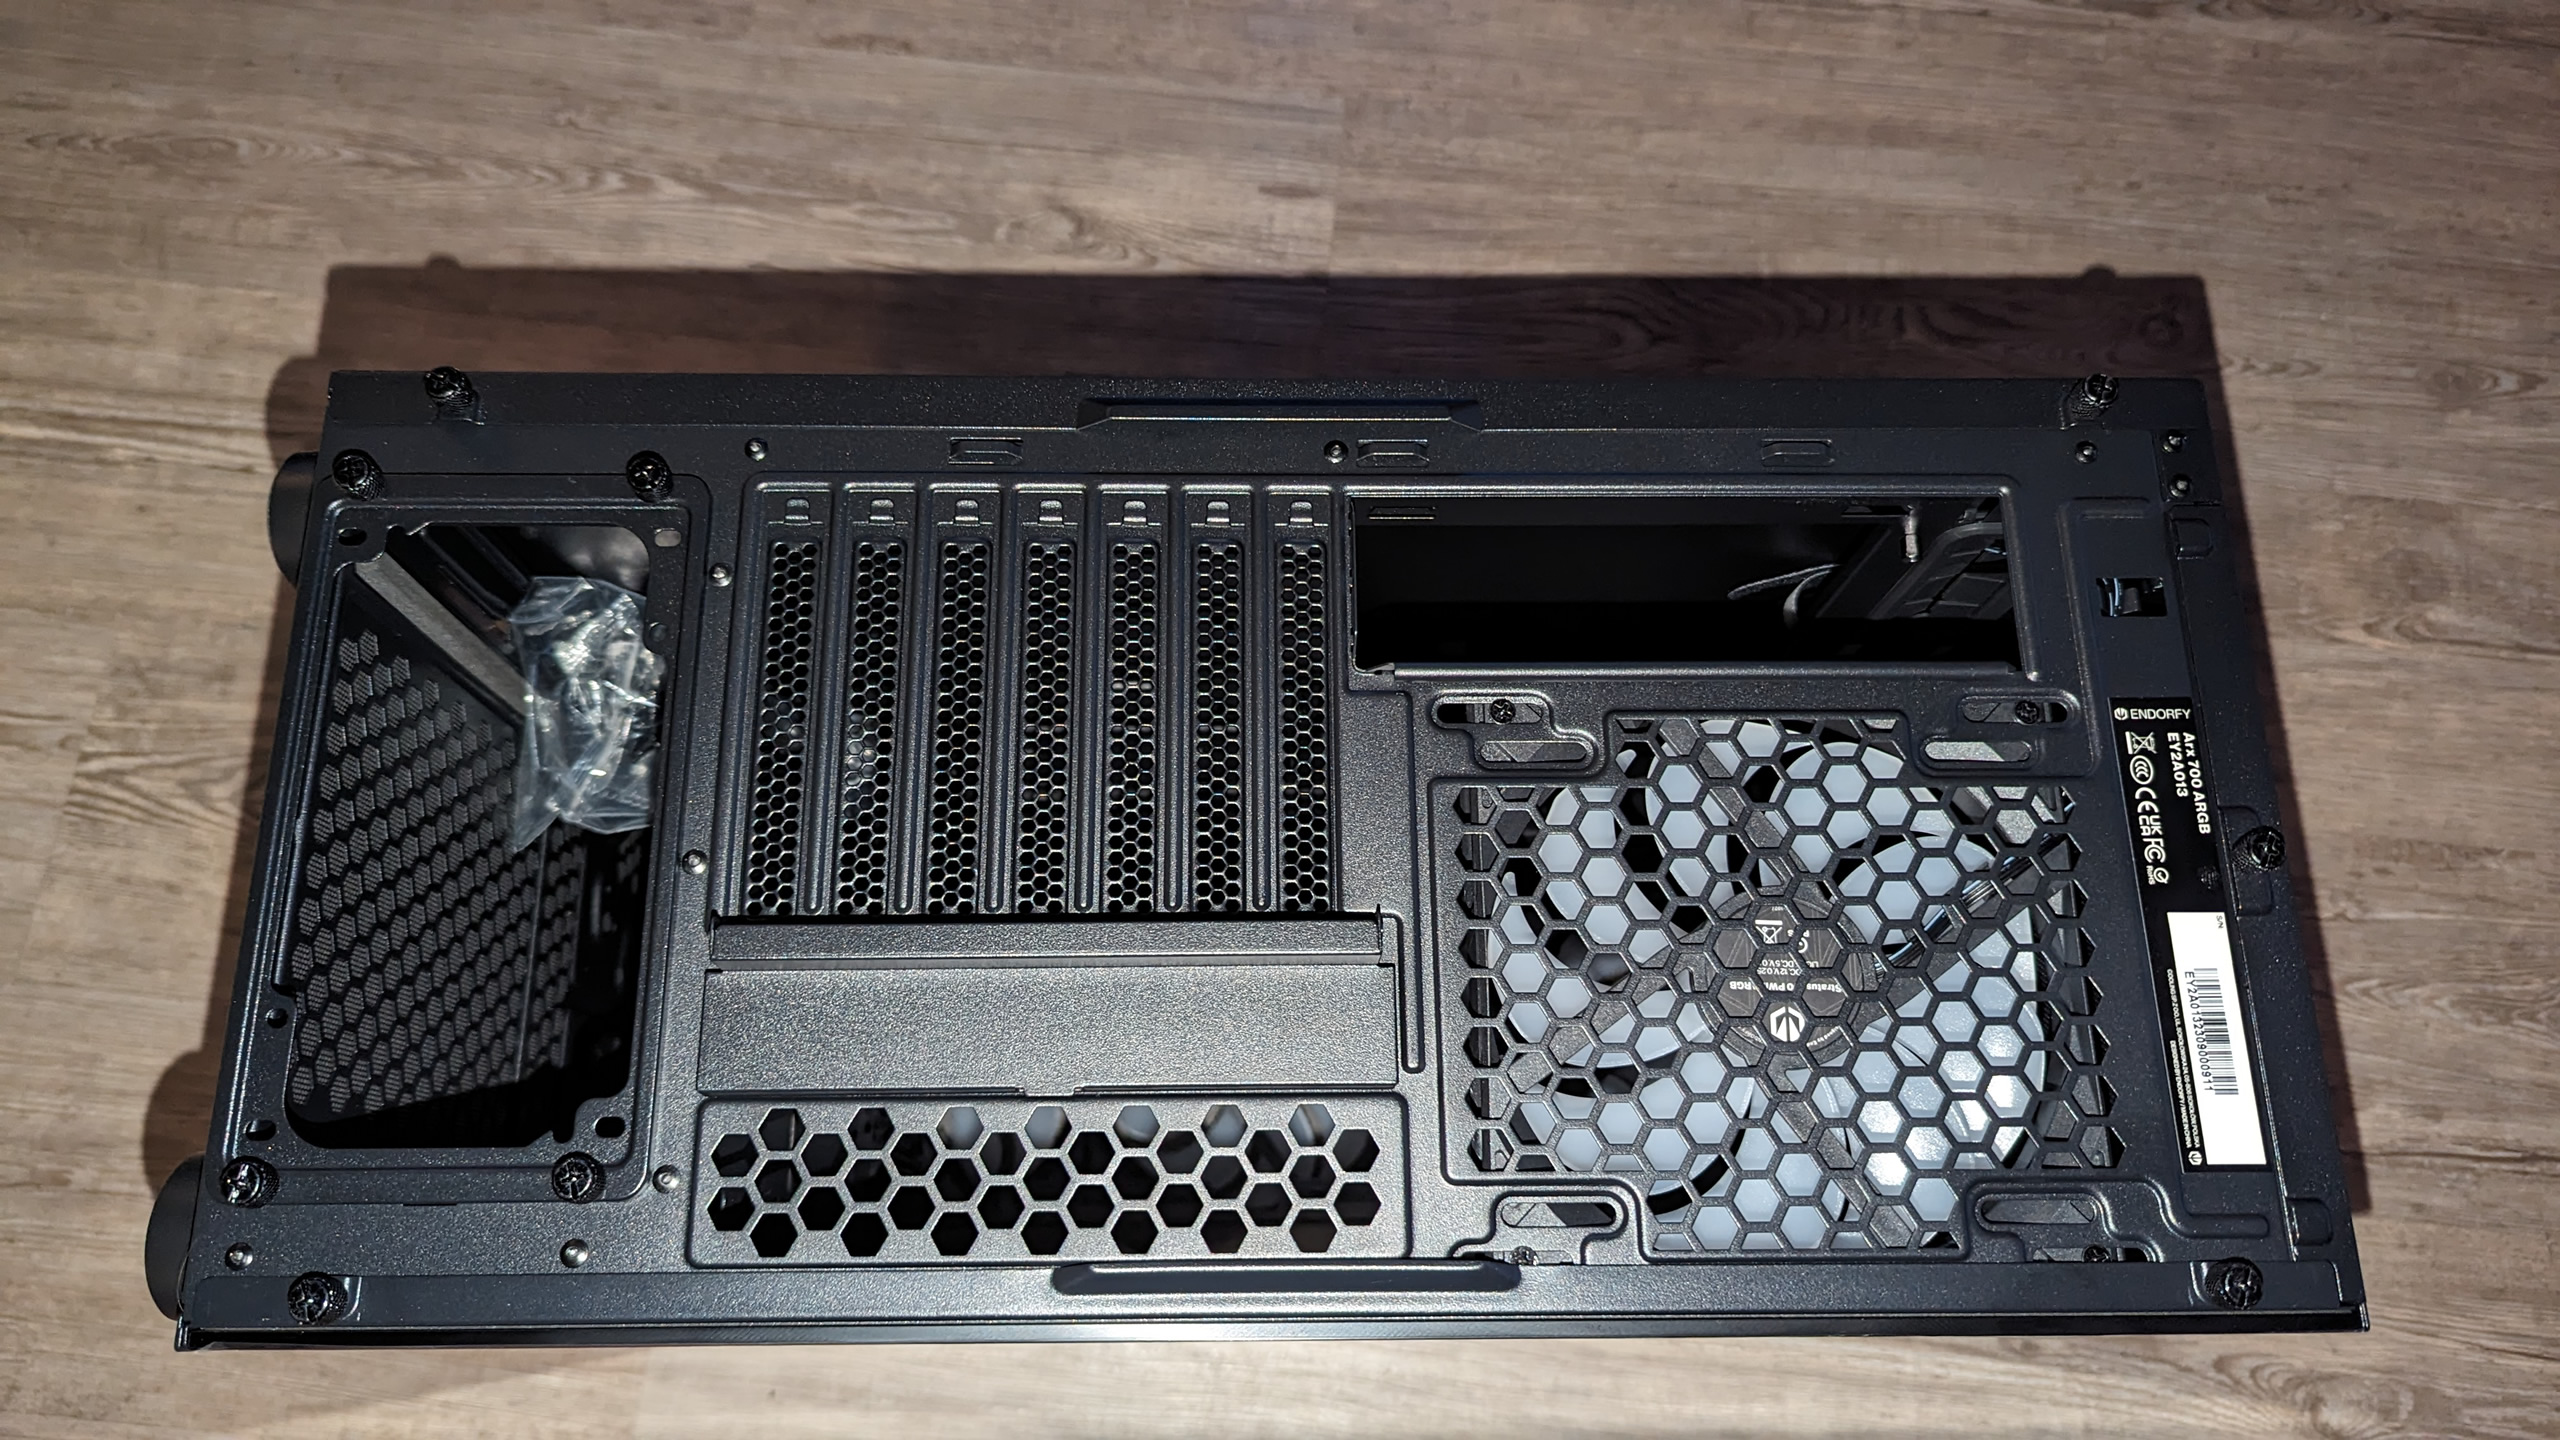
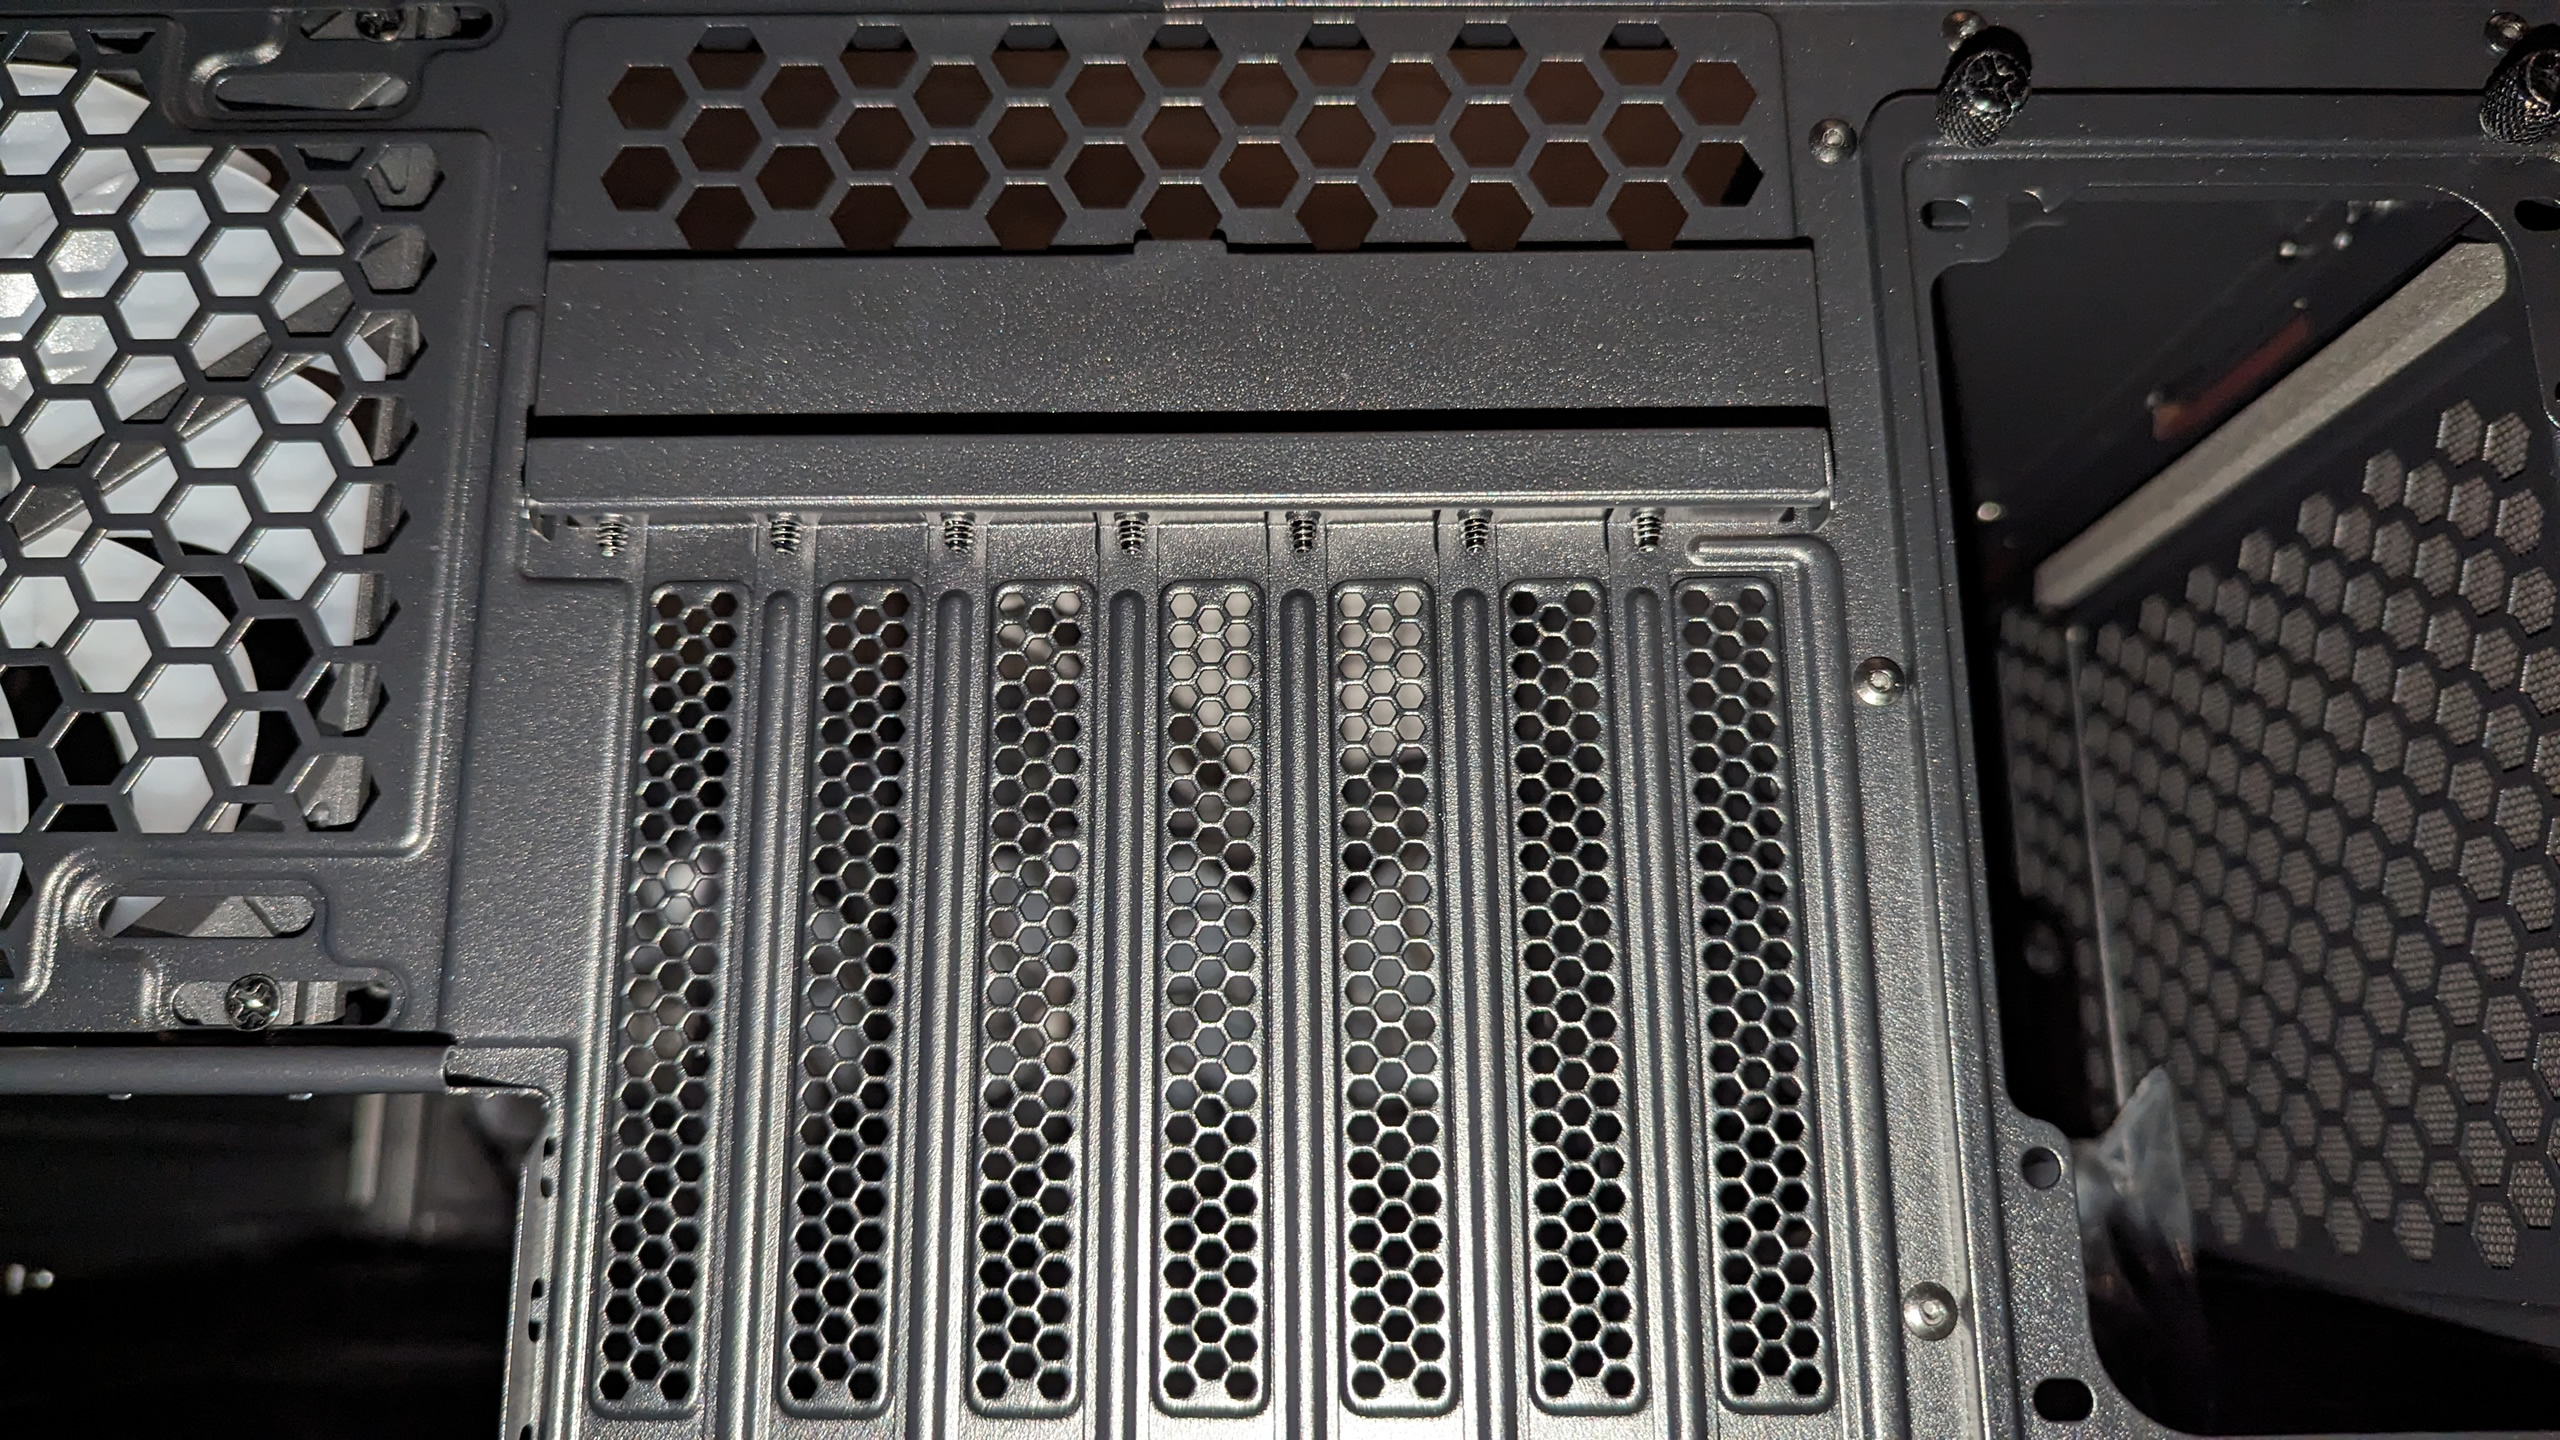
The expansion slot covers are located at the rear of the case and can be removed and reattached using simple screws. An additional flap covers the screws of the slot covers. A holder is then used to install the power supply unit.
This is attached to the housing with 4 knurled screws. This can be closed again using a magnet after the components have been installed, thus preventing the ugly view of the bare screws.

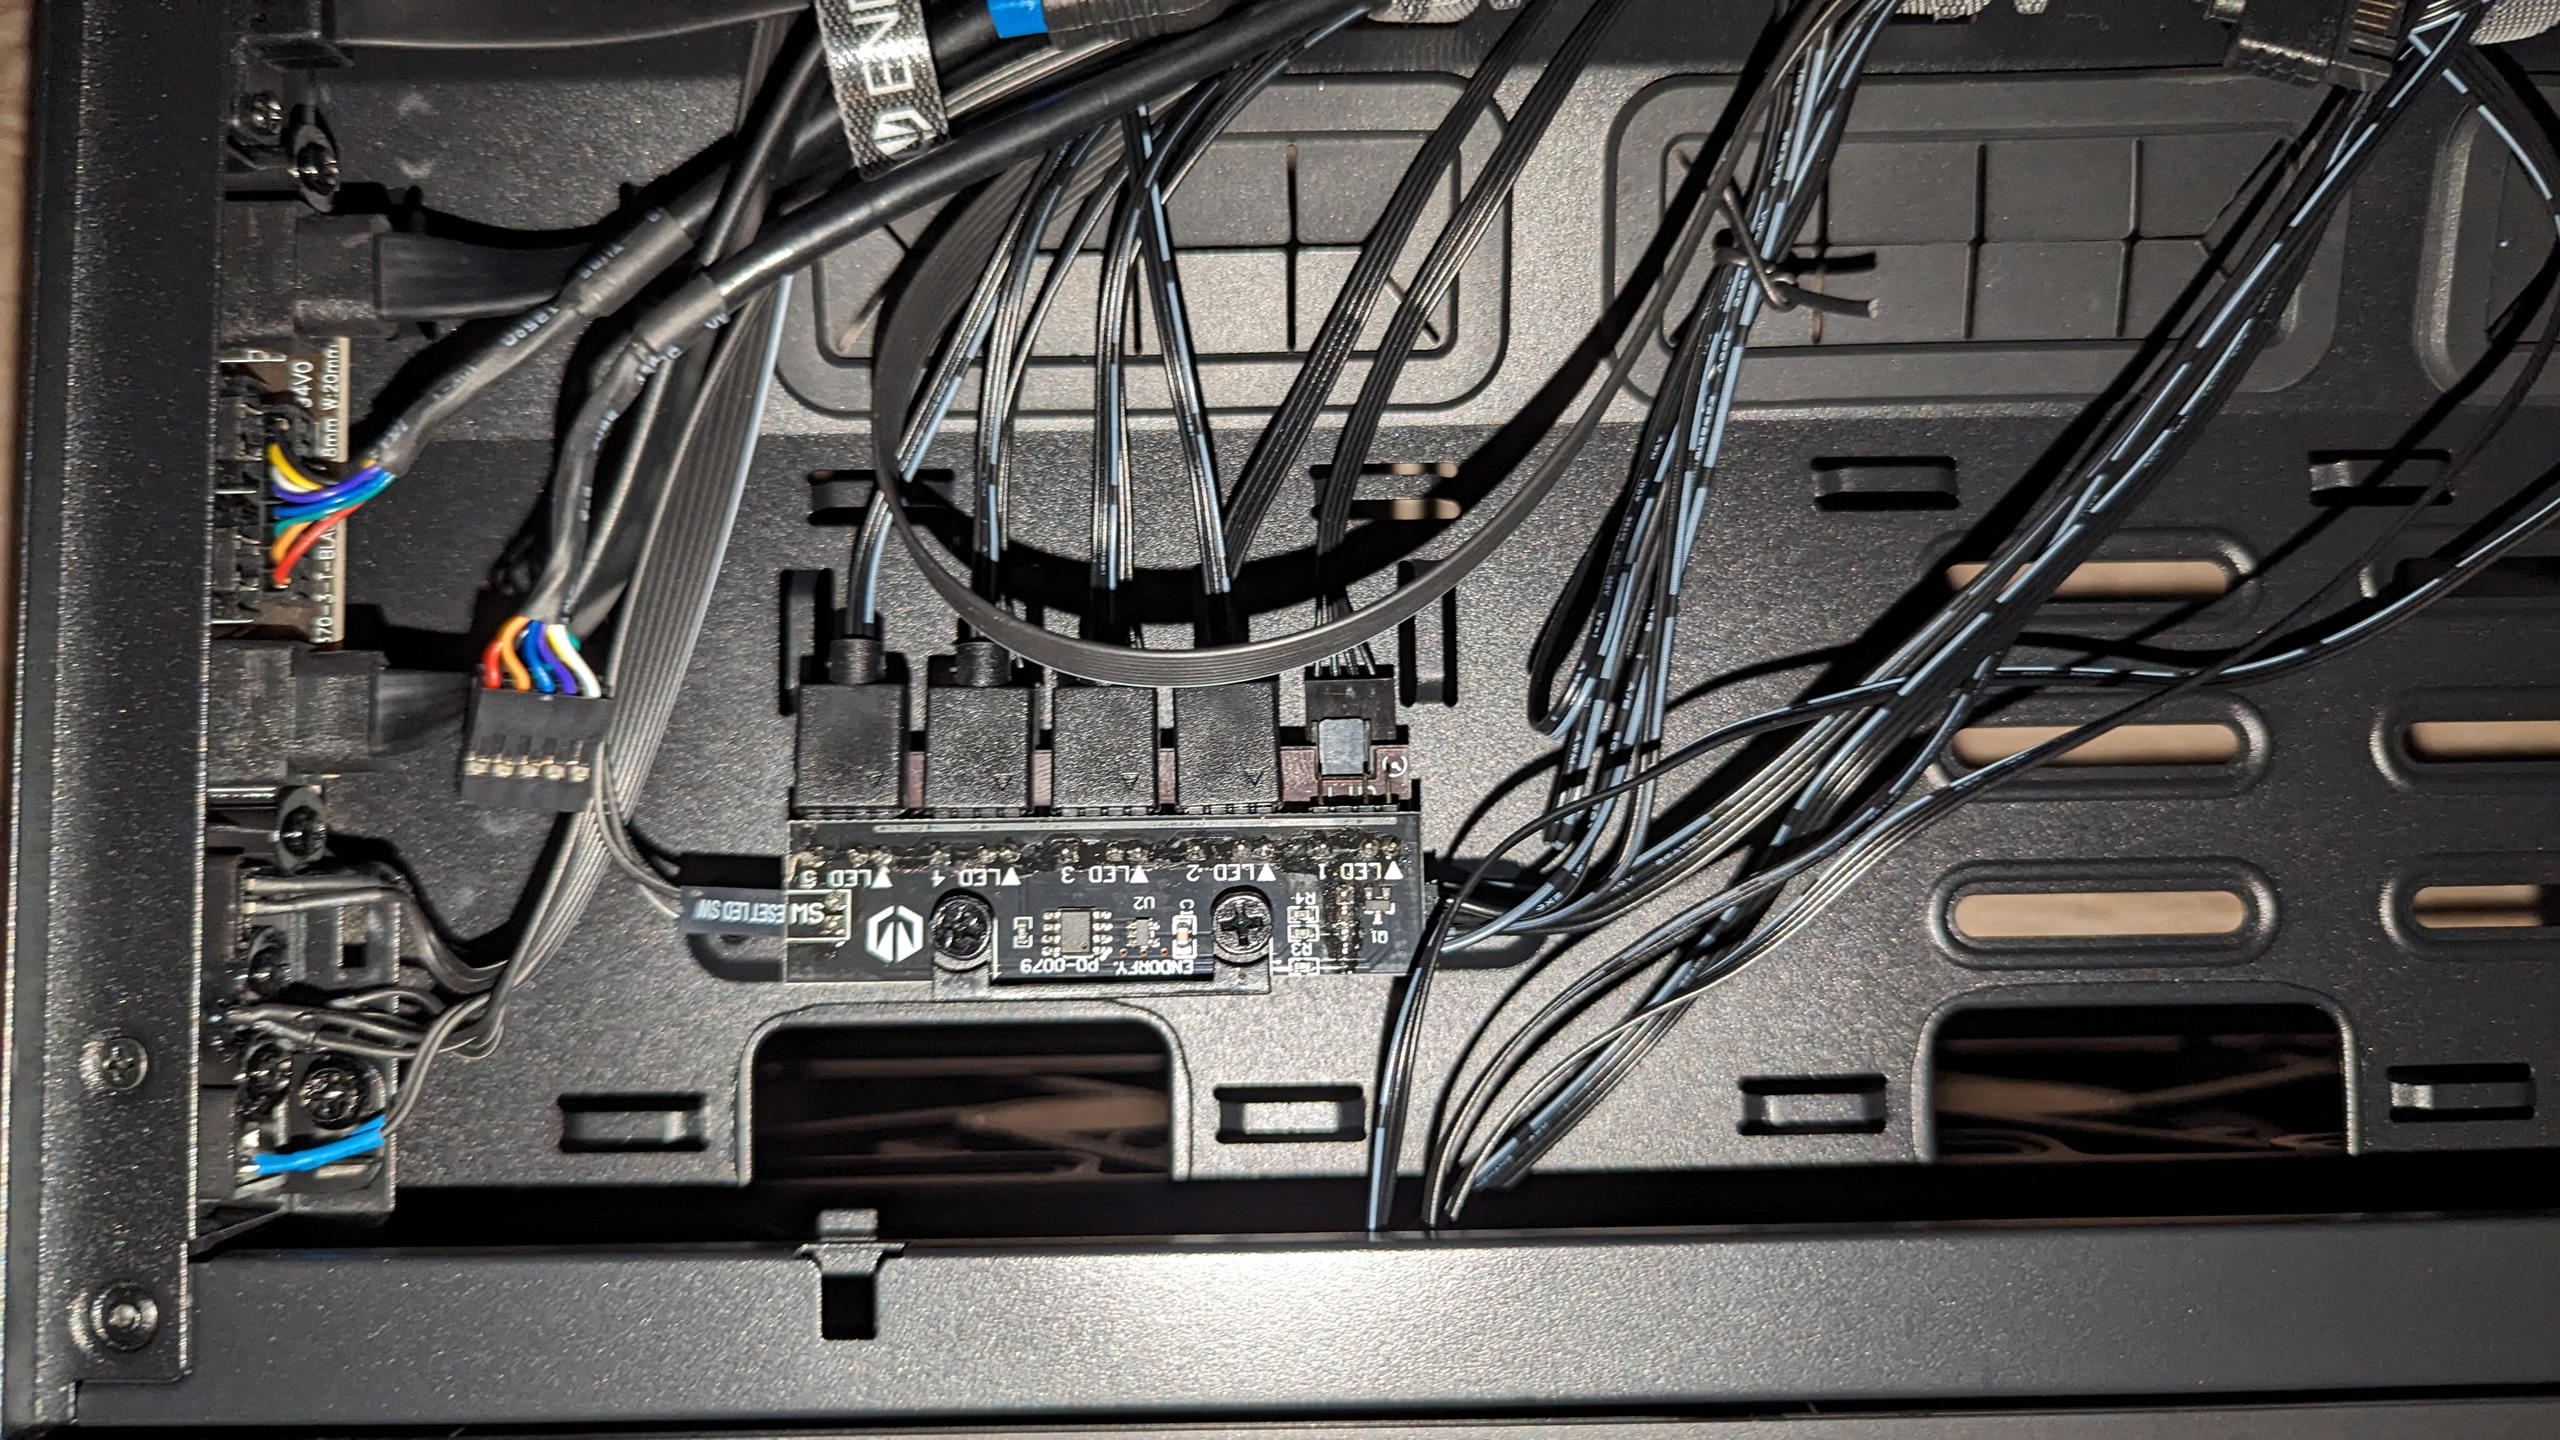
The cabling and the aforementioned ARGB/PWM fan controller are located in the closed right-hand section of the housing. Most of it is held together with Velcro strips.
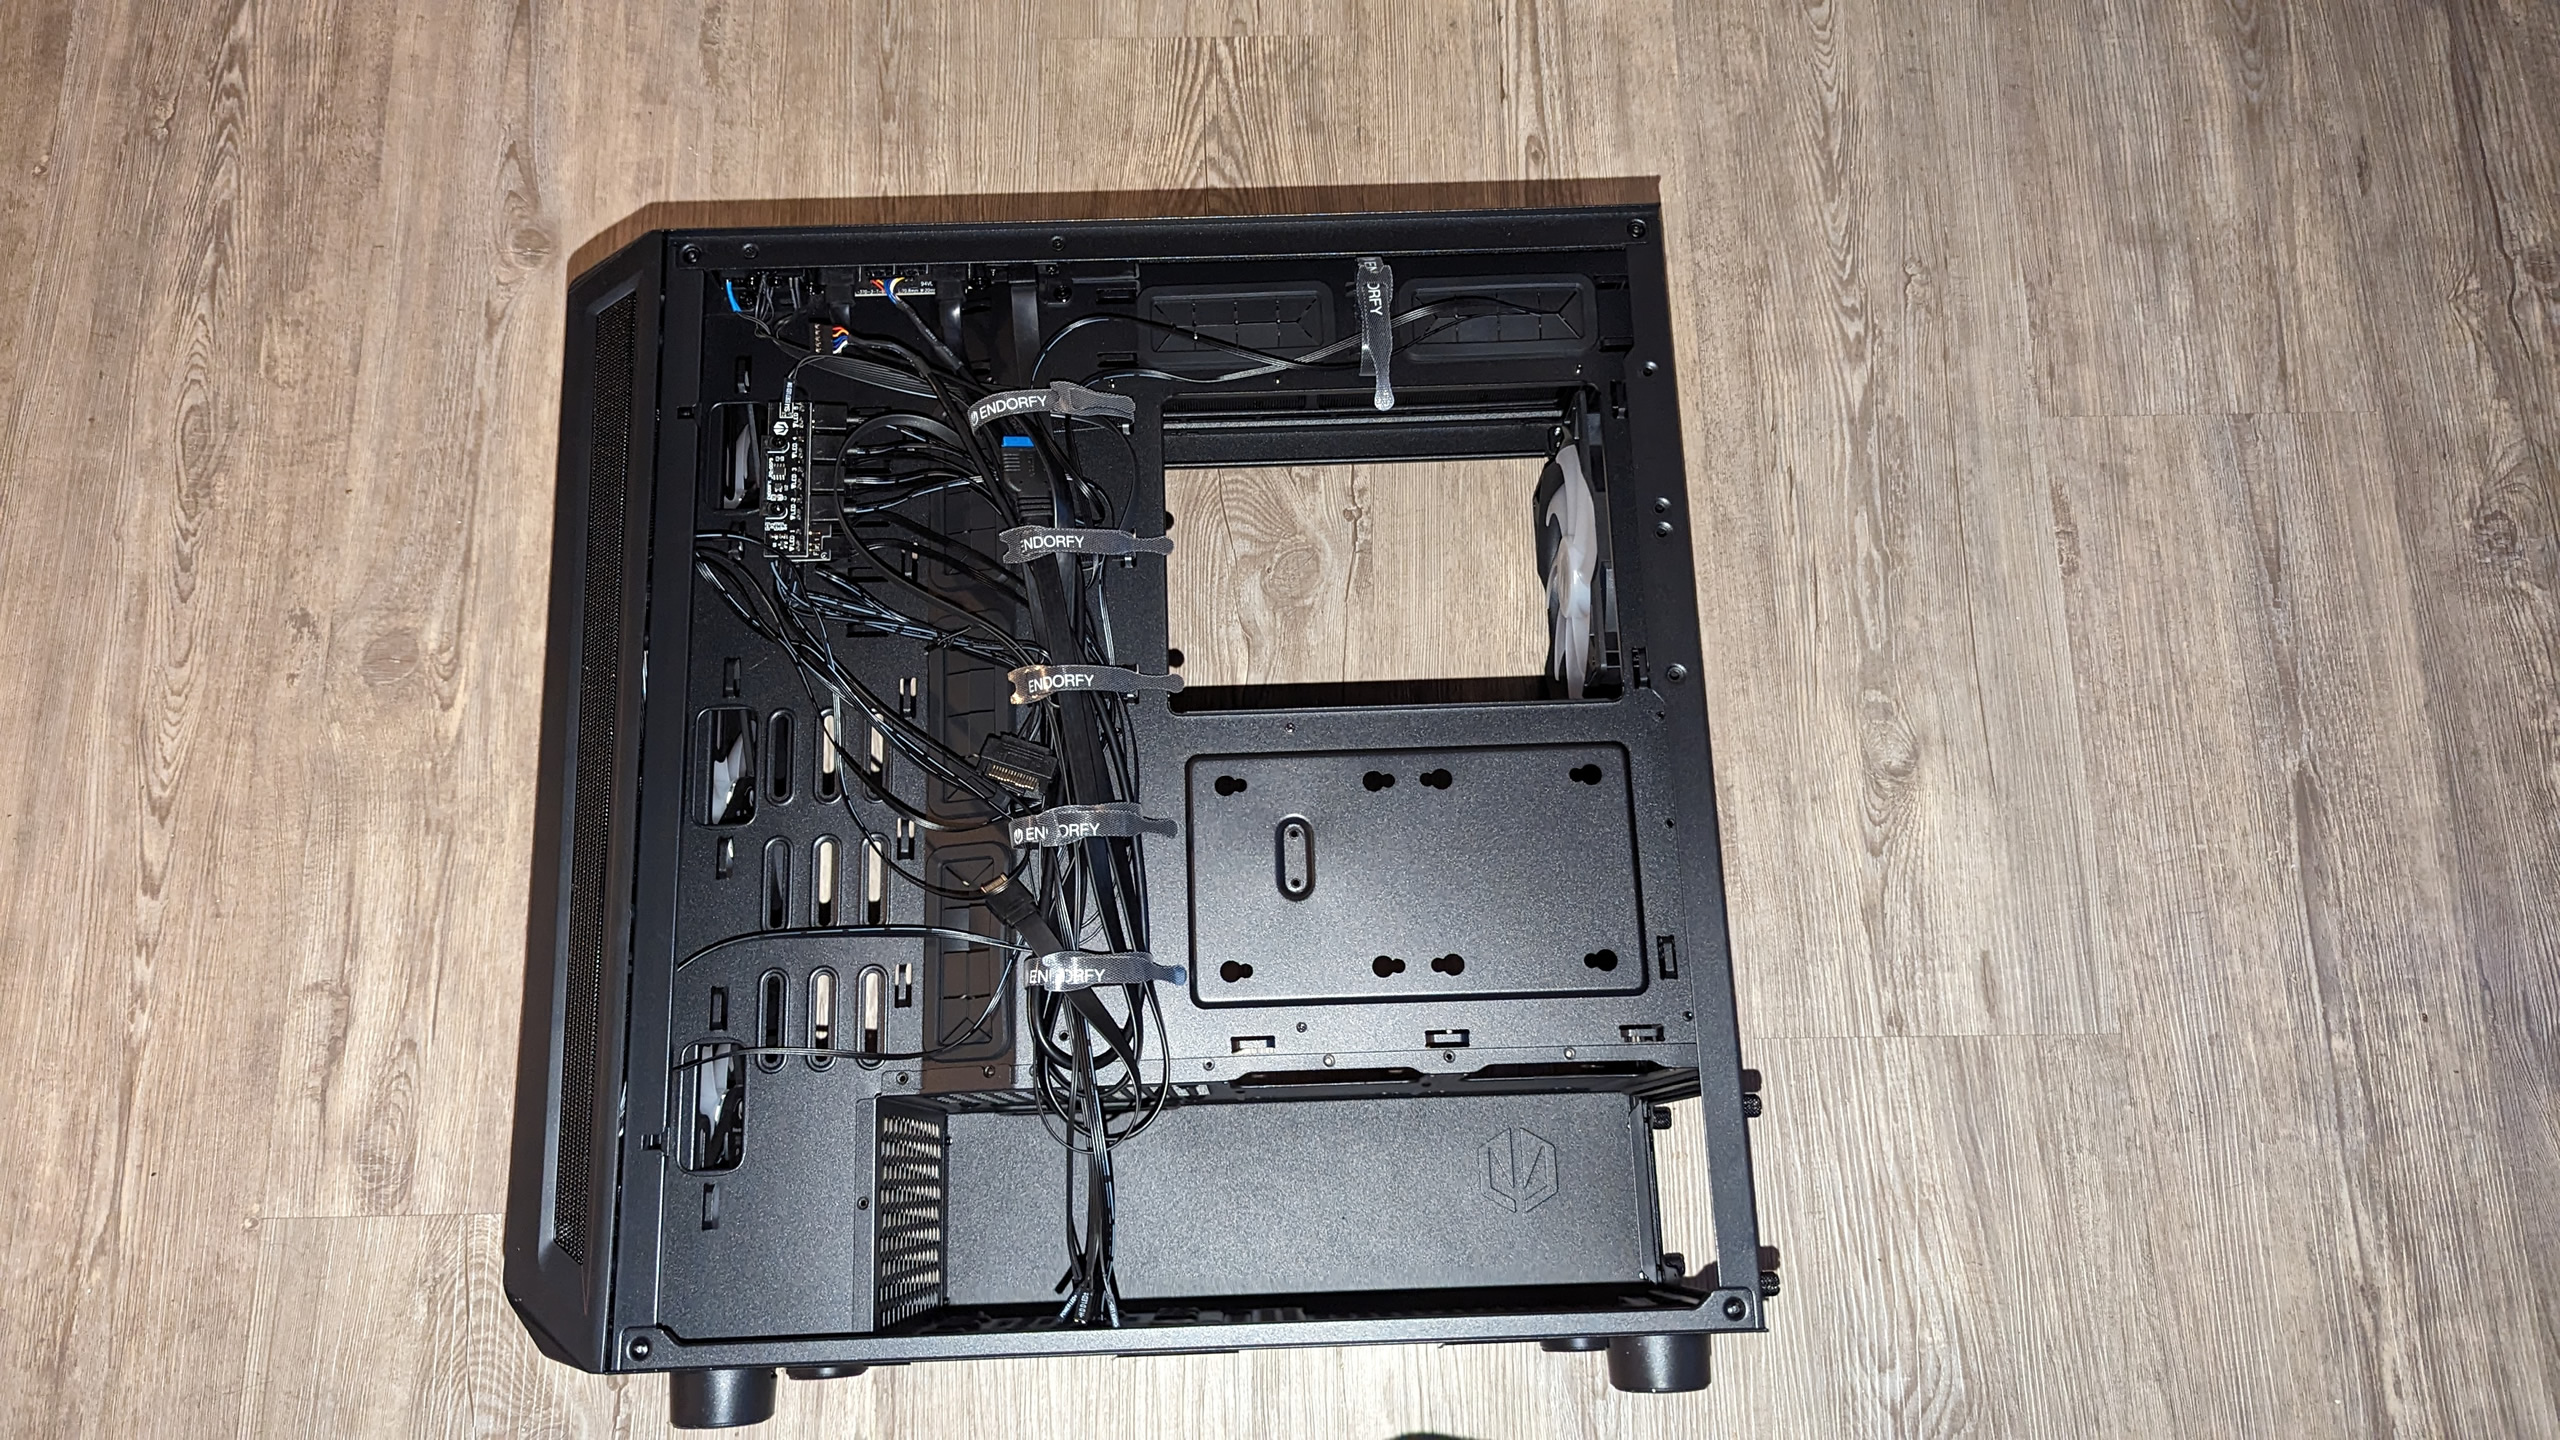
However, the ARGB control is quite spartan and only consists of a circuit board that is attached to the housing in a rather wobbly manner. Only 2 screws hold this somewhat sporty construction in place.
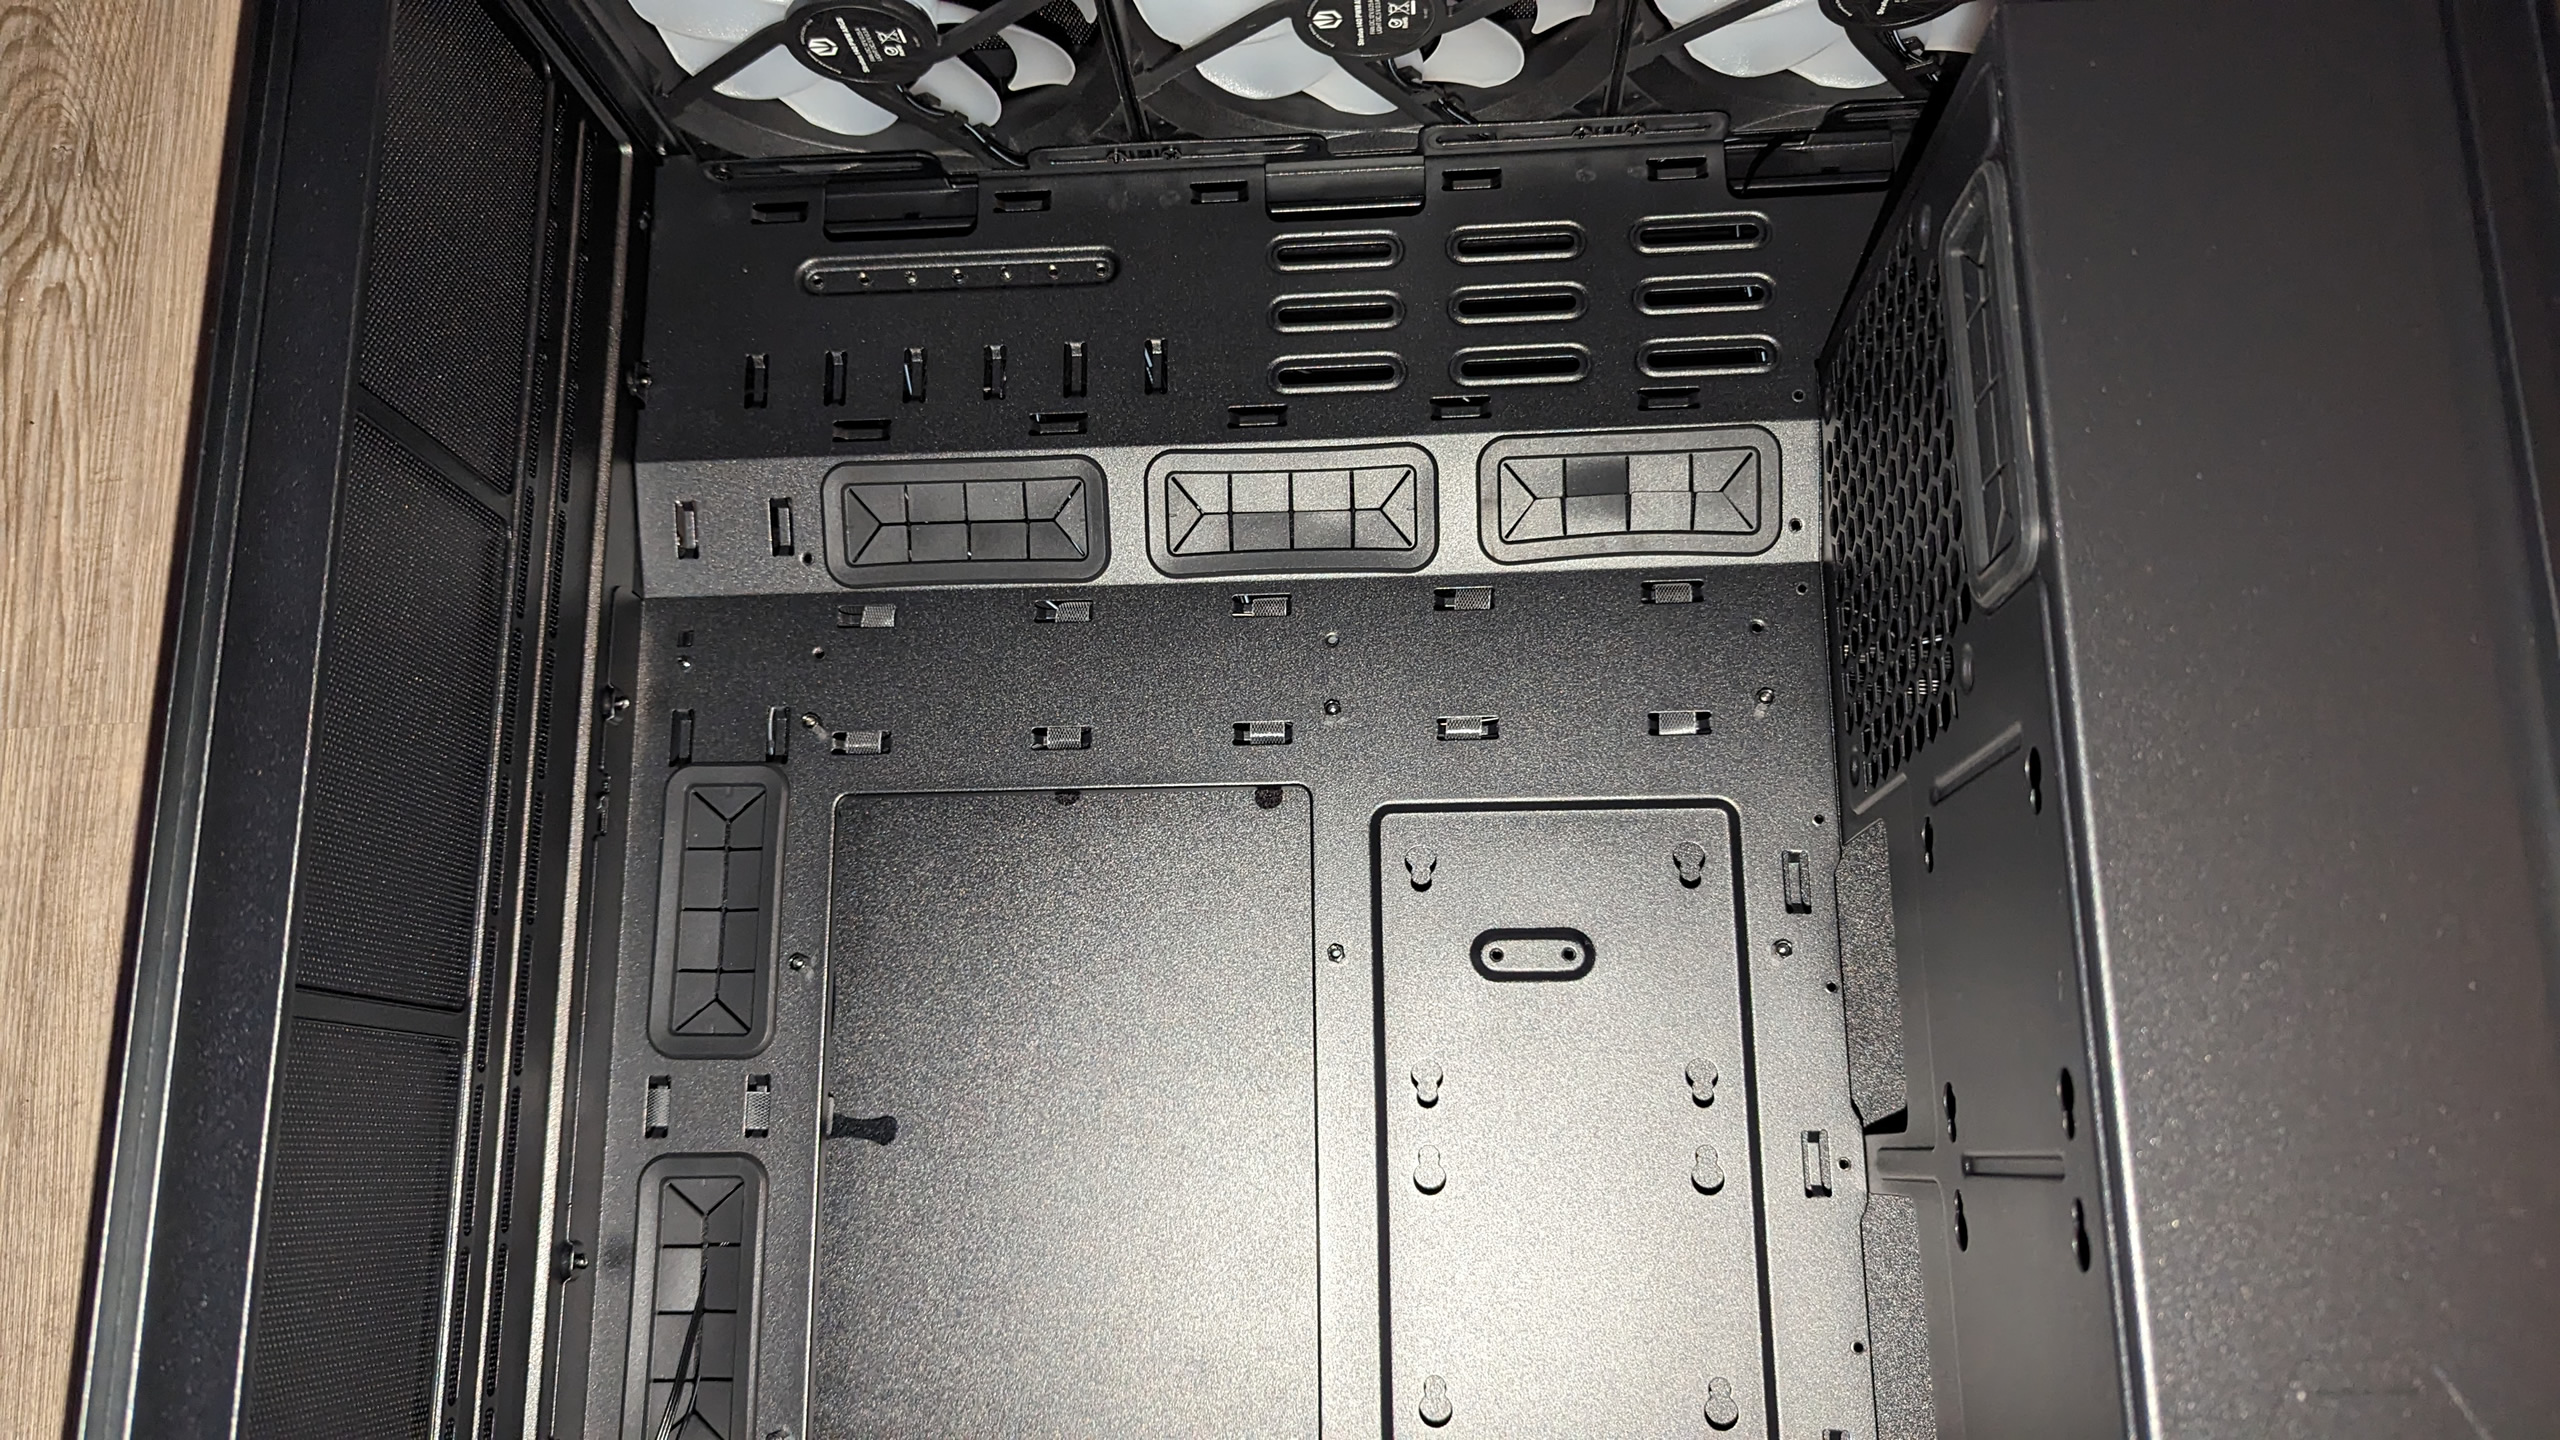
The I/O panel is positioned on the right-hand side, so the cabling runs directly behind the mainboard tray without any problems. This is a really nice feature. There is space for 2x 2.5″ SSDs or 2x mechanical hard disks on the mainboard tray. All of this can be mounted in the middle. There would be space for 2 more on the side towards the back. Underneath the power supply cover there is space for the power supply and there is also a mounting for a 3.5″ or a 2.5″ hard disk. A 120mm fan can be installed above this for exhaust air. Above the power supply cover there is further space for 2 SSDs or 2 2.5″ hard disks.
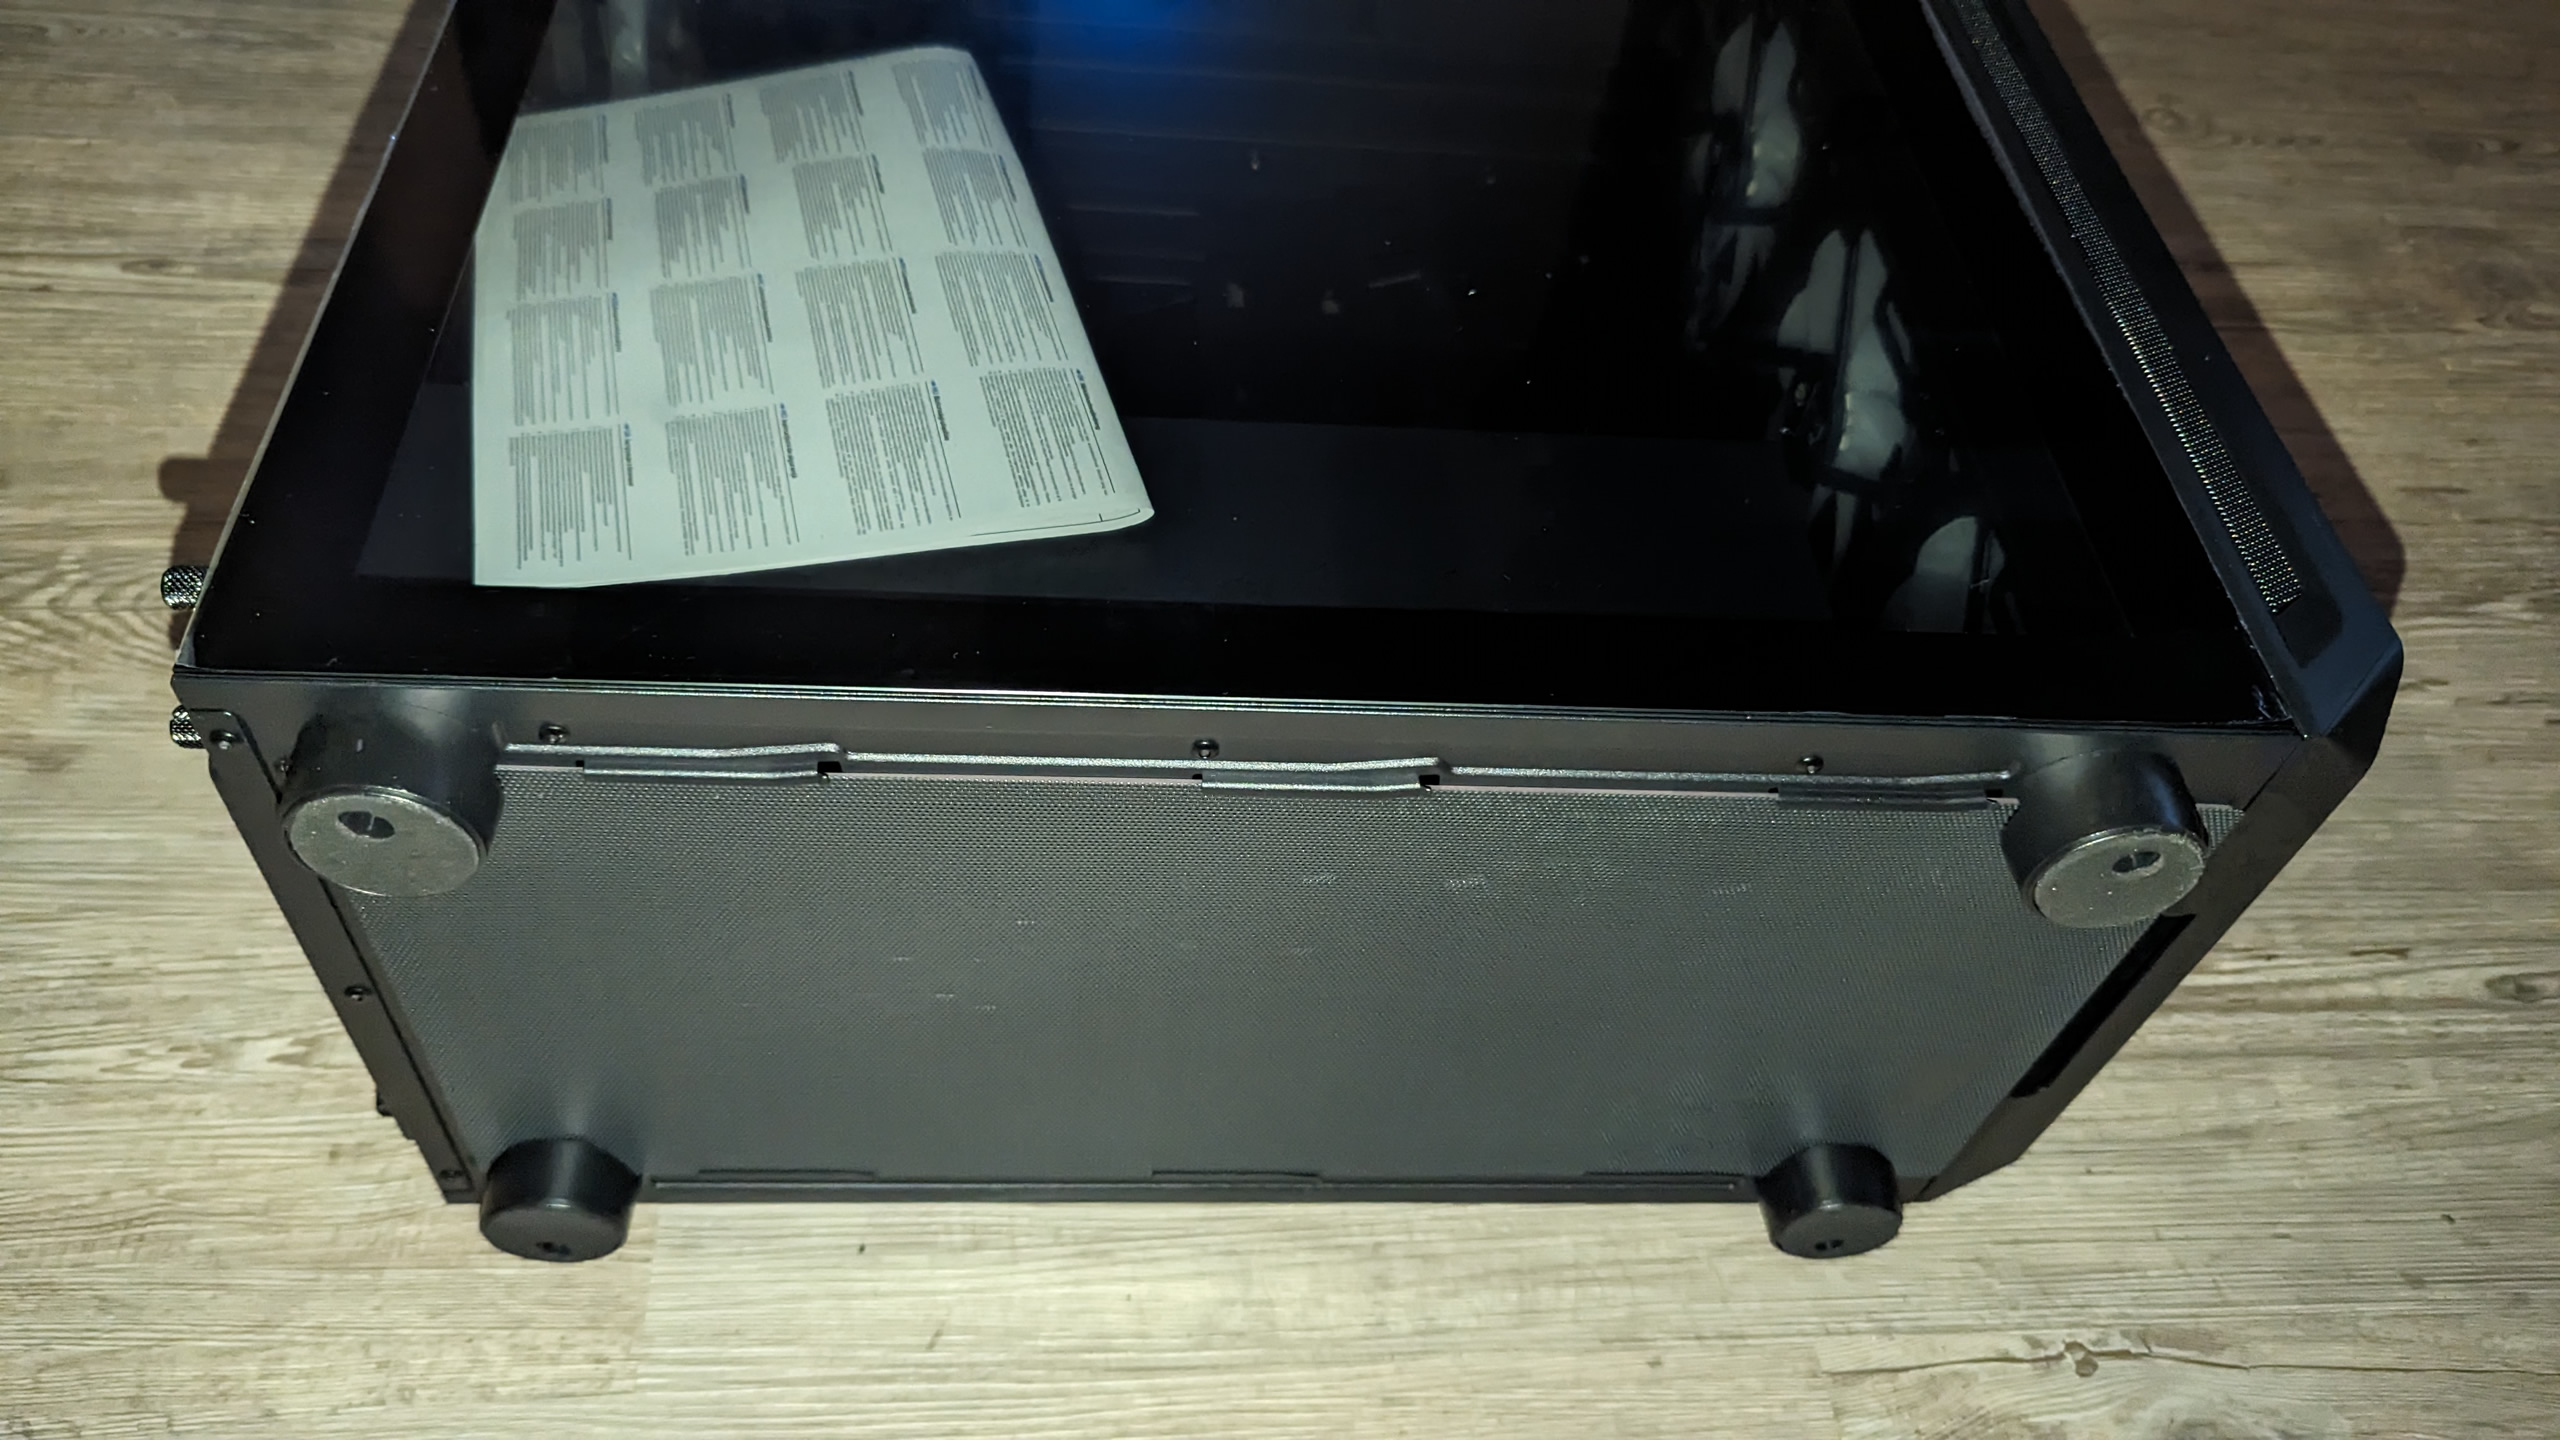
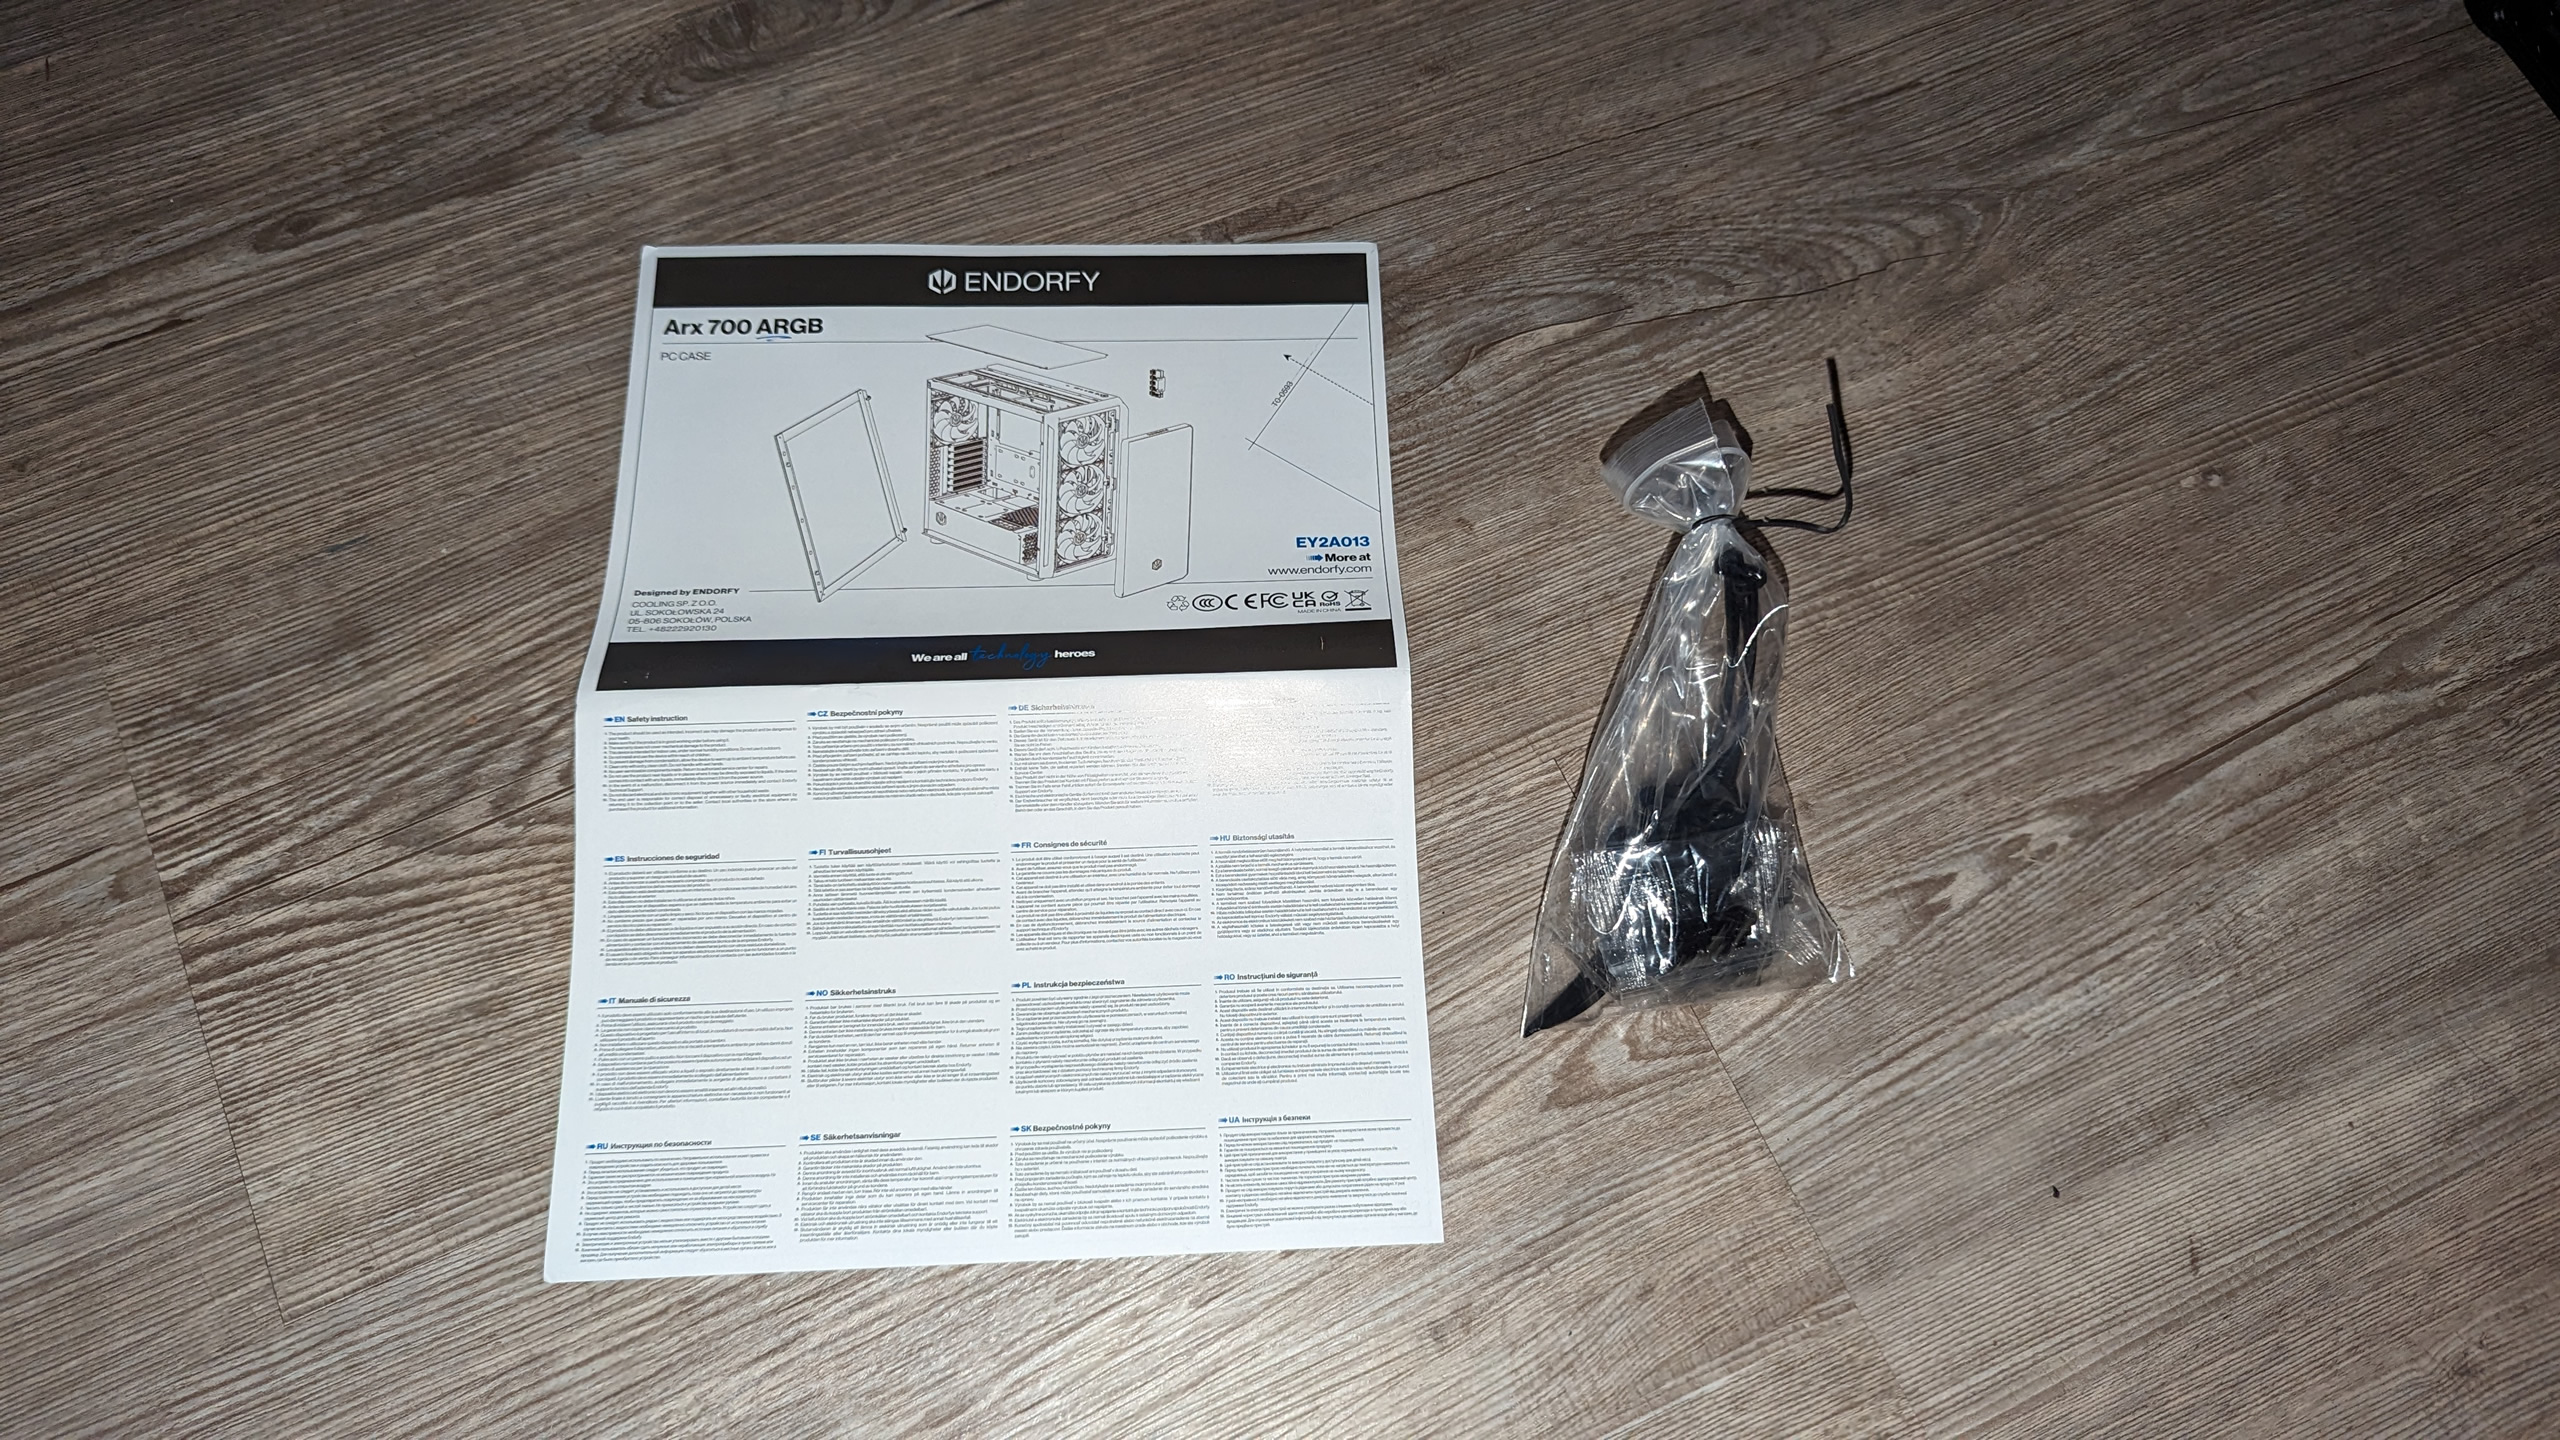
Underneath the case there are 4 screwed plastic feet and a mesh grille that can be removed for cleaning by pulling it out from the front. Finally, the included accessories (not very many) and the brief description of the case.


24 Antworten
Kommentar
Lade neue Kommentare
Moderator
1
Urgestein
Veteran
Veteran
Mitglied
1
Veteran
Urgestein
Veteran
Urgestein
Urgestein
Veteran
Veteran
Veteran
Veteran
Urgestein
Urgestein
Alle Kommentare lesen unter igor´sLAB Community →