


Electronics and features
For the most part, the P1S is a P1P that is already enclosed at the factory. On the left and right, panels made of plastic seal the printer, while glass panels take over in the front and lid. Thepanel on the back is made of aluminum and is fastened with 14 screws.

So if you want to modify something inside, it’s best to follow the instructions from the official wiki and bring some time as well as intuition. Here in the picture on the left you can see the 92mm chamber fan, which pulls air from the interior through a small replaceable filter and then transports it out of the case.

Directly below is the single stepper motor for the Z-axis, which is synchronized with the three spindles via a belt. To the right then follows the ejector for the filament, which simply falls behind the printer if no collection container is available.

I was somewhat surprised at the placement of the small 4010 fan on the side of the motherboard. The cooling fins are located right in the middle behind the motor, so most of the airflow passes to the left and right. Normally you would go for a radial fan here, but it seems to work.

The integrated camera delivers more of a surveillance slideshow than a surveillance video at 720p and 0.5 FPS, but it’s sufficient for checking for progress and errors.
After all, a time-lapse can also be created automatically, here again further accelerated afterwards to shorten the video.

The P1S was standing in an unlit room and had to make do with its LED bar on the side for these shots.

The extruder is a completely self-made unit and supports the fan on the side of the case with another component cooler.
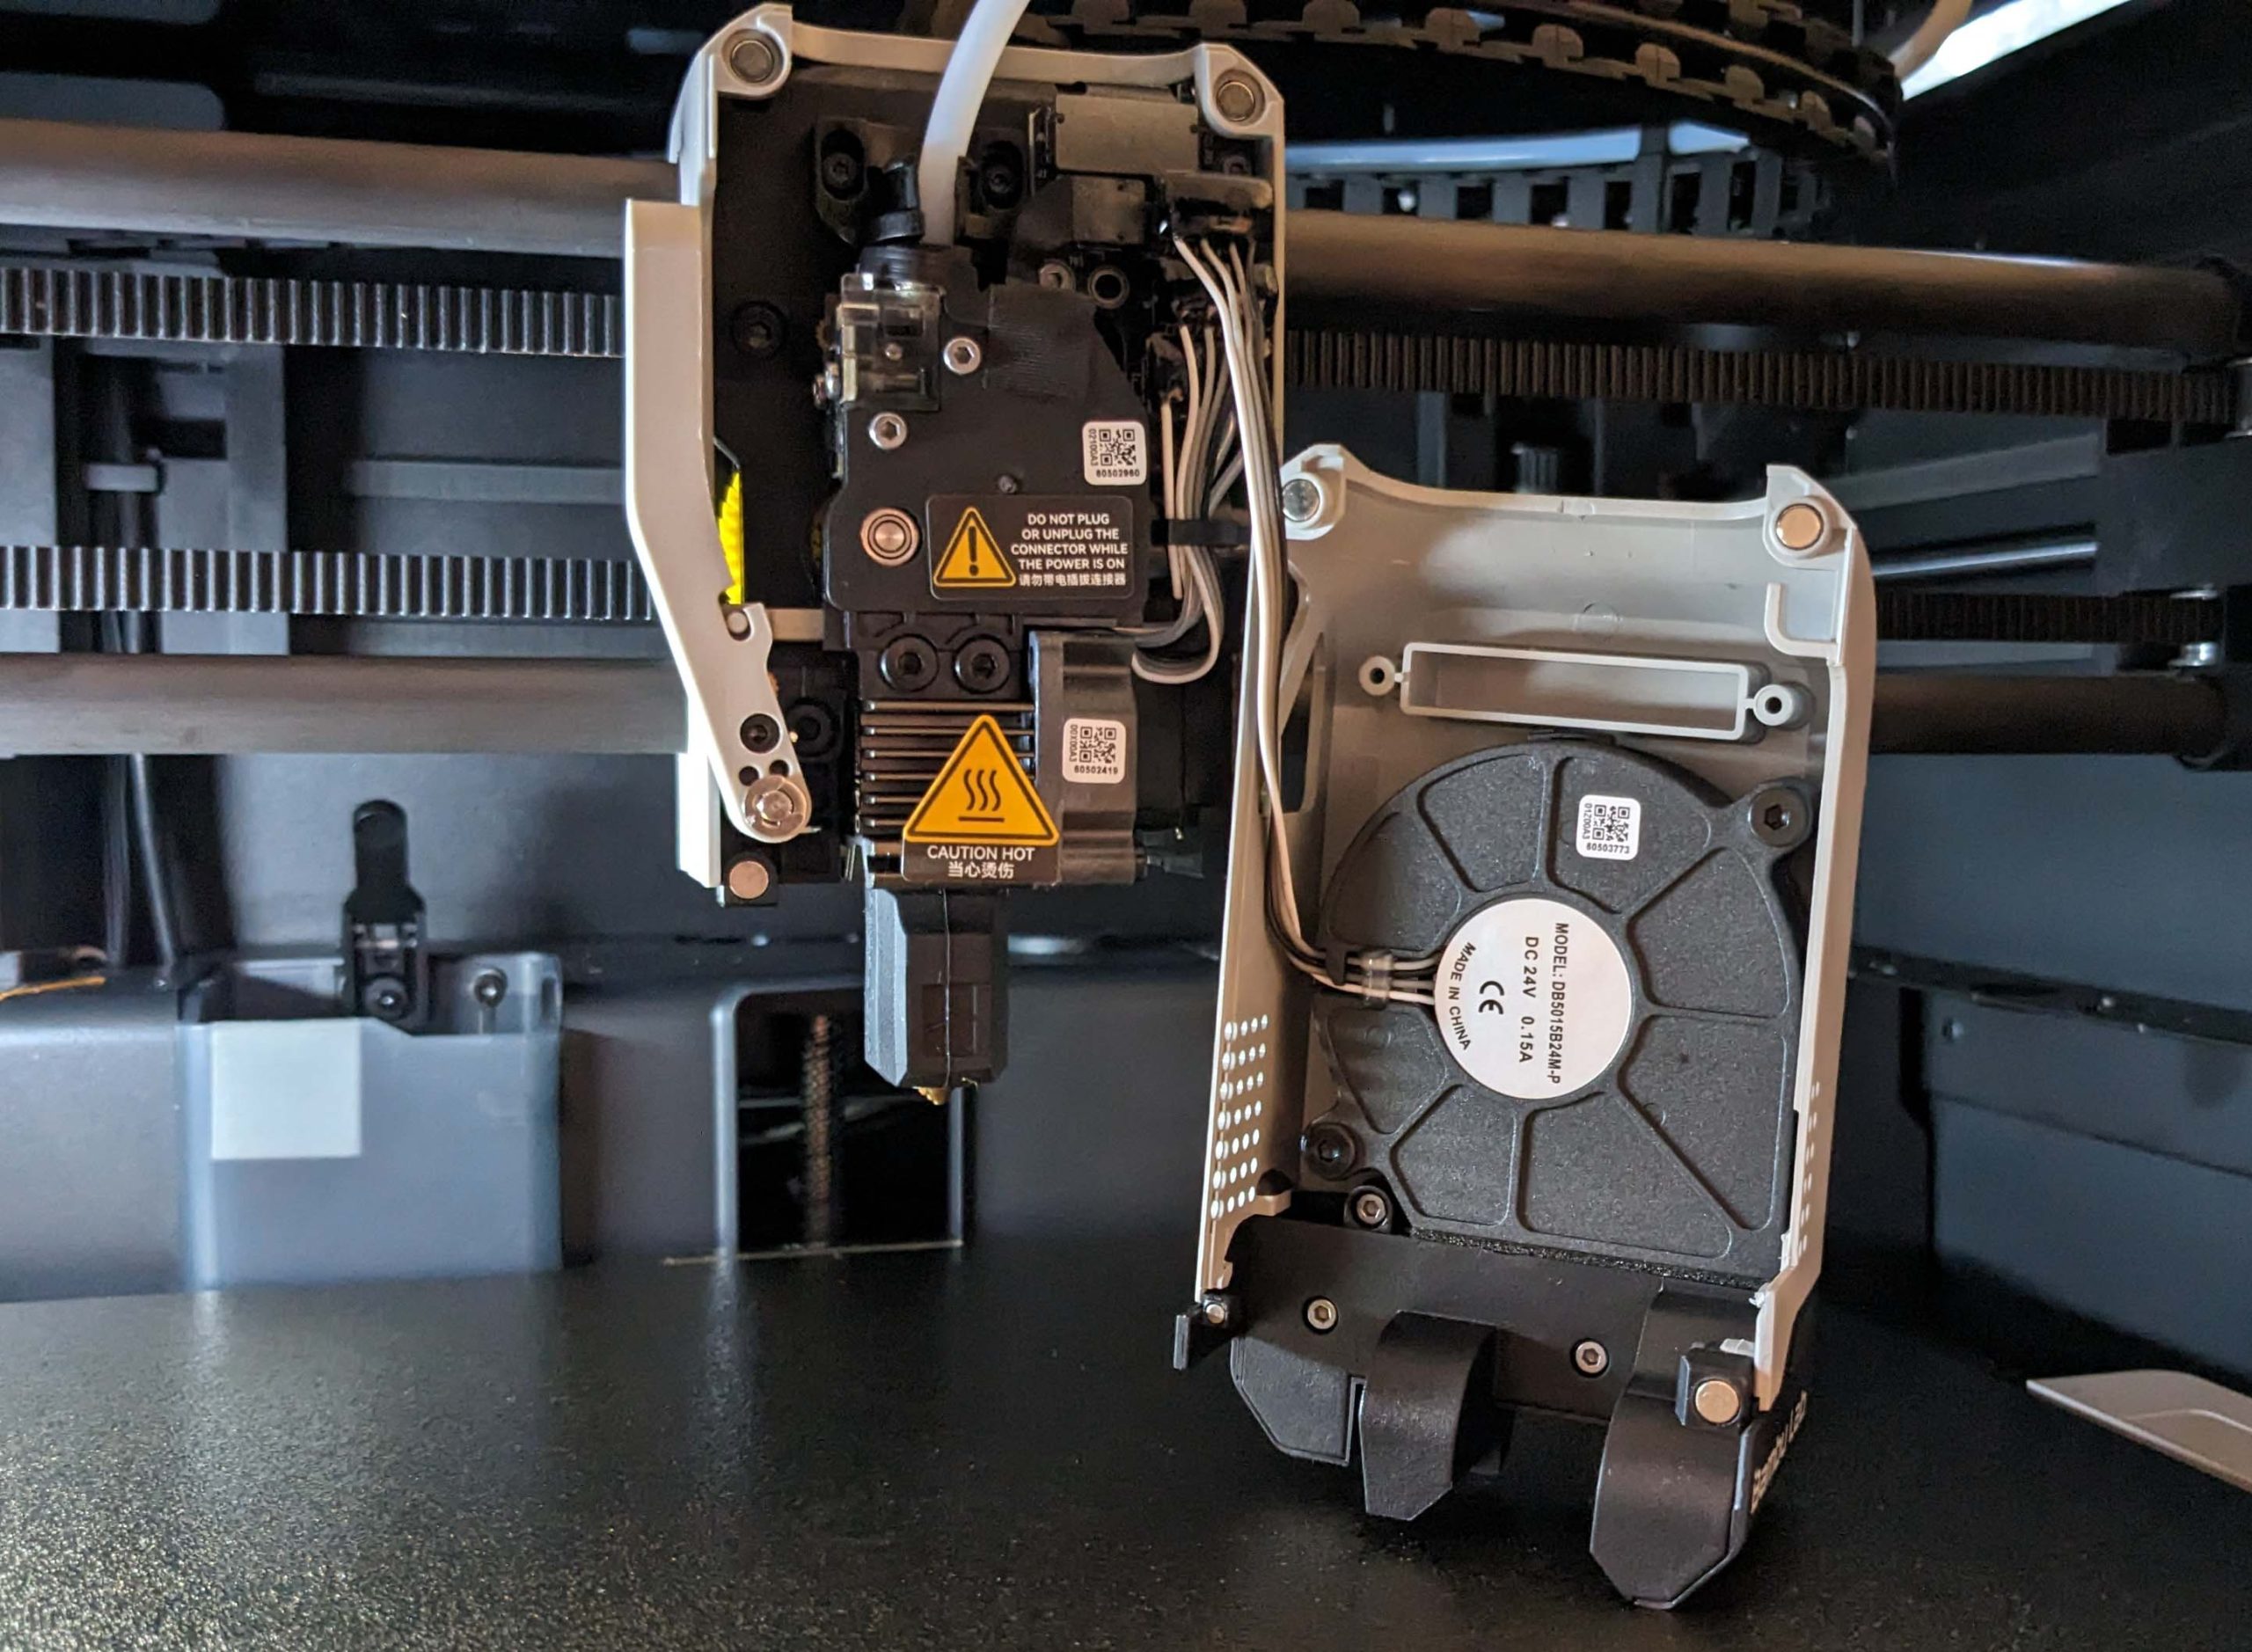
The quite compact hotend with a long melting zone is hidden behind the cover, which is held by magnets.

Thanks to the toolhead PCB, only a single cable needs to be run through the drag chain to the motherboard. Alsovery practical is the function to perform a calibration of the used filament directly via the slicer.

Thefirst step is to print a few test prints with different flow rates.

These are then viewed with plenty of illumination and it is decided at which value the surface looks best.

This value is then selected from a drop-down list in the slicer and used as the basis for the next step.

There the whole thing is repeated, but with smaller differences to the value from the previous step.

Finally, the best version is selected again and the new flow rate is saved in a new profile for this filament.

Let’s also take a closer look at Bambu Lab’s system for multicolor printing called “AMS”.

Inside, two compartments with silica gel ensure reduced humidity, and a sensor also displays a current status in Bambu Studio and the app.

If you use filament directly from Bambu Lab, a small NFC chip from the AMS directly loads the correct setting.

By the way, the included rolls have 250 grams rolled up, so enough to try out but nothing for large print jobs.

We’ll come back to the special support filament here on the right in a moment.

So, a total of 5 rolls of filament can be stored directly on the printer, with one having to be fed manually. In addition to the possibility of having several colors in one object, I find the function of having the AMS use up leftover filament very practical.

Currently, however, you still have to lie to the system and claim that two actually different filaments are exactly the same for the automatic change to work.

So manually set the respective AMS slots to the same type and color, otherwise it won’t work.

In Bambu Studio, you can set the contact layer for the overhang support to be printed from a different material. Optionally, the entire structure can also be made of a different material if, for example, a water-soluble filament is used.


Here I experimented once with different variables, because the pattern of the support layer is clearly visible in the layer printed on it from the object. Concentric can be solved best, for that monotonic lines looked best. However, it is definitely advisable to let everything cool down first. Otherwise you will quickly pull the layers apart, as happened to me here.


34 Antworten
Kommentar
Lade neue Kommentare
Moderator
Urgestein
Moderator
Urgestein
Mitglied
Urgestein
Urgestein
Moderator
Urgestein
Urgestein
Urgestein
Mitglied
Moderator
Moderator
1
Urgestein
Urgestein
Neuling
Urgestein
Alle Kommentare lesen unter igor´sLAB Community →