


Commissioning
Before you can get started, everything should first be put in place. Only then would I carry out the remaining steps for connecting the AMS lite.

So plug the 4-pin cable into one of the two connectors on the right-hand side and make sure that it runs outside the sheathed cable of the Z-axis.

Finally, plug the PTFE hoses of different lengths into the adapter on the top of the print head and the respective outputs of the AMS lite.

The next step is to set up the printer itself. Immediately after switching on for the first time, the wizard should greet us in a friendly manner.

First select the appropriate language, I chose English.

And the right region is also important so that we are not connected to a server far away from our location.

To be able to use the full range of functions, the printer needs a connection to our WLAN.

The password is then entered using the admittedly somewhat small keyboard.

To ensure that the calibration provides the best possible result and does not have to be repeated later, it is advisable to set up the printer at its final location now.


The frequently mentioned “Active Noise Canceling” feature can be heard in action during calibration and really makes a difference. In my opinion, the stepper motors are not particularly loud anyway. Comparable to other printers that use silent drivers.
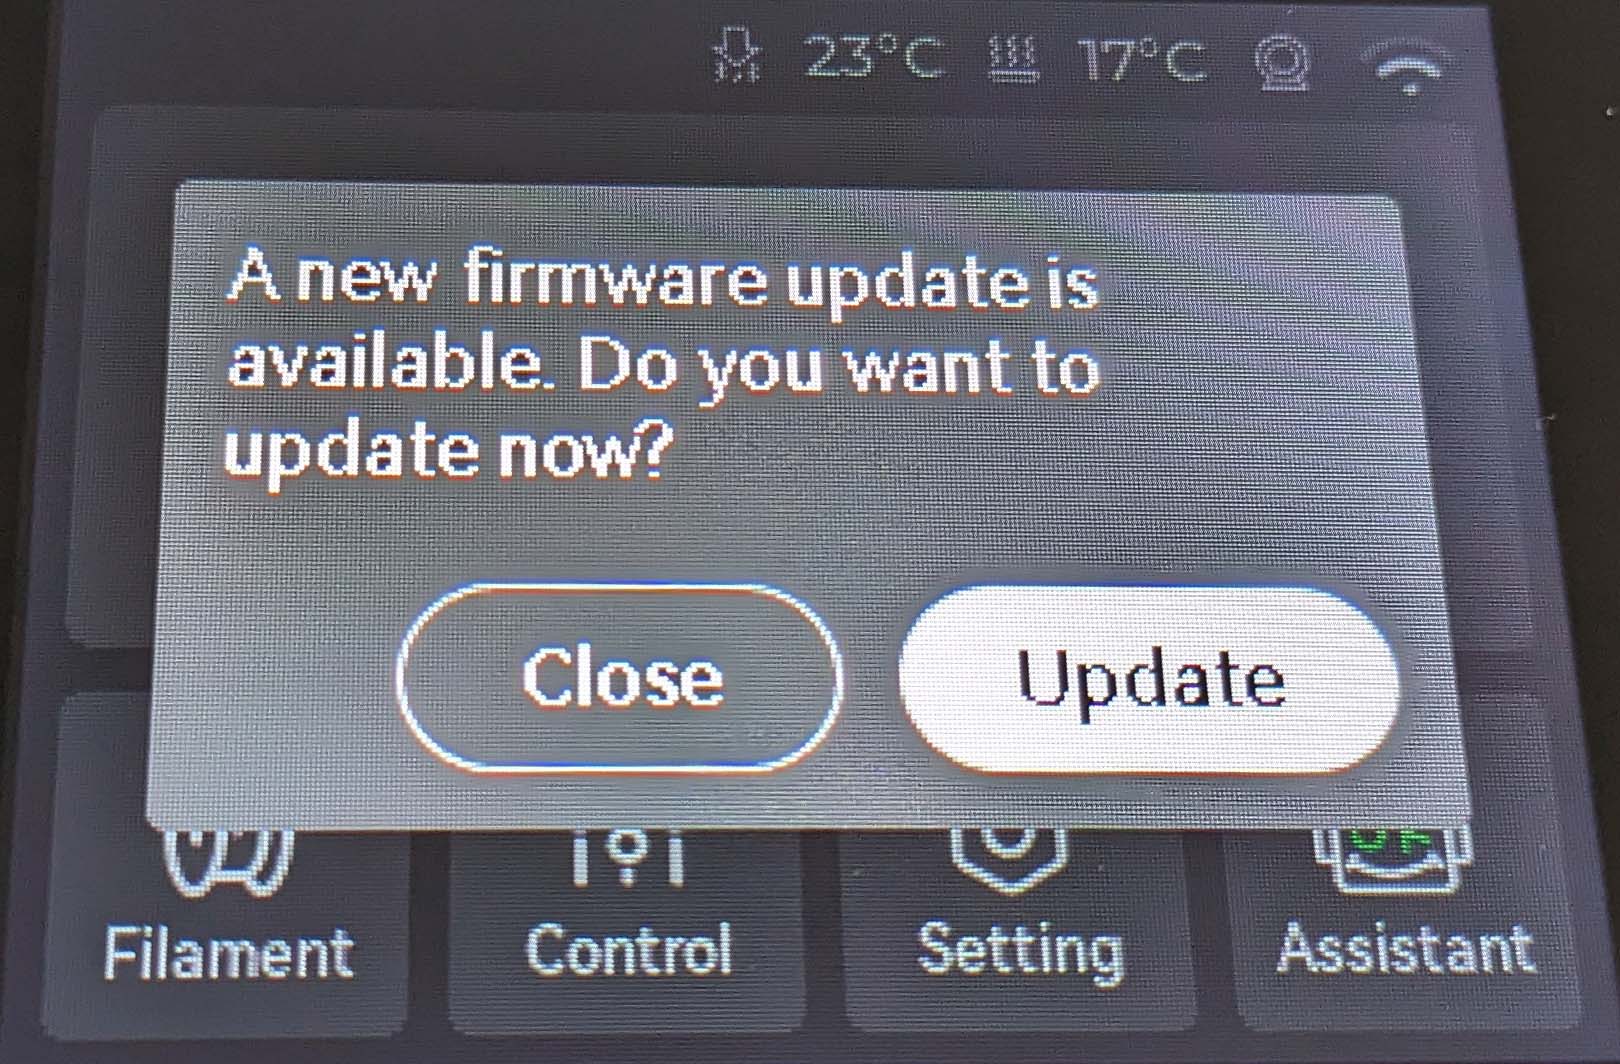

We then install the firmware update directly afterwards.
Software
The in-house slicer Bambu Studio is used to control and transfer the print jobs; I used version 01.07.06.92. The source code of this software is open-source and available on Github; it is largely based on the PrusaSlicer and Slic3r.

Explaining the full range of functions here would go beyond the scope of this article, but much of it is not a unique selling point of Bambu Studio. However, I would like to briefly show a few special features, starting with the possibility of saving several printing plates in a 3mf project.

This means that a complex print consisting of several parts, including specific settings, can be saved in just one file.

Working in several steps or “tabs” is somewhat reminiscent of the workflow from the DaVinci Resolve 18 video editing program from Blackmagic Design. It’s a little unusual at first, as the printer interface is also called up in the slicer and not via a website, but you get used to it.

During the initial setup of the A1 mini, the connection to the Bambu mobile app can be set up.

You can see the requested authorizations on an Android smartphone here:

You then link the printer to your account, which is mandatory for remote access outside the home network, for example.

As I said in my last test report on a Bambu Lab printer, these devices always come with a number of cloud services. Although a LAN-only mode is now also offered and is constantly being expanded, I still think it’s worth mentioning.

Incidentally, I have noticed that the right-hand side of the print bed is preferably used for the automatic arrangement. Presumably so that you can see more on the camera mounted there. There is also the option of placing all objects in such a way that the print bed does not have to move much.


7 Antworten
Kommentar
Lade neue Kommentare
Mitglied
1
Moderator
Mitglied
Moderator
Urgestein
Alle Kommentare lesen unter igor´sLAB Community →