


Assembly for dummies
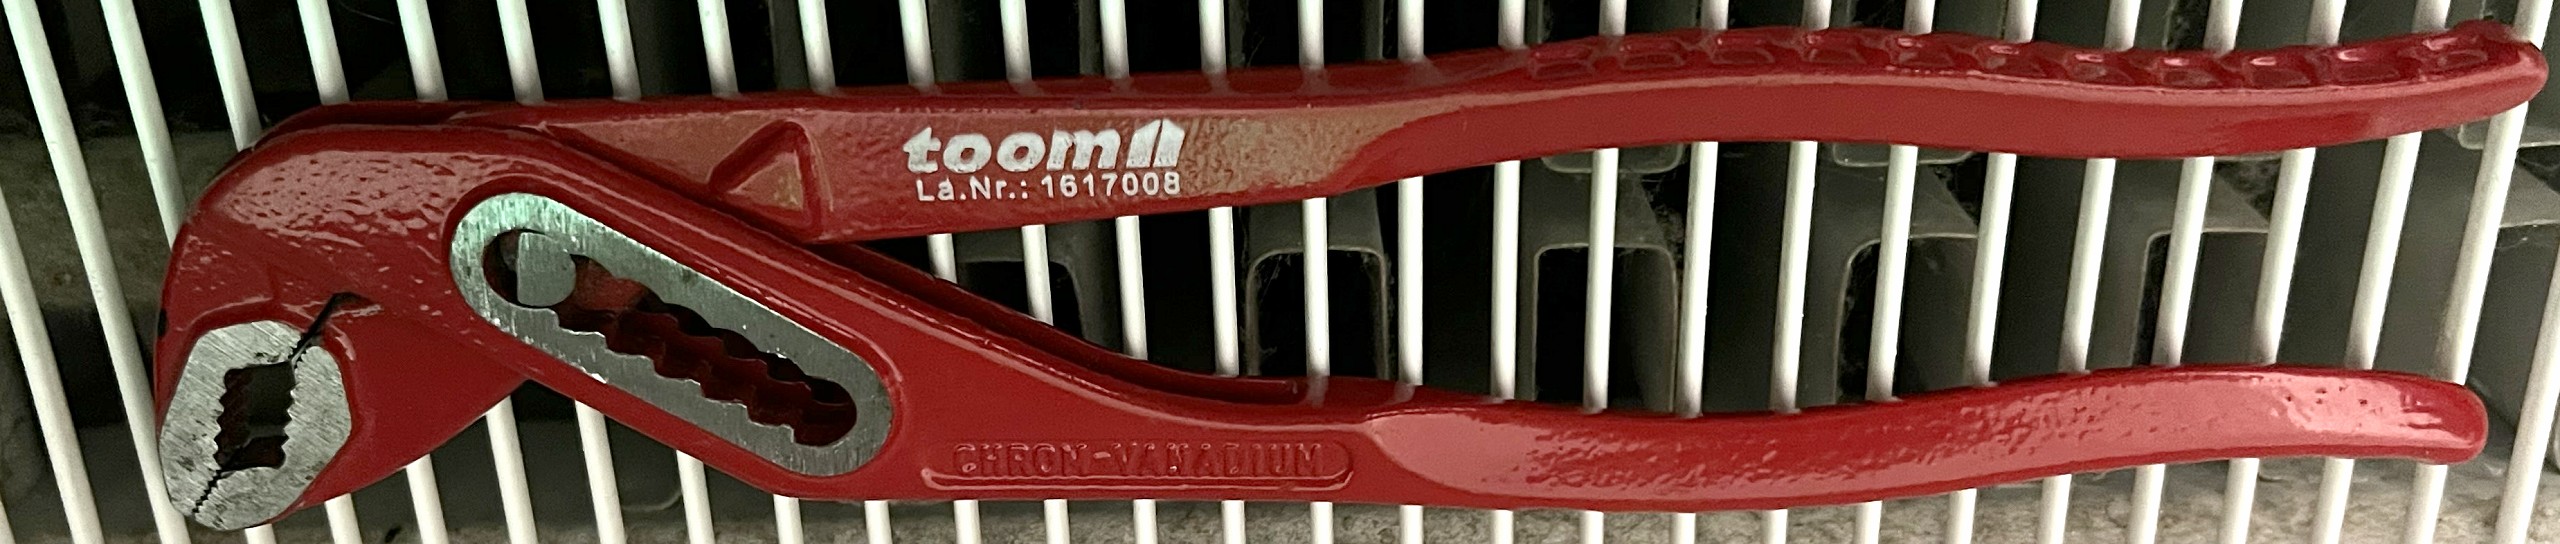
One important thing in advance: in general, you should unscrew union nuts, including those on radiator valves, using a suitable open-end wrench. Especially if they have been doing their job for a long time, they can be relatively tight. Then the open-end wrench really has to fix it, because tools like the water pipe wrench visible in the picture can quickly lead to visible furrows and ground-off edges on the nuts when brute force is applied. As long as everything can be turned off easily (put a cloth in between), the “universal key” will also work.
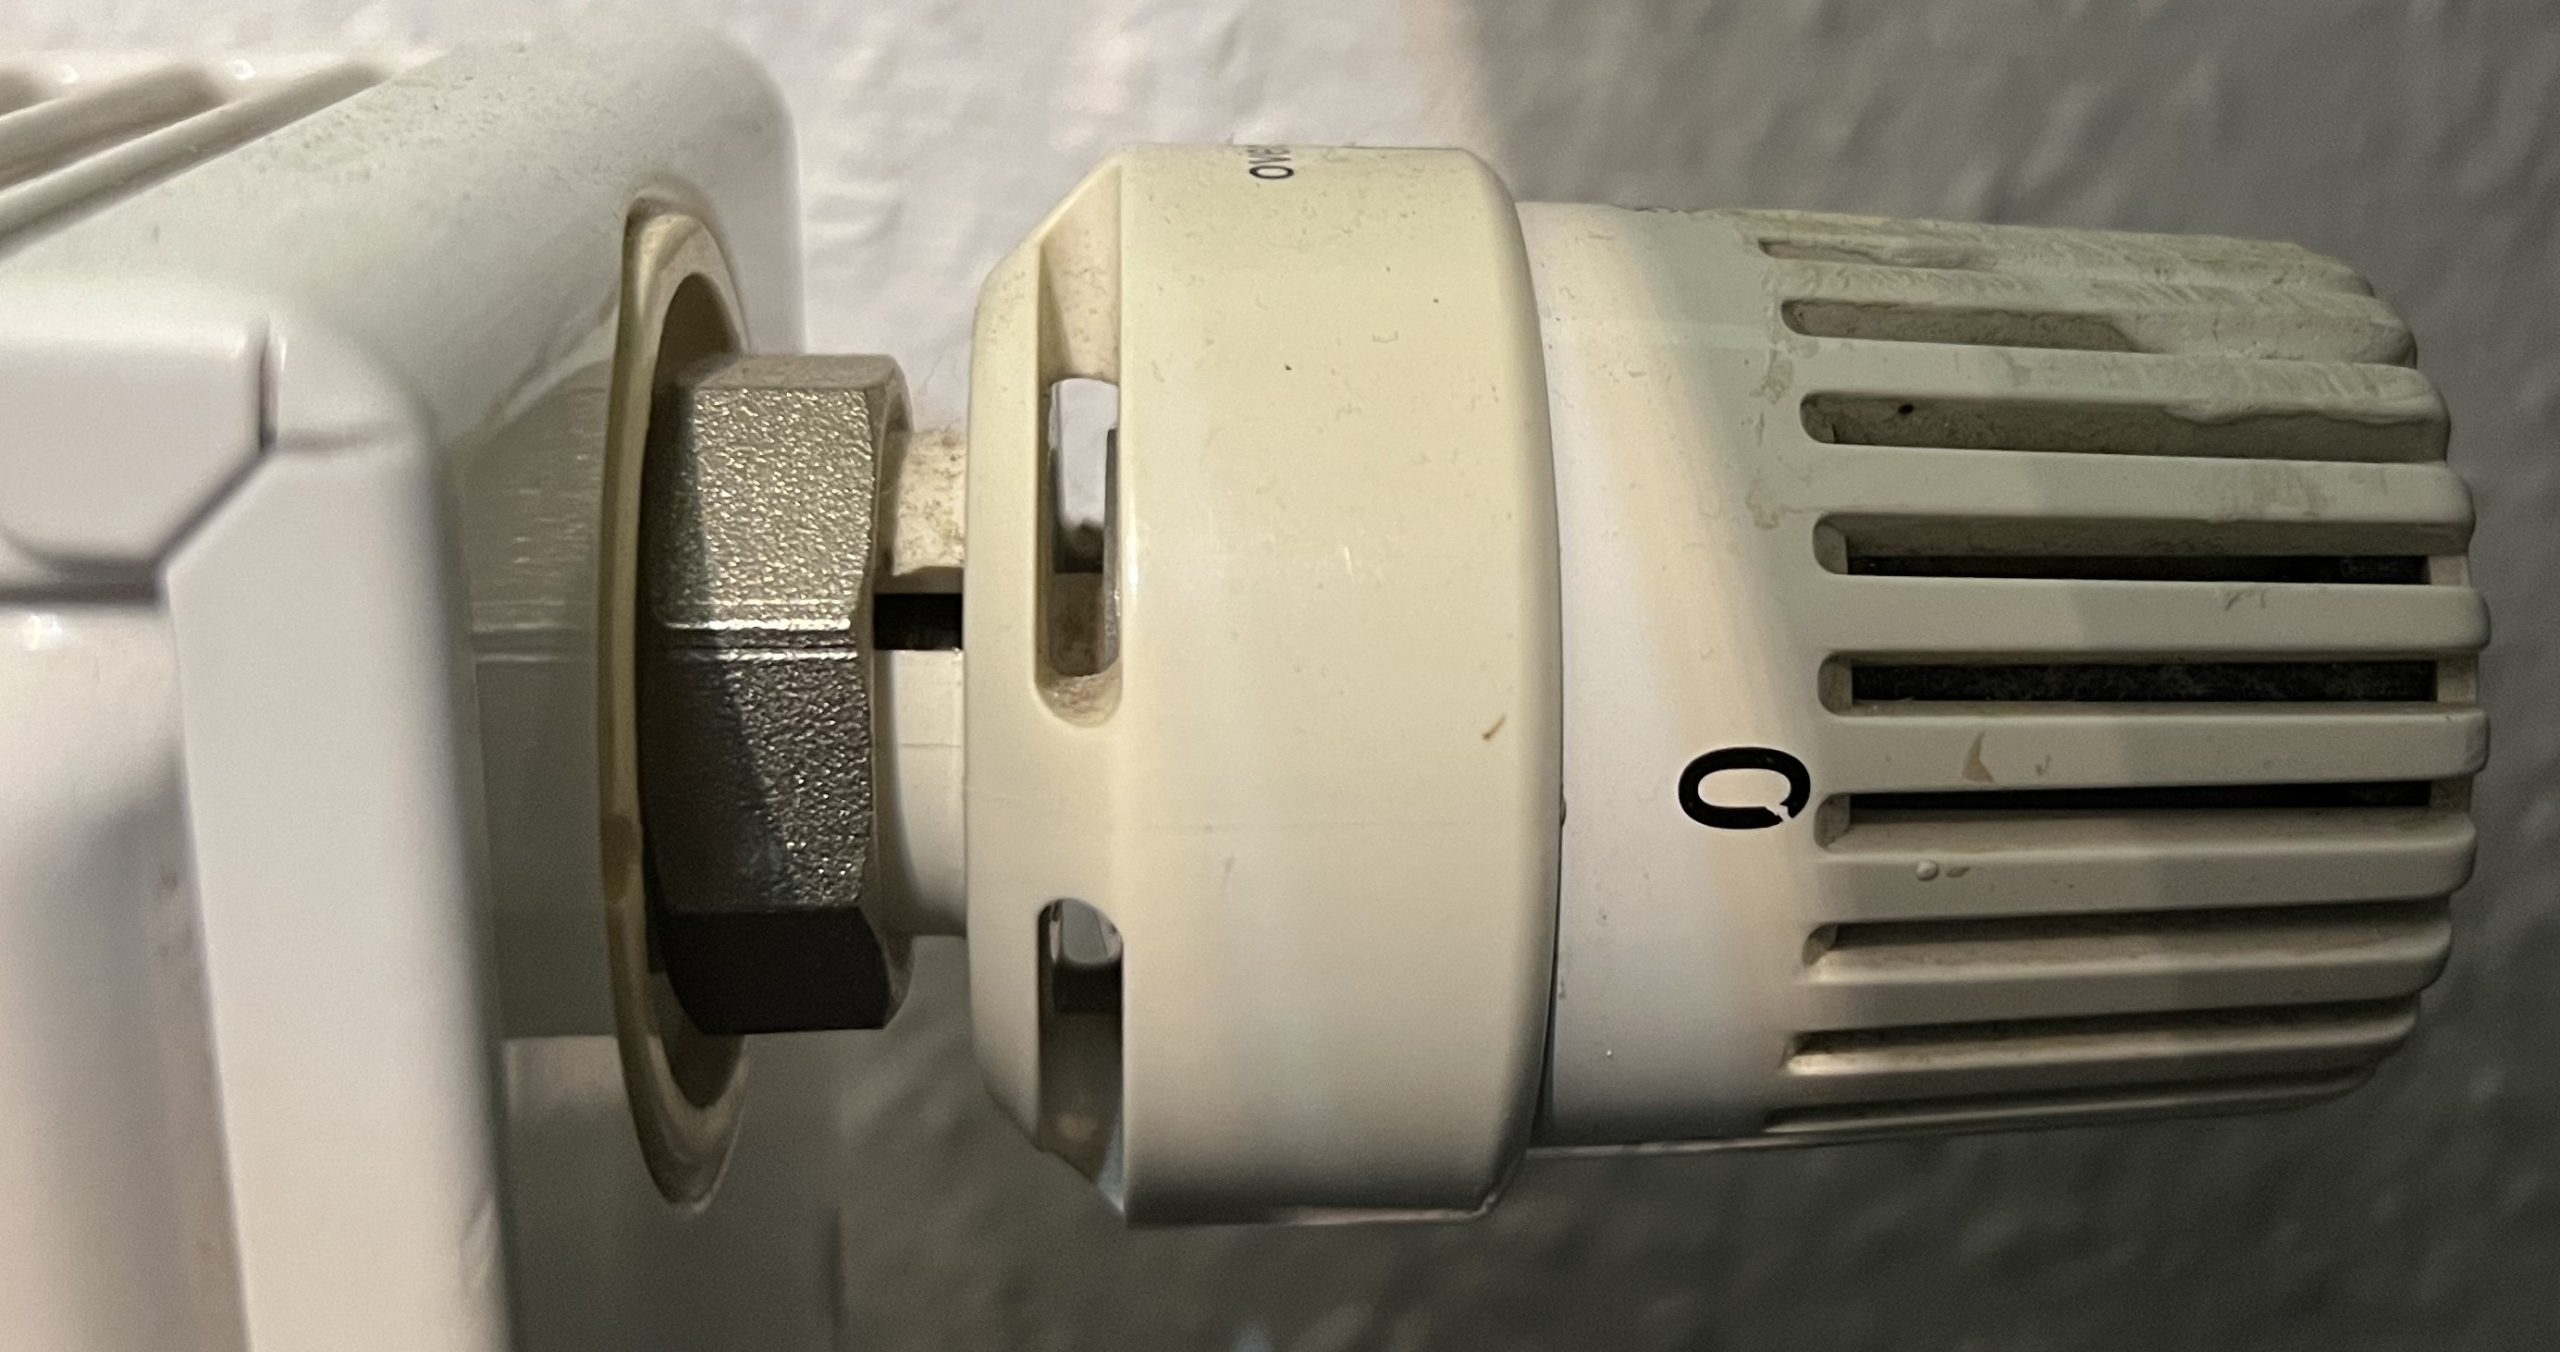
The most important thing is to know in which direction to get the whole thing loose now. Otherwise you’ll end up twisting it even tighter than it already was! When we apply the key to the nut in the picture below, we turn the nut (as seen from the thermostat!) to the left. So here in the picture from top to bottom. Many people make the mistake and look at the throw from the heater to the thermostat, and that’s when you screw it tight, not loose.
Once you finally have the old thermostat down, it’s time to clean it up. Here you should really use some cleaner to remove all the old (resinous) residue and lint. On this occasion, you can also take a look at where the start of the thread is located and make a mark with a suitable pen. If the valve sits in a tight niche, that saves a lot of fumbling later.
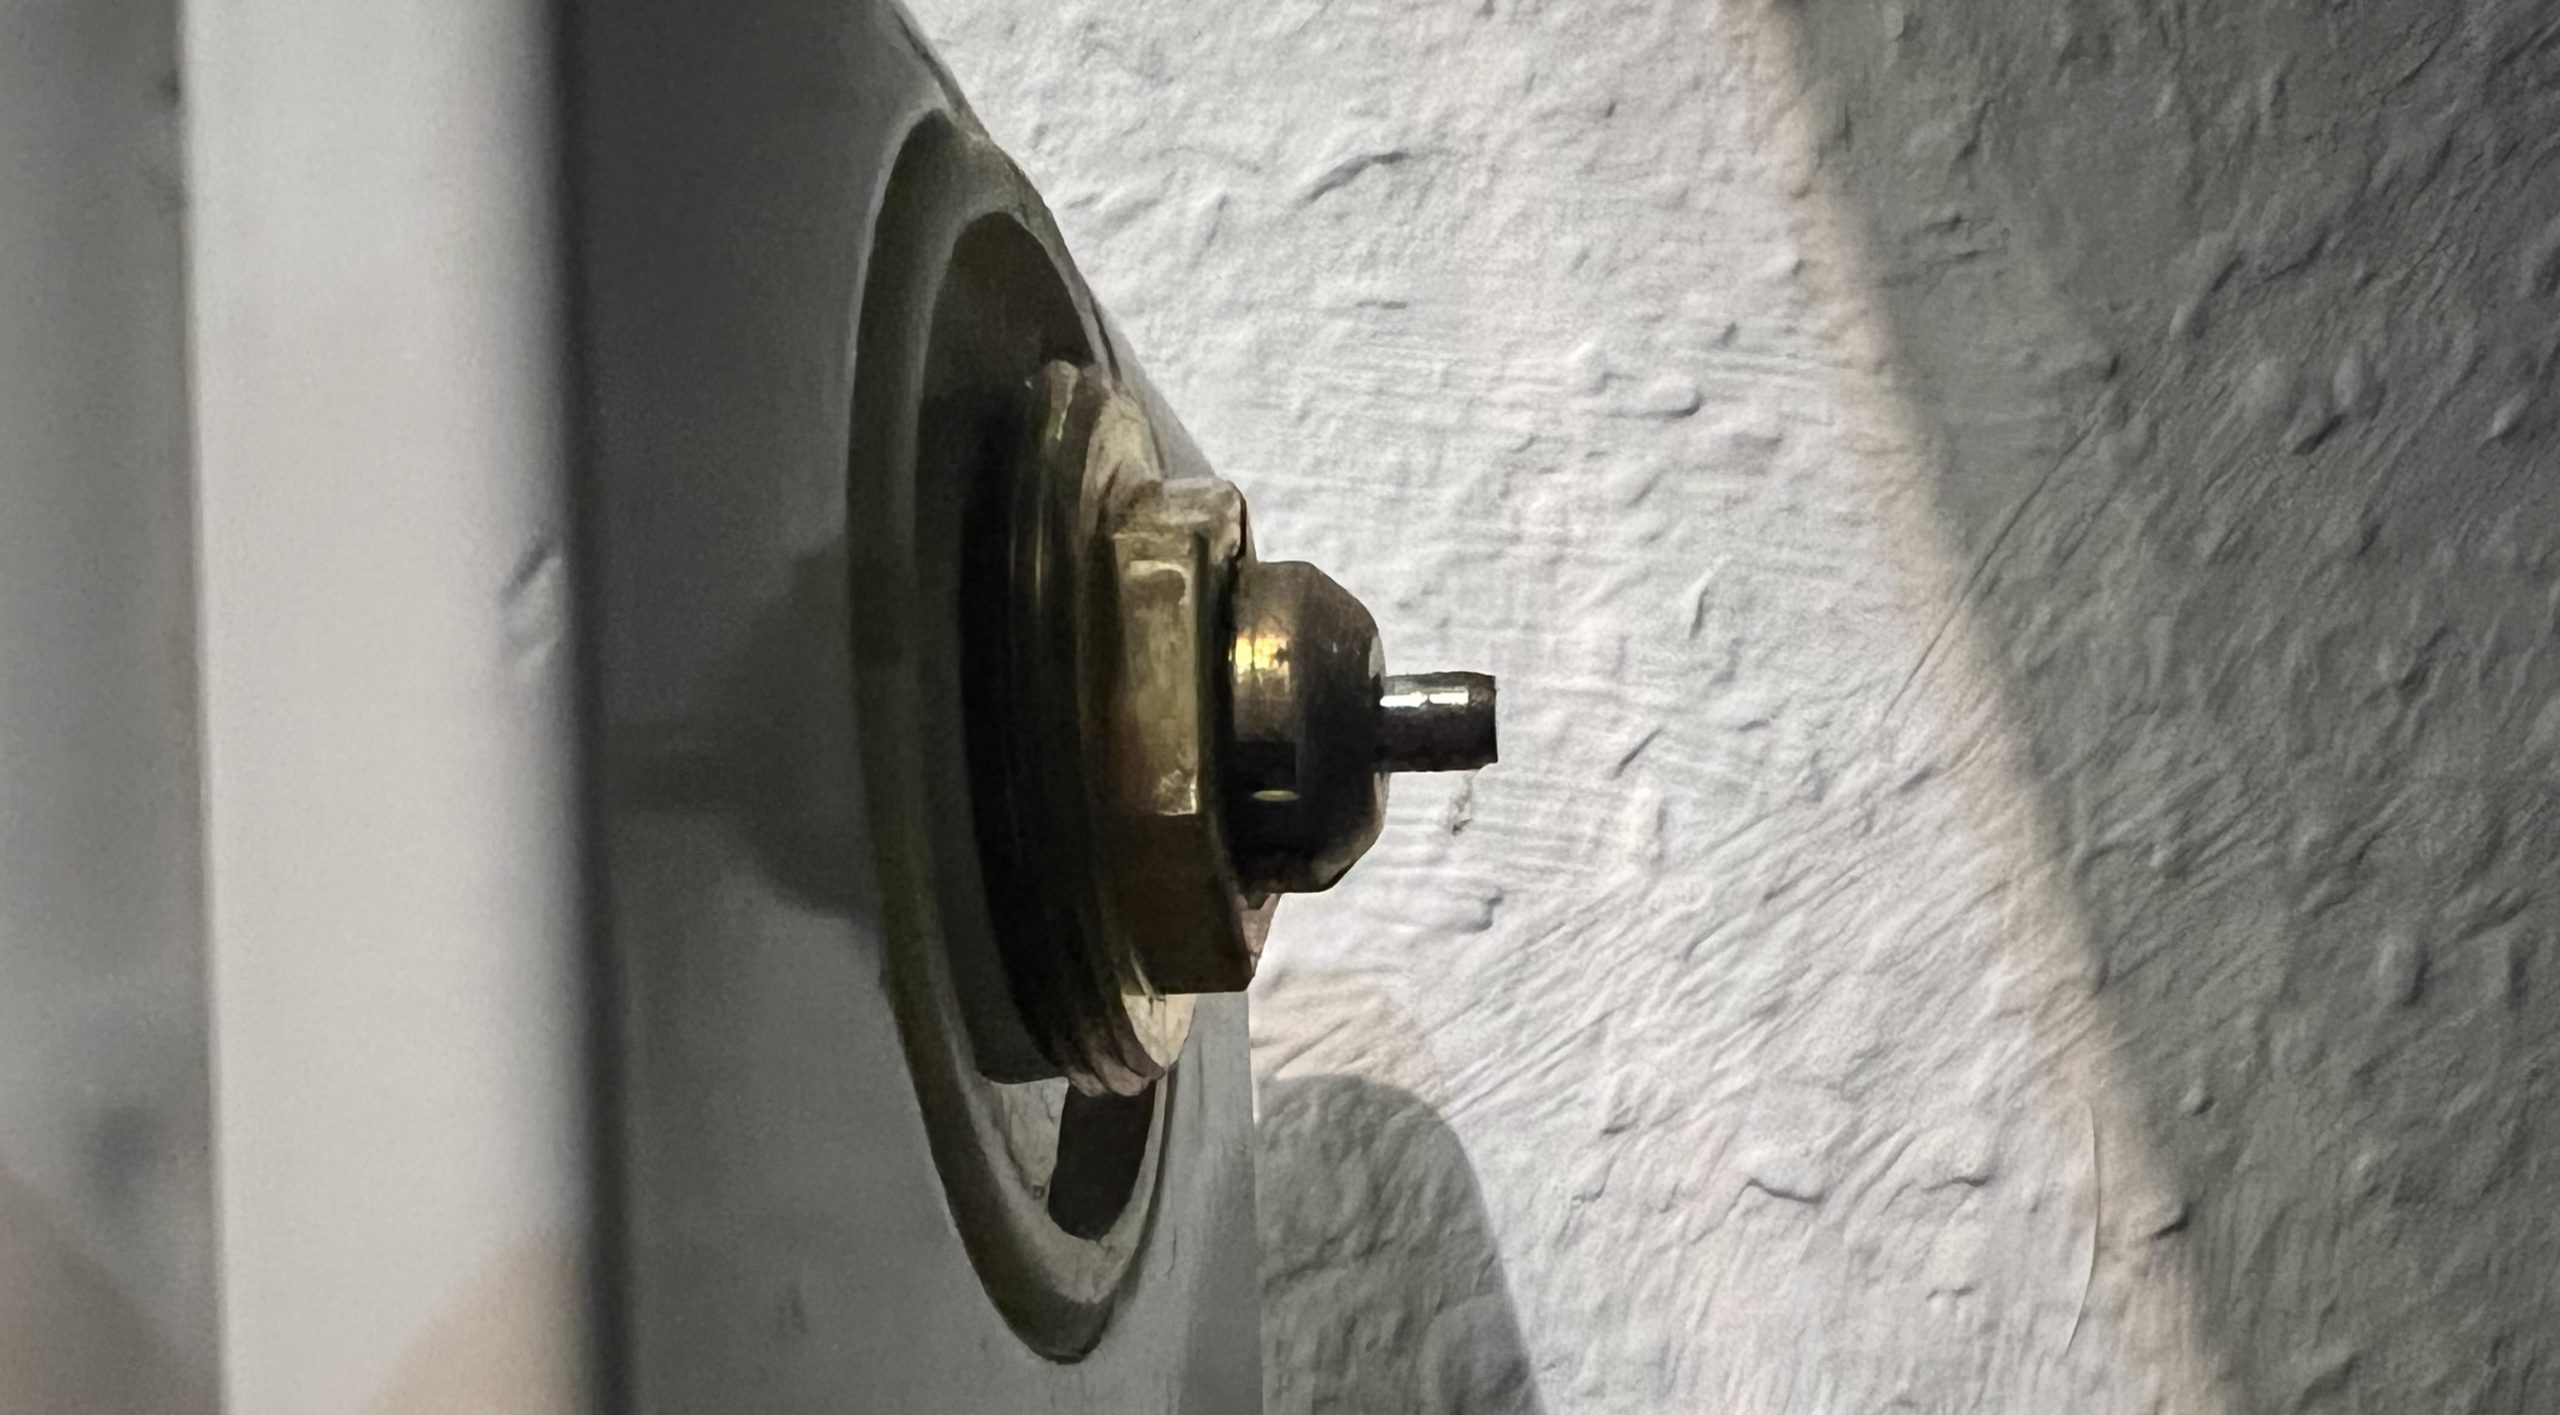
We then repeat the procedure with the marked start of the thread on the Dect 302 so that we don’t accidentally wipe off the line again when tightening the screw. The retaining ring can be pulled upwards (away from the thermostat) so that the part can be easily attached and tightened. But before you do that, you need to do some preliminary installation work. I’m coming to that now.
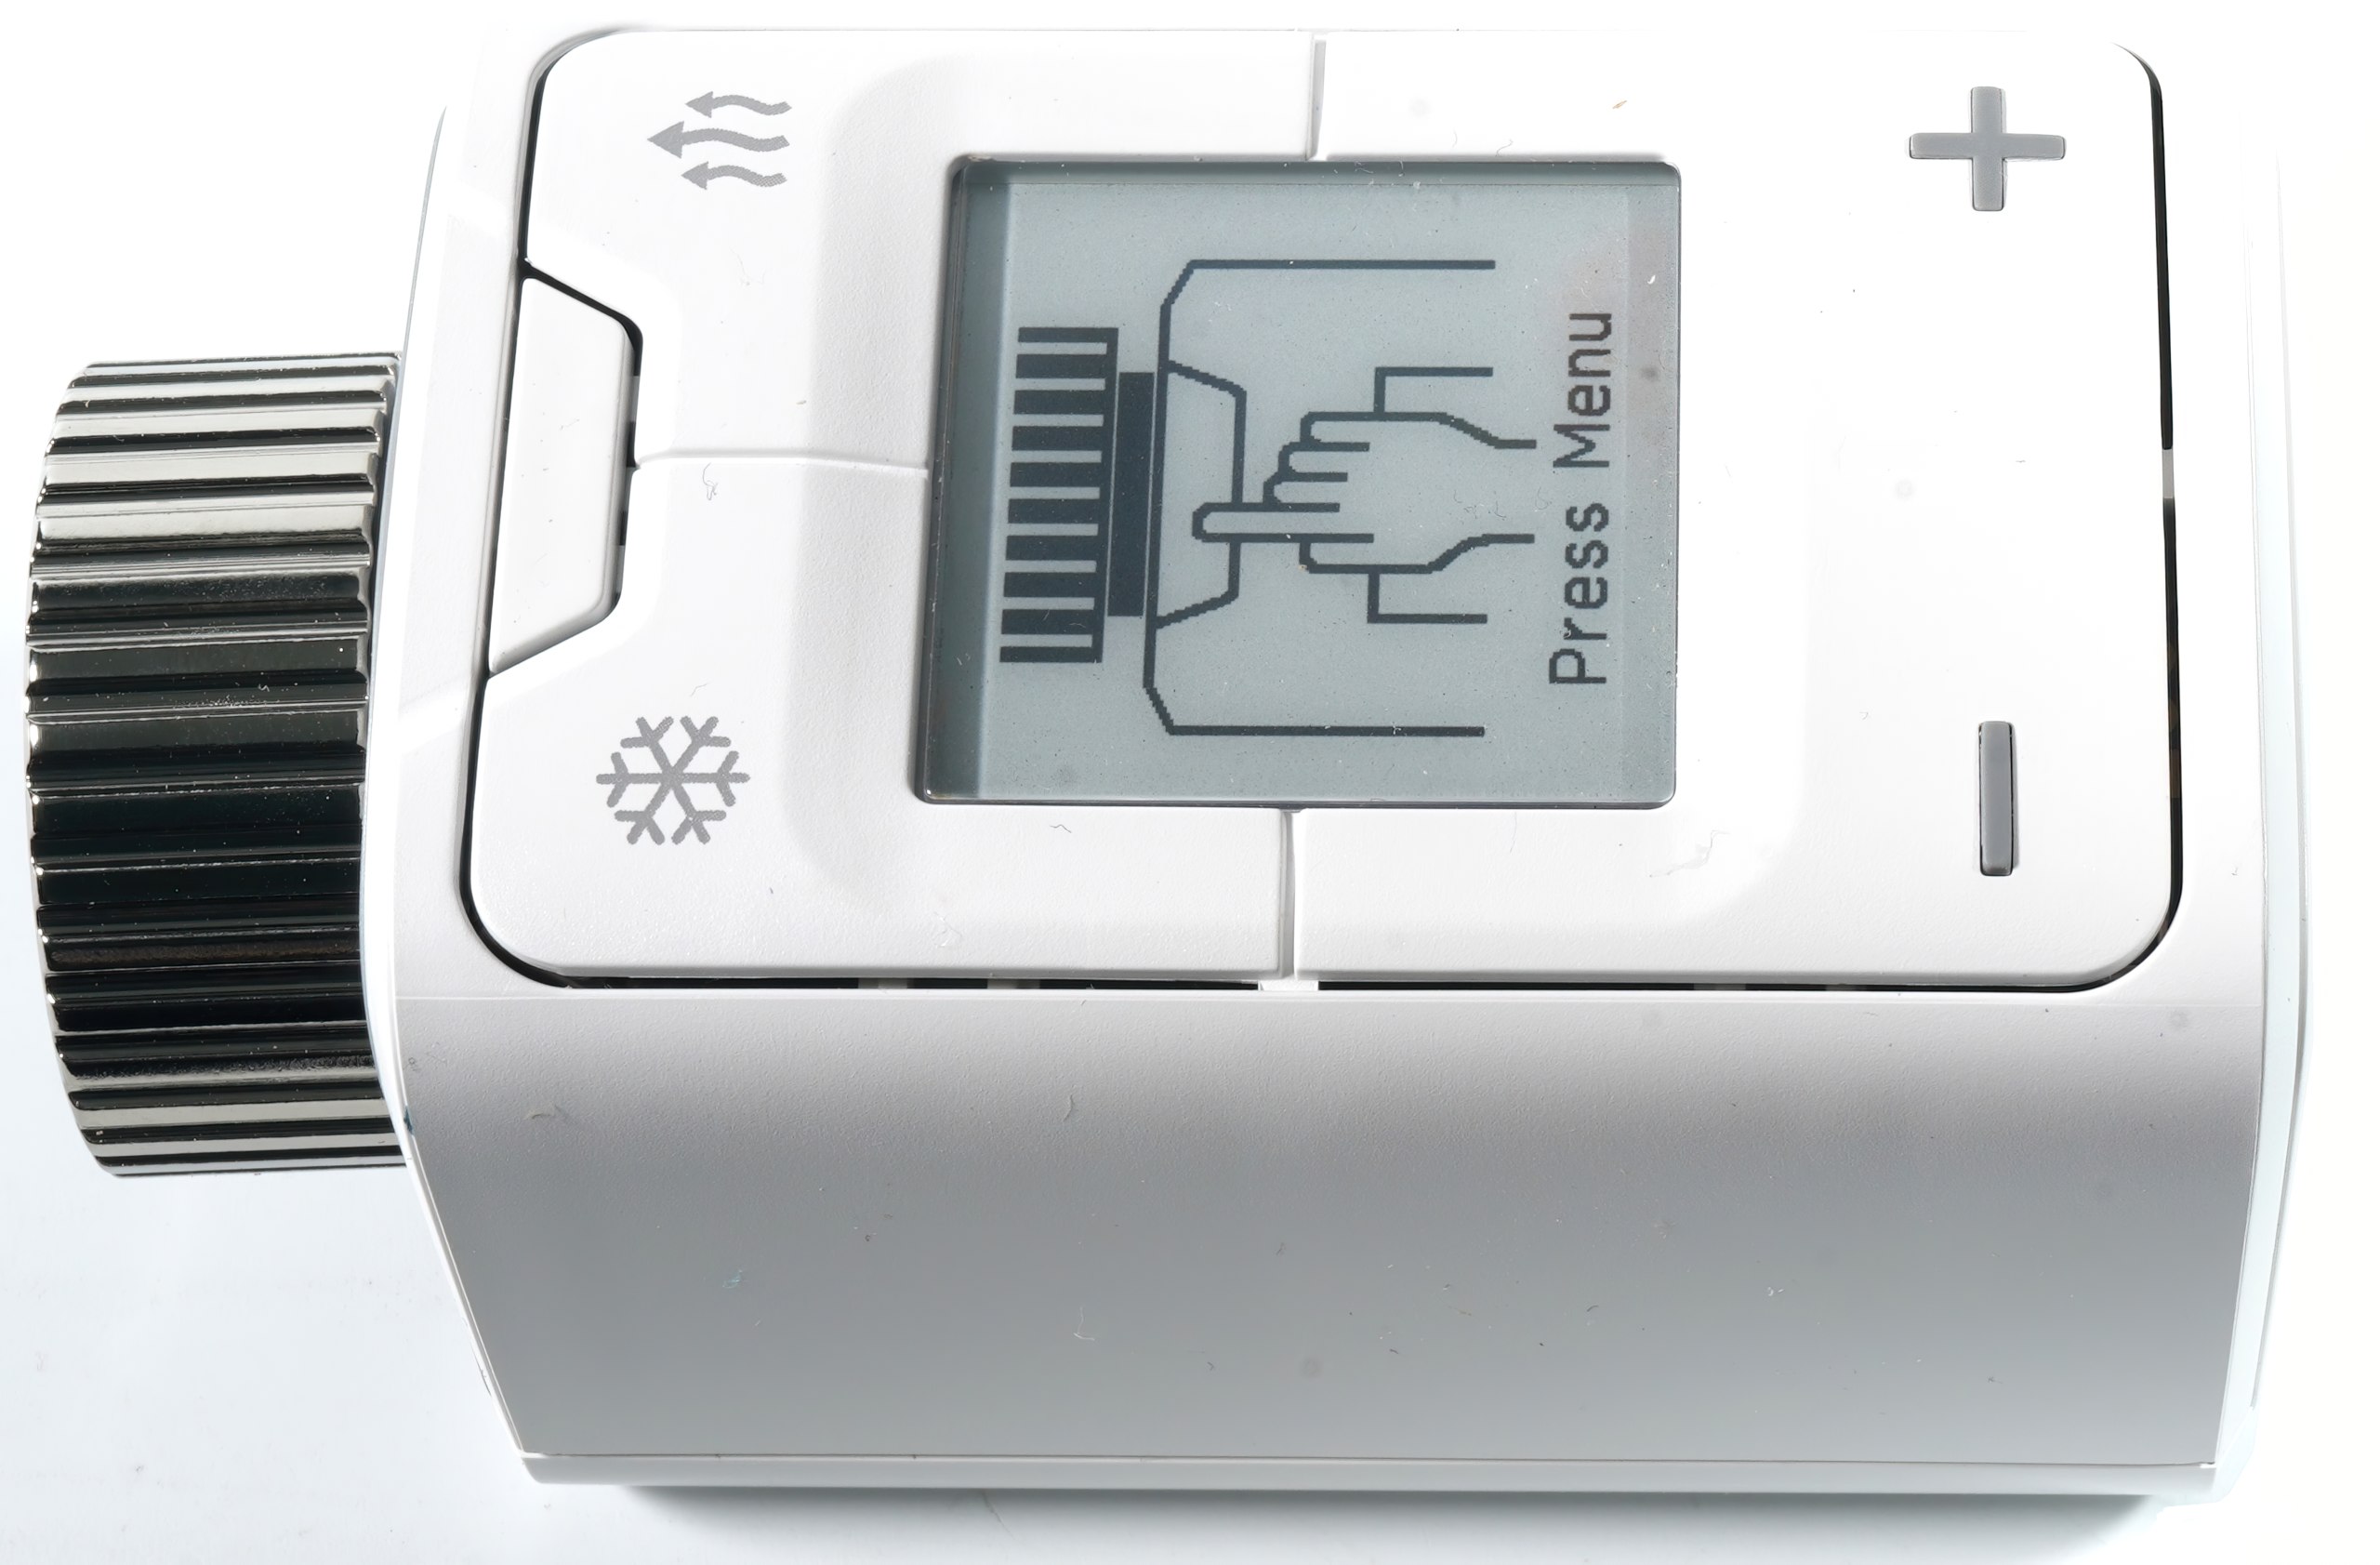
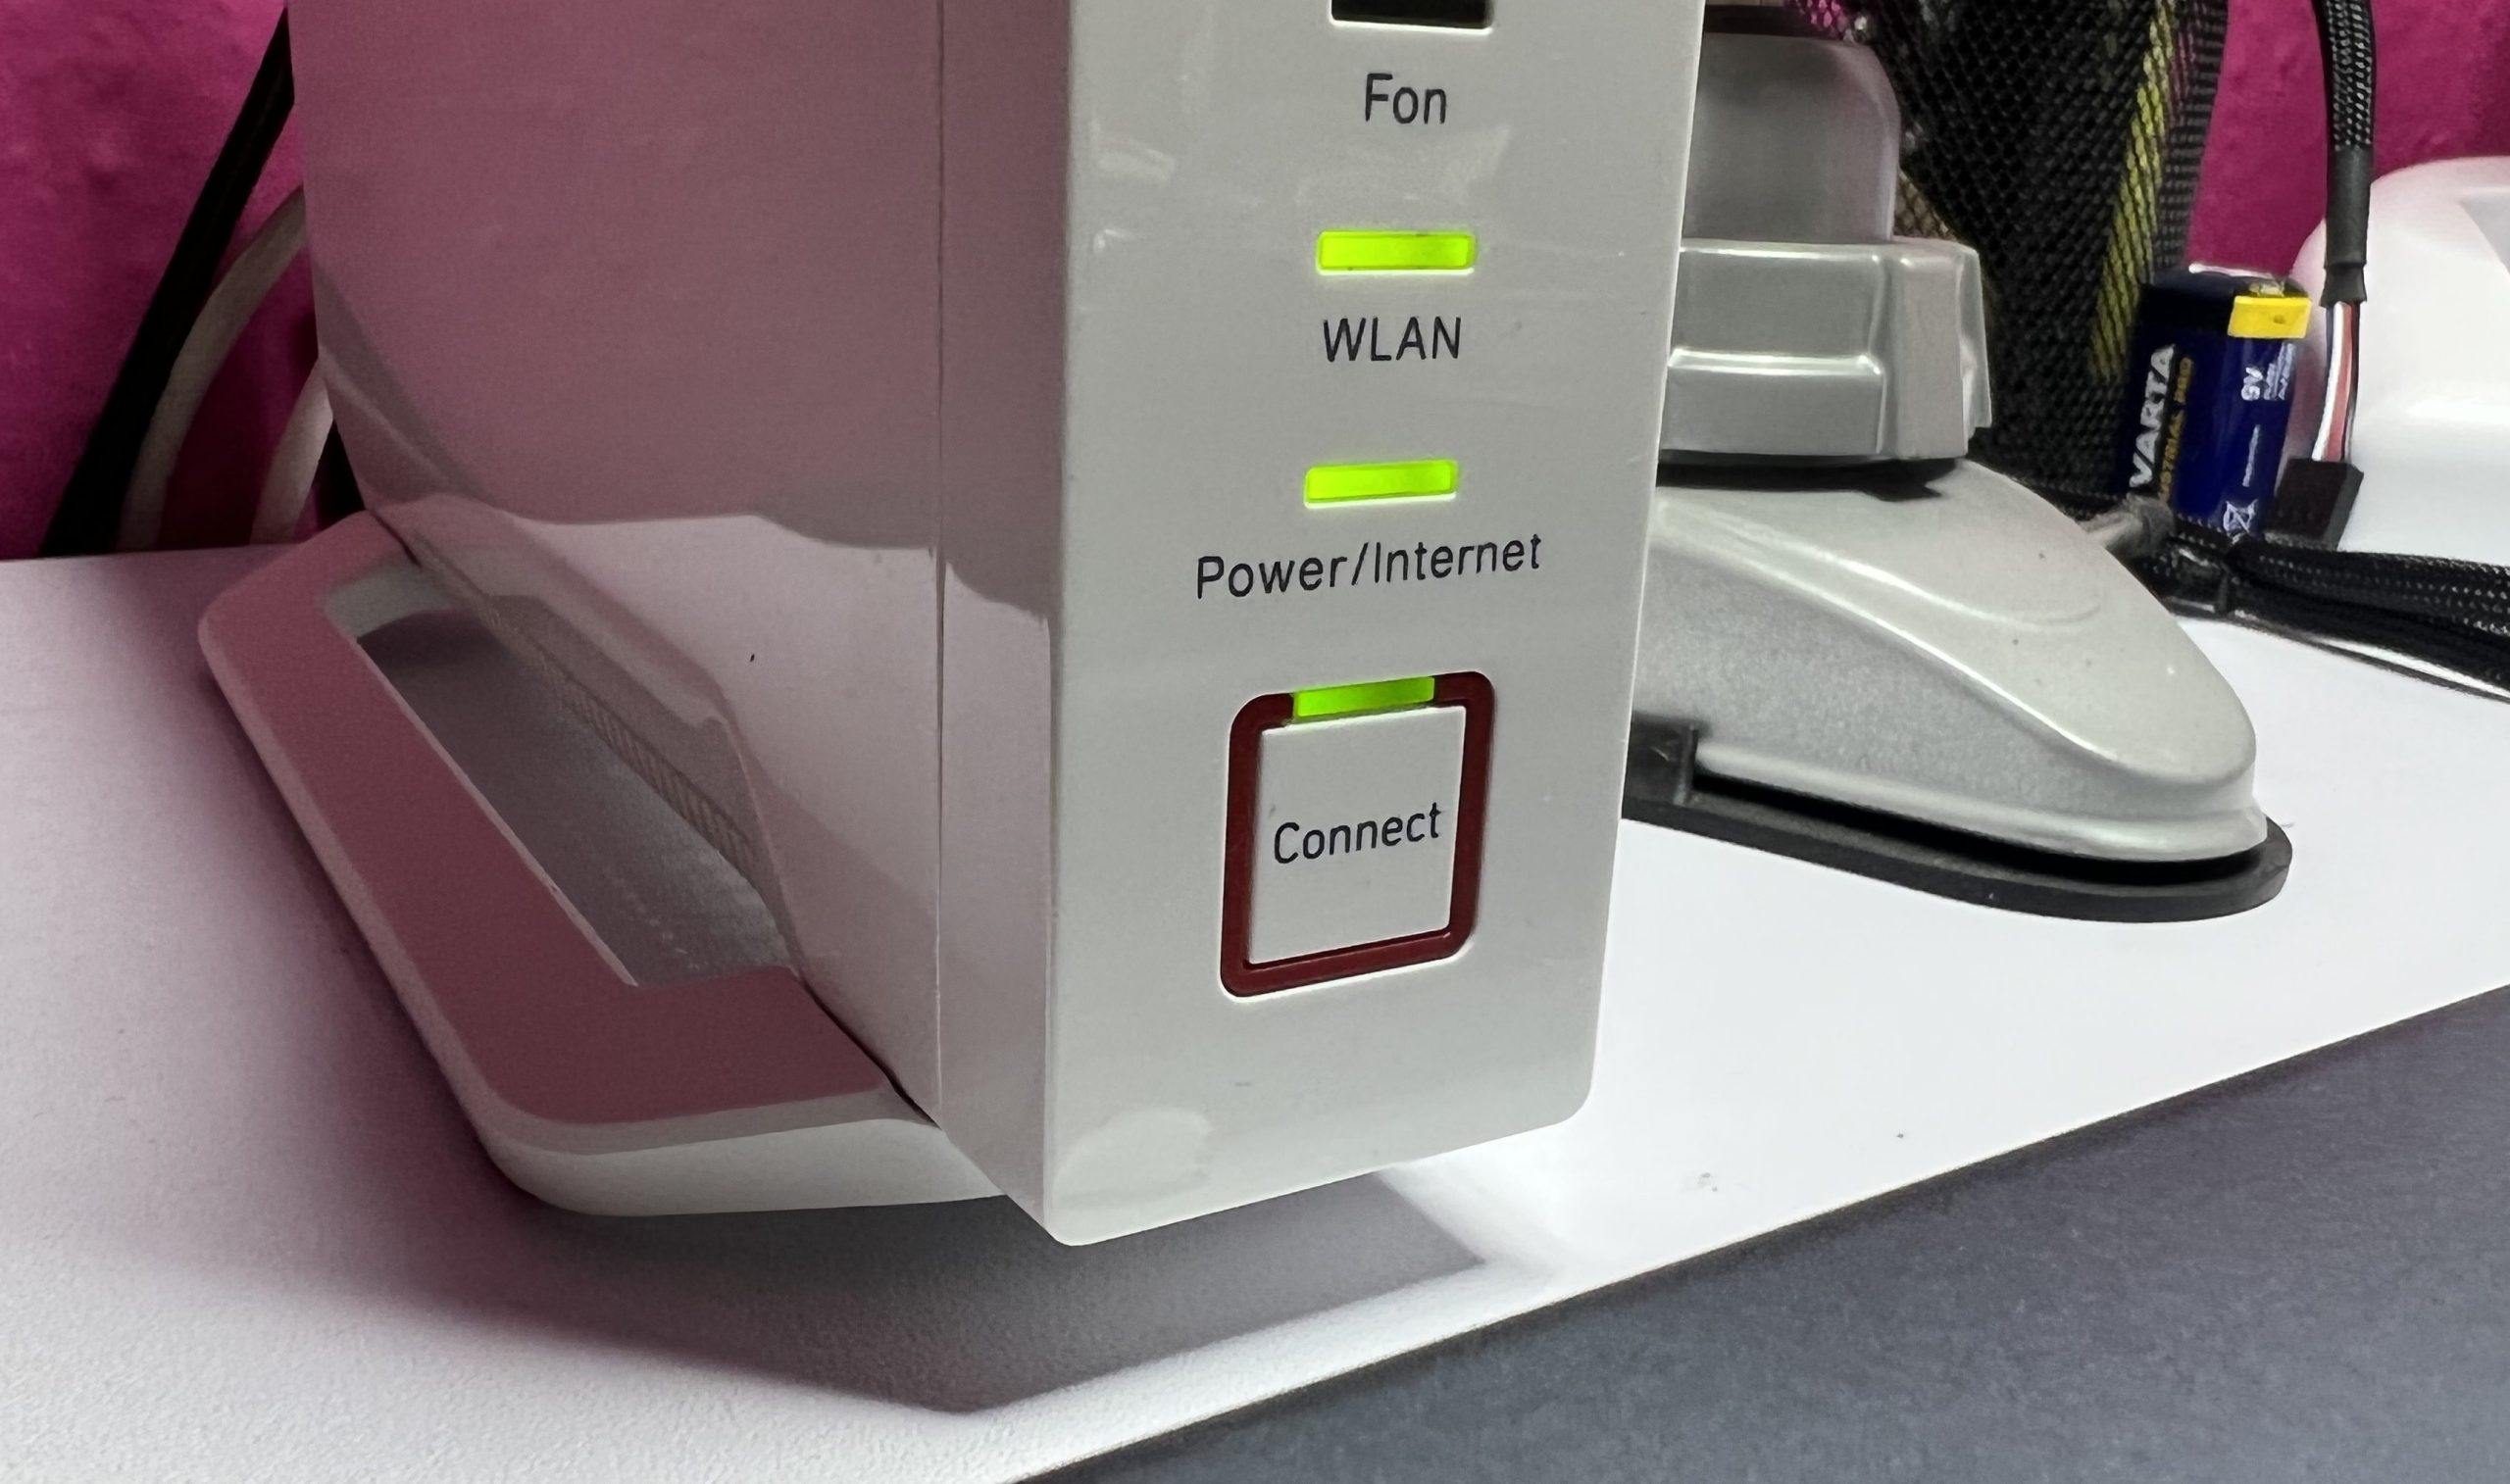
First, you need to connect the Dect to the FRITZ!Box, in my case a current 4600, which I had also tested recently. It really is easier than you think. First, you simply press the menu button on the Dect 302…
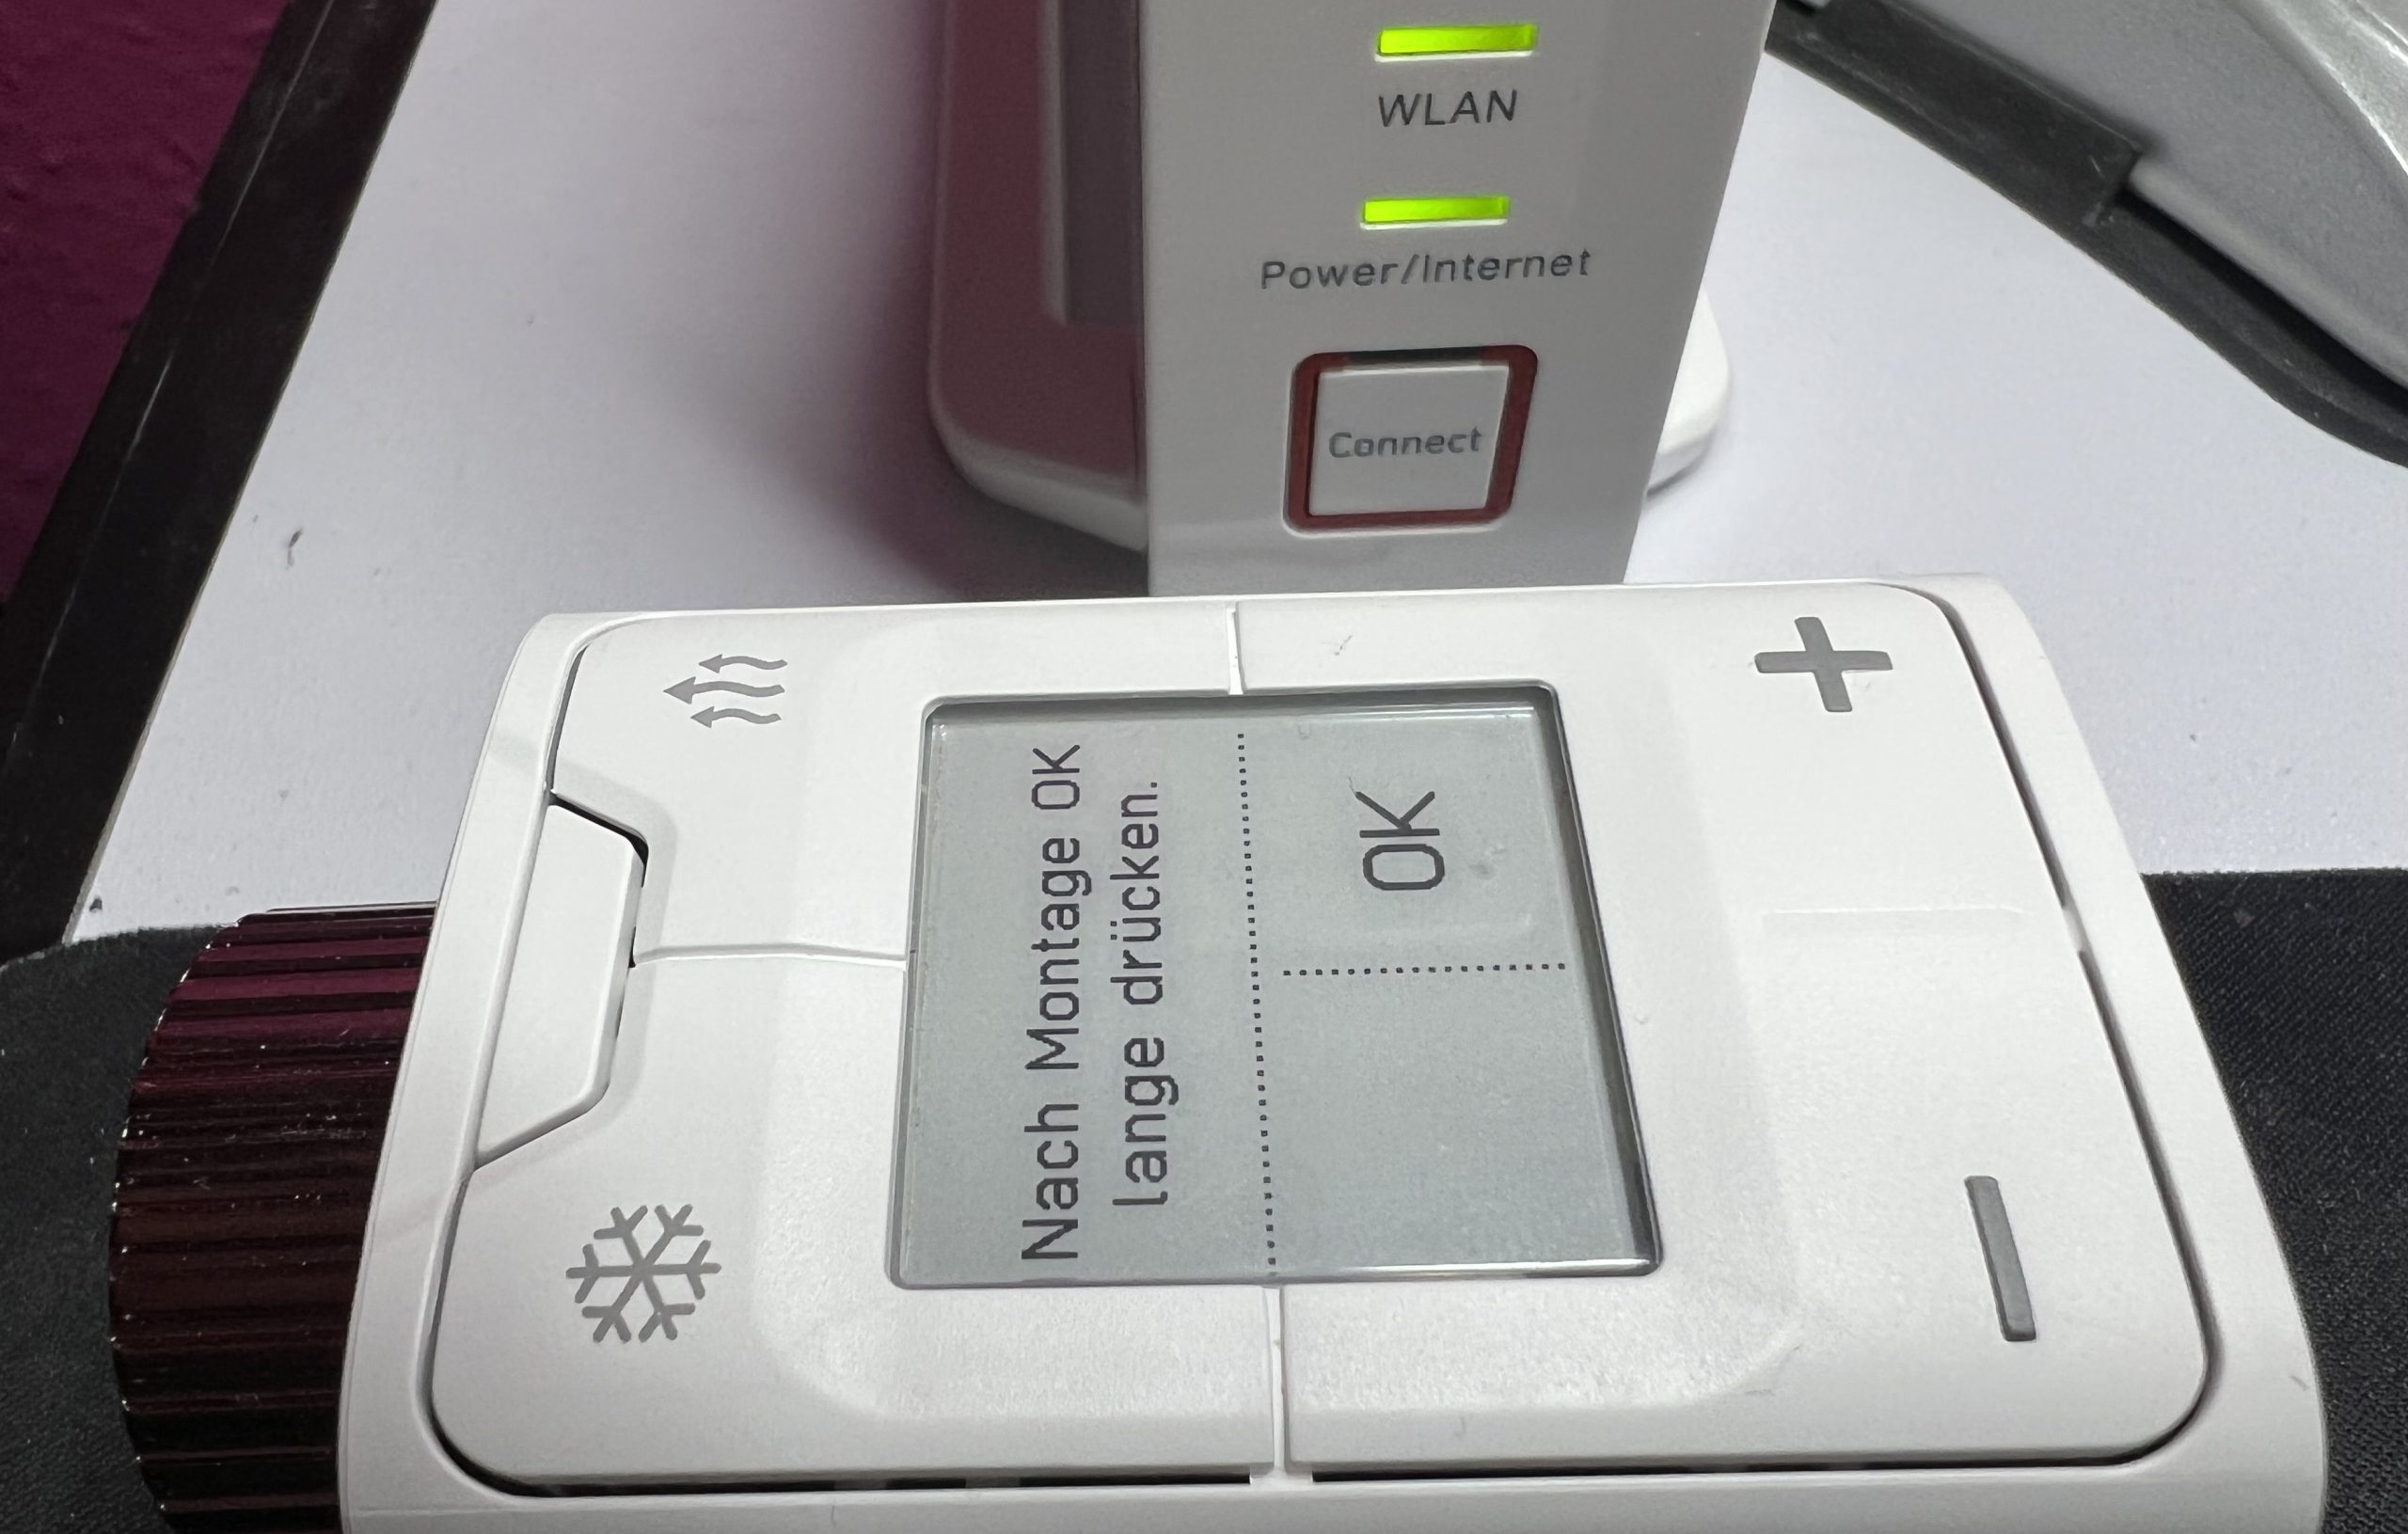
… and then on the FRITZ!Box the Dect or combined Connect key (depending on the model).
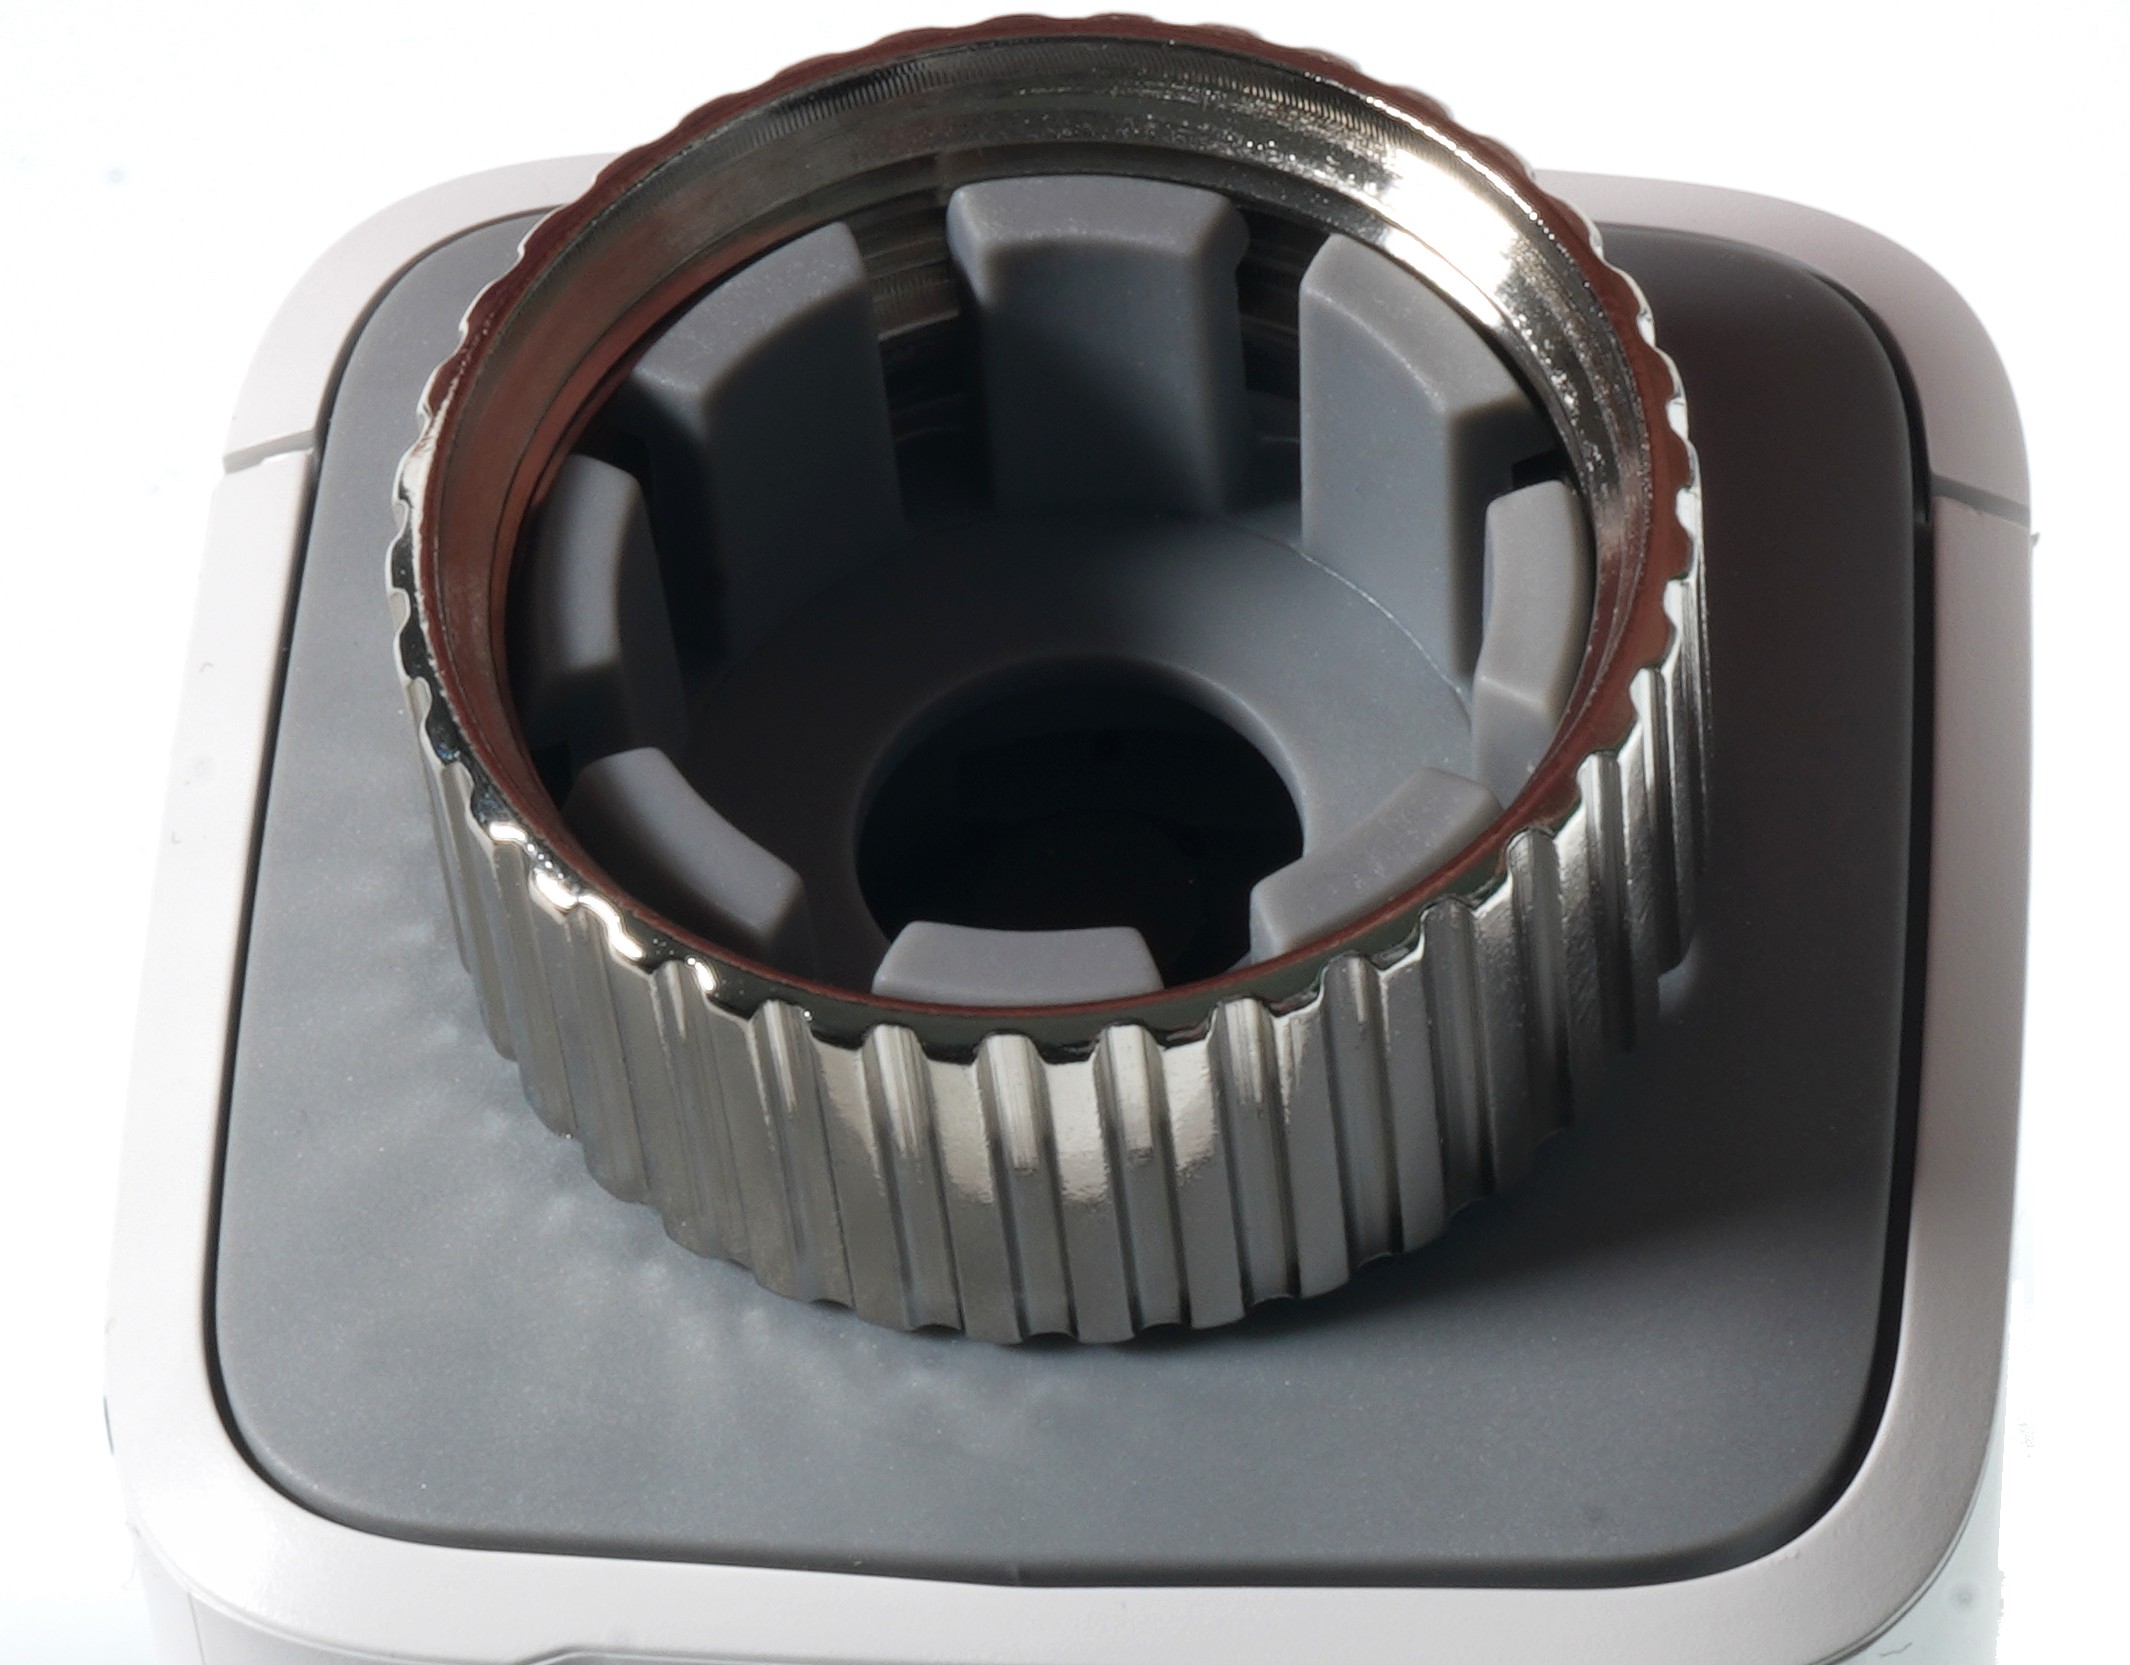
After a few seconds, the Dect 302 is recognized and reports its readiness for installation. Only now we can put it on the already exposed heater valve and carefully tighten it. By the way, please only hand-tighten and without tools, otherwise the plastic ring will break.
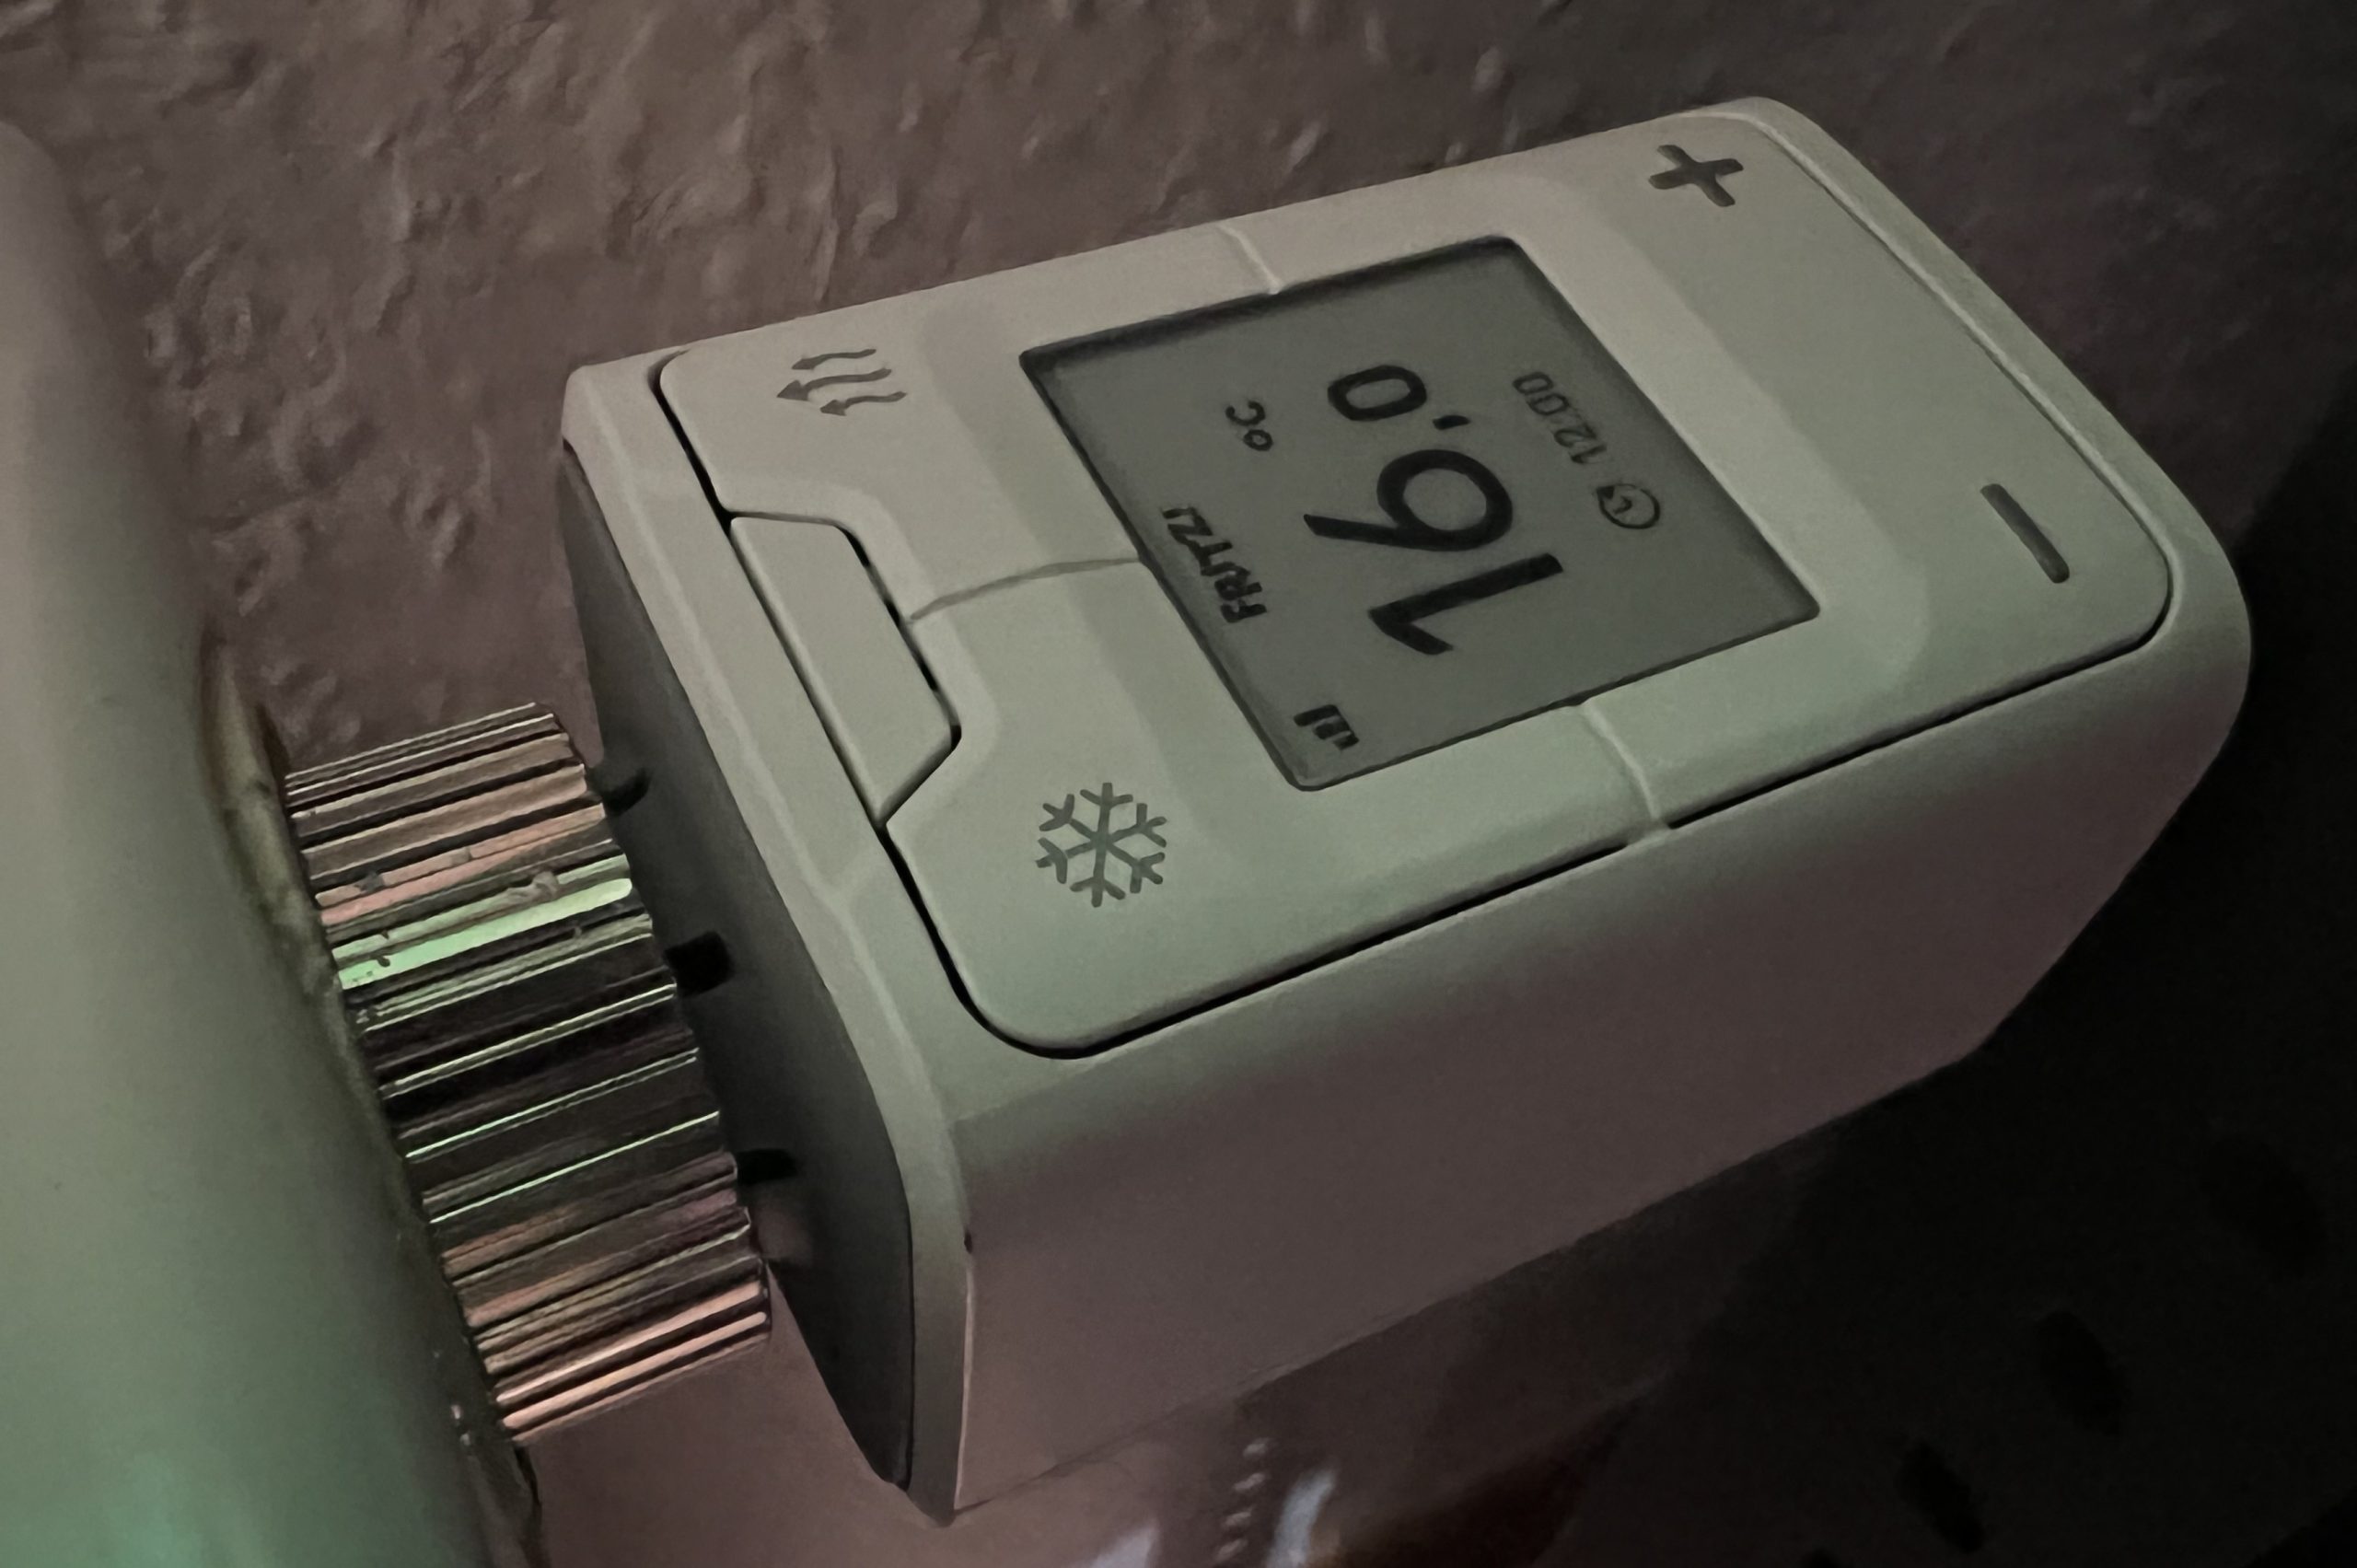
The device calibrates itself and then briefly displays a selection menu for the desired display orientation. Here you choose an option or you wait until it continues after a few seconds. Once all this has been done, you will see the Dect 302 in its default configuration, which is of no use to us yet. Now it’s off to the FRITZ!Box to complete the configuration.


83 Antworten
Kommentar
Lade neue Kommentare
Urgestein
Veteran
Urgestein
Urgestein
Veteran
Mitglied
Mitglied
Mitglied
Urgestein
Urgestein
Urgestein
1
Urgestein
Neuling
Urgestein
1
Veteran
Urgestein
Veteran
Alle Kommentare lesen unter igor´sLAB Community →