


Assembly
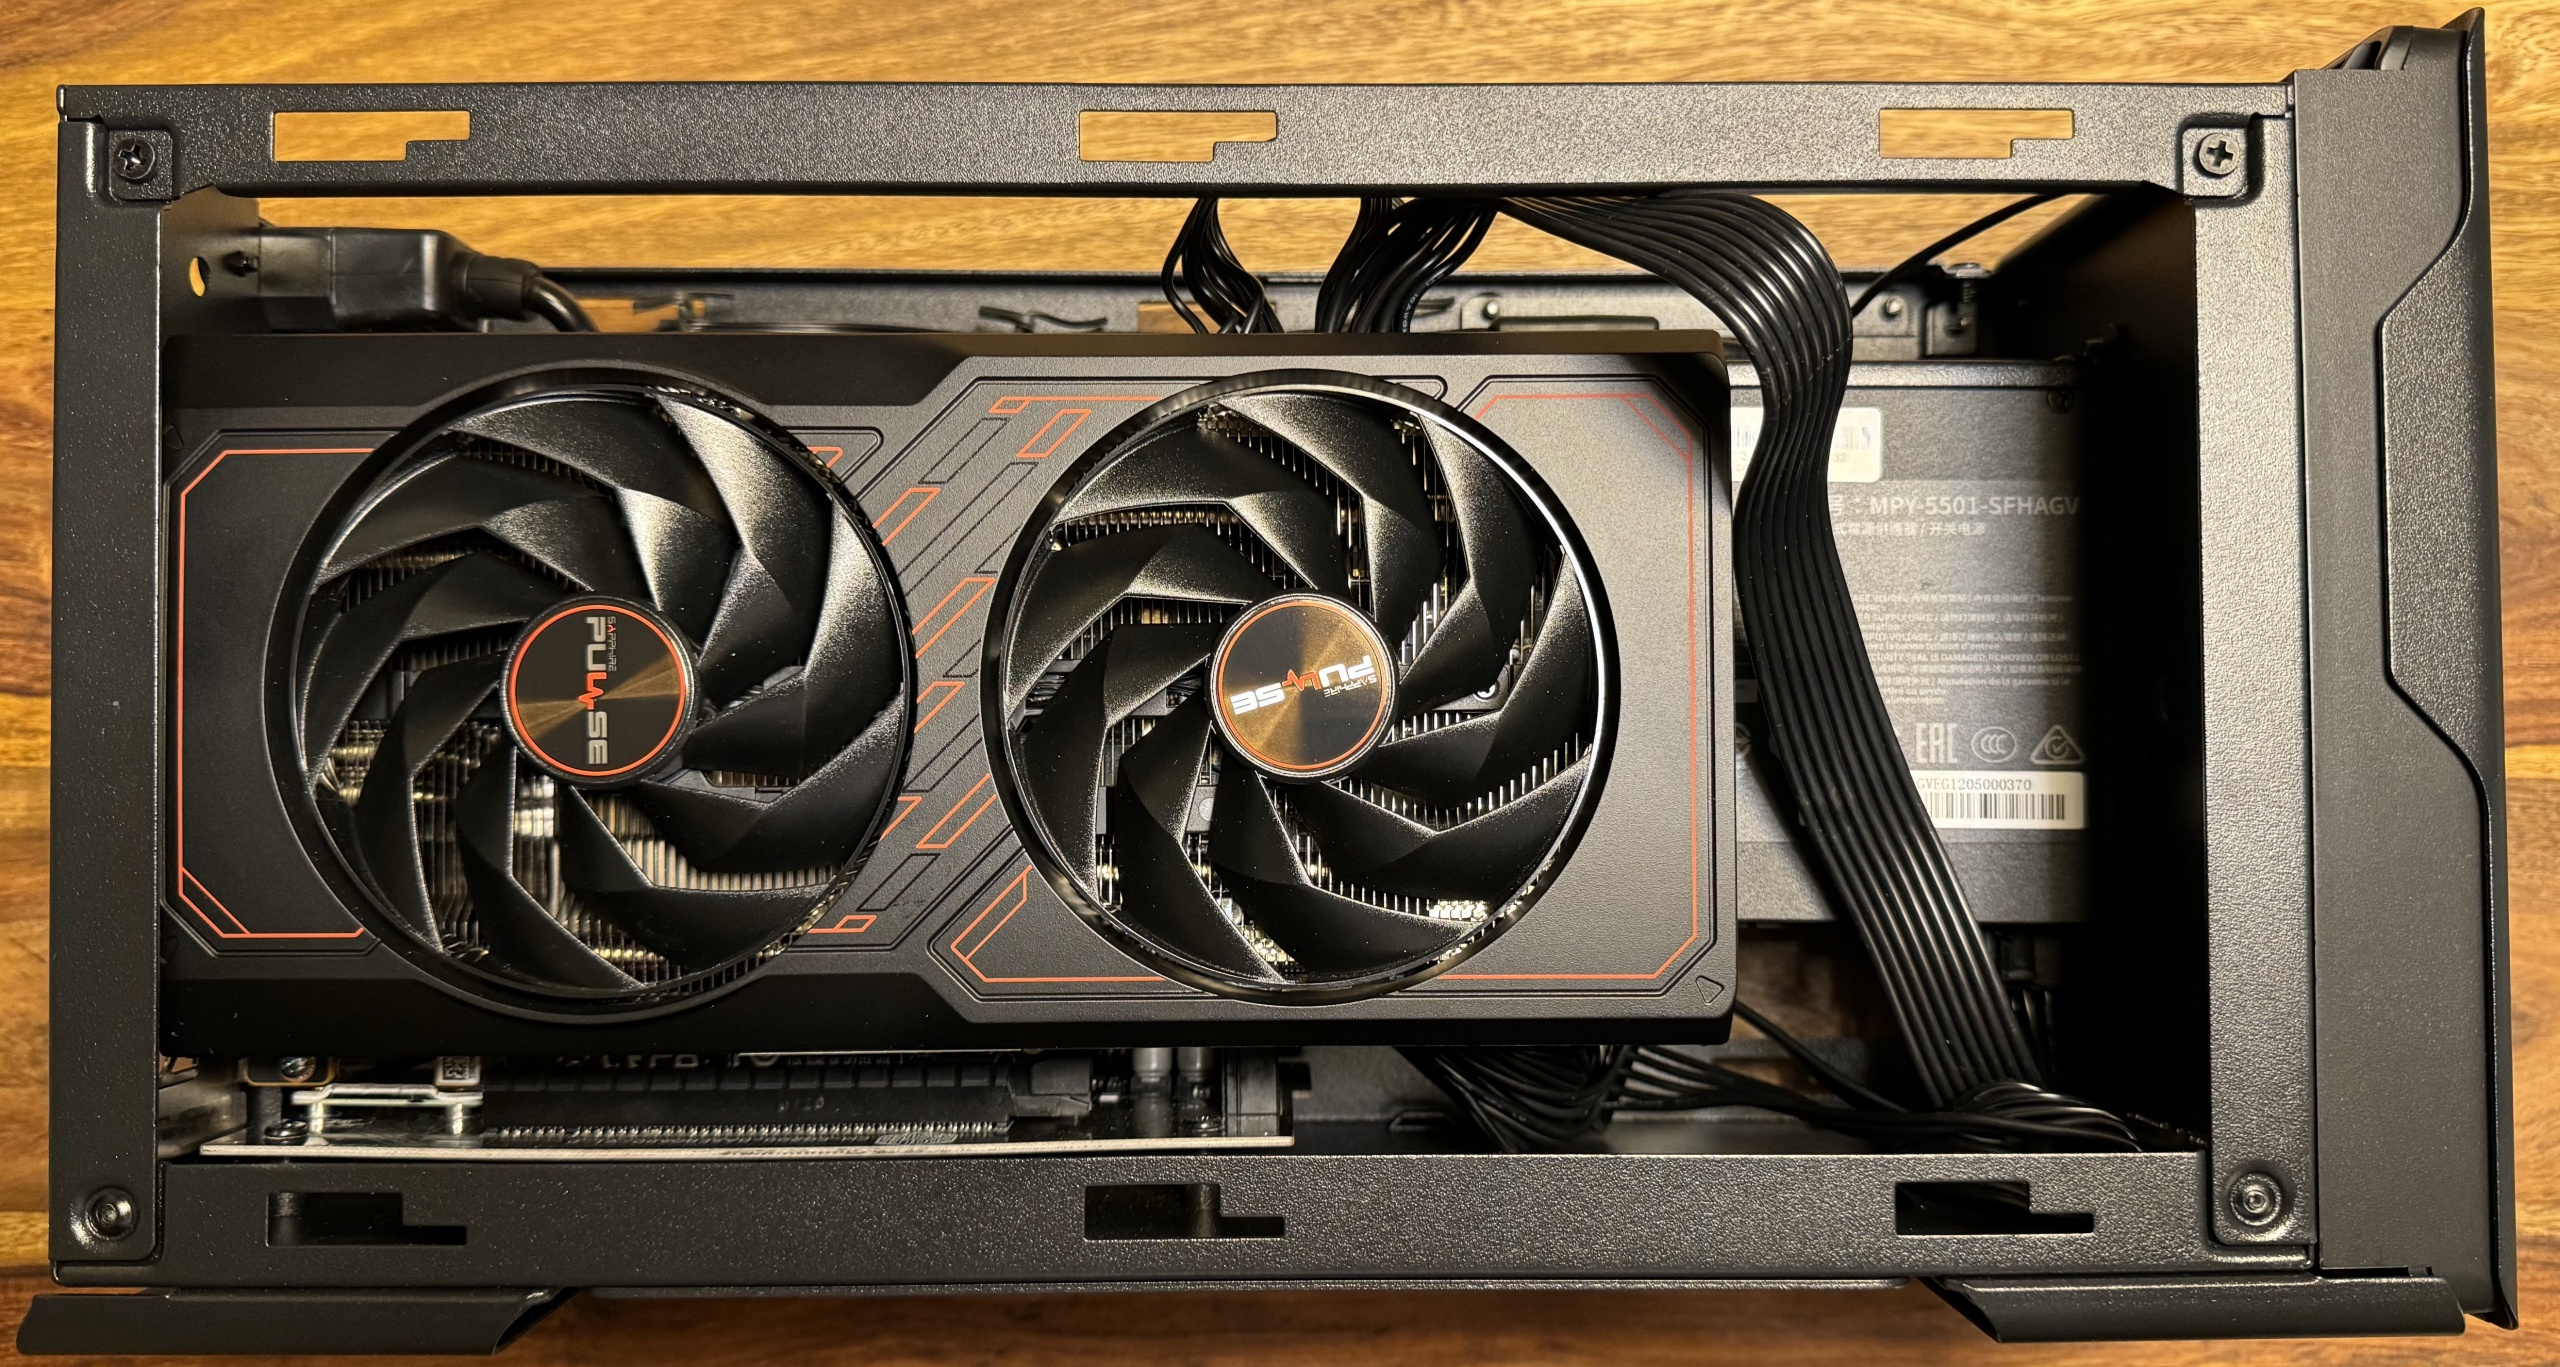
First of all, let’s start with the hardware of the laptop being used as a test laptop. This includes an Intel i5 11400H @ 2.4Ghz, 16 GB Ram DDR4 3200 MHz including an internal Intel GPU and an NVIDIA RTX 3050 laptop GPU. But more on that in a moment. First, we have to unscrew the metal rail on the side before we can install the graphics card. However, this is quite quick and easy. The card is then inserted into the housing and connected to the power supply unit via the two PCI connectors.
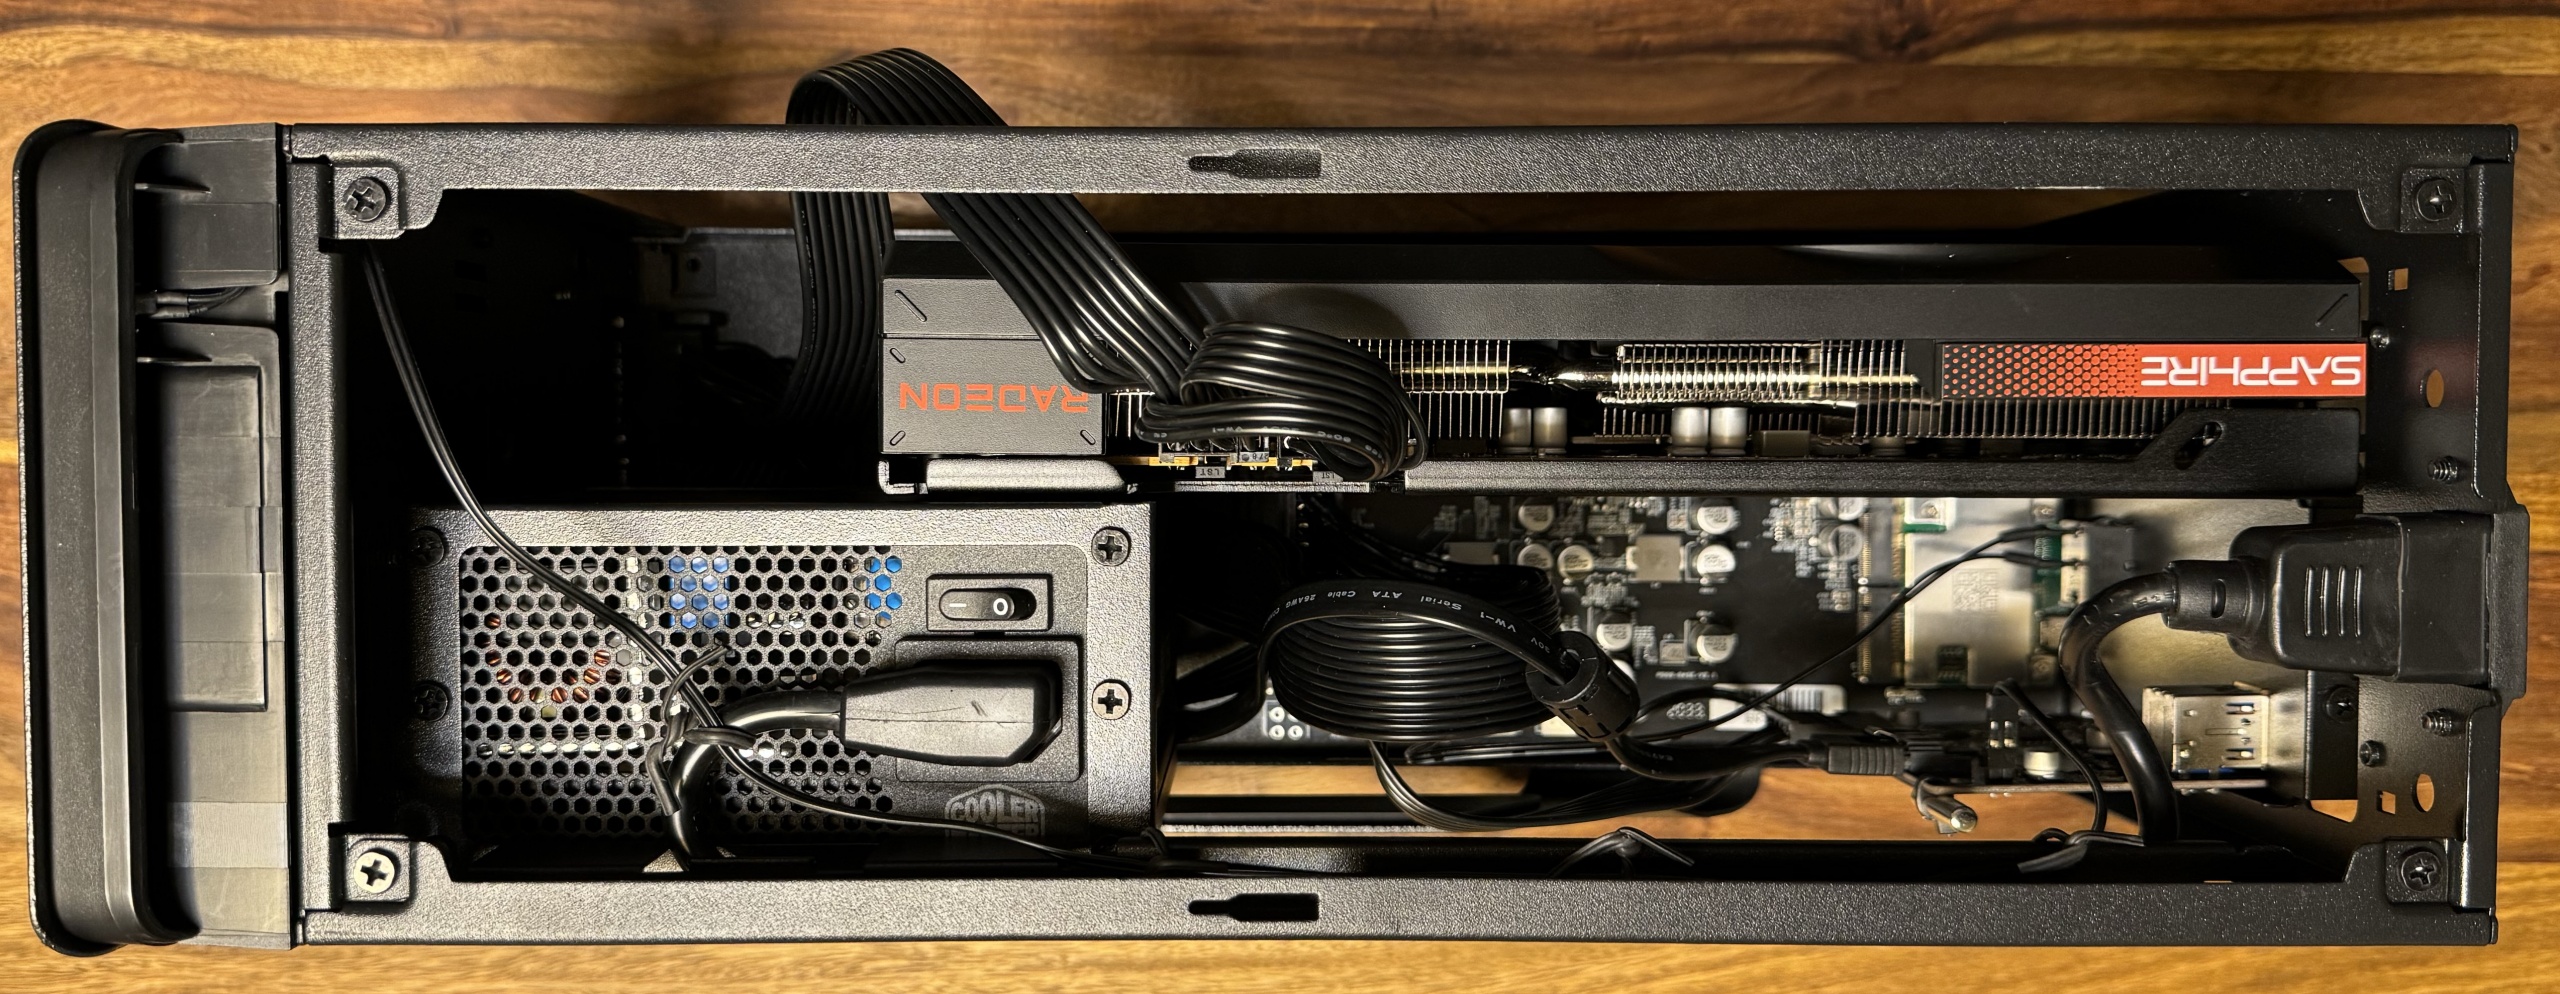
The graphics card is then screwed back in at the side so that it remains firmly in the holder. You should be very careful when screwing the rail back on, as the heads can break very easily if too much force is applied.
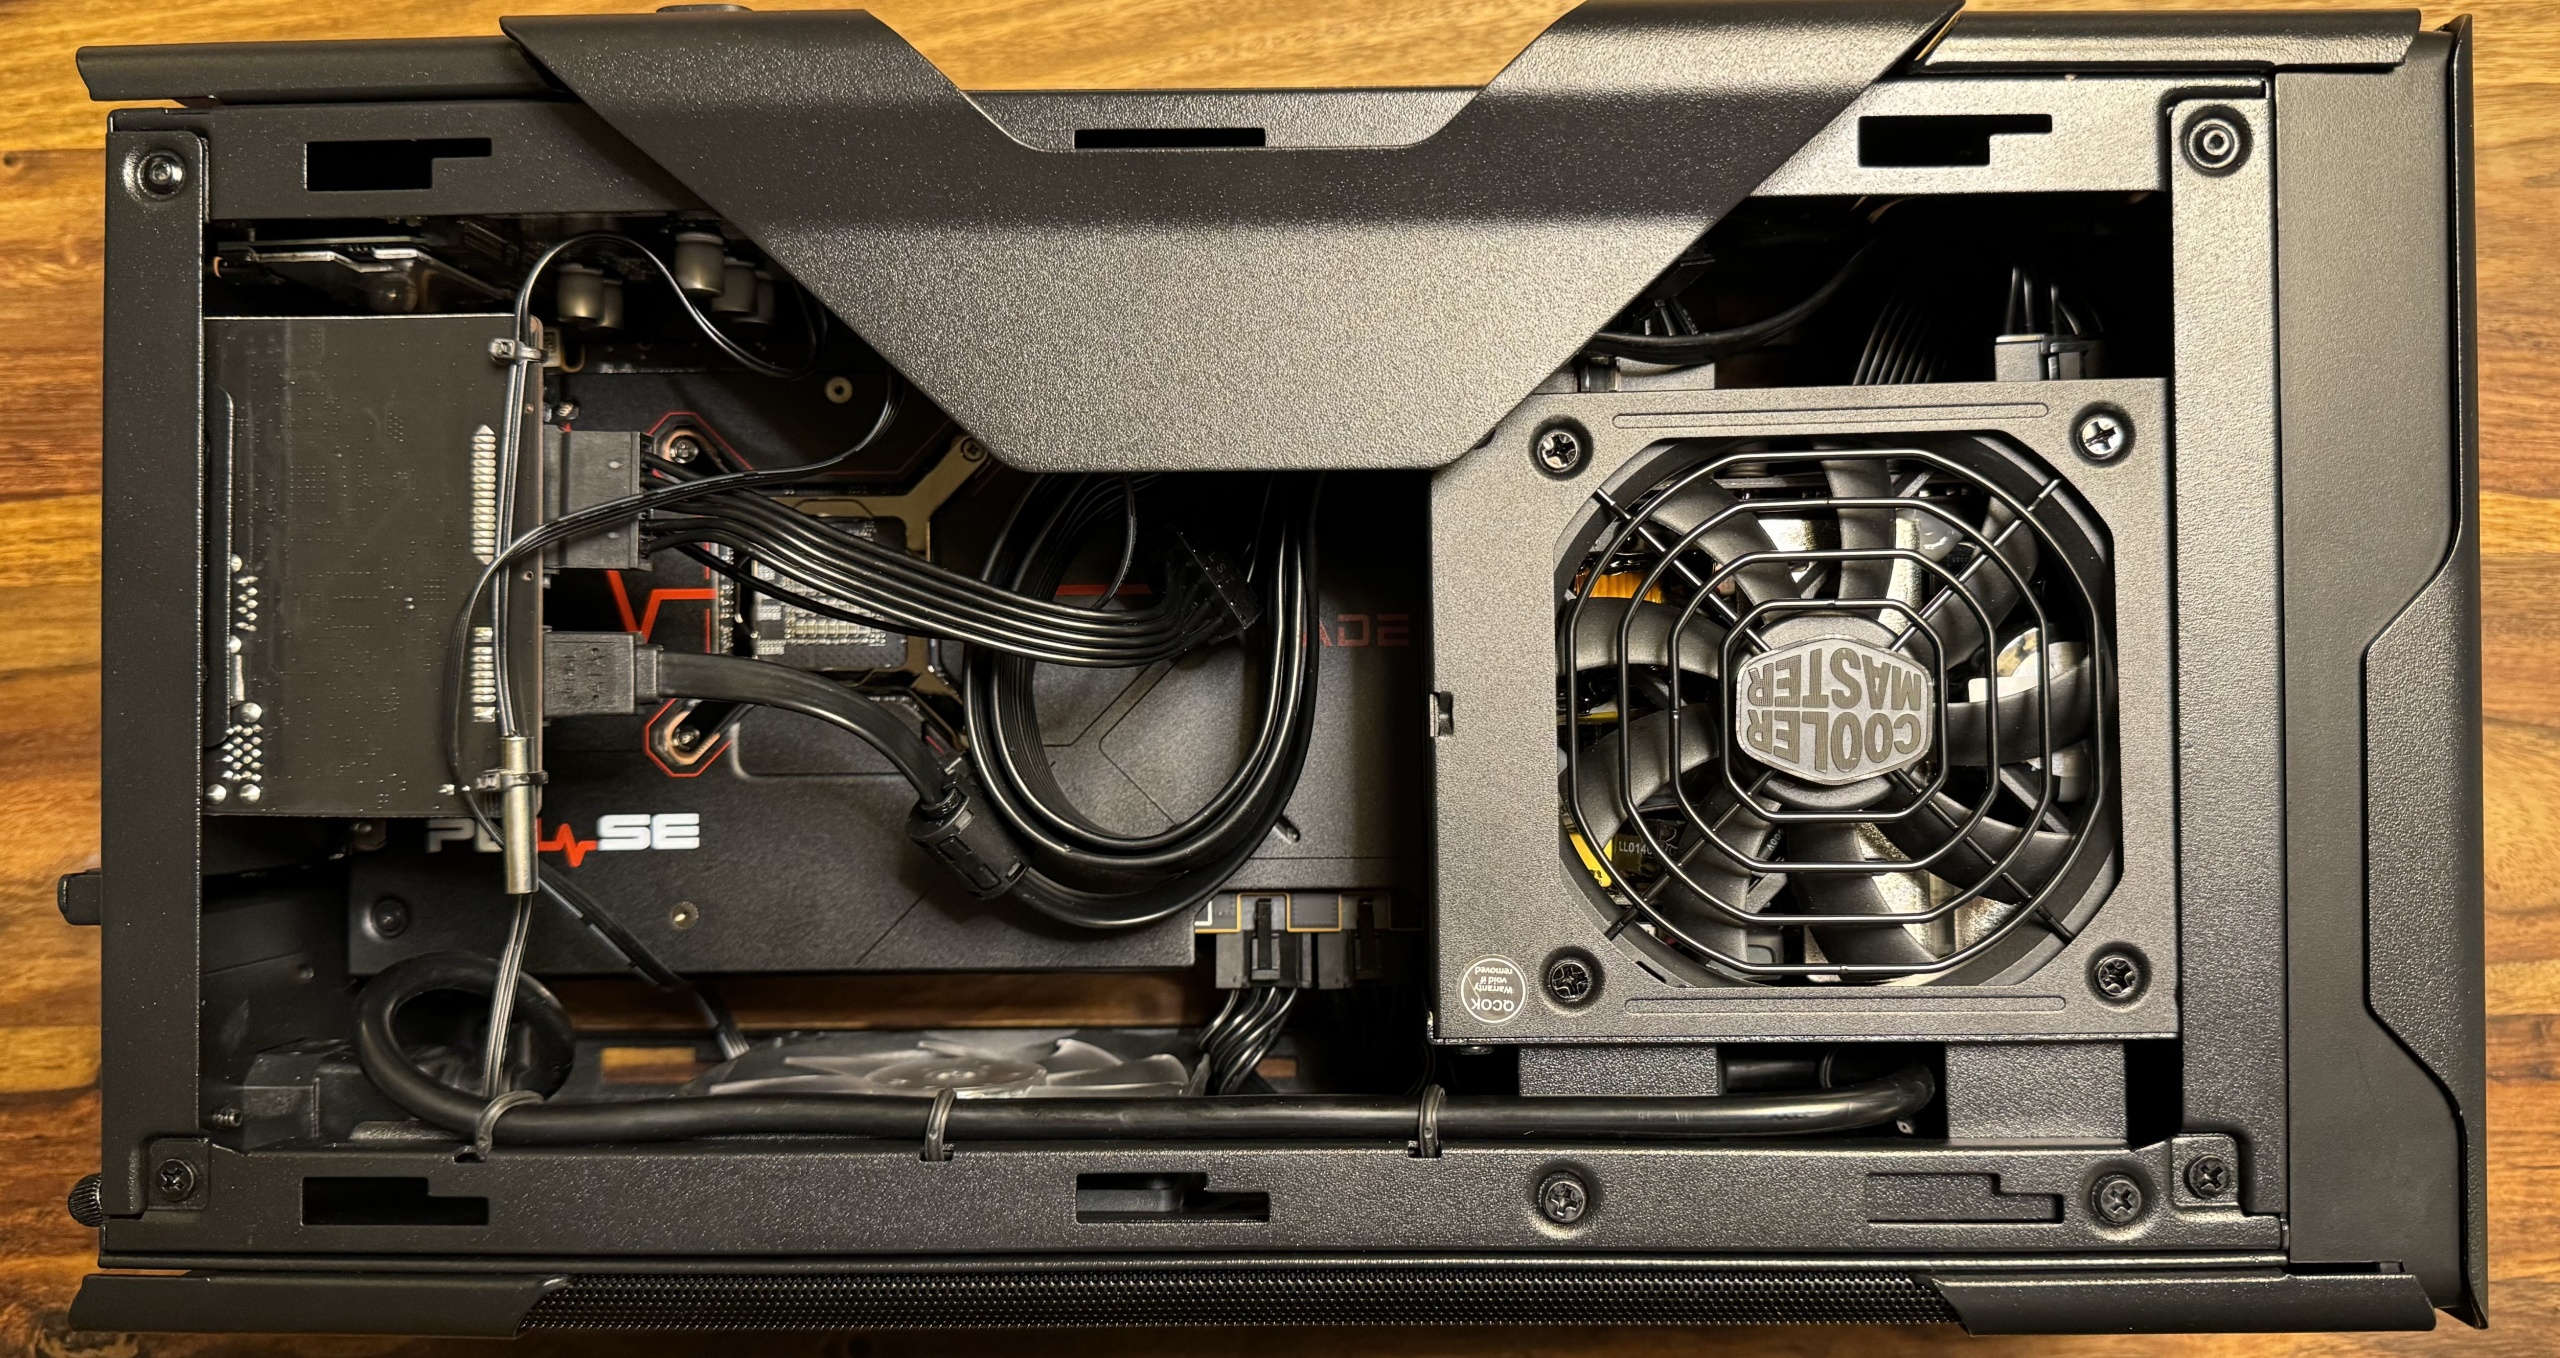
Now sort the cables a little more neatly, reassemble everything and then plug in the power supply unit. Then our eGPU is finished and ready for use. That’s all you need to be able to do.
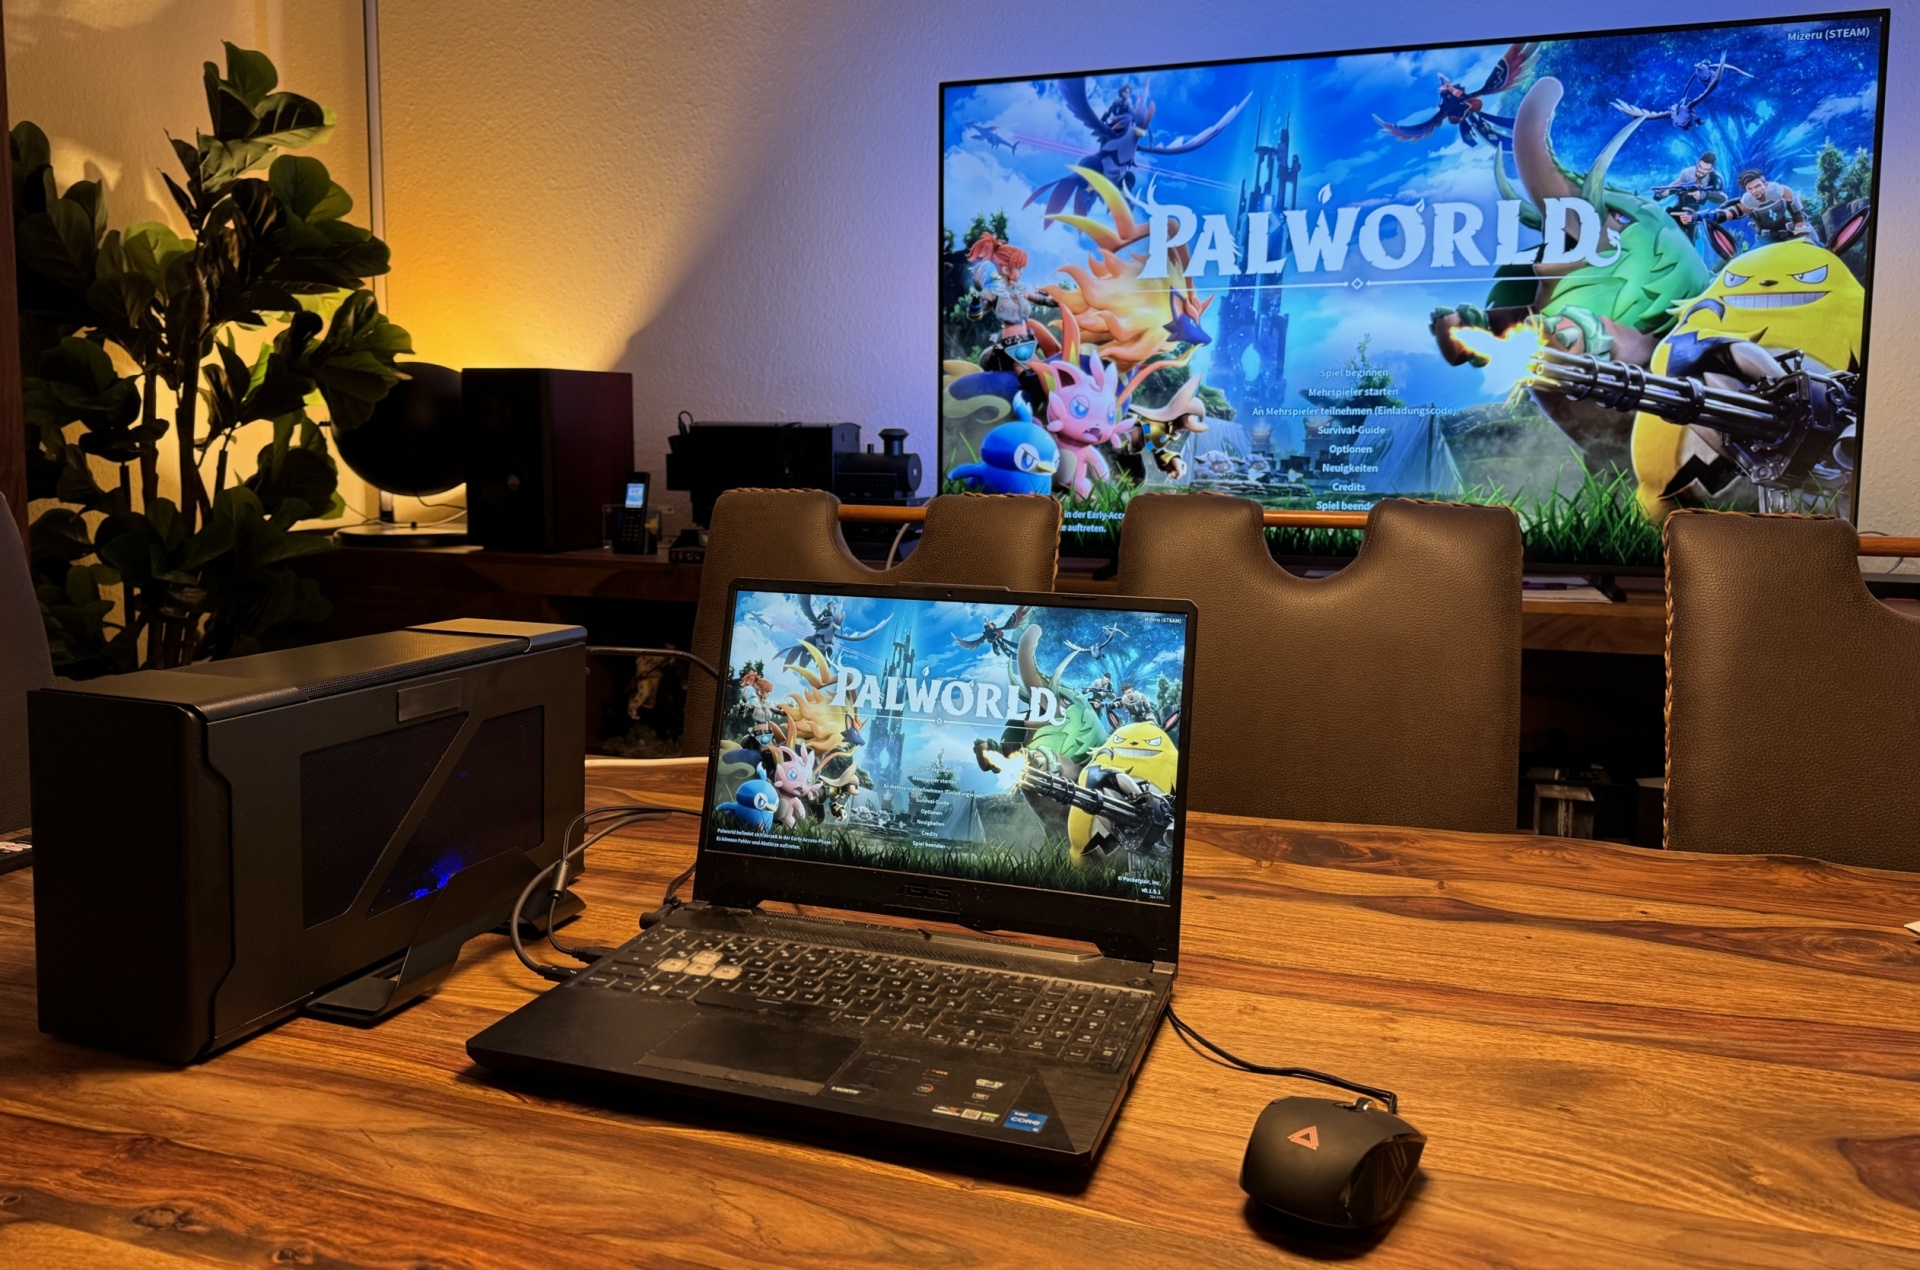
The device is then connected to the laptop via Thunderbolt or USB4 cable and then the HDMI cable is quickly plugged in and the test can begin. And if you’re wondering where we took all the pictures: It’s the meeting room of igors’sLAB.


25 Antworten
Kommentar
Lade neue Kommentare
Veteran
Urgestein
Mitglied
1
Urgestein
1
Urgestein
Urgestein
Urgestein
1
Mitglied
Mitglied
Urgestein
Mitglied
Veteran
Mitglied
Urgestein
Urgestein
Urgestein
Alle Kommentare lesen unter igor´sLAB Community →