


Building report
Now we come to the practical test. It may seem boring to some that a system was built again in a previously tested case as part of this review and that a new article was written about it. However, due to the contrasting color, the completely different hardware and the use of a different cooling solution, I still enjoyed the build a lot and in my opinion there is hardly a better way to present a case than in a build diary.
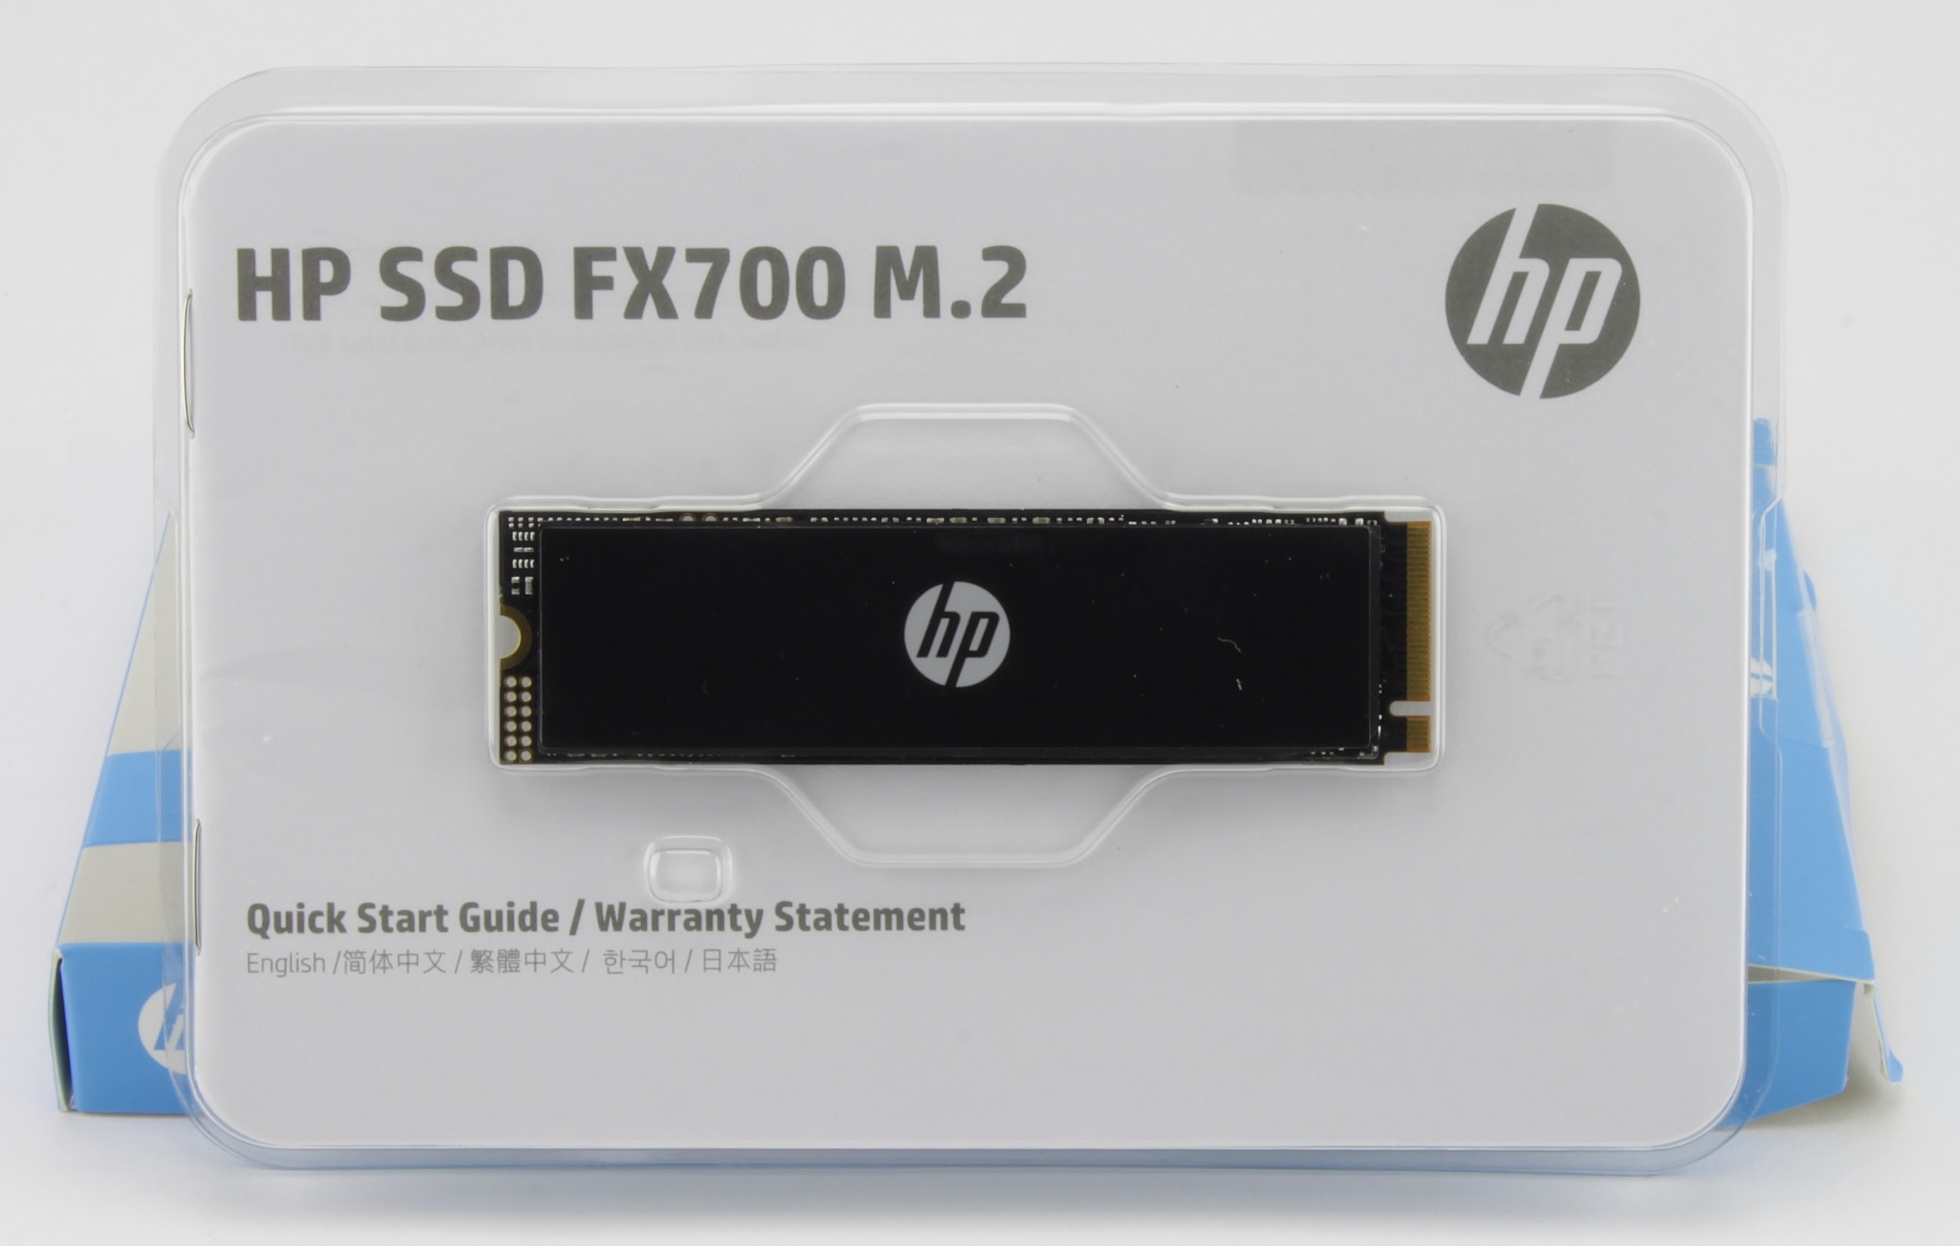
Excursus new SSD:
HP has equipped us with a new NVME SSD so that the test system is also equipped for the ever-increasing size of games in the future.
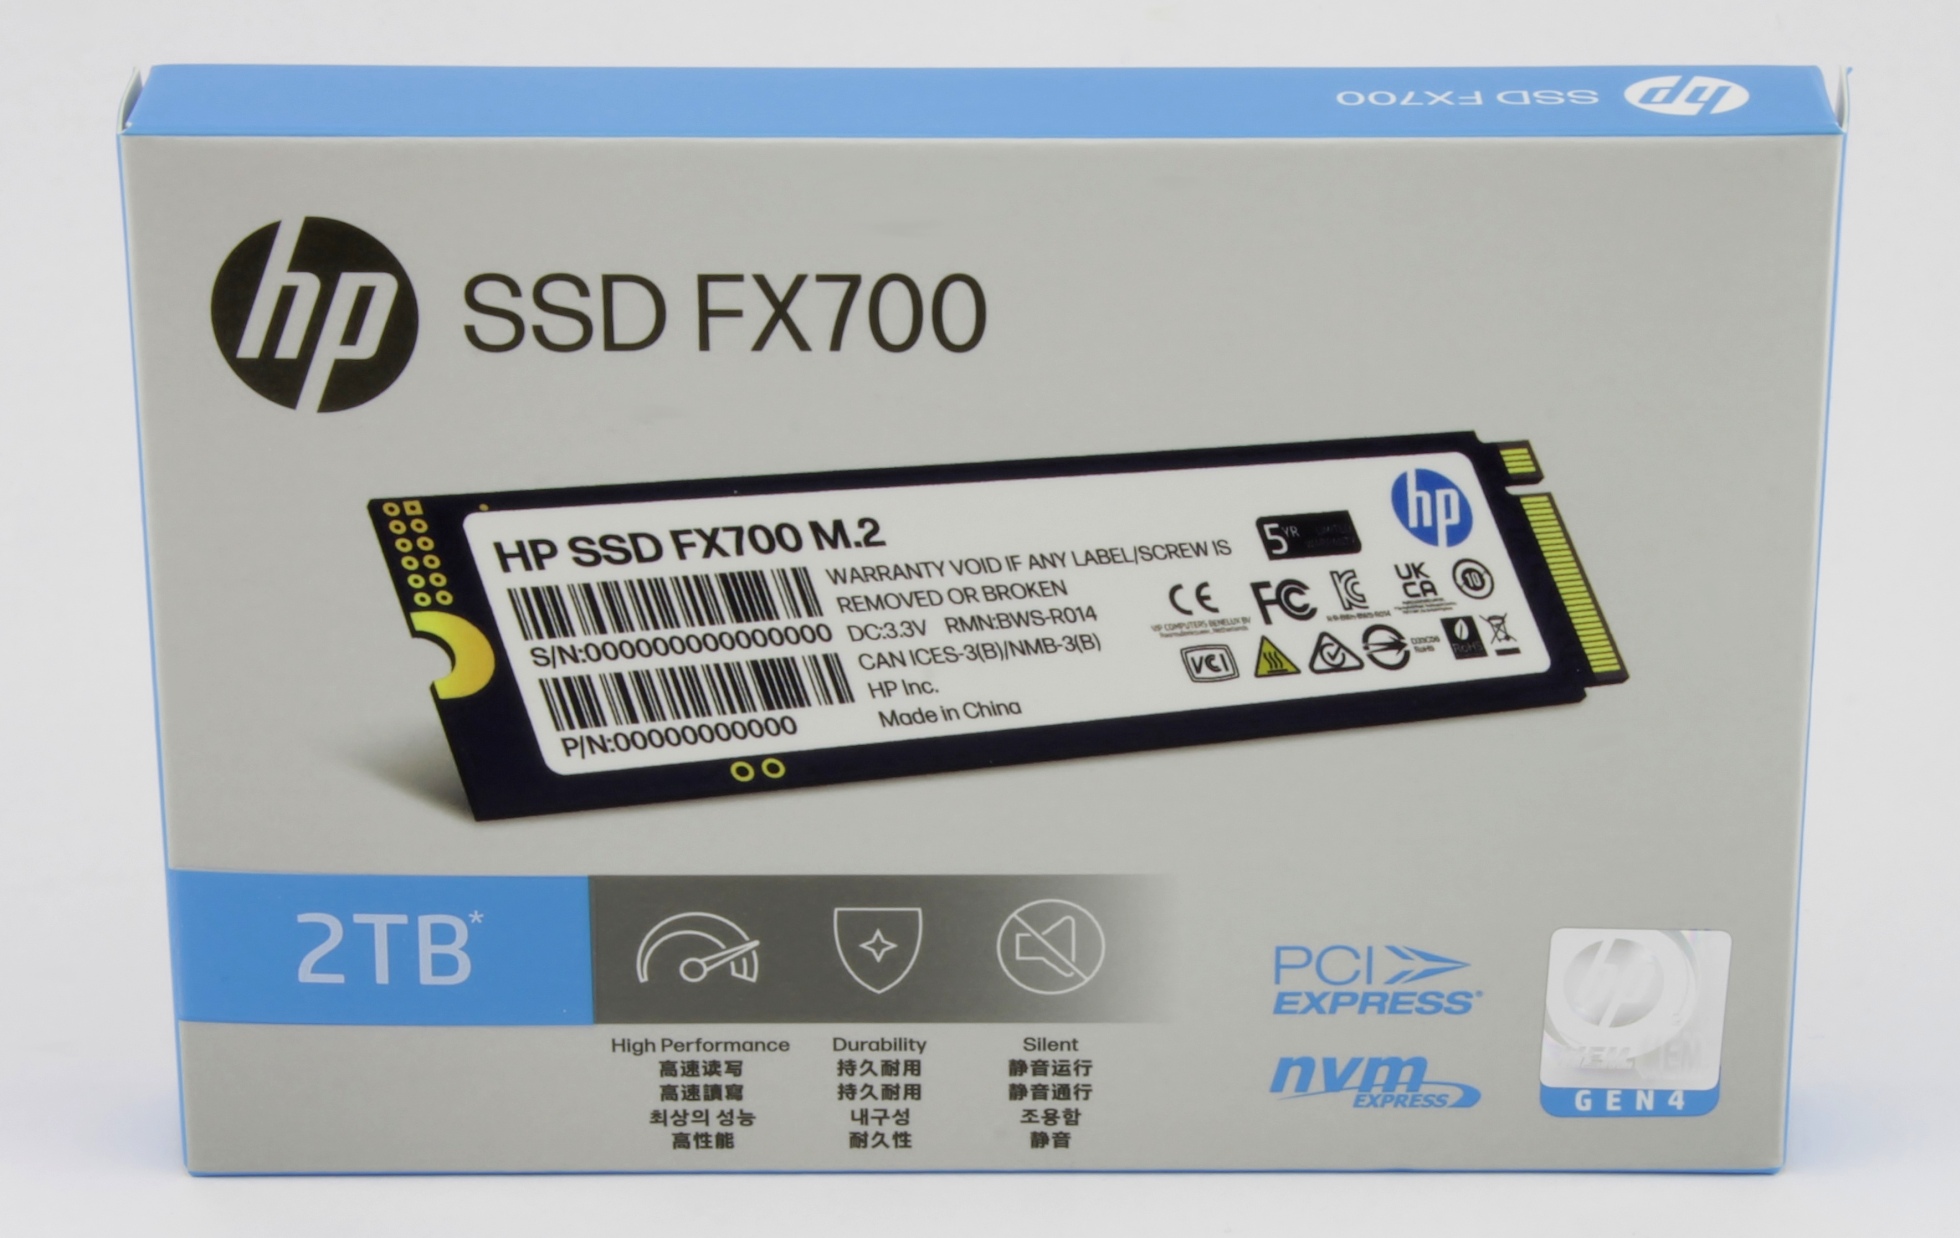
Although the 2TB data storage device from the FX700 series is equipped with the notorious QLC chips, it is really fast thanks to PCIe 4.0 and clever implementation!
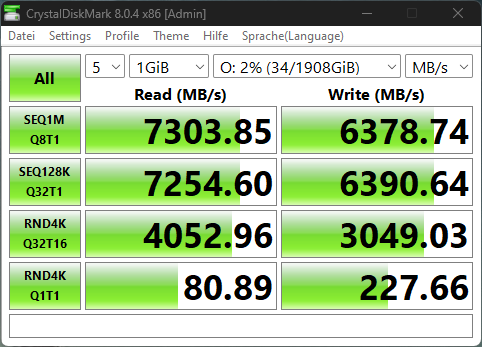
Here is the result of the CrystalDiskMark:
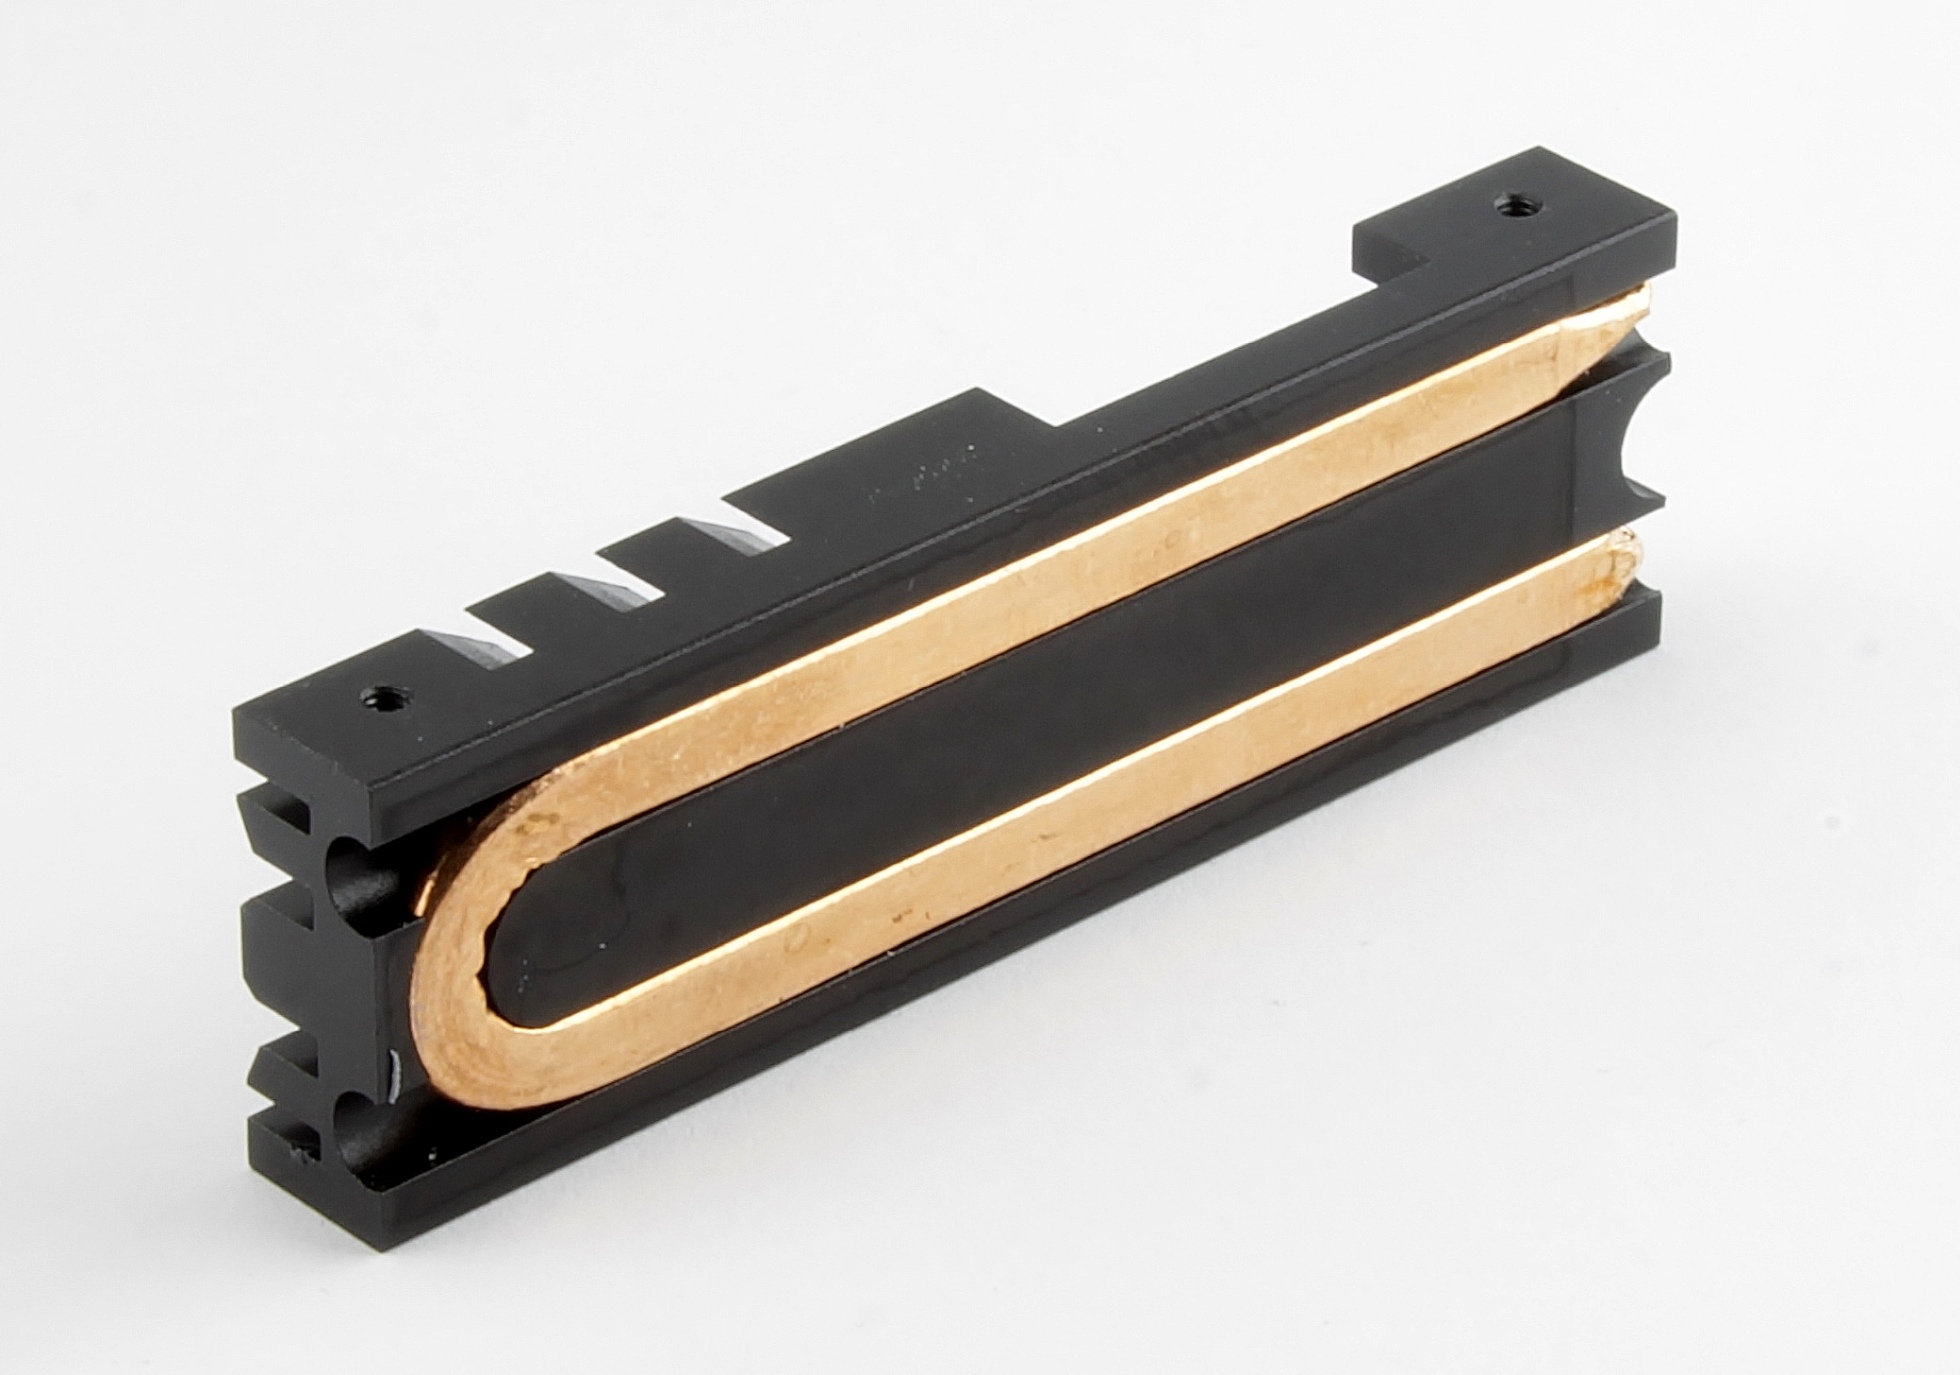
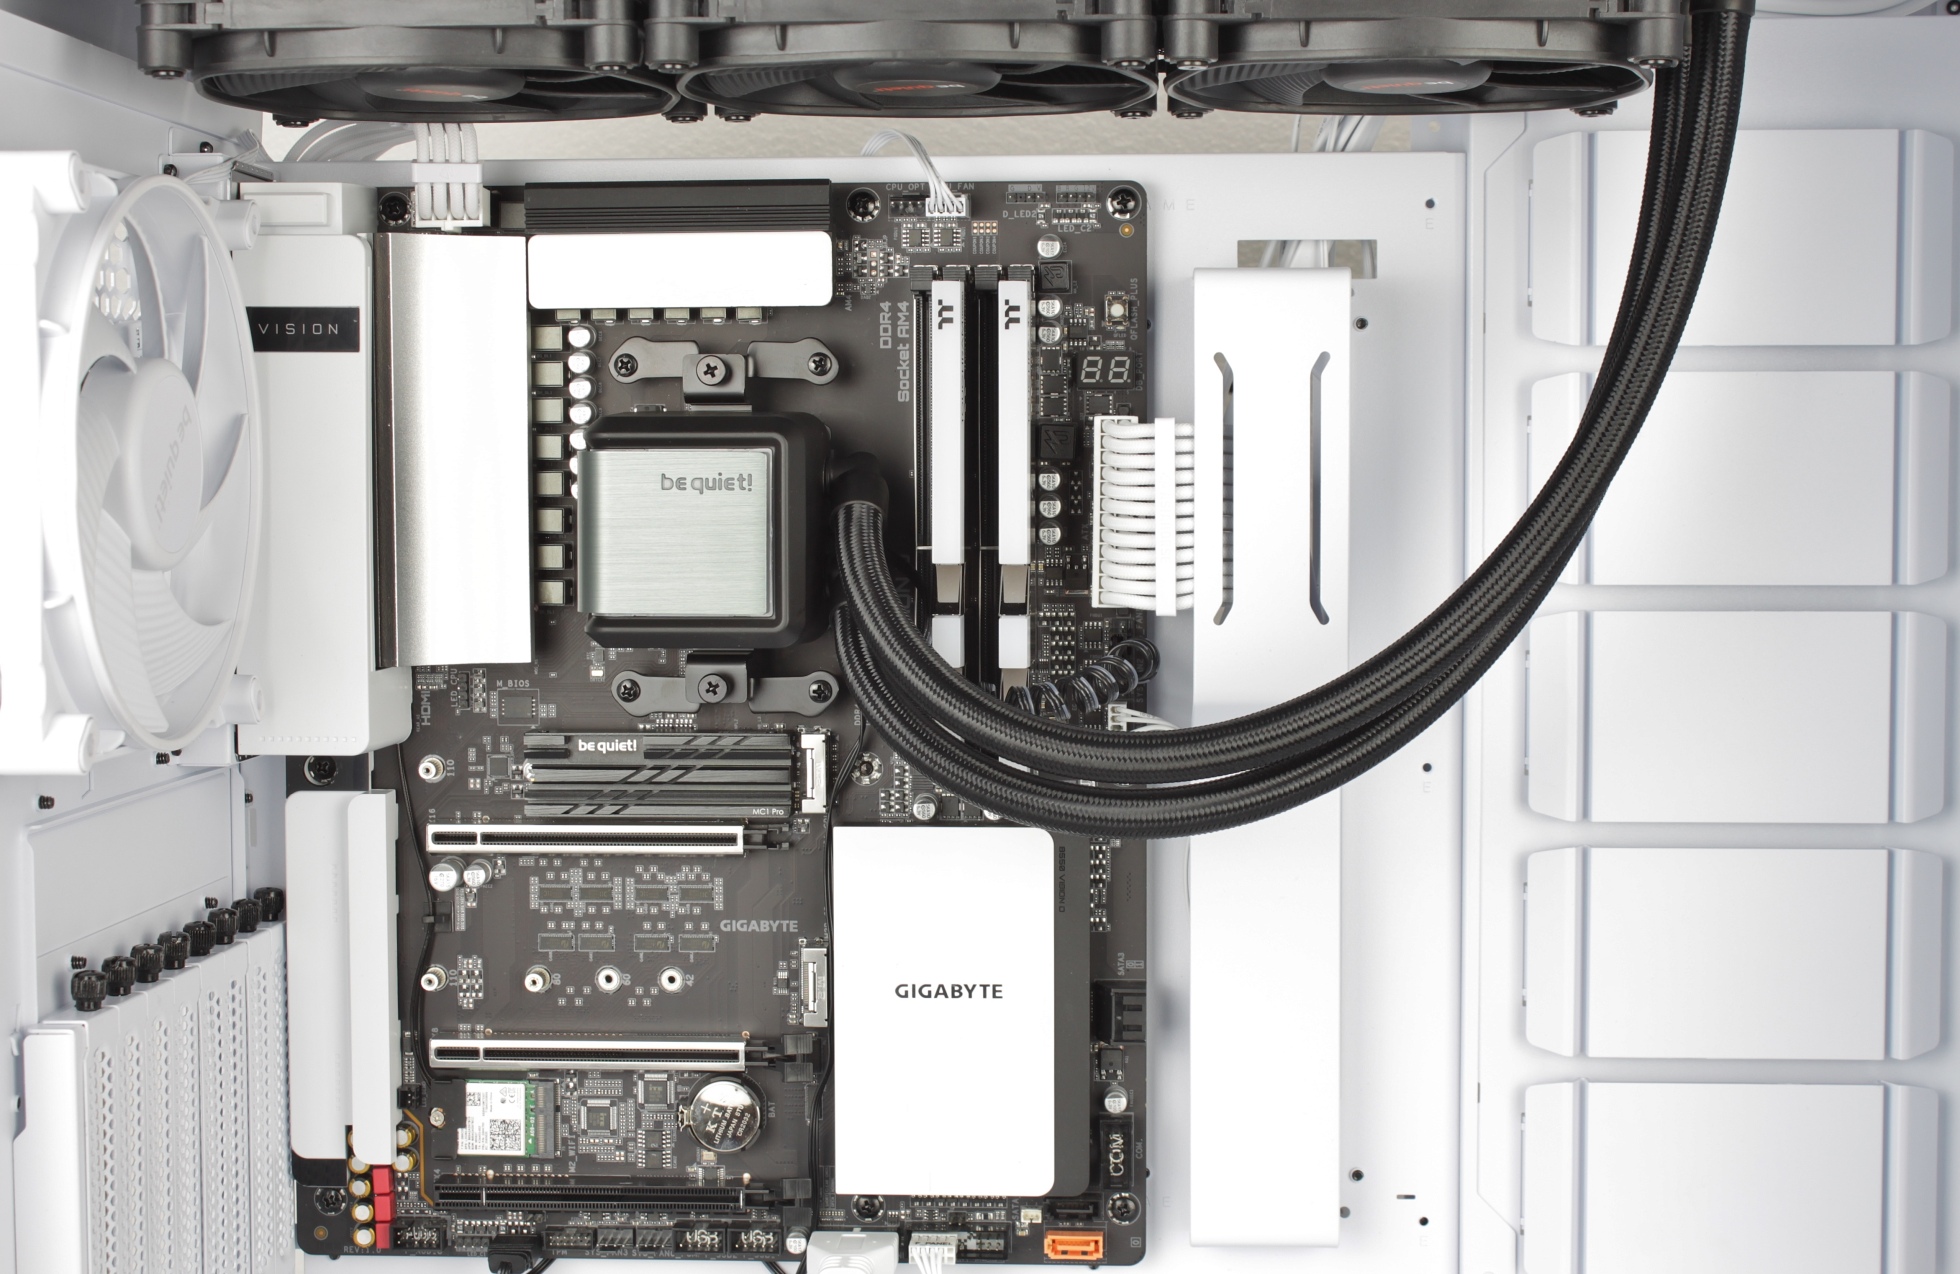
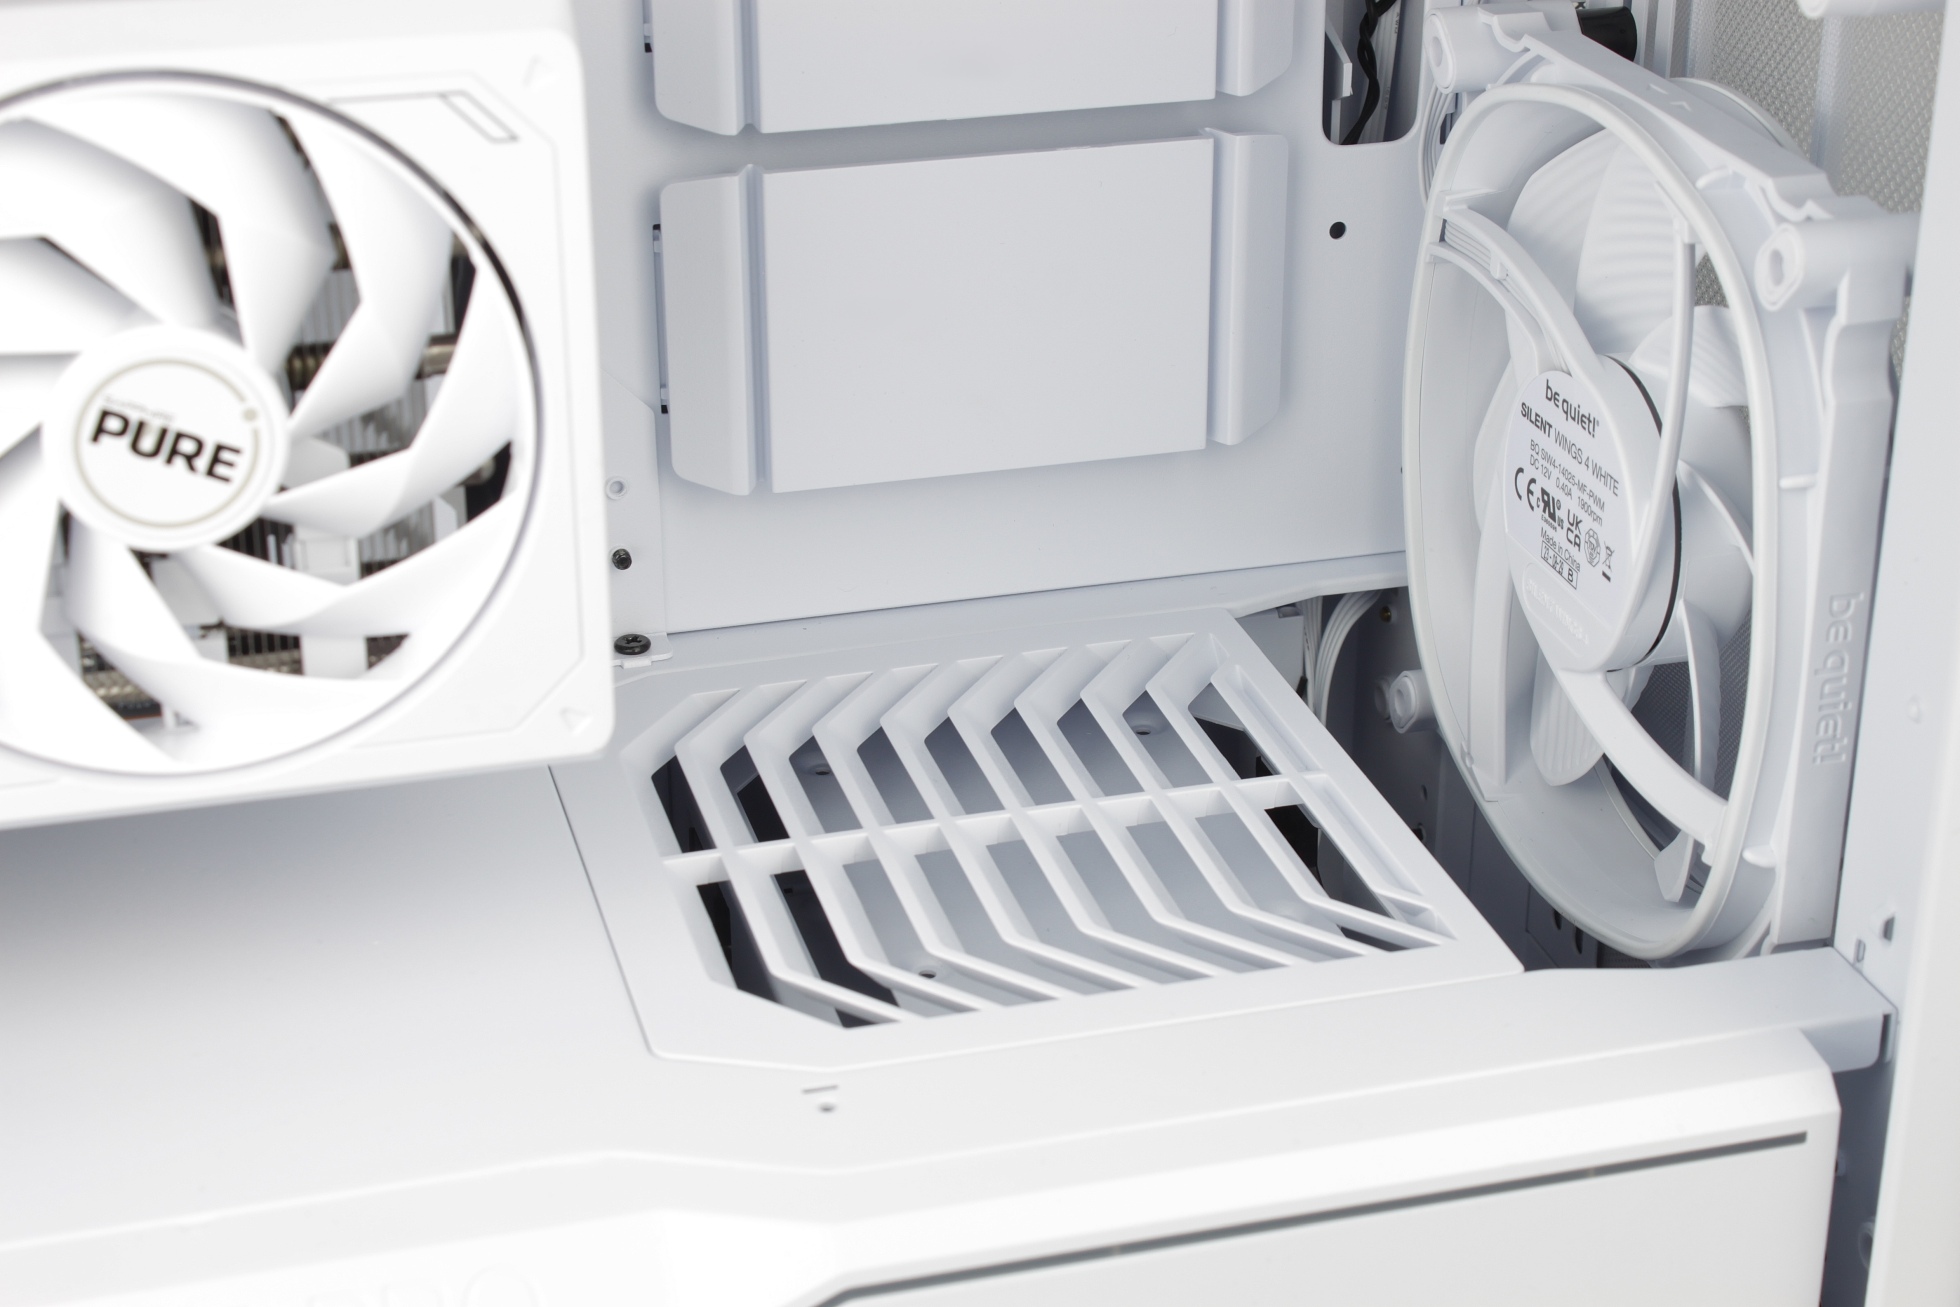
Since my test board is missing the cover for the NVME slots, I installed the BeQuiet! MC1 PRO.
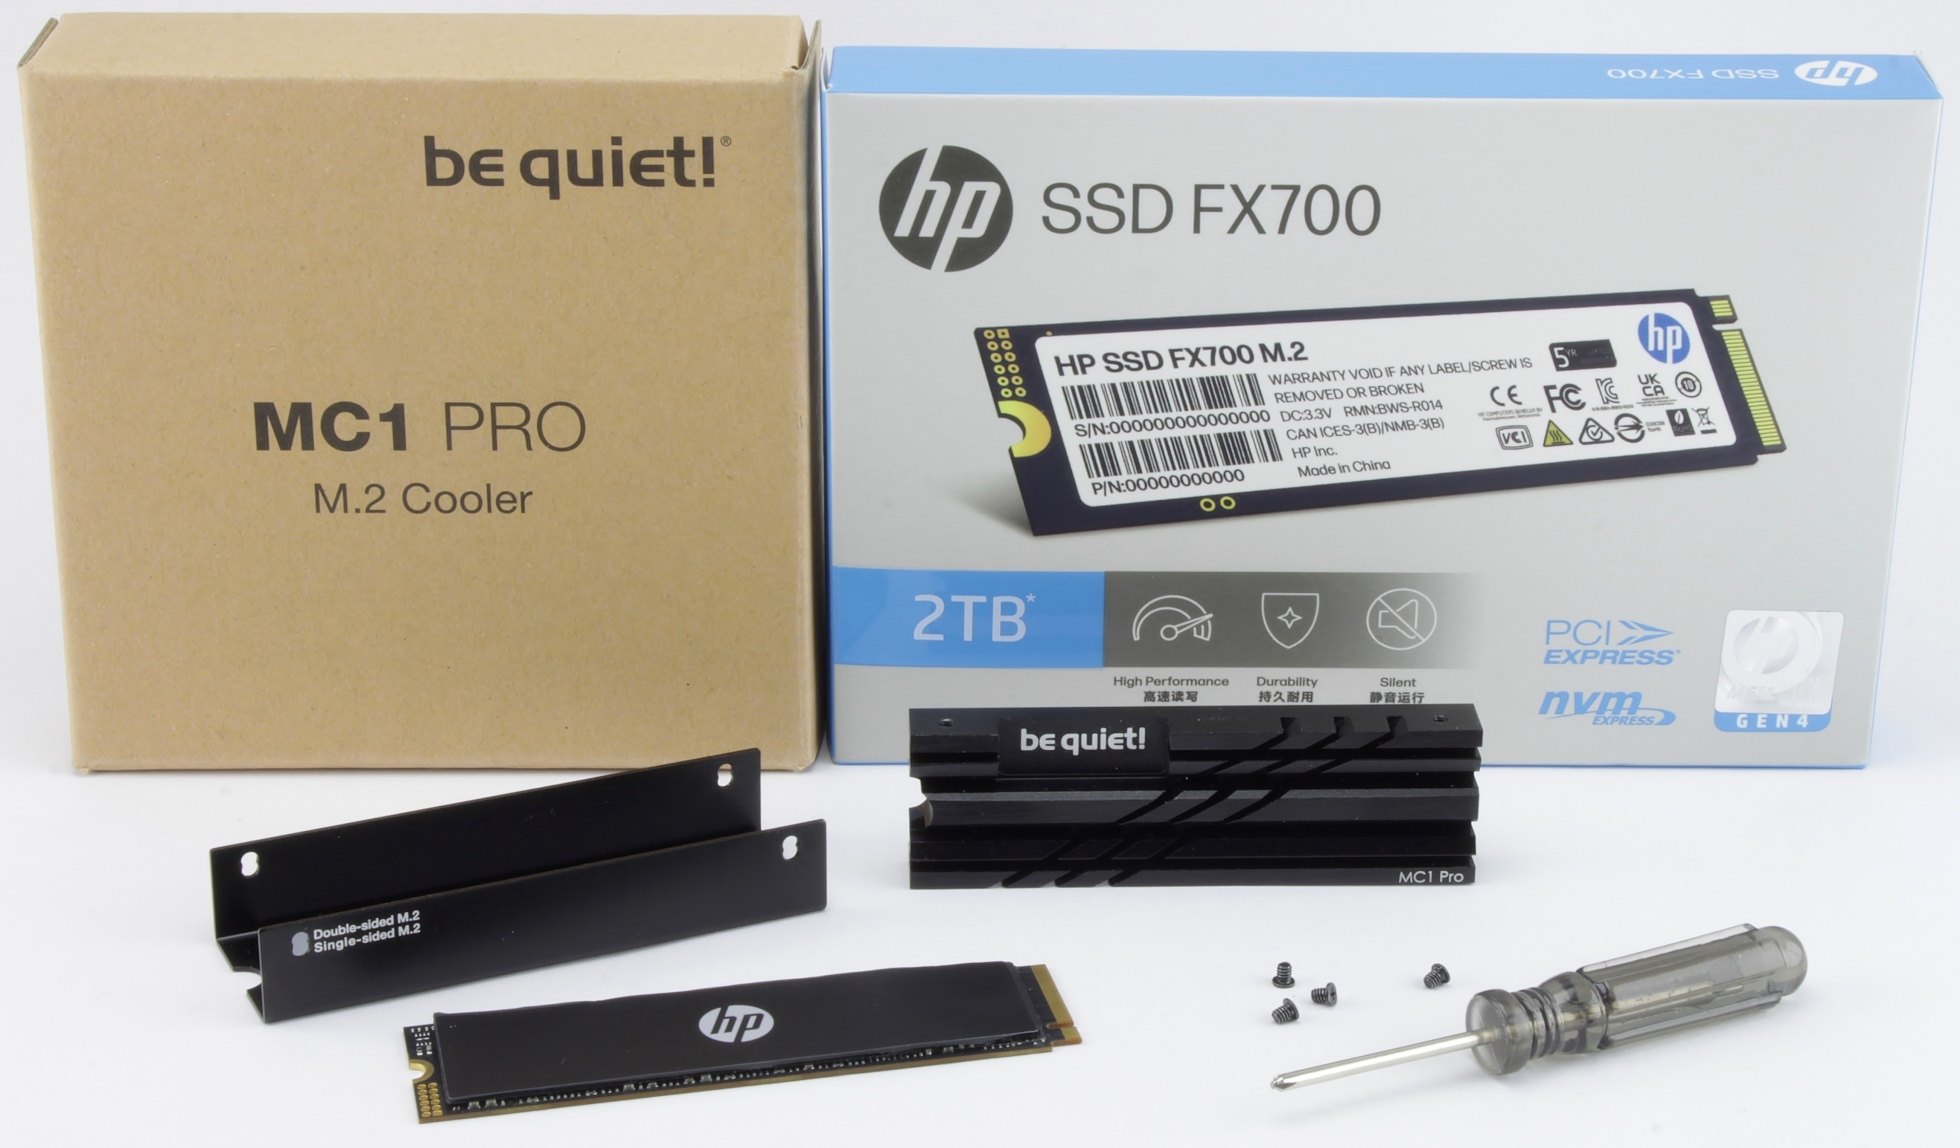
Thanks to the heatpipe and massive heat sink, even the jagged PCIe 4.0 SSD keeps a cool head.
Ready for take-off.

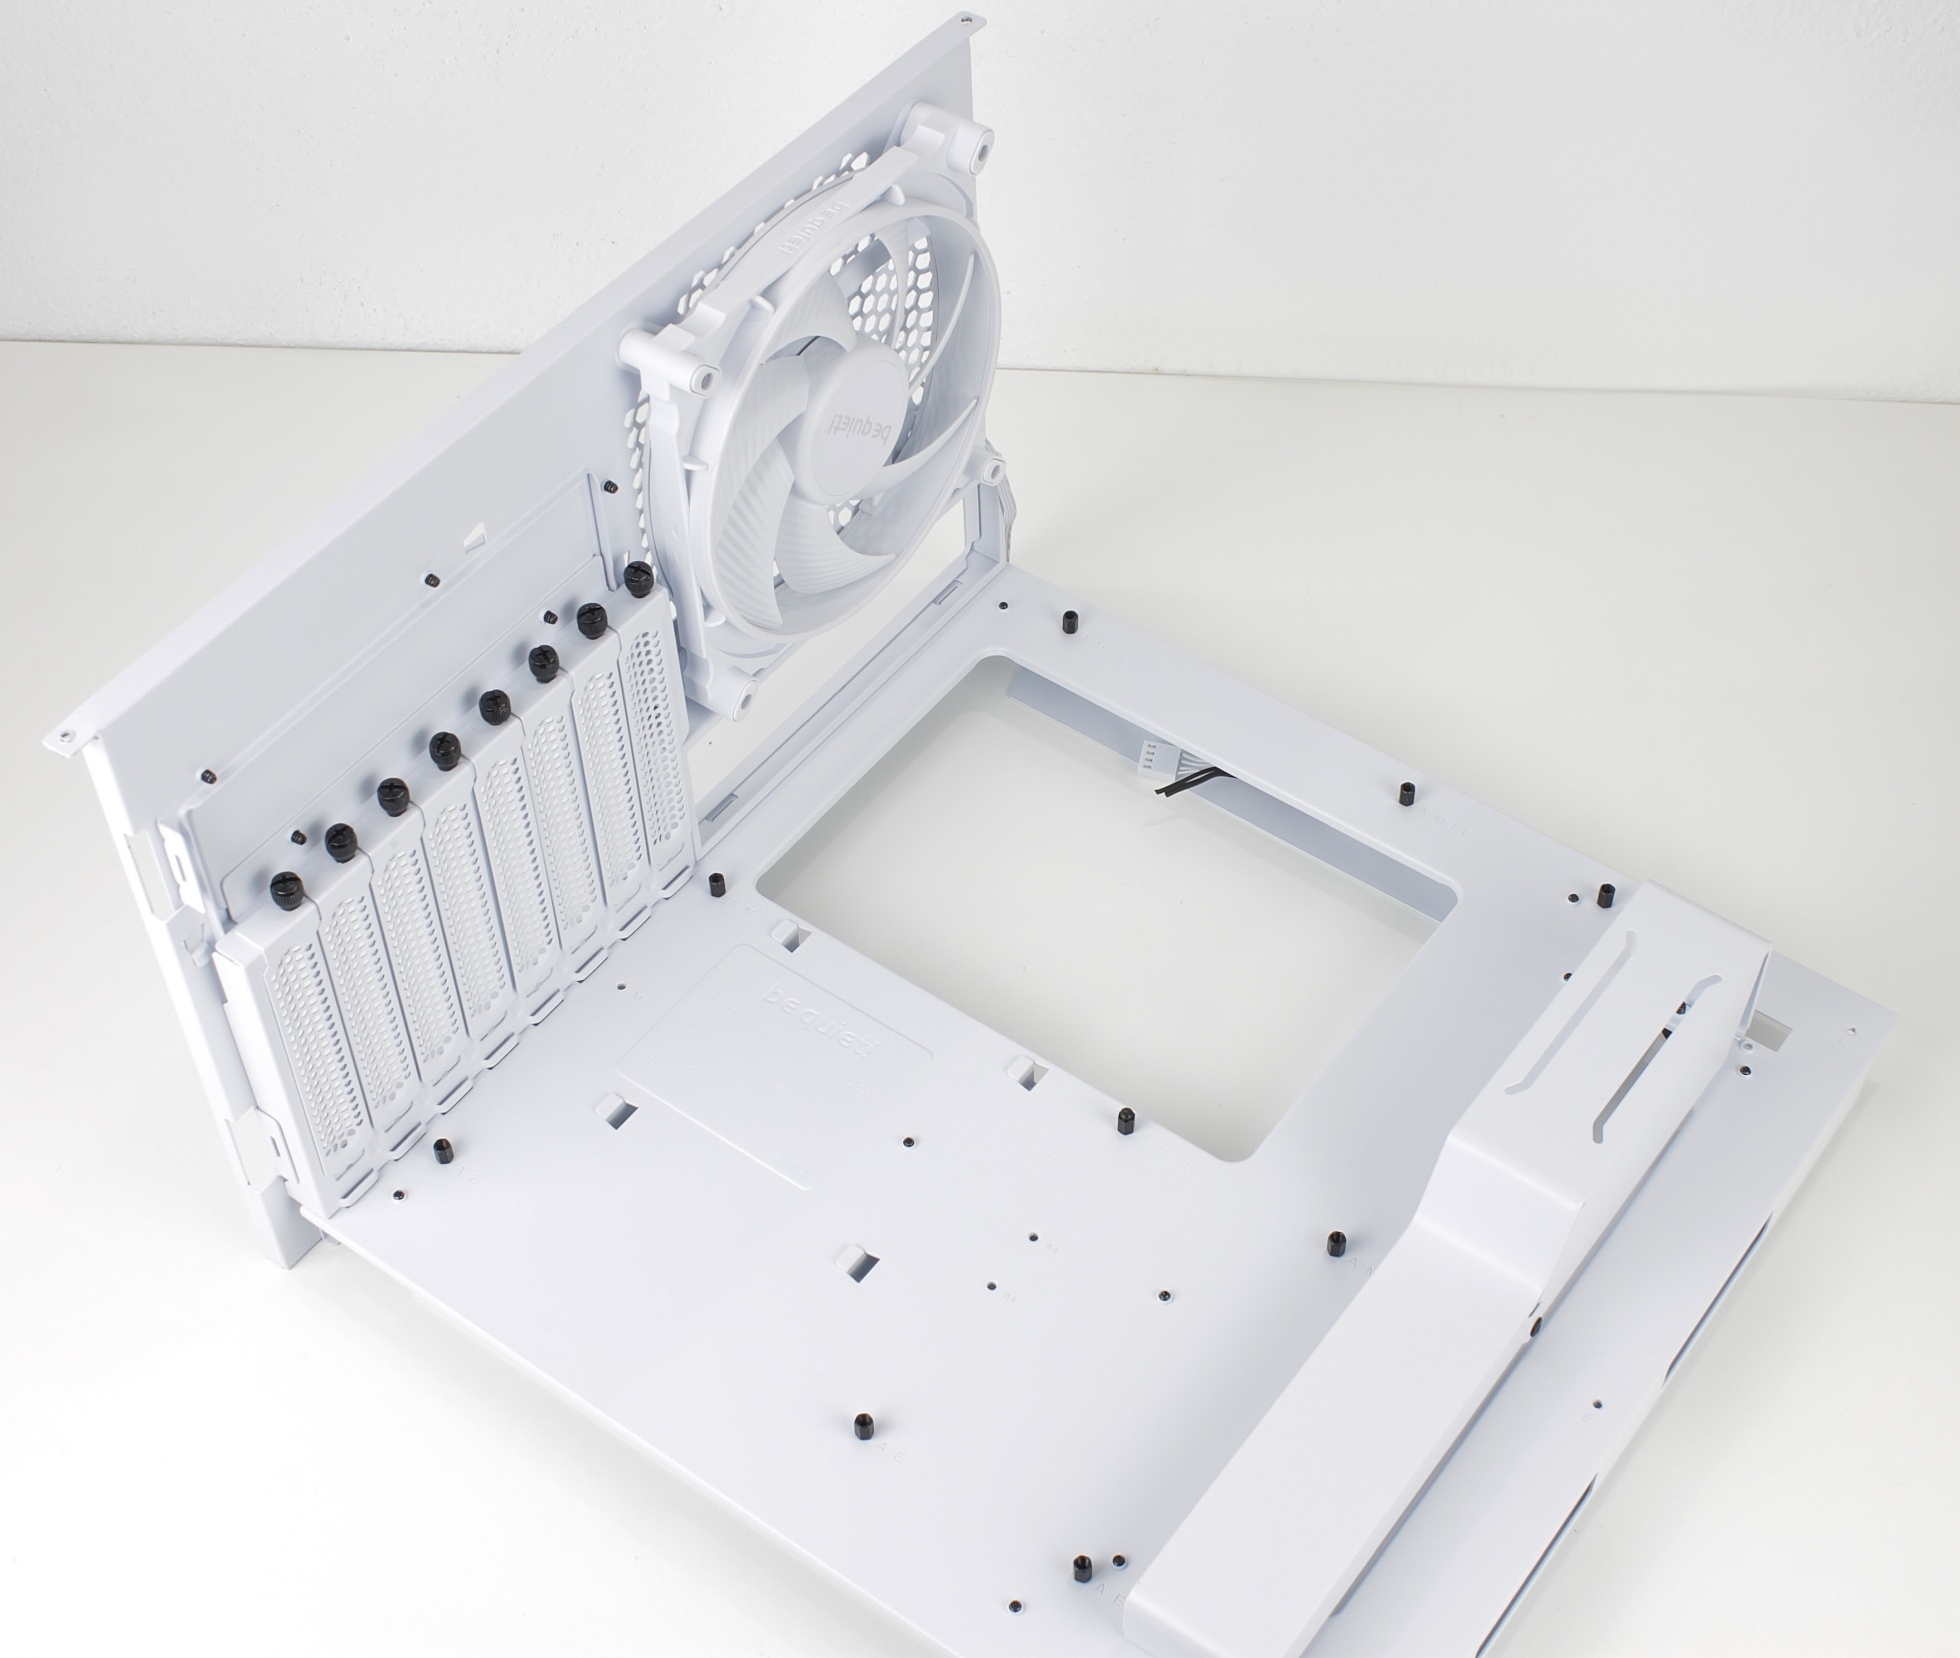
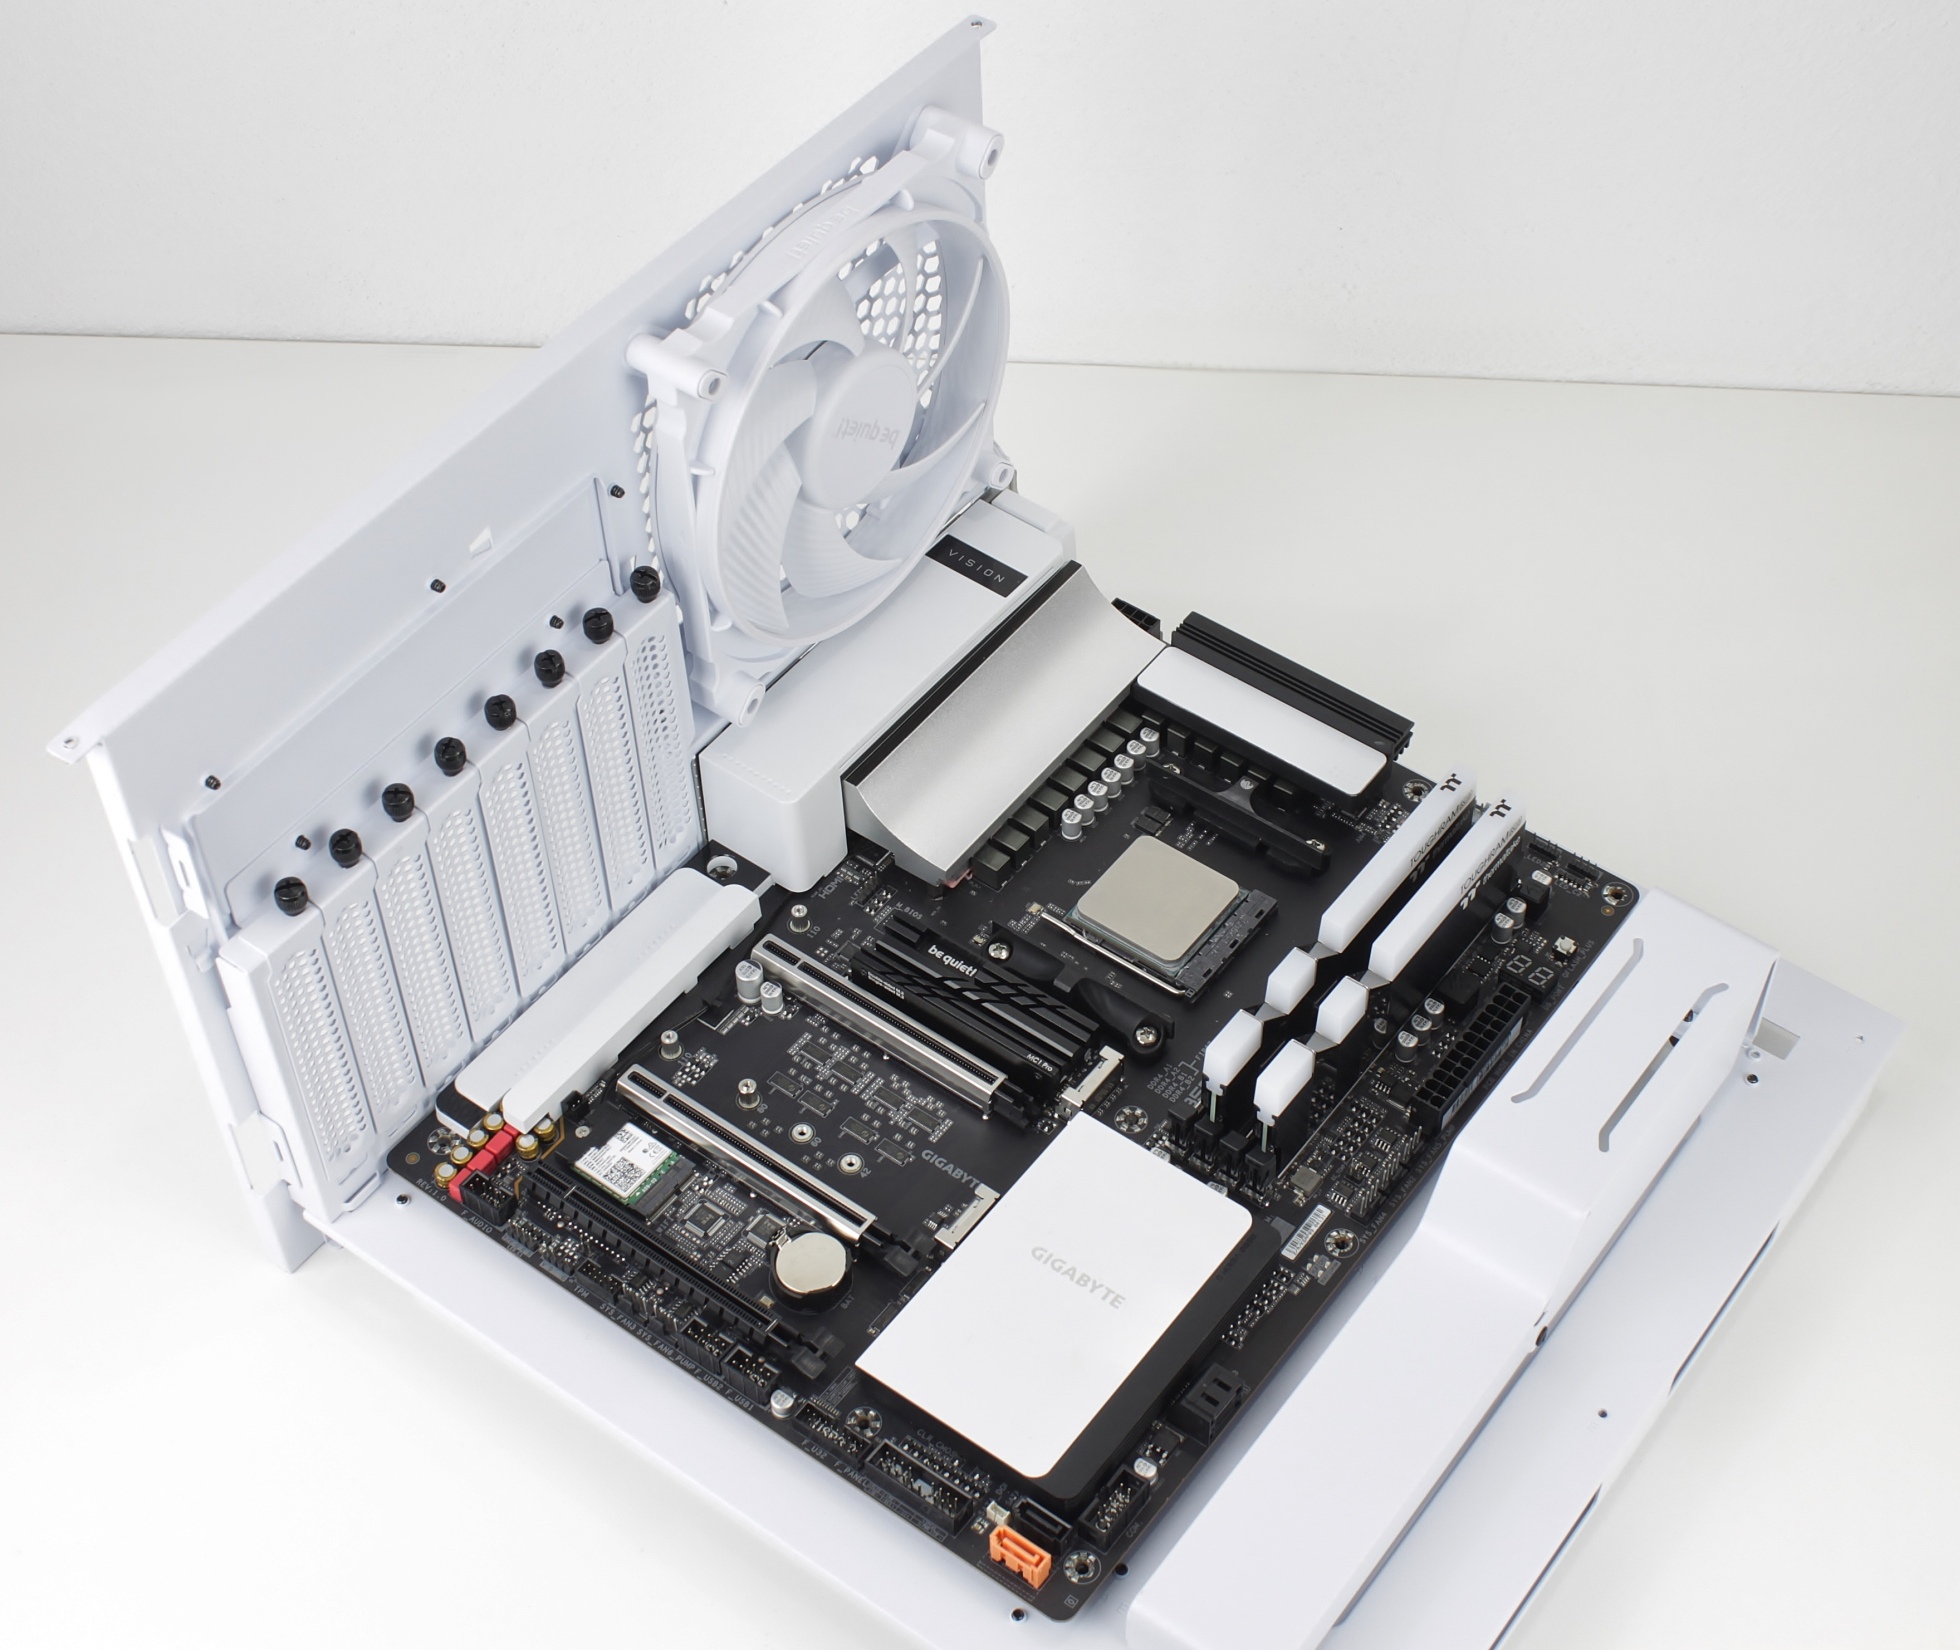
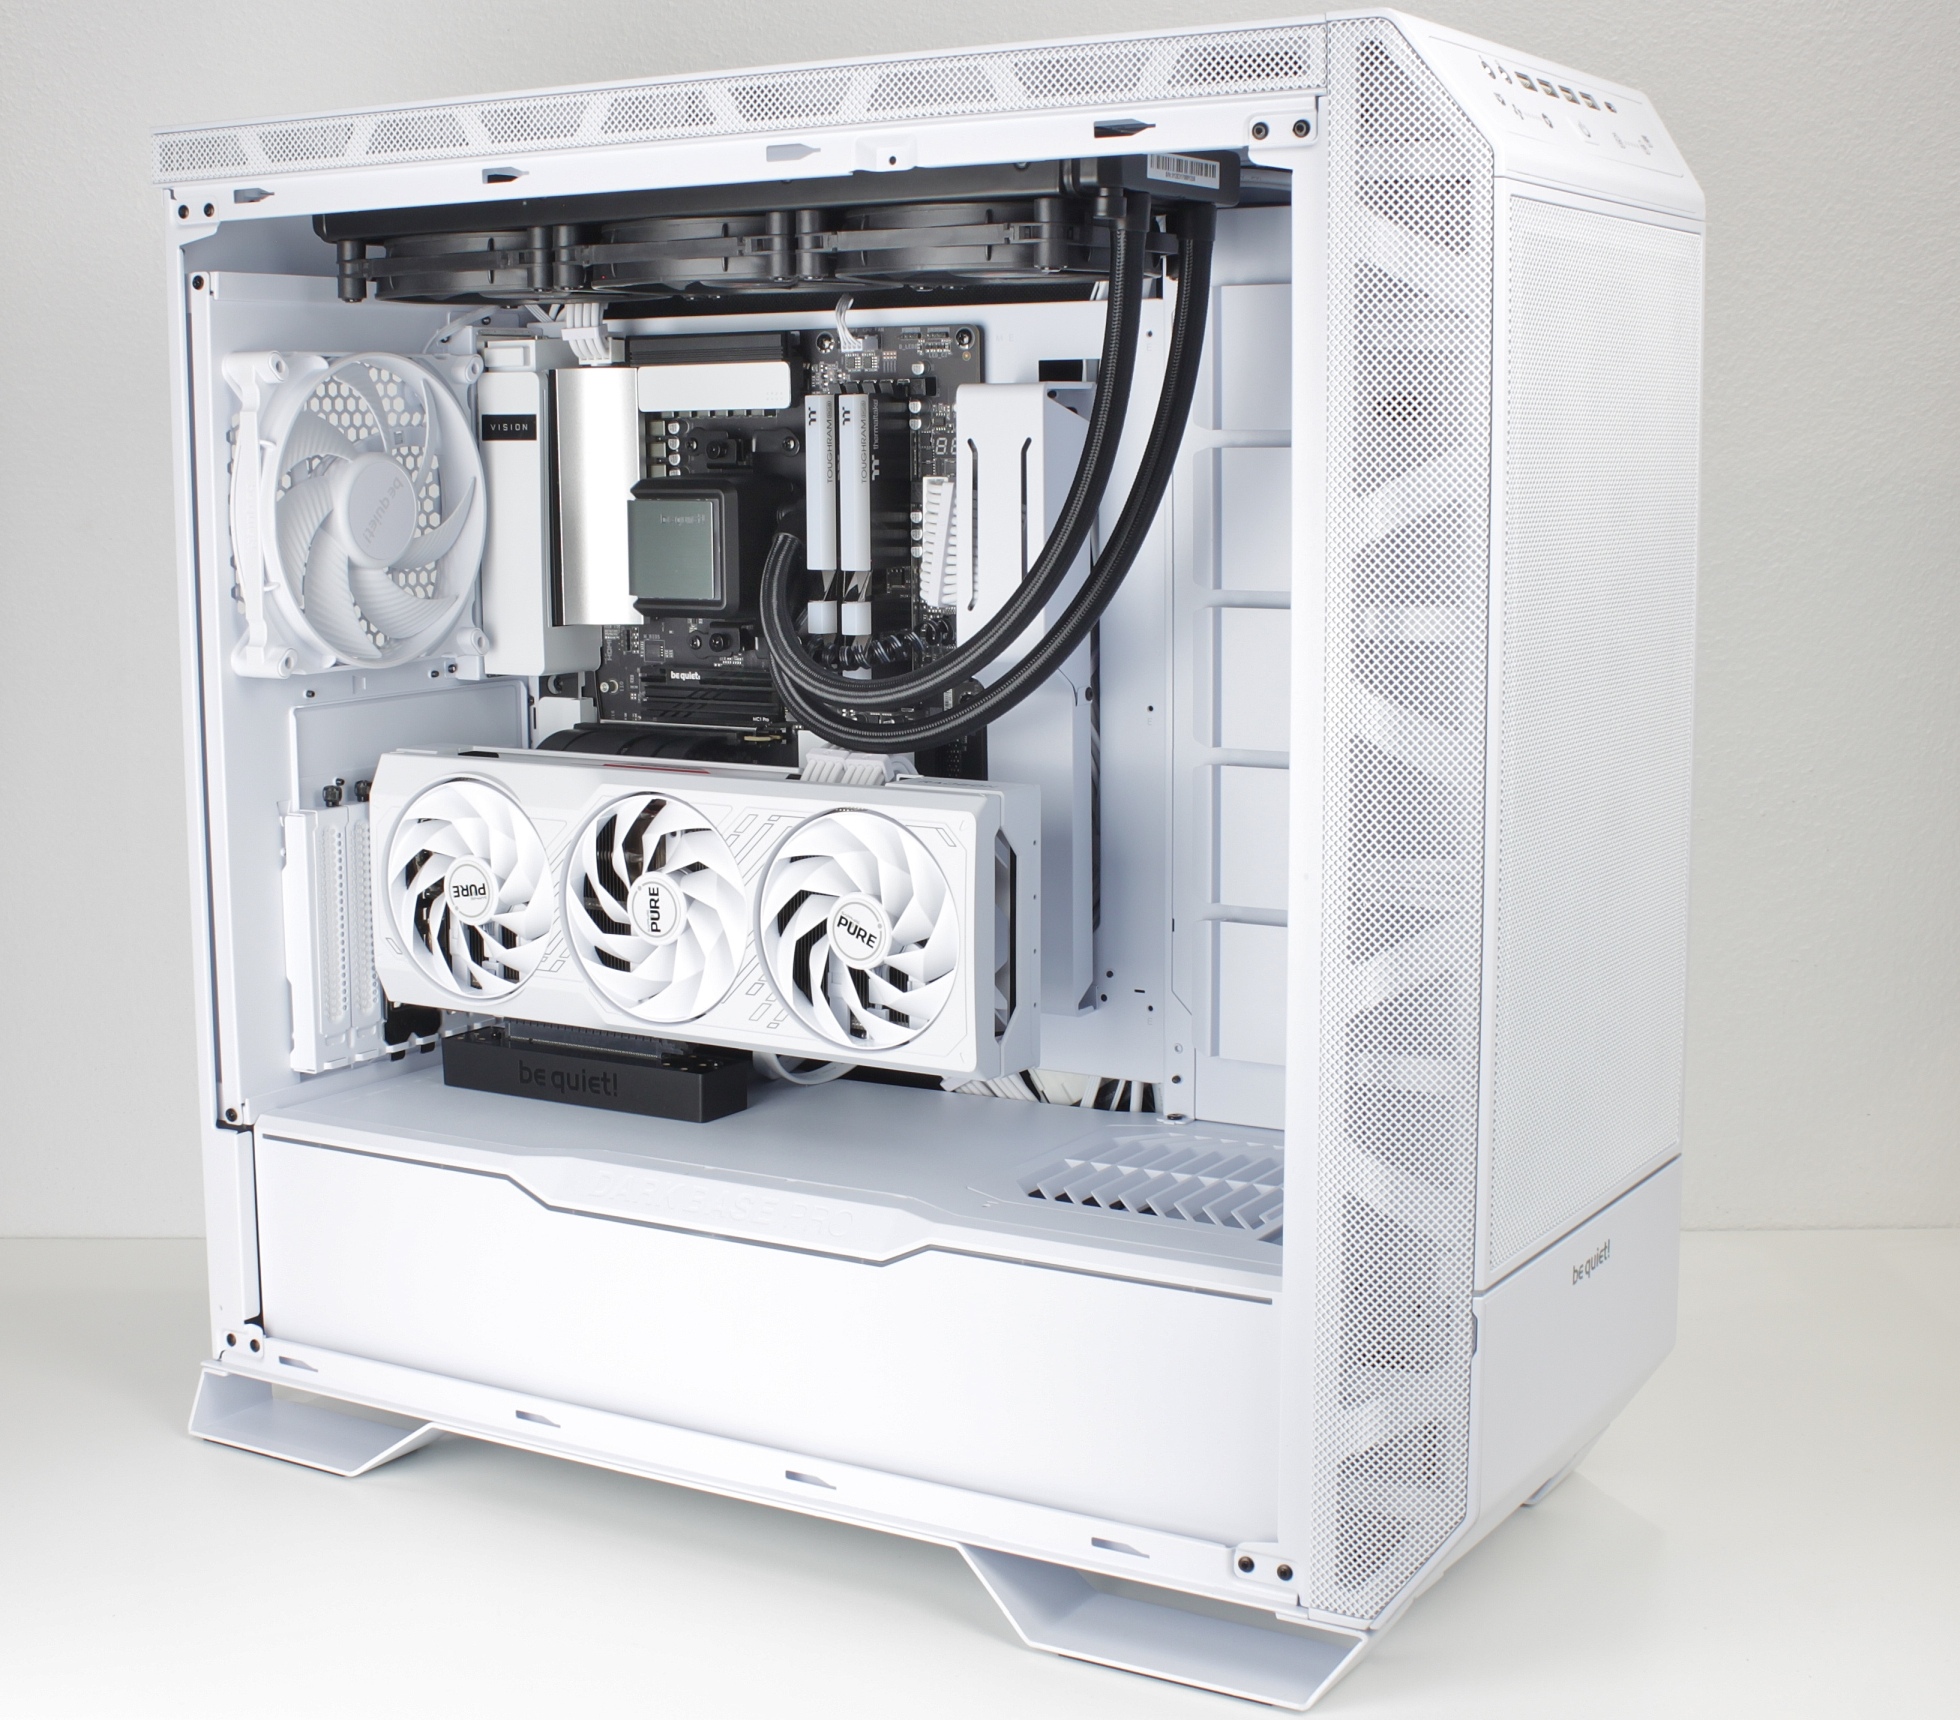
Installation of the components
I would like to start with the installation of the mainboard. As usual, the CPU, RAM and SSD were already pre-assembled. Even if it wasn’t really necessary here, I always celebrate this feature and never tire of emphasizing it. The removable mainboard tray.
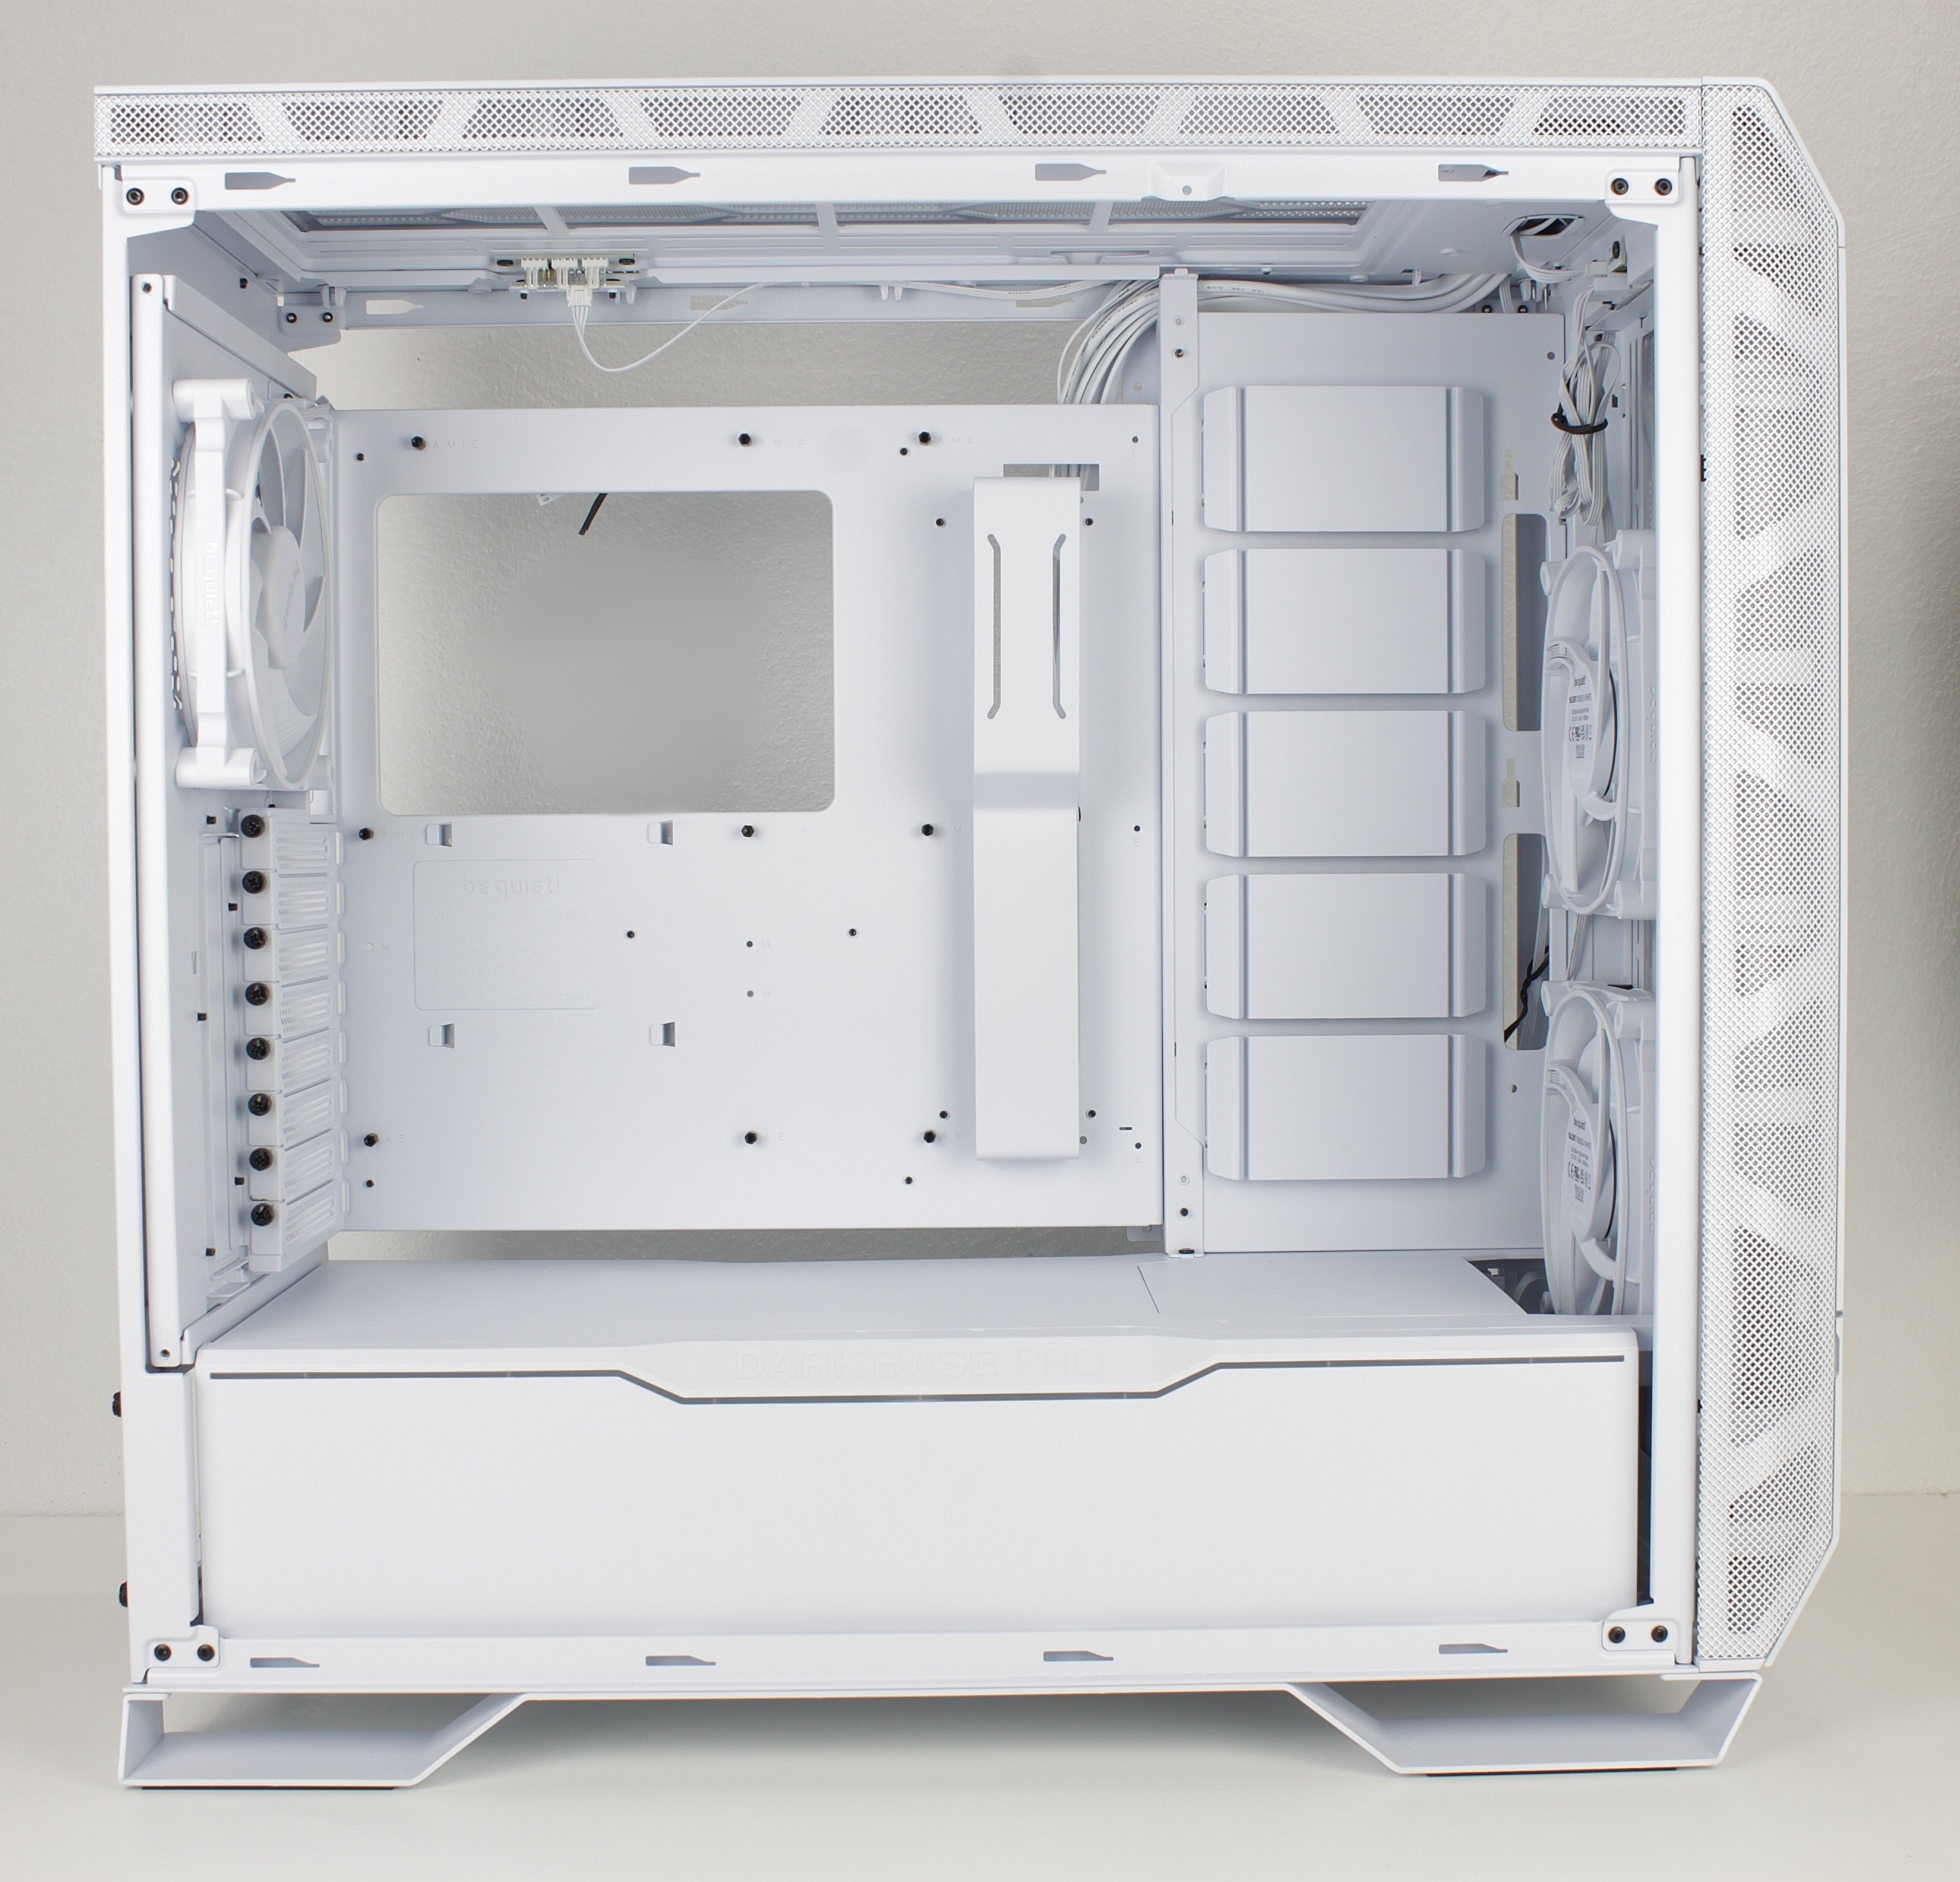
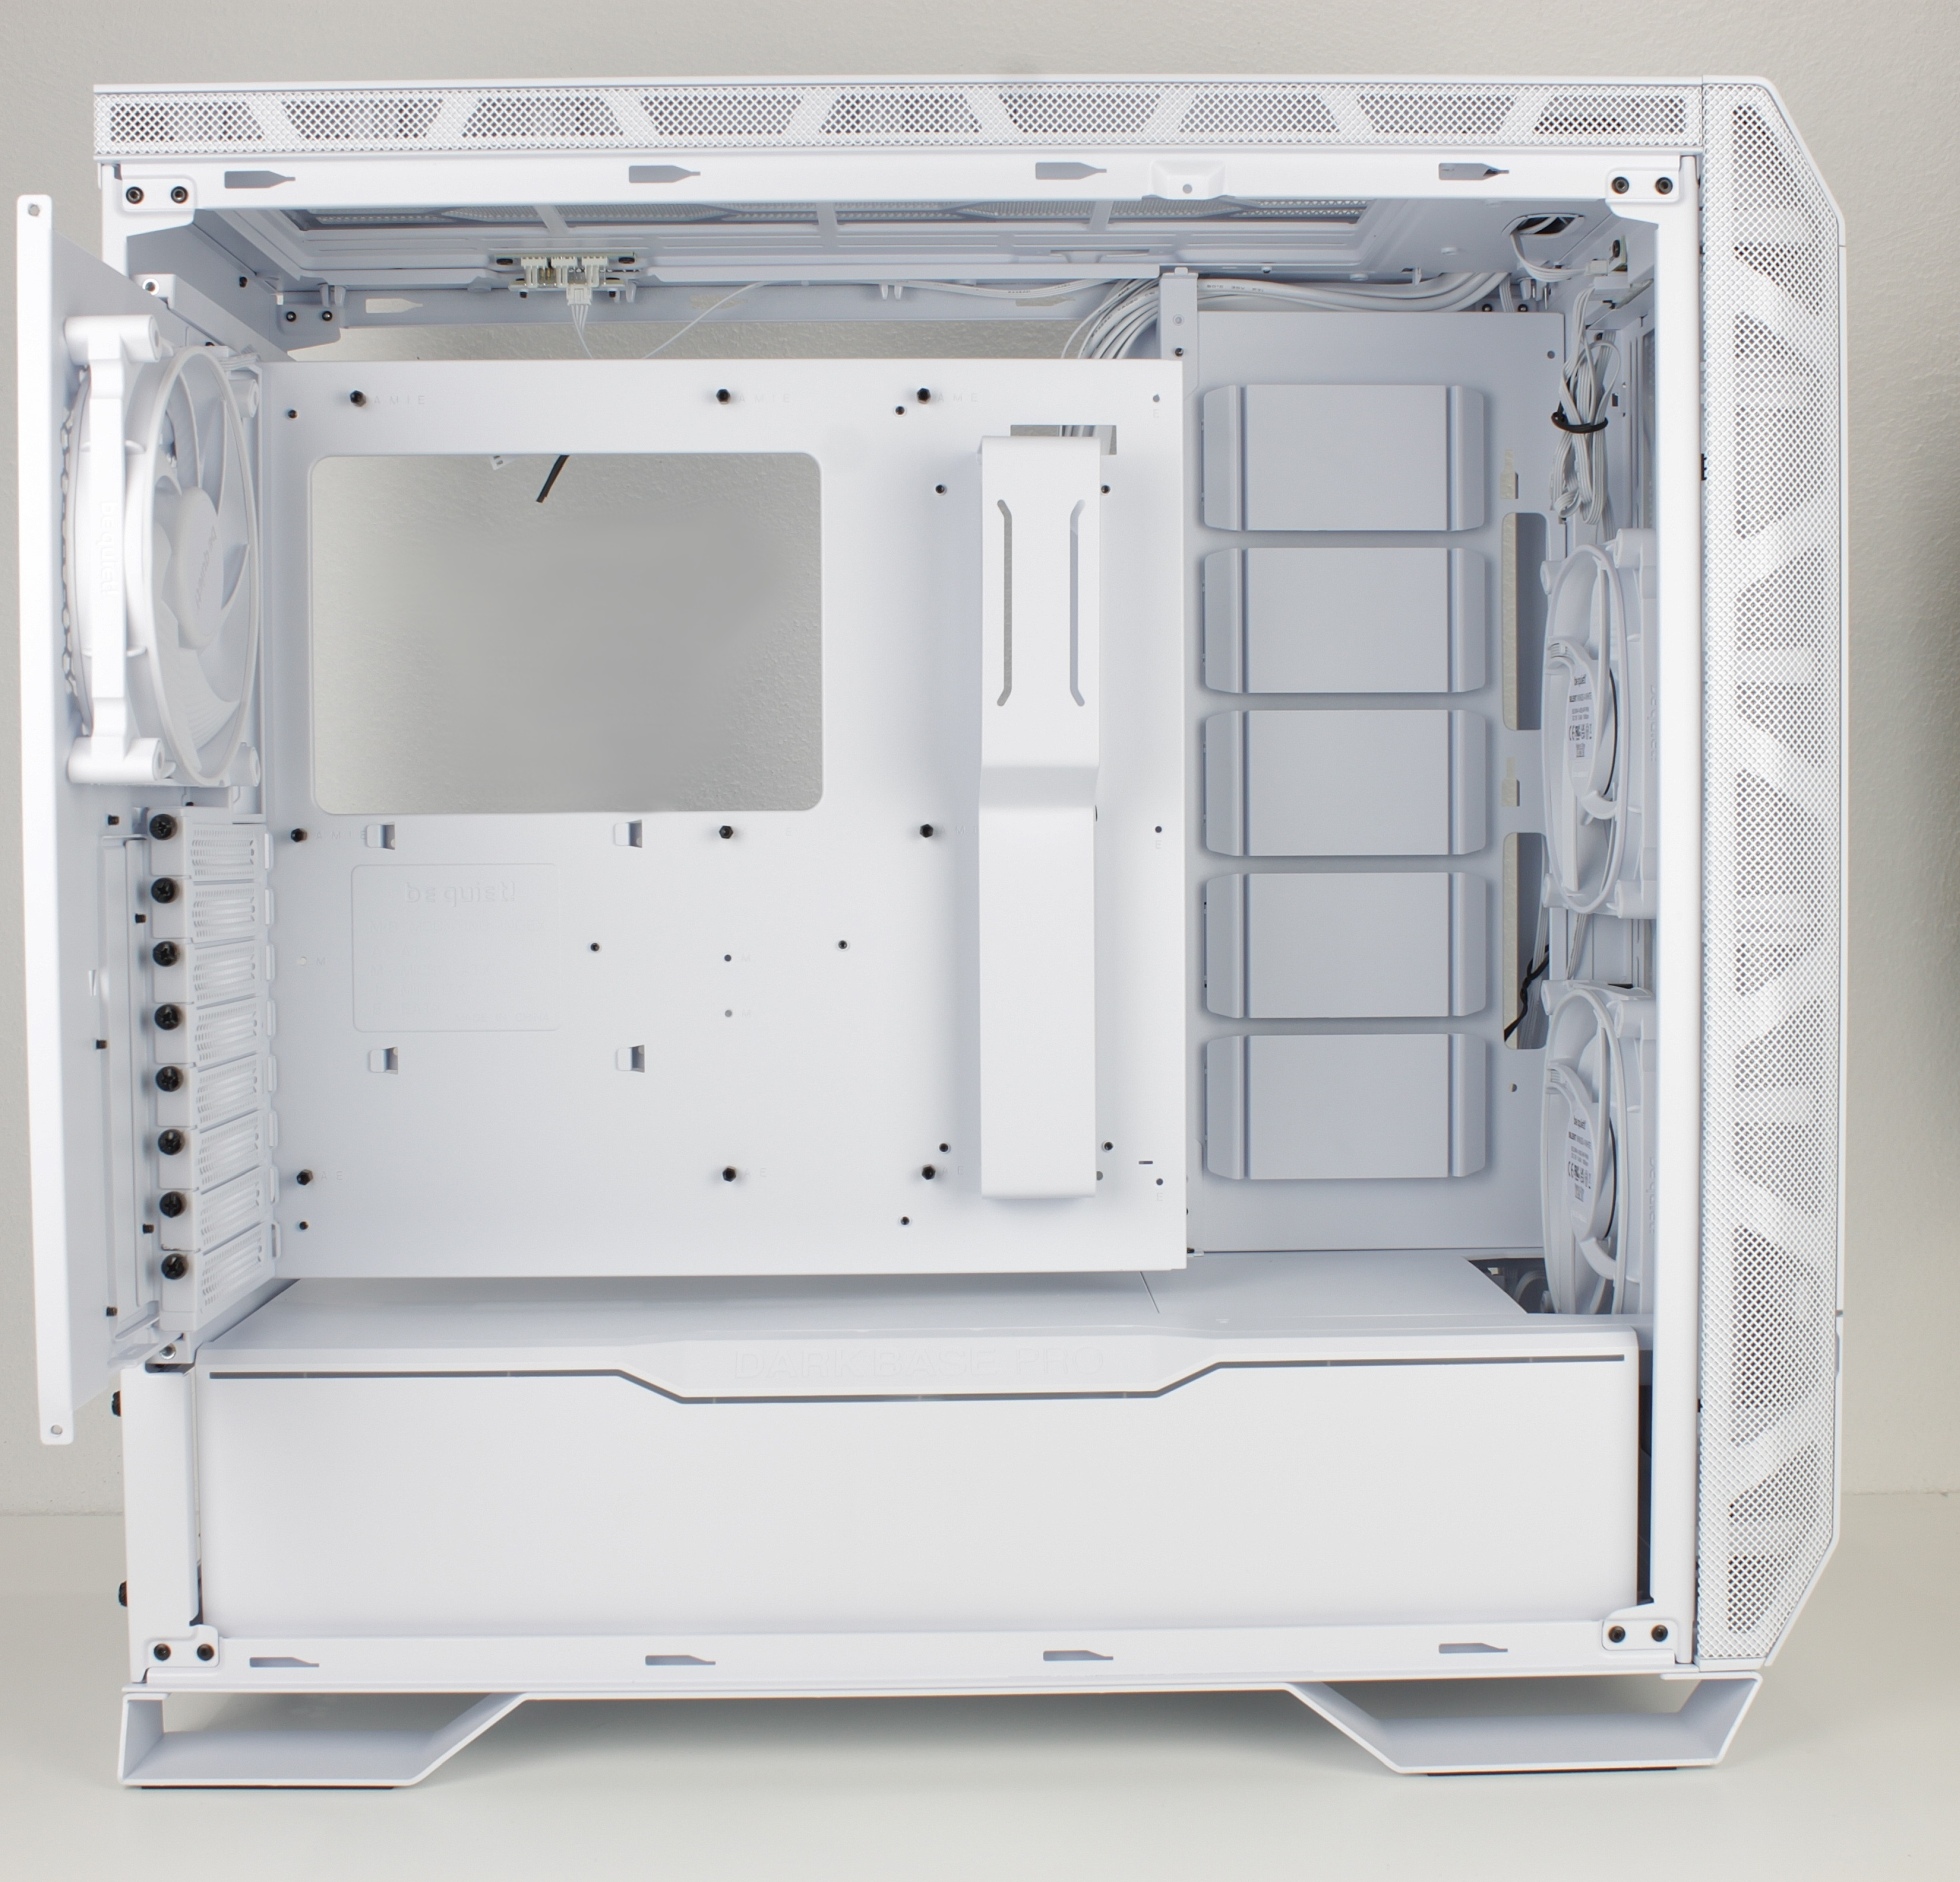
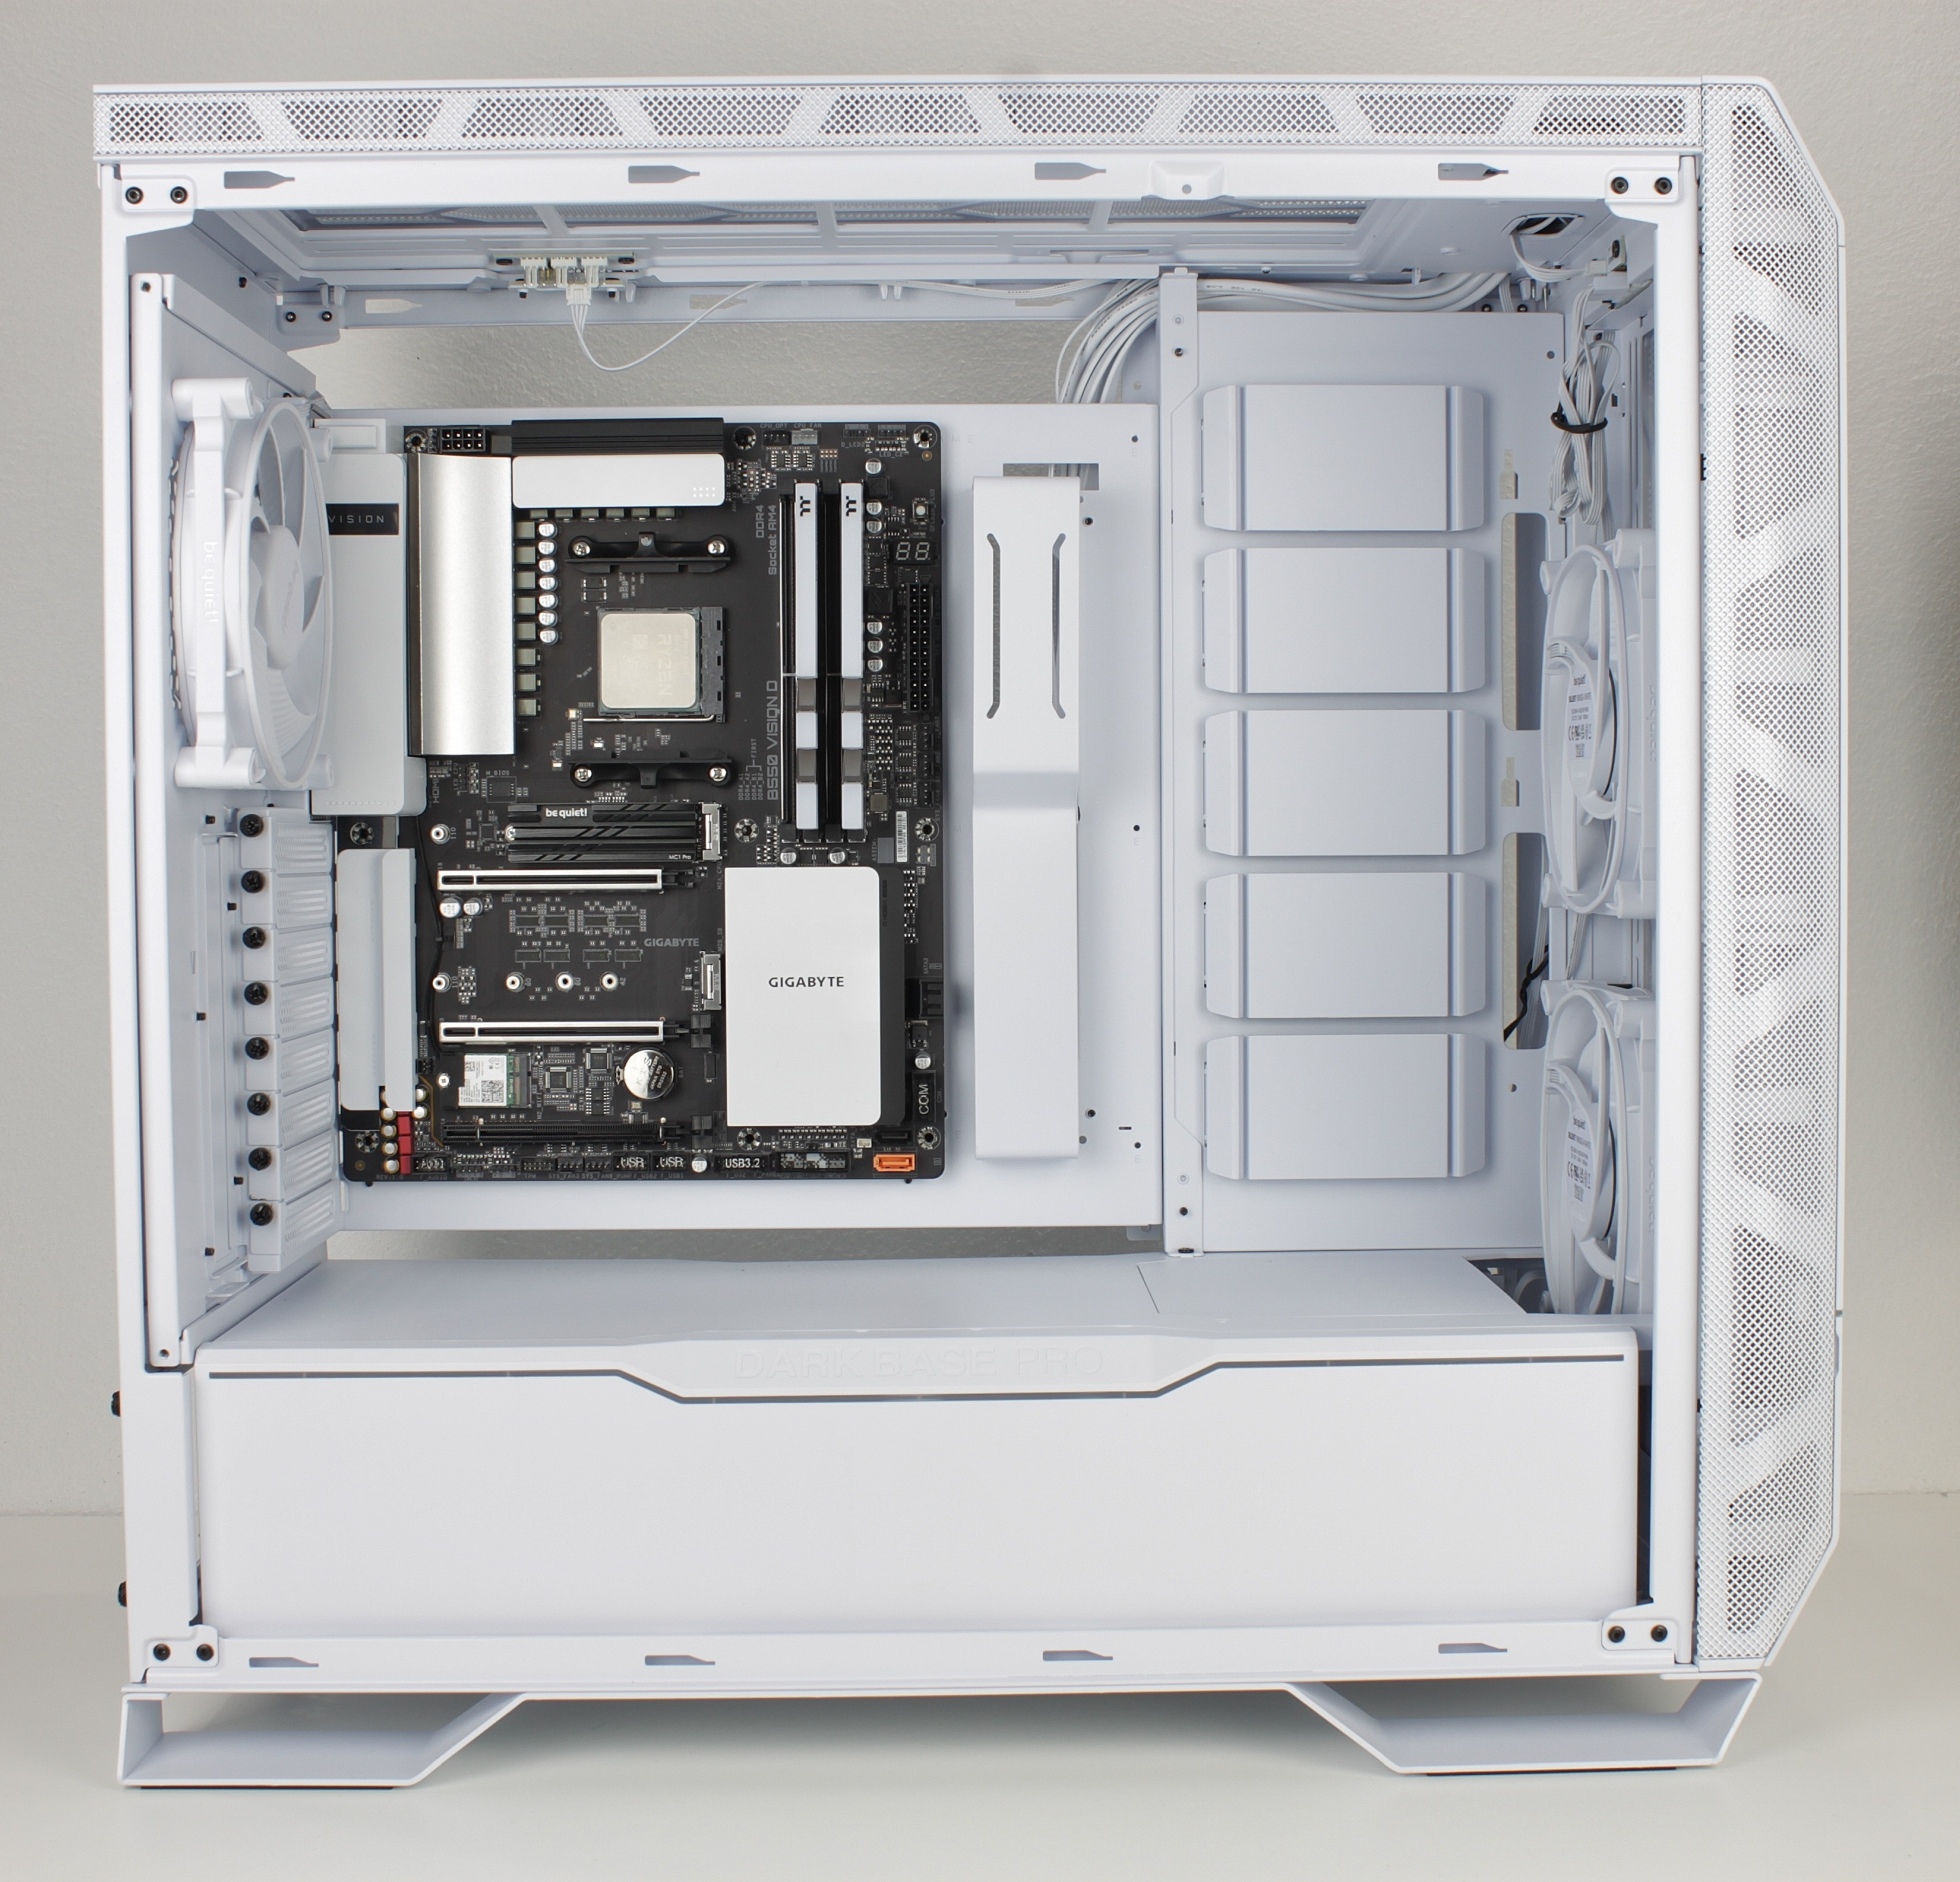
This enables convenient installation of the board and all components outside the housing.
You can also turn the entire construction around, but I had already shown this feature in the first review. In addition, you don’t need to worry about the thread quickly becoming “noodly”, as a stable threaded sleeve has been used here that won’t become “round” so quickly.
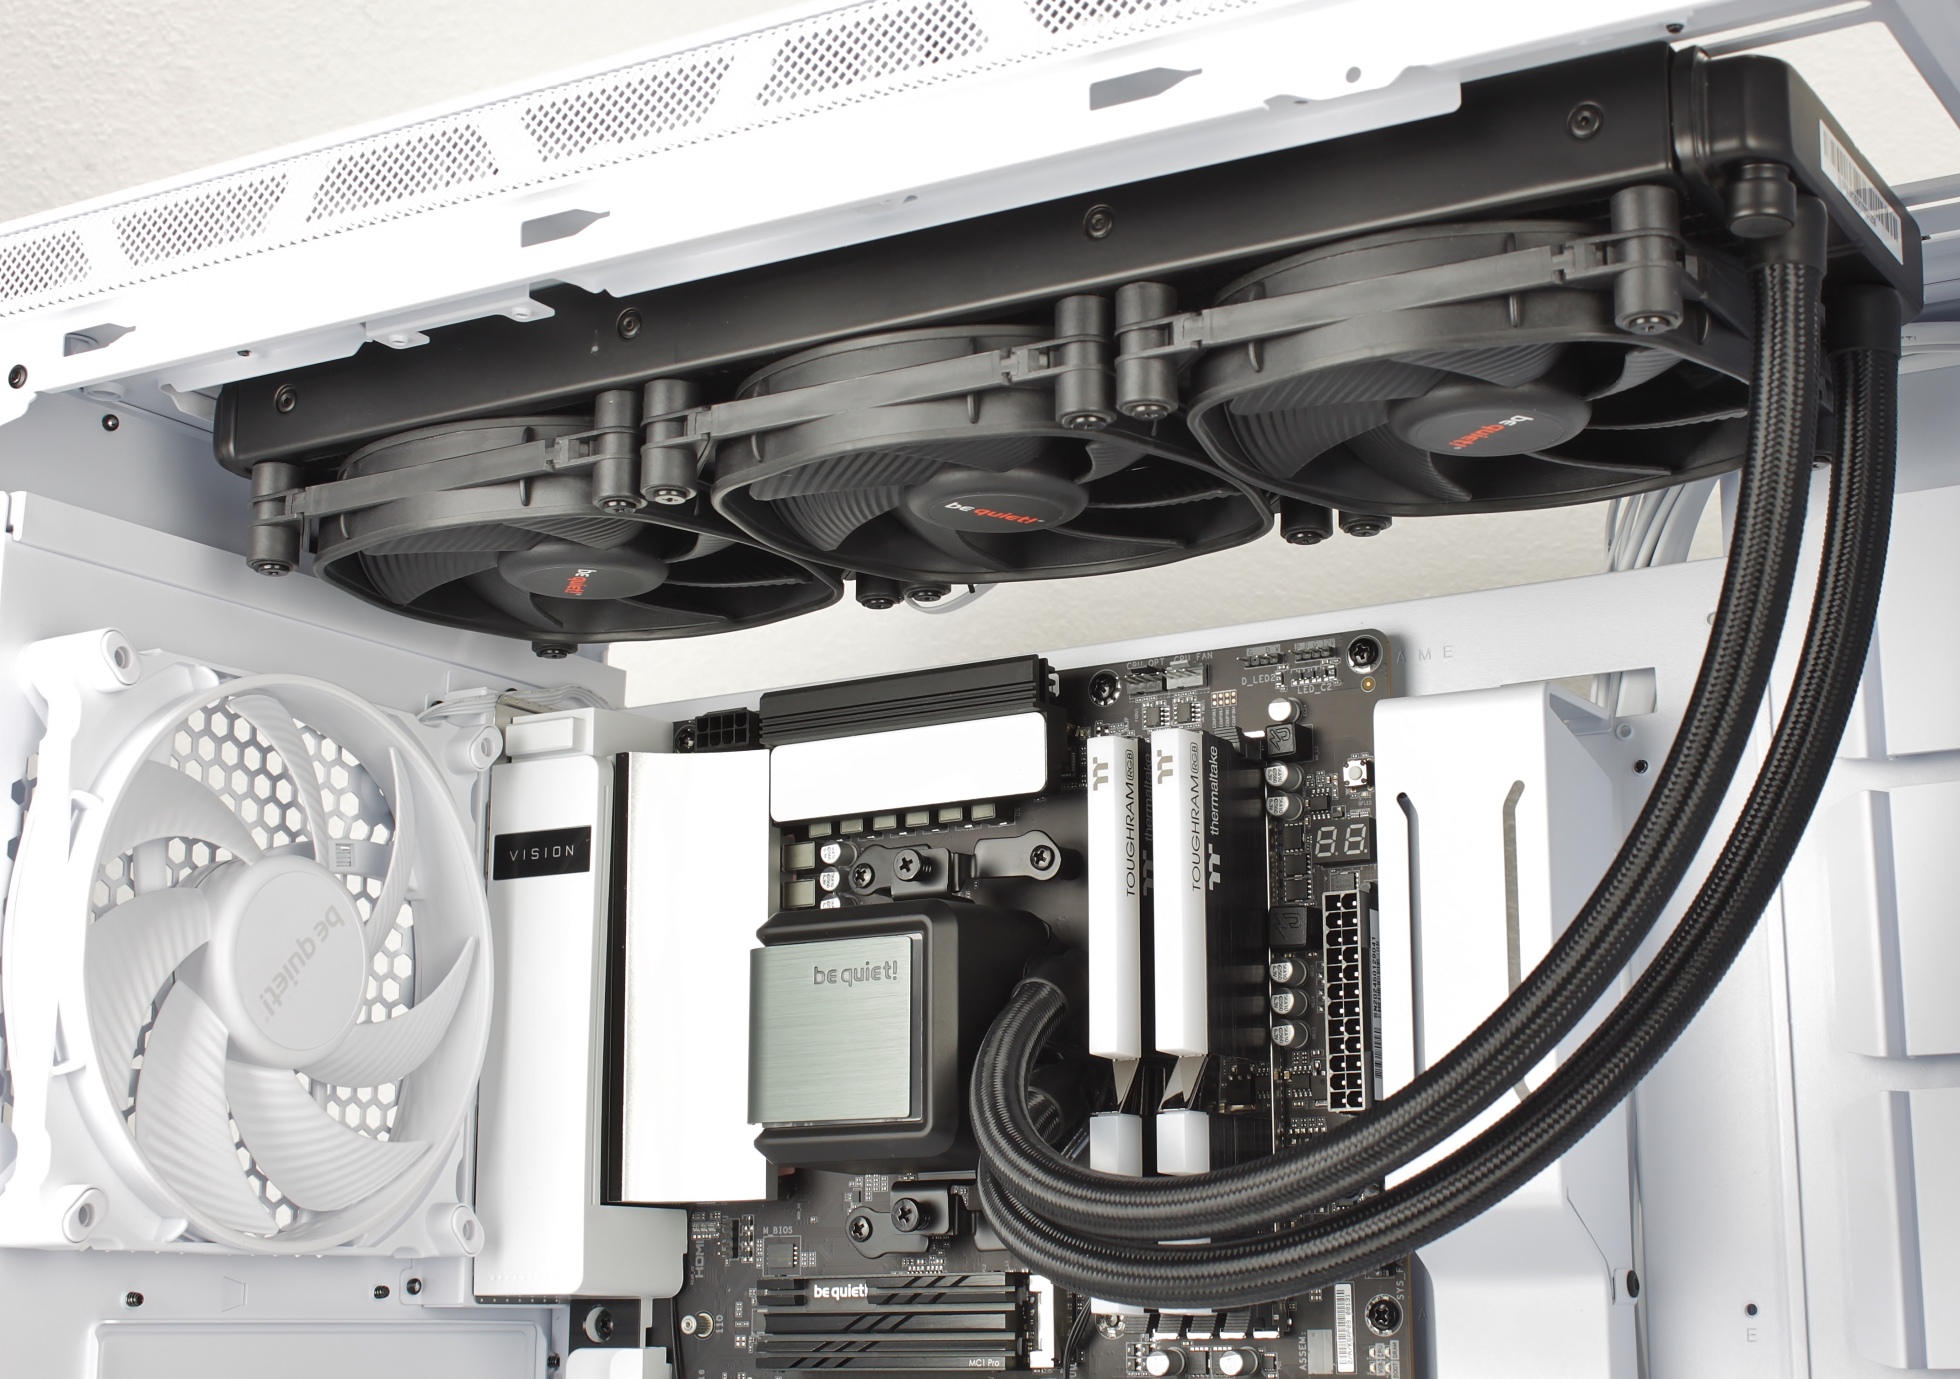
The AIO was also mounted completely outside the housing on the removable mounting frame. This makes it easy to access everything and allows everything to be inserted into the housing later as a closed unit.
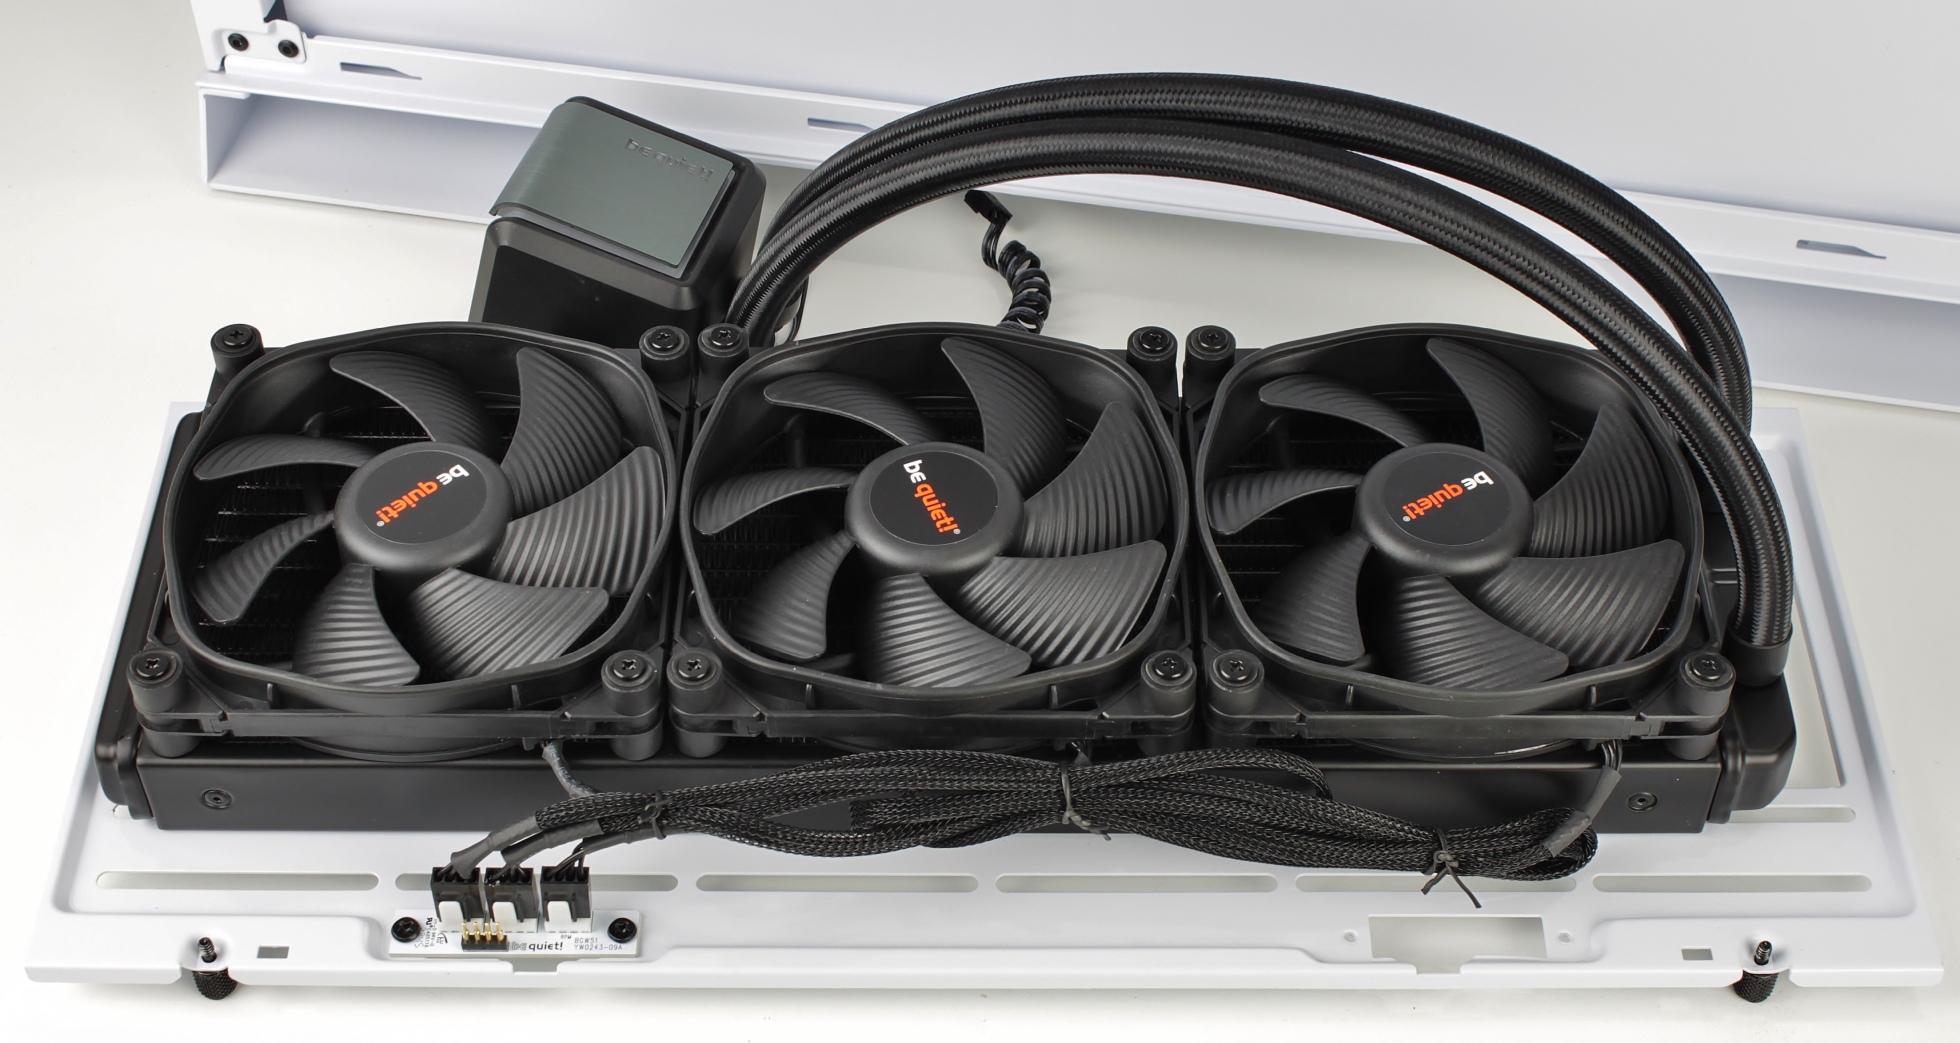
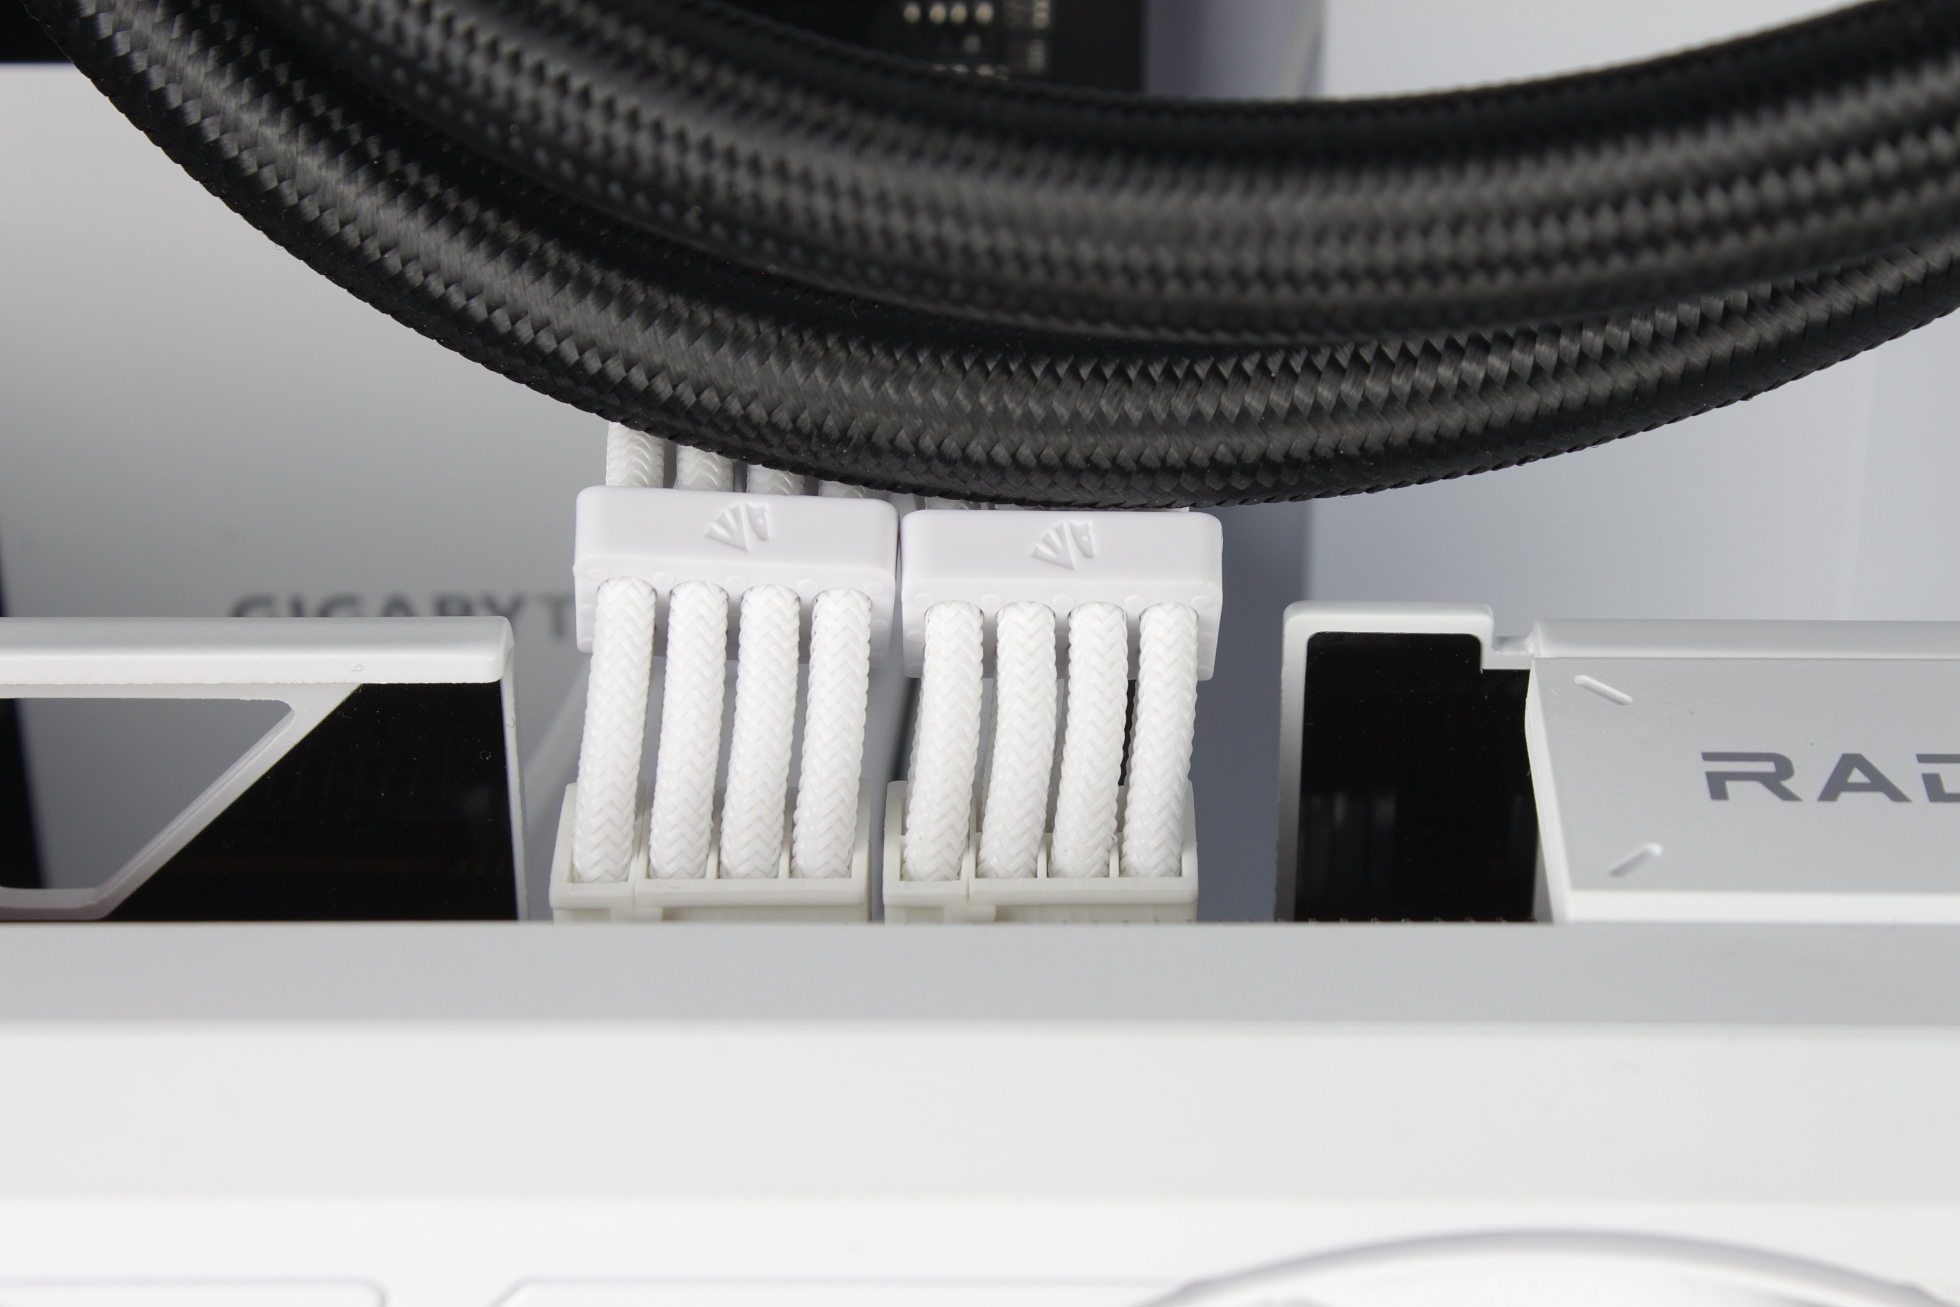
Even the cable management of the AIO fans is done directly on the bracket, as it is equipped with push pins – ingenious!
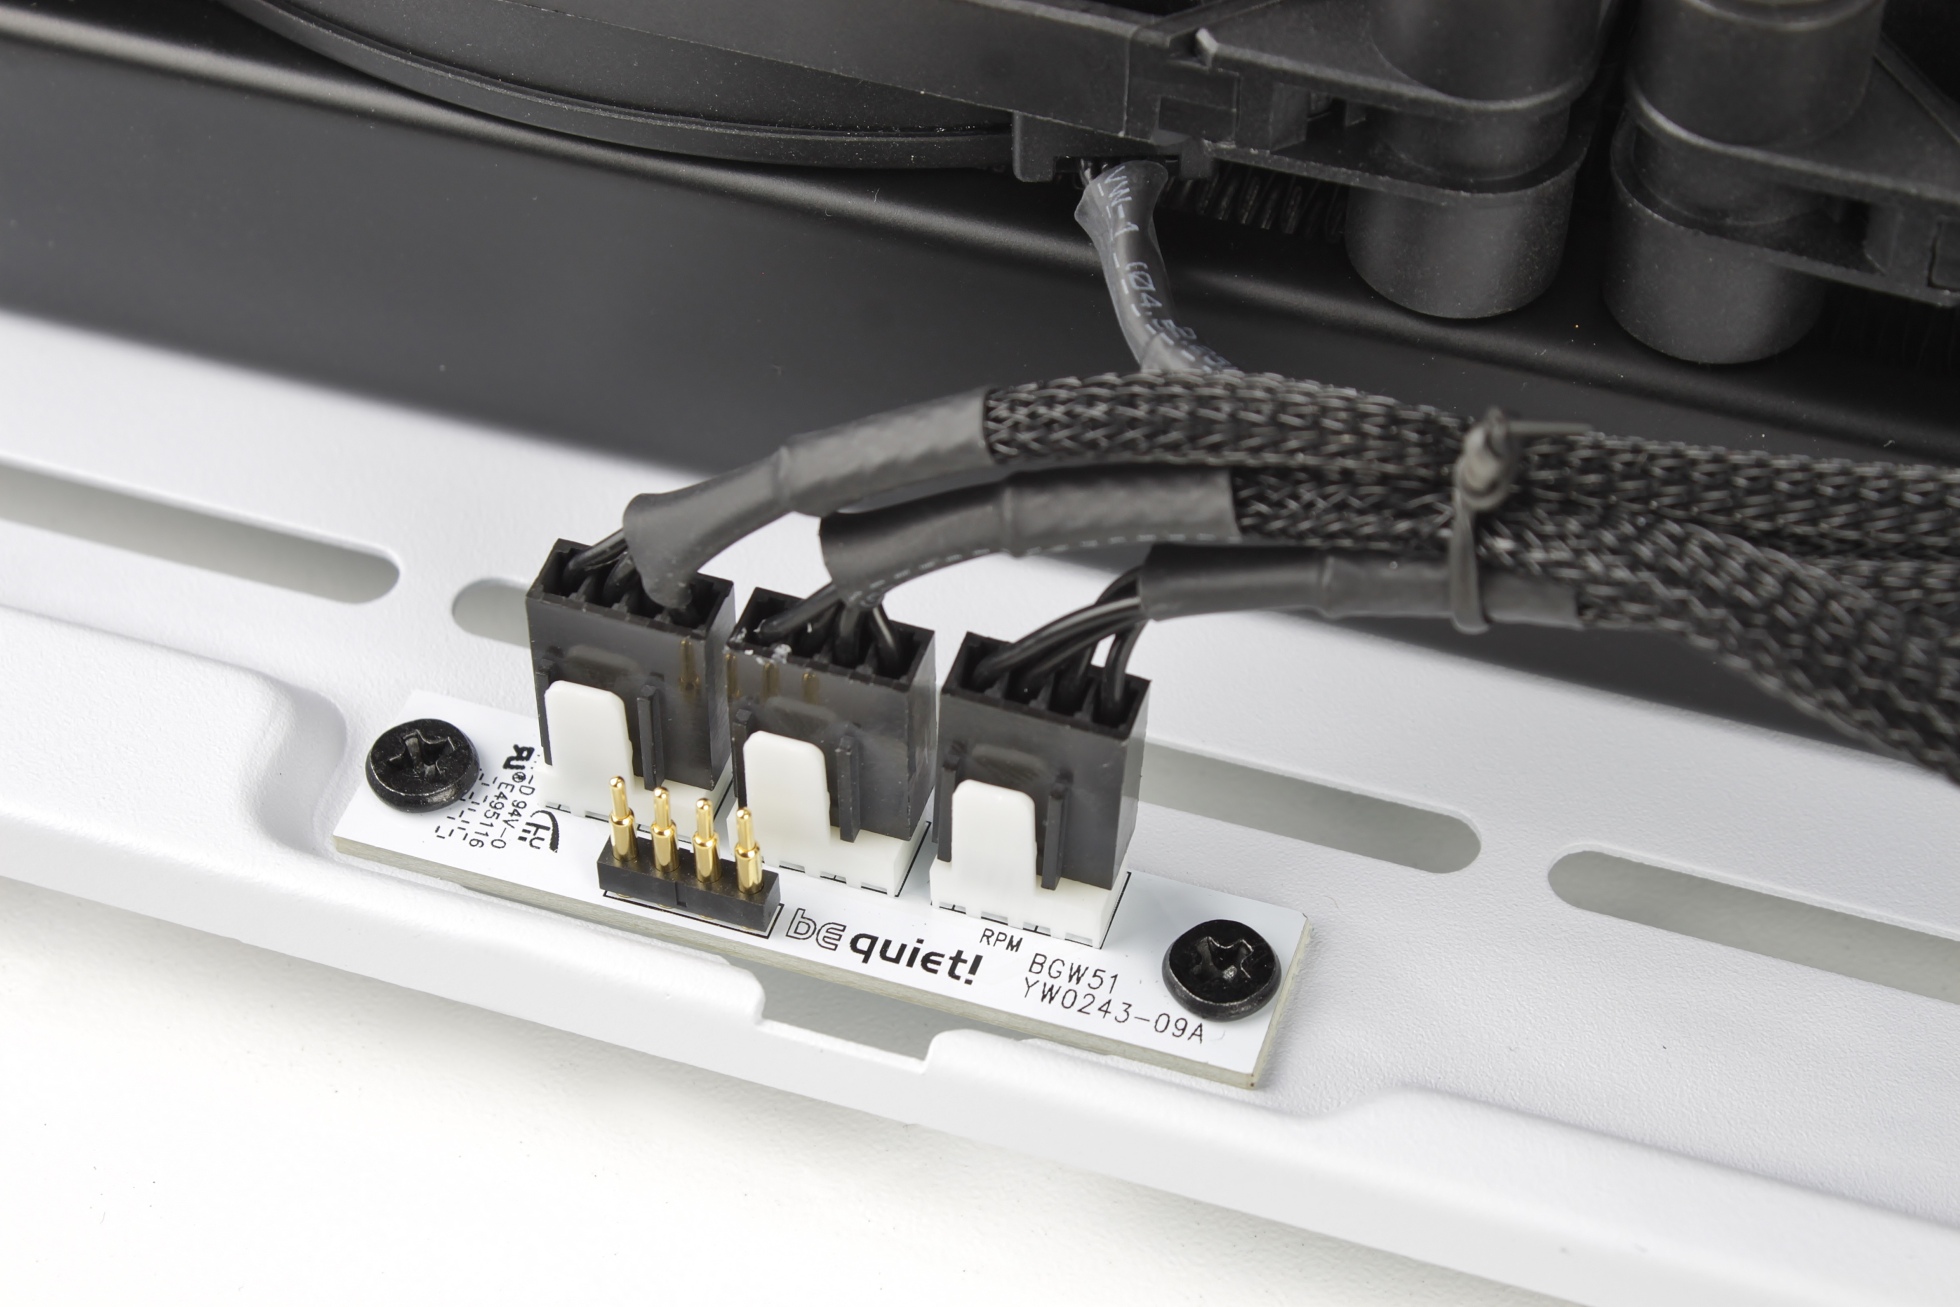
AIO installed and the 2 pump cables (PWM and RGB) hidden behind the hoses:
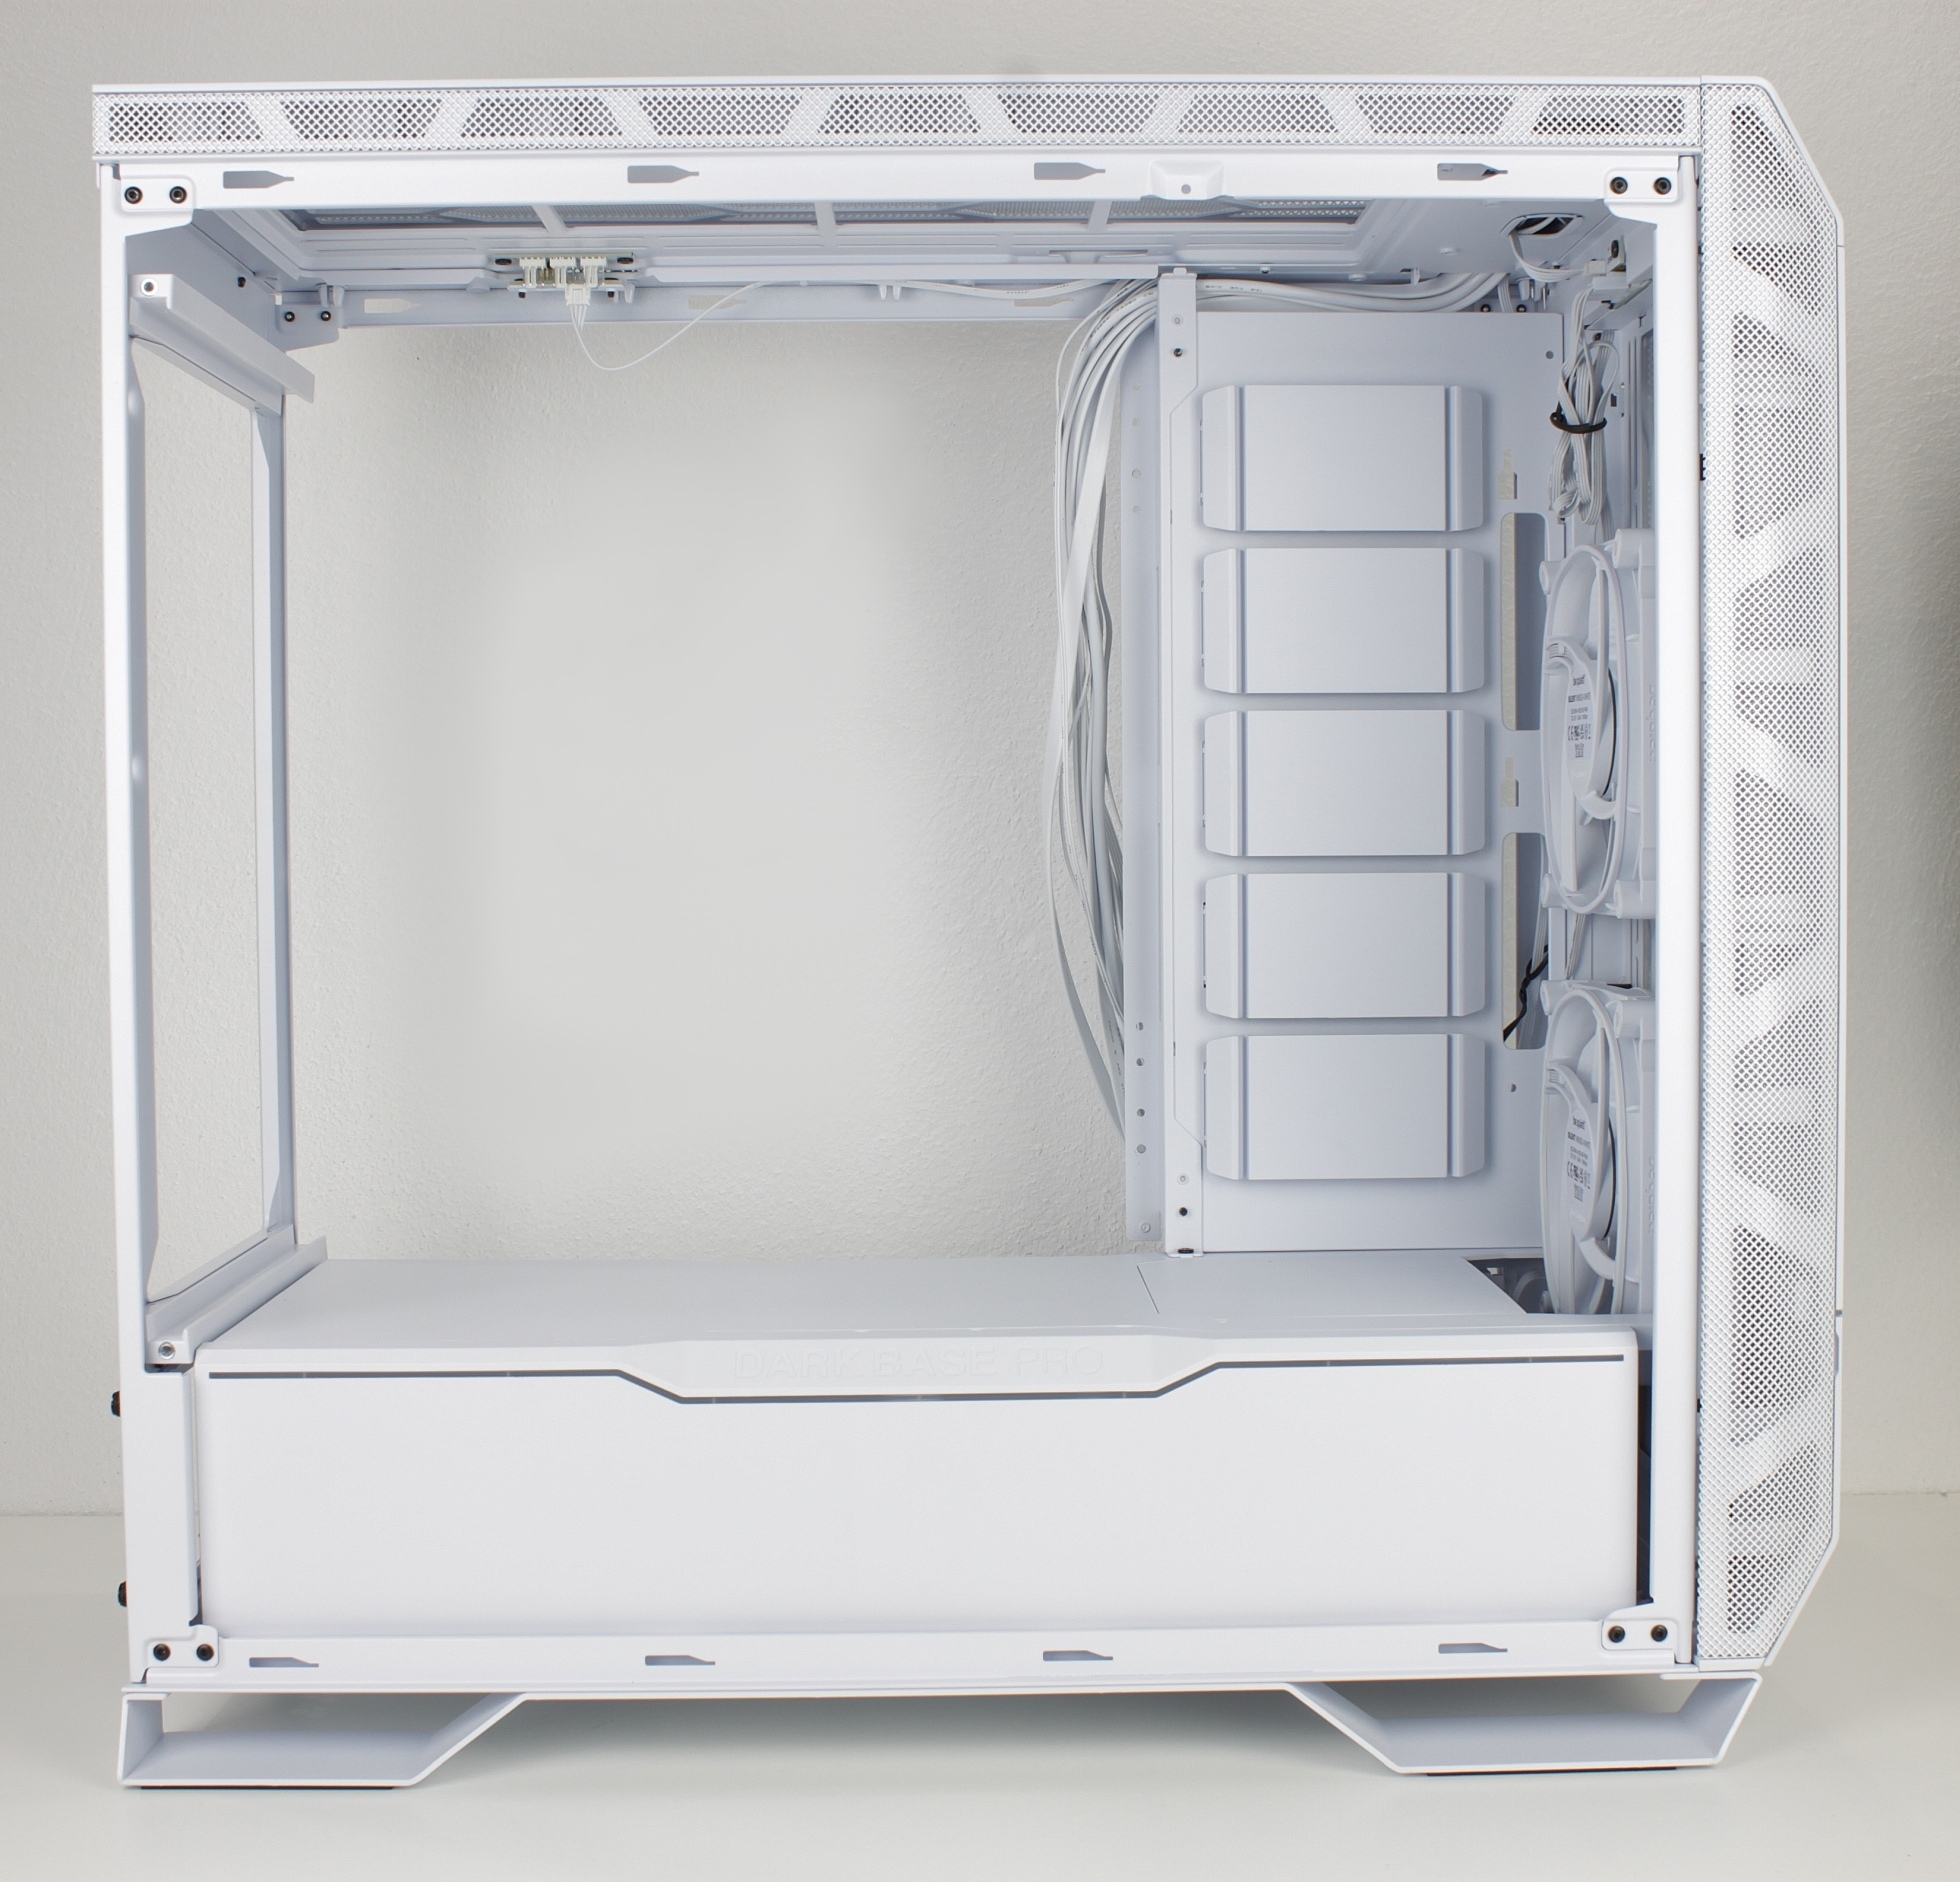
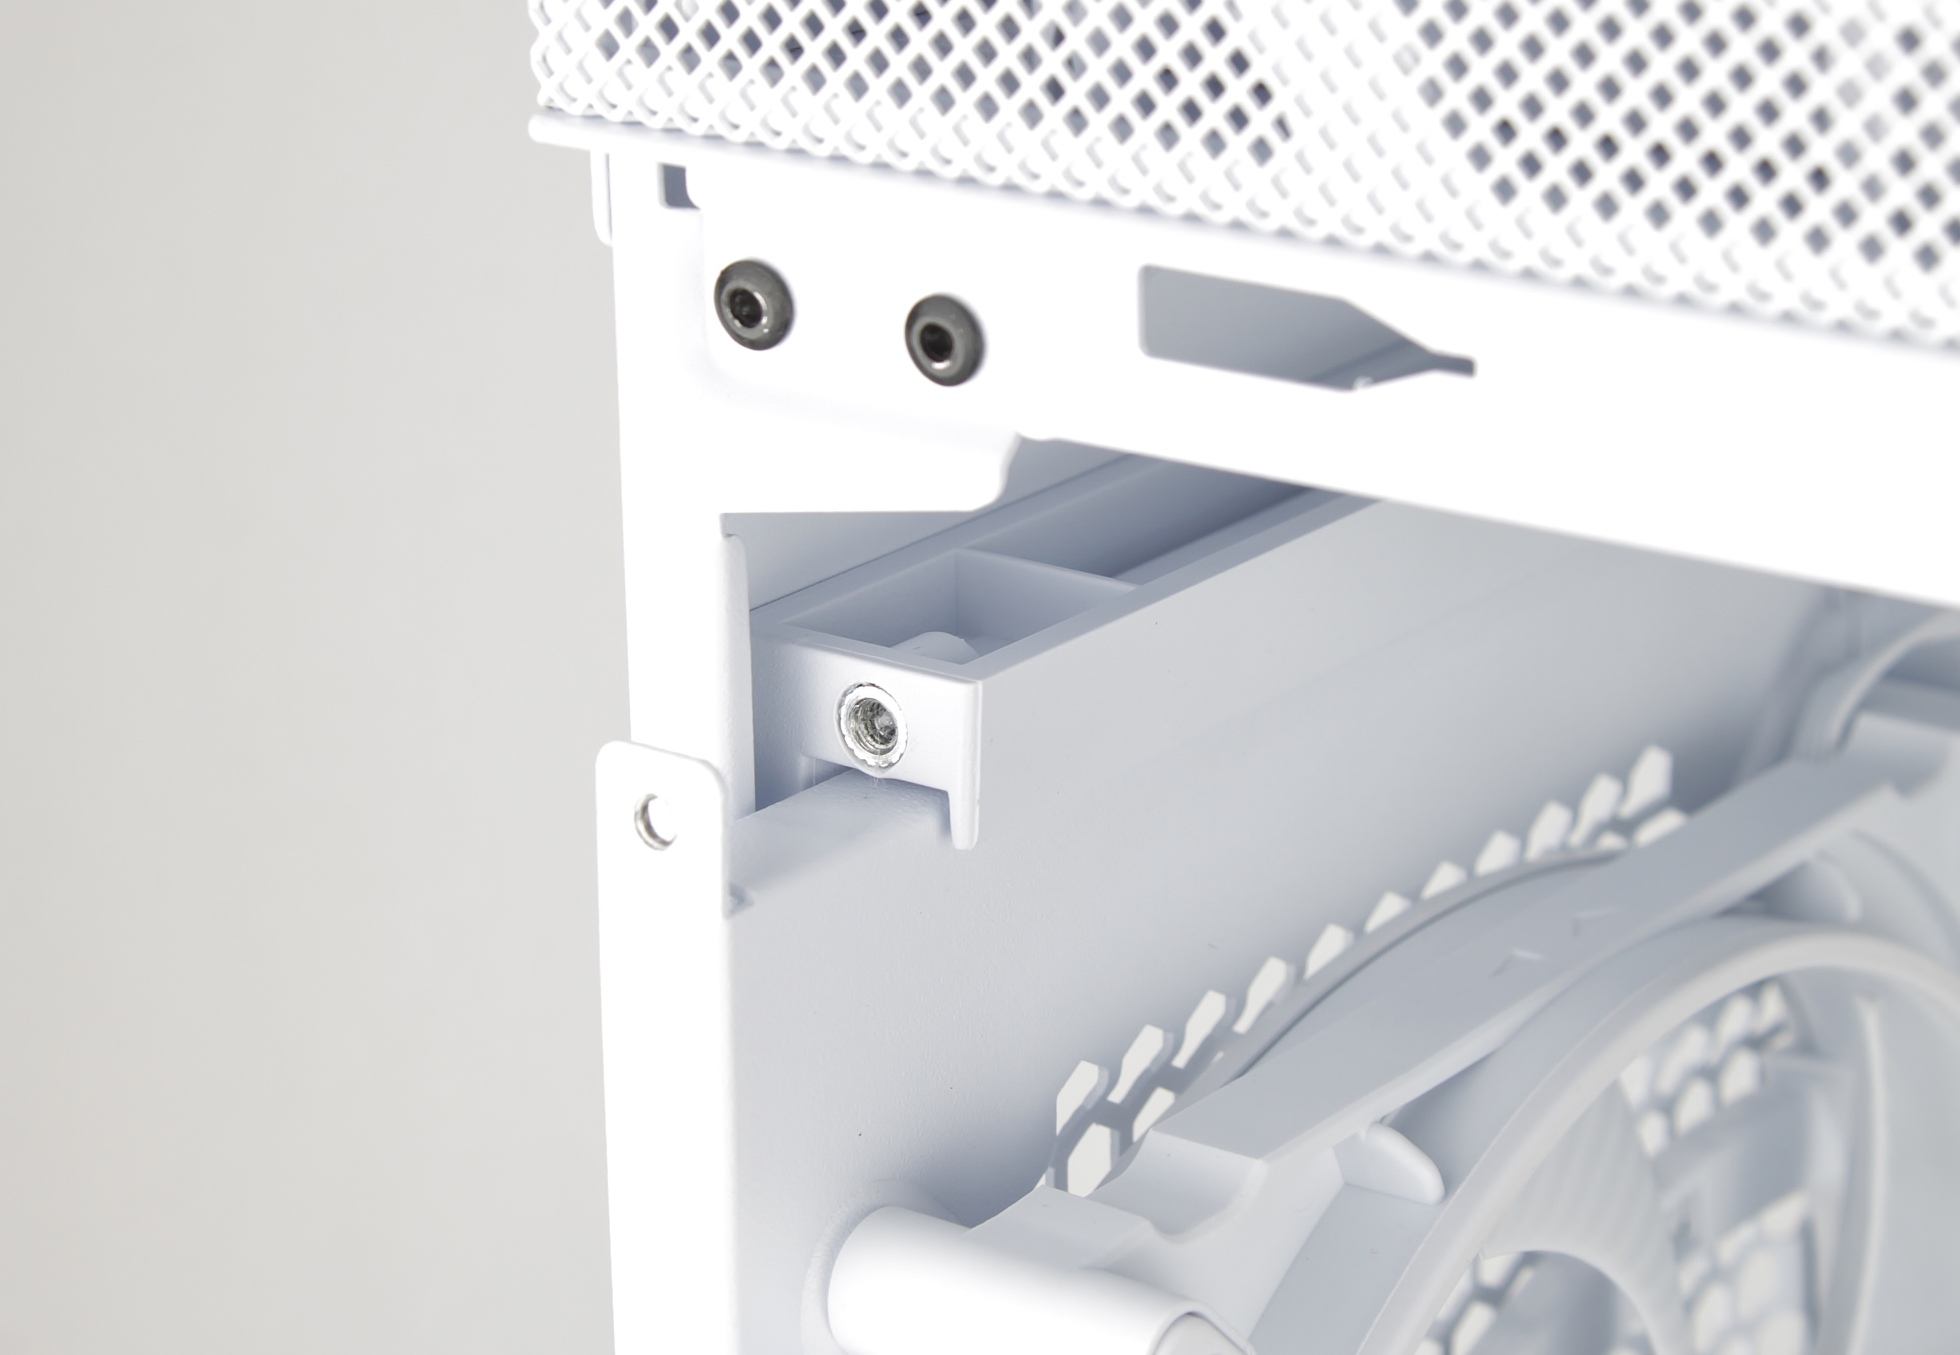
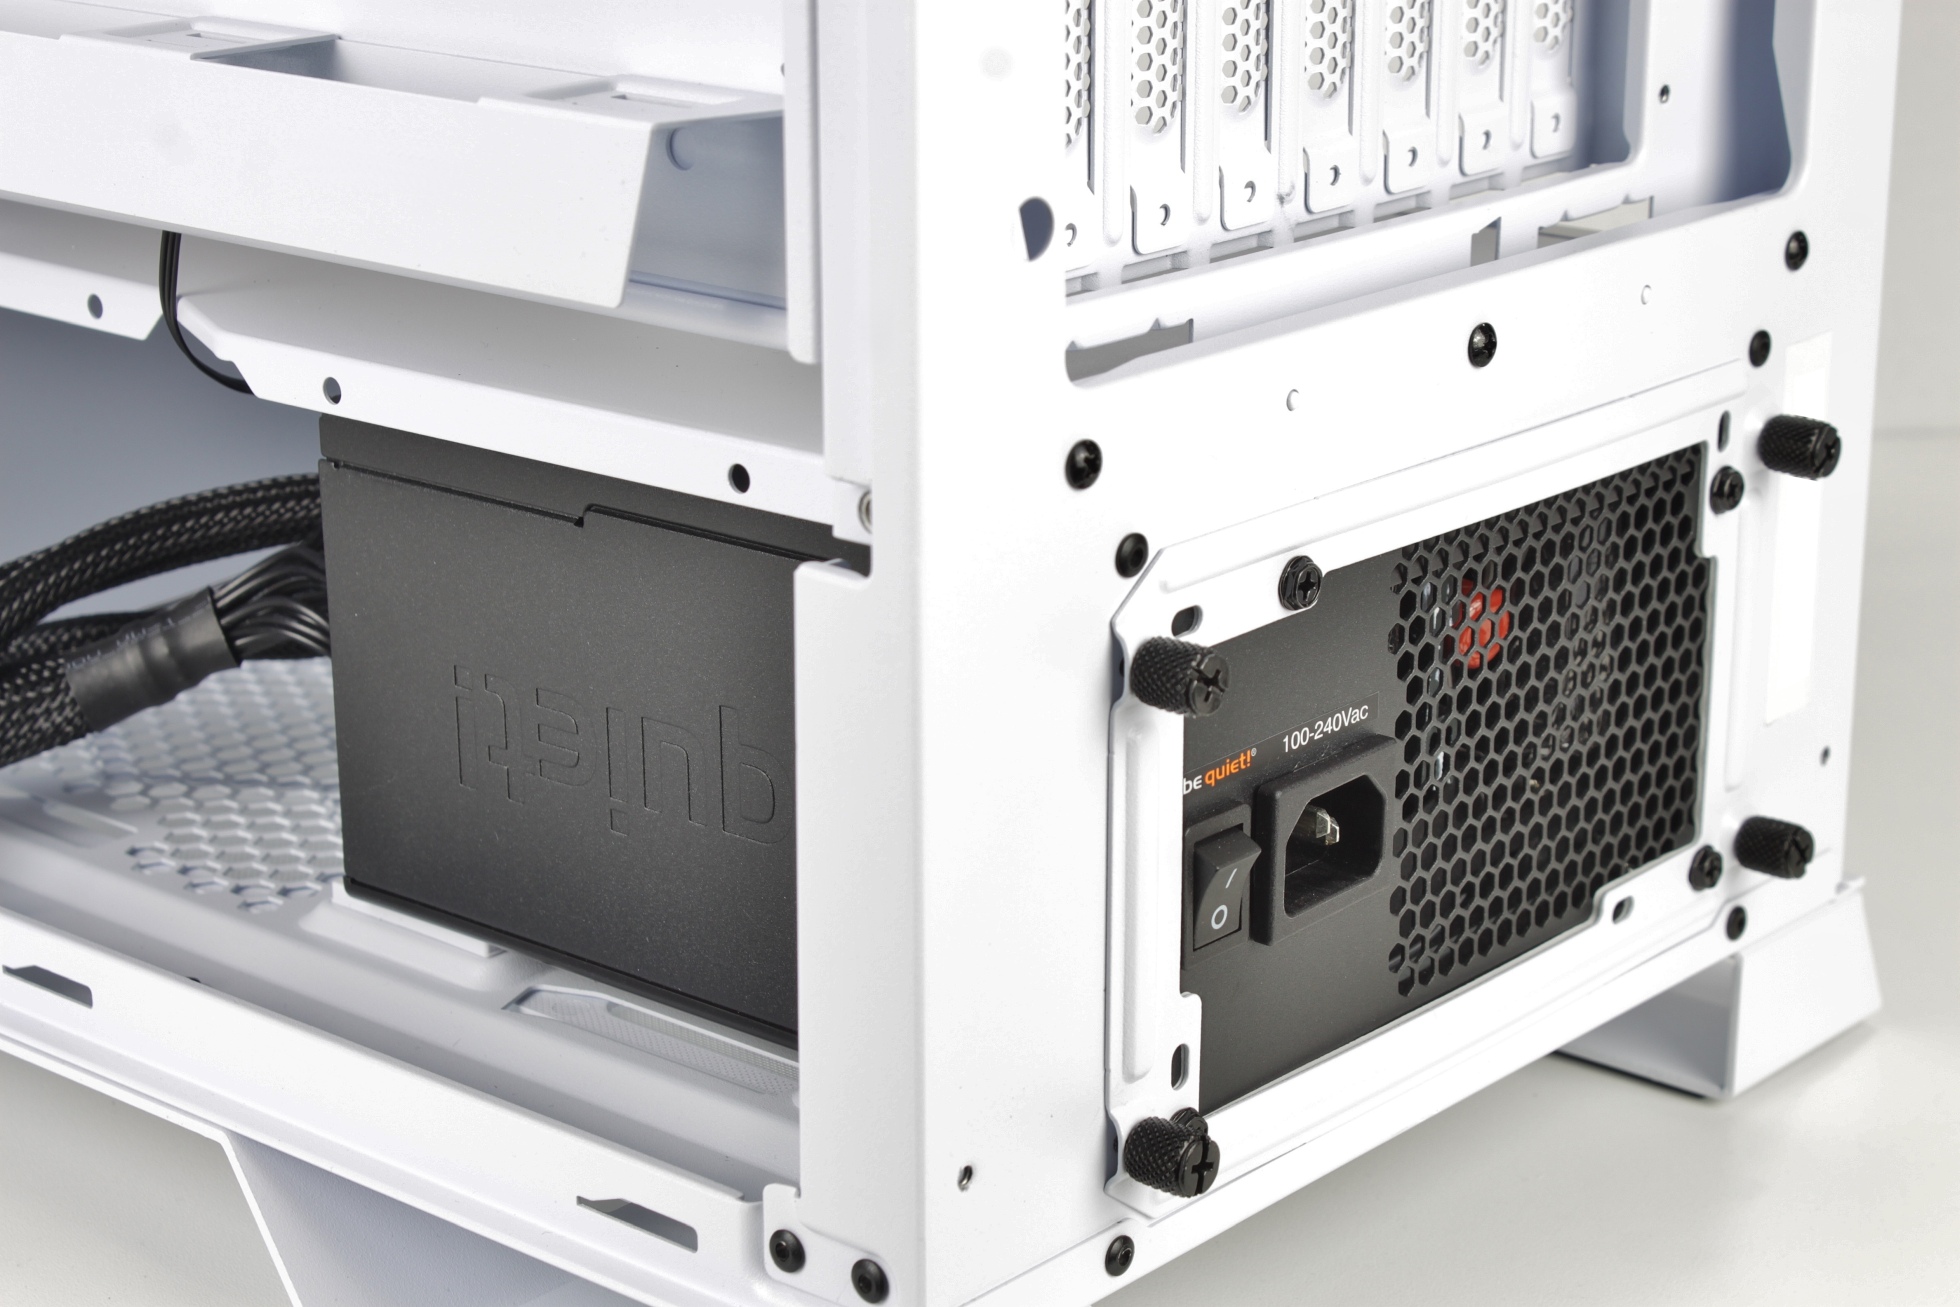
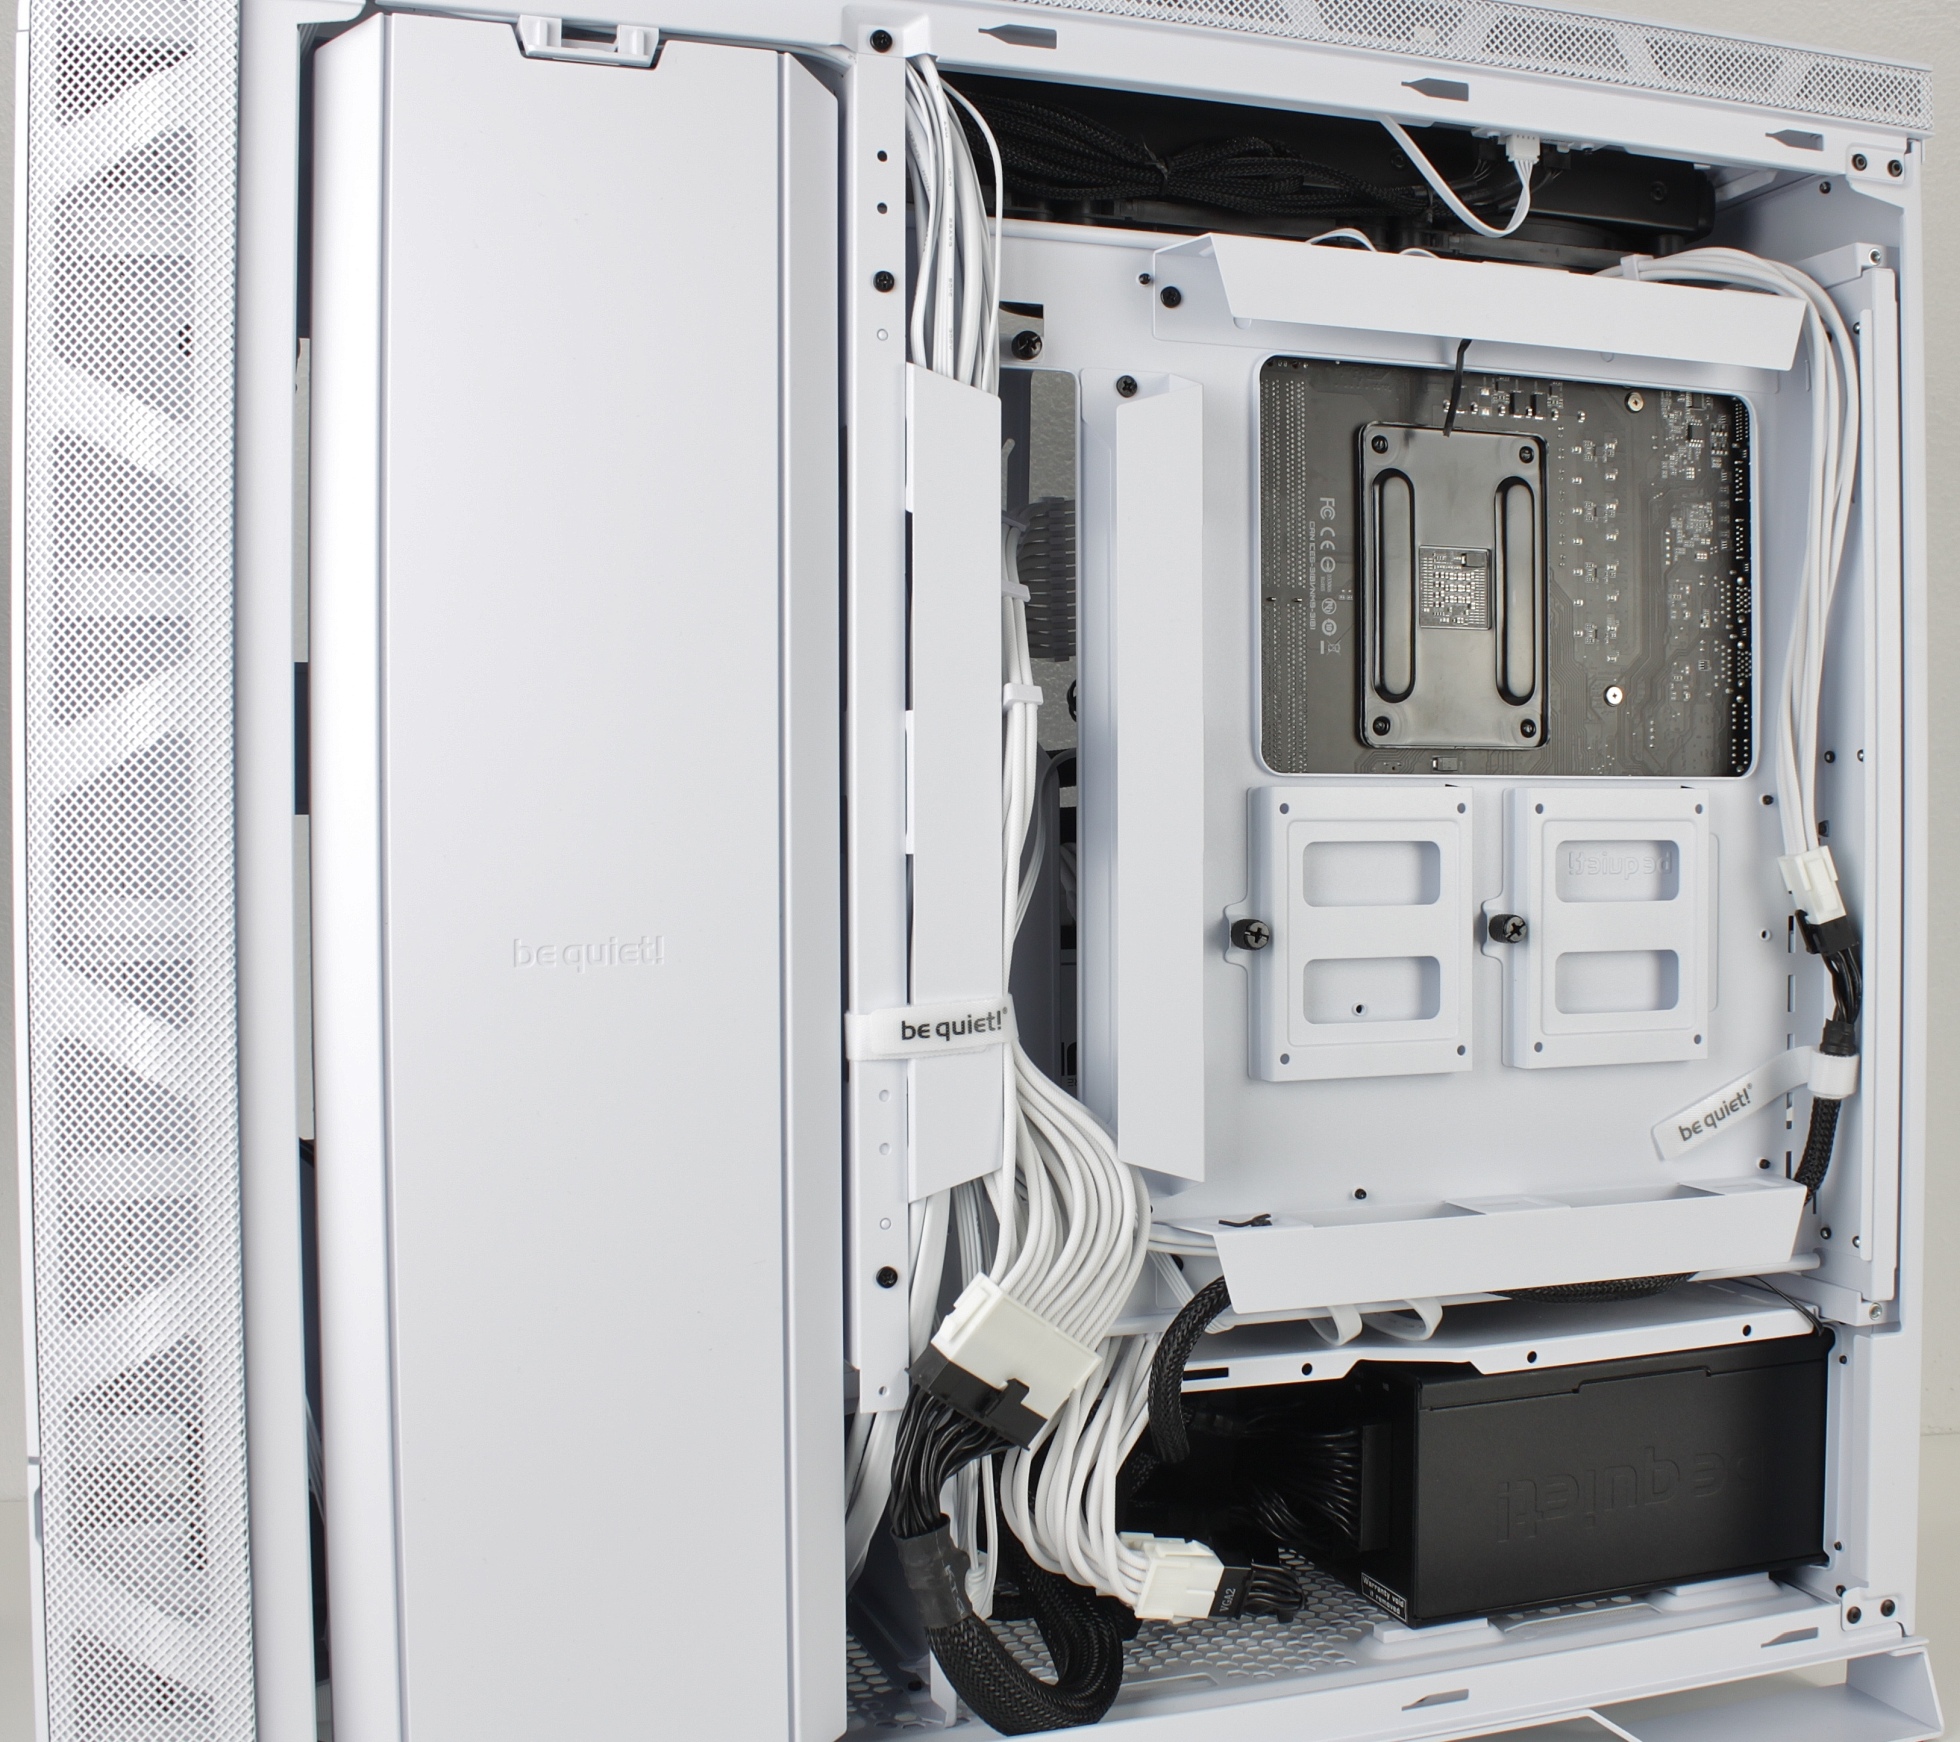
The power supply is mounted on thick foam rubber blocks and even the frame has a layer of the same material. Incidentally, the power supply unit can also be easily slid into the side of the case and screwed into place; the frame only needs to be removed if you want to turn the power supply unit around.
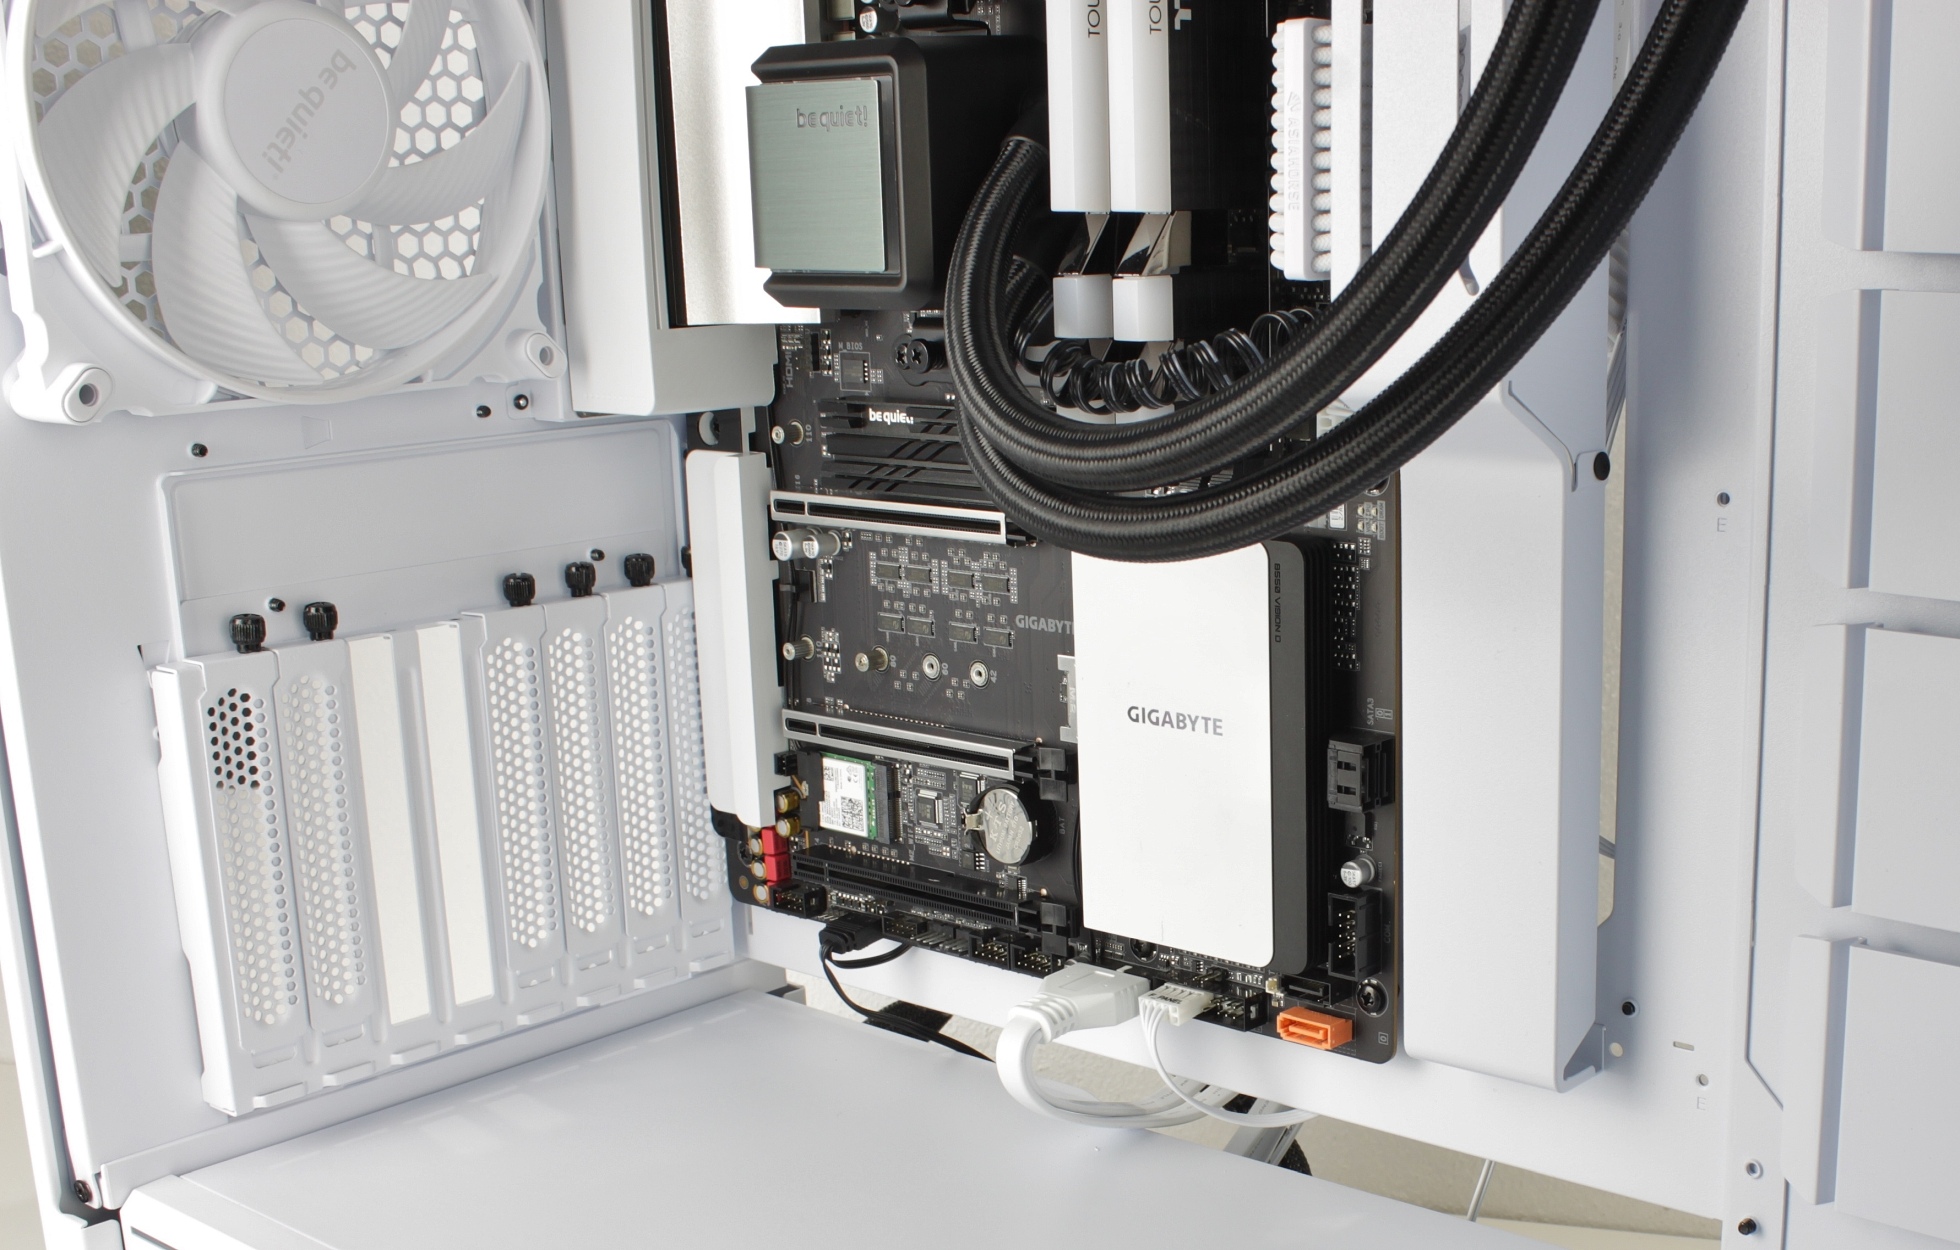
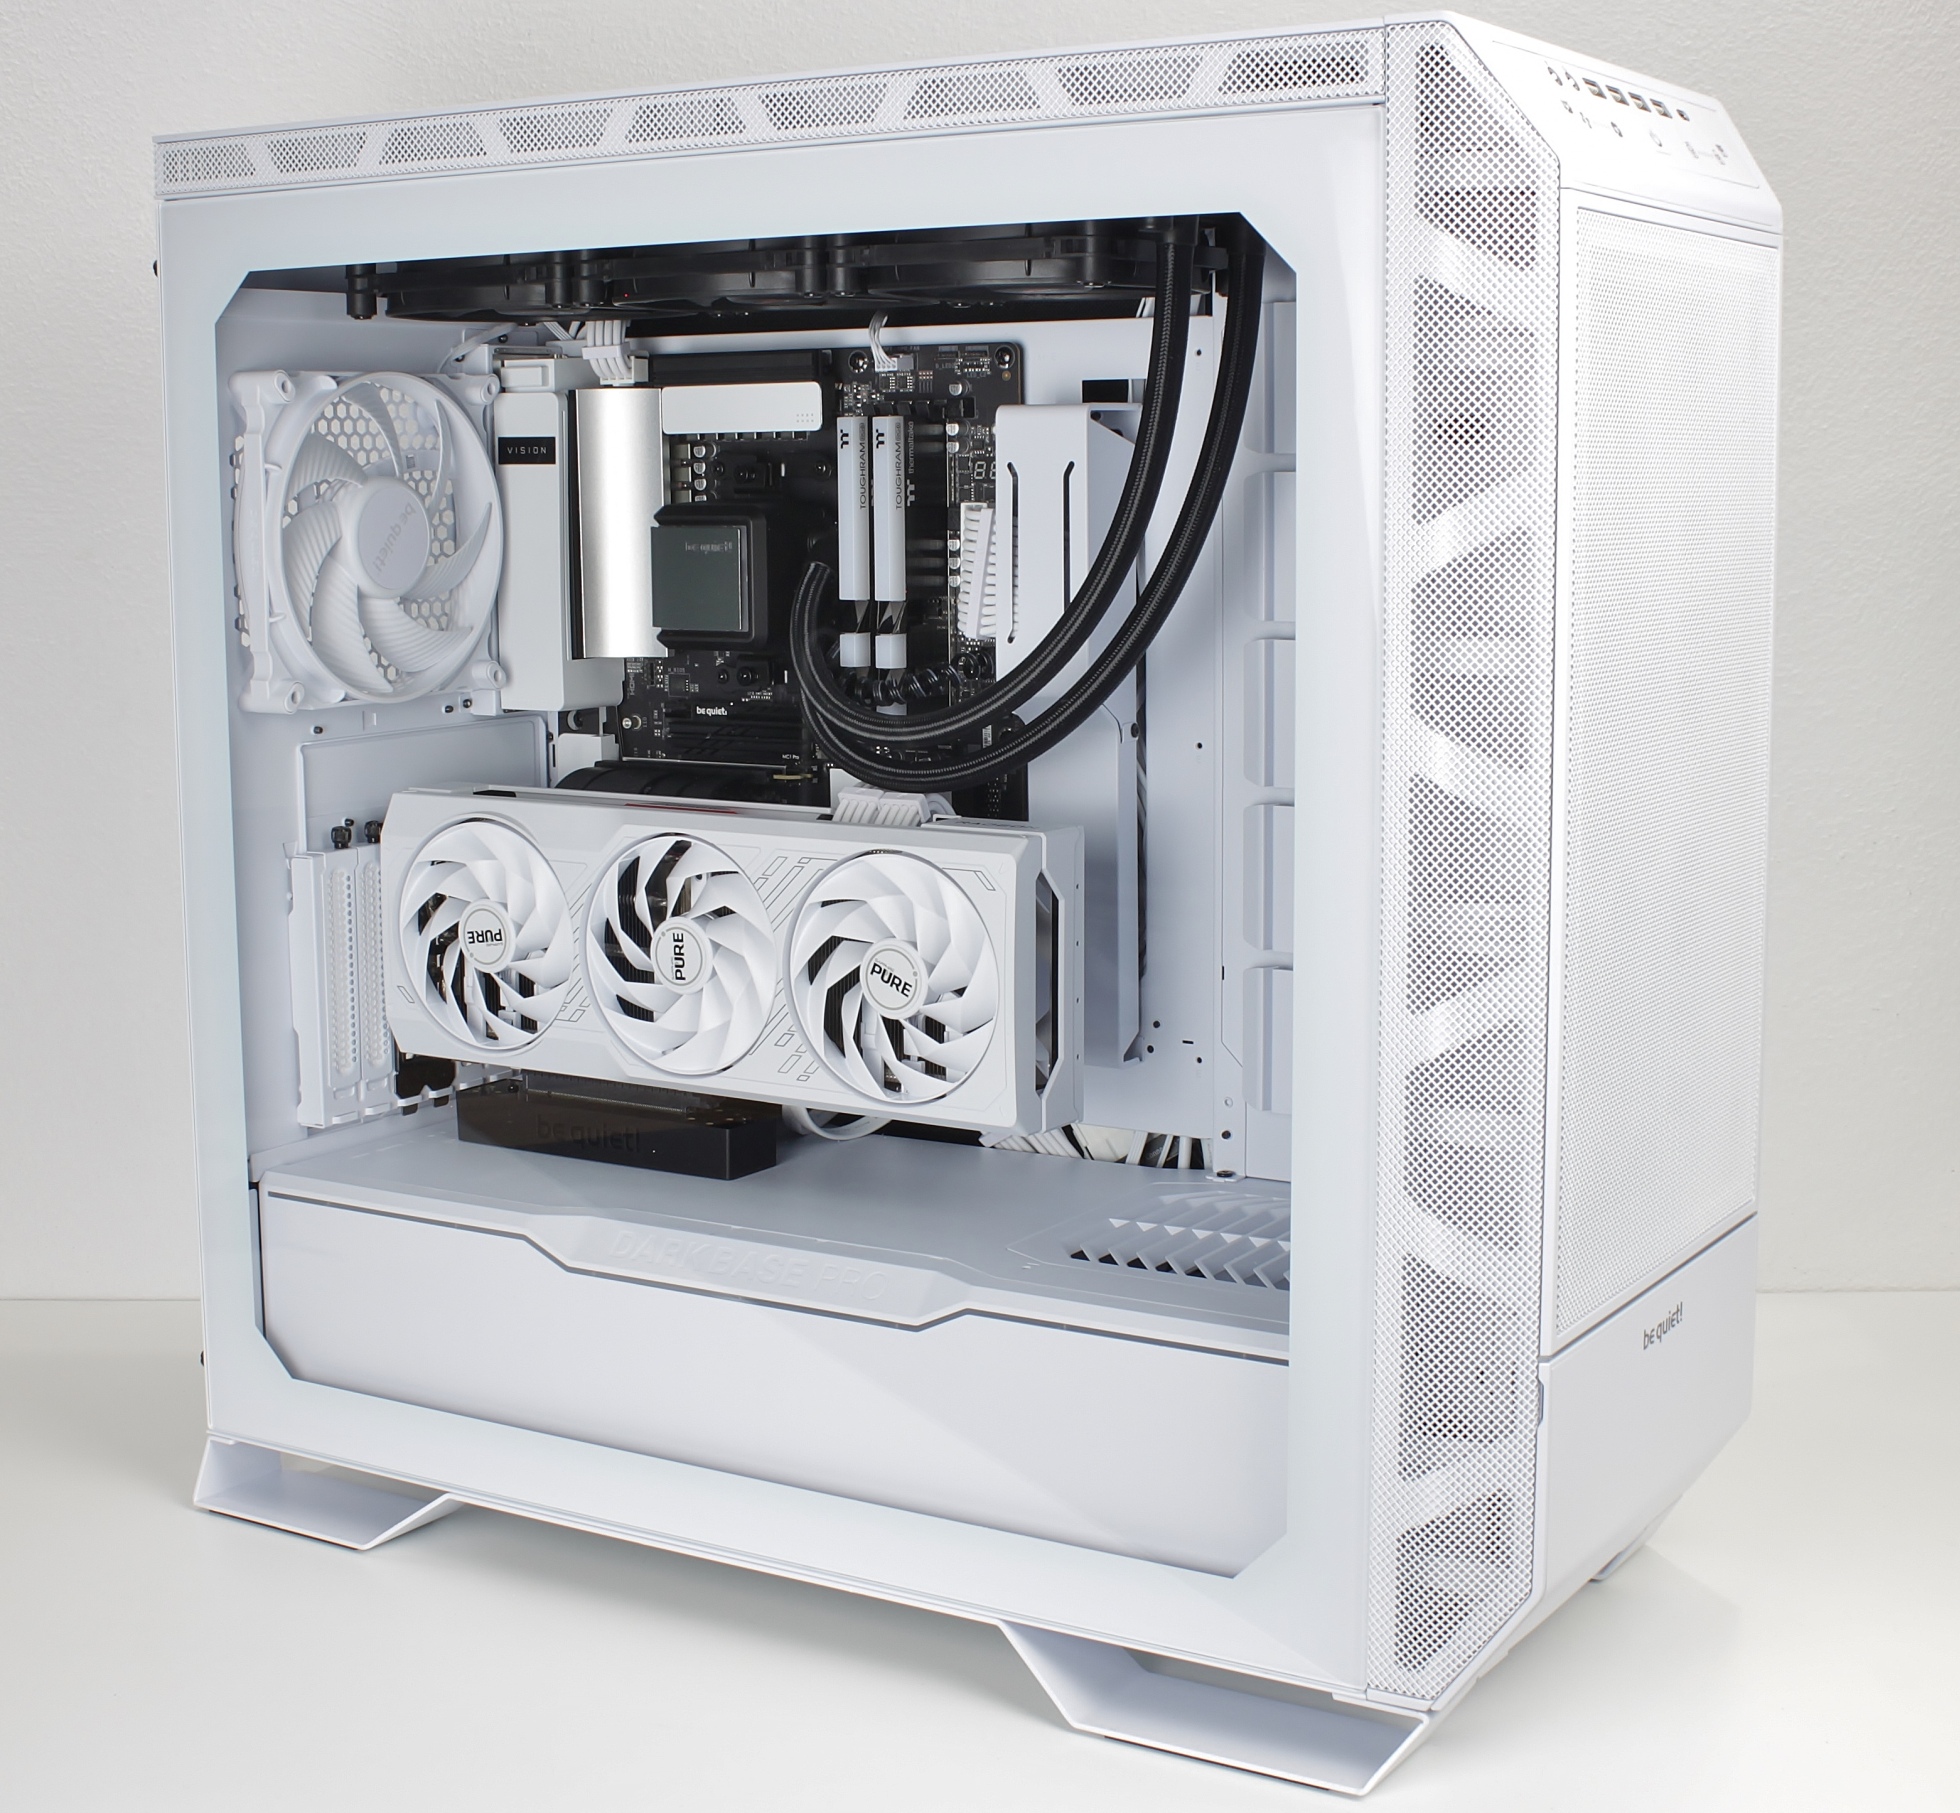
Cable management is also a lot of fun in the Dark Base Pro. Especially because all the covers hide the cables very well and still leave enough space so that the thick extensions are not kinked or squashed.
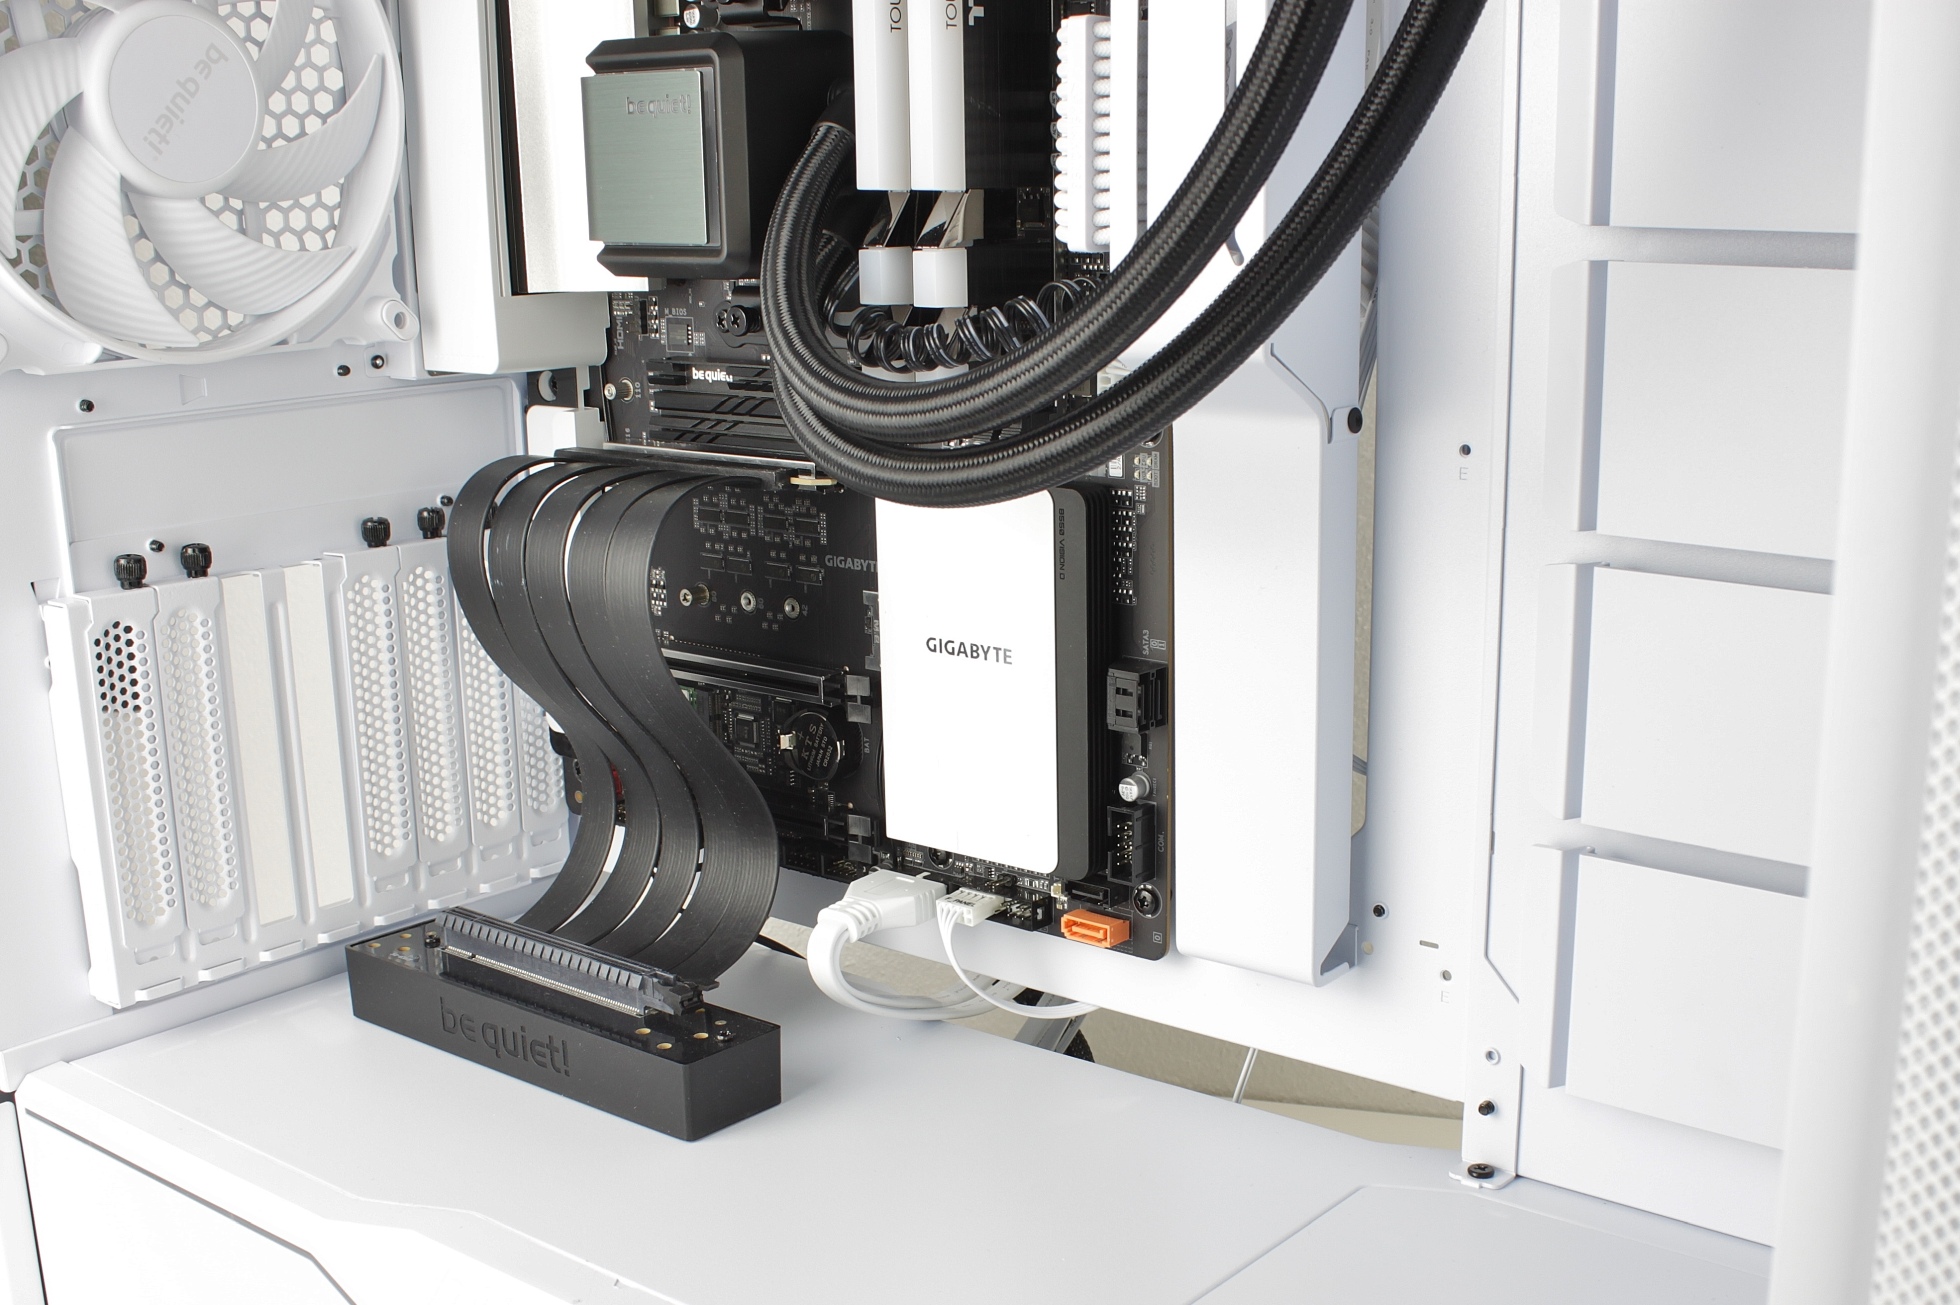
The cables for the front I/O are also connected and the PCIe brackets are prepared for vertical mounting of the graphics card. Attention: The cover must be rotated BEFORE mounting the board, otherwise it cannot be removed without risk.
The riser cable with magnetic base is unfortunately not included in the scope of delivery and costs just under €60. Despite the extensive equipment, I would have liked to have seen this in the accessories box at a price of over €300.
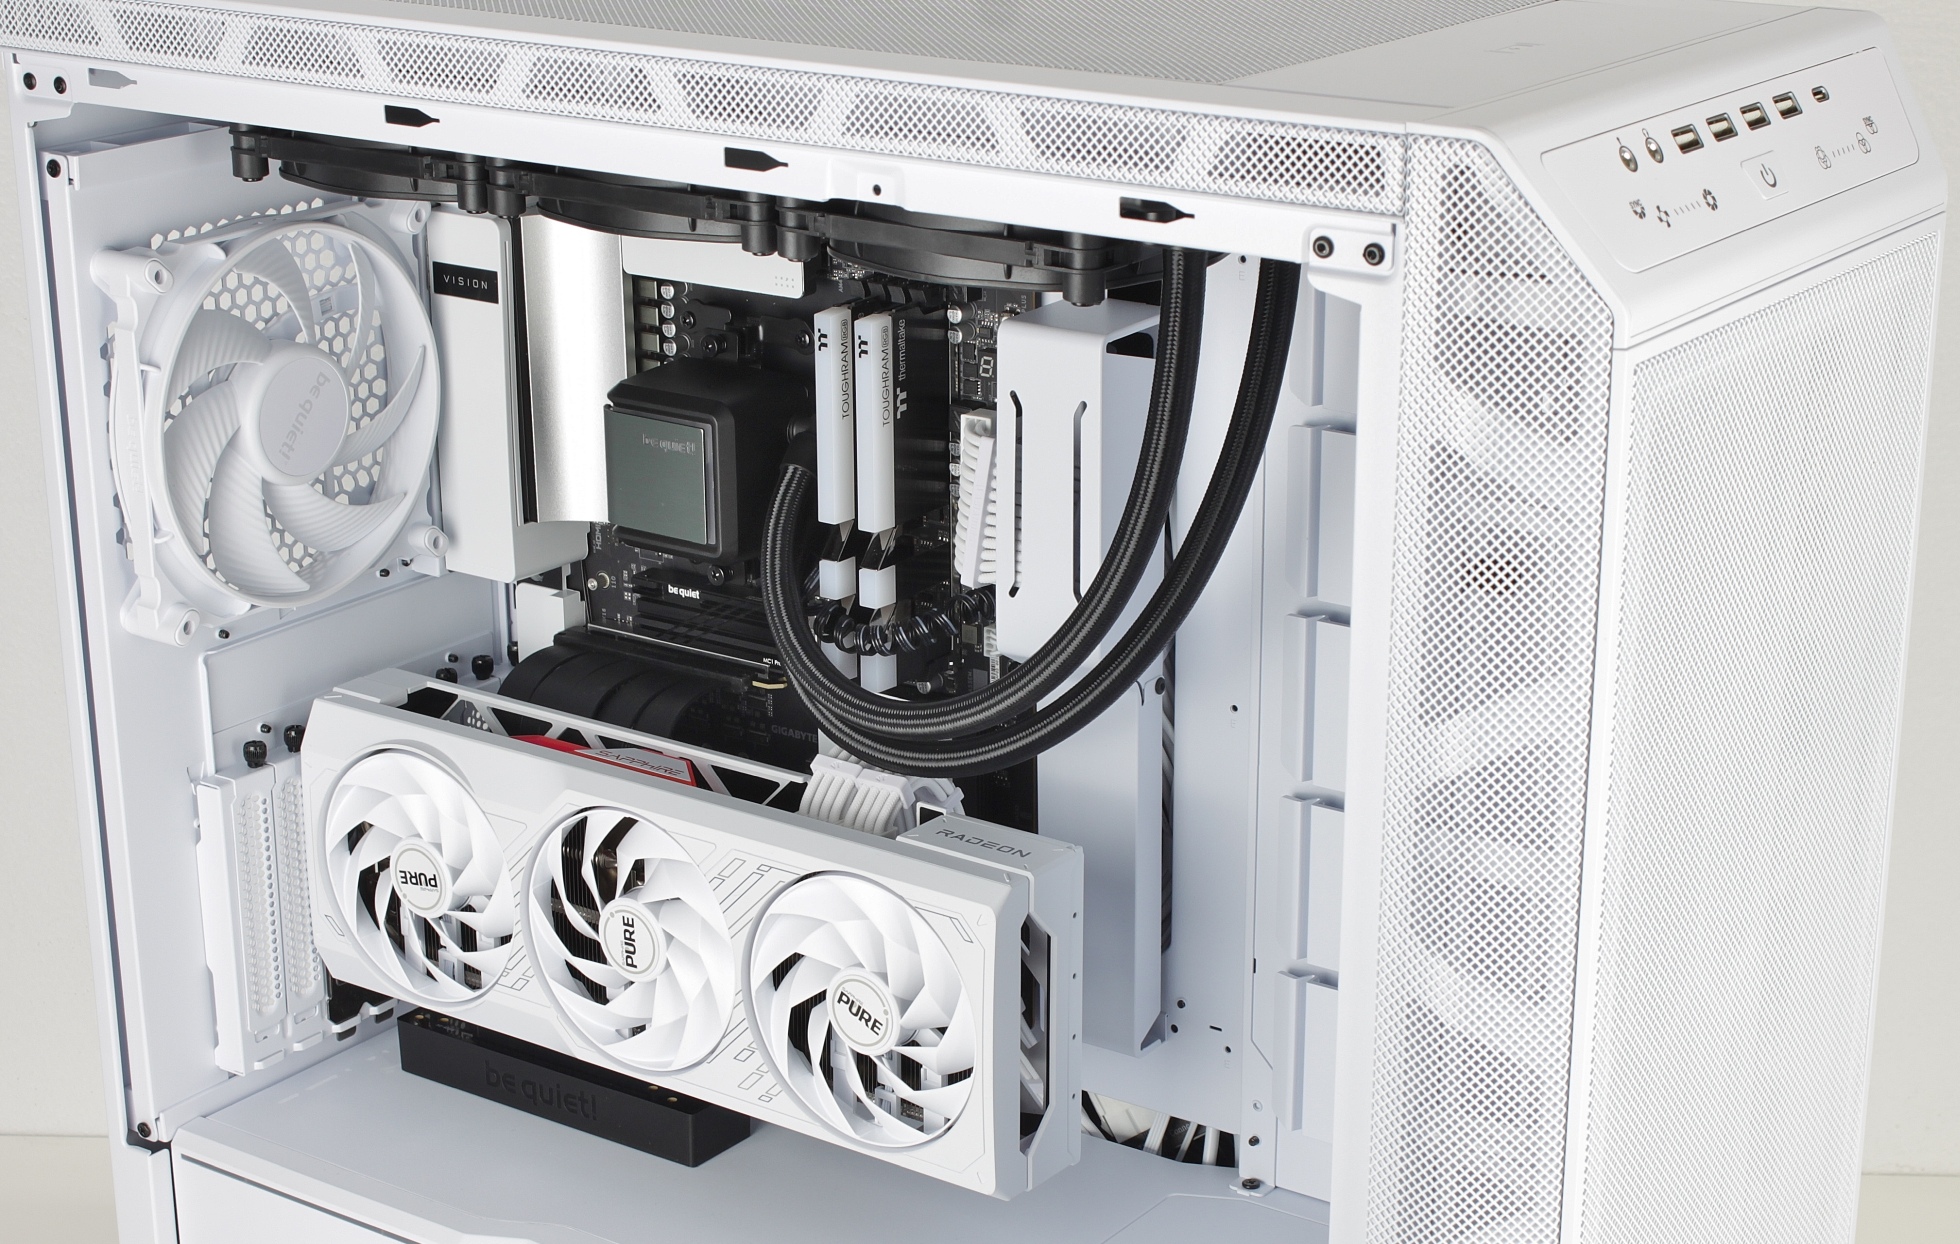
The Sapphire PURE should feel right at home in this environment.
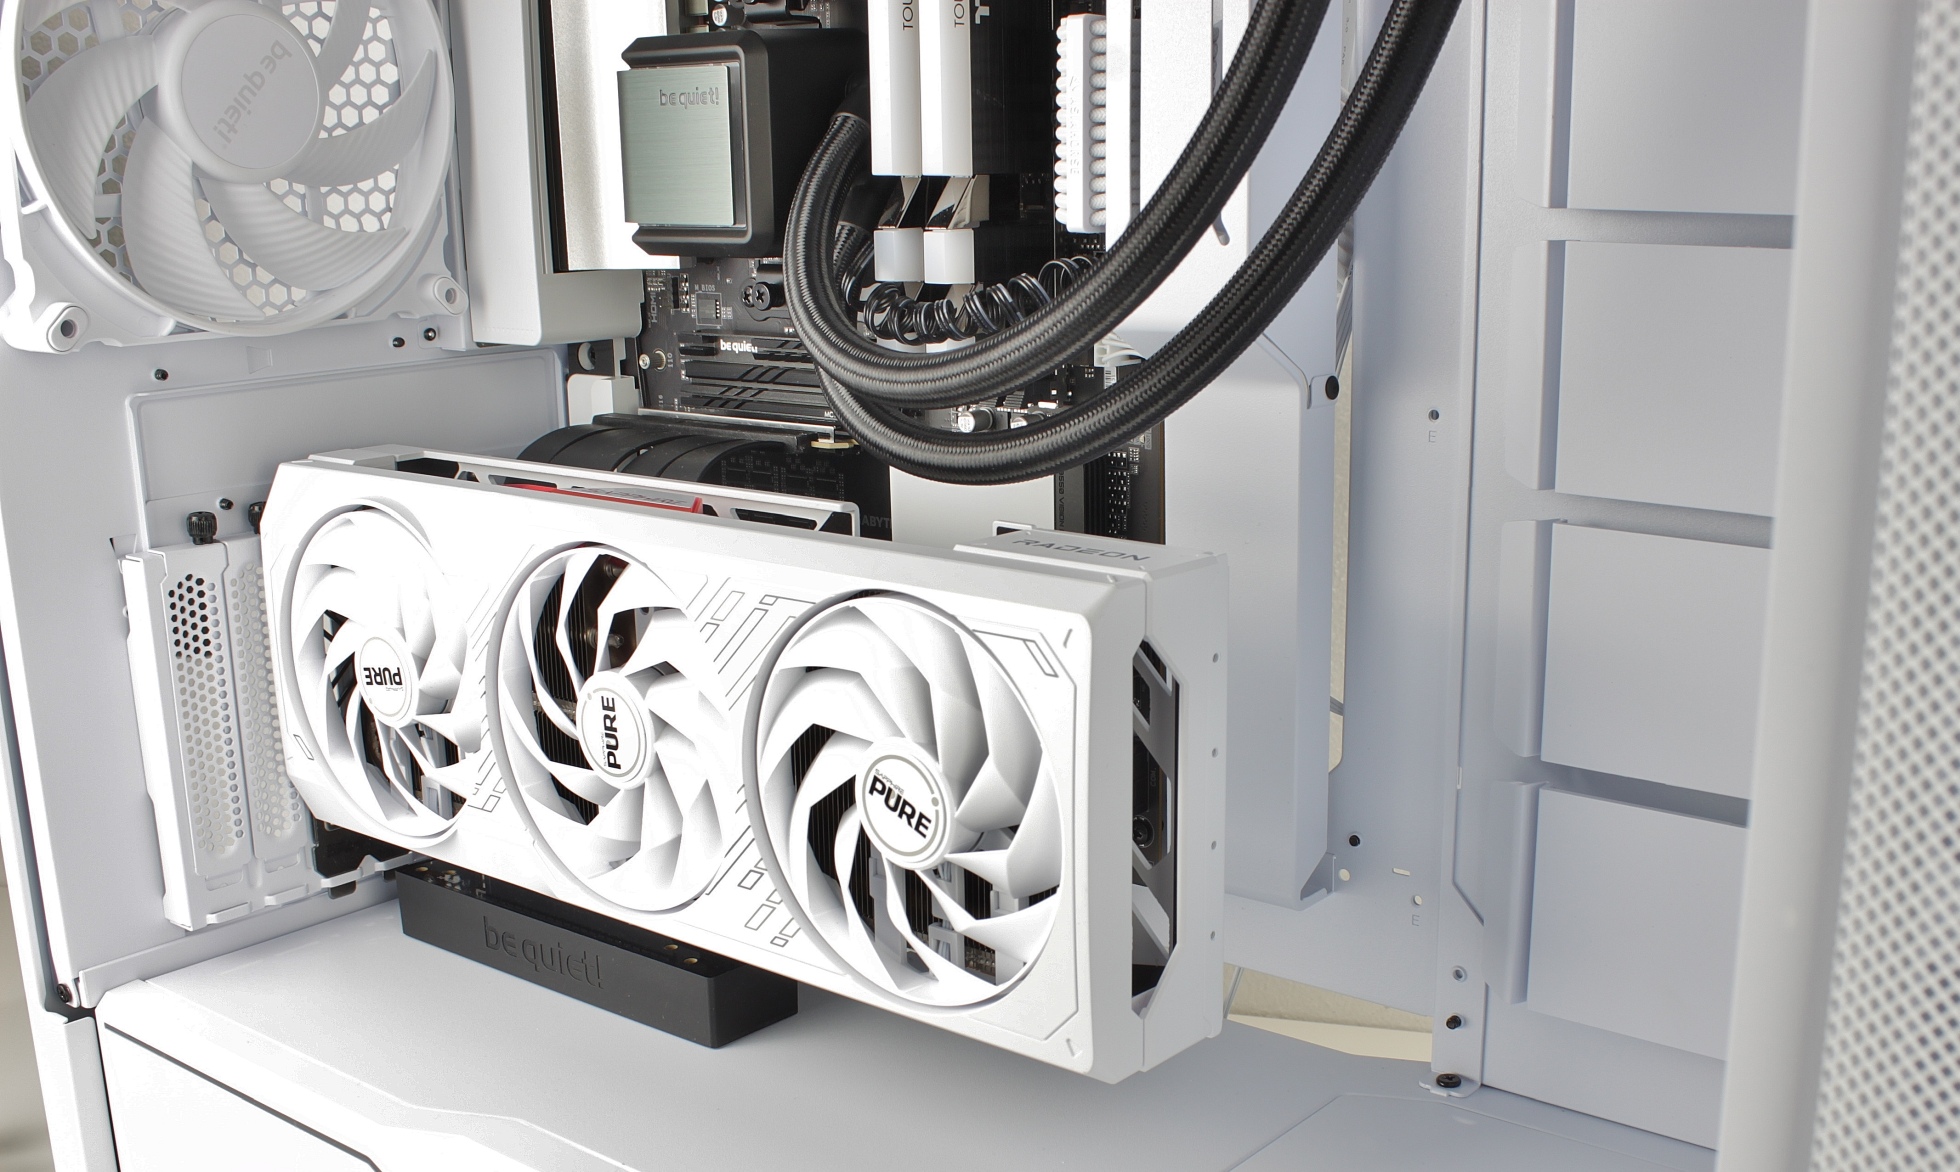
It’s a shame that you can hardly see any of the pretty cable extensions.
Thanks to the countless generously dimensioned cable ducts, even the thick extra extensions can be laid very easily. I didn’t go to much trouble here and only used two Velcro cable ties and it still doesn’t look like a mess.
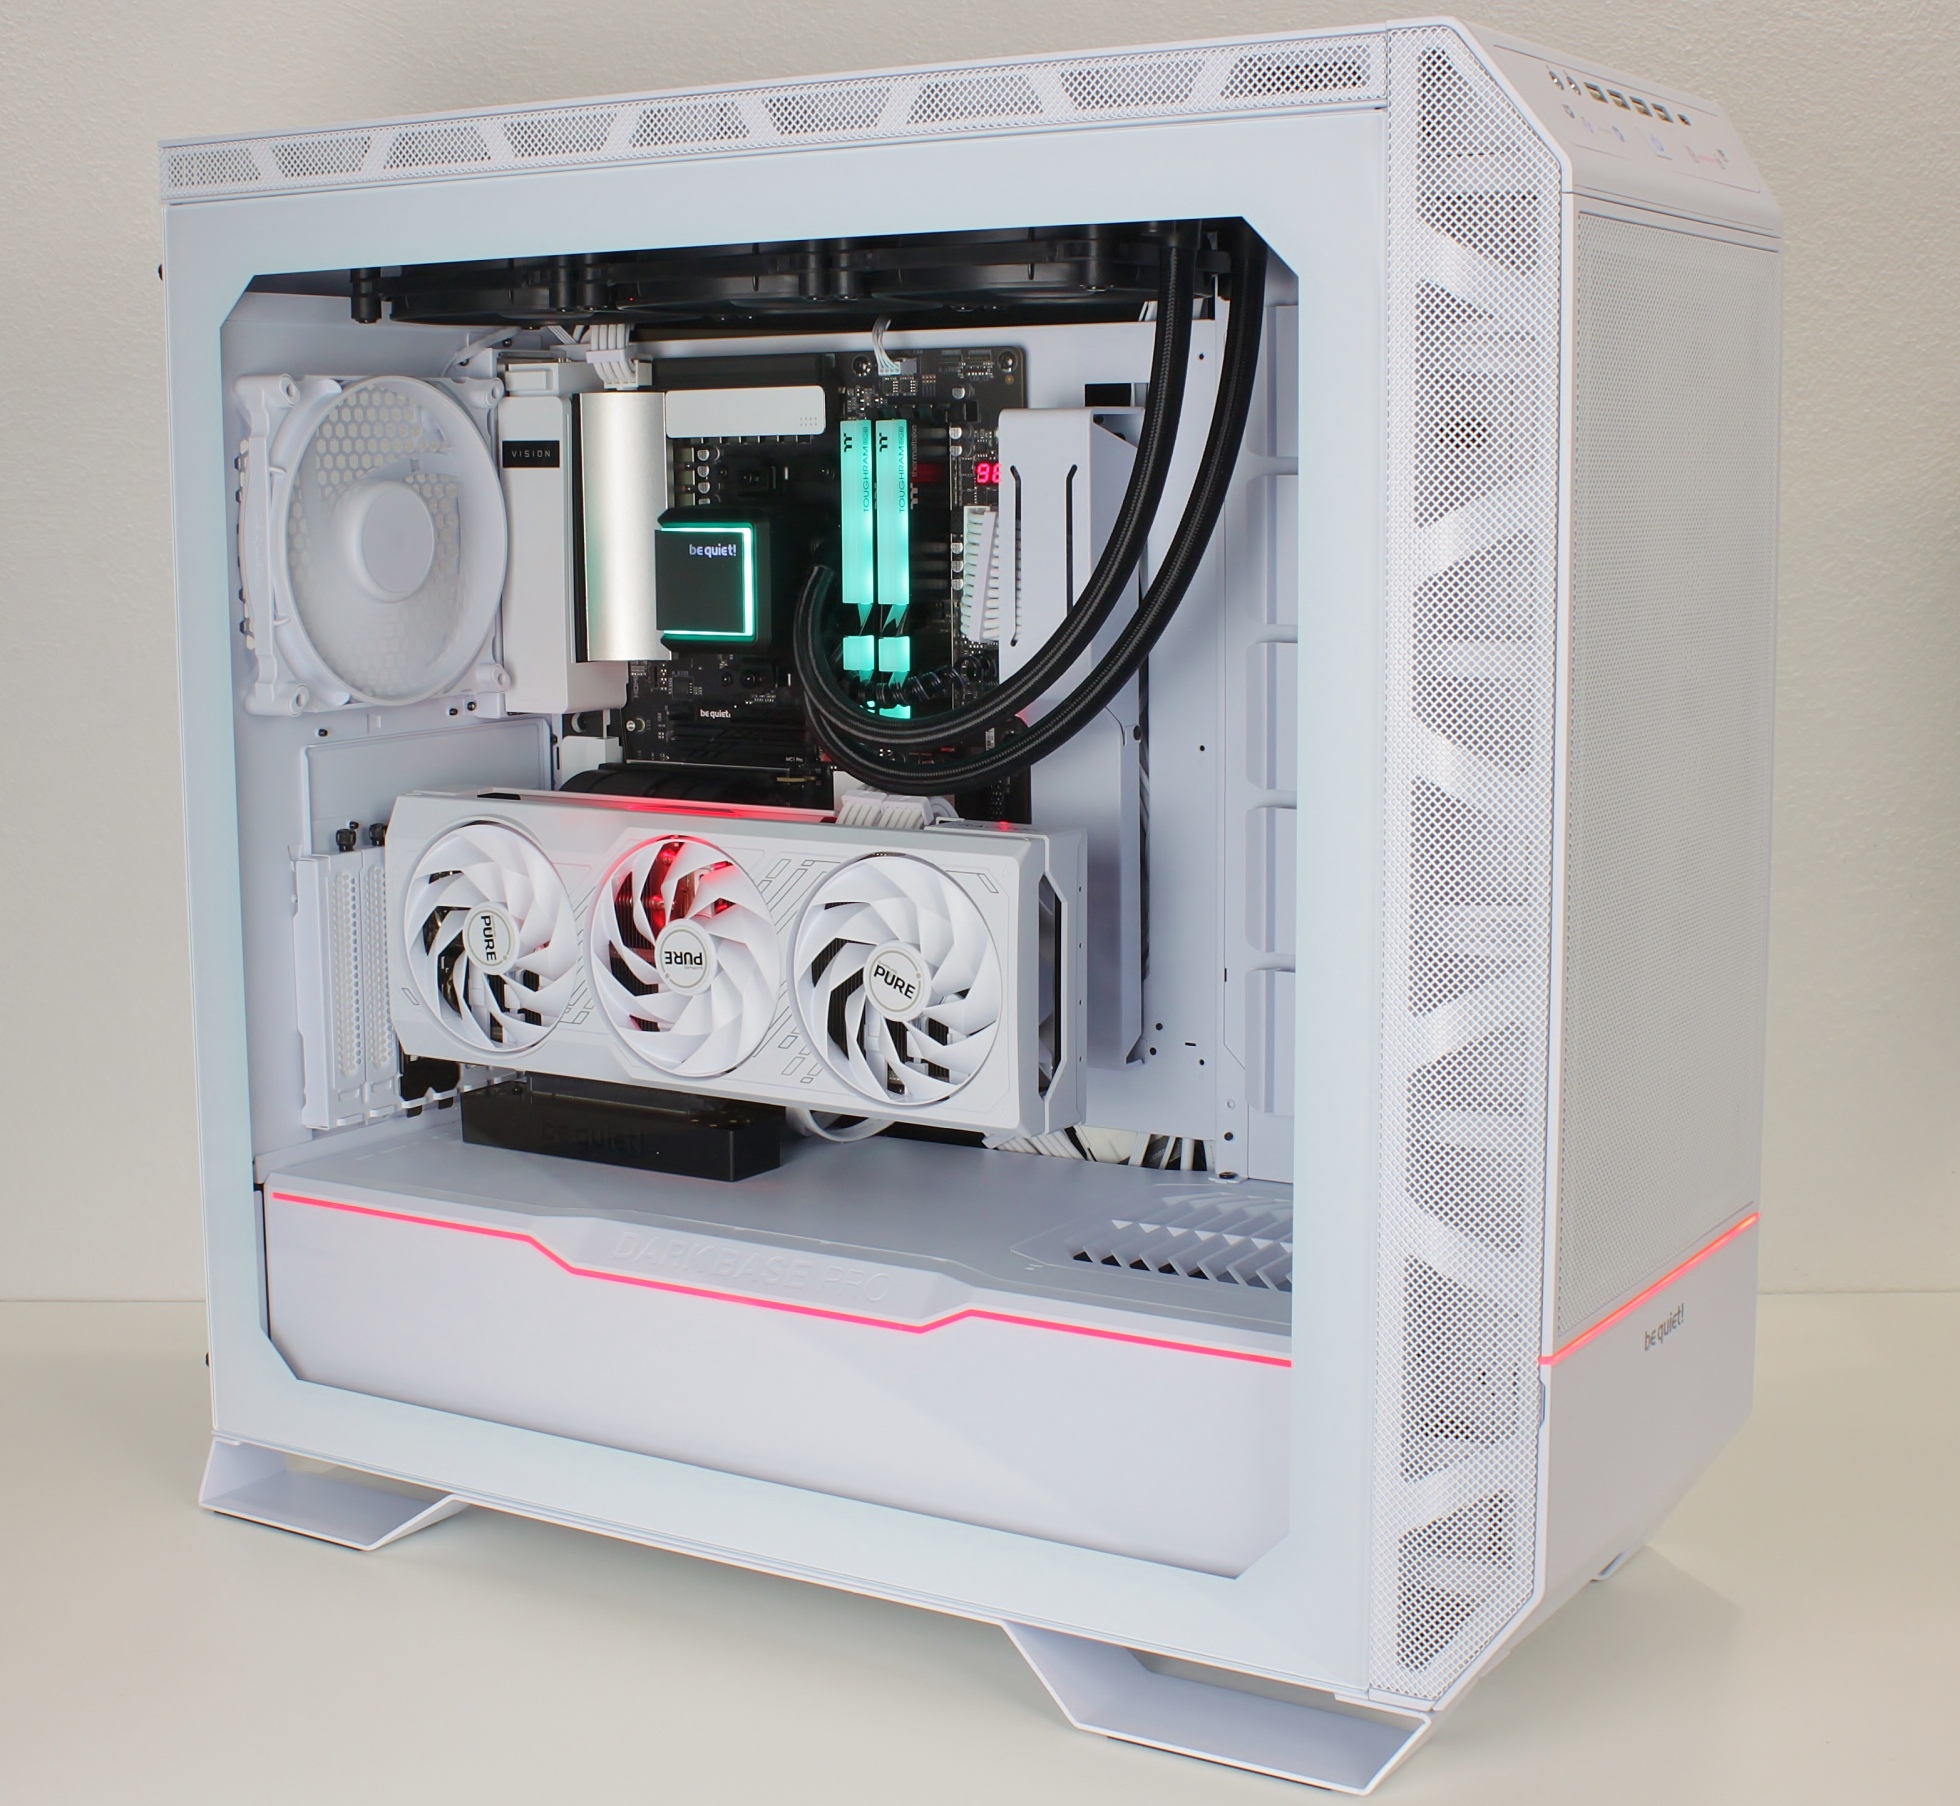
Everything ready?
Wait, stop, there’s still a little something to do..
It looks much better like this.
Close the flap.
And test run!


30 Antworten
Kommentar
Lade neue Kommentare
Mitglied
Neuling
Veteran
Mitglied
Veteran
Urgestein
Mitglied
Urgestein
Neuling
Veteran
Urgestein
Veteran
Veteran
Urgestein
Mitglied
Veteran
Veteran
Urgestein
Veteran
Alle Kommentare lesen unter igor´sLAB Community →