


The cooling principle is the same for both cards this time and MSI has also used this principle for the first time on the Expert. We will see later how well this works. First, let’s analyze the coolers and their design.
Teardown: The cooler of the NVIDIA RTX 4080 Super FE 16GB
Disassembling the card is relatively easy if you follow the rules a little and don’t have two left hands, but do have the right tools.
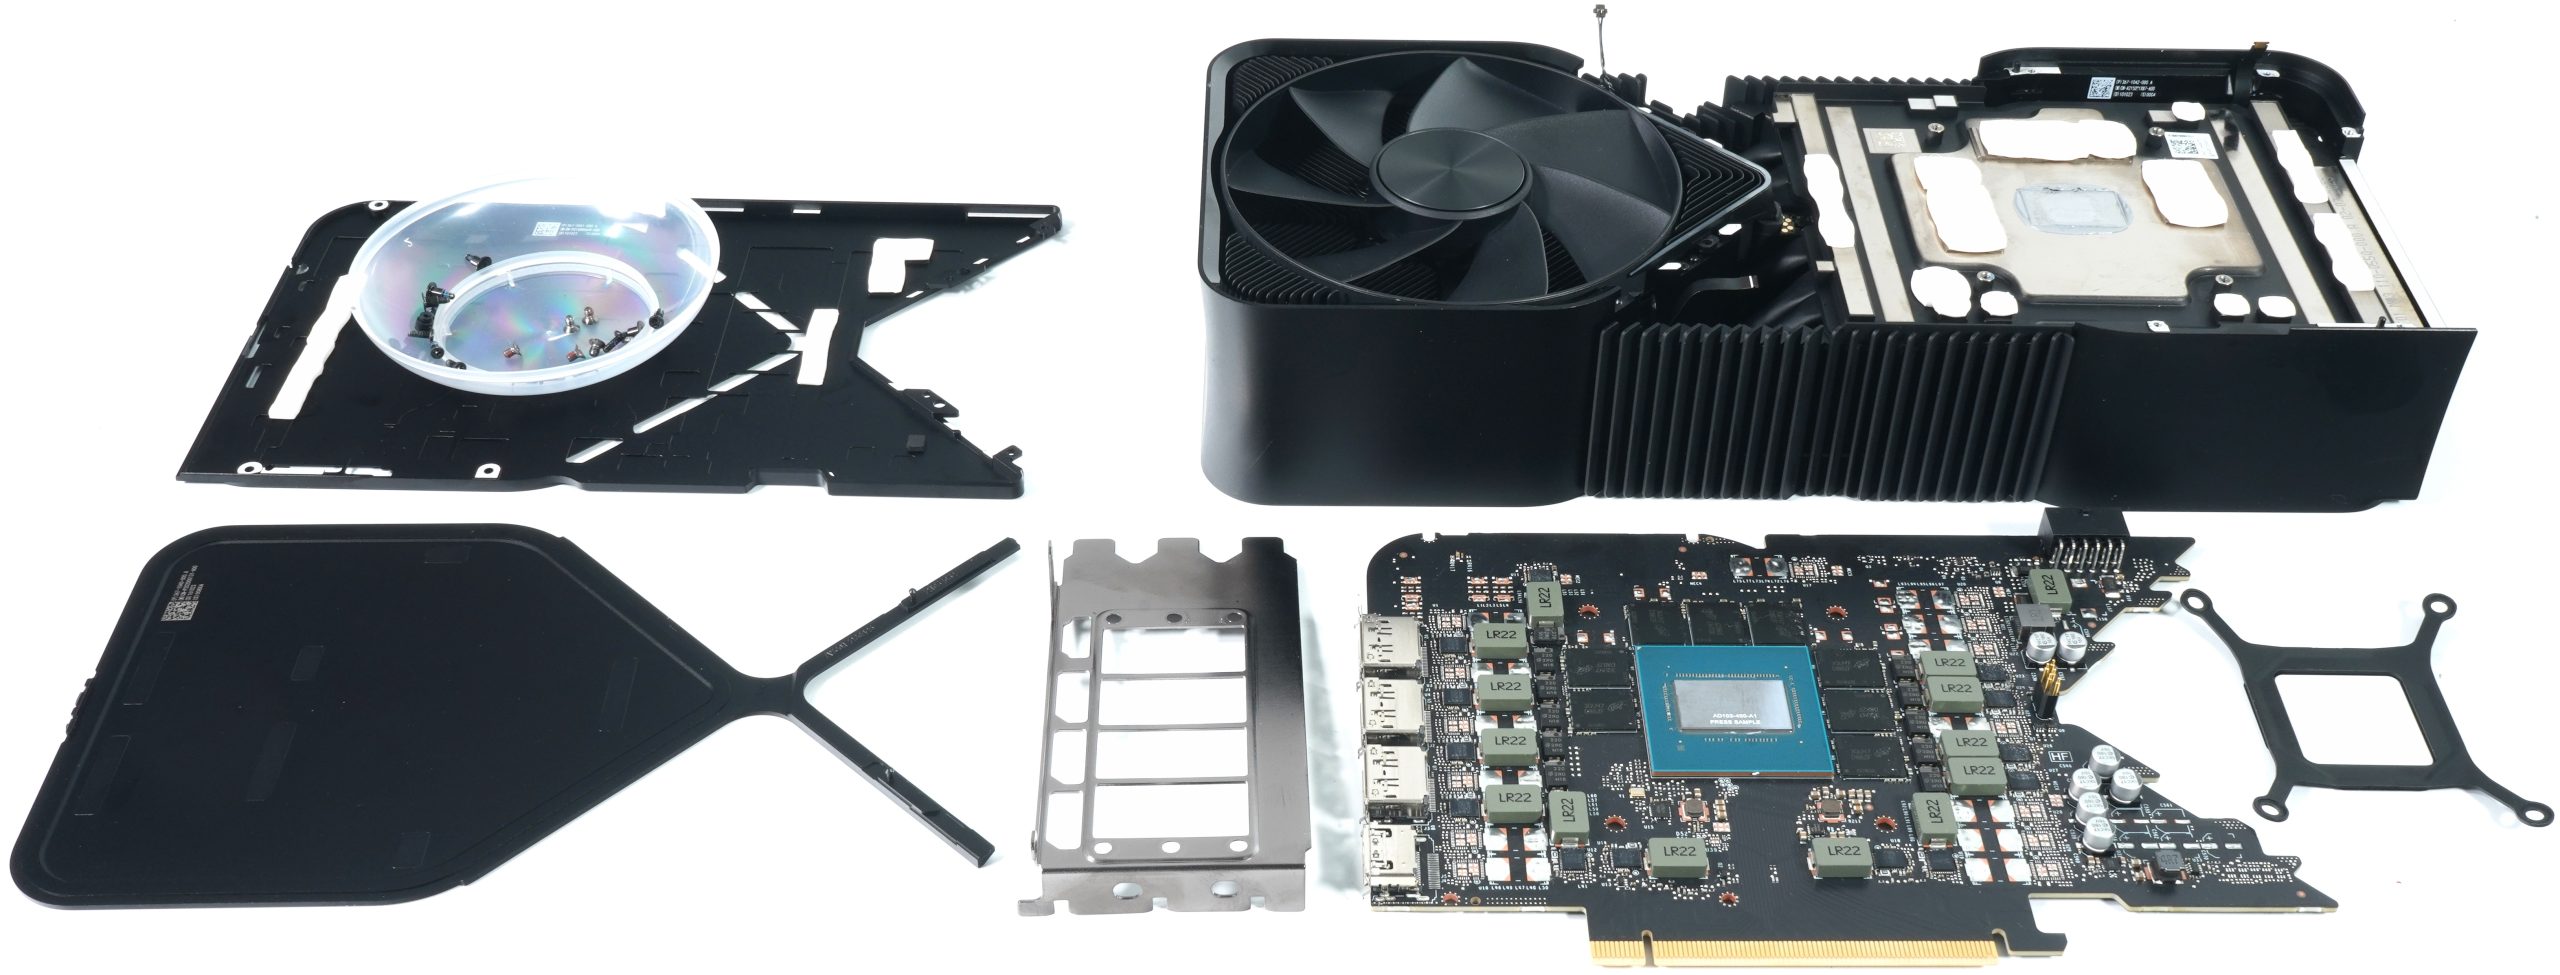
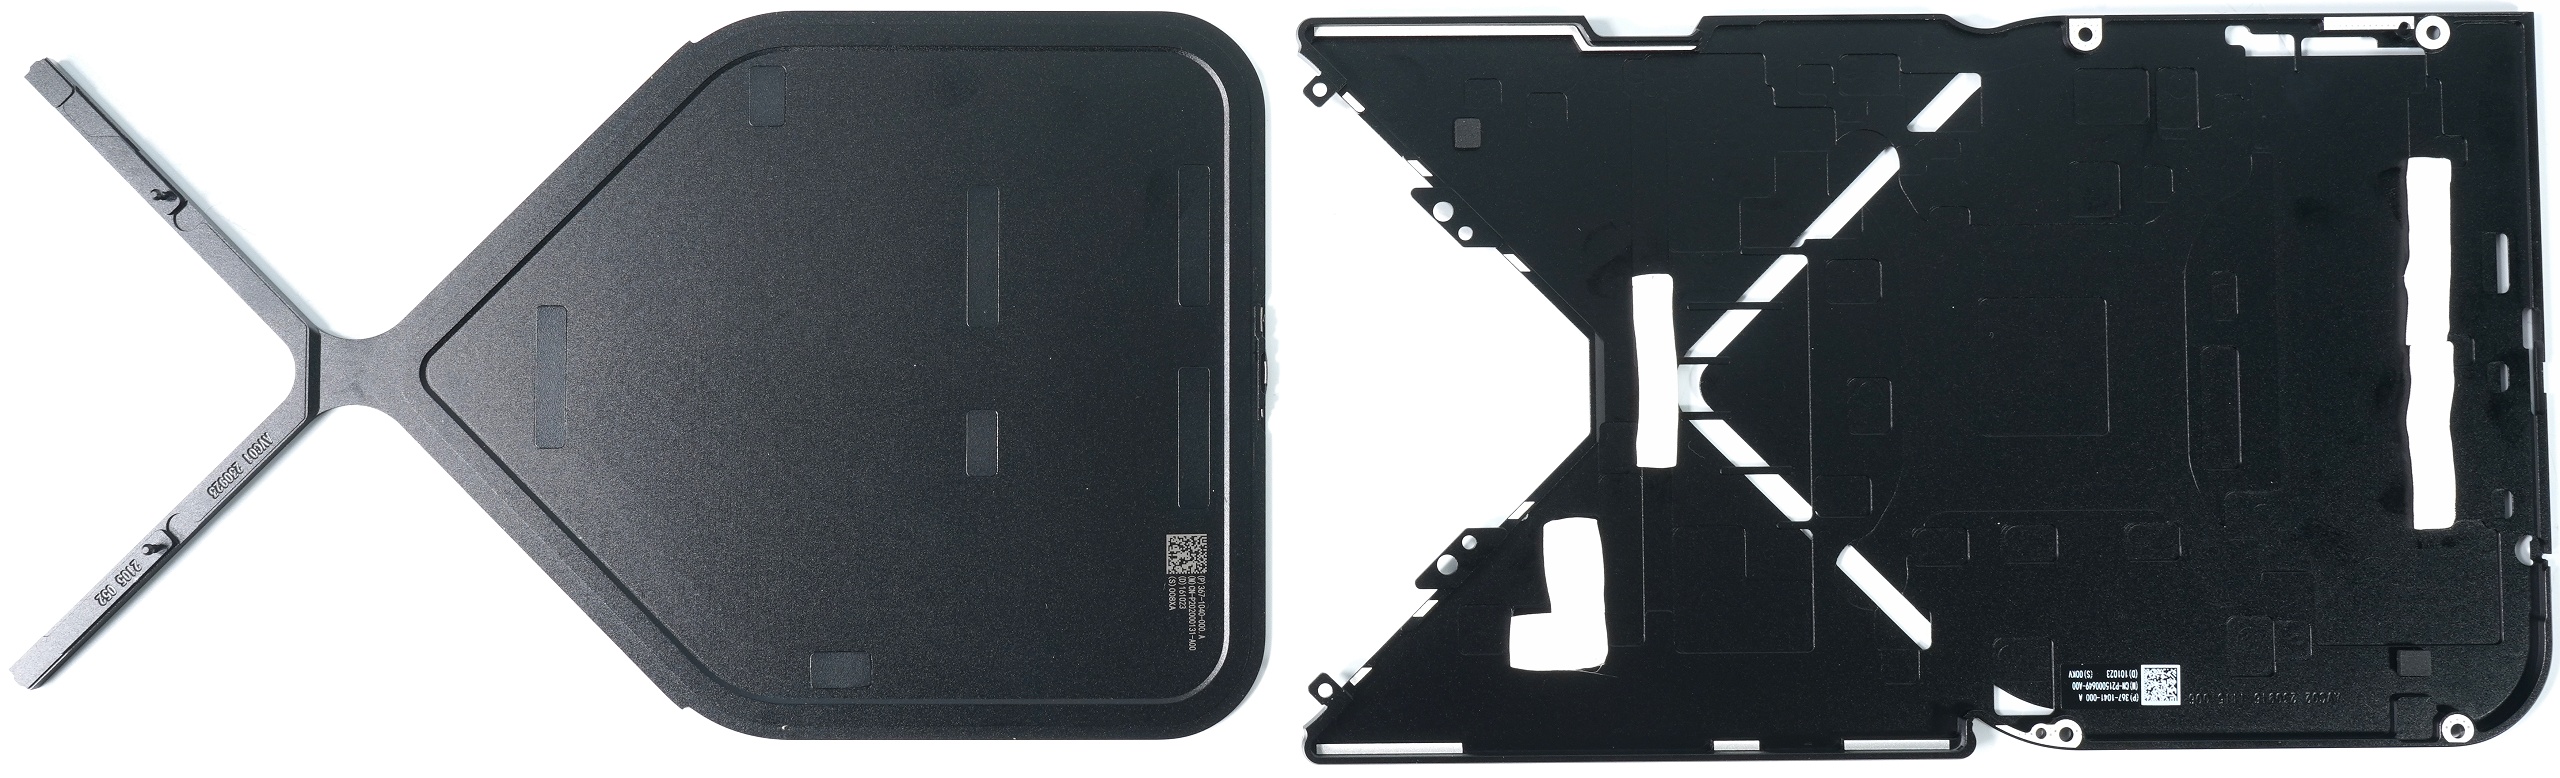
The backplate sandwich actually consists of two layers: the outer cover with the super lettering and magnets, and the actual backplate, which also contains various pads for passive cooling. And yes, I am pleased that NVIDIA has included my pad mod near the 12V2x6 connector in the FE series.
There are no major changes to the cooler, as the company has opted for a massive vapor chamber instead of a simple copper heatsink, as was the case with the RTX 4090. This really pays off in the end, as we will see later with the temperatures. The memory is thermally connected directly to the base of the vapor chamber, which is a good choice. In addition, all relevant voltage converters are also cooled via the solid support frame.
The memory once again relies on the thick “crumb” pads for cooling and they even go so far as to interlock the contact surface in order to achieve a larger surface area. This has never been seen in this form on graphics cards other than the RTX 4080. But it works, as we will see later.

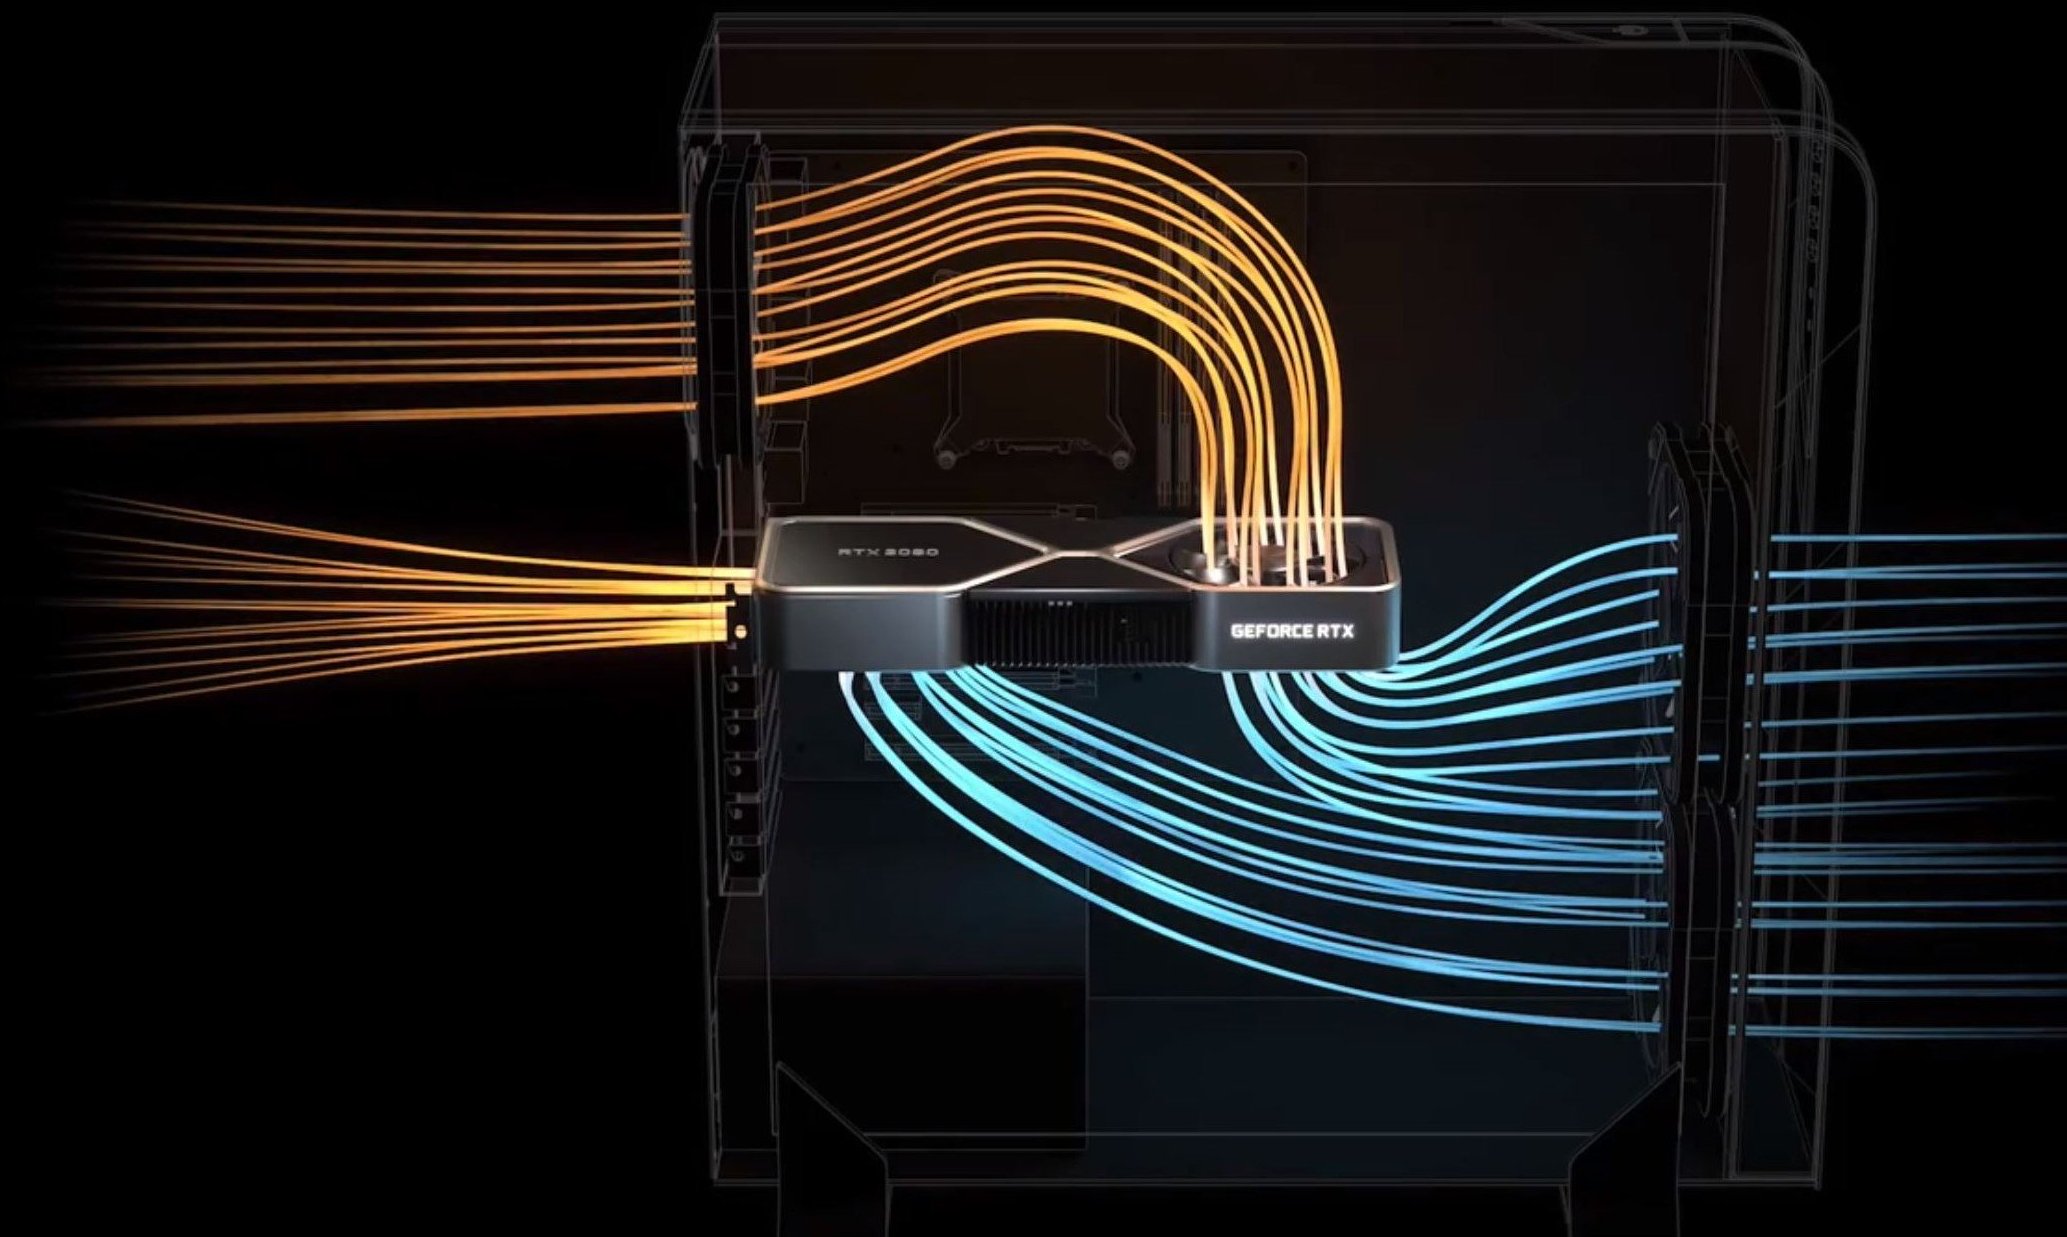
The two 11.5 cm fans each have seven steeply inclined, very large rotor blades and are still relatively tolerable up to approx. 1500 rpm, and even extremely quiet up to approx. 1000 rpm. The card occupies three slots and most of the weight is borne by the actual cooling construction. The pull-through principle has been written about often enough, so I’ll save the redundancy at this point.
Teardown: The cooler of the MSI RTX 4080 Super Expert 16GB
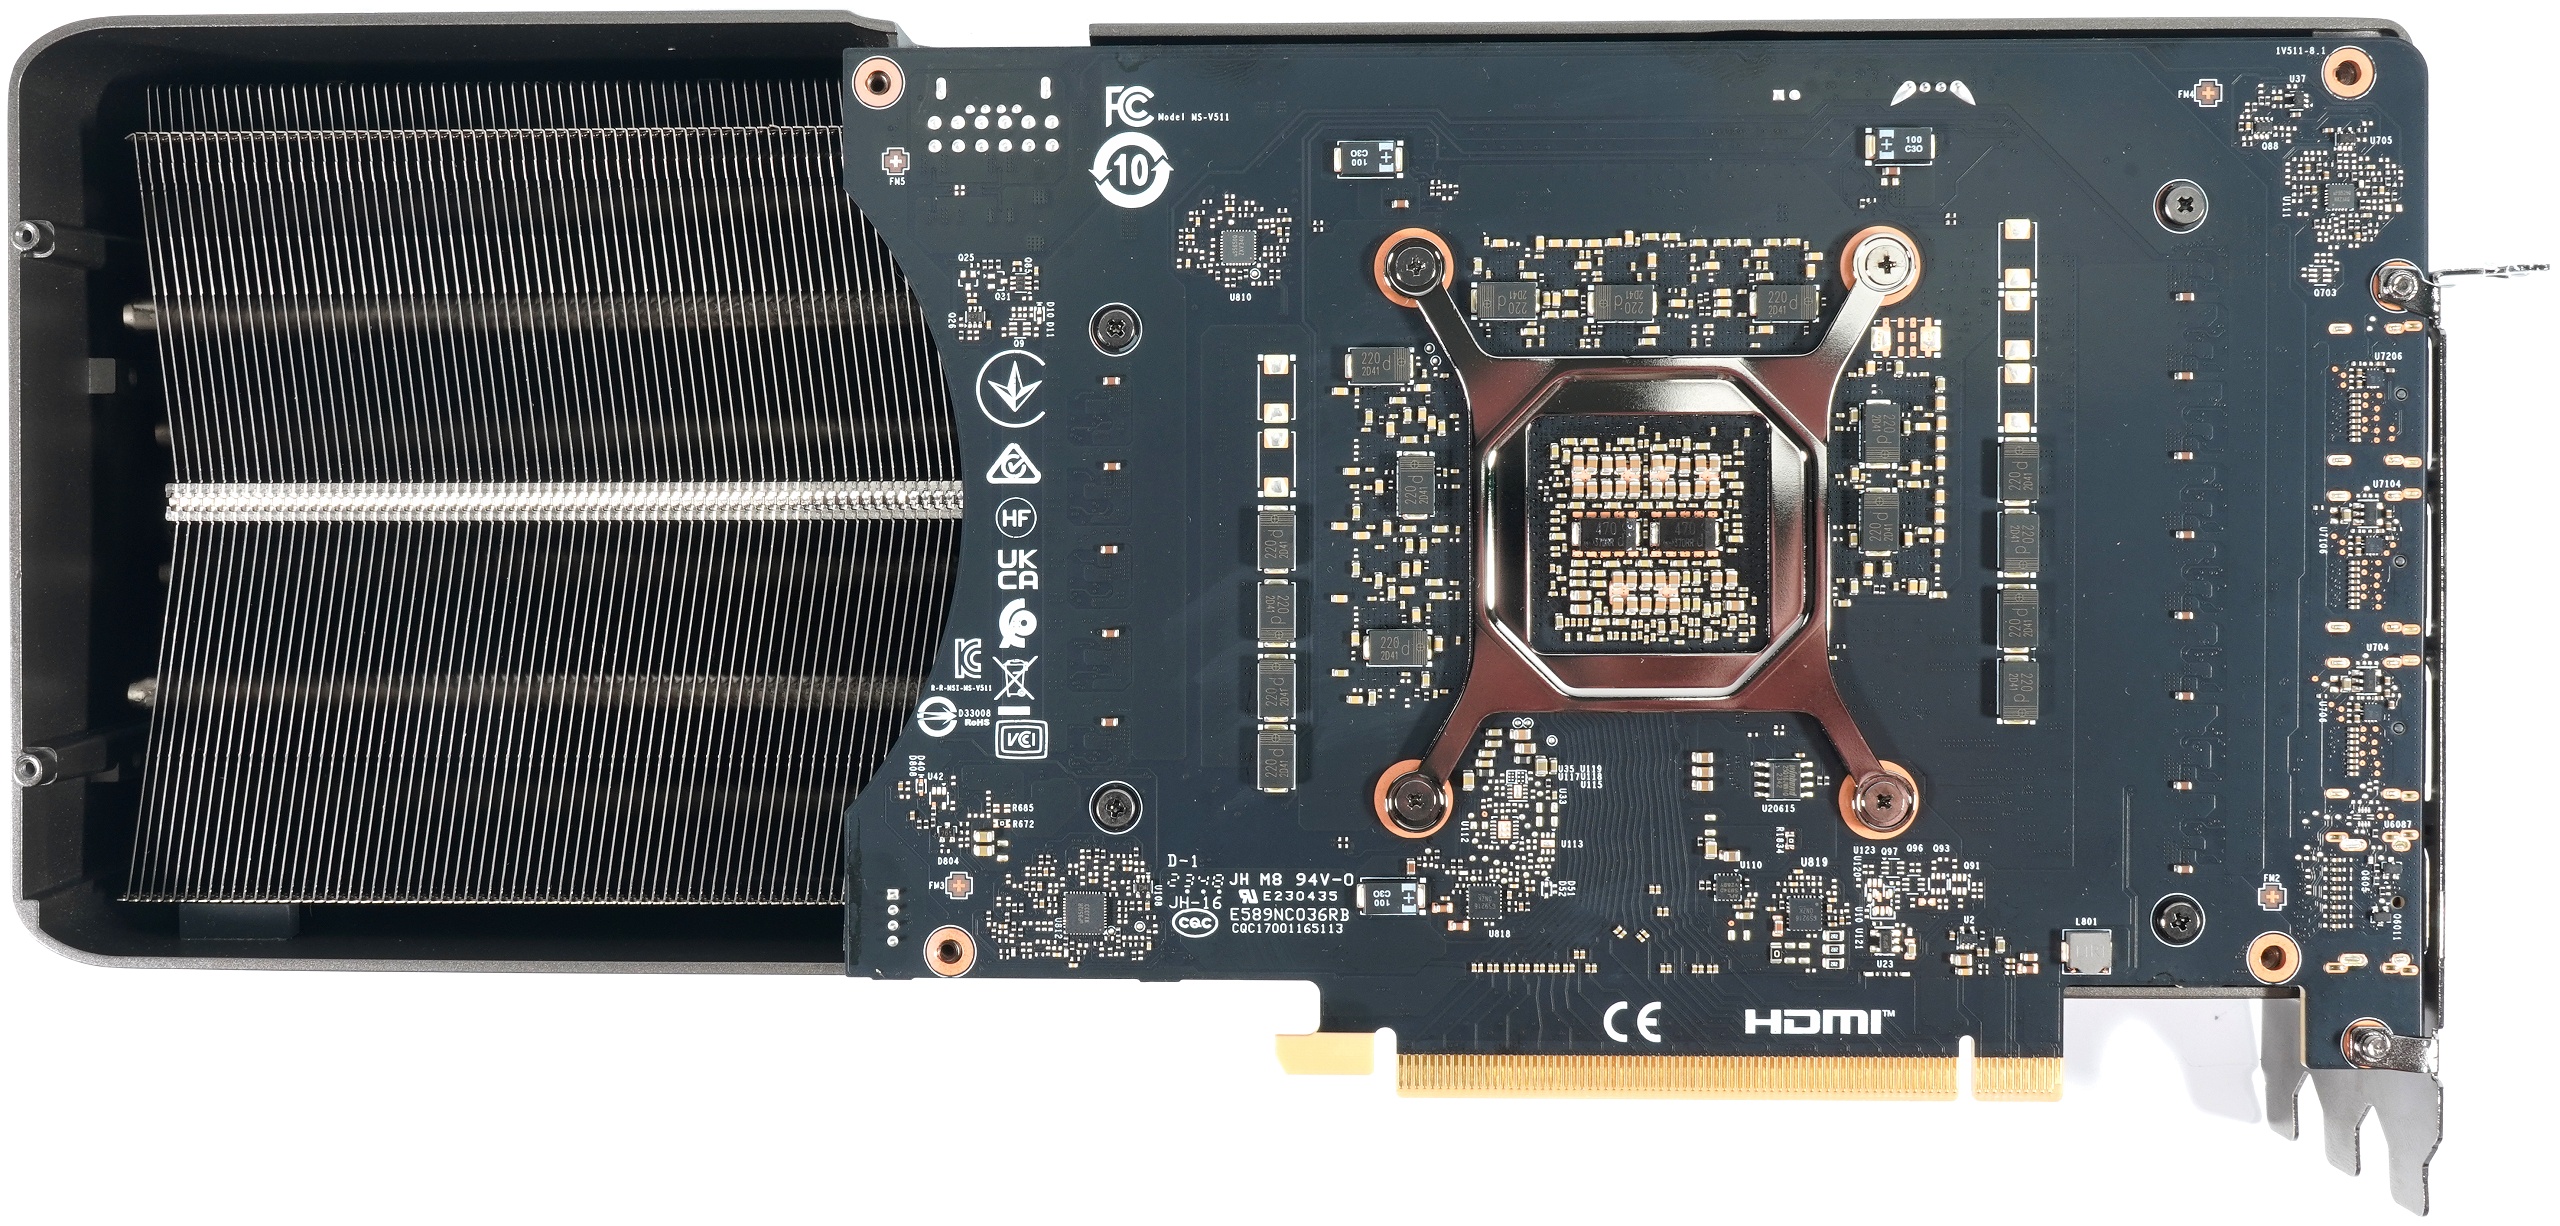
The extremely massive backplate on the rear is not screwed in from the top of the board, which is why it has rarely been easier to remove. Just six screws (and no seal!) and it’s gone.
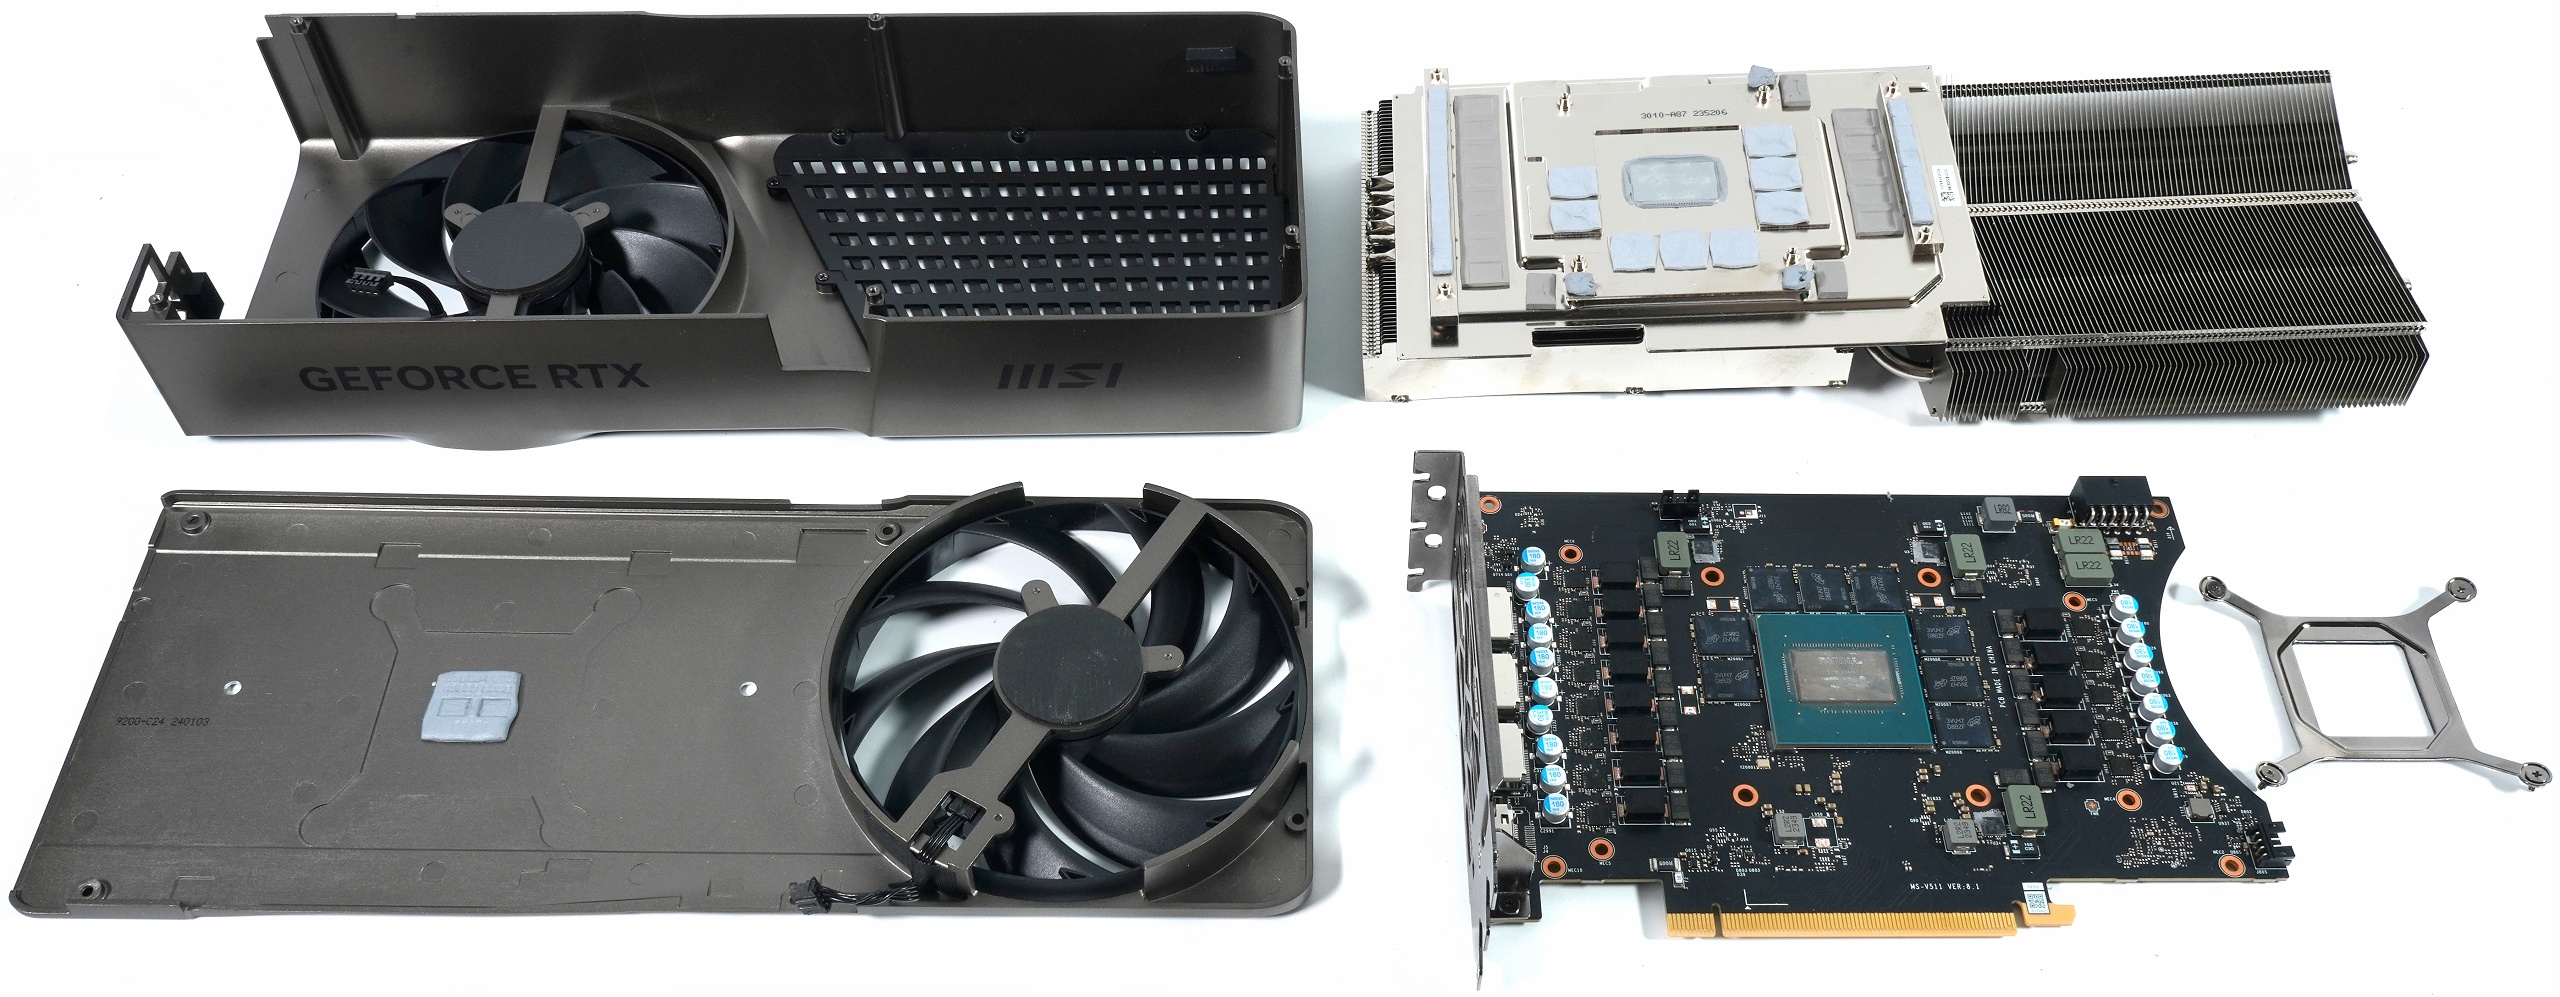
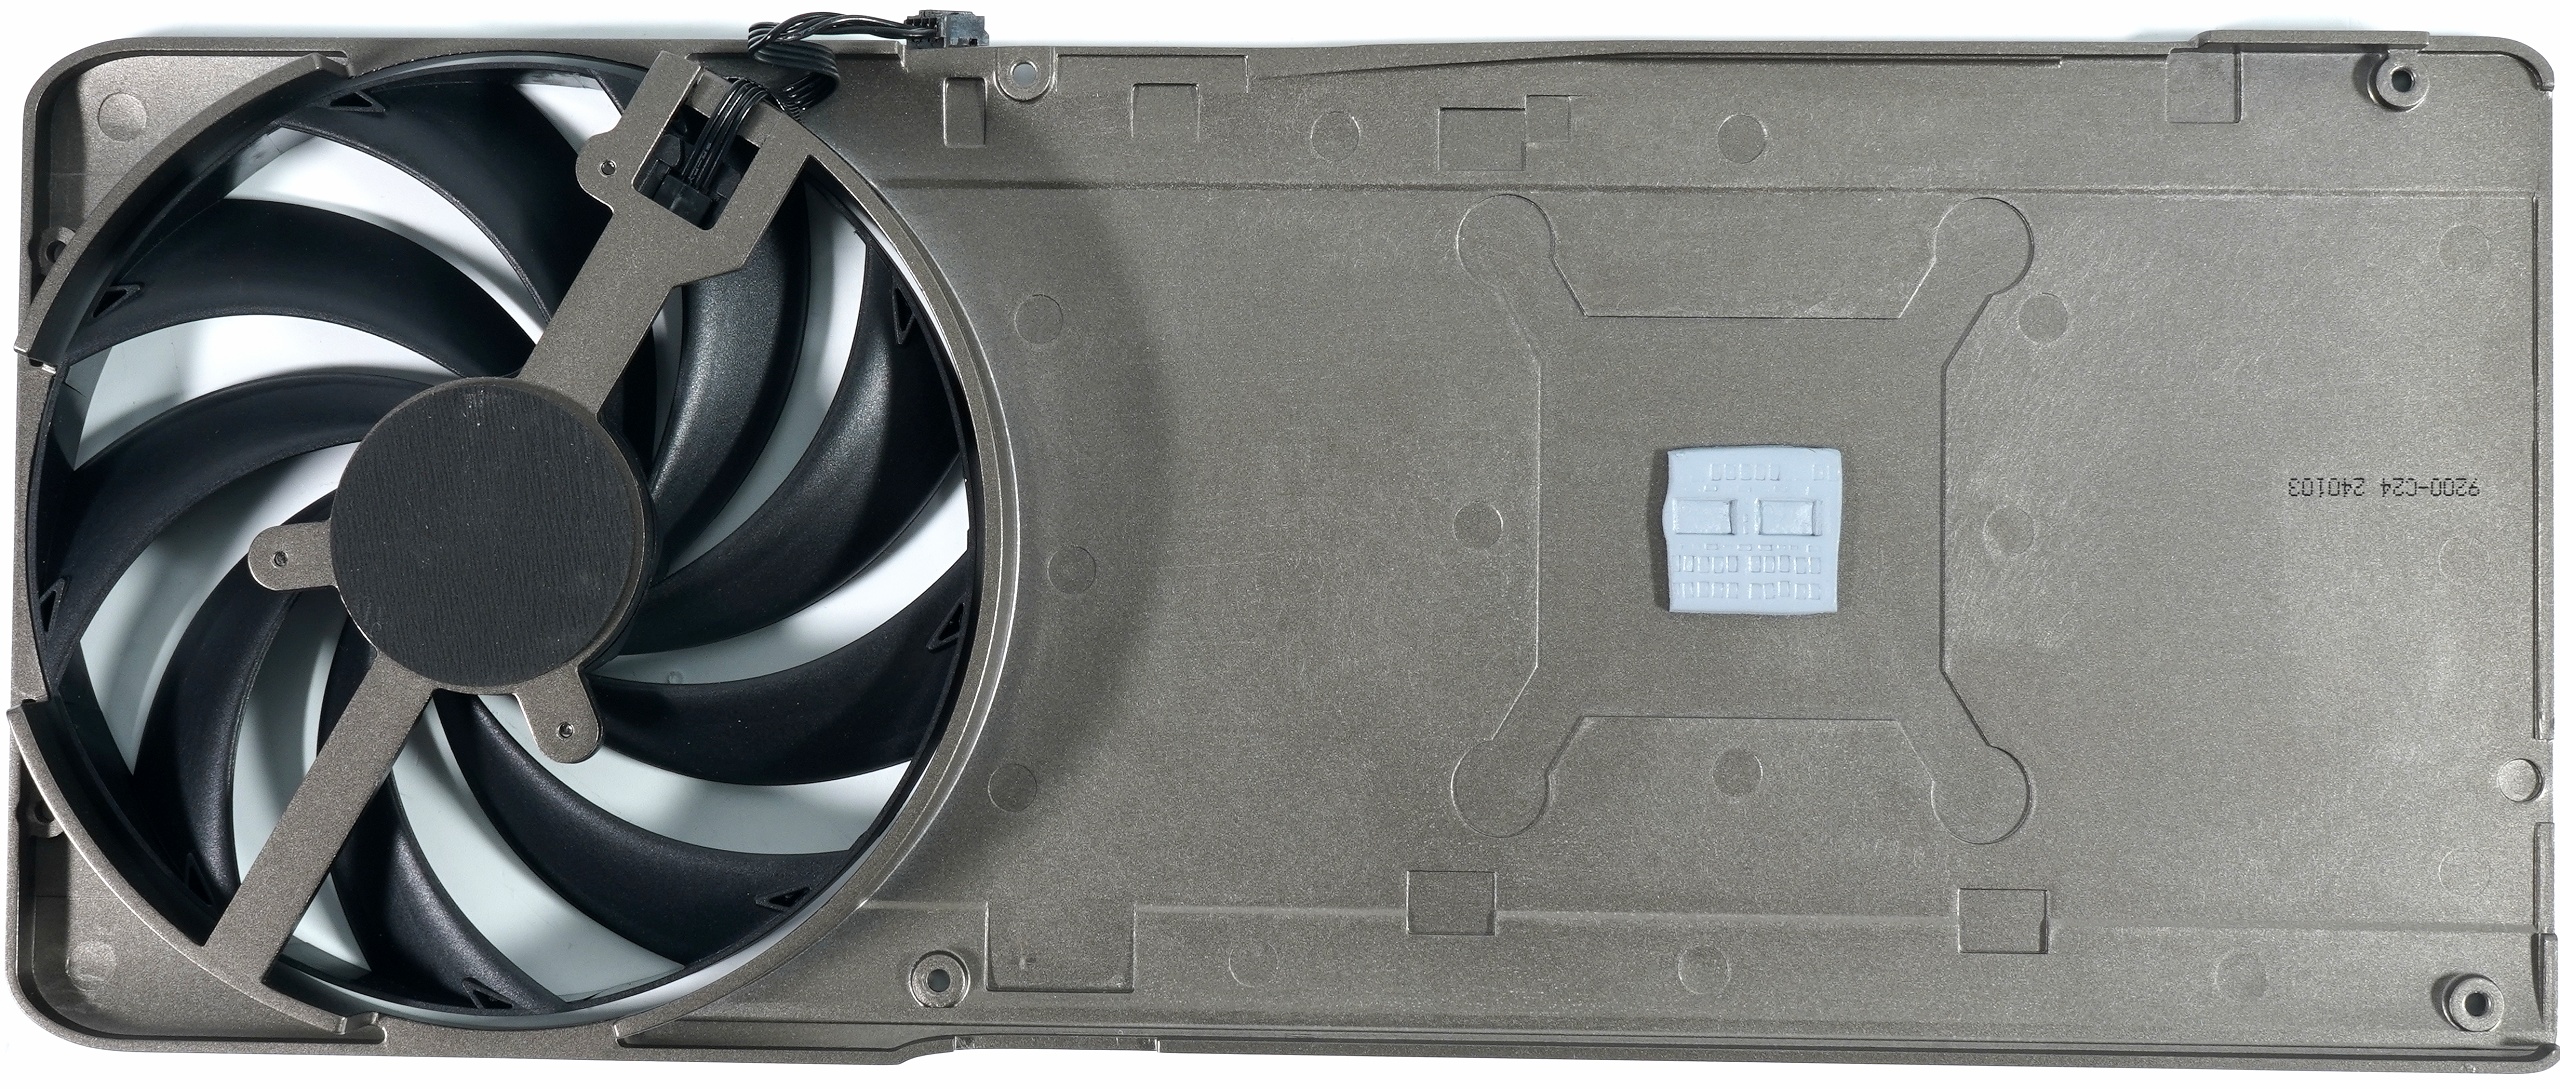
And if you read my articles carefully, you won’t be surprised that a pad underneath the GPU provides thermal relief. It is also interesting that MSI has installed the second rear fan in pull mode on the backplate as a support. This is not the case with the FE and I actually like MSI’s solution much better because it is not so small.
If you remove this backplate, the back of the board is exposed. Here too, at least on my card, there are no more seals.
 The body can also be removed very easily by simply unscrewing and removing the board and cooler using two screws on the slot bracket.
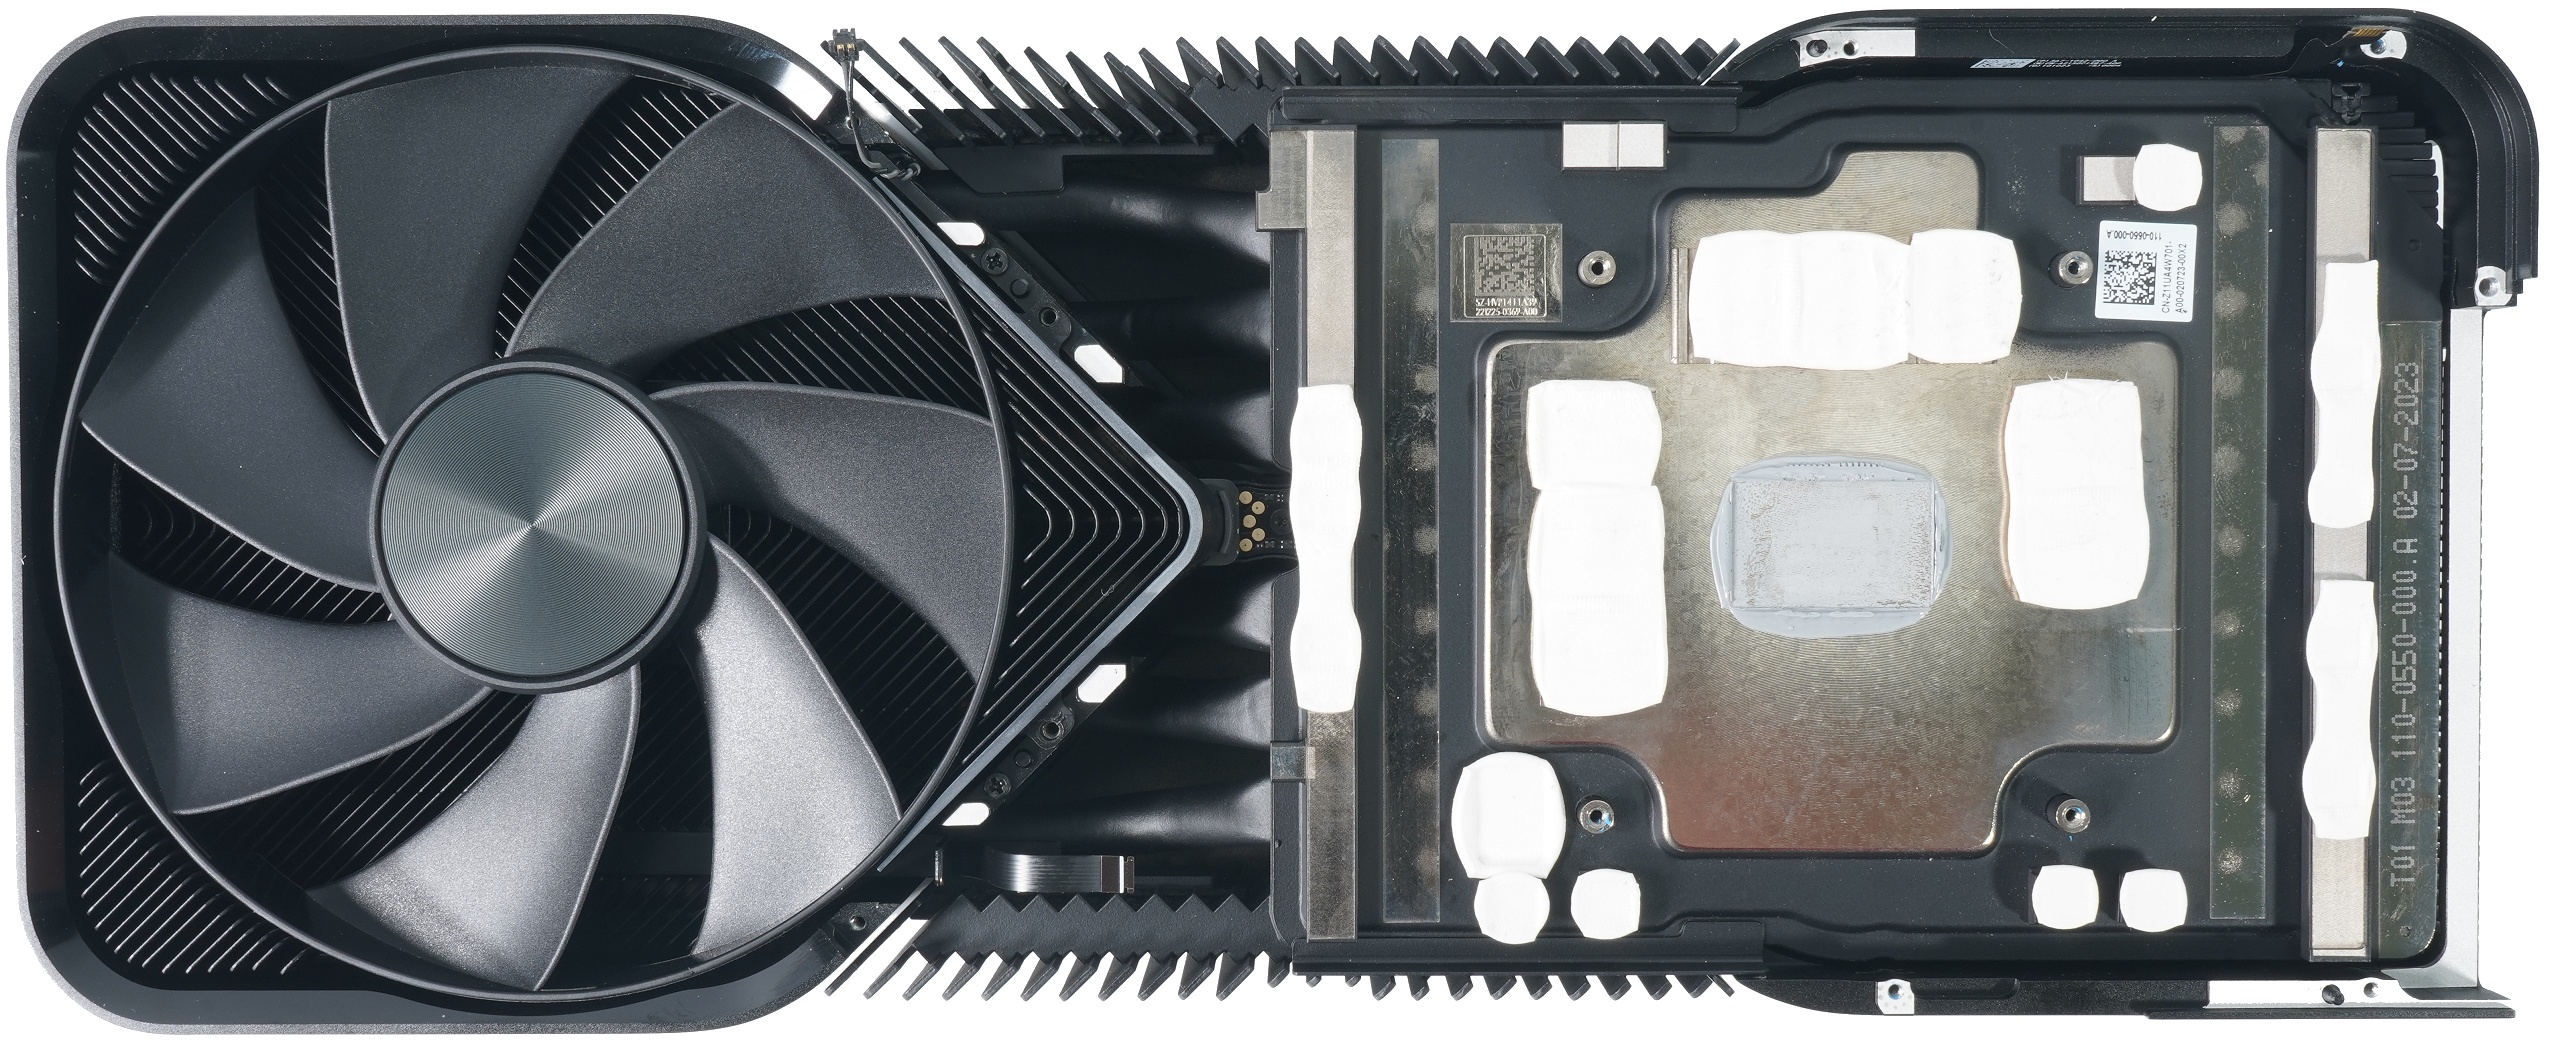
The rest of the story is then quickly told. Instead of a solid copper heatsink, a high-performance vapor chamber with soldered-on copper heatsinks for the memory and the MOSFETs and a total of six nickel-plated heatpipes are used again. But I’ll refer you to the next page, because this time there will also be a material analysis, which didn’t come as a big surprise. By the way, the pads used here are ok, i.e. ultra-soft and relatively thick. So please read on with excitement!

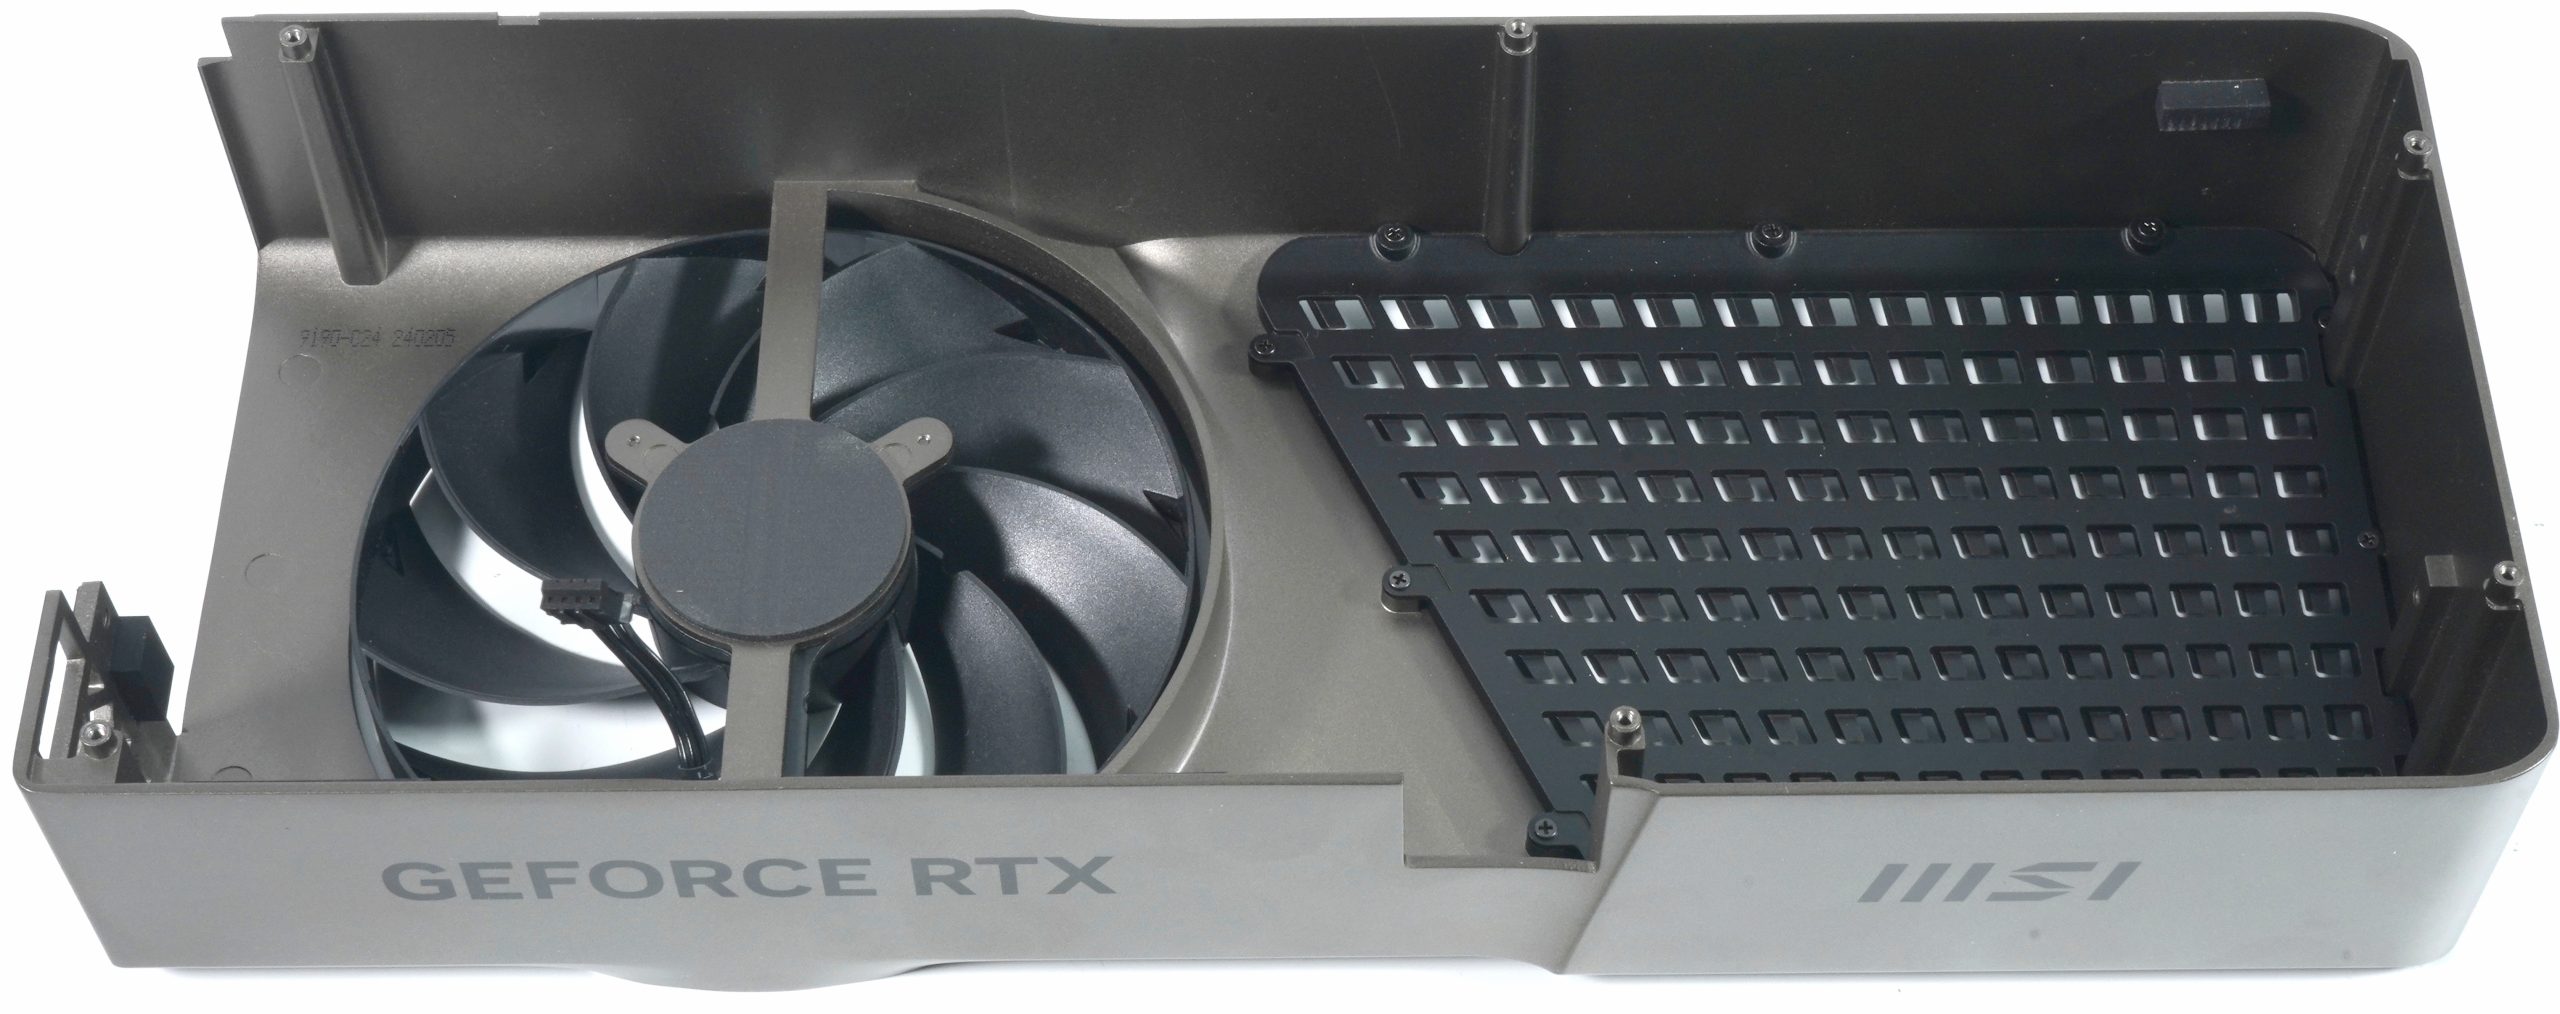
The two fans (front push, rear pull) each have a rotor diameter of 11.8 cm in the 12 cm opening and rely on 9 rotor blades with an outer ring to focus the air and increase pressure. This explains the principle sufficiently, with the front fan above the GPU being able to rotate at a maximum of 2800 rpm and the rear fan at a maximum of 2600 rpm.

- 1 - Introduction, technical data and technology
- 2 - Unboxing and technical details of both cards
- 3 - Test system and measuring equipment
- 4 - Teardown: PCB and components
- 5 - Teardown: Cooler and fans
- 6 - Material analysis: NVIDIA RTX 4080 Super FE 16GB
- 7 - Material analysis: MSI RTX 4080 Super Expert 16GB
- 8 - Gaming-Performance WQHD (2560 x 1440)
- 9 - Gaming Performance Ultra-HD (3840 x 2160)
- 10 - Gaming Performance DLSS vs. FSR
- 11 - Gaming performance with Frame Generation
- 12 - Latencies and lags
- 13 - Workstation graphics and rendering
- 14 - Details: Power consumption and load balancing
- 15 - Load peaks, capping and power supply recommendation
- 16 - Temperatures, clock rates and infrared analysis
- 17 - Fan curves, noise level and audio samples
- 18 - Summary and conclusion


38 Antworten
Kommentar
Lade neue Kommentare
Veteran
Urgestein
Mitglied
Mitglied
Urgestein
Veteran
Veteran
Urgestein
Urgestein
Urgestein
Urgestein
Moderator
Veteran
Urgestein
Mitglied
Urgestein
Urgestein
Alle Kommentare lesen unter igor´sLAB Community →