


Test setup
For technical reasons, the comparison to the RTX 3000 series is missing again today, but it was more important to me, as I already wrote in the other launch articles, to first test all new cards from NVIDIA and AMD with a new system, more suitable games and new drivers completely from scratch. The now second mainboard of the old system had unfortunately also given up the ghost after the first new benchmarks (certainly not unexpected after over 100 graphics card and CPU changes), but unfortunately a replacement could not be found so quickly. That’s why I switched to a private Core i9-13900K, which I could easily raise to KS level and thus also to the level of an i9-14900K. Sometimes binning pays off after all. Once again in fast-forward: Once again, I’m using an existing Intel system with a Core i9-13900K overclocked to 6 GHz, 32 GB of RAM (2x 16 GB) in the form of the Corsair Dominator Platinum DDR5 6400 (XMP profile active) on an MSI MEG Z690 Unify. Two 2TB NVMe SSDs from Corsair and MSI are used, as well as an AiO compact water cooling system based on the Alphacool Eisbär Pro for the CPU.
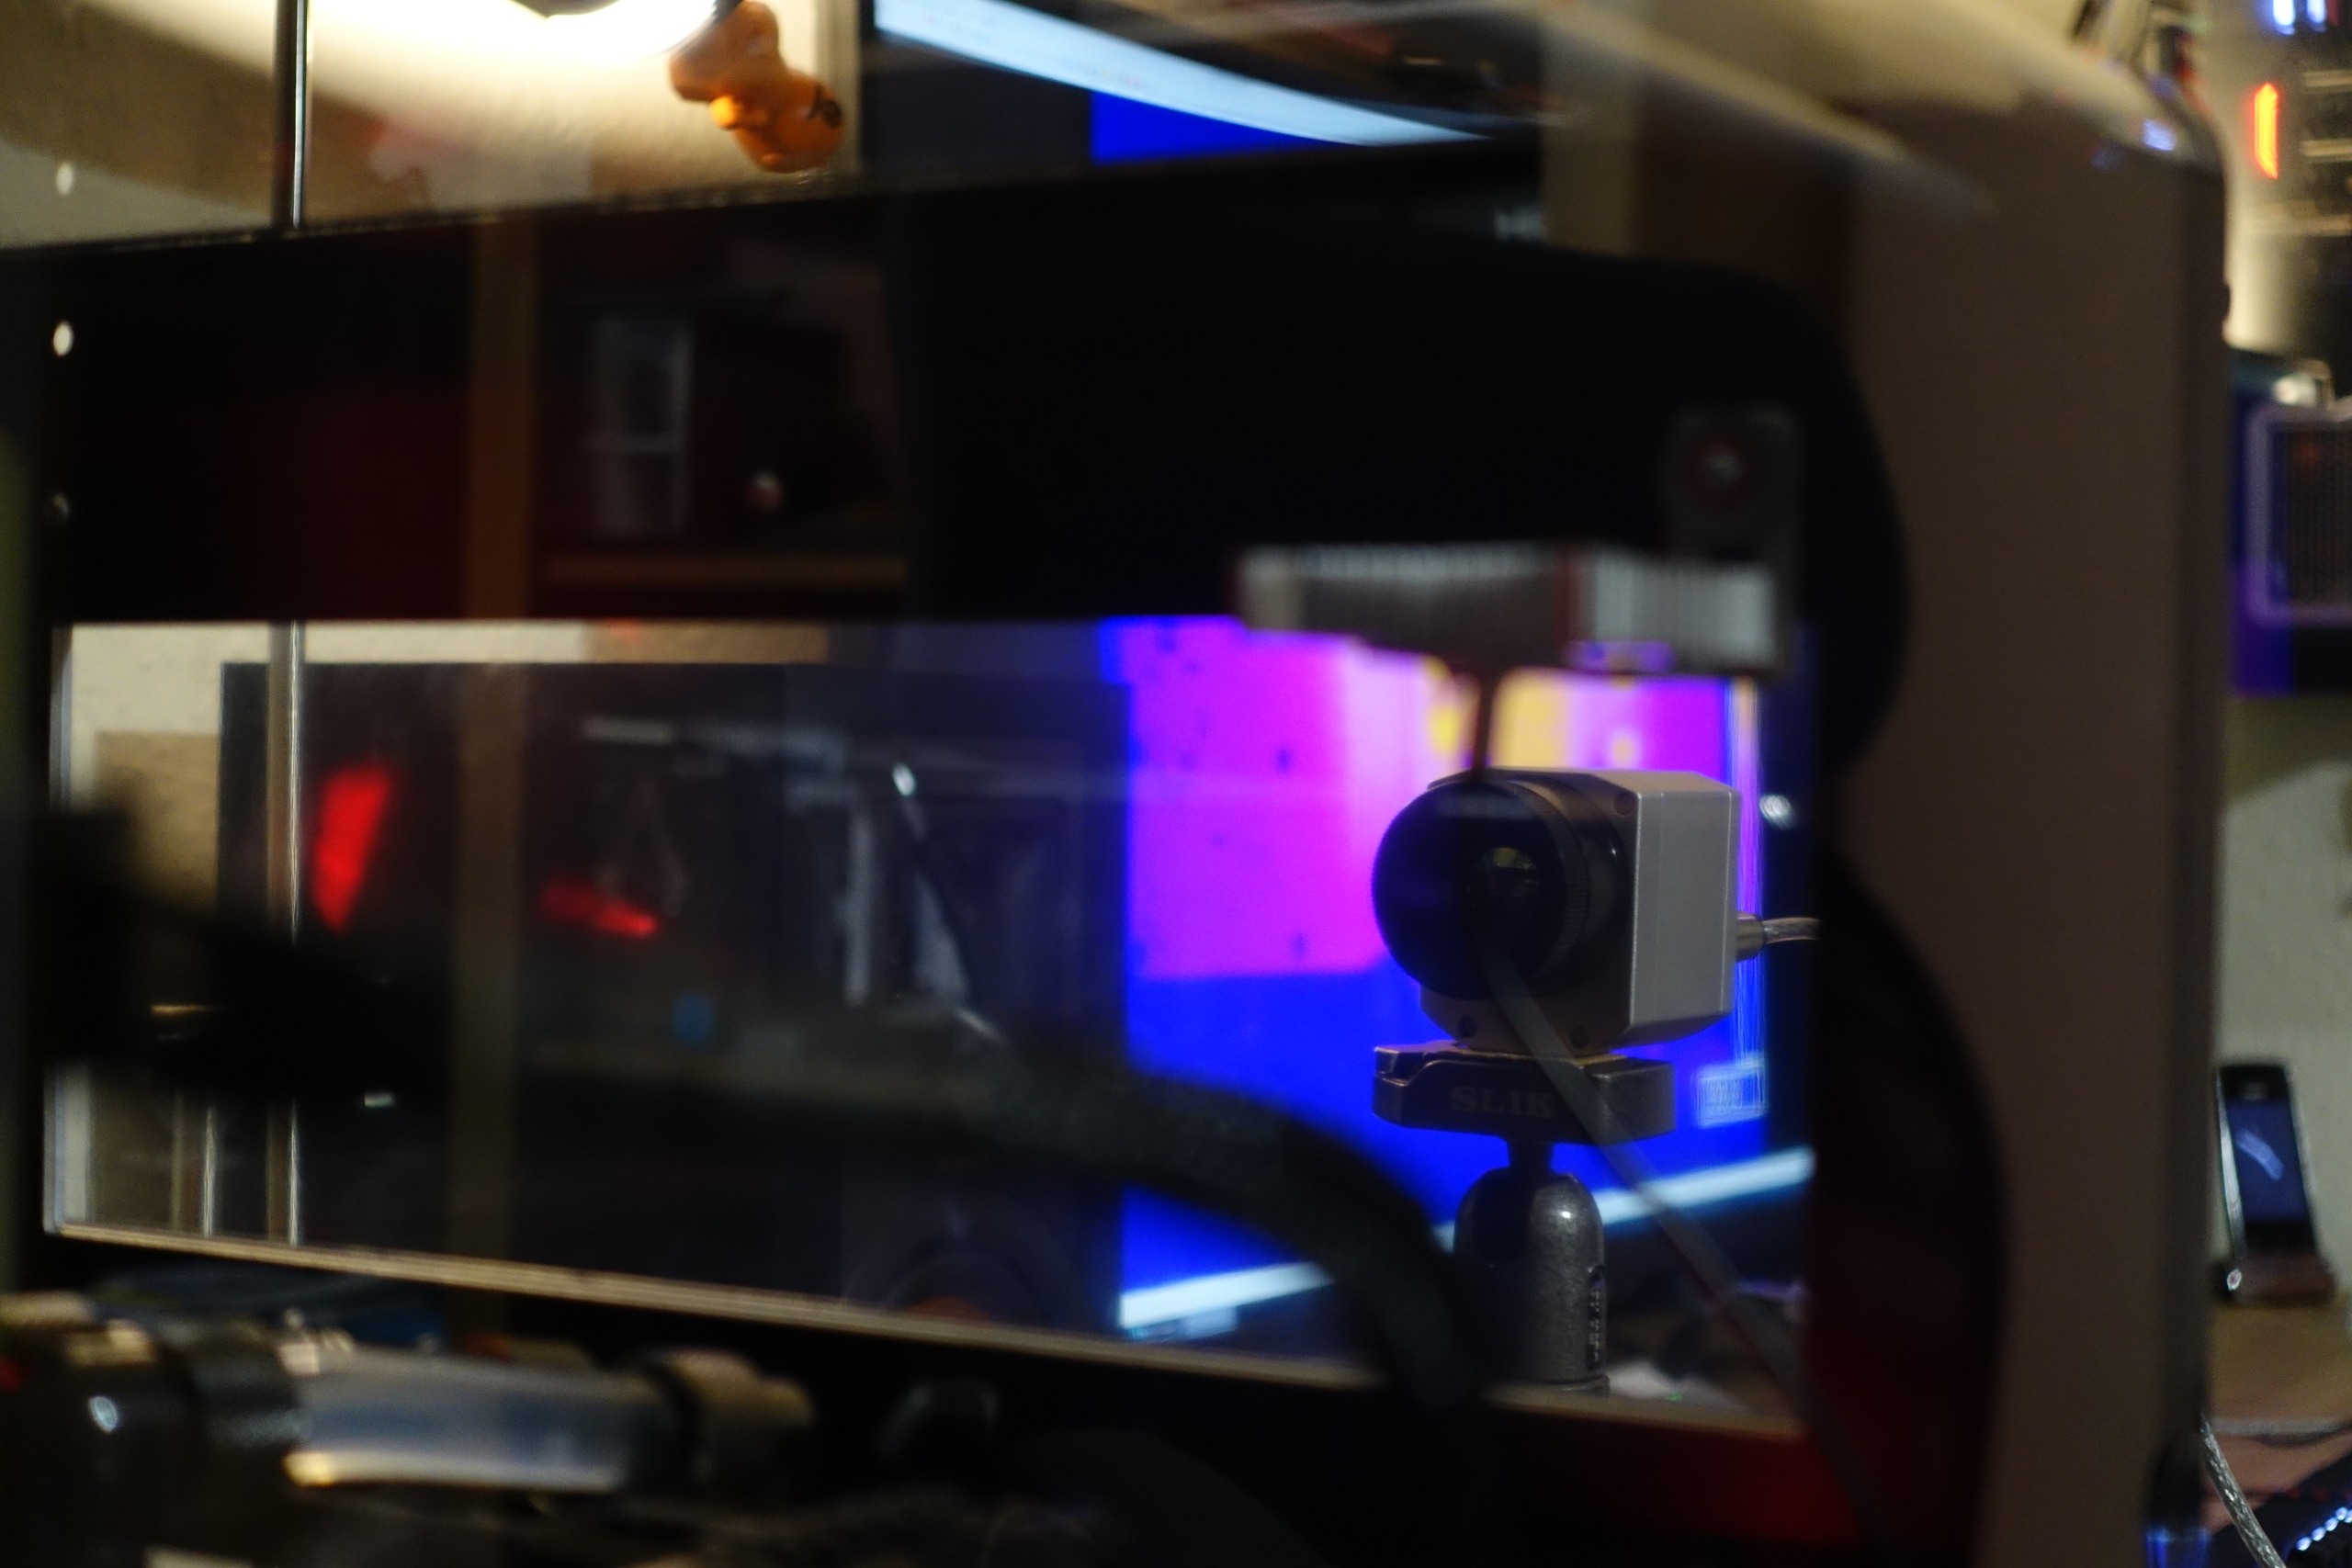
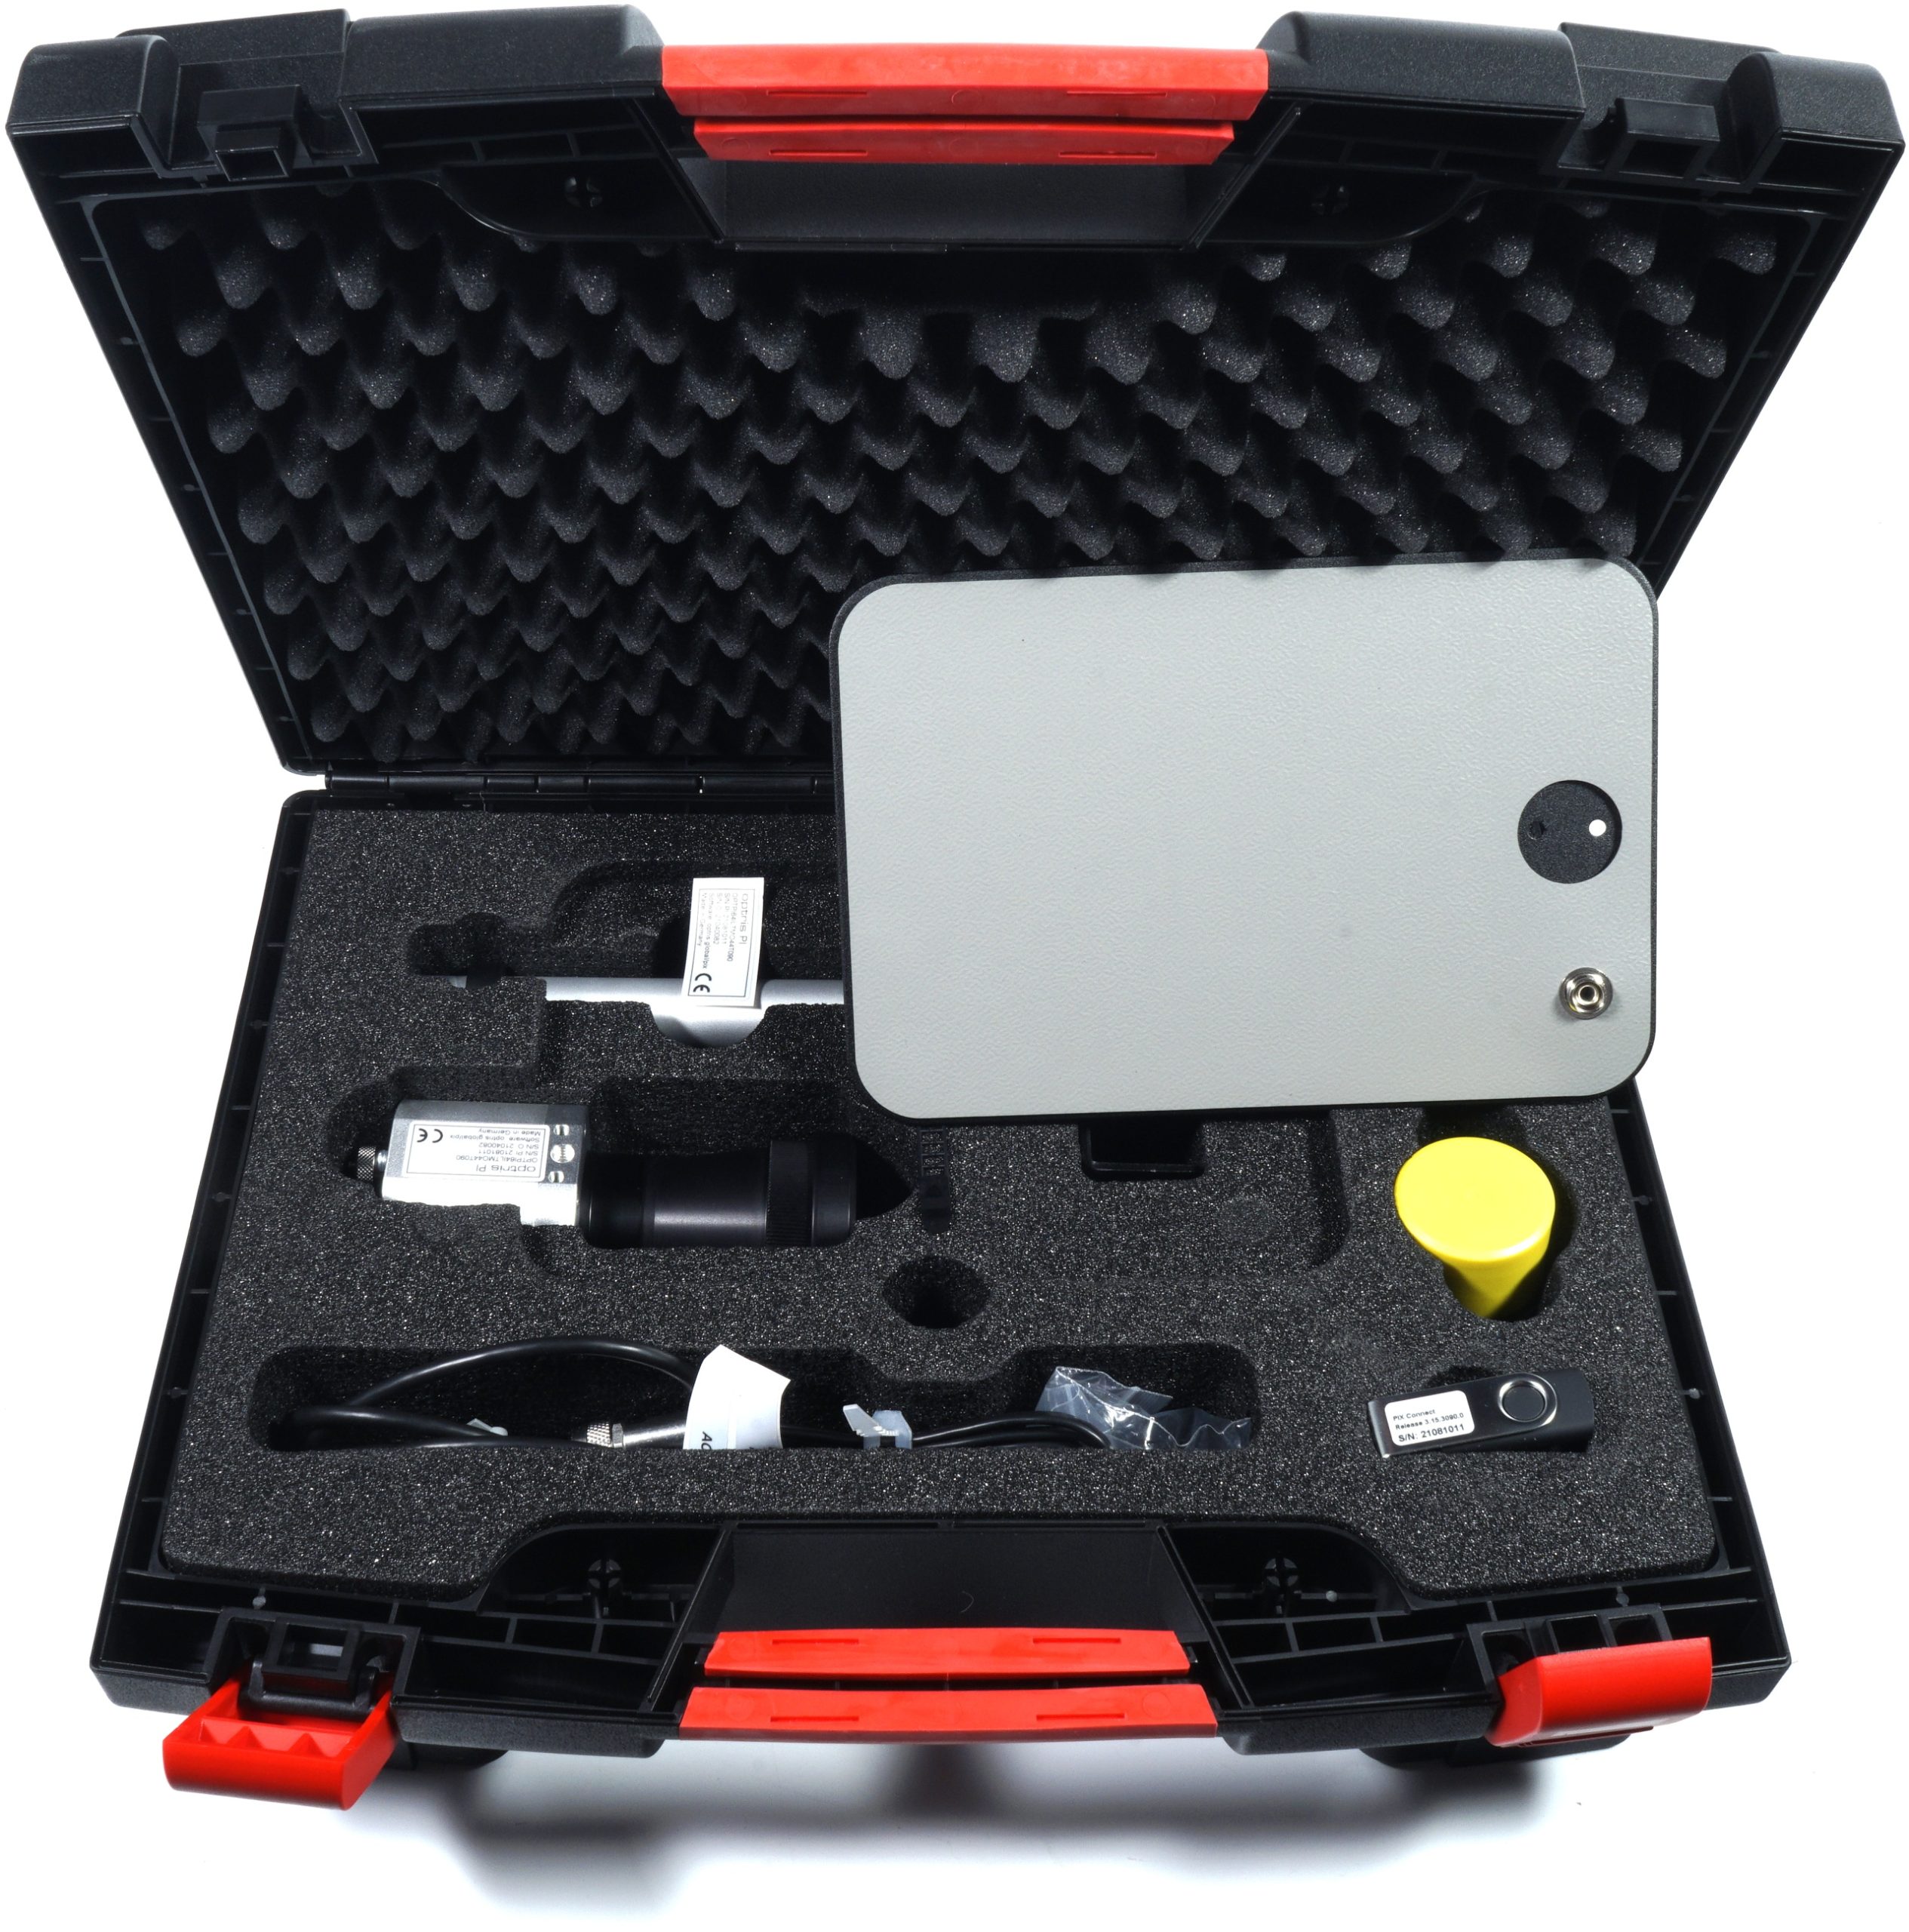
I have been using an Optris Pi640 for the heat flow analyses and infrared images / radiometric videos for the non-contact measurements for years and because I had to change the system, I am using the “old” T70 benchtable from Lian Li again (picture above with special foil and cover), which I can also close like a PC case. The Pi640 is an industrial camera with interchangeable lenses, various additional parts and functional software. With a whopping 640 x 480 measuring pixels, the bolometer for capturing thermal radiation is already as large as a normal VGA camera, which is interpolated into the image for optical enhancement in many cheaper devices. Not much more is currently possible. The videos are recorded at up to 30 FPS (Hz), which is also in a class of its own.
The Keyence VHX-7000 system with coupled AE-300 from my own laboratory is a versatile 3D profilometer and the powerful microscope (max. x2000) with HDR function, automated lighting scenarios and huge depth of field is also perfect for such investigations. It can also be used for material analysis, for which I don’t have to use an expensive SEM EDX. Vacuum? I no longer need it and it saves a lot of time. As long as you know what you’re getting into and what the limits of the method you’re using are, it works really well. That’s exactly what we need today.

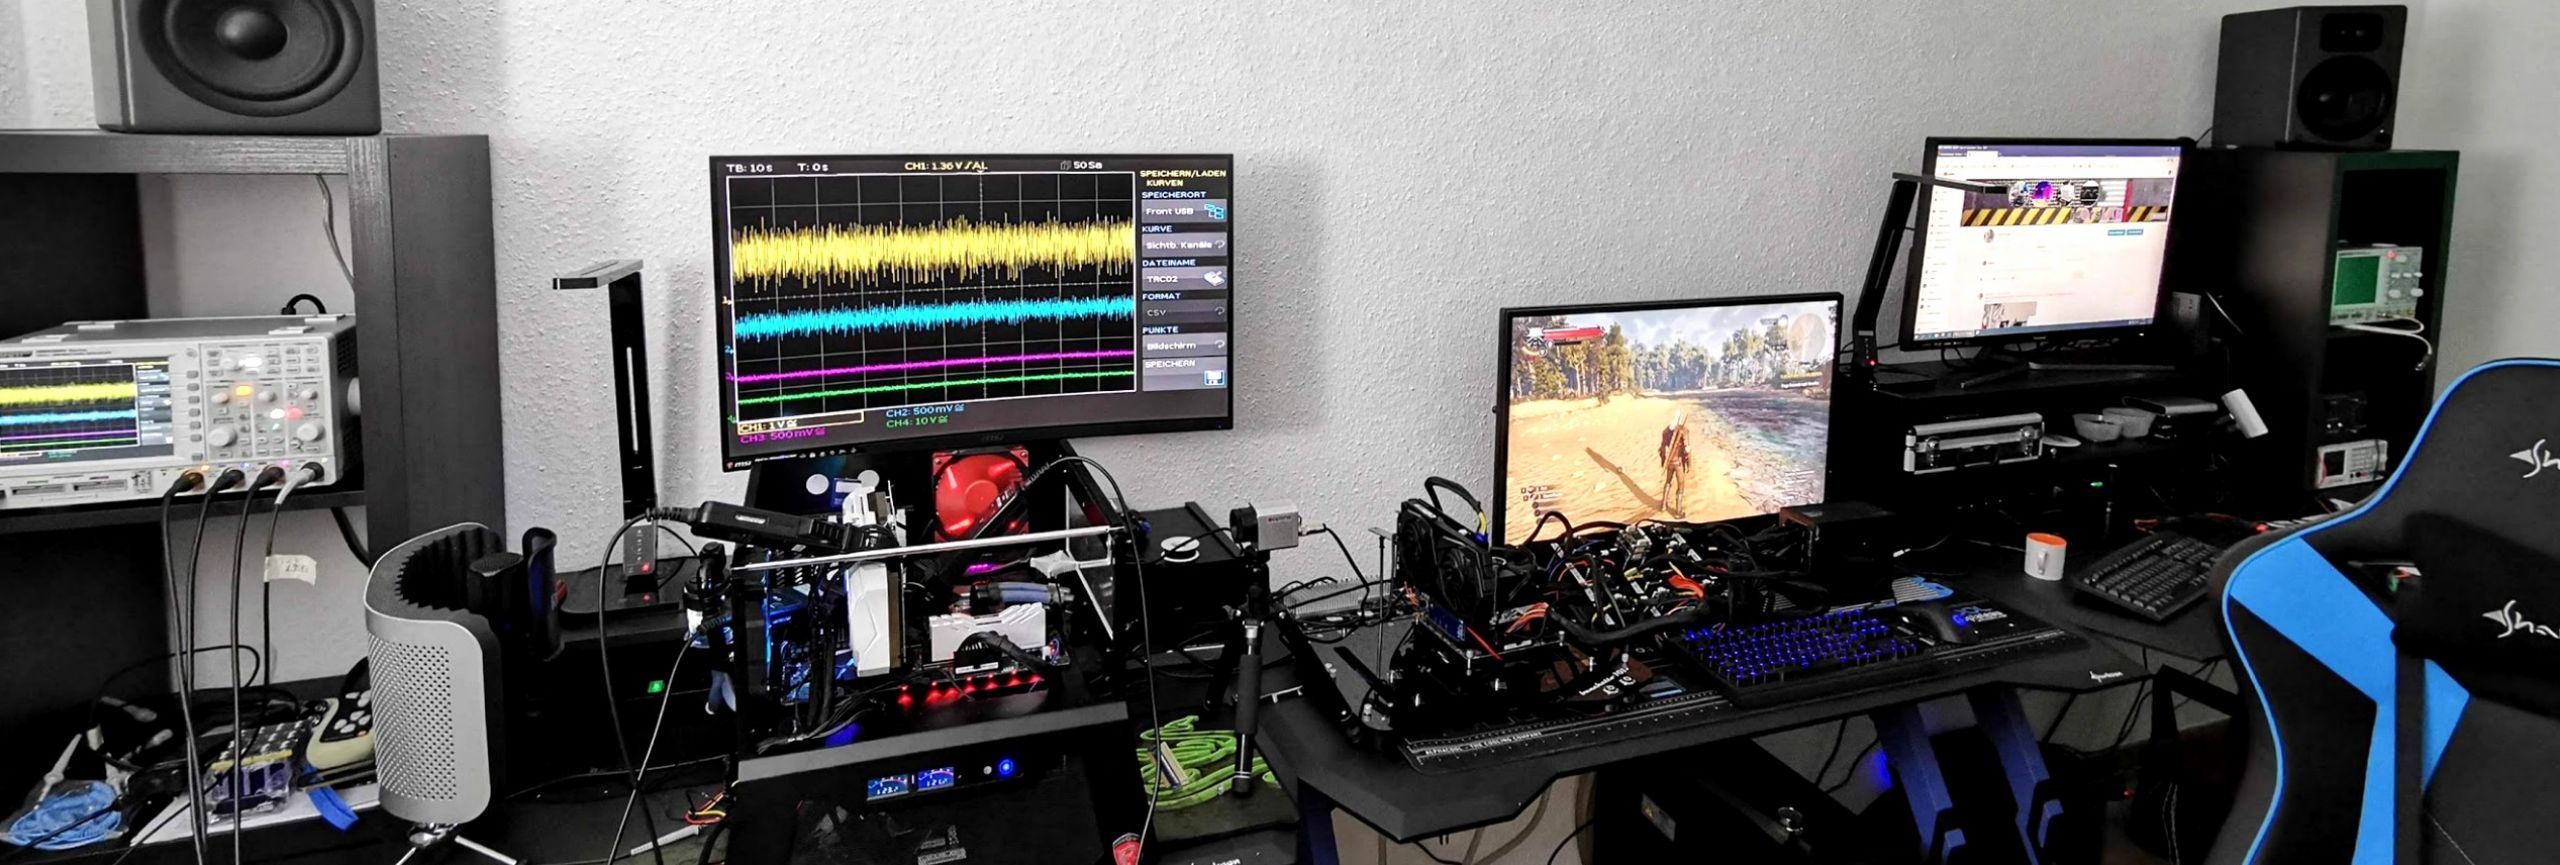
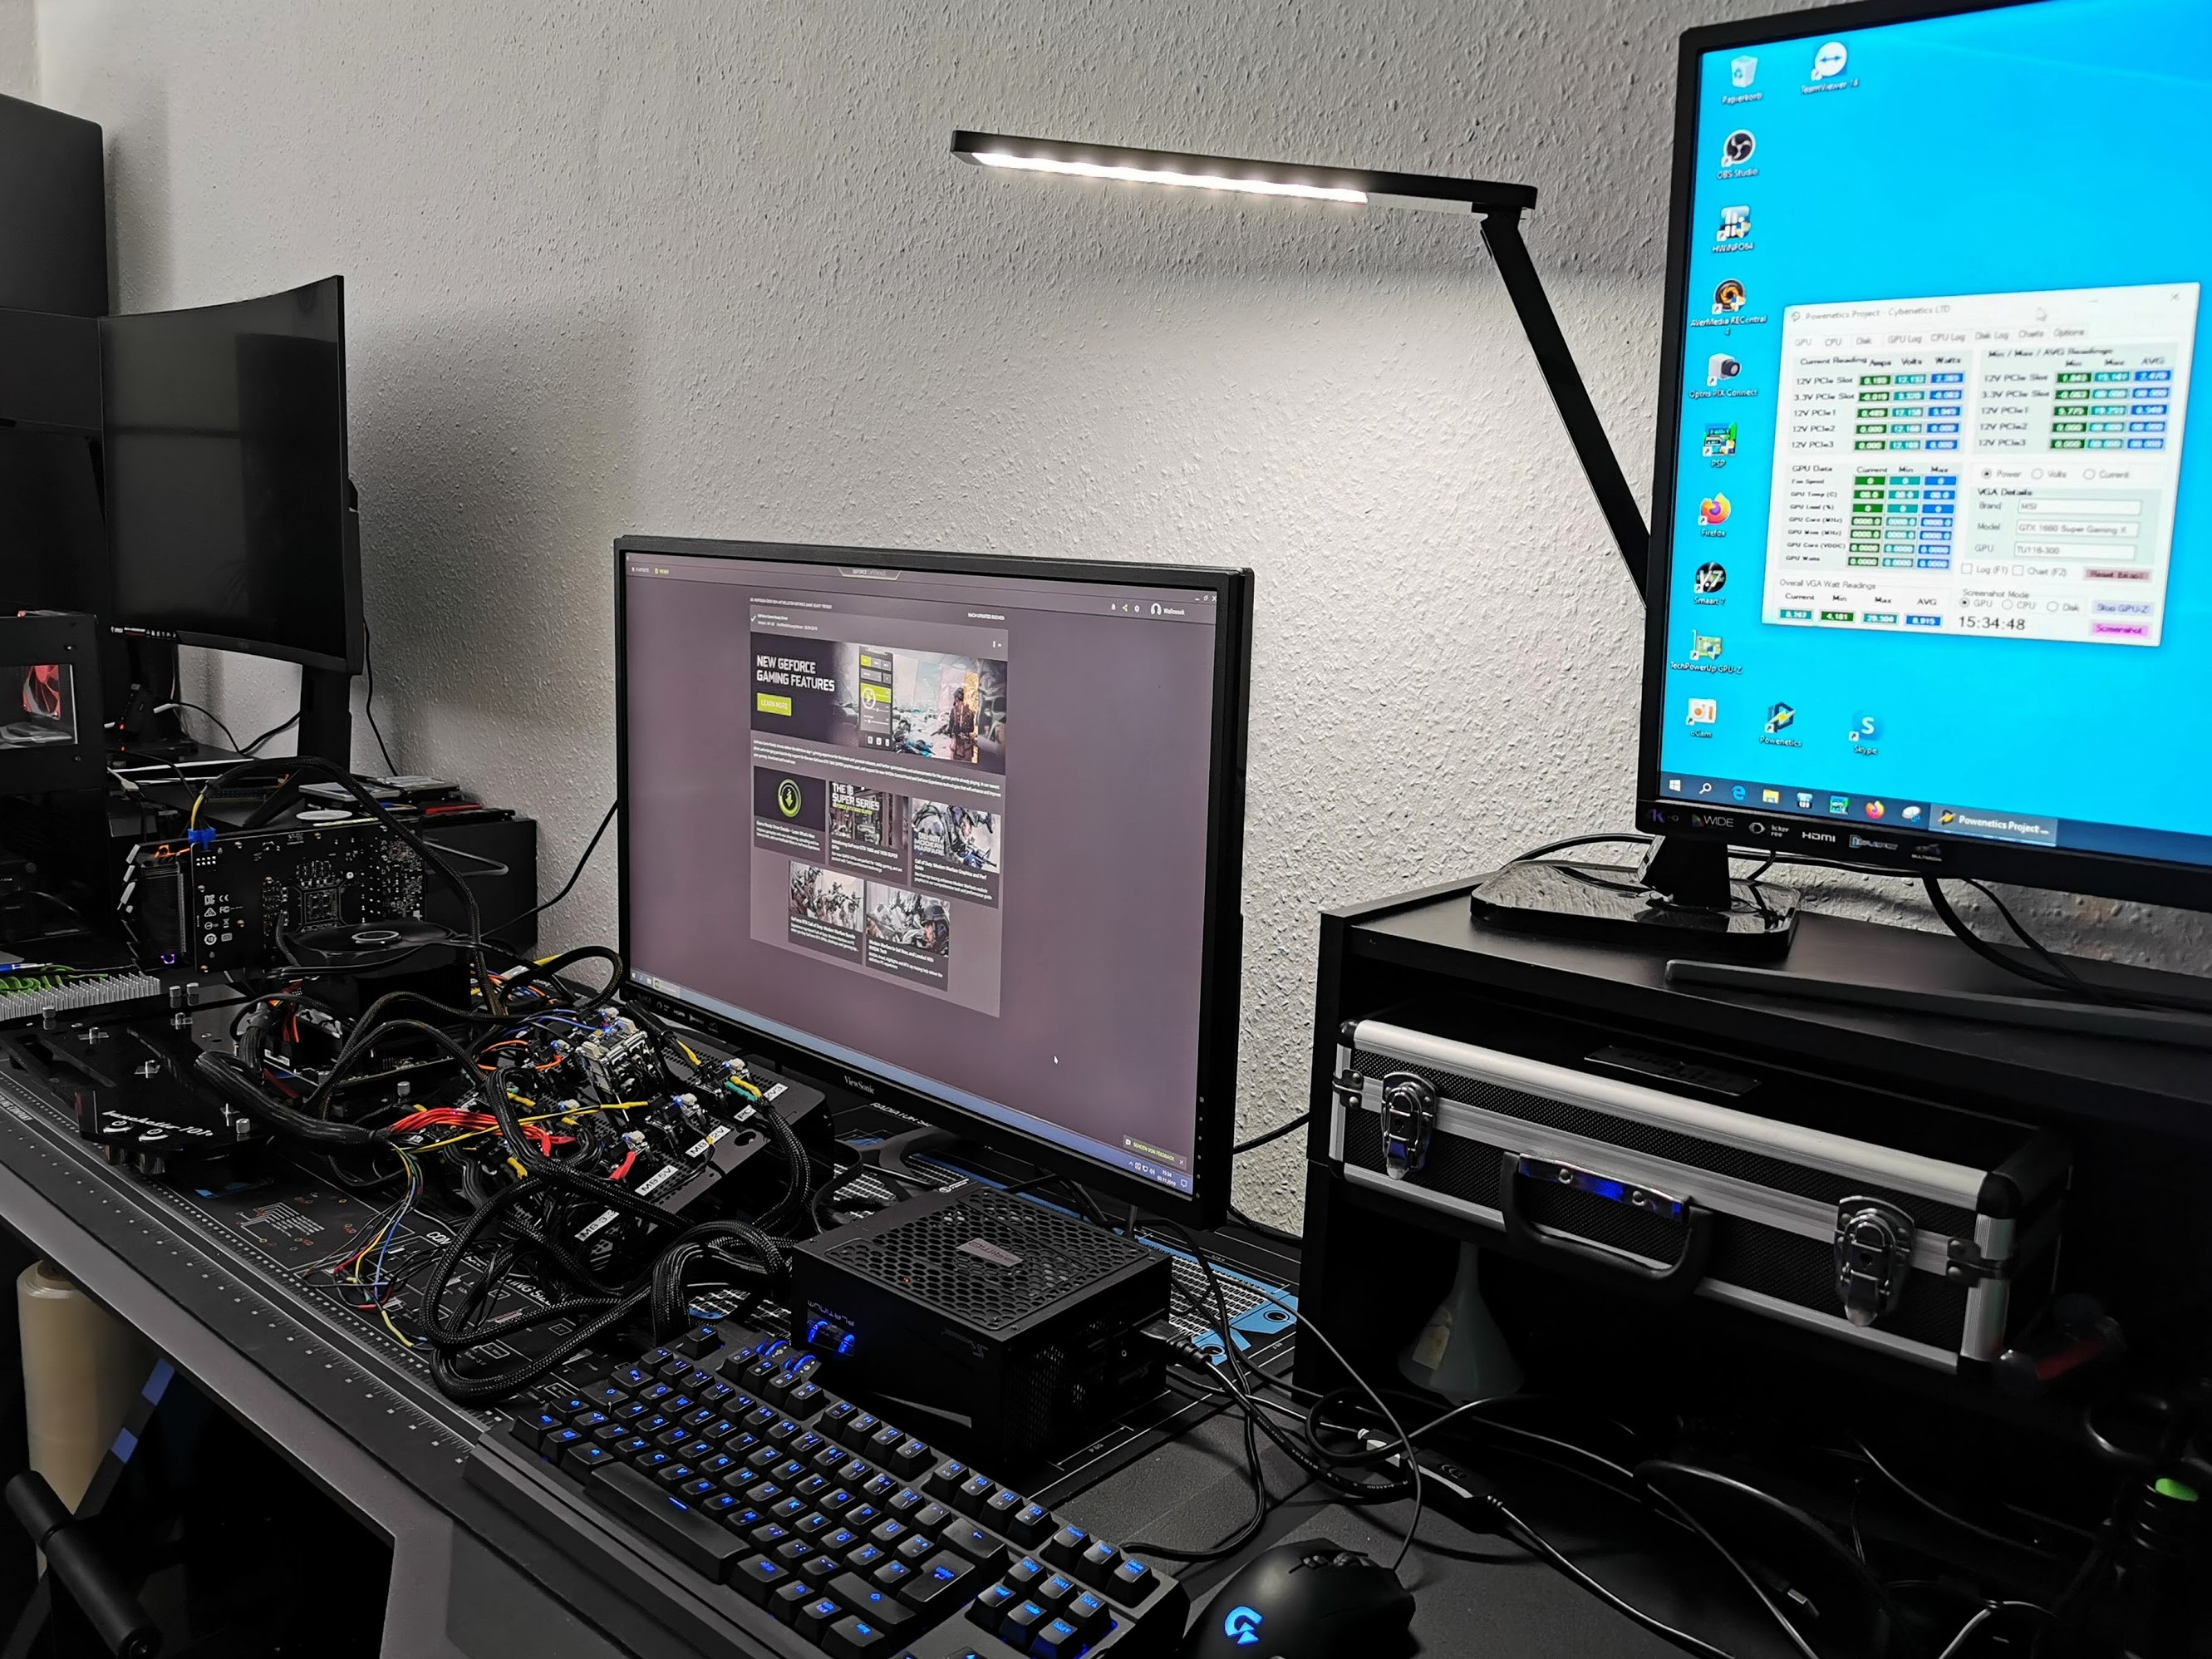
However, the measurement of detailed power consumption and other, more in-depth things is carried out in the laboratory on two tracks using high-resolution oscilloscope technology and the self-created, MCU-based measurement setup for motherboards and graphics cards (pictures below) or NVIDIA’s PCAT. Of course, I use a redundant system with the same components because such measurements are rather difficult in the case.
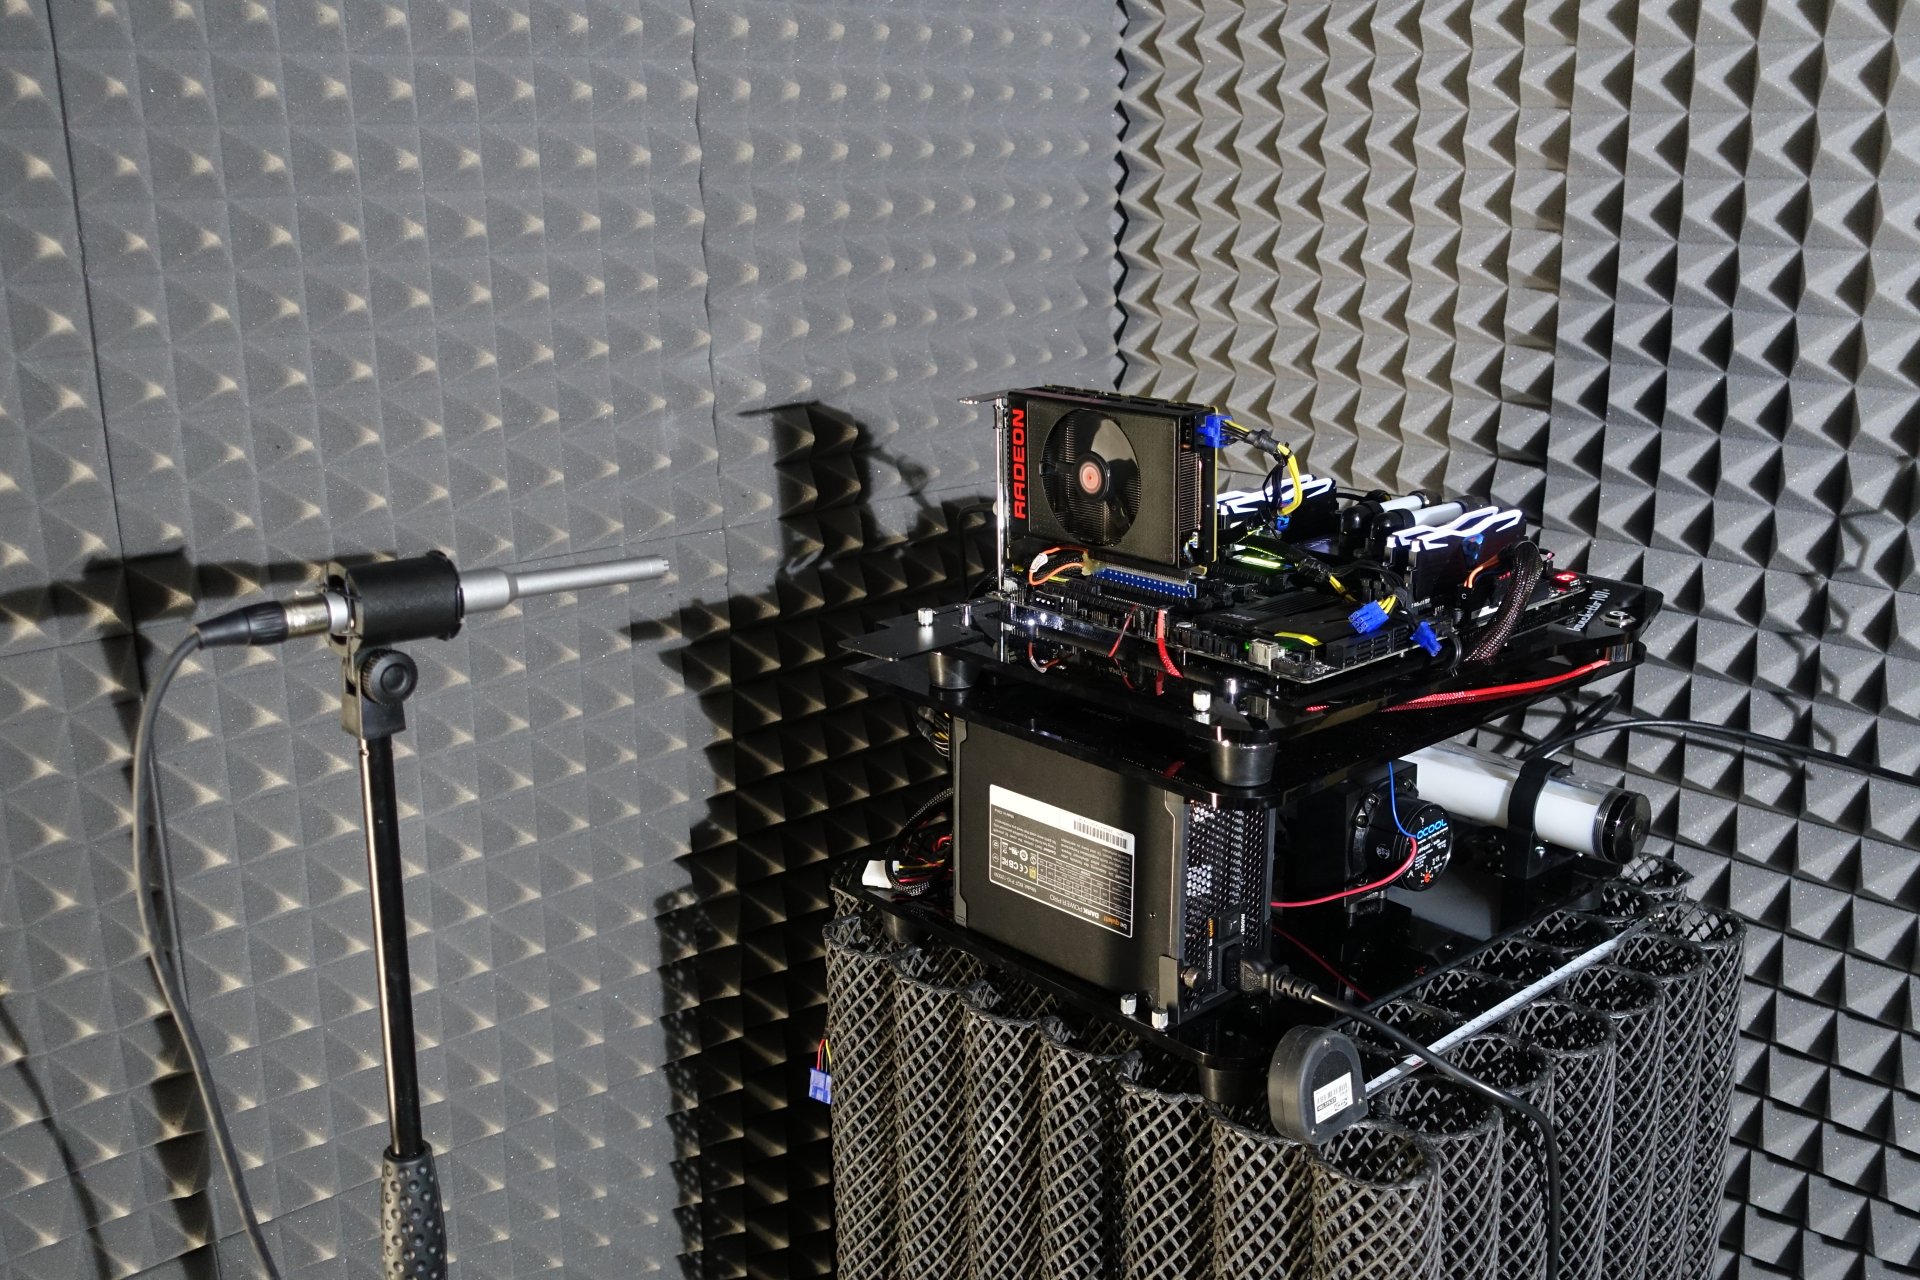
The audio measurements are taken outside in my chamber (room within a room).


- 1 - Introduction, technical data and technology
- 2 - Unboxing and technical details of both cards
- 3 - Test system and measuring equipment
- 4 - Teardown: PCB and components
- 5 - Teardown: Cooler and fans
- 6 - Material analysis: NVIDIA RTX 4080 Super FE 16GB
- 7 - Material analysis: MSI RTX 4080 Super Expert 16GB
- 8 - Gaming-Performance WQHD (2560 x 1440)
- 9 - Gaming Performance Ultra-HD (3840 x 2160)
- 10 - Gaming Performance DLSS vs. FSR
- 11 - Gaming performance with Frame Generation
- 12 - Latencies and lags
- 13 - Workstation graphics and rendering
- 14 - Details: Power consumption and load balancing
- 15 - Load peaks, capping and power supply recommendation
- 16 - Temperatures, clock rates and infrared analysis
- 17 - Fan curves, noise level and audio samples
- 18 - Summary and conclusion


38 Antworten
Kommentar
Lade neue Kommentare
Veteran
Urgestein
Mitglied
Mitglied
Urgestein
Veteran
Veteran
Urgestein
Urgestein
Urgestein
Urgestein
Moderator
Veteran
Urgestein
Mitglied
Urgestein
Urgestein
Alle Kommentare lesen unter igor´sLAB Community →