


Processing and mobility
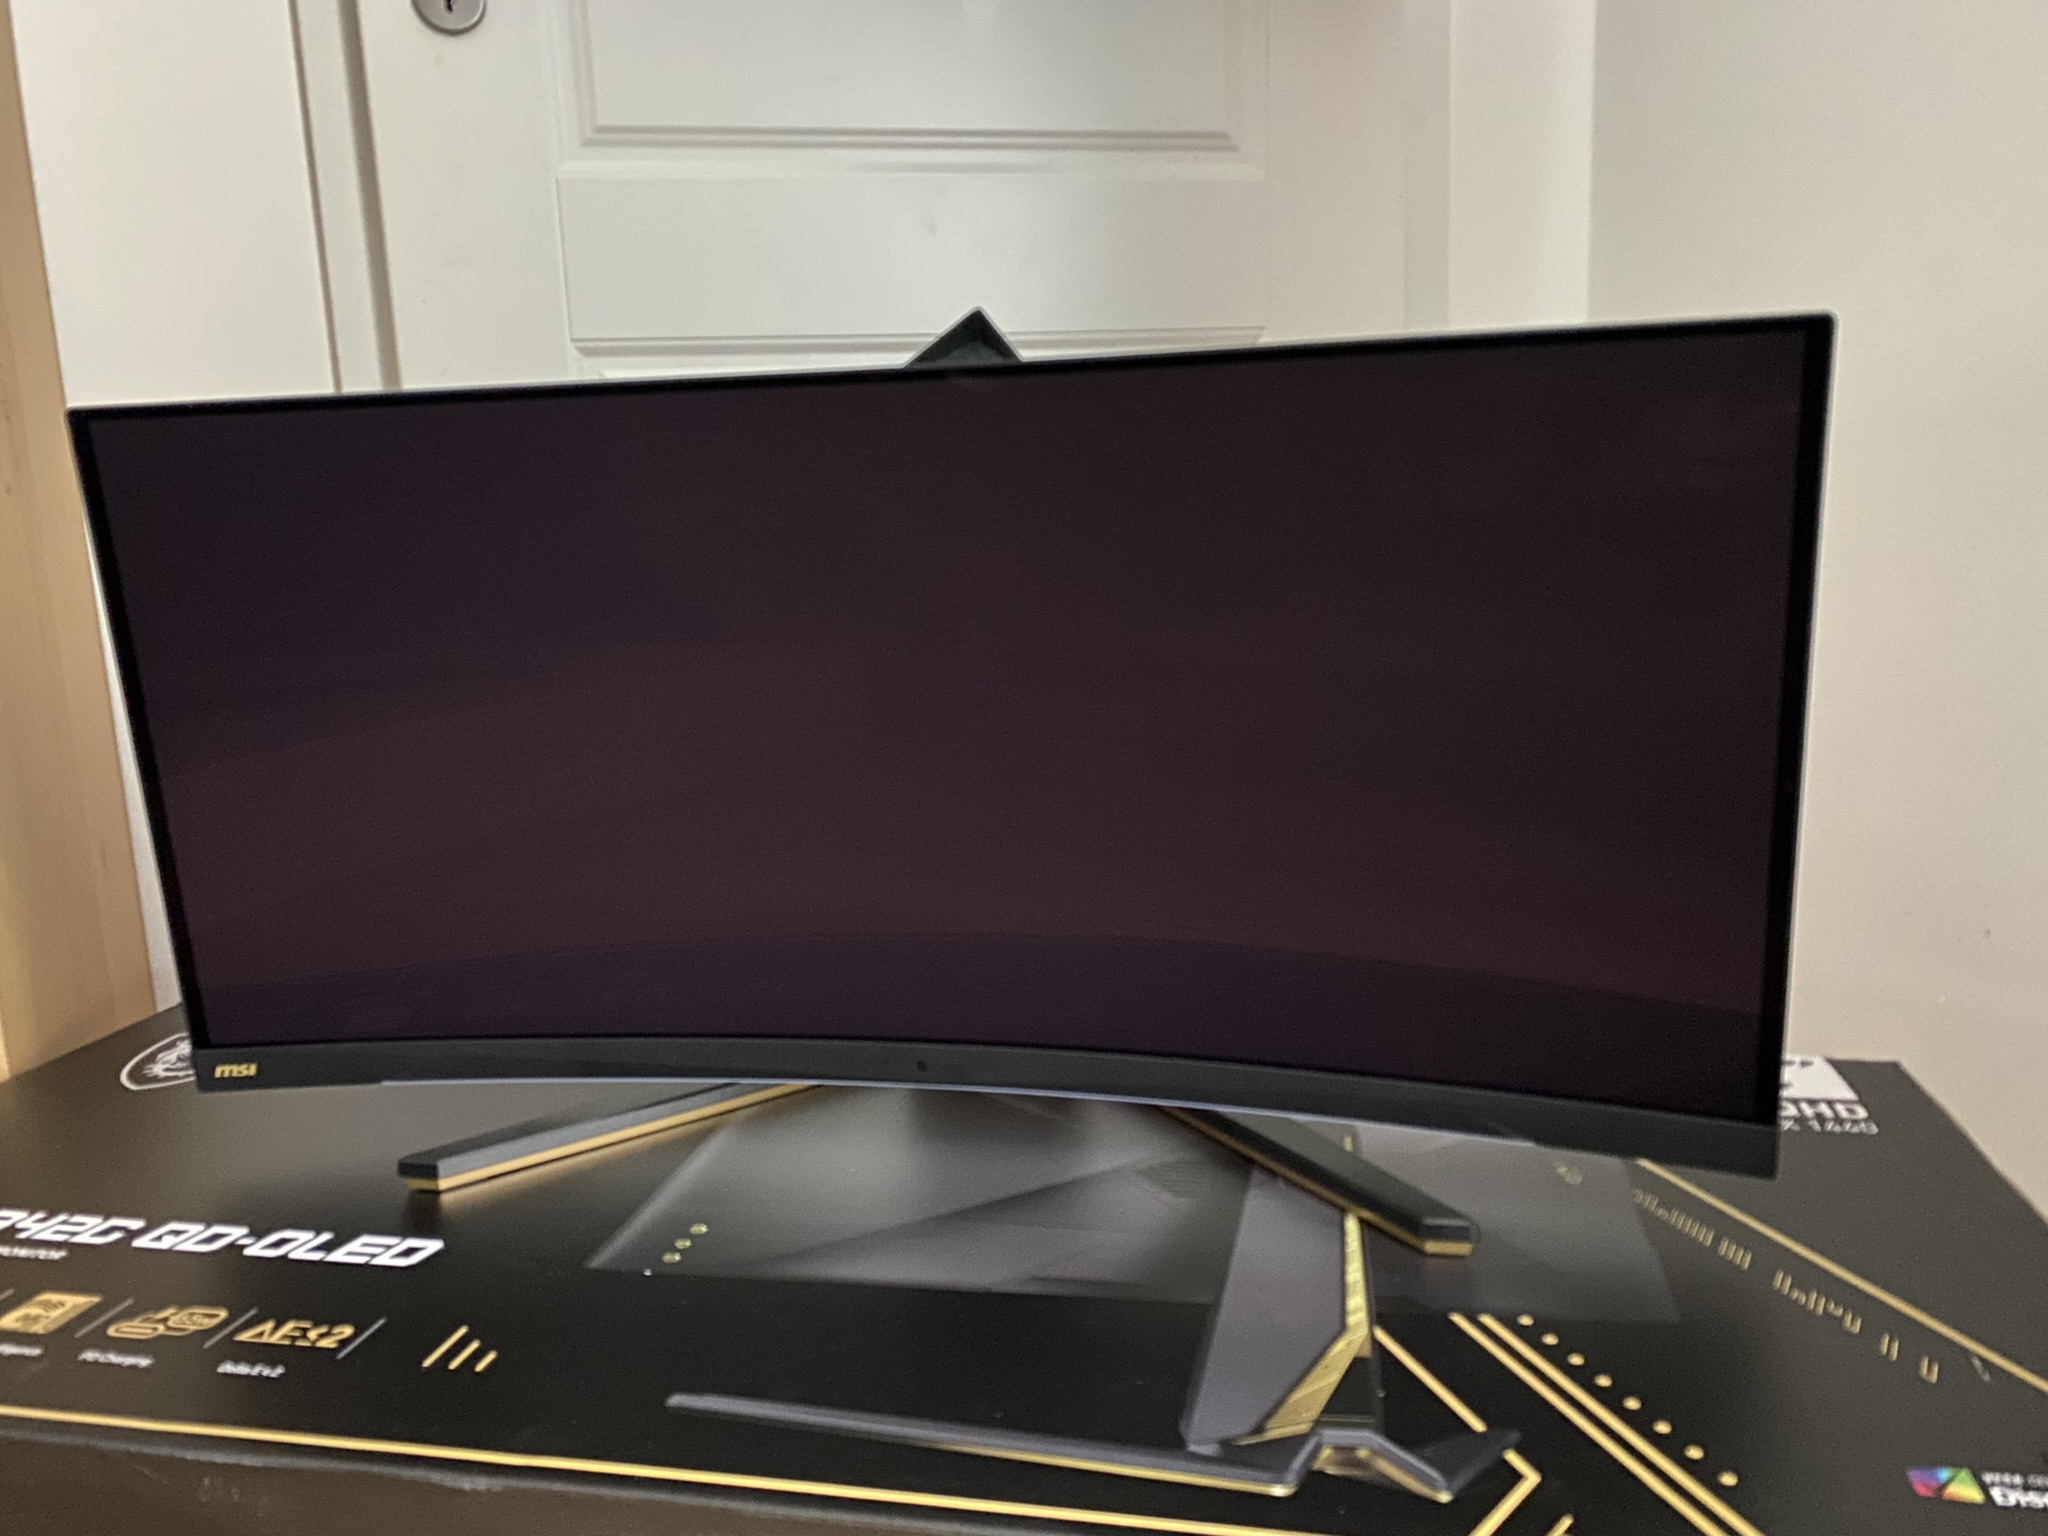
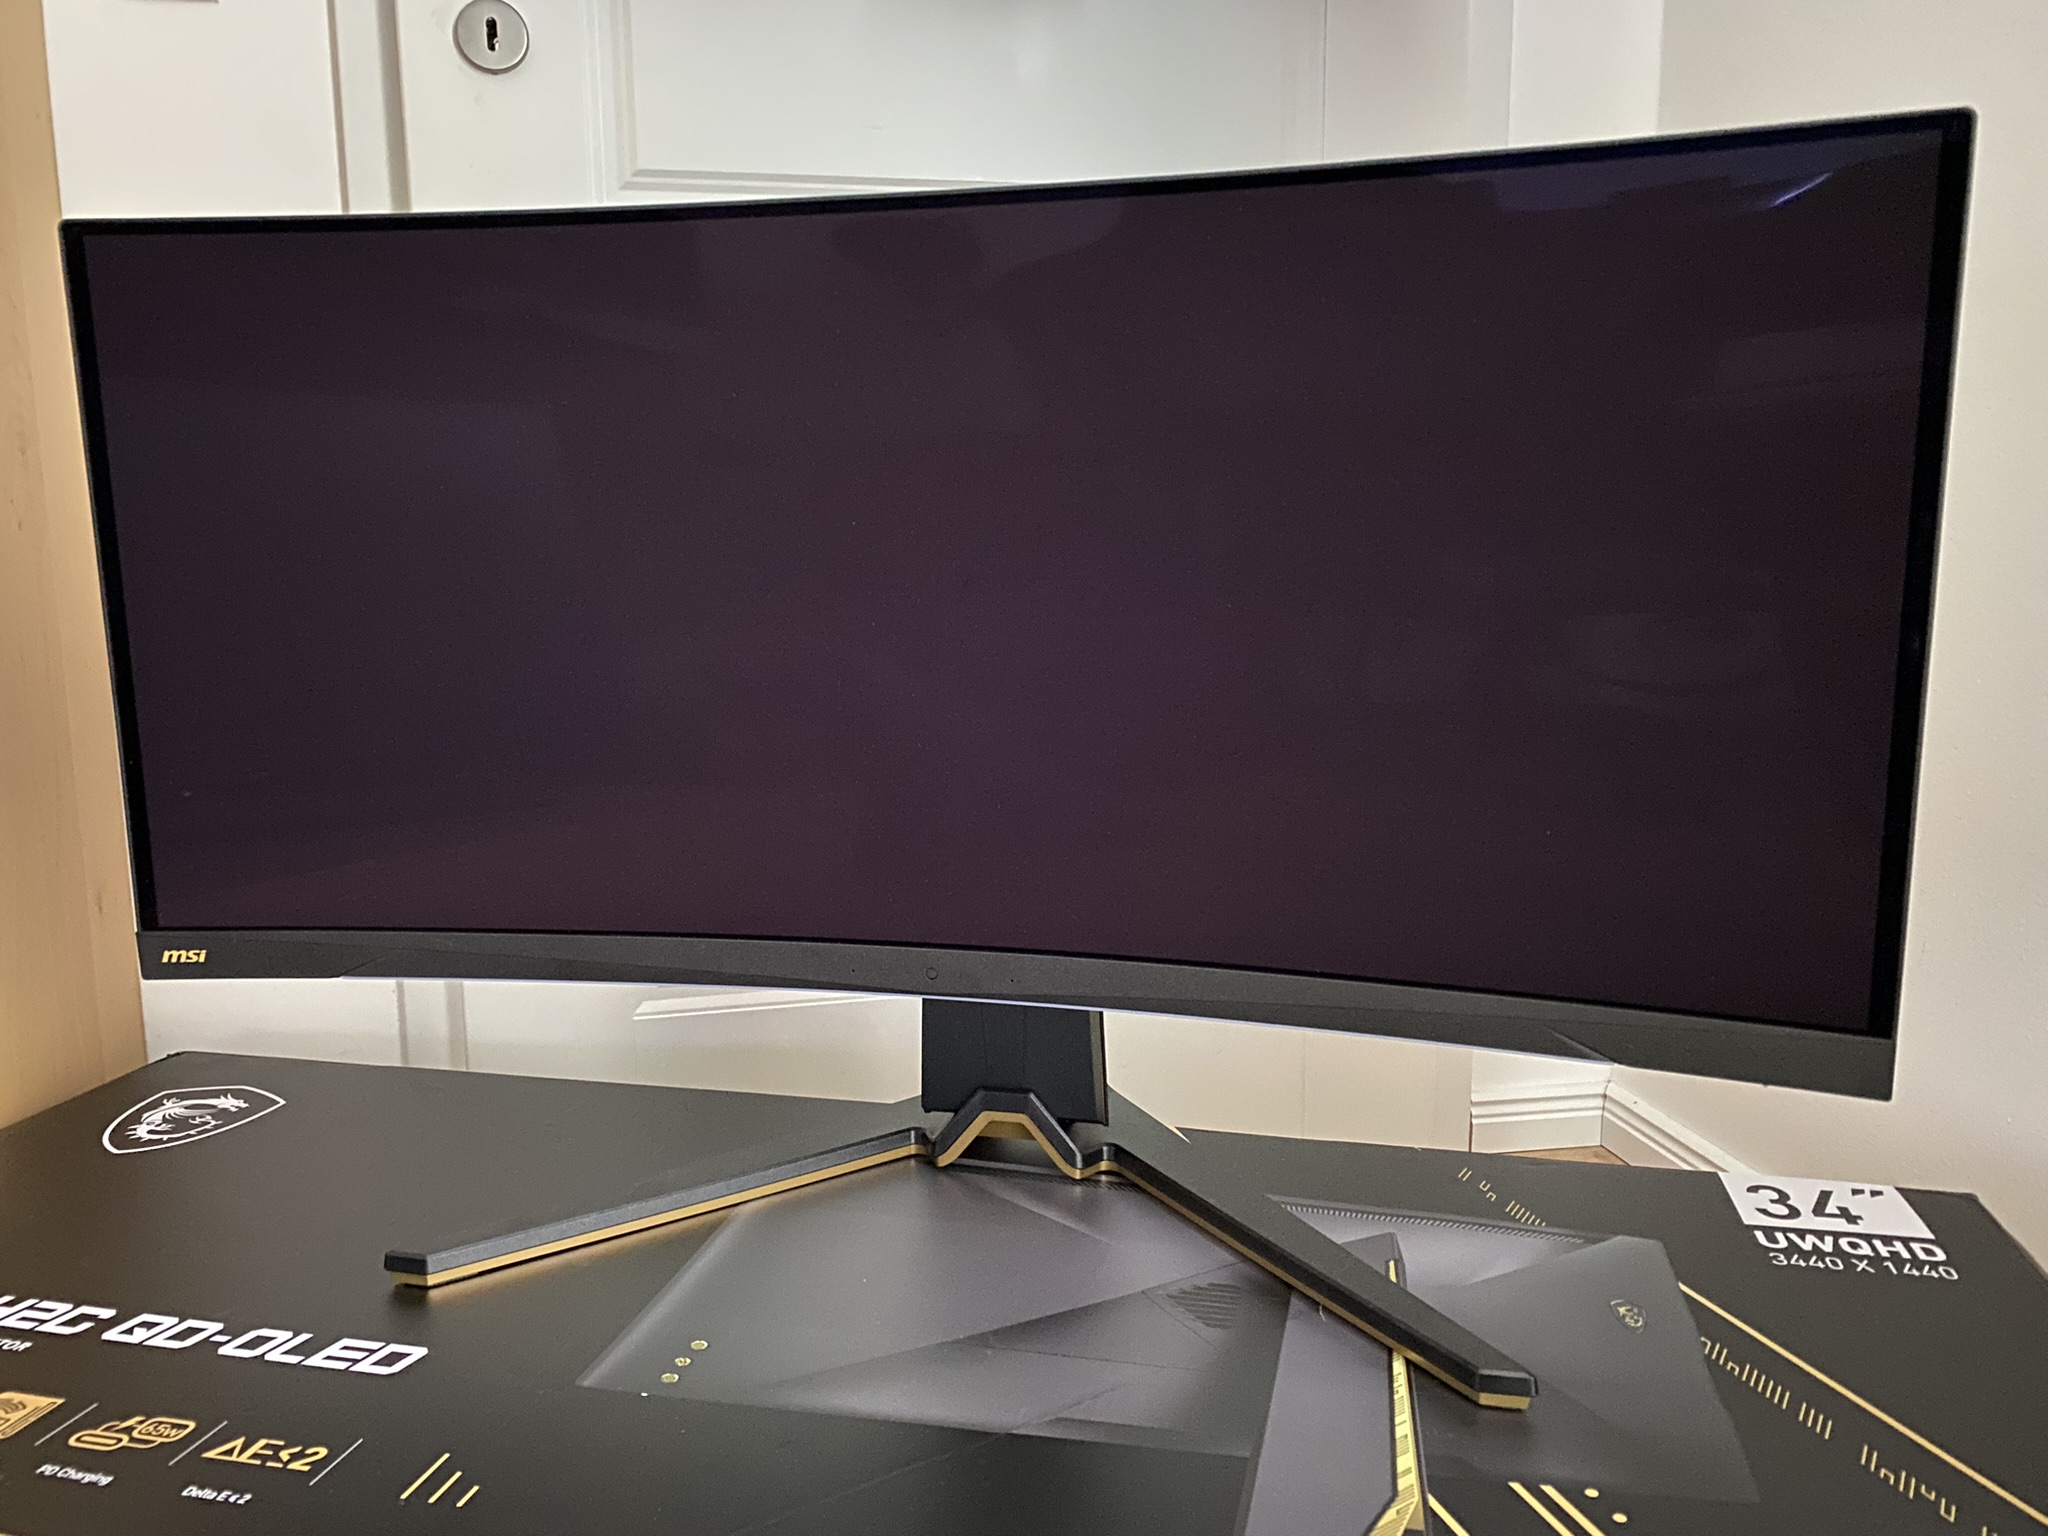
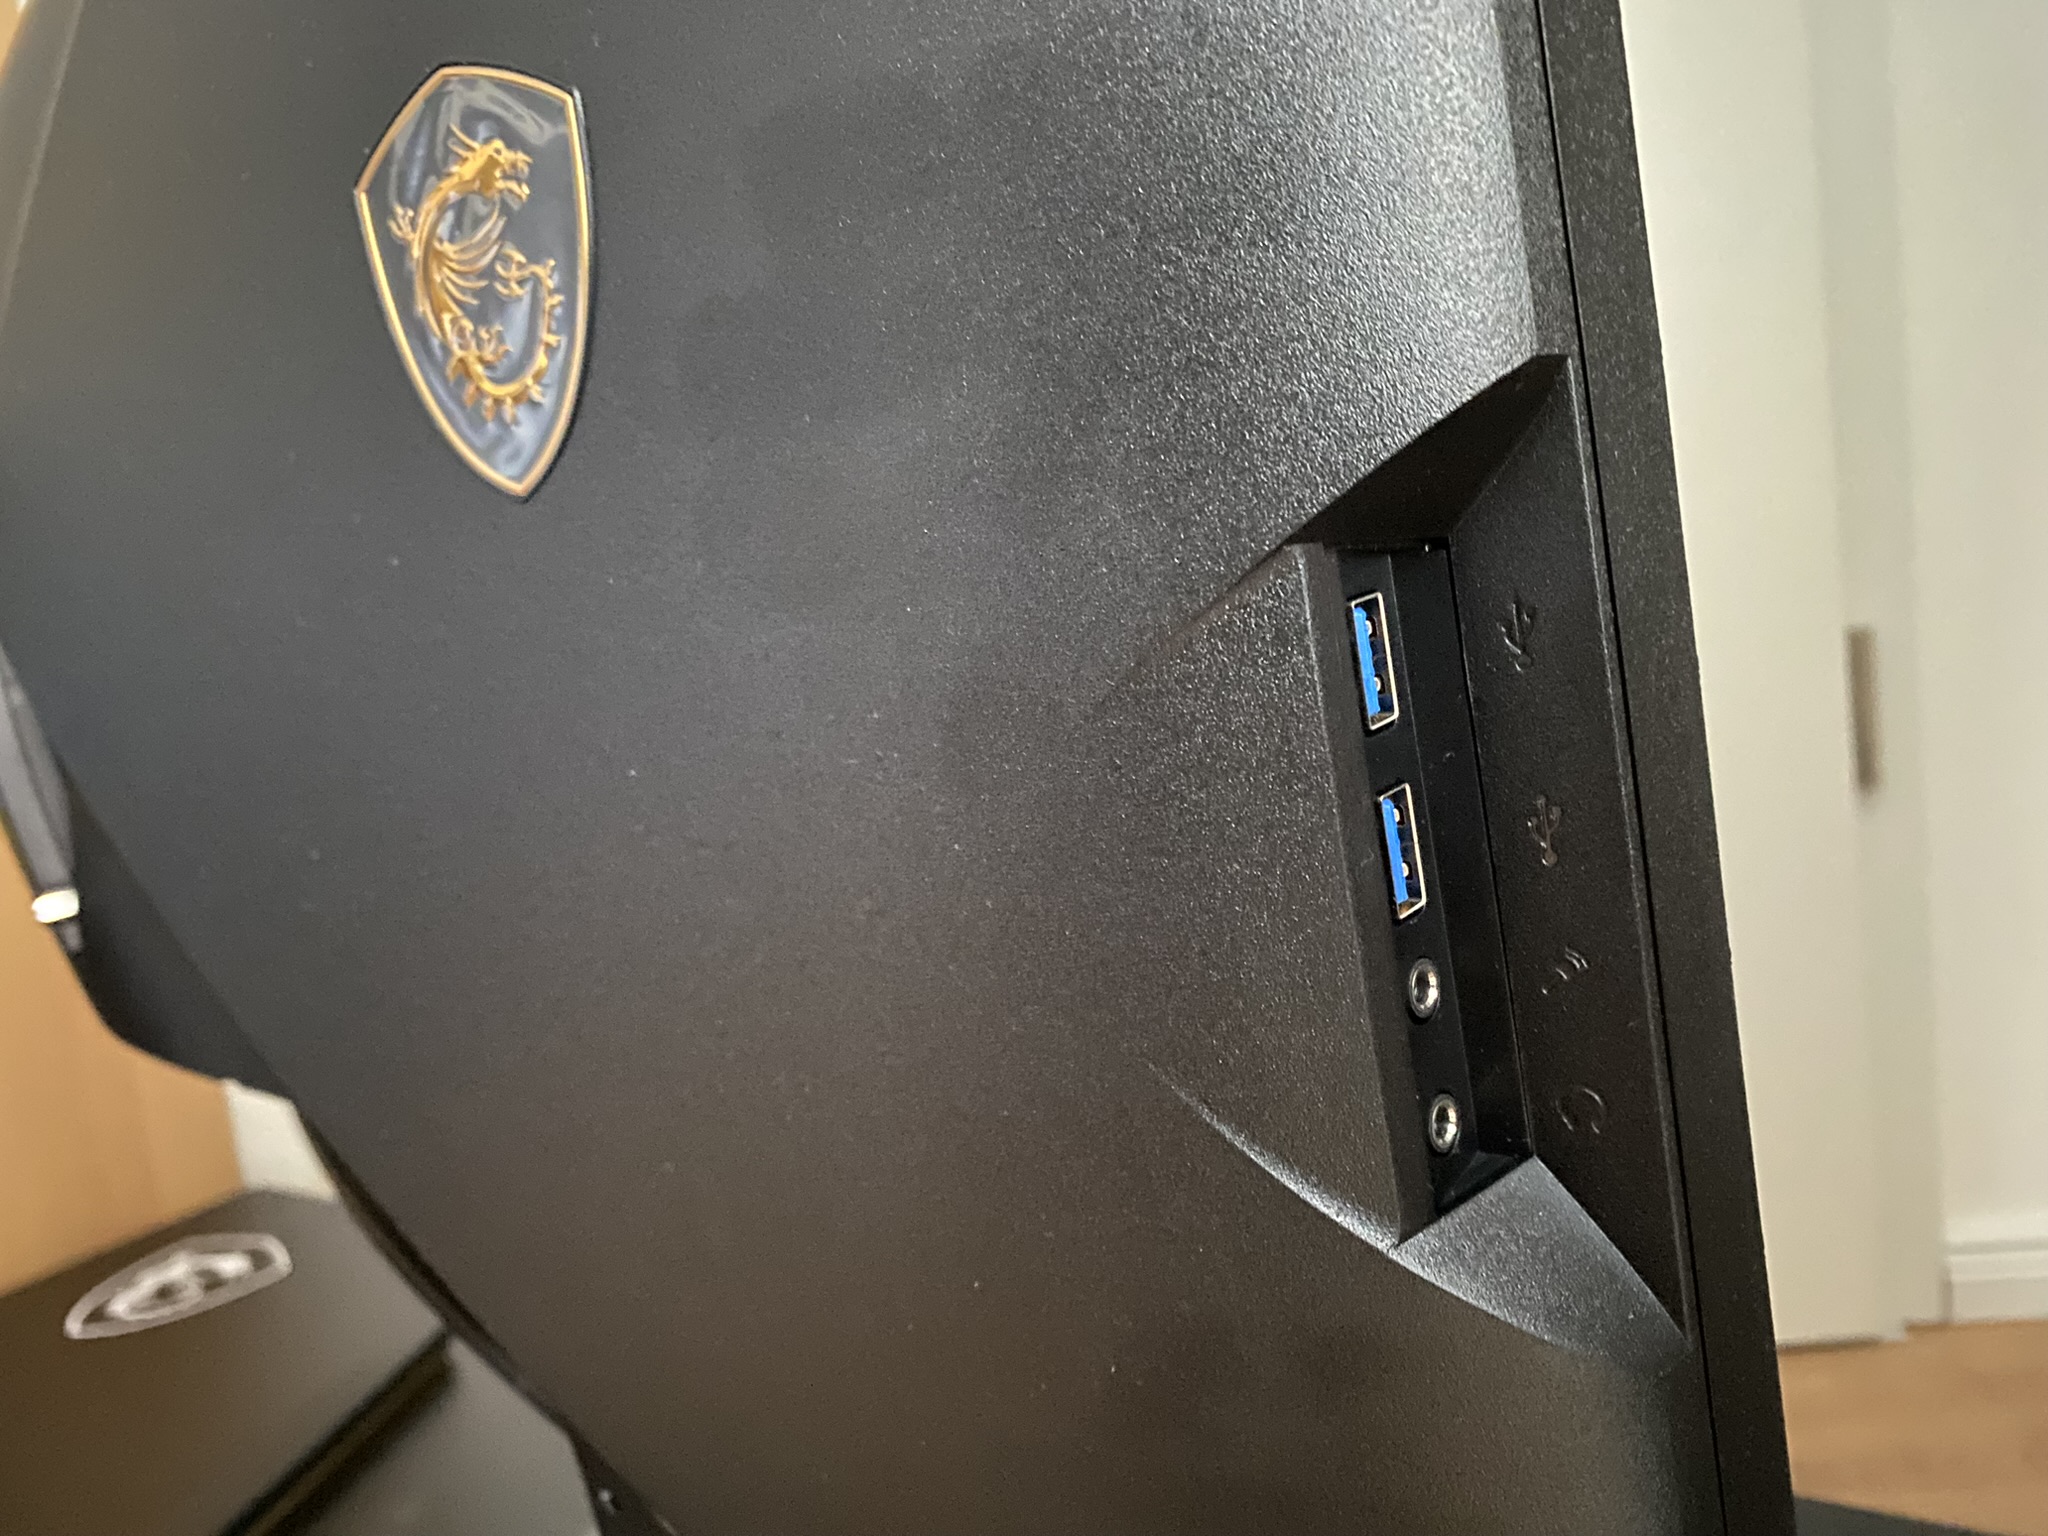
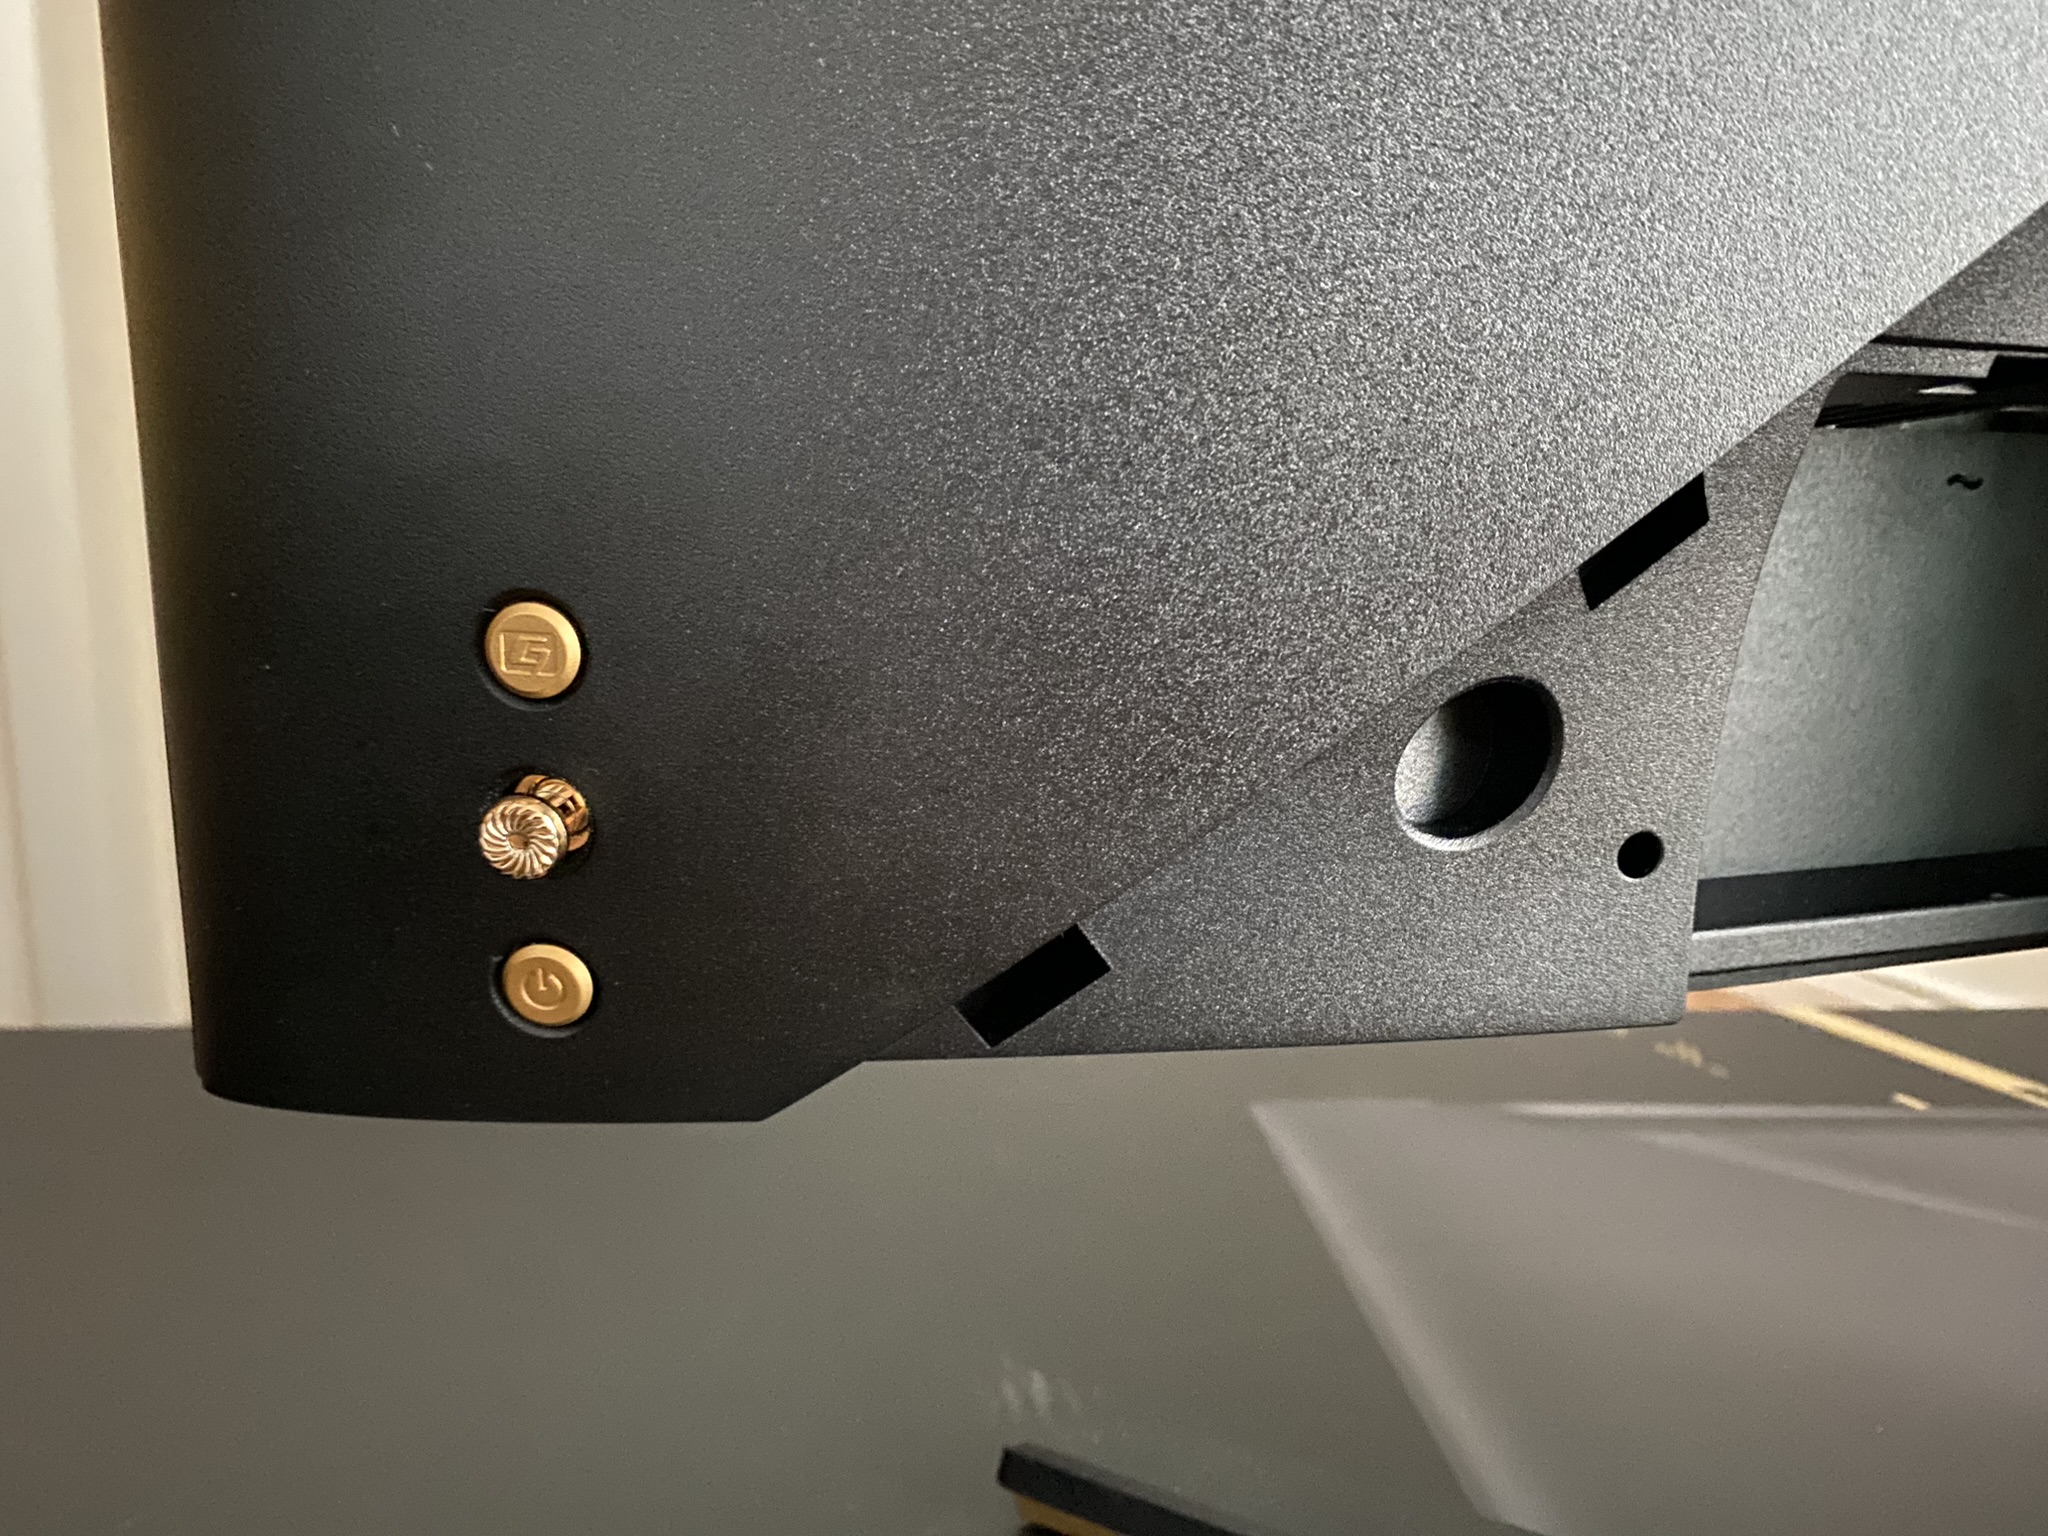
As always, I won’t say anything about the design. Everyone has to decide for themselves. The only thing I don’t like is that the RGB lighting is at the bottom. I would have preferred to see it at the back and all around the panel. Because the function that the RGB light adapts to the colors of the display is really damn cool. The overall workmanship is very good!
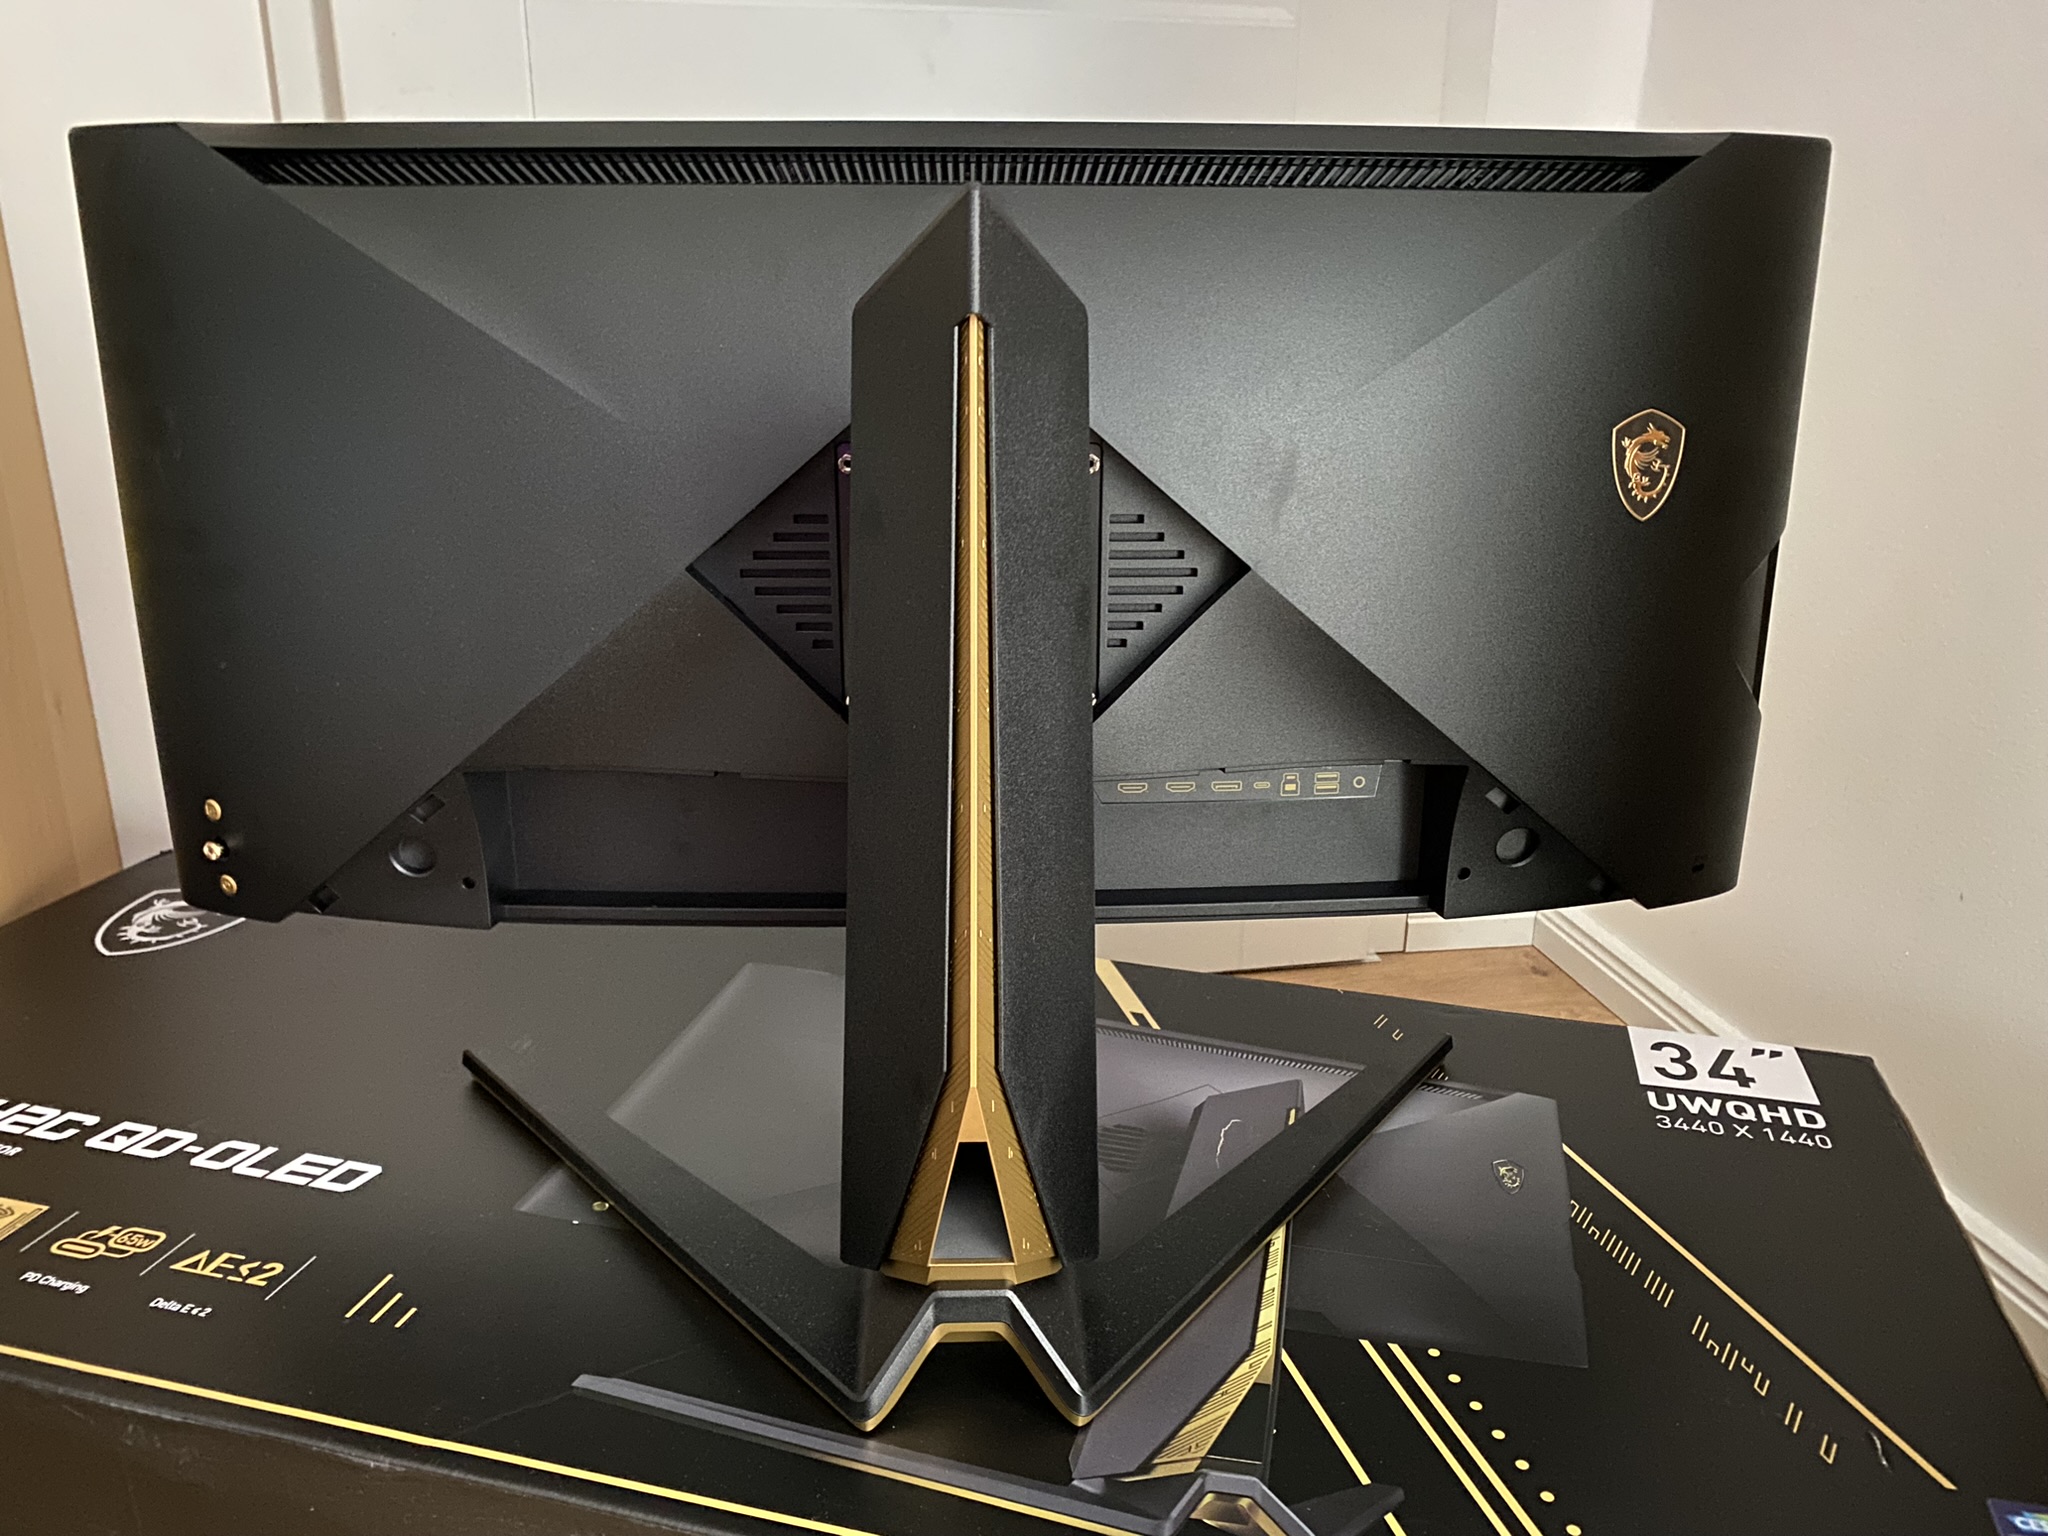
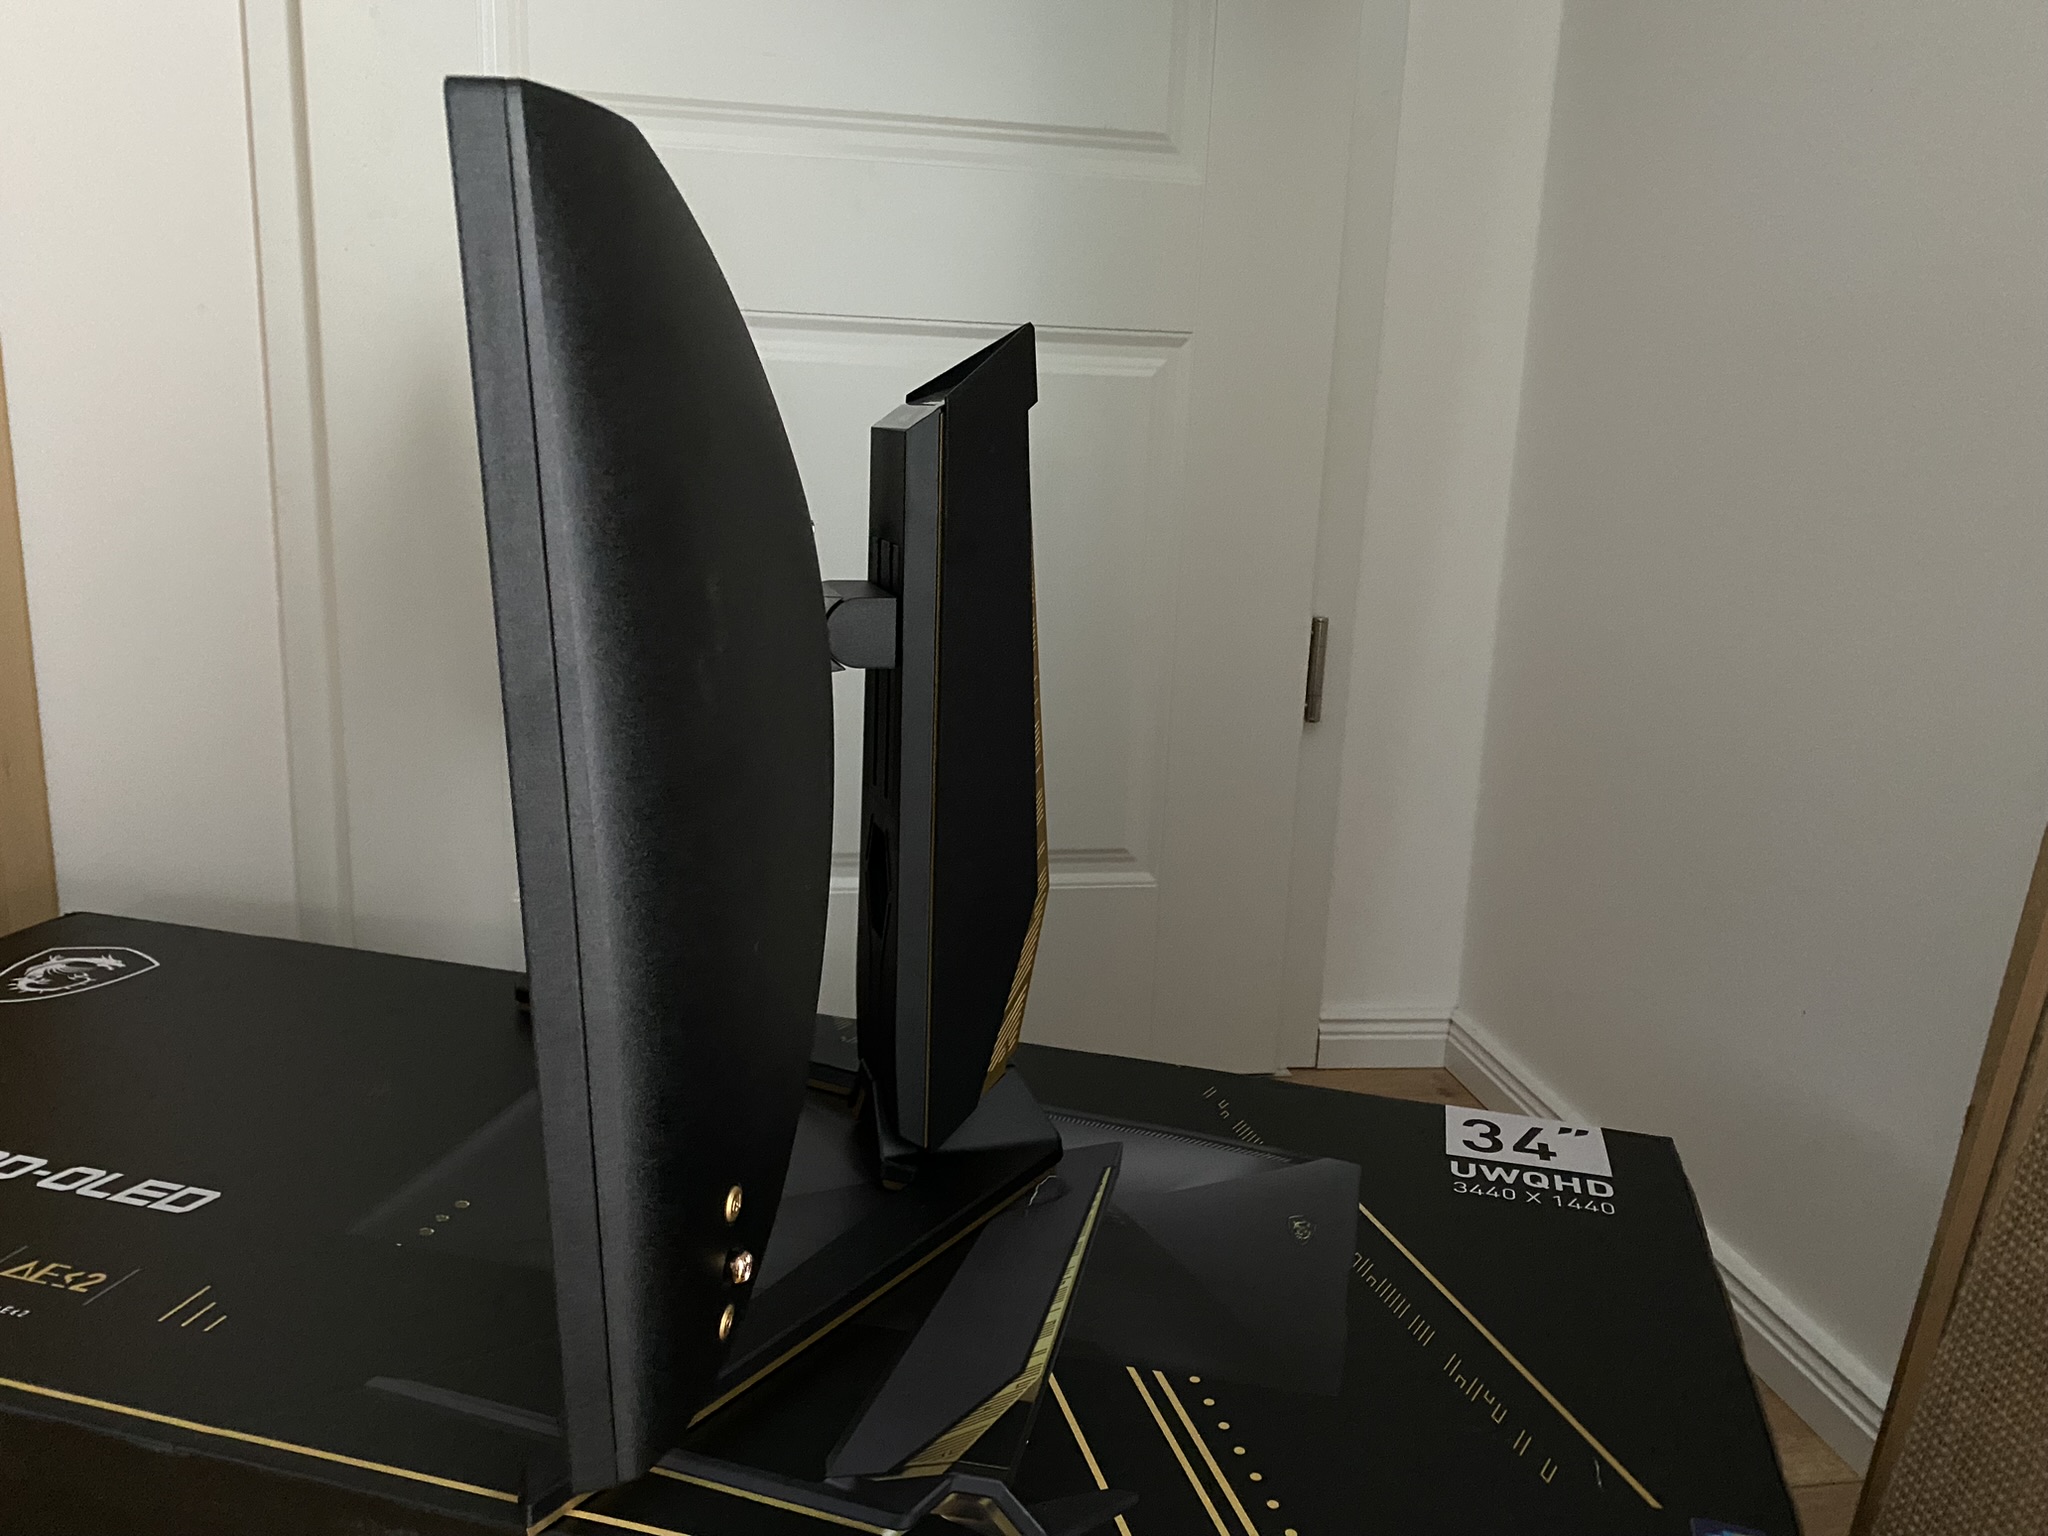

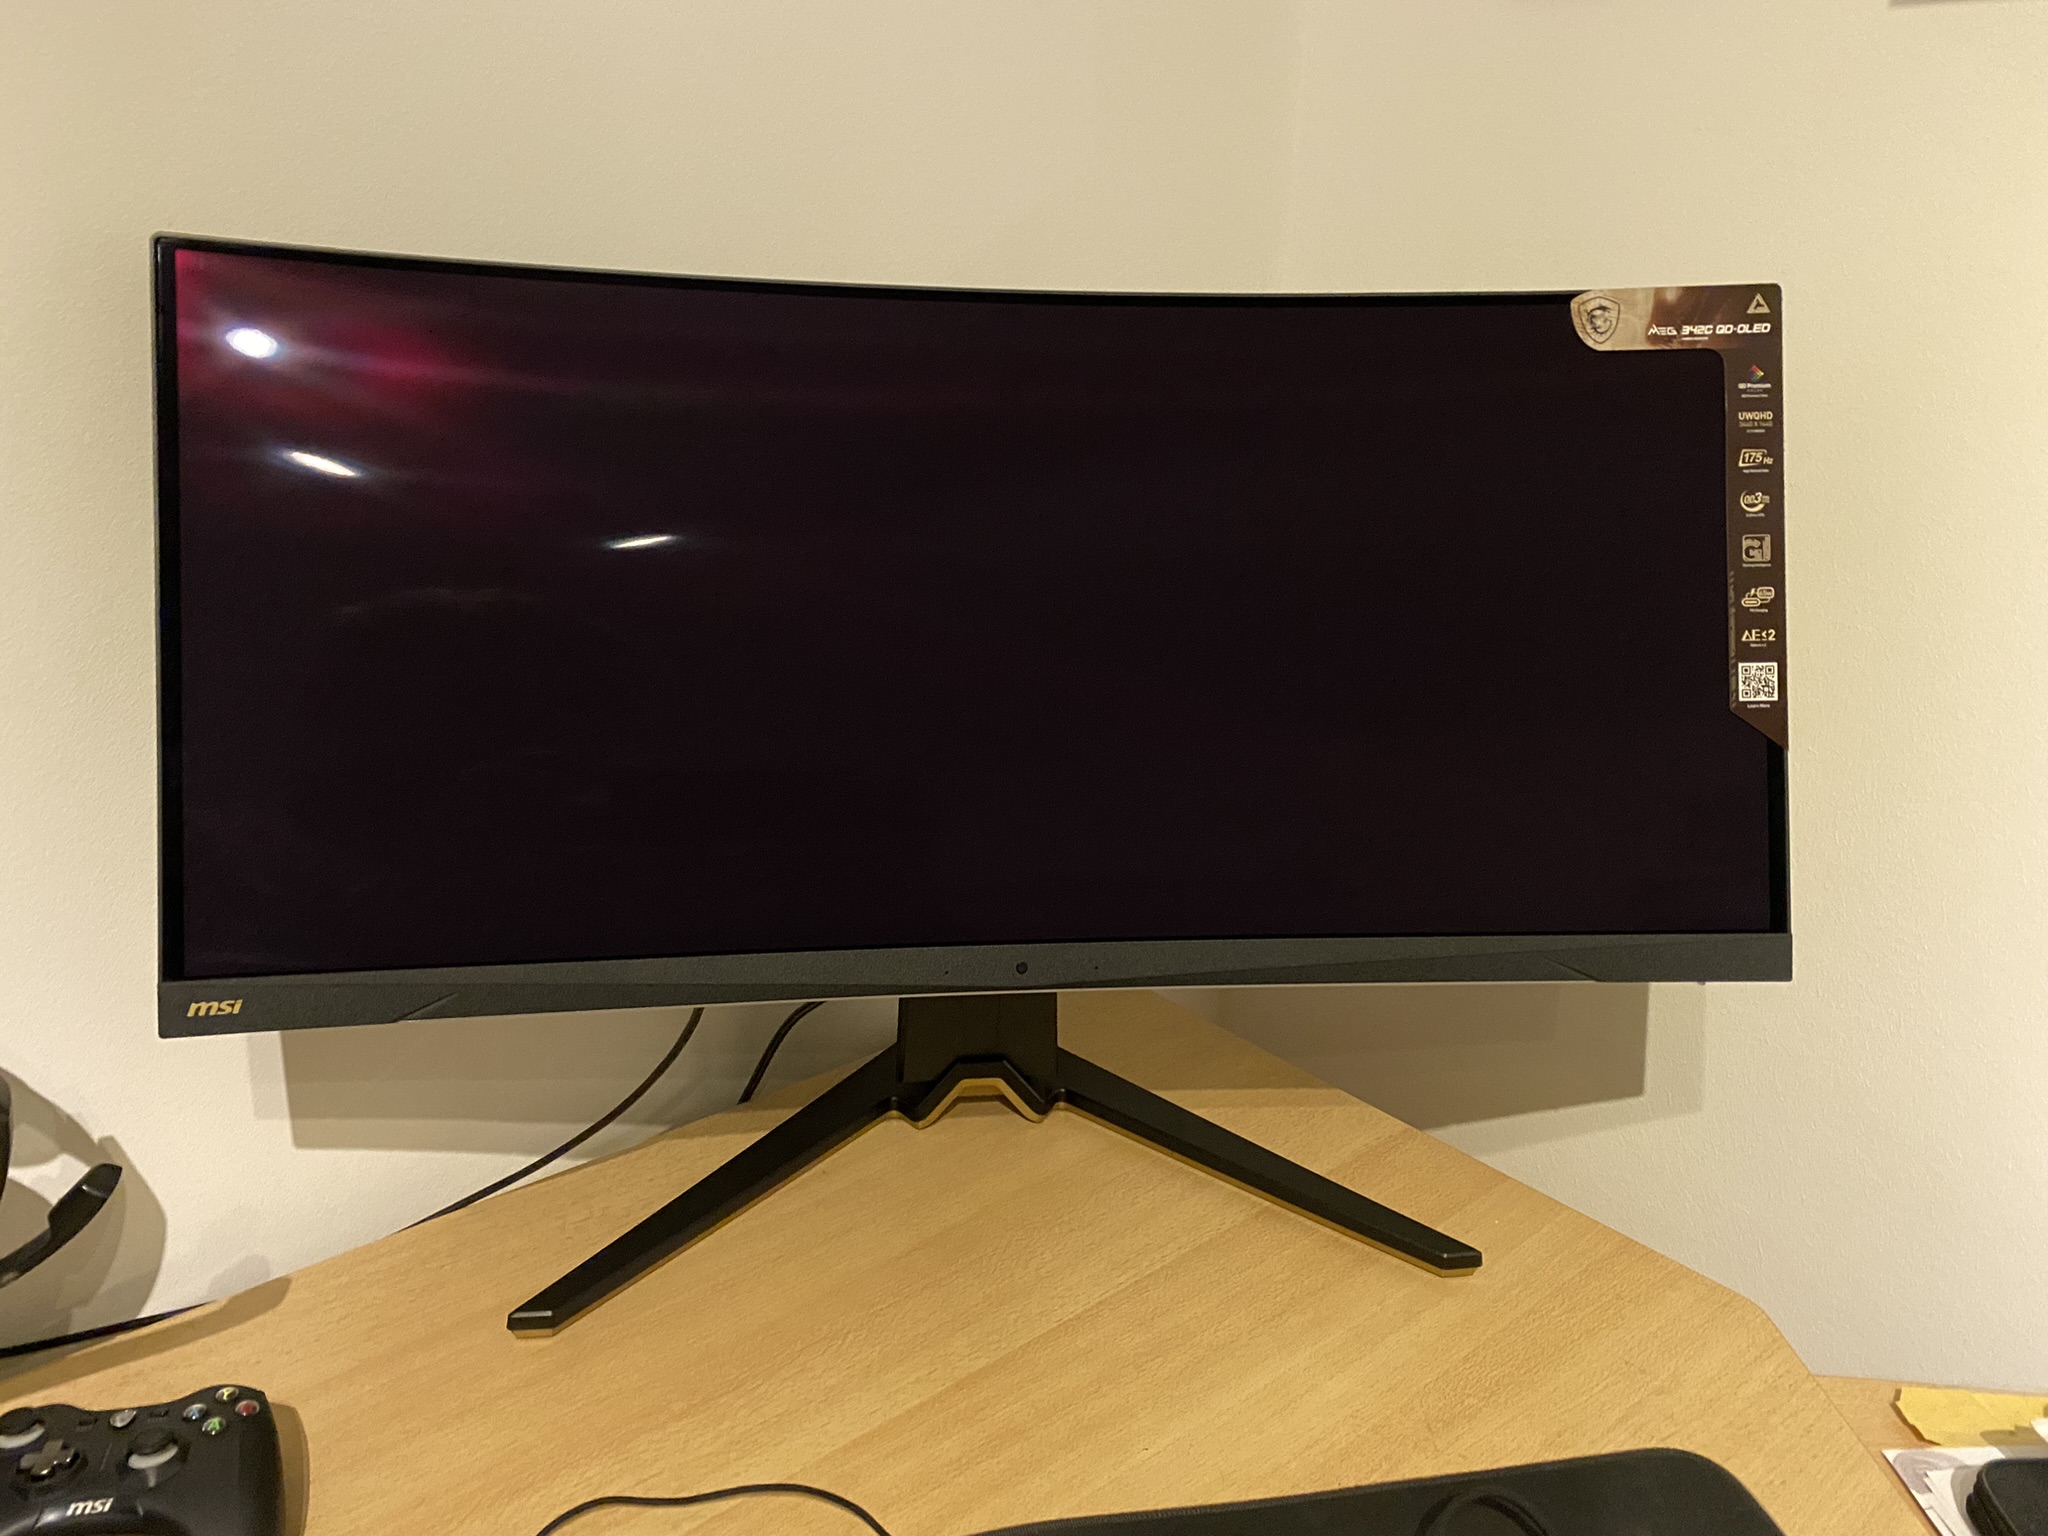
The ergonomics are manageable, because more than tilting and height adjustment is not possible without an extra Vesa mount. This is generally the case with ultrawide monitors, which are somewhat more limited in terms of ergonomics.
Connectors, cables and accessories
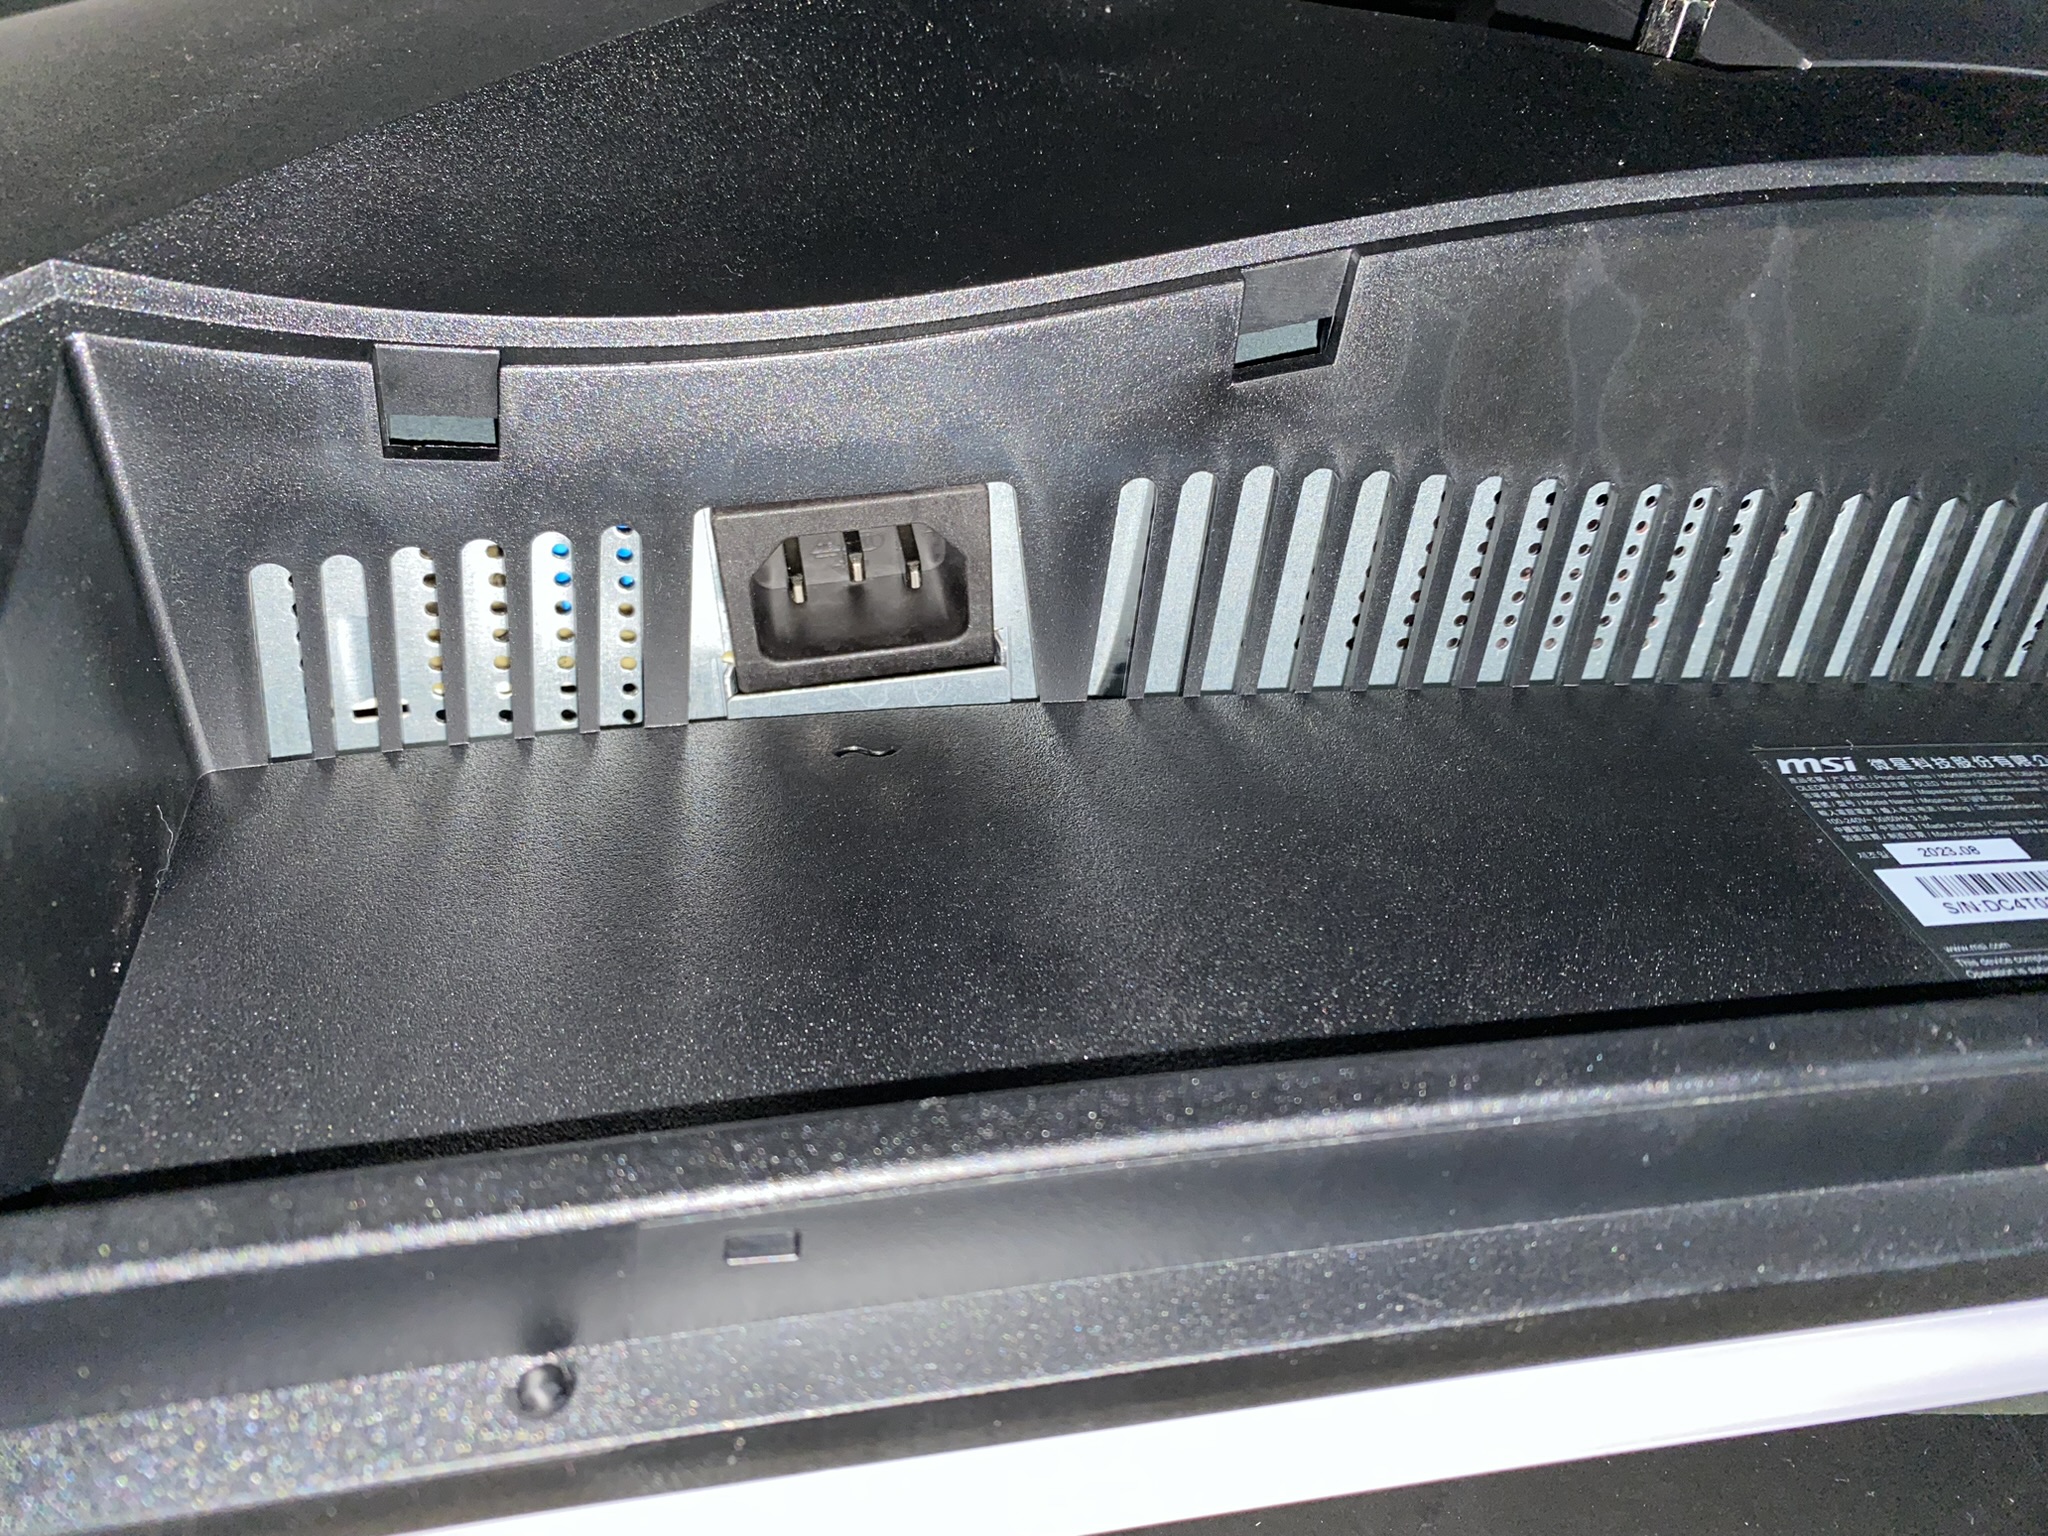
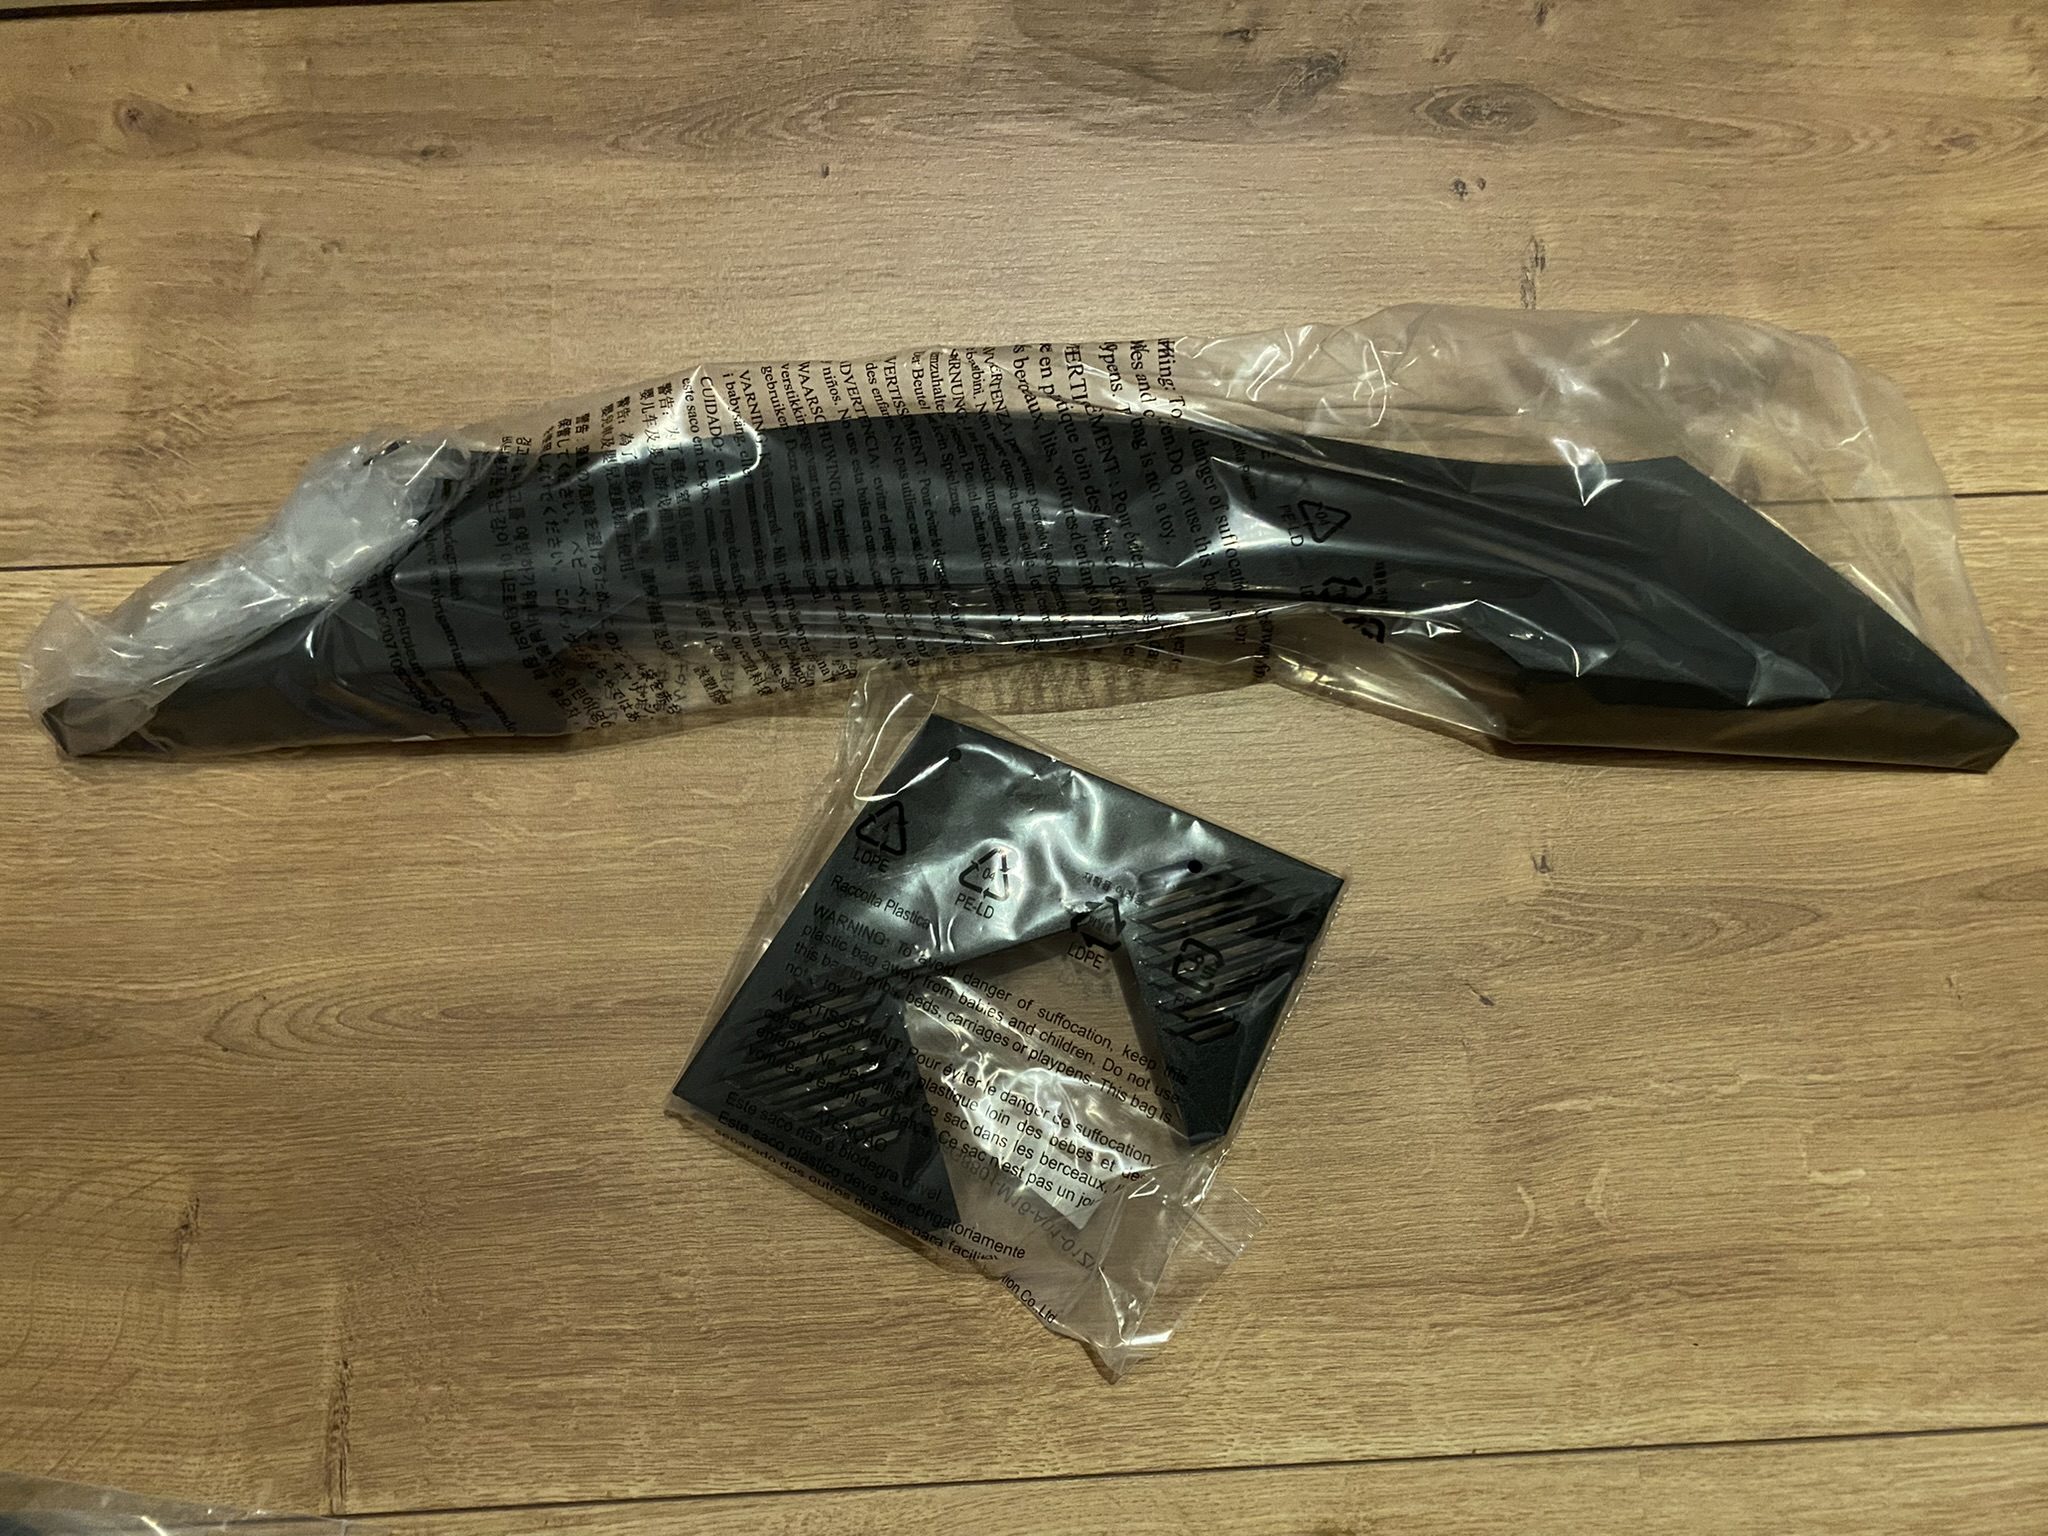
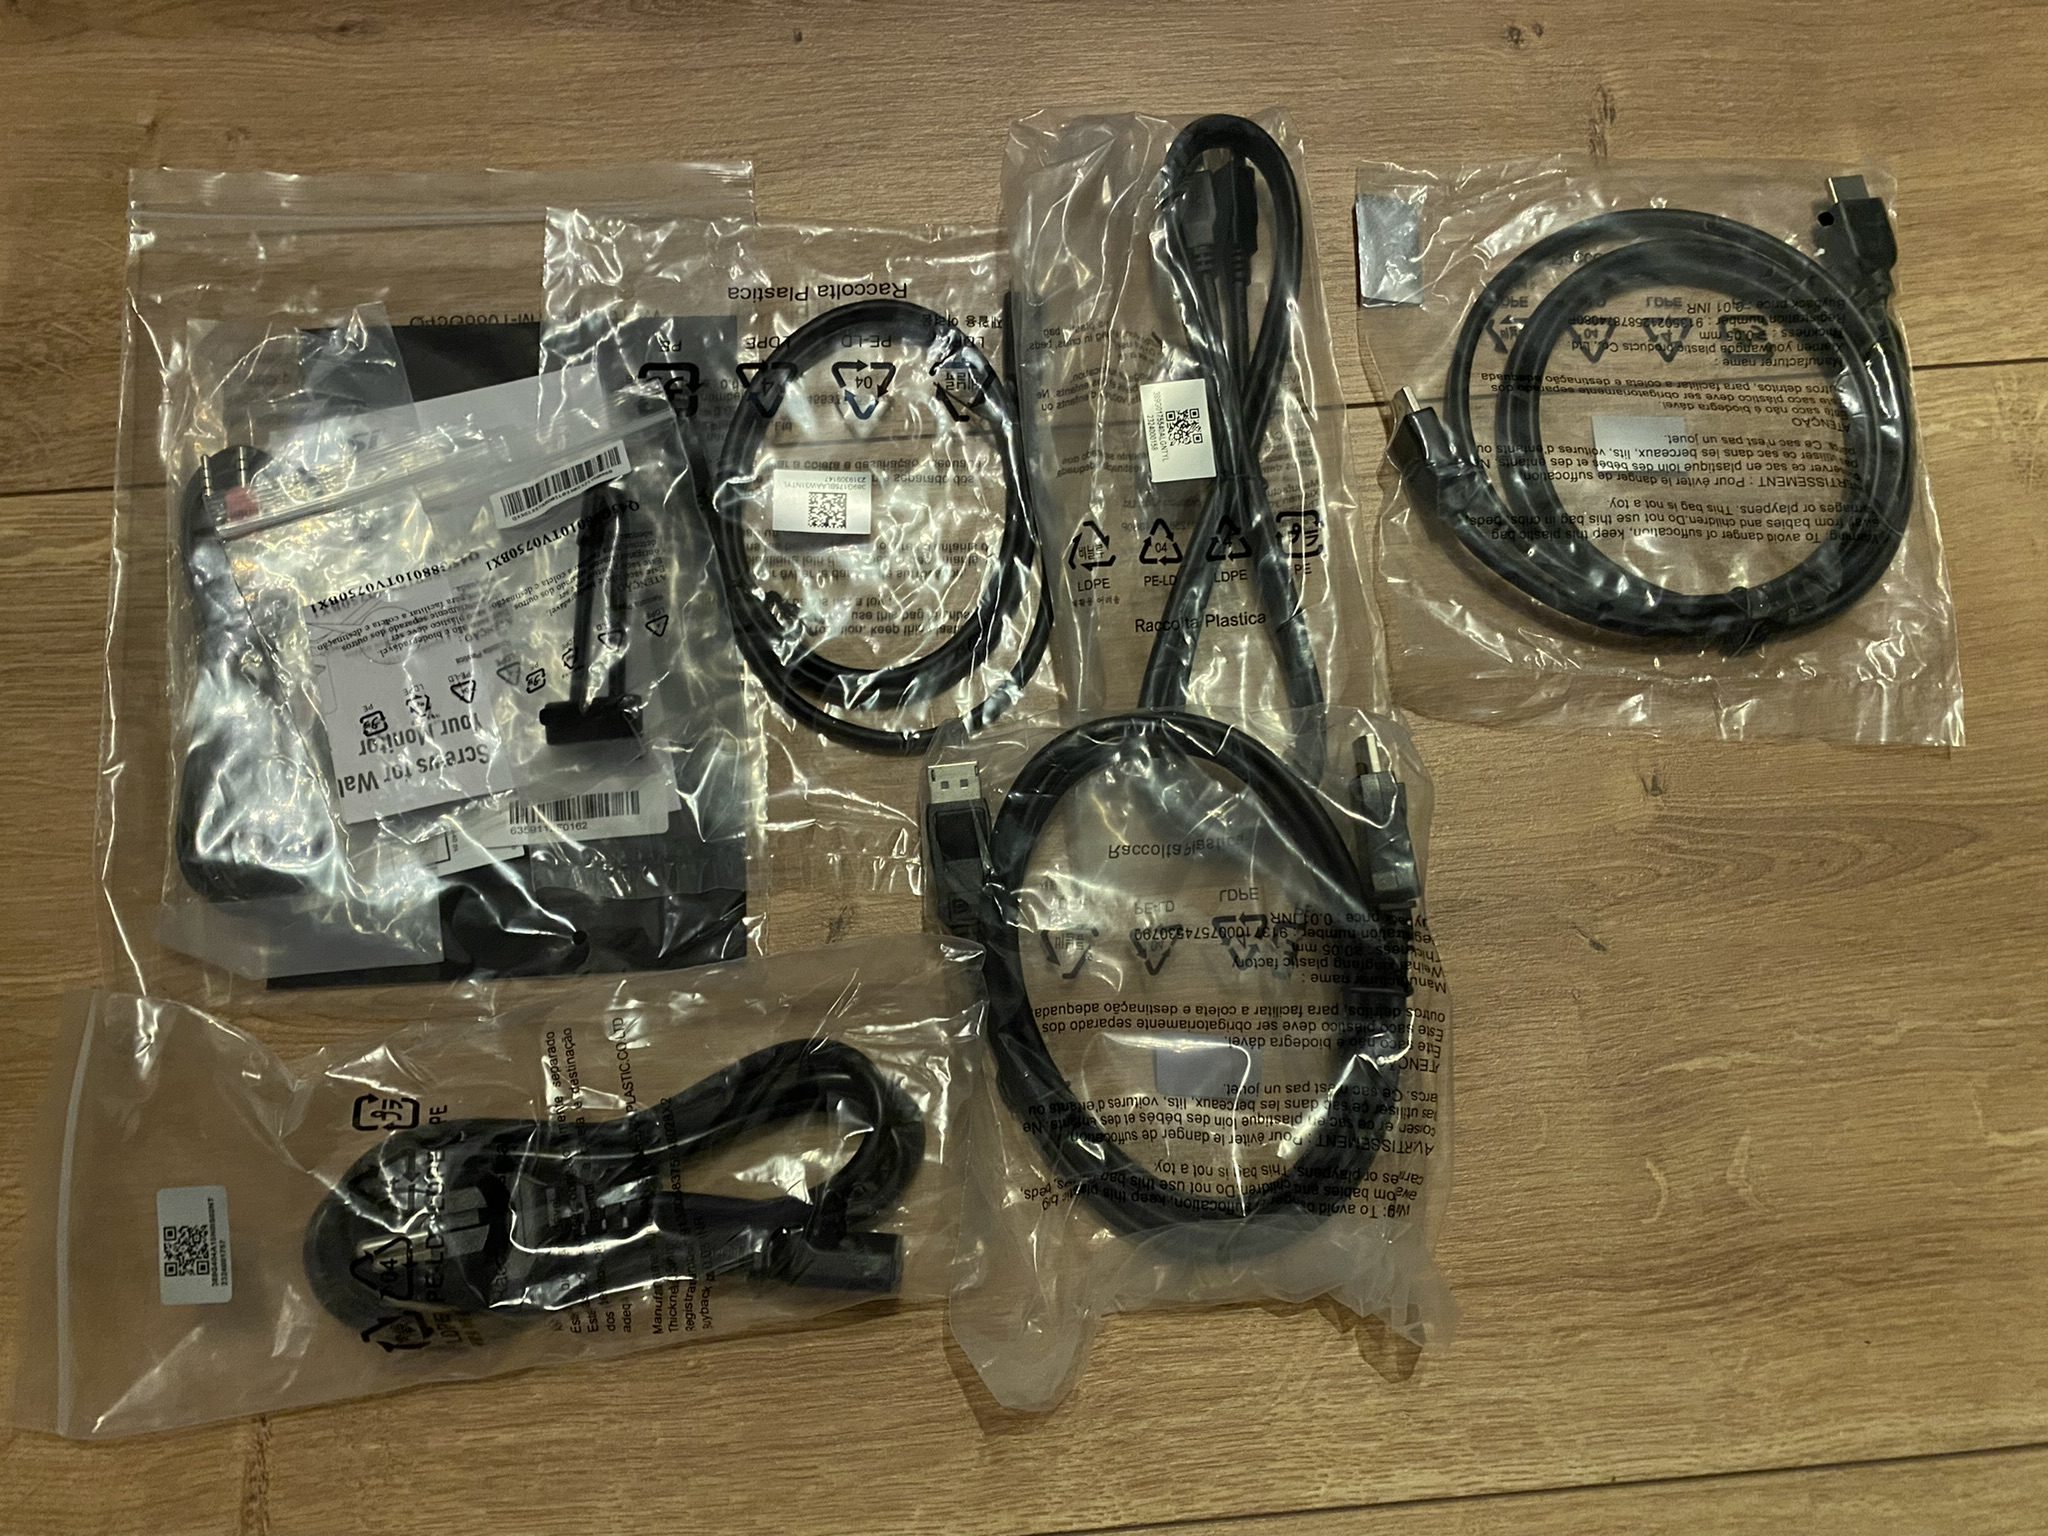
MSI has not been lazy here. Everything you need is there – or not. An HDMI cable, one DisplayPort, one USB-C and the USB-A to USB-B cable are included. Plus the power cable (internal power supply) and a few plastic covers to make the monitor look nicer from behind.
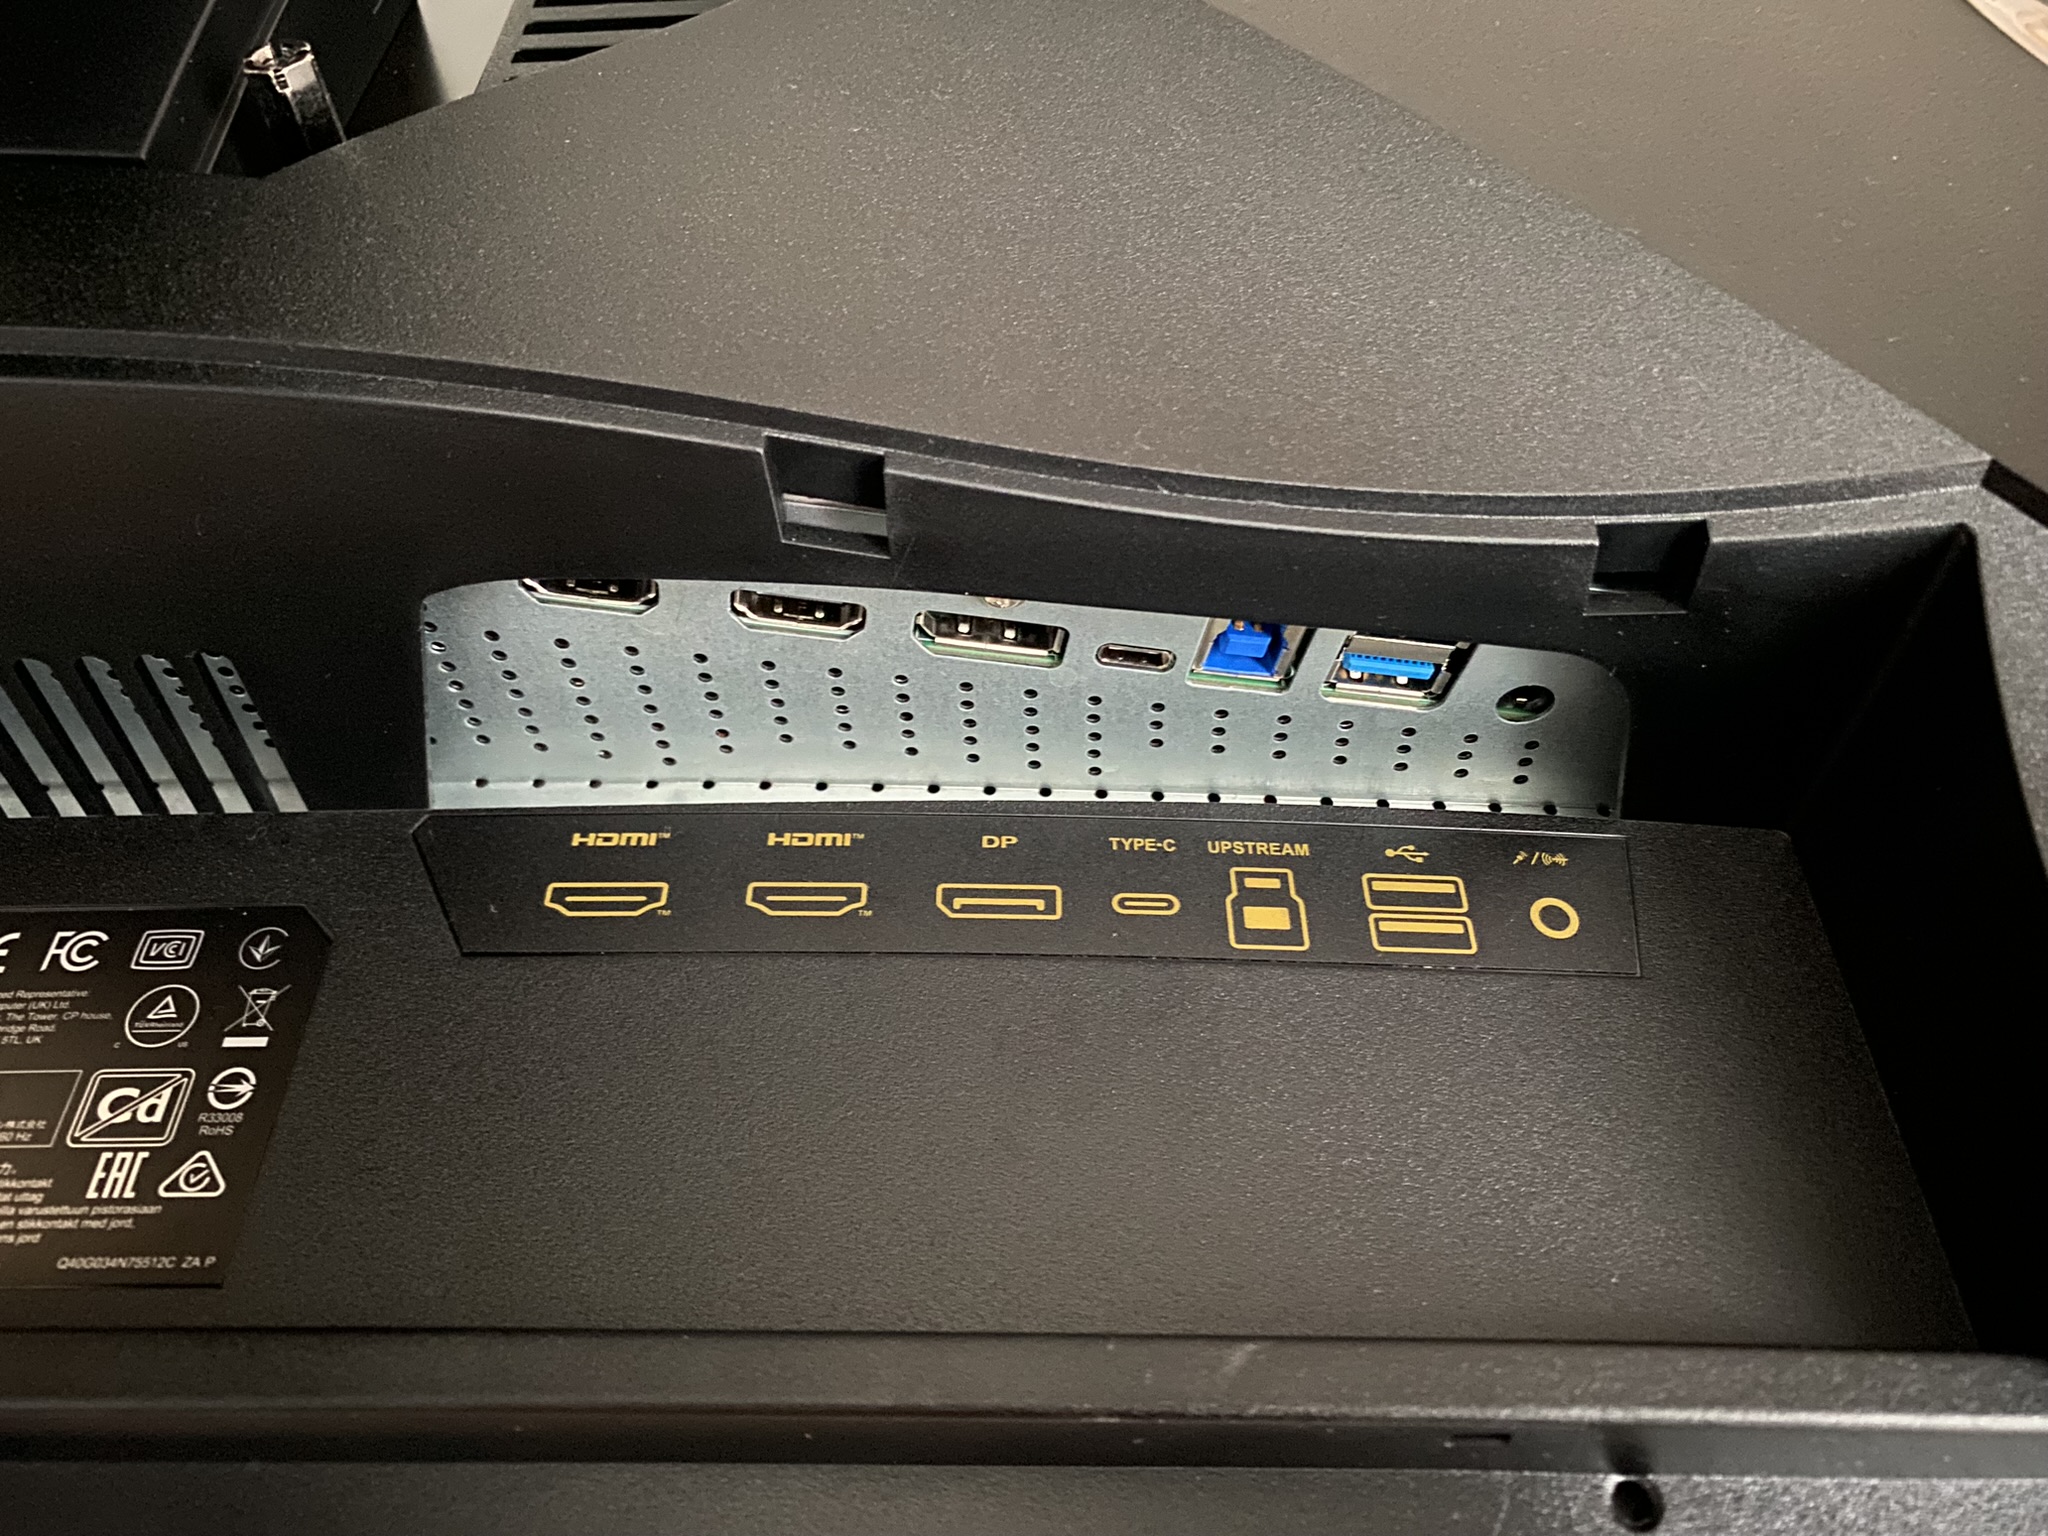
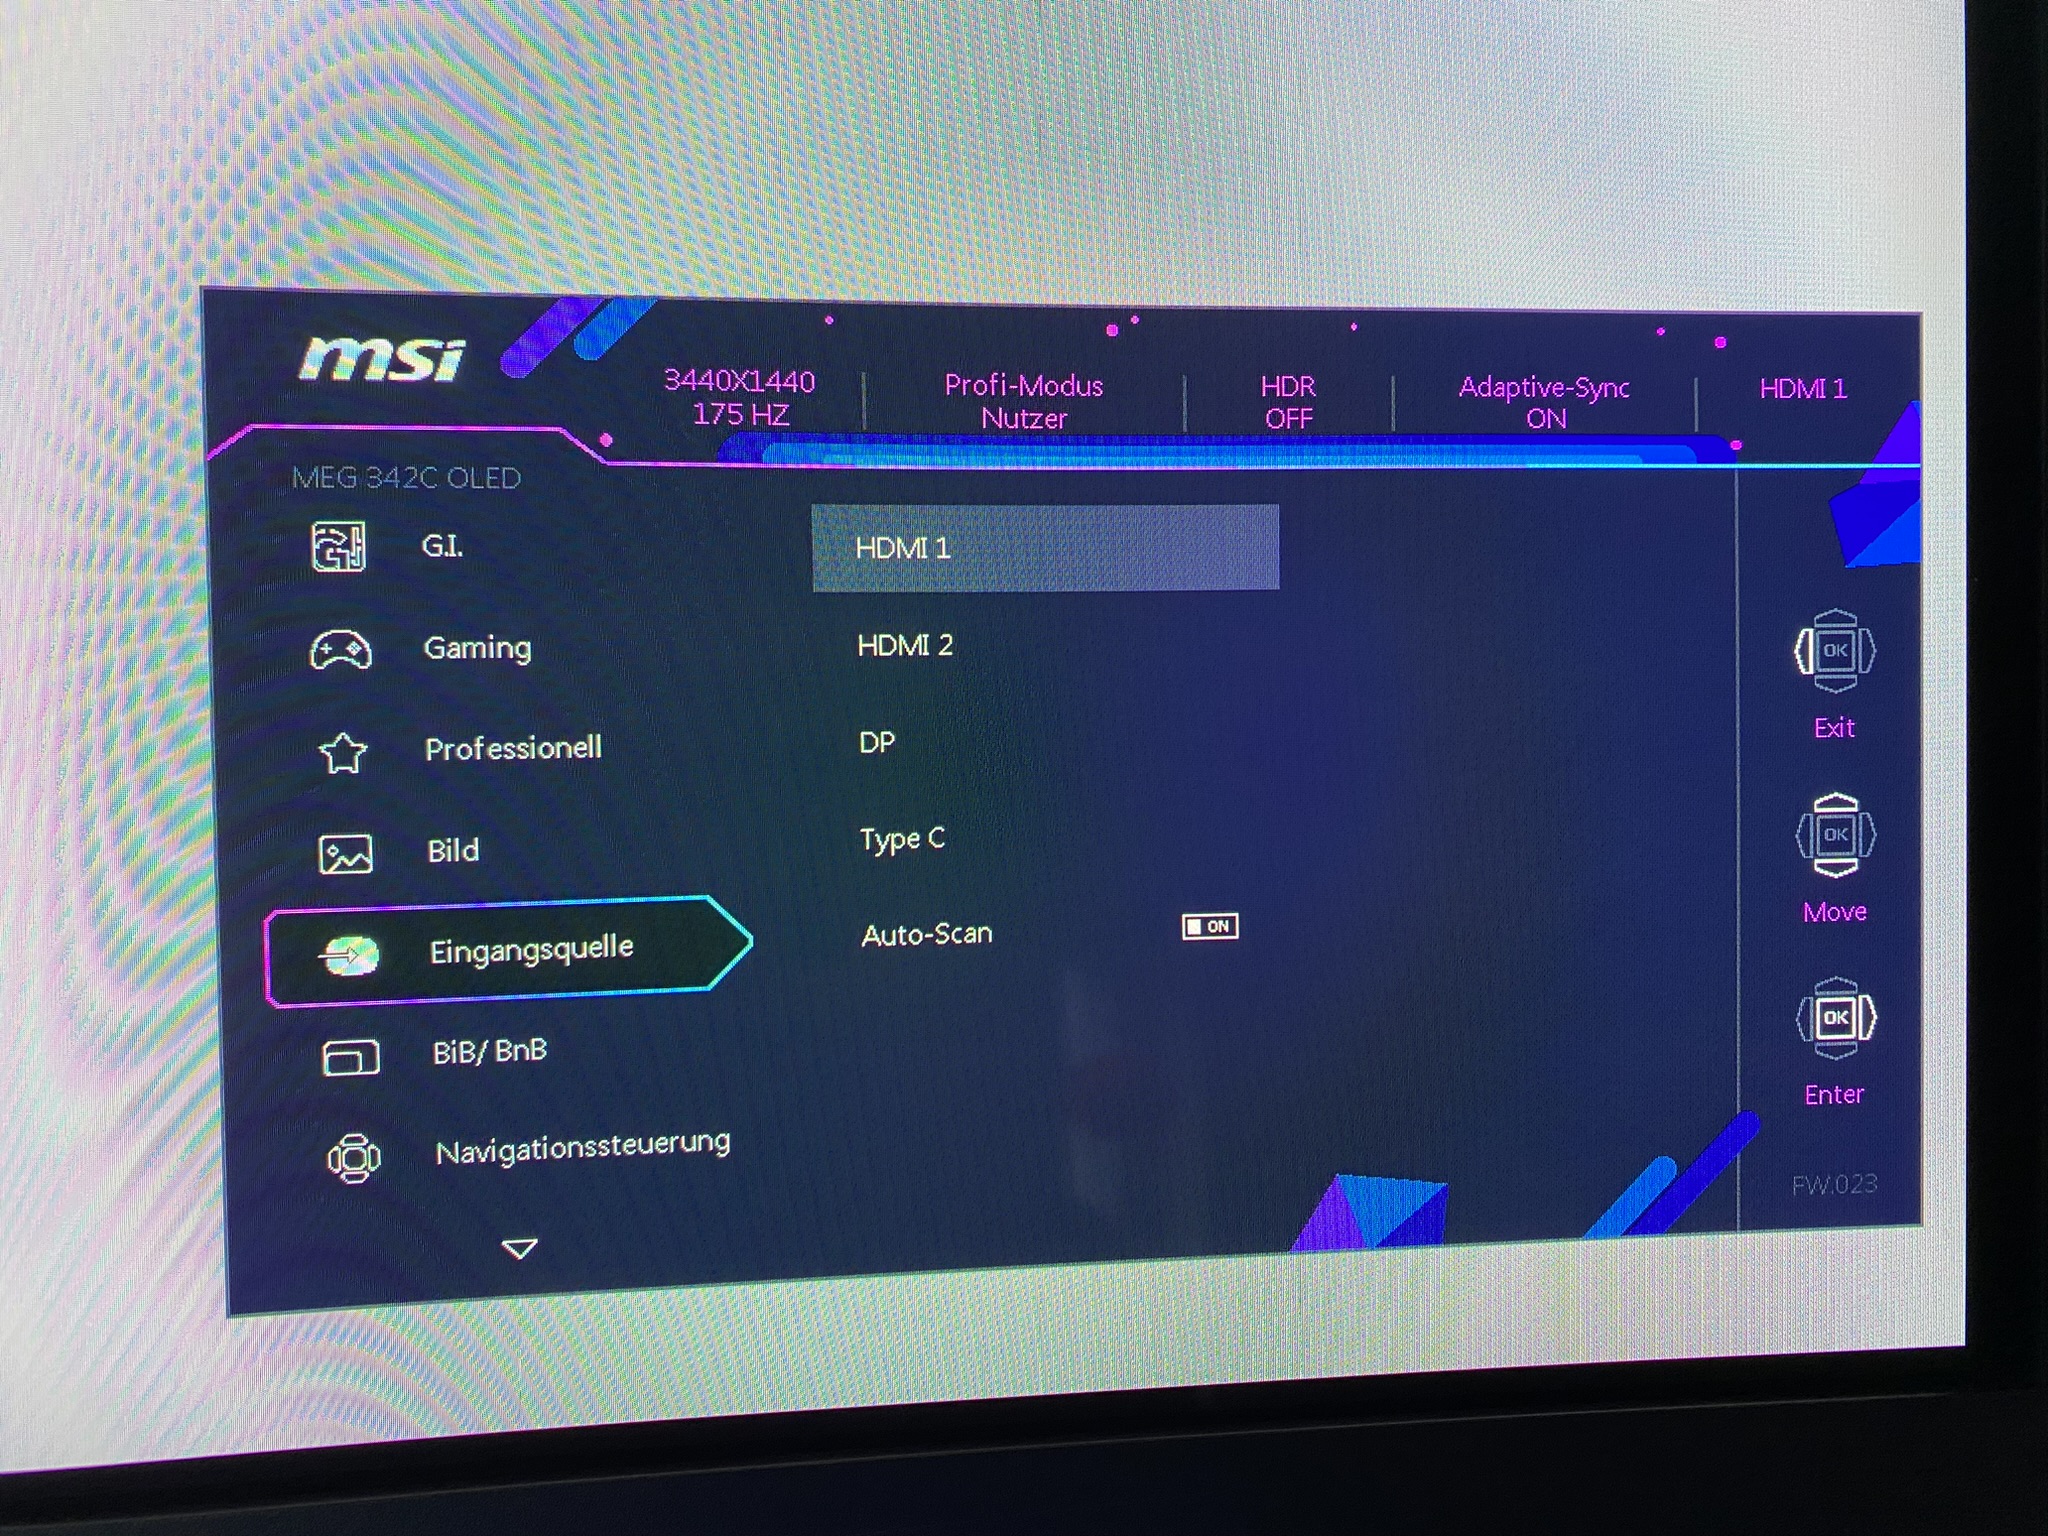
You can see the connections in the pictures and you already know them from the data sheet on page 1. And now some very important information for the – I hate fans in monitors faction: There is a built-in fan. It has been inaudible since the firmware update! So, there are no quieting tablets displayed today. Although, maybe there are? Spoiler alert…
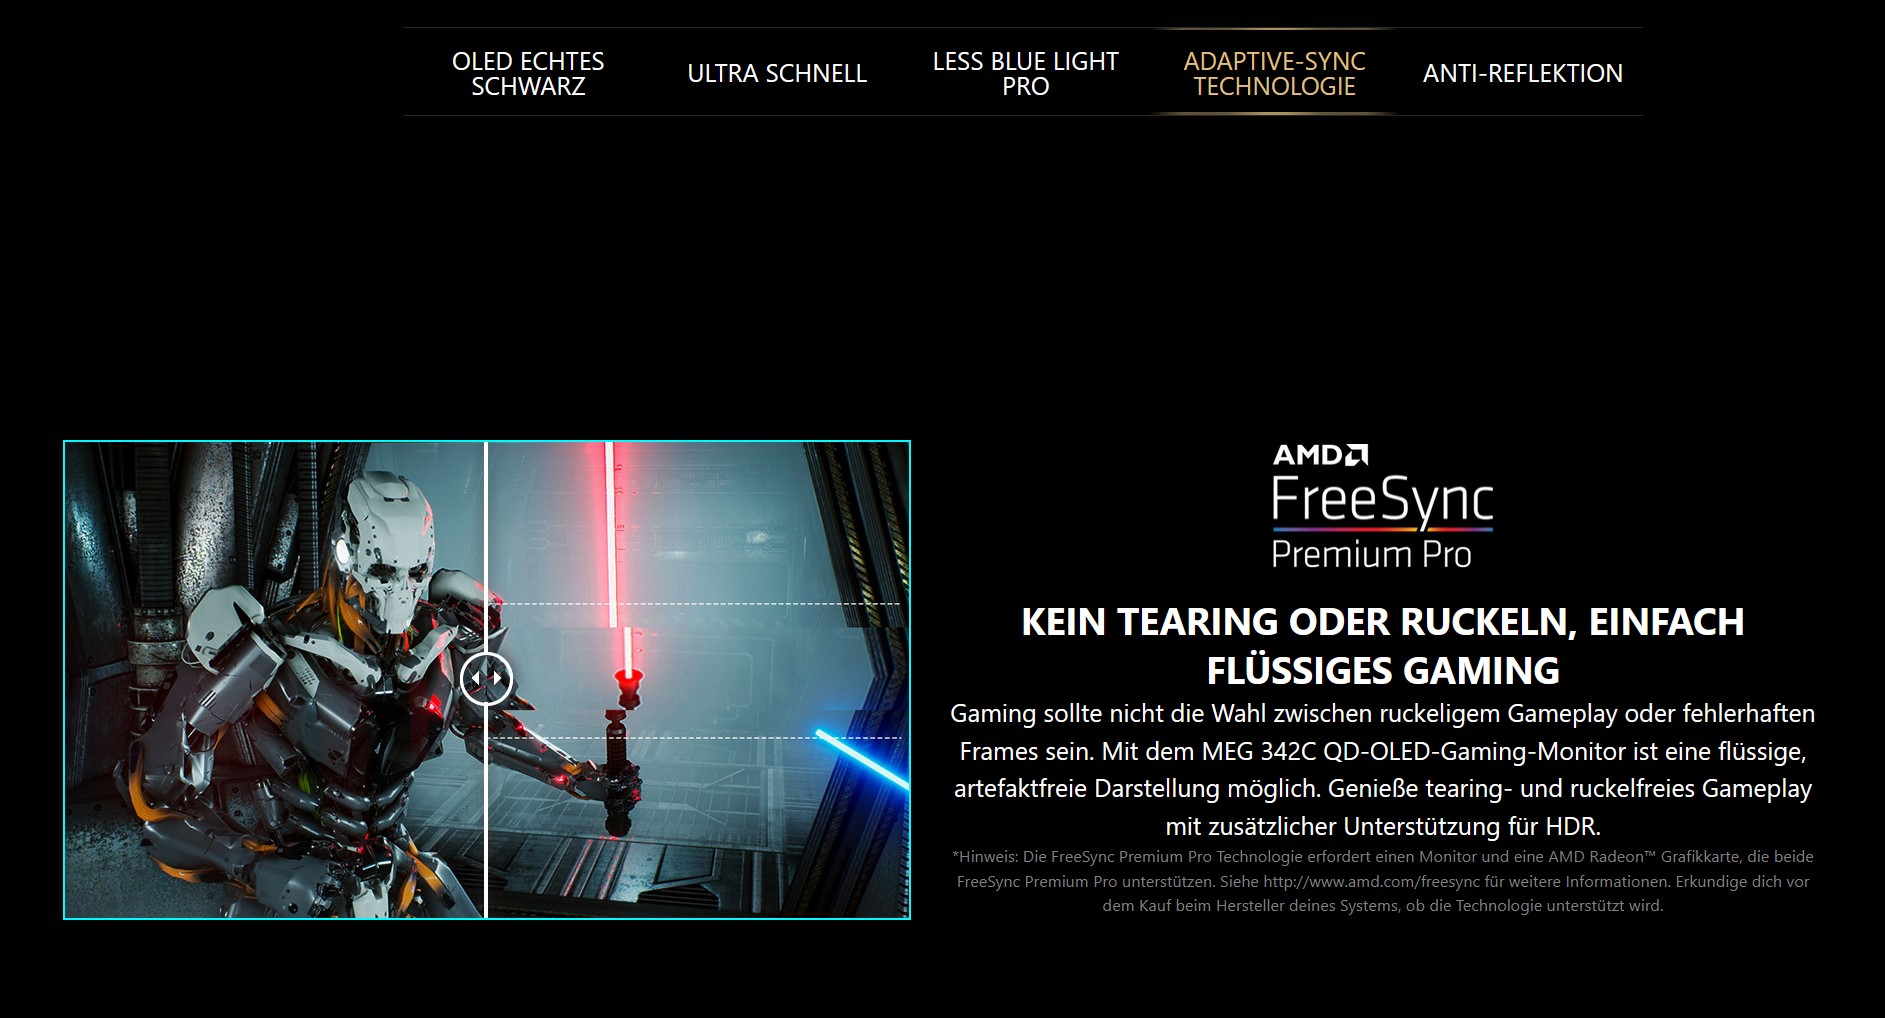
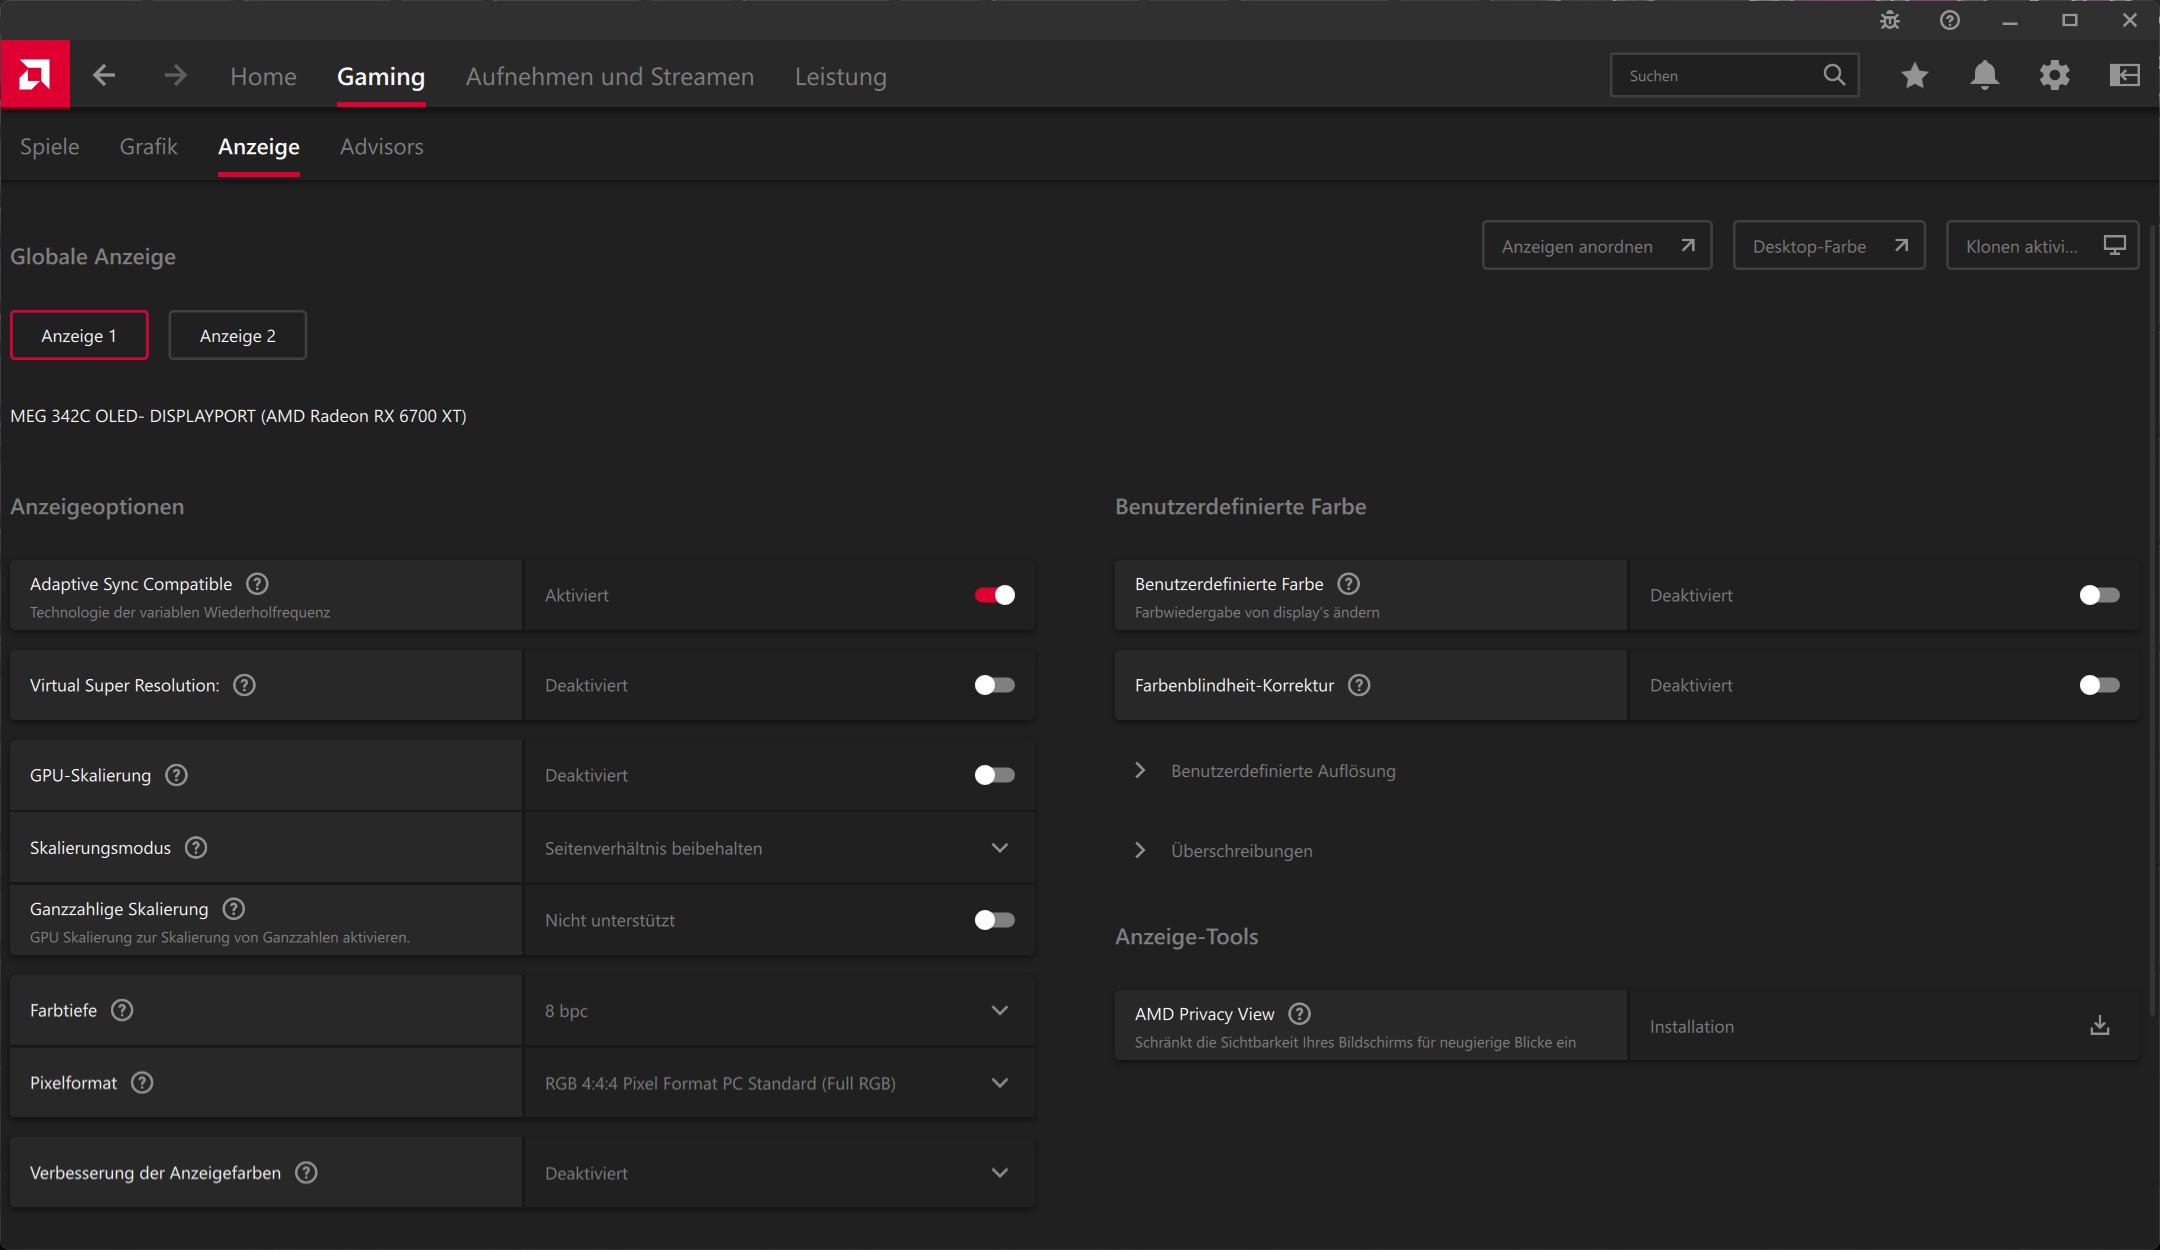
MSI advertises FreeSync Premium Pro on the homepage. However, the monitor is only recognized as Adaptive Sync in the driver. Just to be clear!
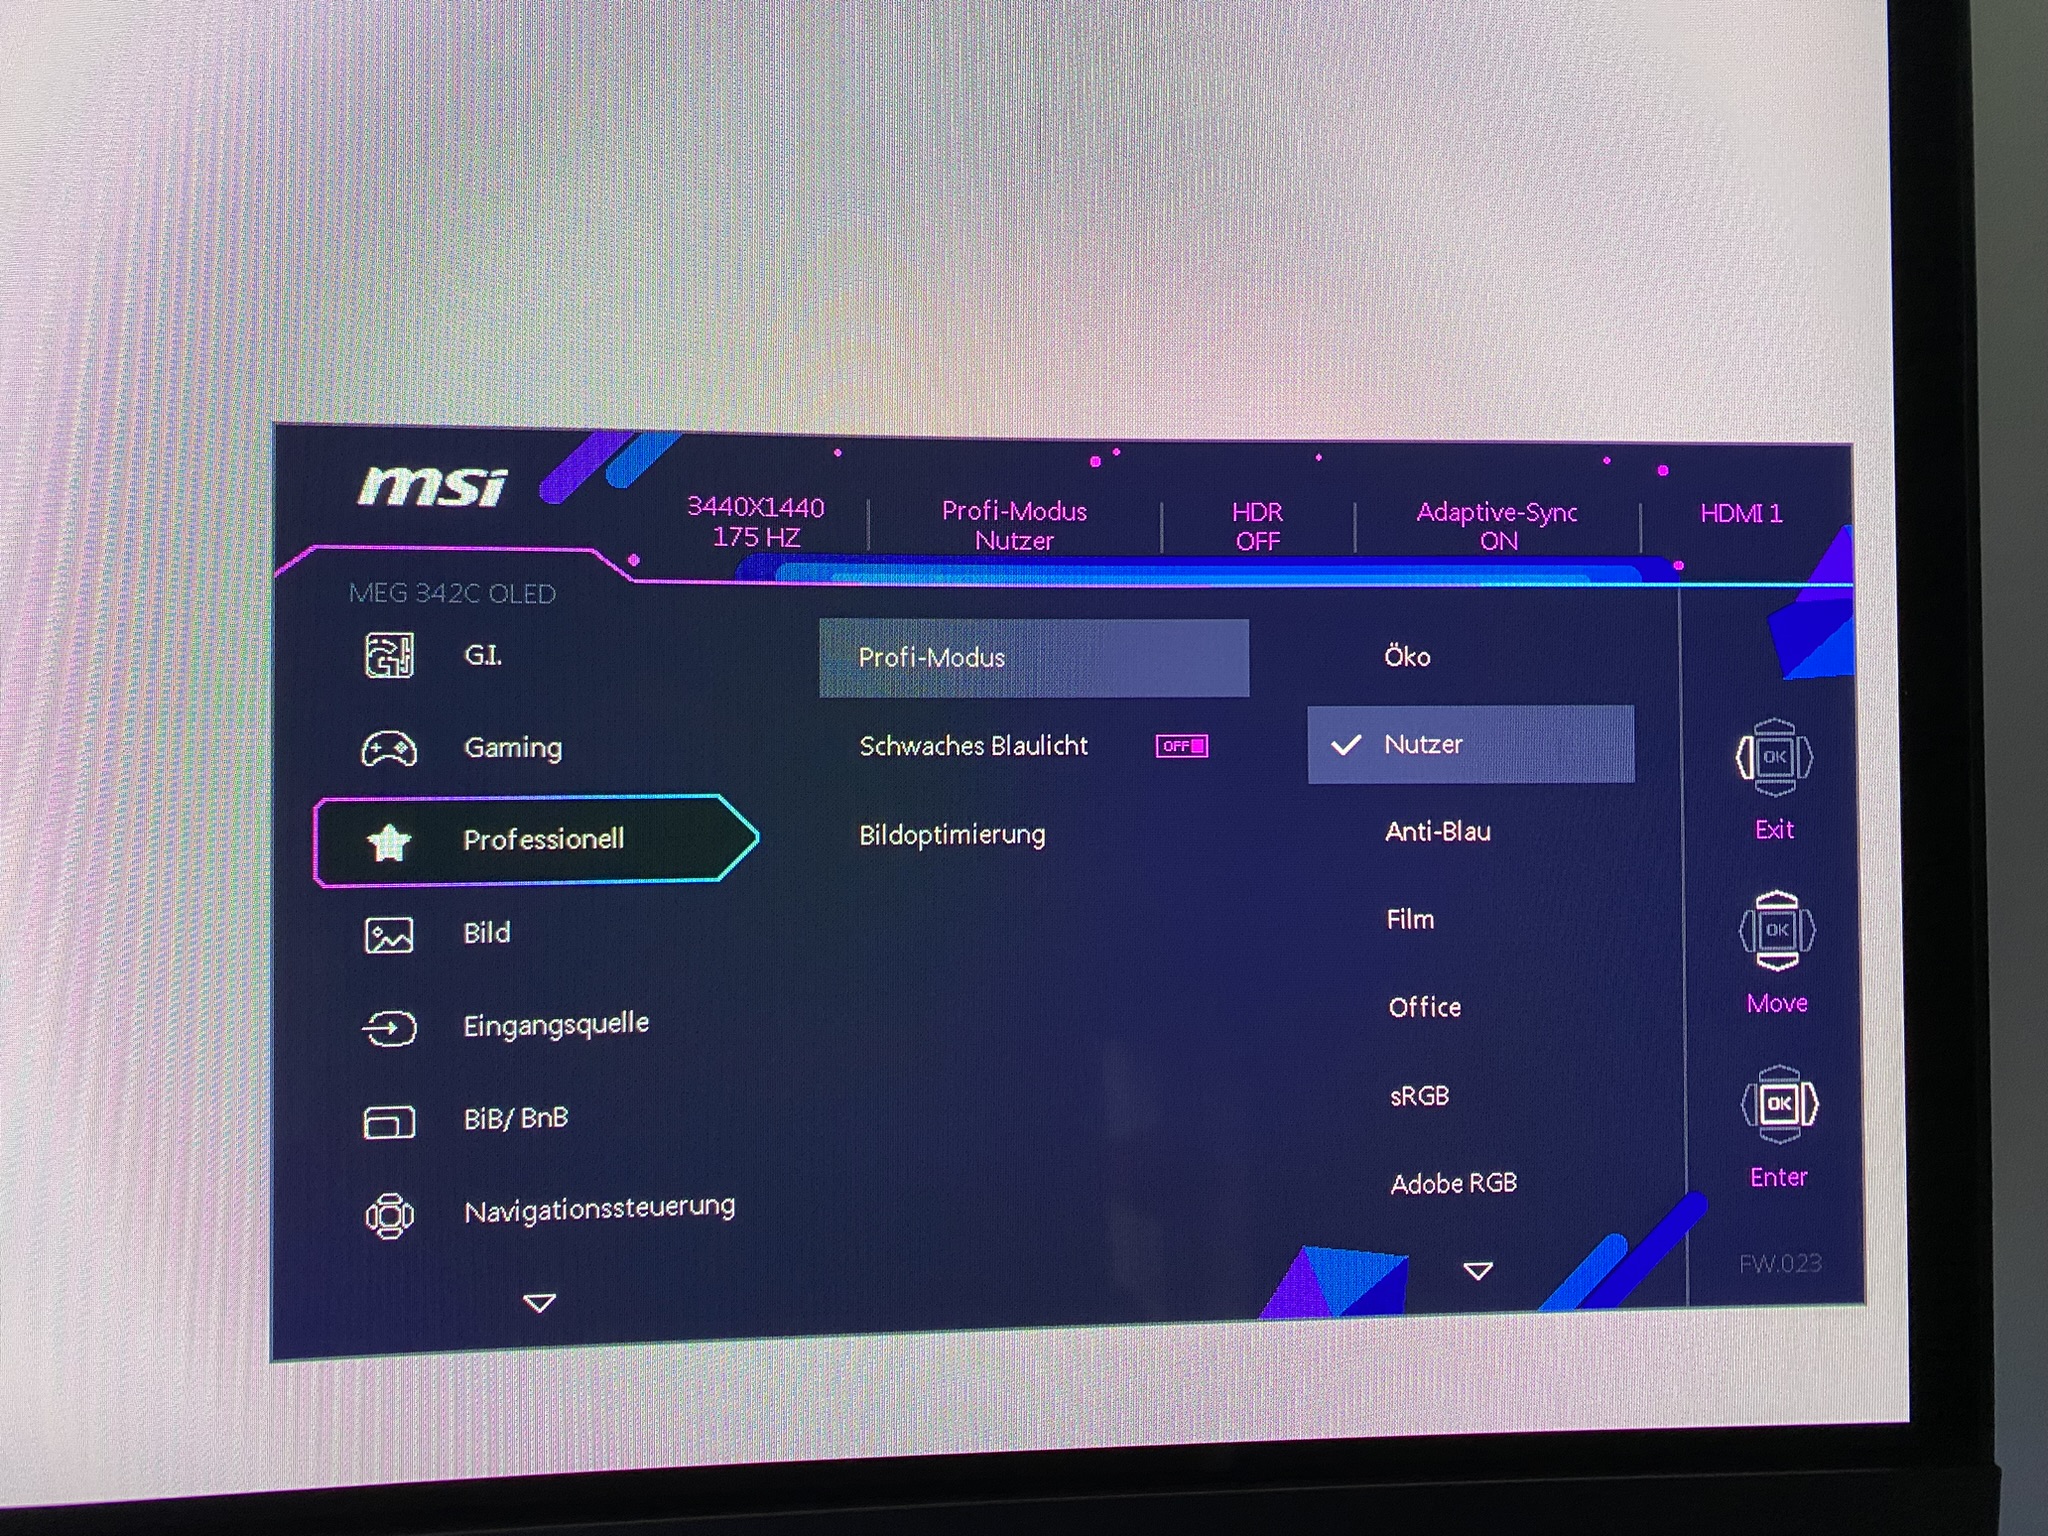
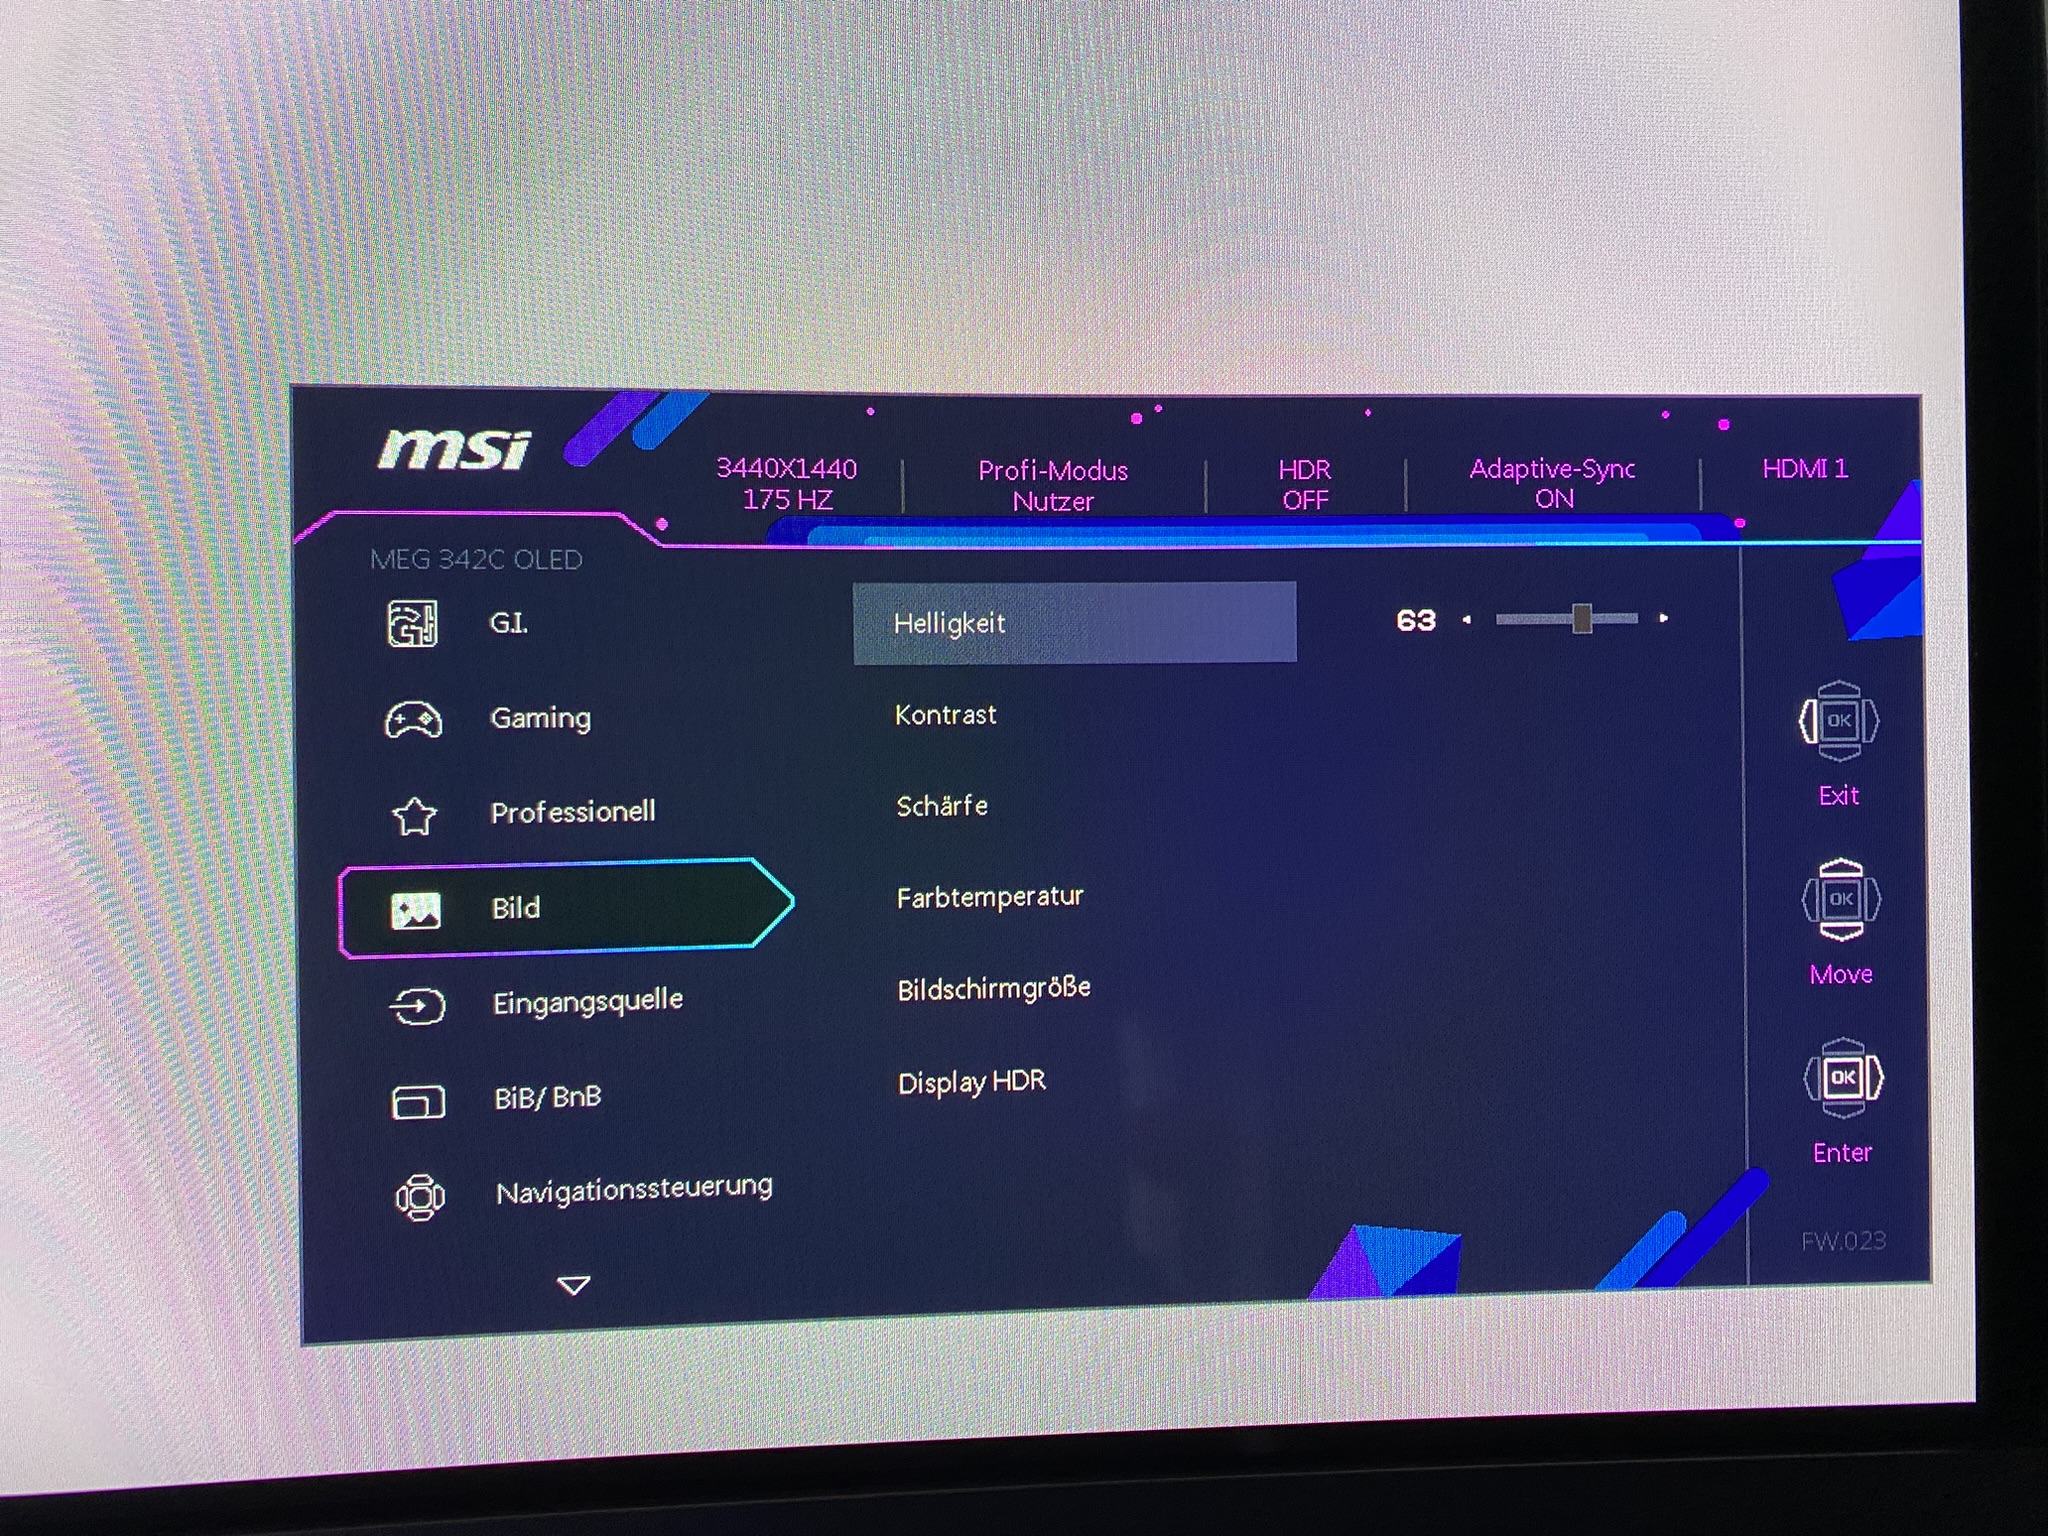
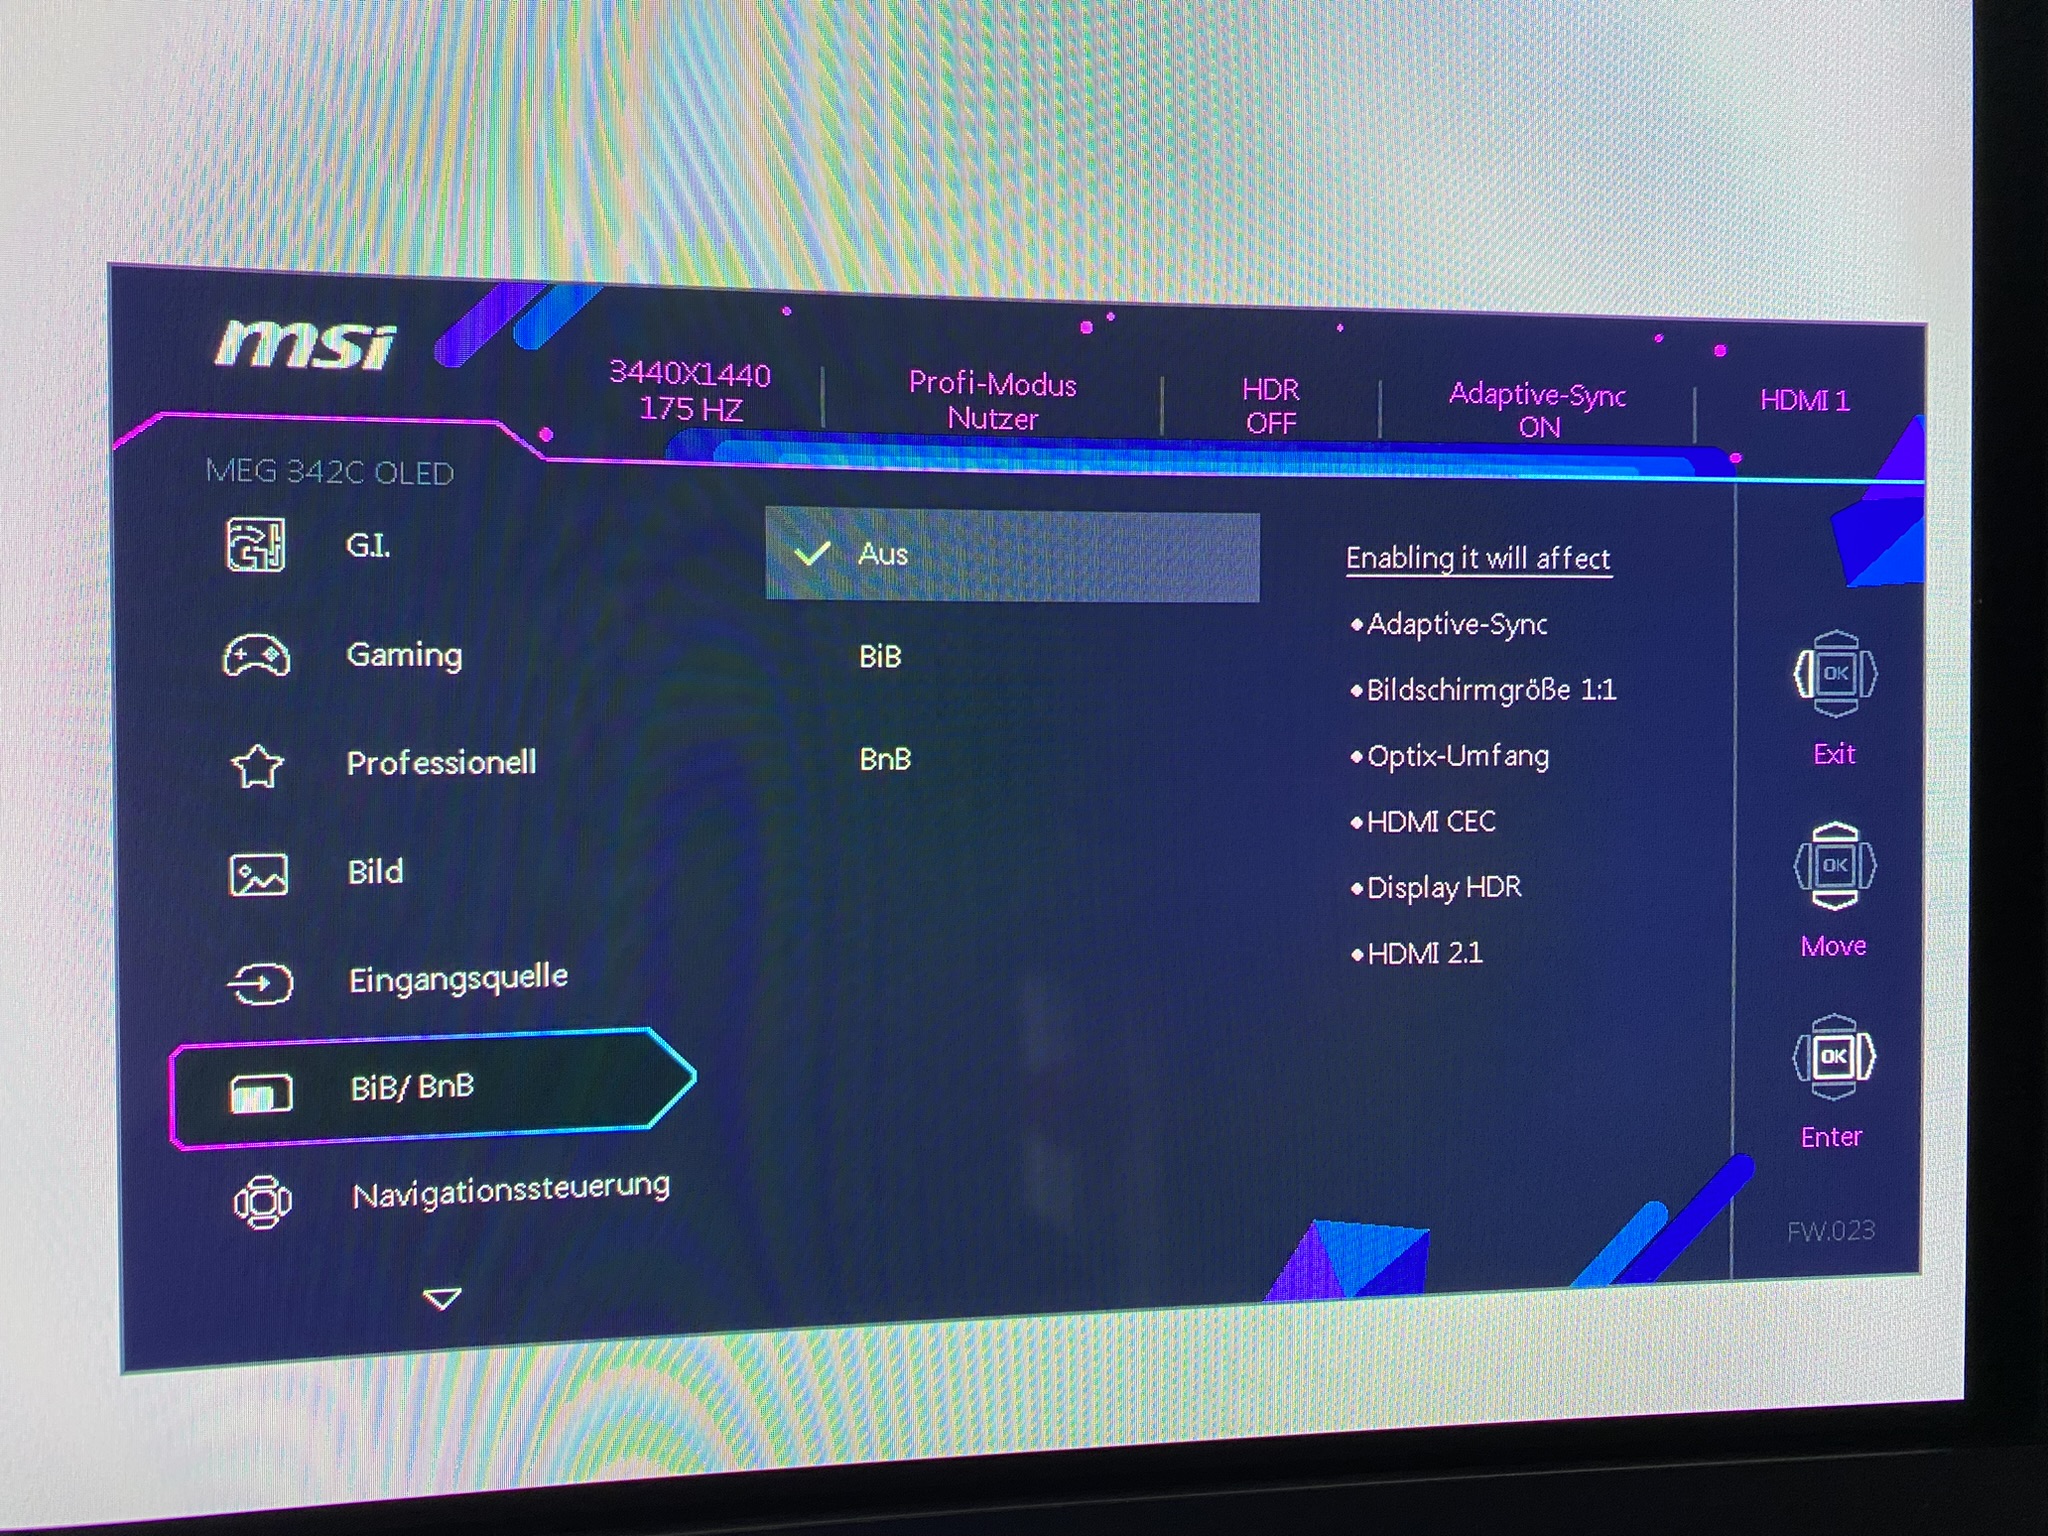
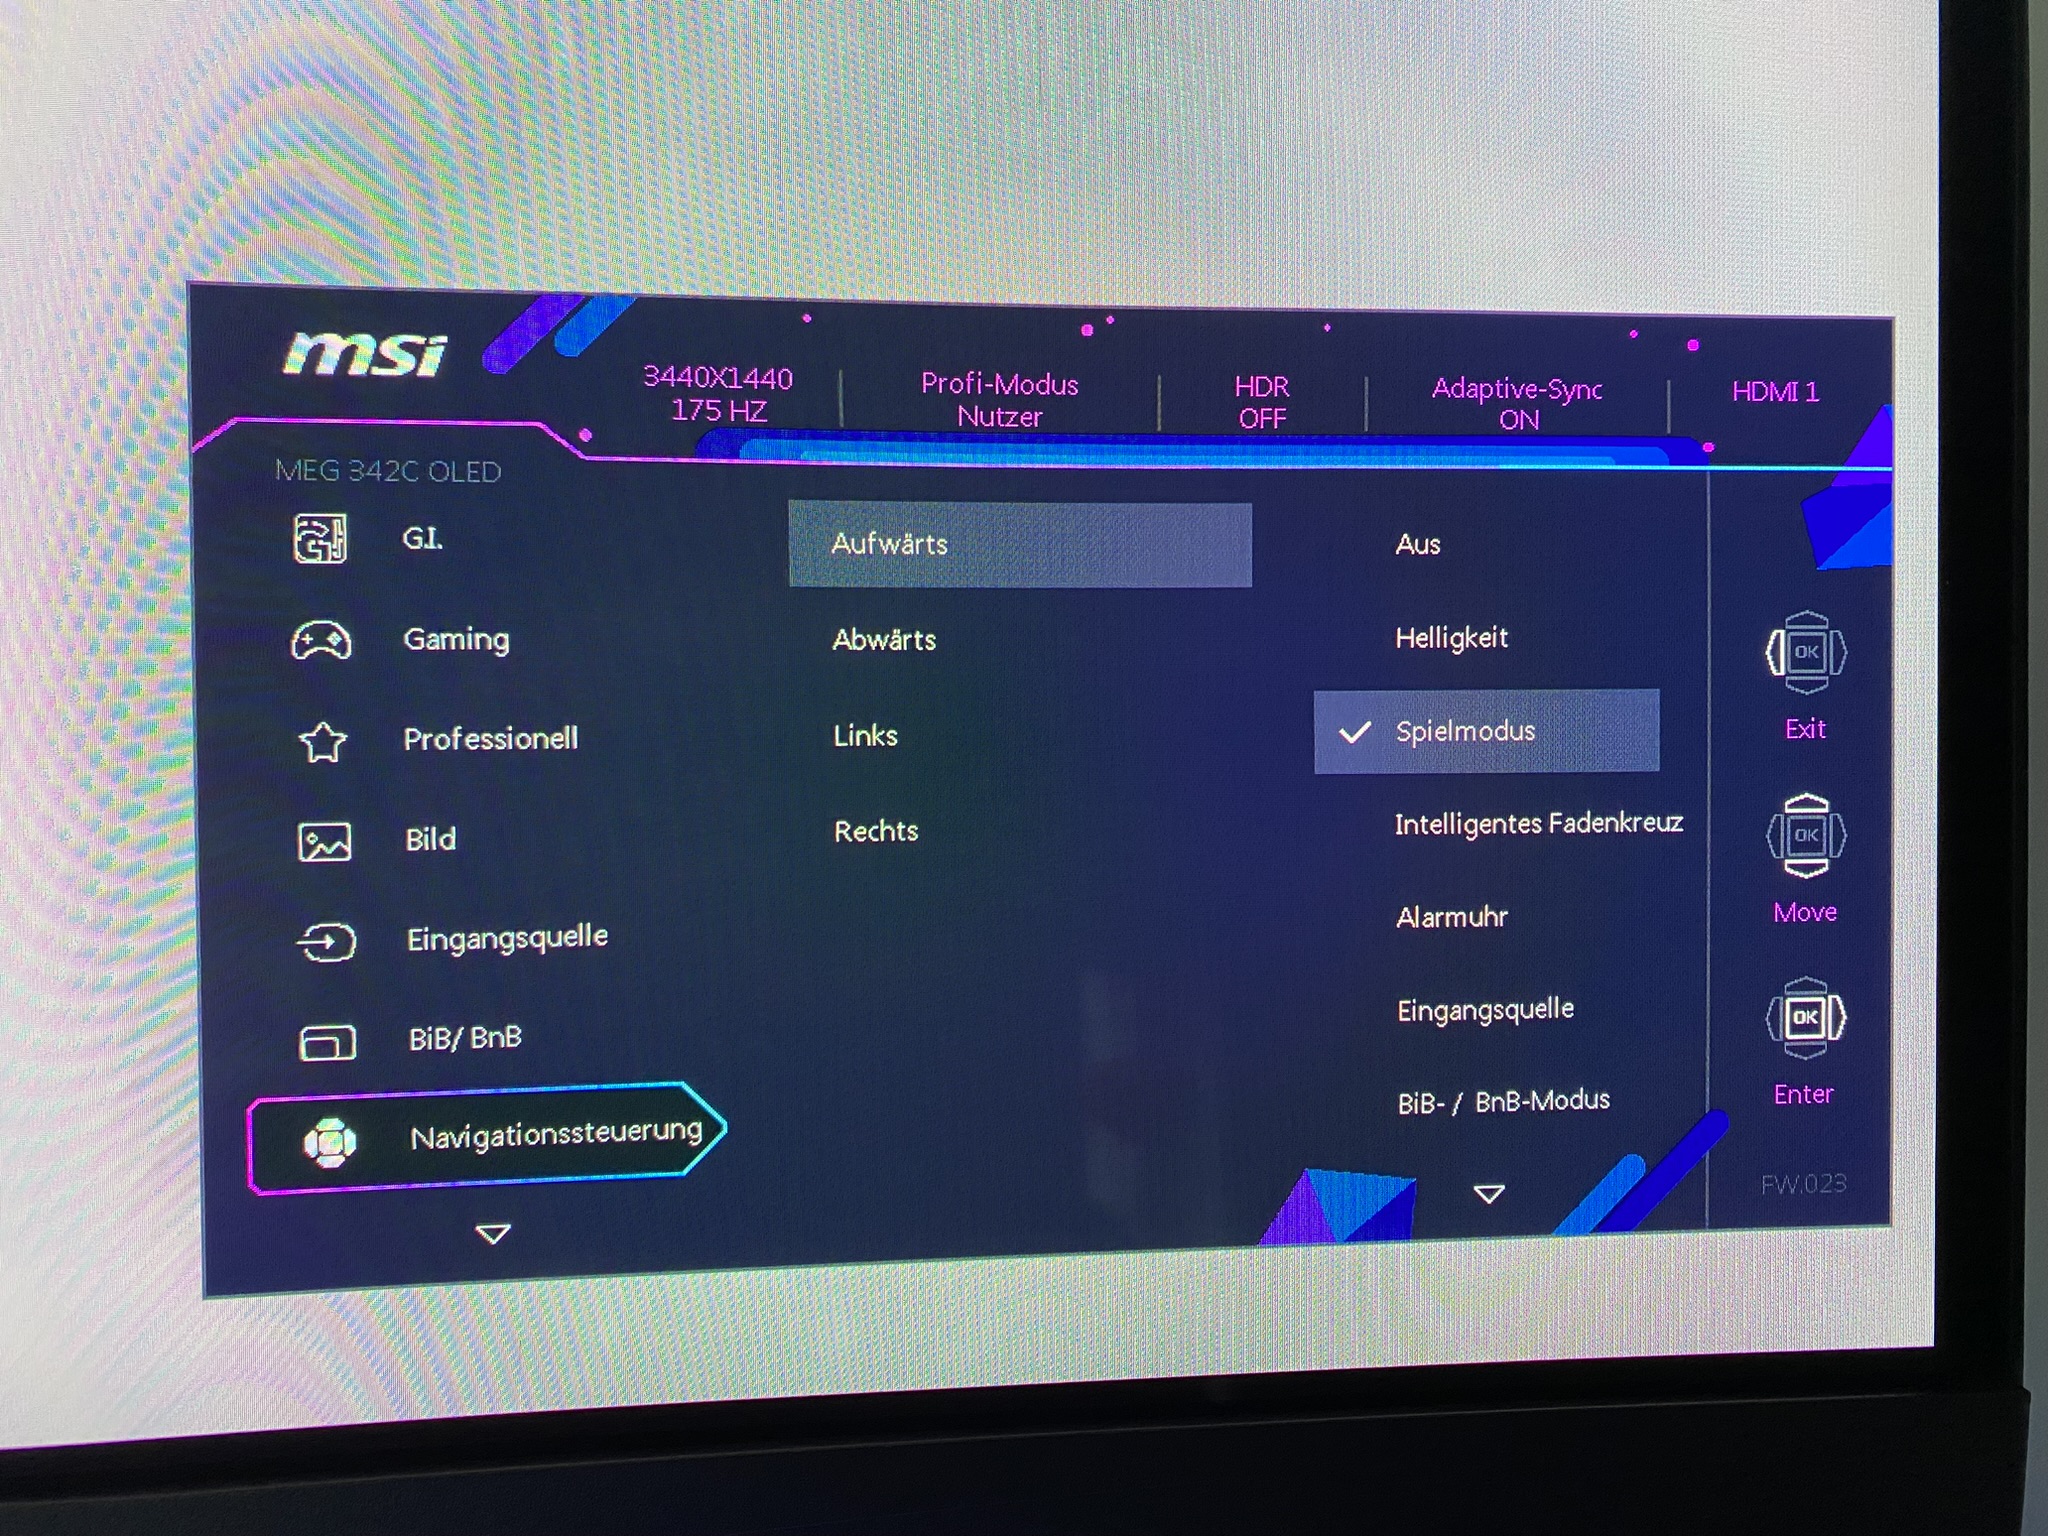
OSD
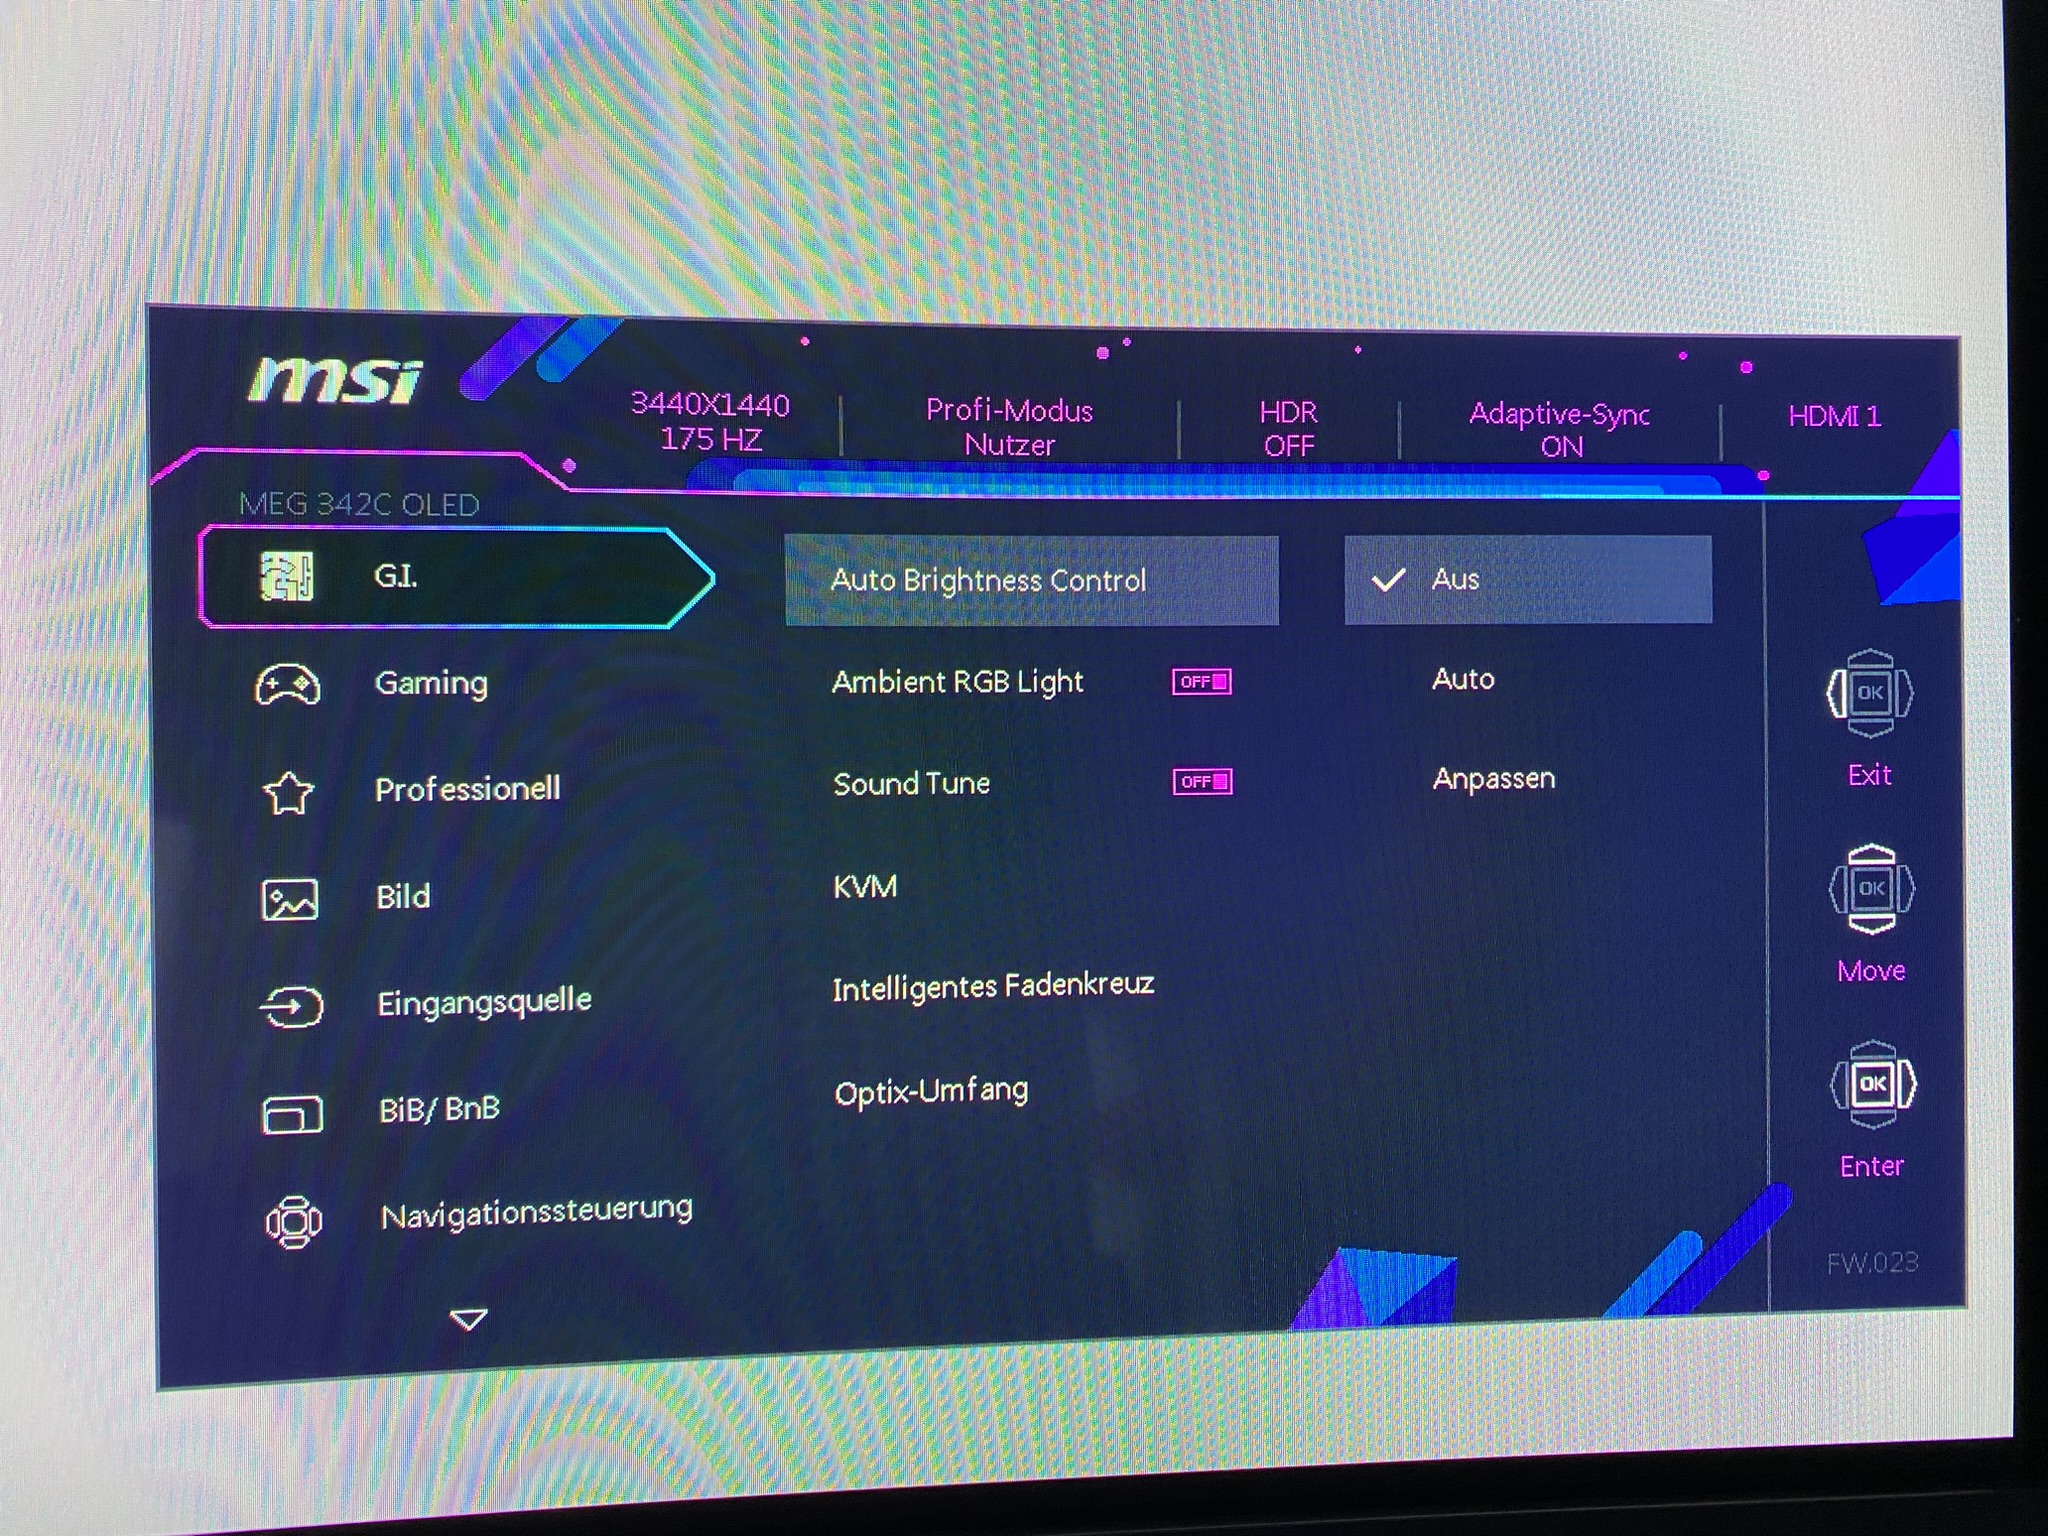
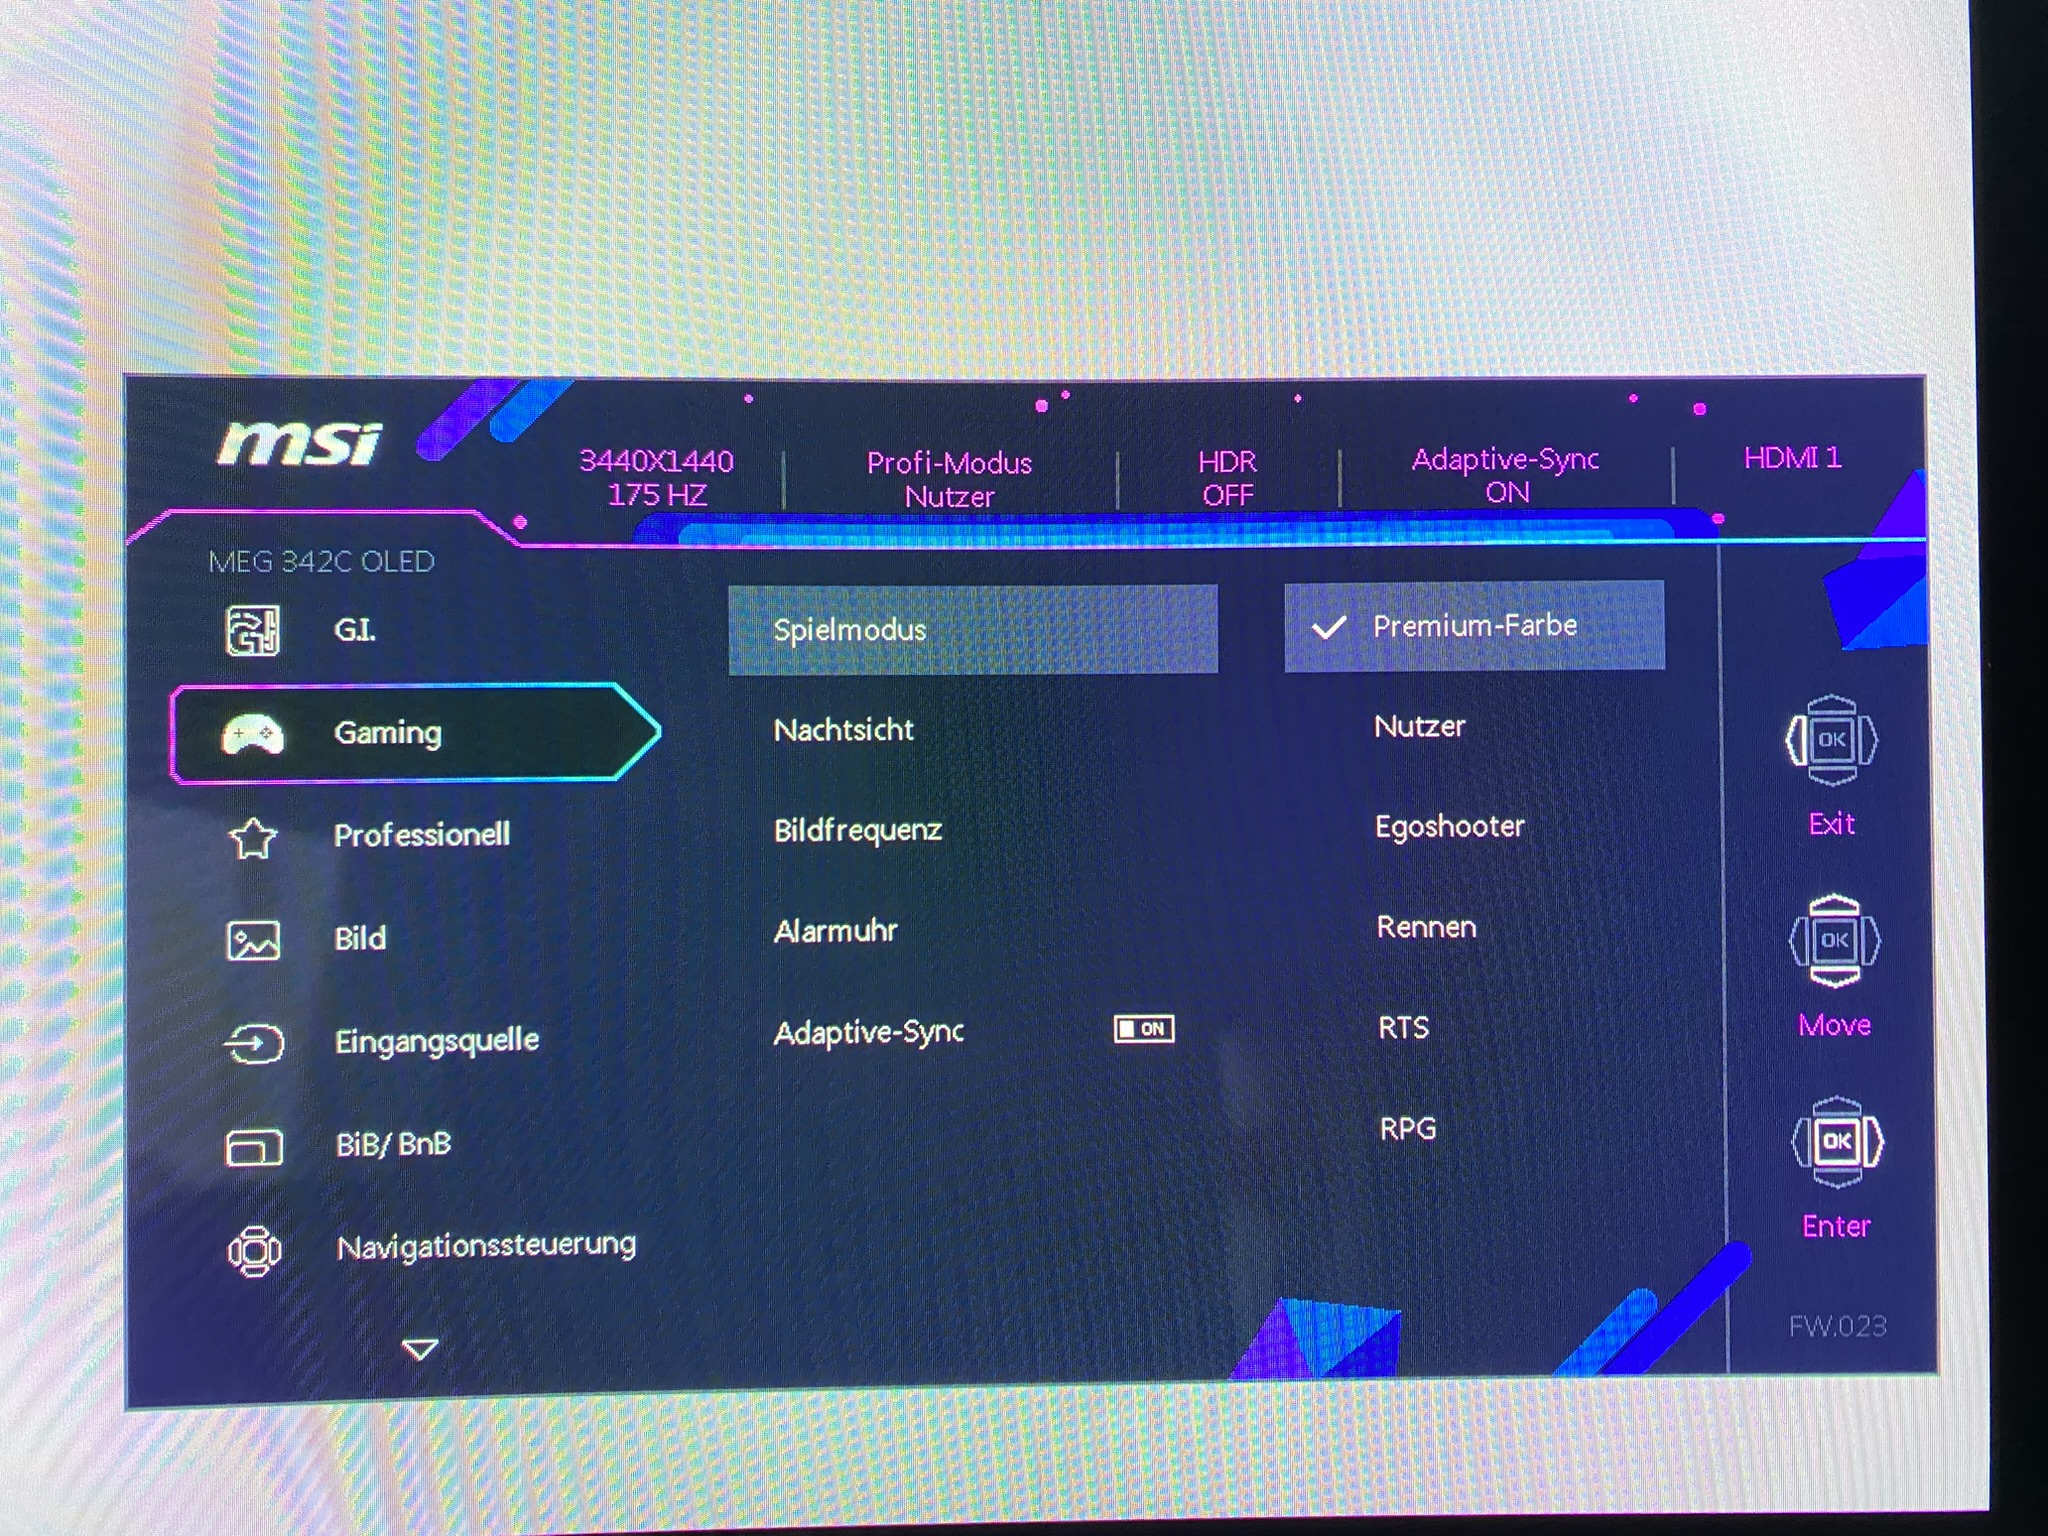
The MSI OSD is as always – packed with great things that make gaming more enjoyable. In addition to the color space presets (sRGB, Adobe RGB and Display P3), there are crosshairs, FPS display and so on and so forth. Everyone can play around to their heart’s content here. If I have to explain all this now, then the day is over.

Software
If you don’t feel like clicking through the OSD by hand on the monitor, you can also use the Gaming Intelligence OSD software from MSI. The prerequisite is that the monitor is connected to the computer via a USB-B cable. This is generally not a bad idea. On the one hand, you can get the latest firmware updates and on the other, the MEG342C also has a KVM switch.
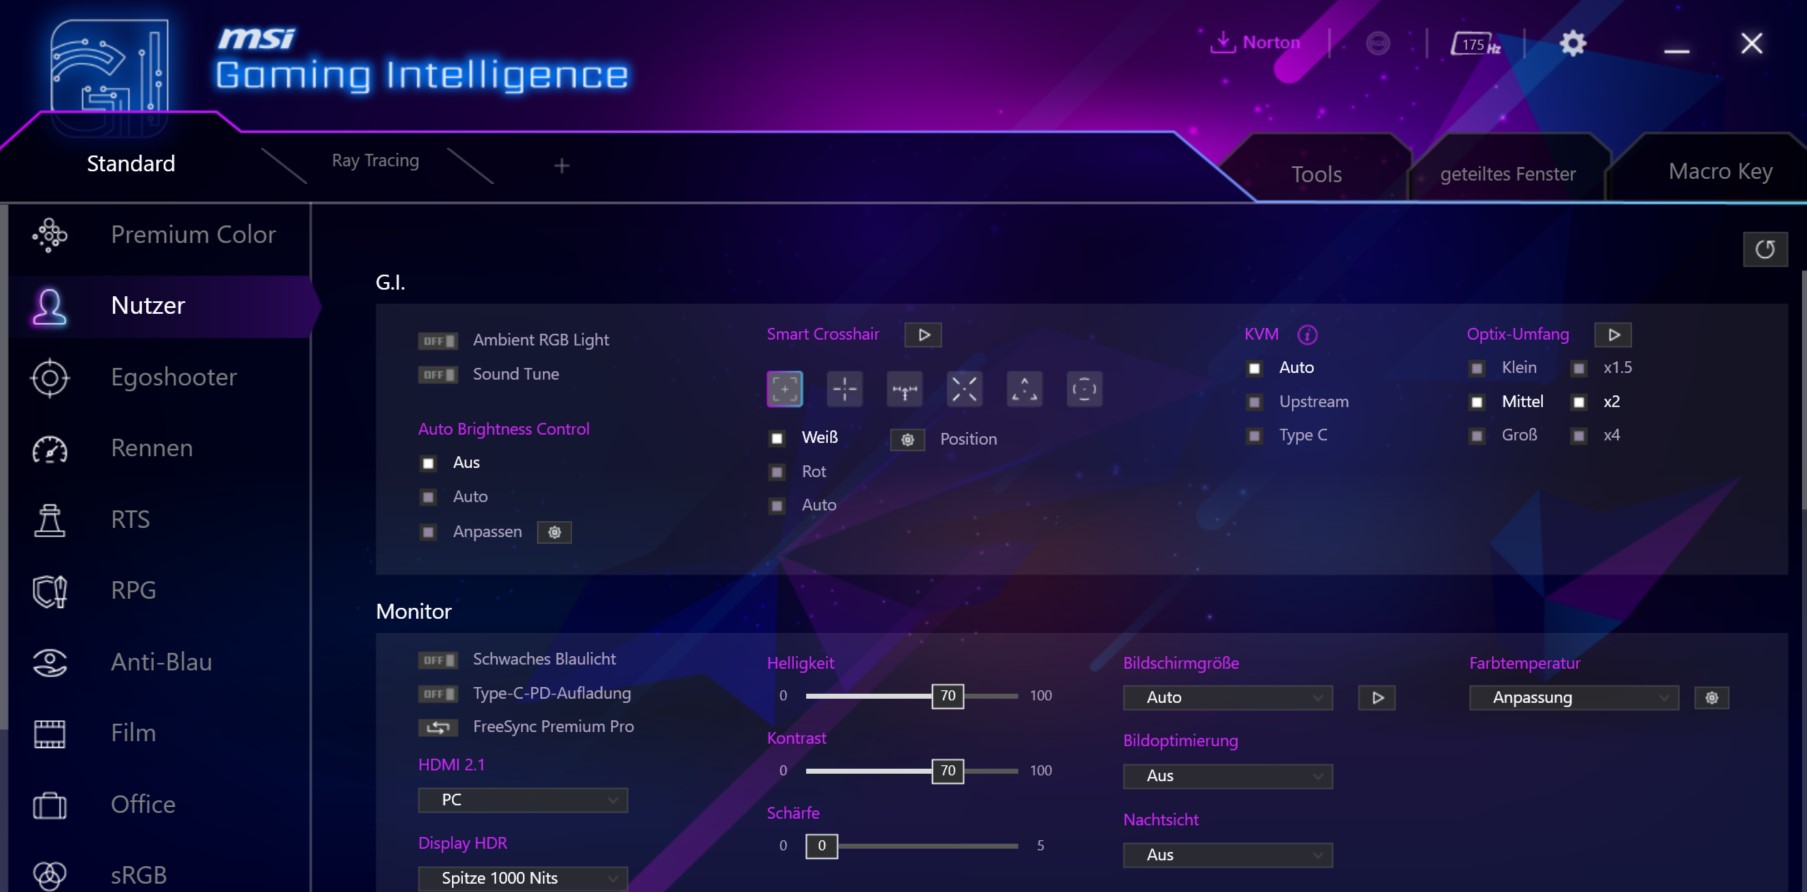
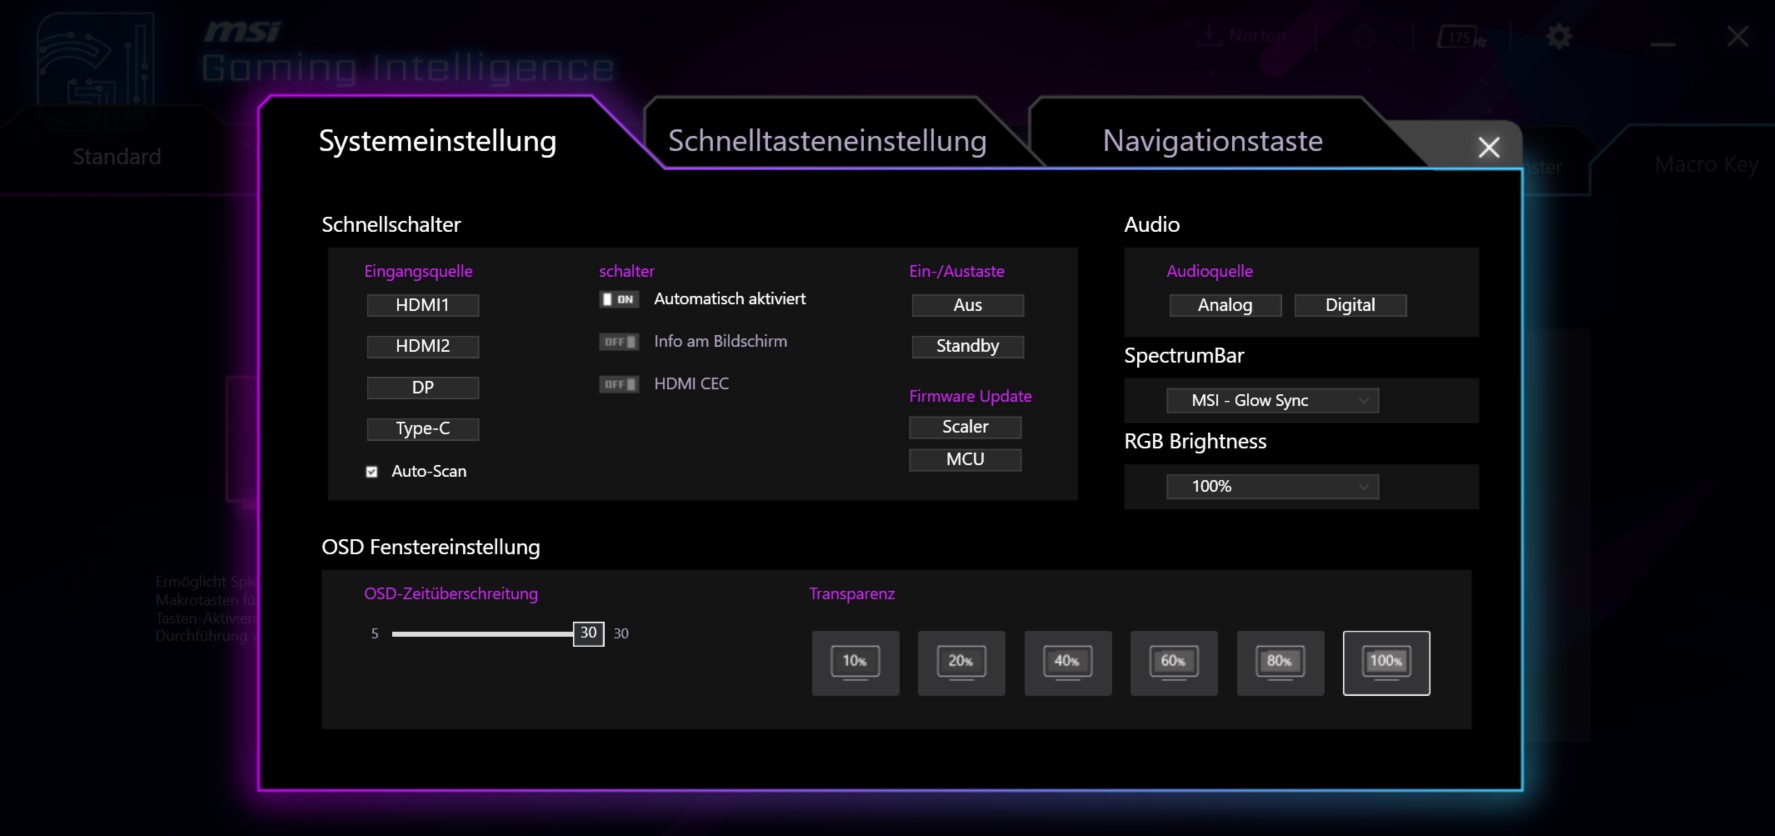
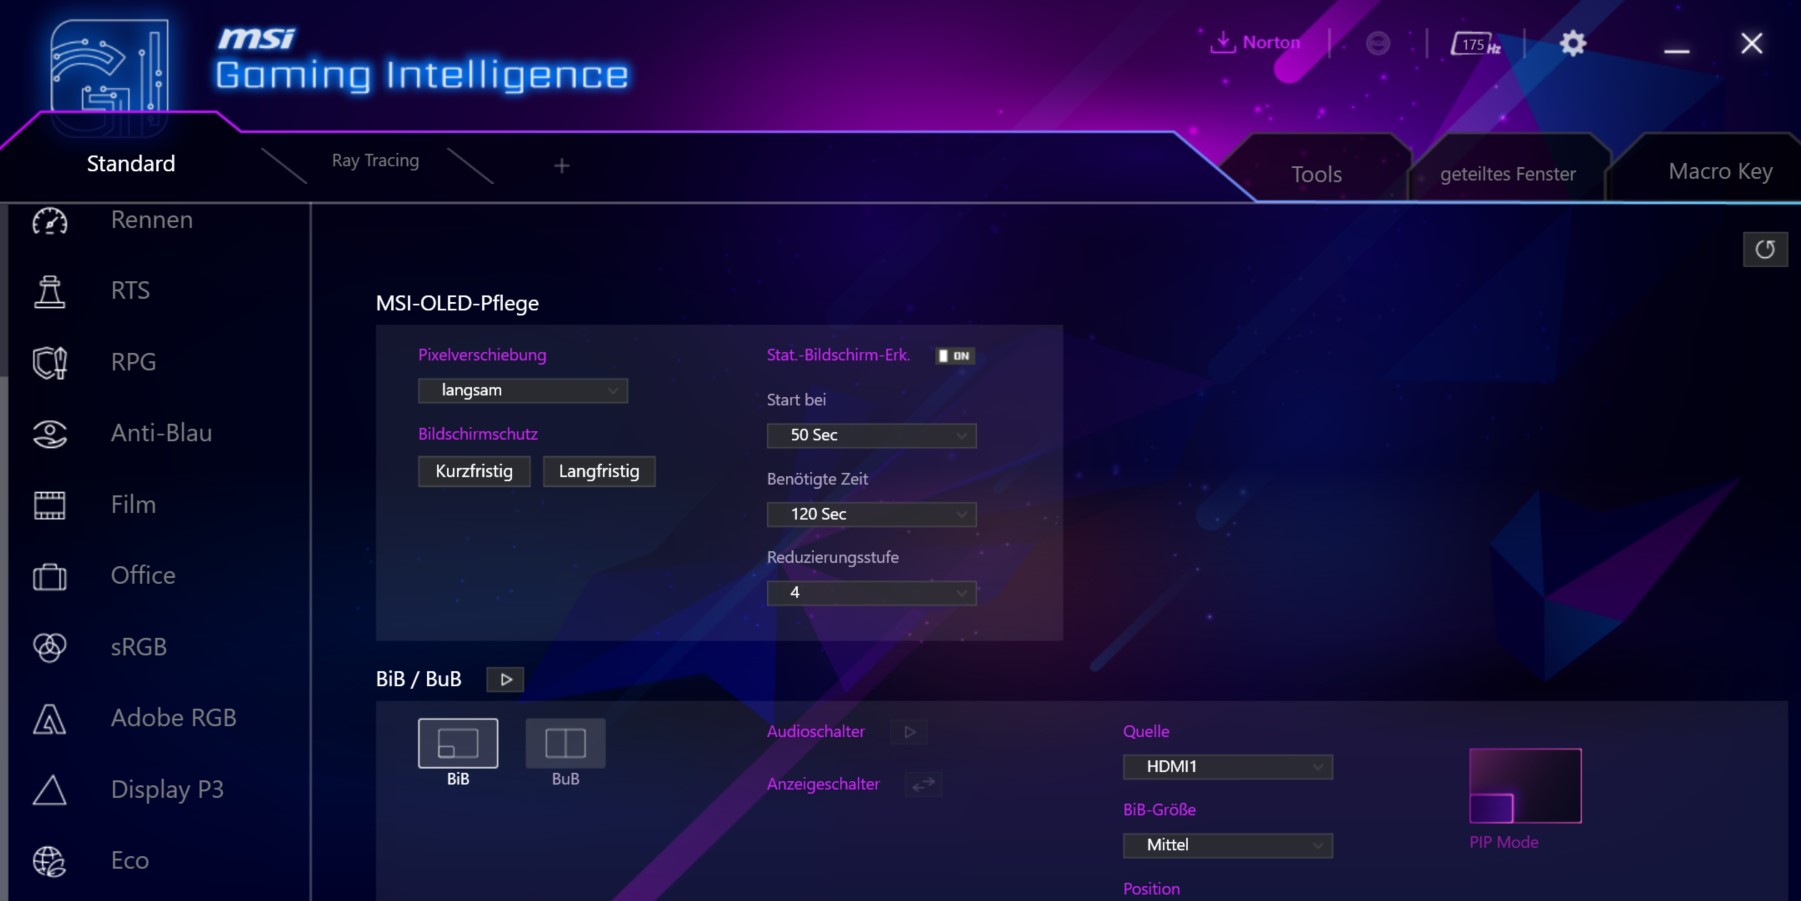
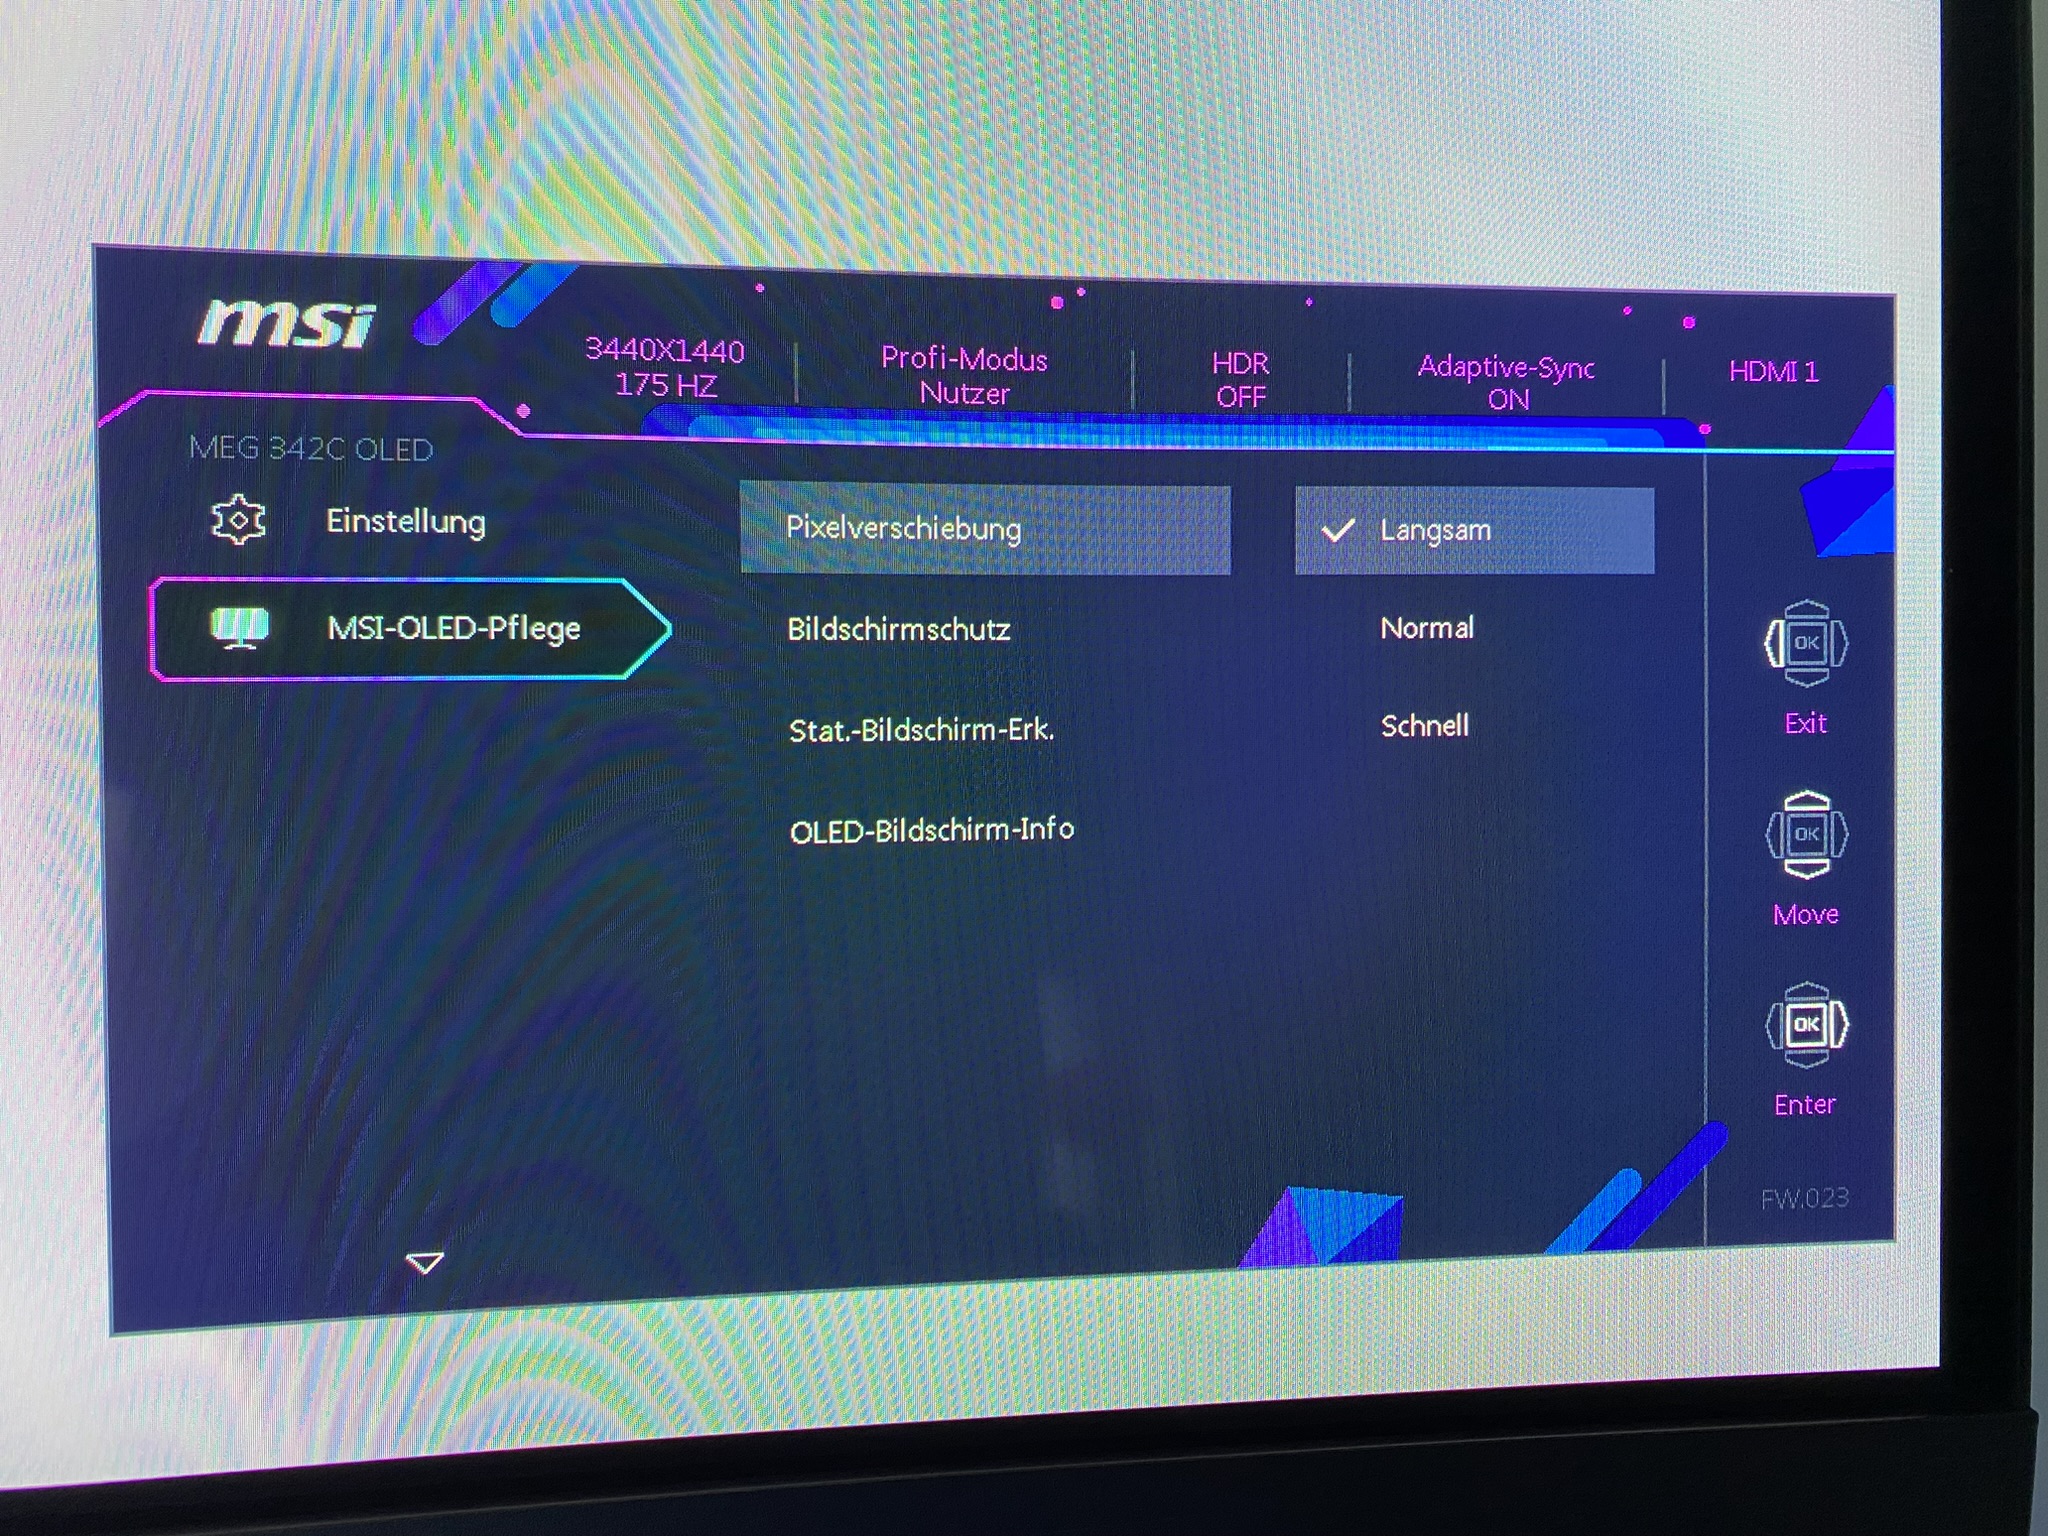
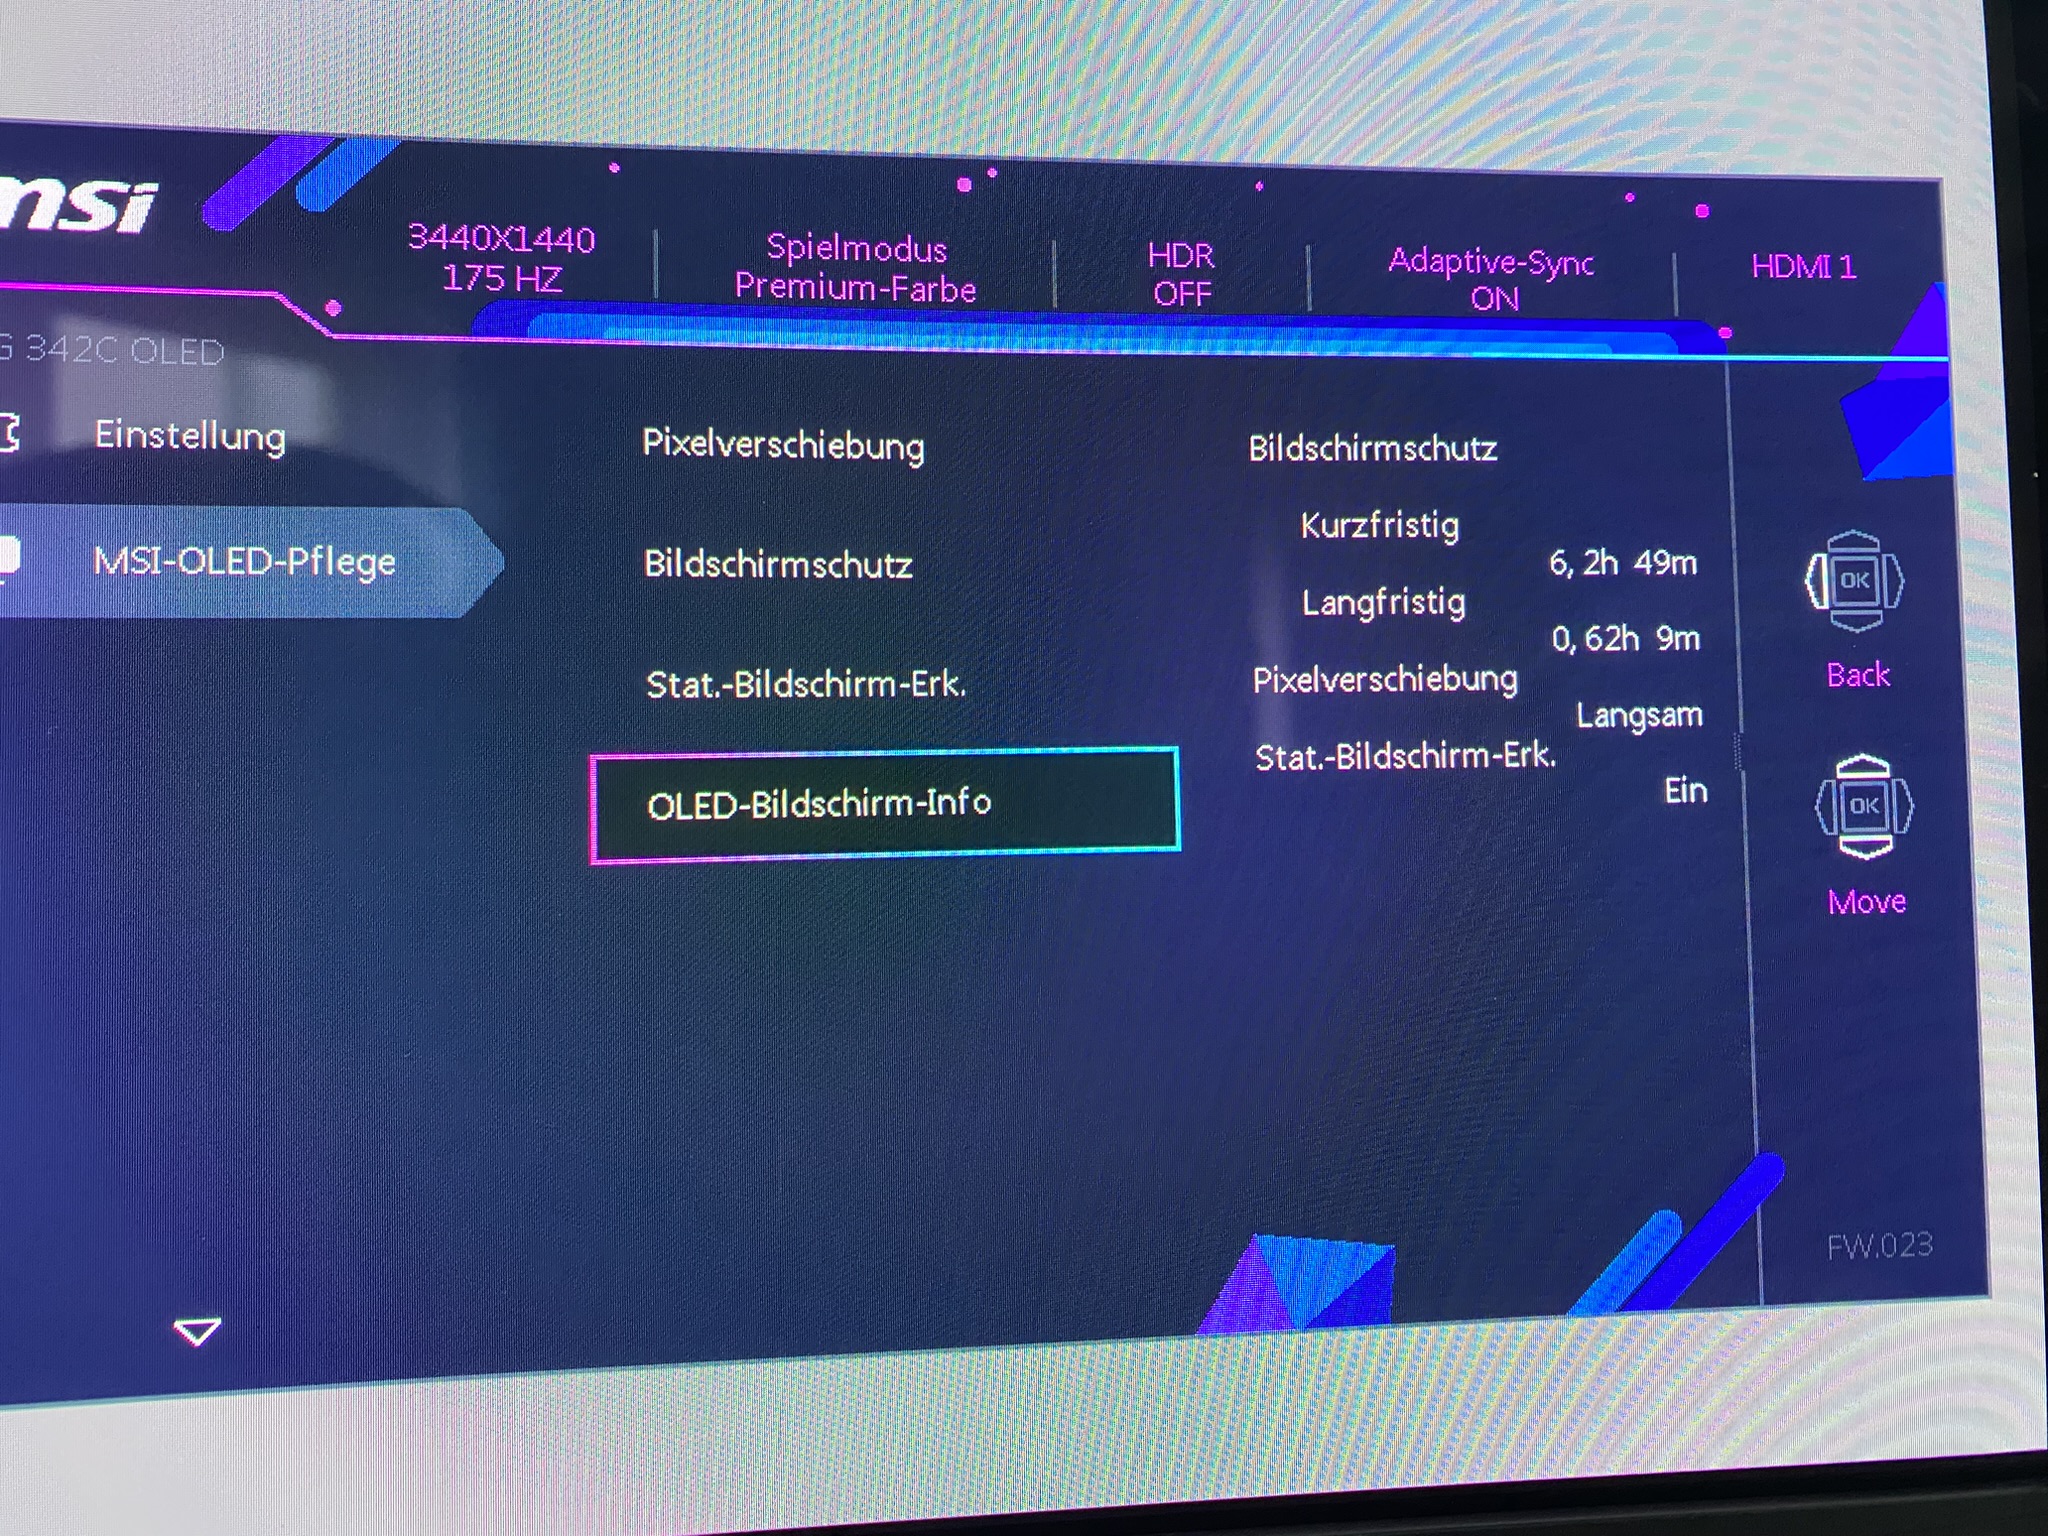
So it’s best to connect the mouse and keyboard to the monitor, then plug the laptop into the monitor via USB-C. Then you’ll feel like the admiral of the space fleet. Oh, I almost forgot. You can set the OLED Care functions via the OSD, Gaming Intelligence app or via the MSI Center. Please really activate these functions so that the panel remains free of burn-in for the next few years.
Another tip from me: Windows dark mode on, taskbar auto-hide on, screen saver on after max. three minutes, animated background and make all desktop icons – including the trash can – disappear!
For information in advance:
Unlike usual, I conducted all my tests via HDMI connection this time, why? You’ll find out in detail later. Be careful, if you connect to the MSI MEG342C QD-OLED via HDMI, you will end up directly in console mode. However, you can change this in the OSD. So don’t be alarmed when you see this picture.

But here we go…

- 1 - Introduction, Features and Specs
- 2 - Workmanship and Details
- 3 - How we measure: Equipment and Methods
- 4 - Pixel Response Times
- 5 - Display Latencies
- 6 - Color-Performance @ Default Settings
- 7 - Direct Comparison and Power Consumption
- 8 - Color-Performance calibrated
- 9 - HDR-Performance
- 10 - Summary and Conclusion


52 Antworten
Kommentar
Lade neue Kommentare
Urgestein
Veteran
Moderator
Urgestein
Veteran
Moderator
Moderator
Urgestein
Urgestein
Veteran
Moderator
Urgestein
Urgestein
Moderator
Veteran
Moderator
Moderator
Urgestein
Veteran
Alle Kommentare lesen unter igor´sLAB Community →