


The centerpiece, of course, is the hard drives. I “only” use two, leaving two of the bays empty. Of course, you might wonder why you should buy a 4-bay NAS then, but there are two reasons. First, this configuration along with the feature set is only available as a 4-bay NAS, and you have the chance to use the free slots for a recovery in case of a disk failure. That’s a bit of a stretch, but it’s good to know that it would work if you did need it. And as a small tip: There really is a reason to expand the RAM first and only then think about the hard disks.
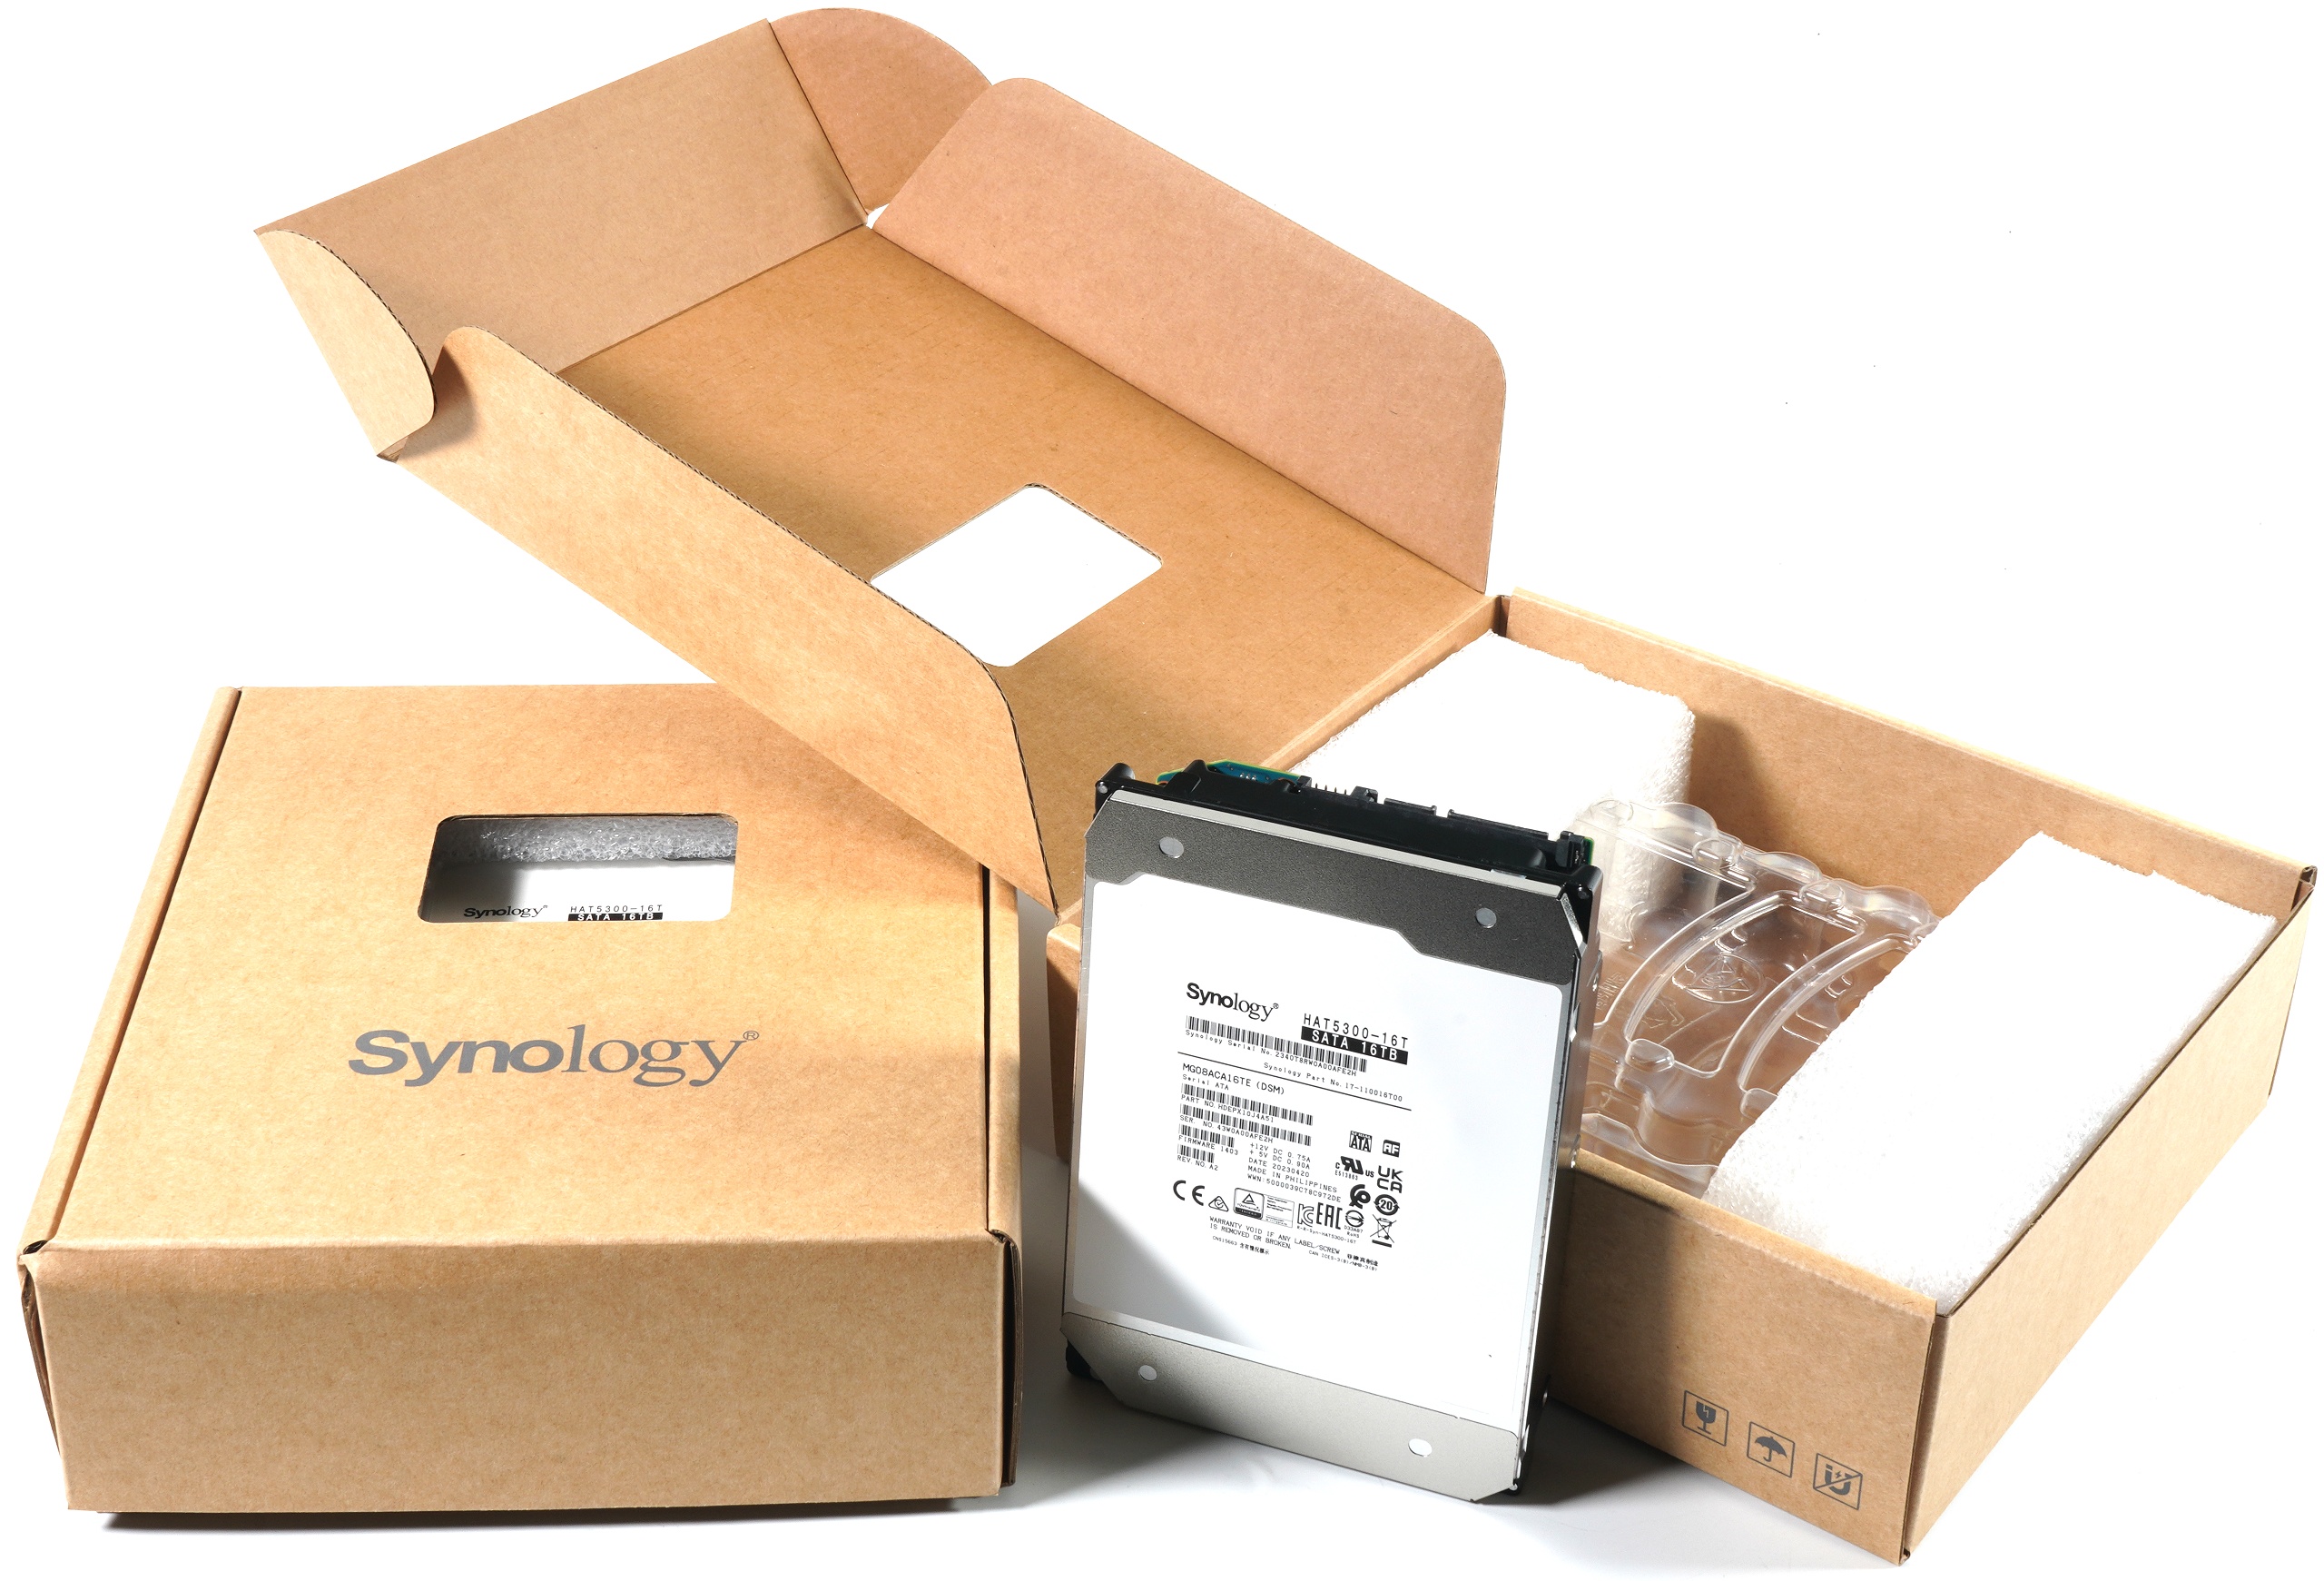
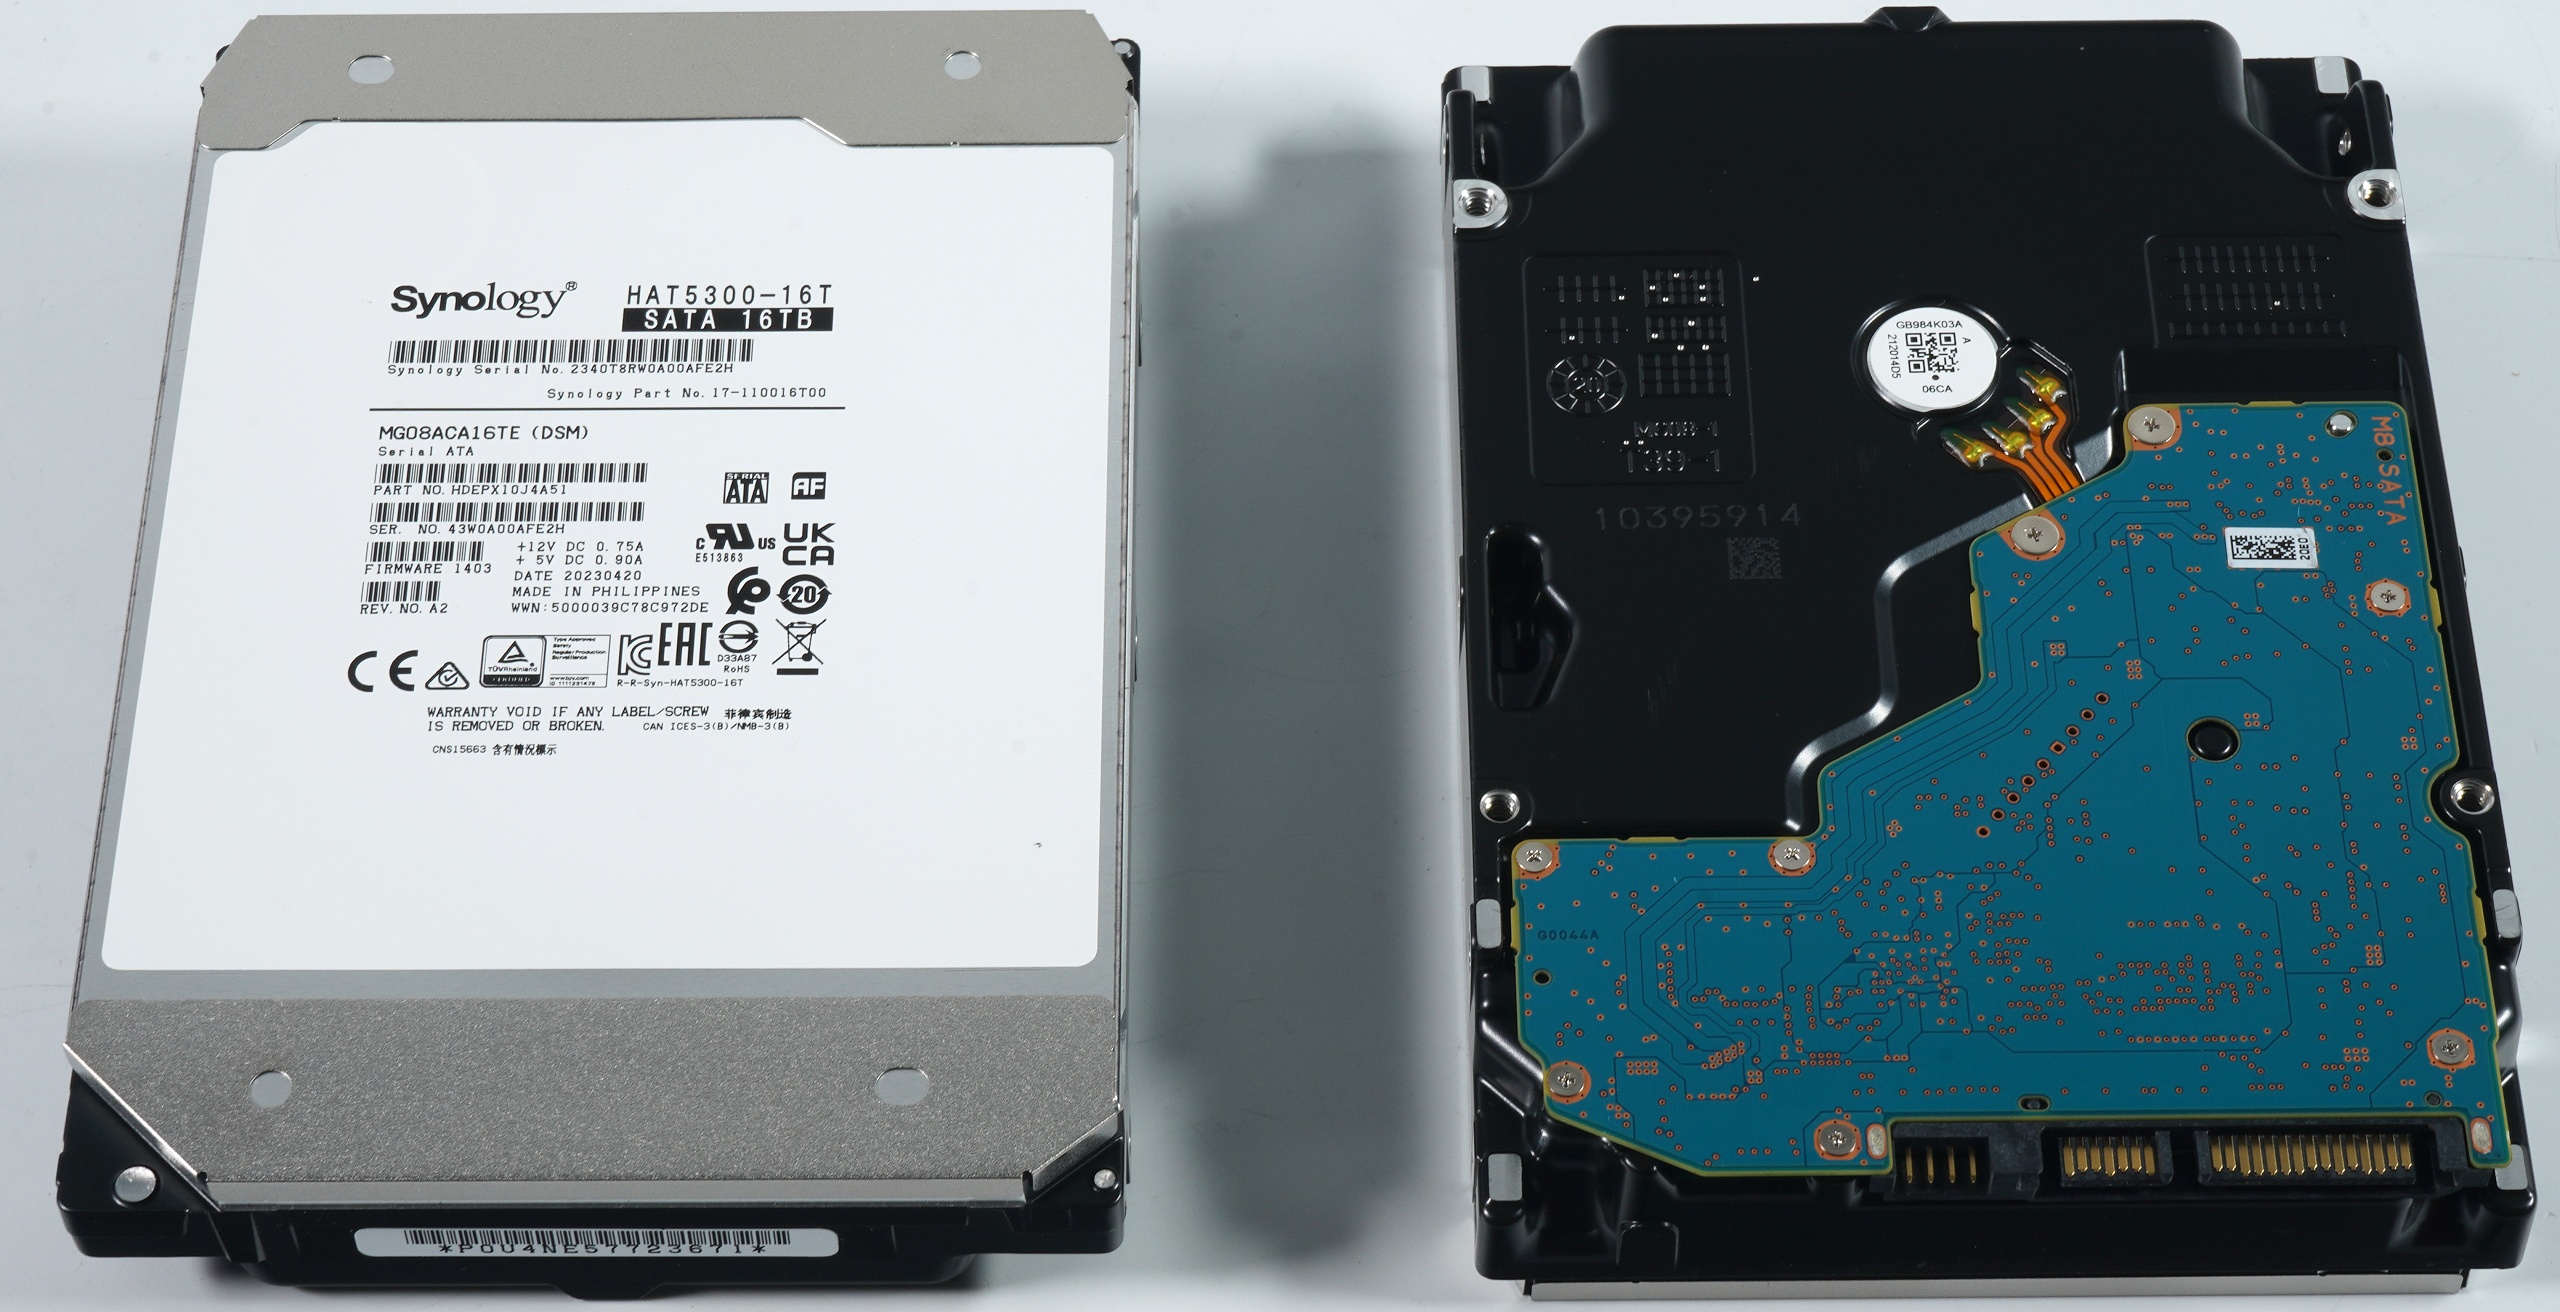
Two hard disks with a storage capacity of 16 TB each are used. This is actually a Toshiba Enterprise Capacity MG08ACA16TE, which has been slightly modified and labeled with different firmware by Synology. This can also be seen in the UL number for the North American market, which refers to Synology. However, the type number MG08ACA16TE has been taken over from Toshiba.
Disk Station Manager DSM 7.2 and the file system
The abbreviation DSM in brackets after the type MG08ACA16TE on the label stands for “Disk Station Manager”. It is an operating system that was developed especially for Synology’s NAS (Network Attached Storage) devices. Disk Station Manager (DSM) provides a web-based user interface that allows users to manage their Synology NAS devices. With DSM, users can:
- Manage files and folders.
- Set up user accounts and access rights.
- Install and configure various services and applications, such as media servers, cloud synchronization, surveillance cameras, and more.
- Customize security and network settings.
- Create and restore backups.
- Perform system updates.
So DSM in the latest version 7.2 provides a comprehensive solution for managing and operating Synology NAS devices. It allows users to store their data centrally and access it from anywhere, while ensuring high data security and integrity. Theoretically, you could of course use other hard drives from Seagate, WDC or Toshiba, but you should also pay attention to the compatibility list to avoid going broke. This OS is characterized by its variety of features and a user-friendly interface, which makes Synology NAS systems quite special. Compared to the QNAP tested at the time, there is really a world of difference.
When choosing a RAID system for the drives, RAID synchronization starts after selection and setup. During this phase, the NAS can still be used, but the performance can be slightly affected. The duration of this synchronization depends on the size of the drive and can take several days. Various RAID options such as Basic, JBOD, RAID 0 to RAID 10, and Synology Hybrid RAID are available. When switching from another Synology NAS model or changing the RAID system later, certain rules must be followed for smooth migrations.
The file systems btrfs and ext4 are available for the internal hard disks. However, only btrfs, as a copy-on-write system, offers an integrity check that ensures data security and avoids data corruption. In addition, btrfs allows snapshots to be created for data recovery. The DS923 supports various file and network protocols. The device also allows the creation of up to 2,048 local users and 256 user groups. DSM 7.2 also enables full volume encryption introduced for the first time, which is said to increase storage performance by nearly half over shared folder-based encryption.
Docker and Software Packages
Docker is a free software that allows applications to be isolated using container virtualization. It was designed to simplify the deployment of applications by creating containers that contain all the necessary packages. These containers can easily be transported and installed as files. Docker thus ensures the separation and management of resources used on a computer, including code, runtime module, system tools, and system libraries. A central element of Docker is the Docker Hub, an integrated image repository where one can search for additional applications. However, since Synology incorporates these packages itself, one might not always have the latest version of various apps at hand. Especially for security-relevant products, one will need to check version numbers and possibly changelogs.
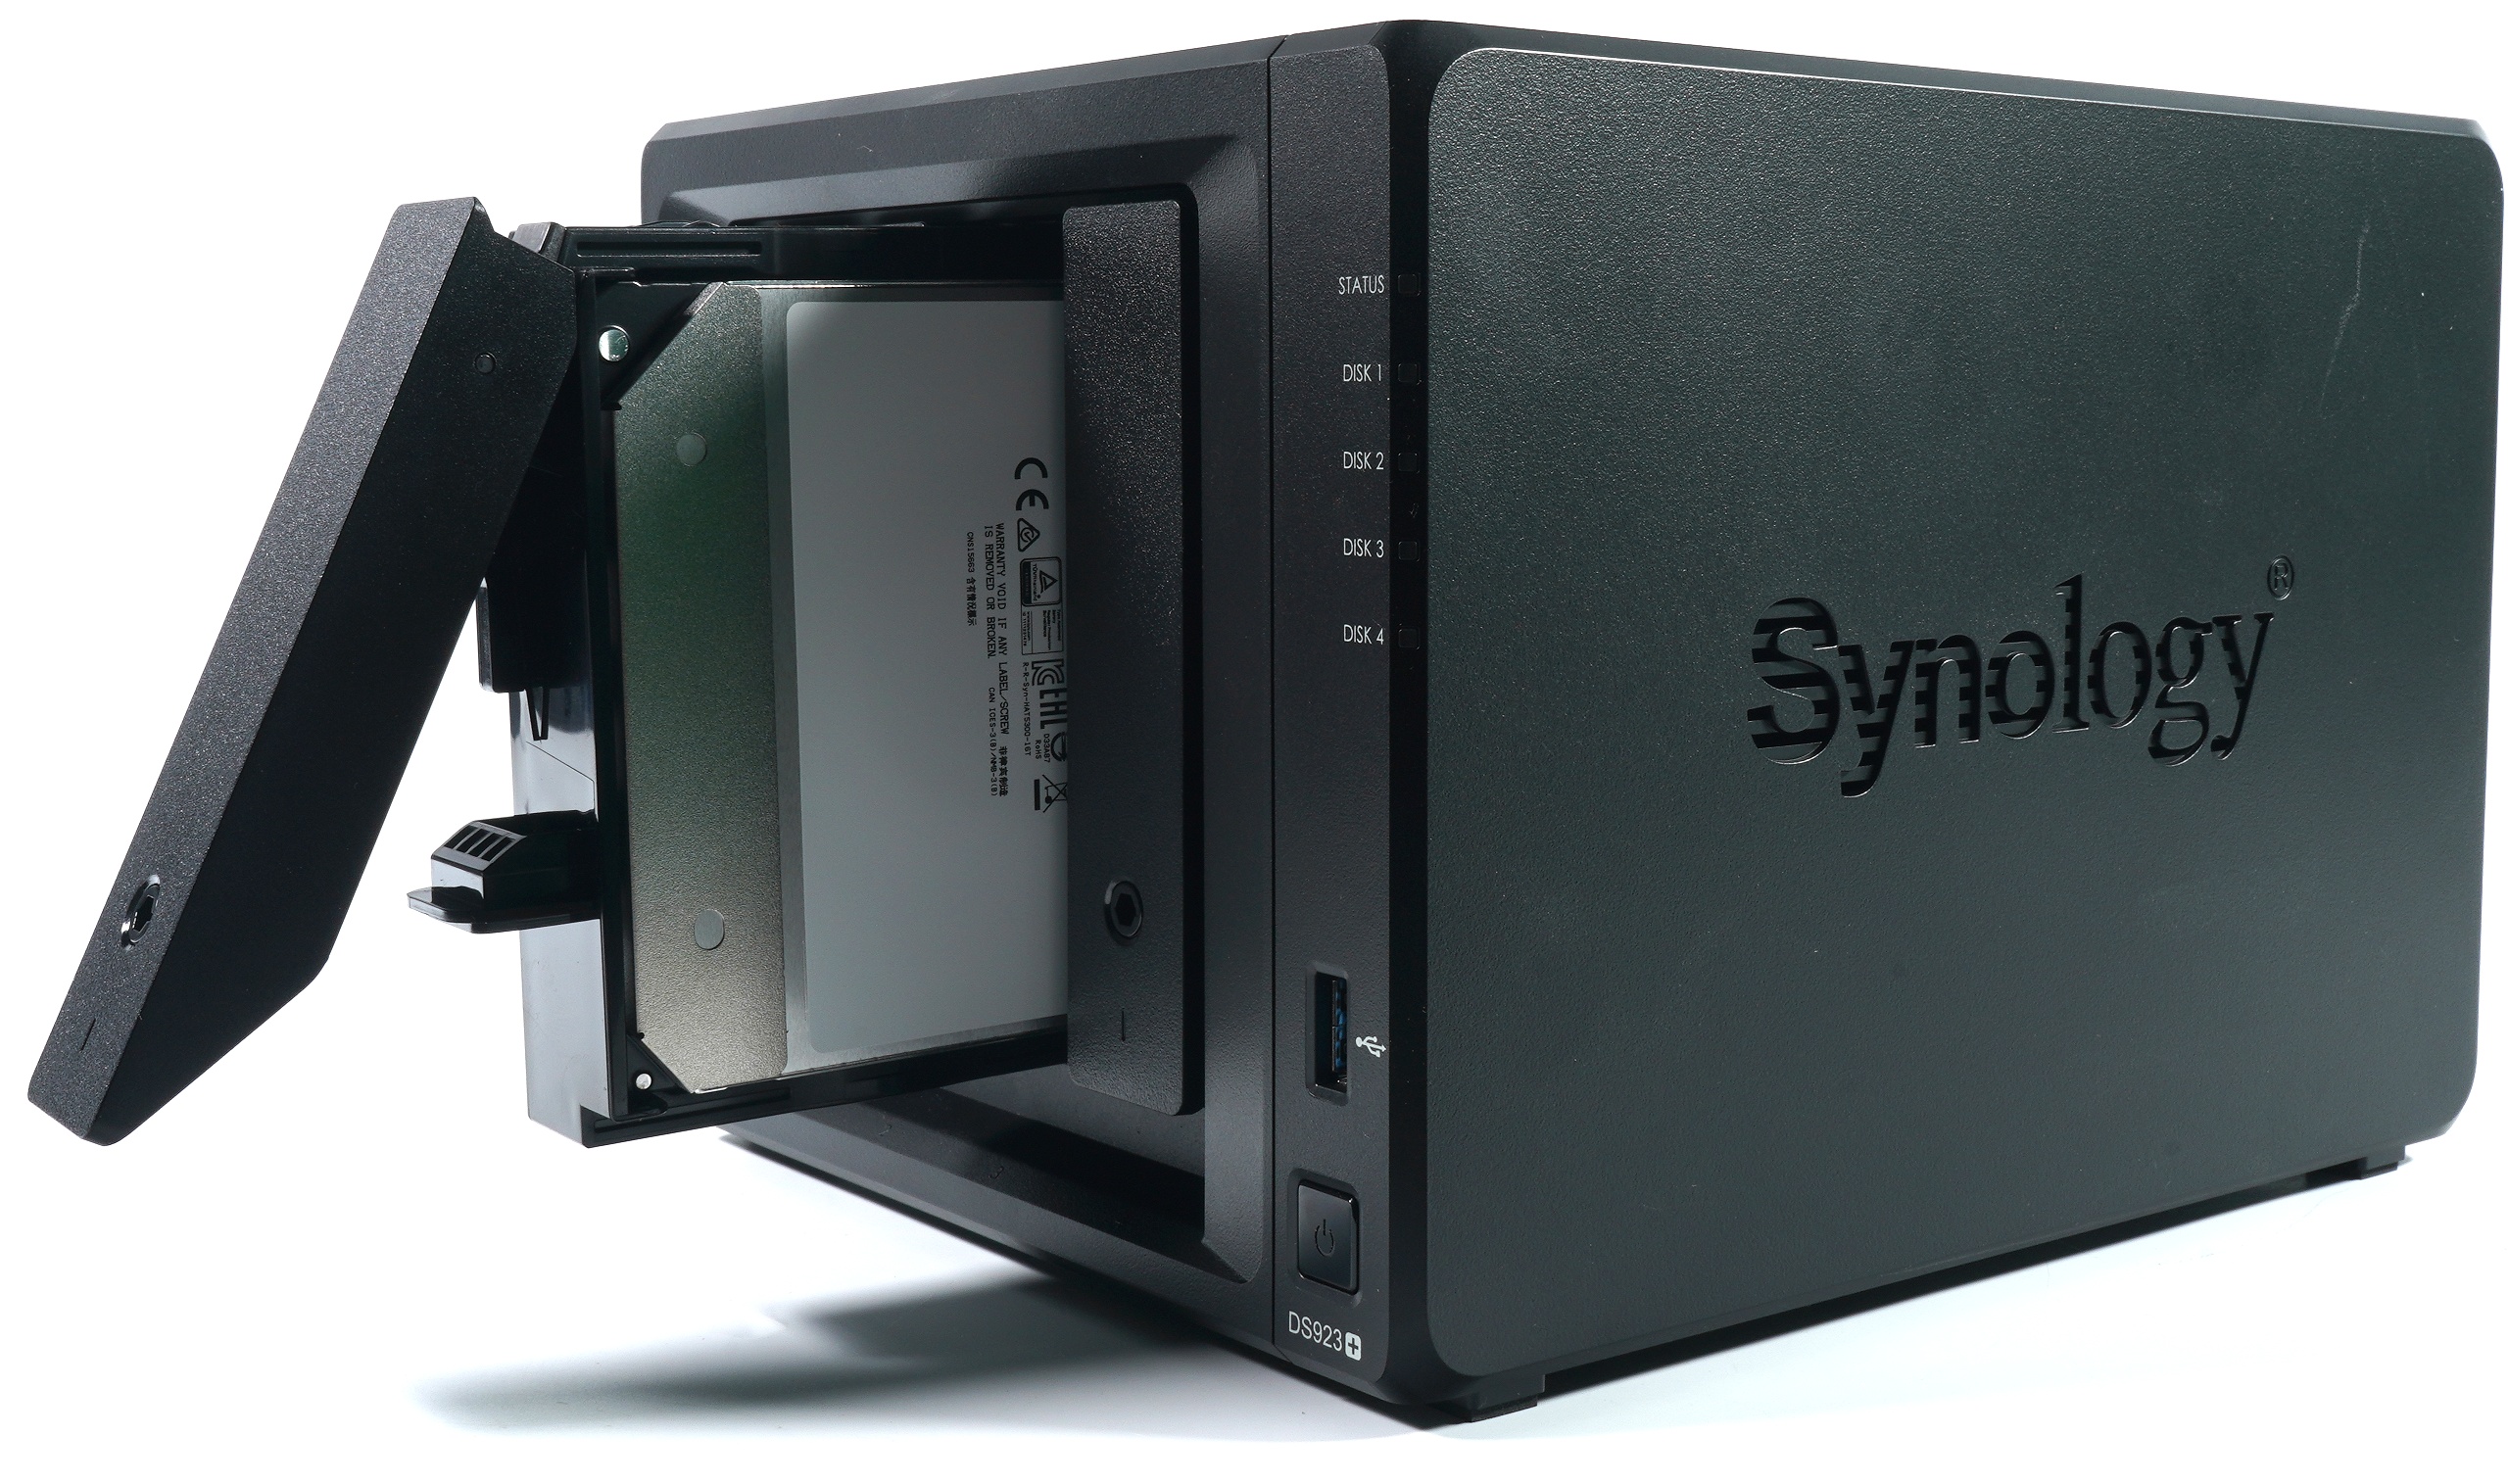
Hard disk installation
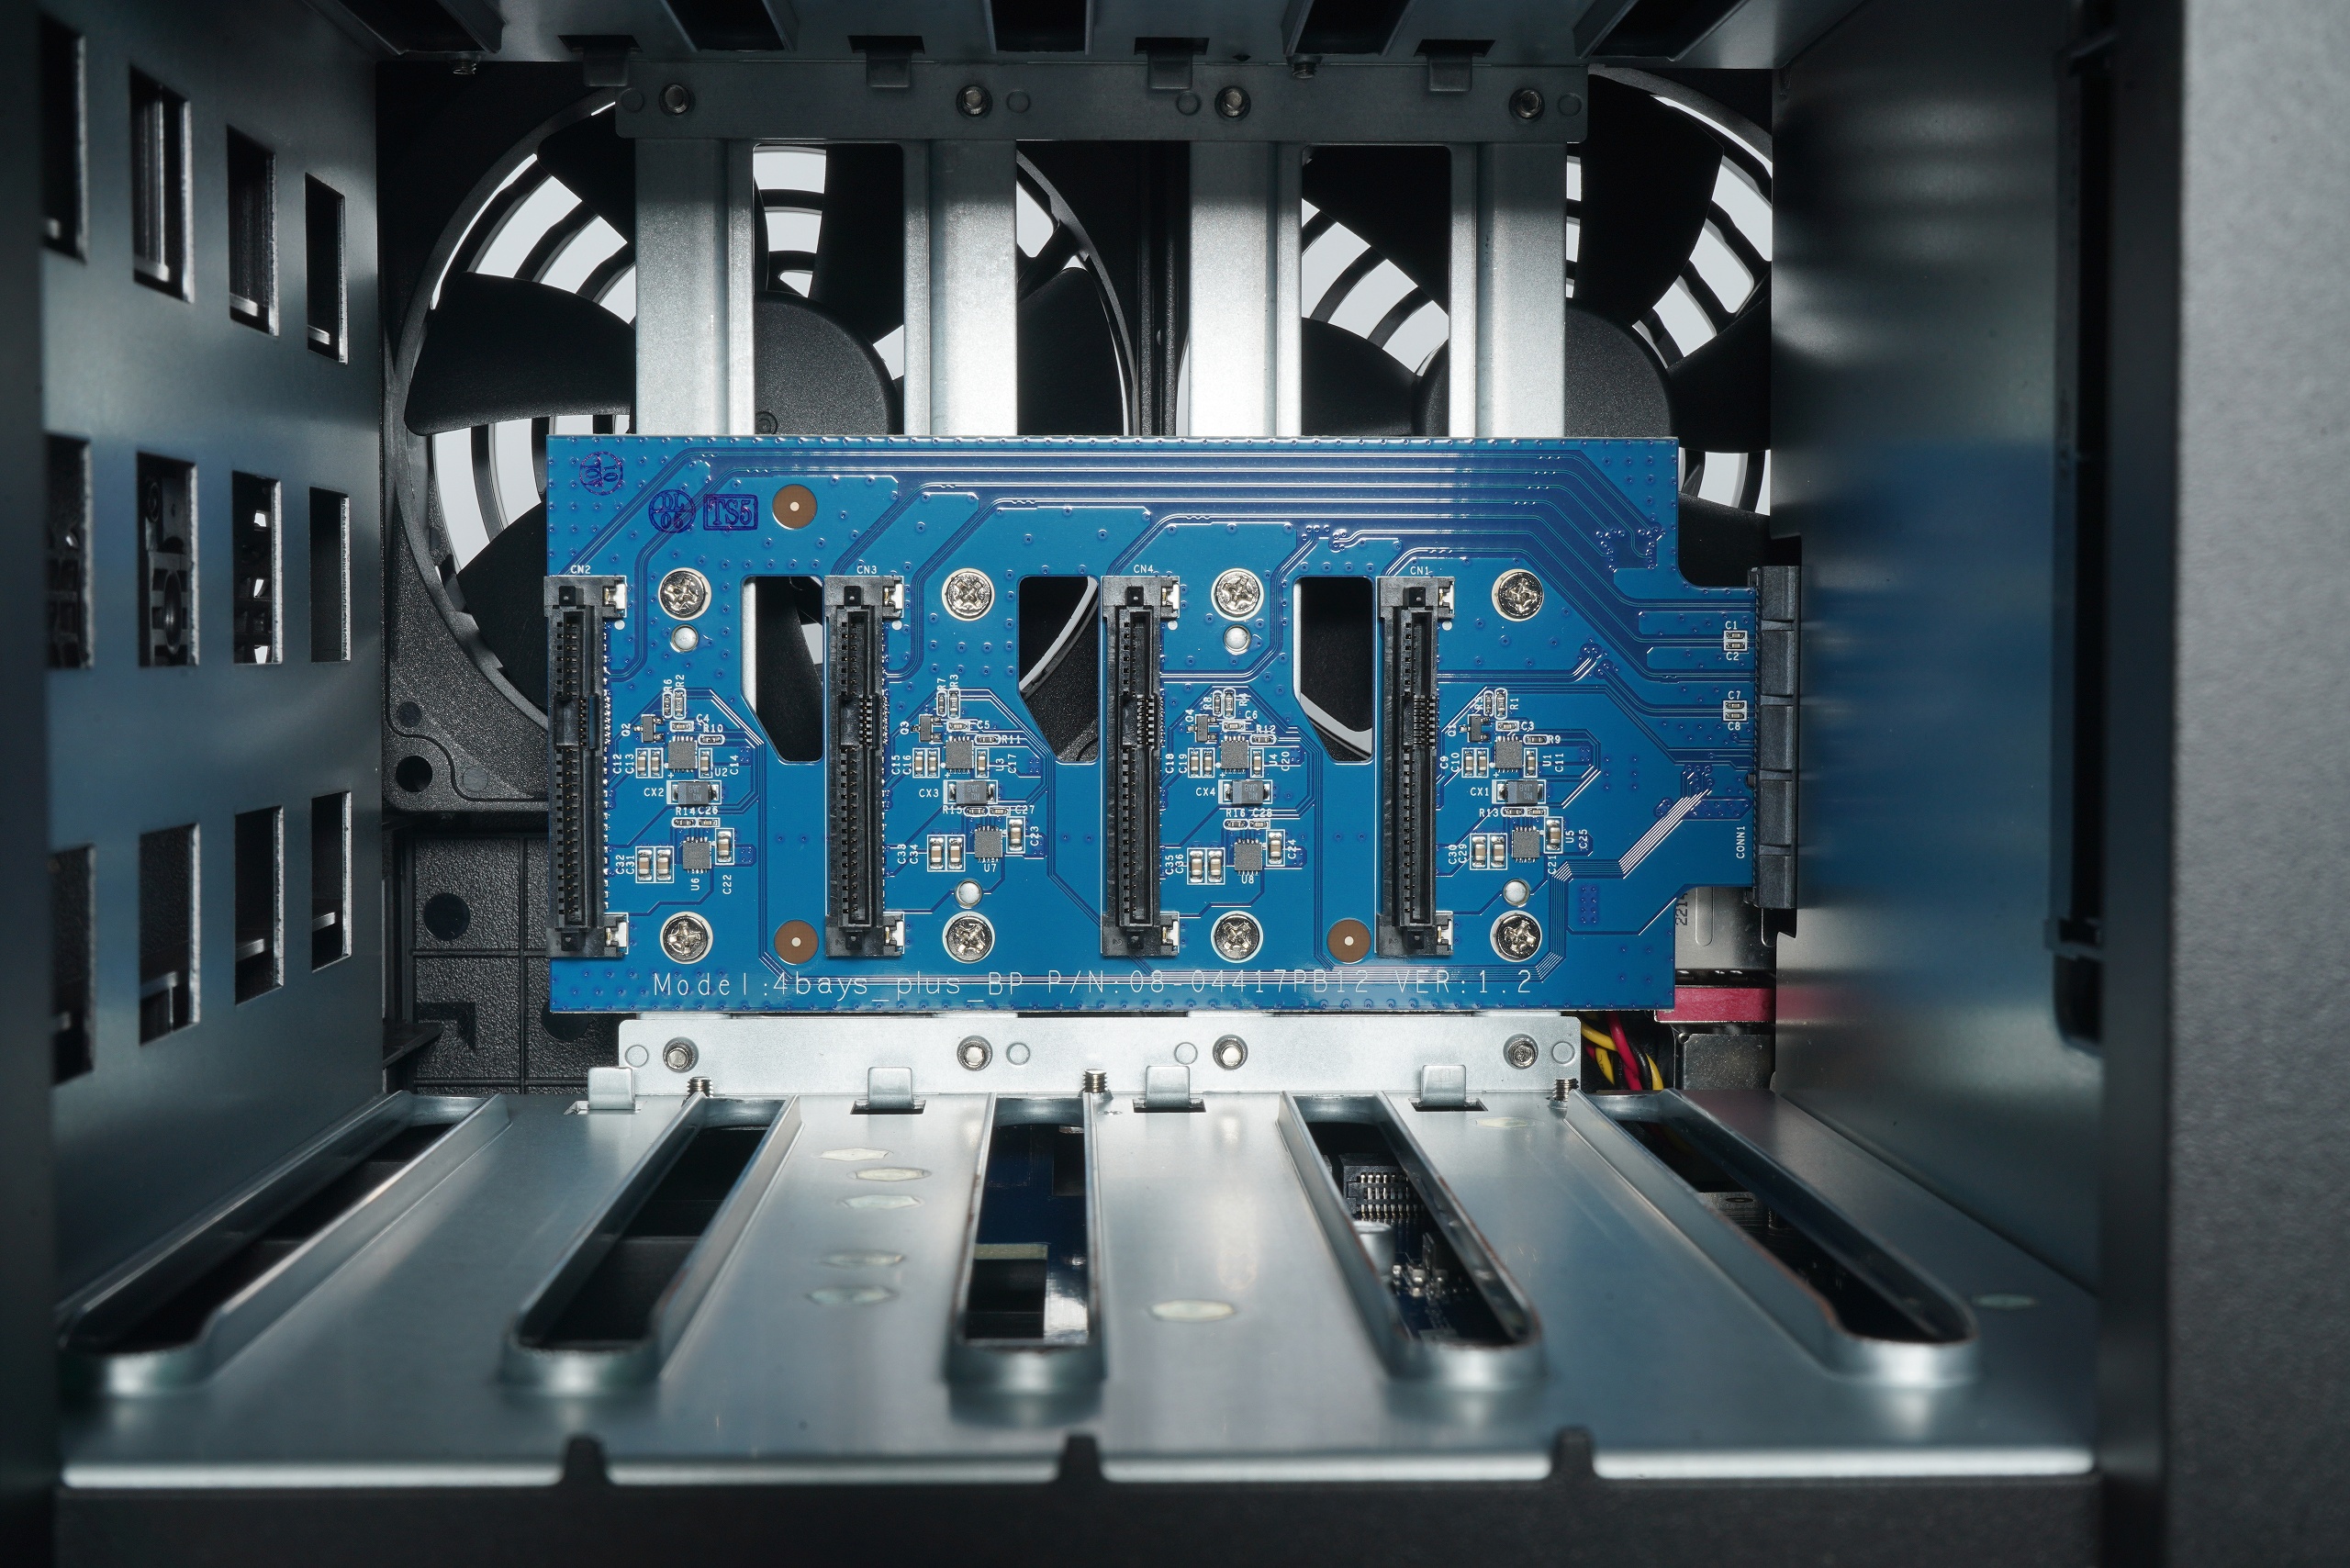
You don’t actually have to do much here, as the entire disks can be inserted without tools. First, let’s take a look inside the NAS system and see the four SATA ports on the rear PCB. The counting direction starts on the left and goes from 1 to 4 then to the right. The slots are easy to click on and pull out.
The two boards are fairly easy to press into the plastic frame of the slide-in, but you have to be careful not to bend the rubber inserts off. Yes, it’s all a bit tight, even with patience and a bit of feeling you’ll get it right.
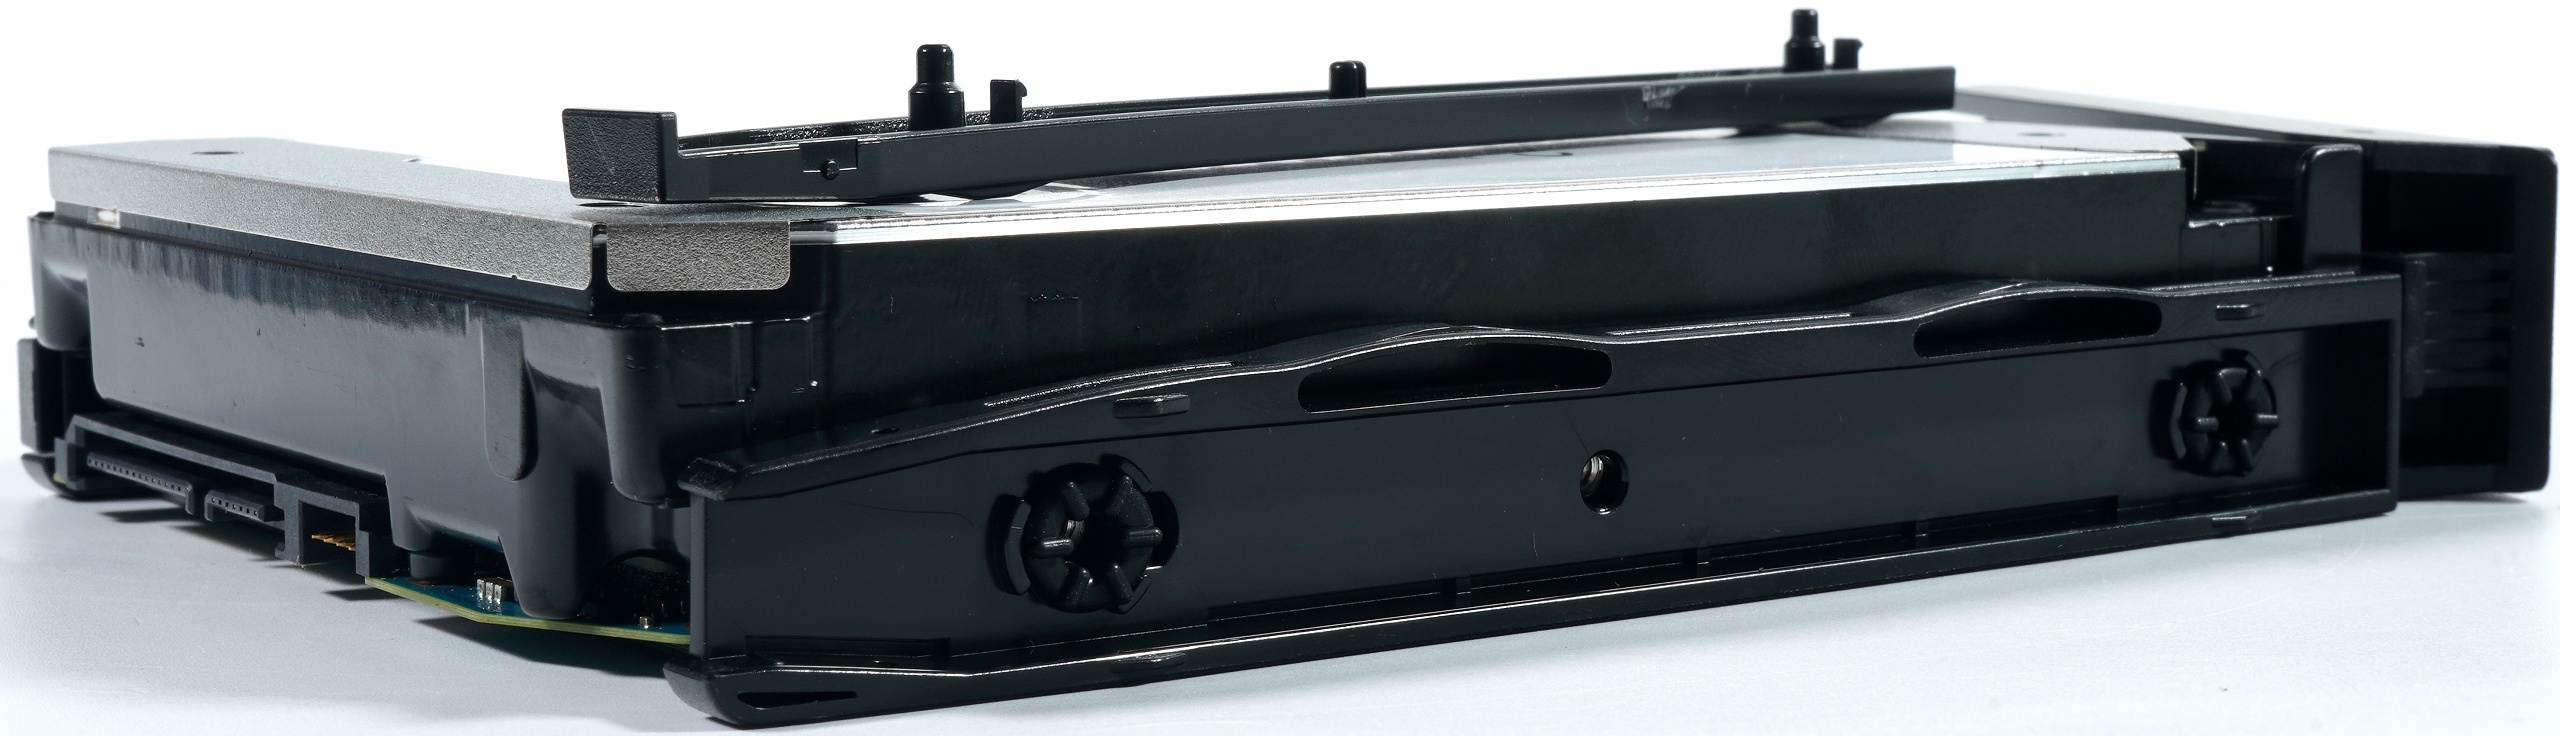
Finally, slide the tray back until it snaps into the SATA port and lock the lid. That’s it. That’s all you have to do at this point.


82 Antworten
Kommentar
Lade neue Kommentare
Urgestein
Urgestein
1
1
Mitglied
Veteran
1
Veteran
1
Mitglied
Mitglied
1
Veteran
Urgestein
Mitglied
Veteran
1
Urgestein
Mitglied
Alle Kommentare lesen unter igor´sLAB Community →