


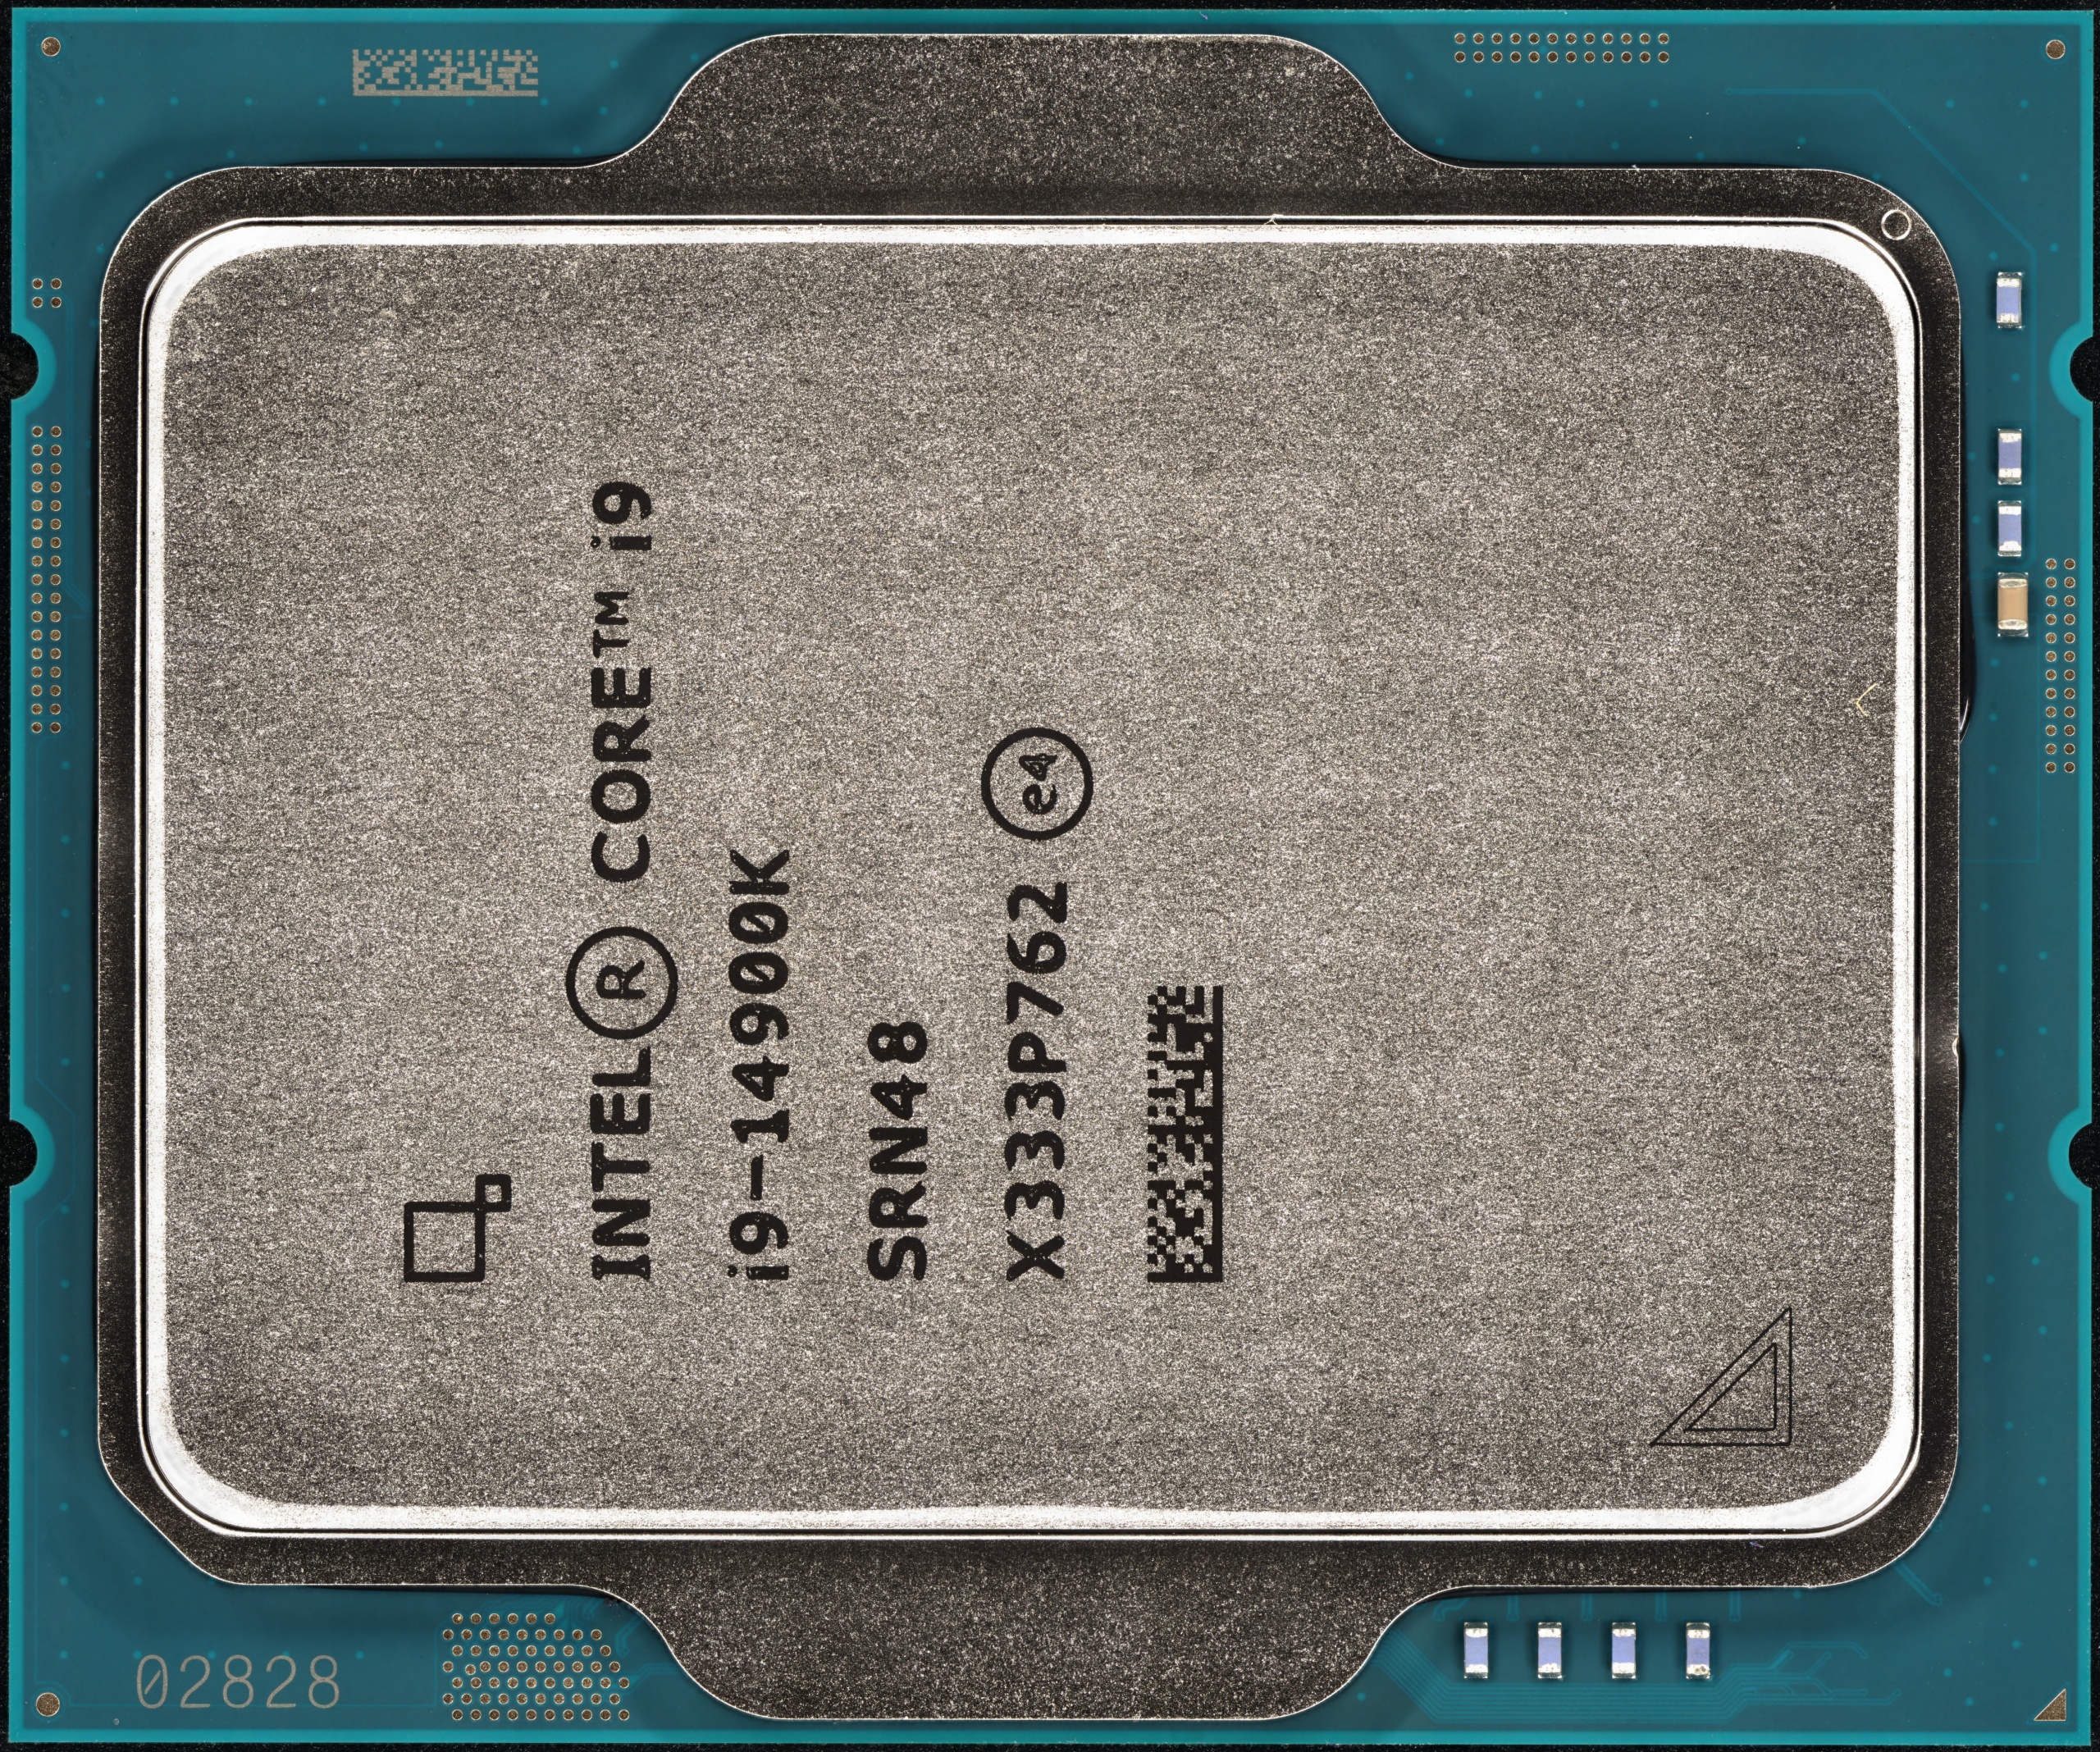
The topic of Intel and the heatspreader of the CPU from socket 1700 onwards, including the bent packages and motherboards, has occupied us quite often and will only be dealt with indirectly today, so it’s more of a side topic. Of course, I can’t avoid it completely today. You will see on the next page in the setup, why I use a Silent Loop 2 from Be Quiet!: it has only 2 mounting points for the cooler and they are located in the middle of the respective longitudinal silk of the CPU, so also exactly there, where the locking mechanism of the shutter presses the CPU to the socket.
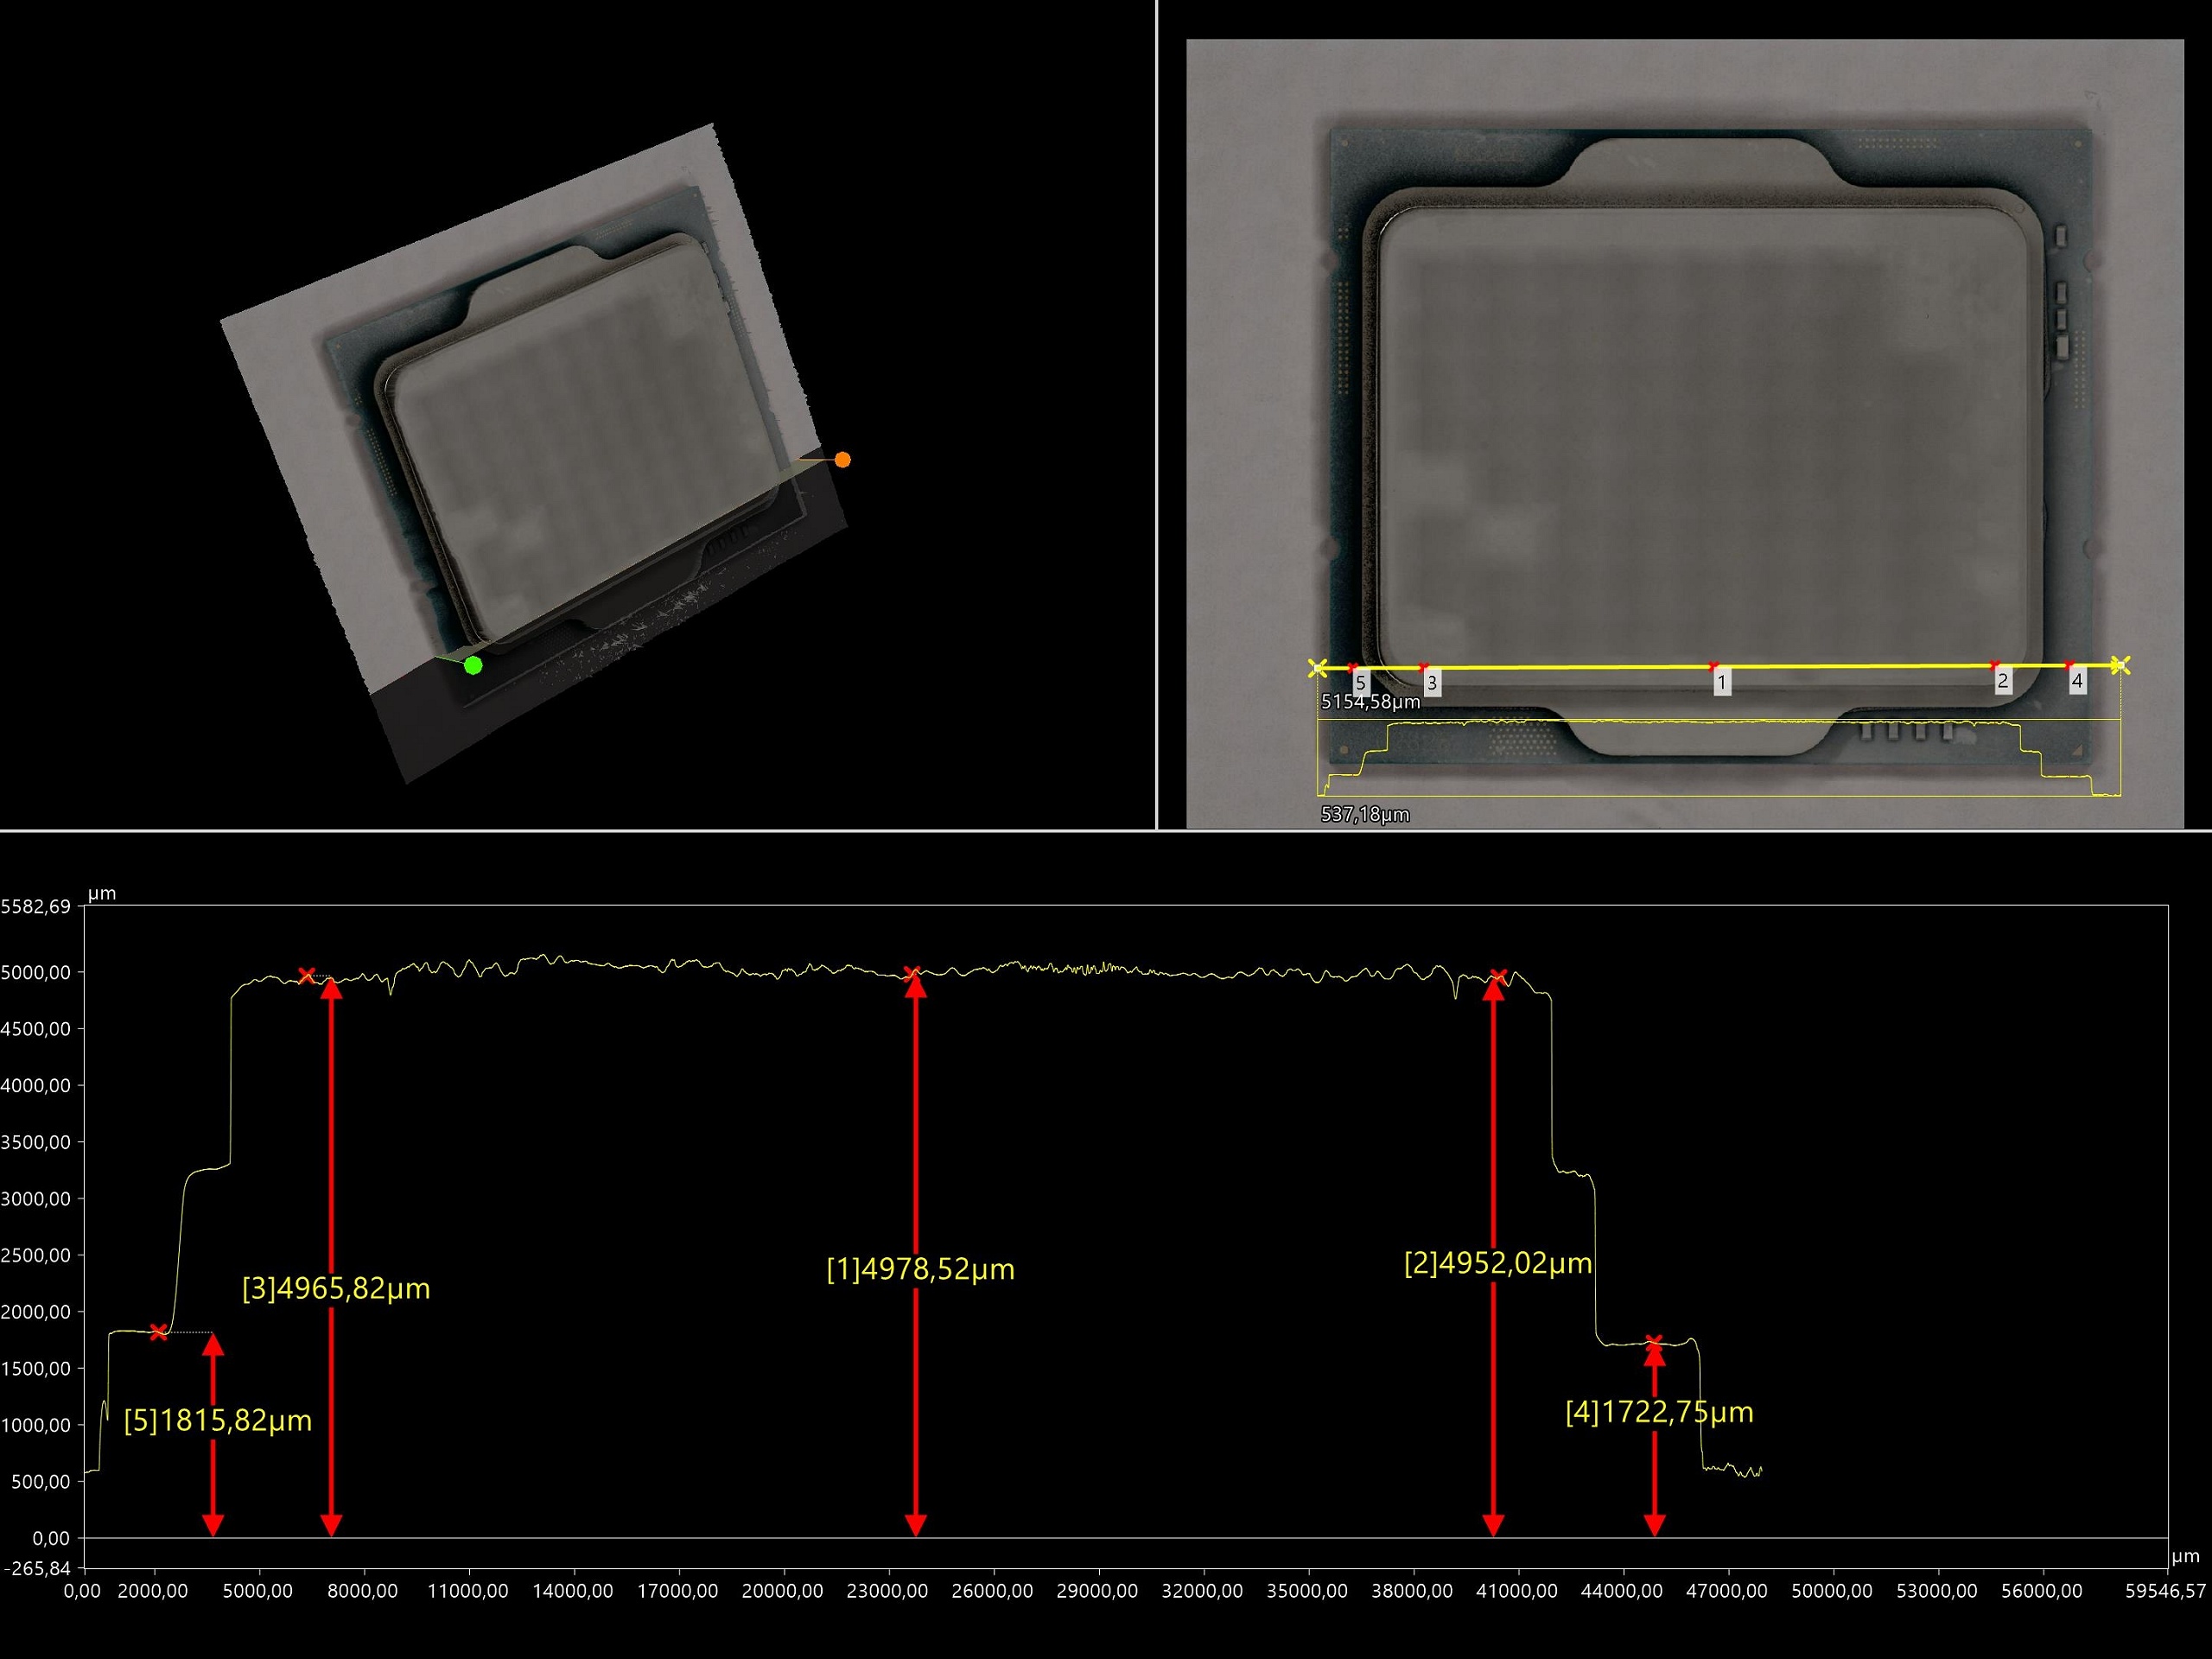
This was triggered by a measurement of the already benchmarked CPU after use, since it was completely flat ex-works. I don’t use a frame or a special backplate here, but the part is mounted with the original kit. I coated the CPU with special spray to avoid errors caused by reflections during the optical measurement. If we take a look at the height profile, it is always straight and not curved even after use! Maybe we should rewrite history with all the mounting kits for this base?
The second point is the surface finish and the question of the most appropriate thermal paste. Who can see a beautiful mountain at 2000x magnification, which is unfortunately anything but smooth! But what height compensation does the paste used actually have to fill?
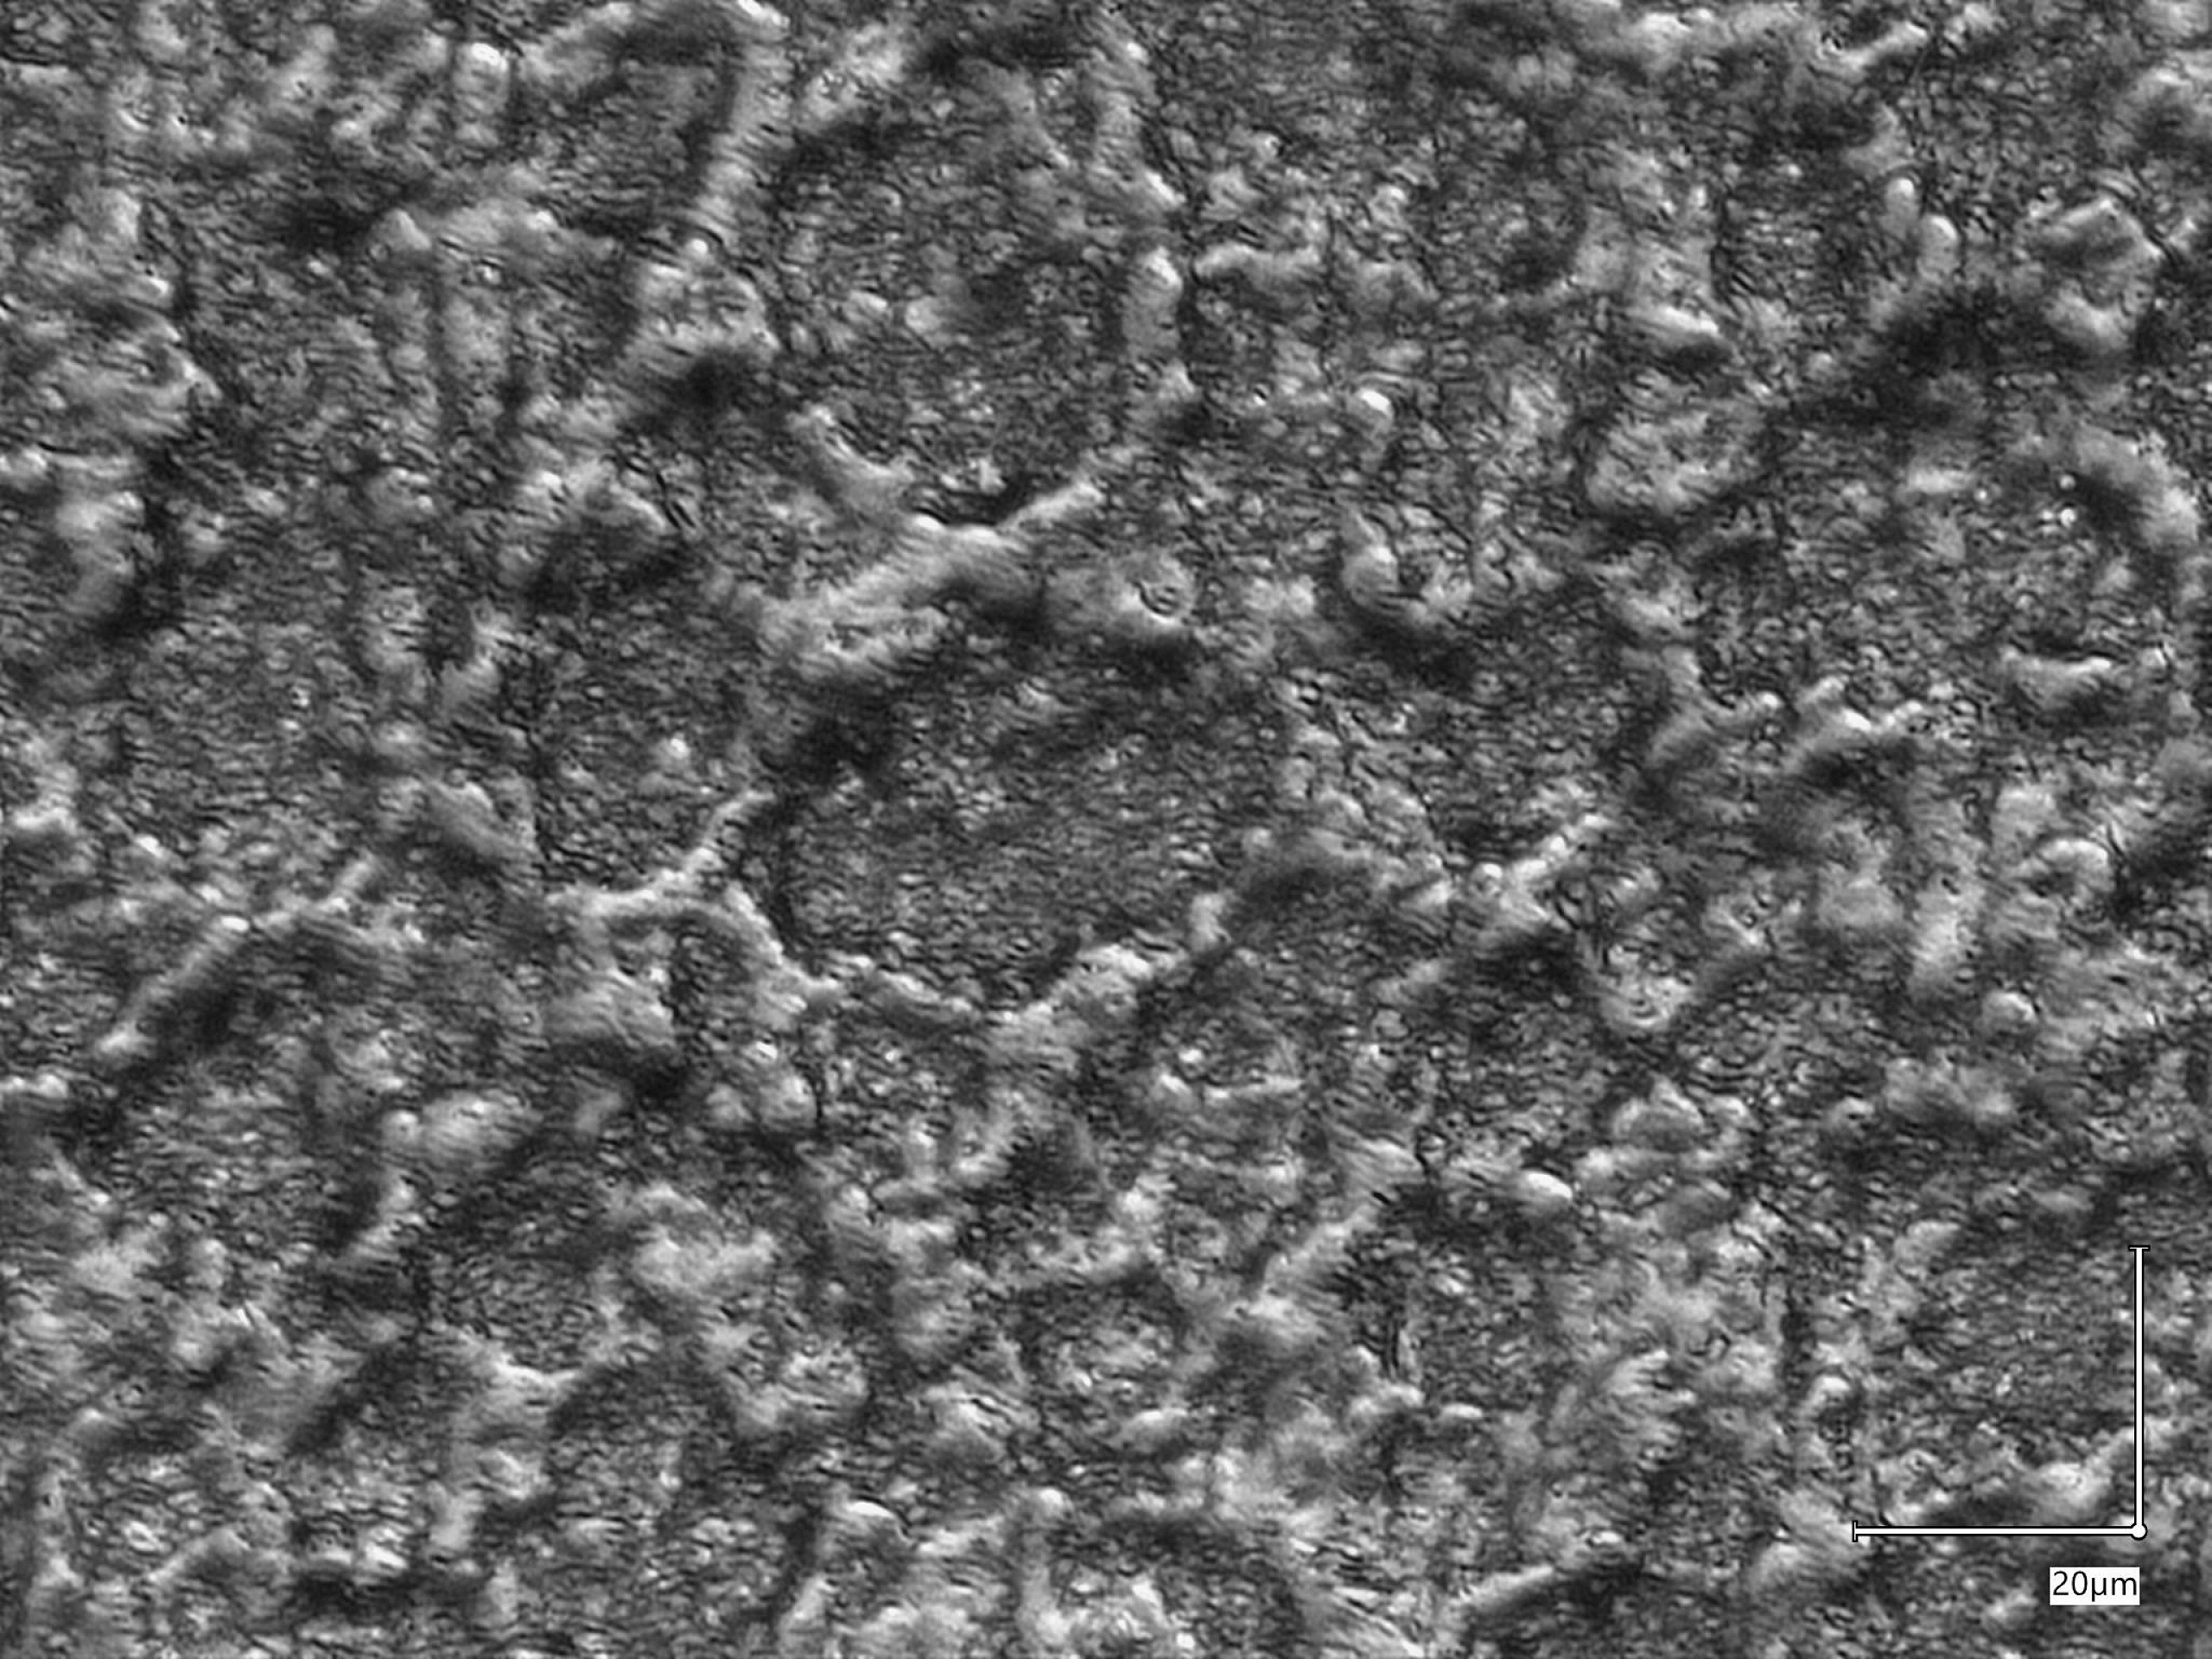
This is also easy to measure, so I took a look. We ended up with around 0.002 mm, a whole 2 μm. We remember: many pastes even work with grain sizes of up to 5 μm and more. Since there are otherwise no unevennesses, a fine-grained paste therefore has an immense advantage here. Unfortunately, since manufacturers make a secret of these important values or don’t even know what they’re actually bottling, it’s certainly hard for customers to find the best for this application. But this sounds like a nice article idea and lots of xylene to dissolve out the solids. Let’s see.

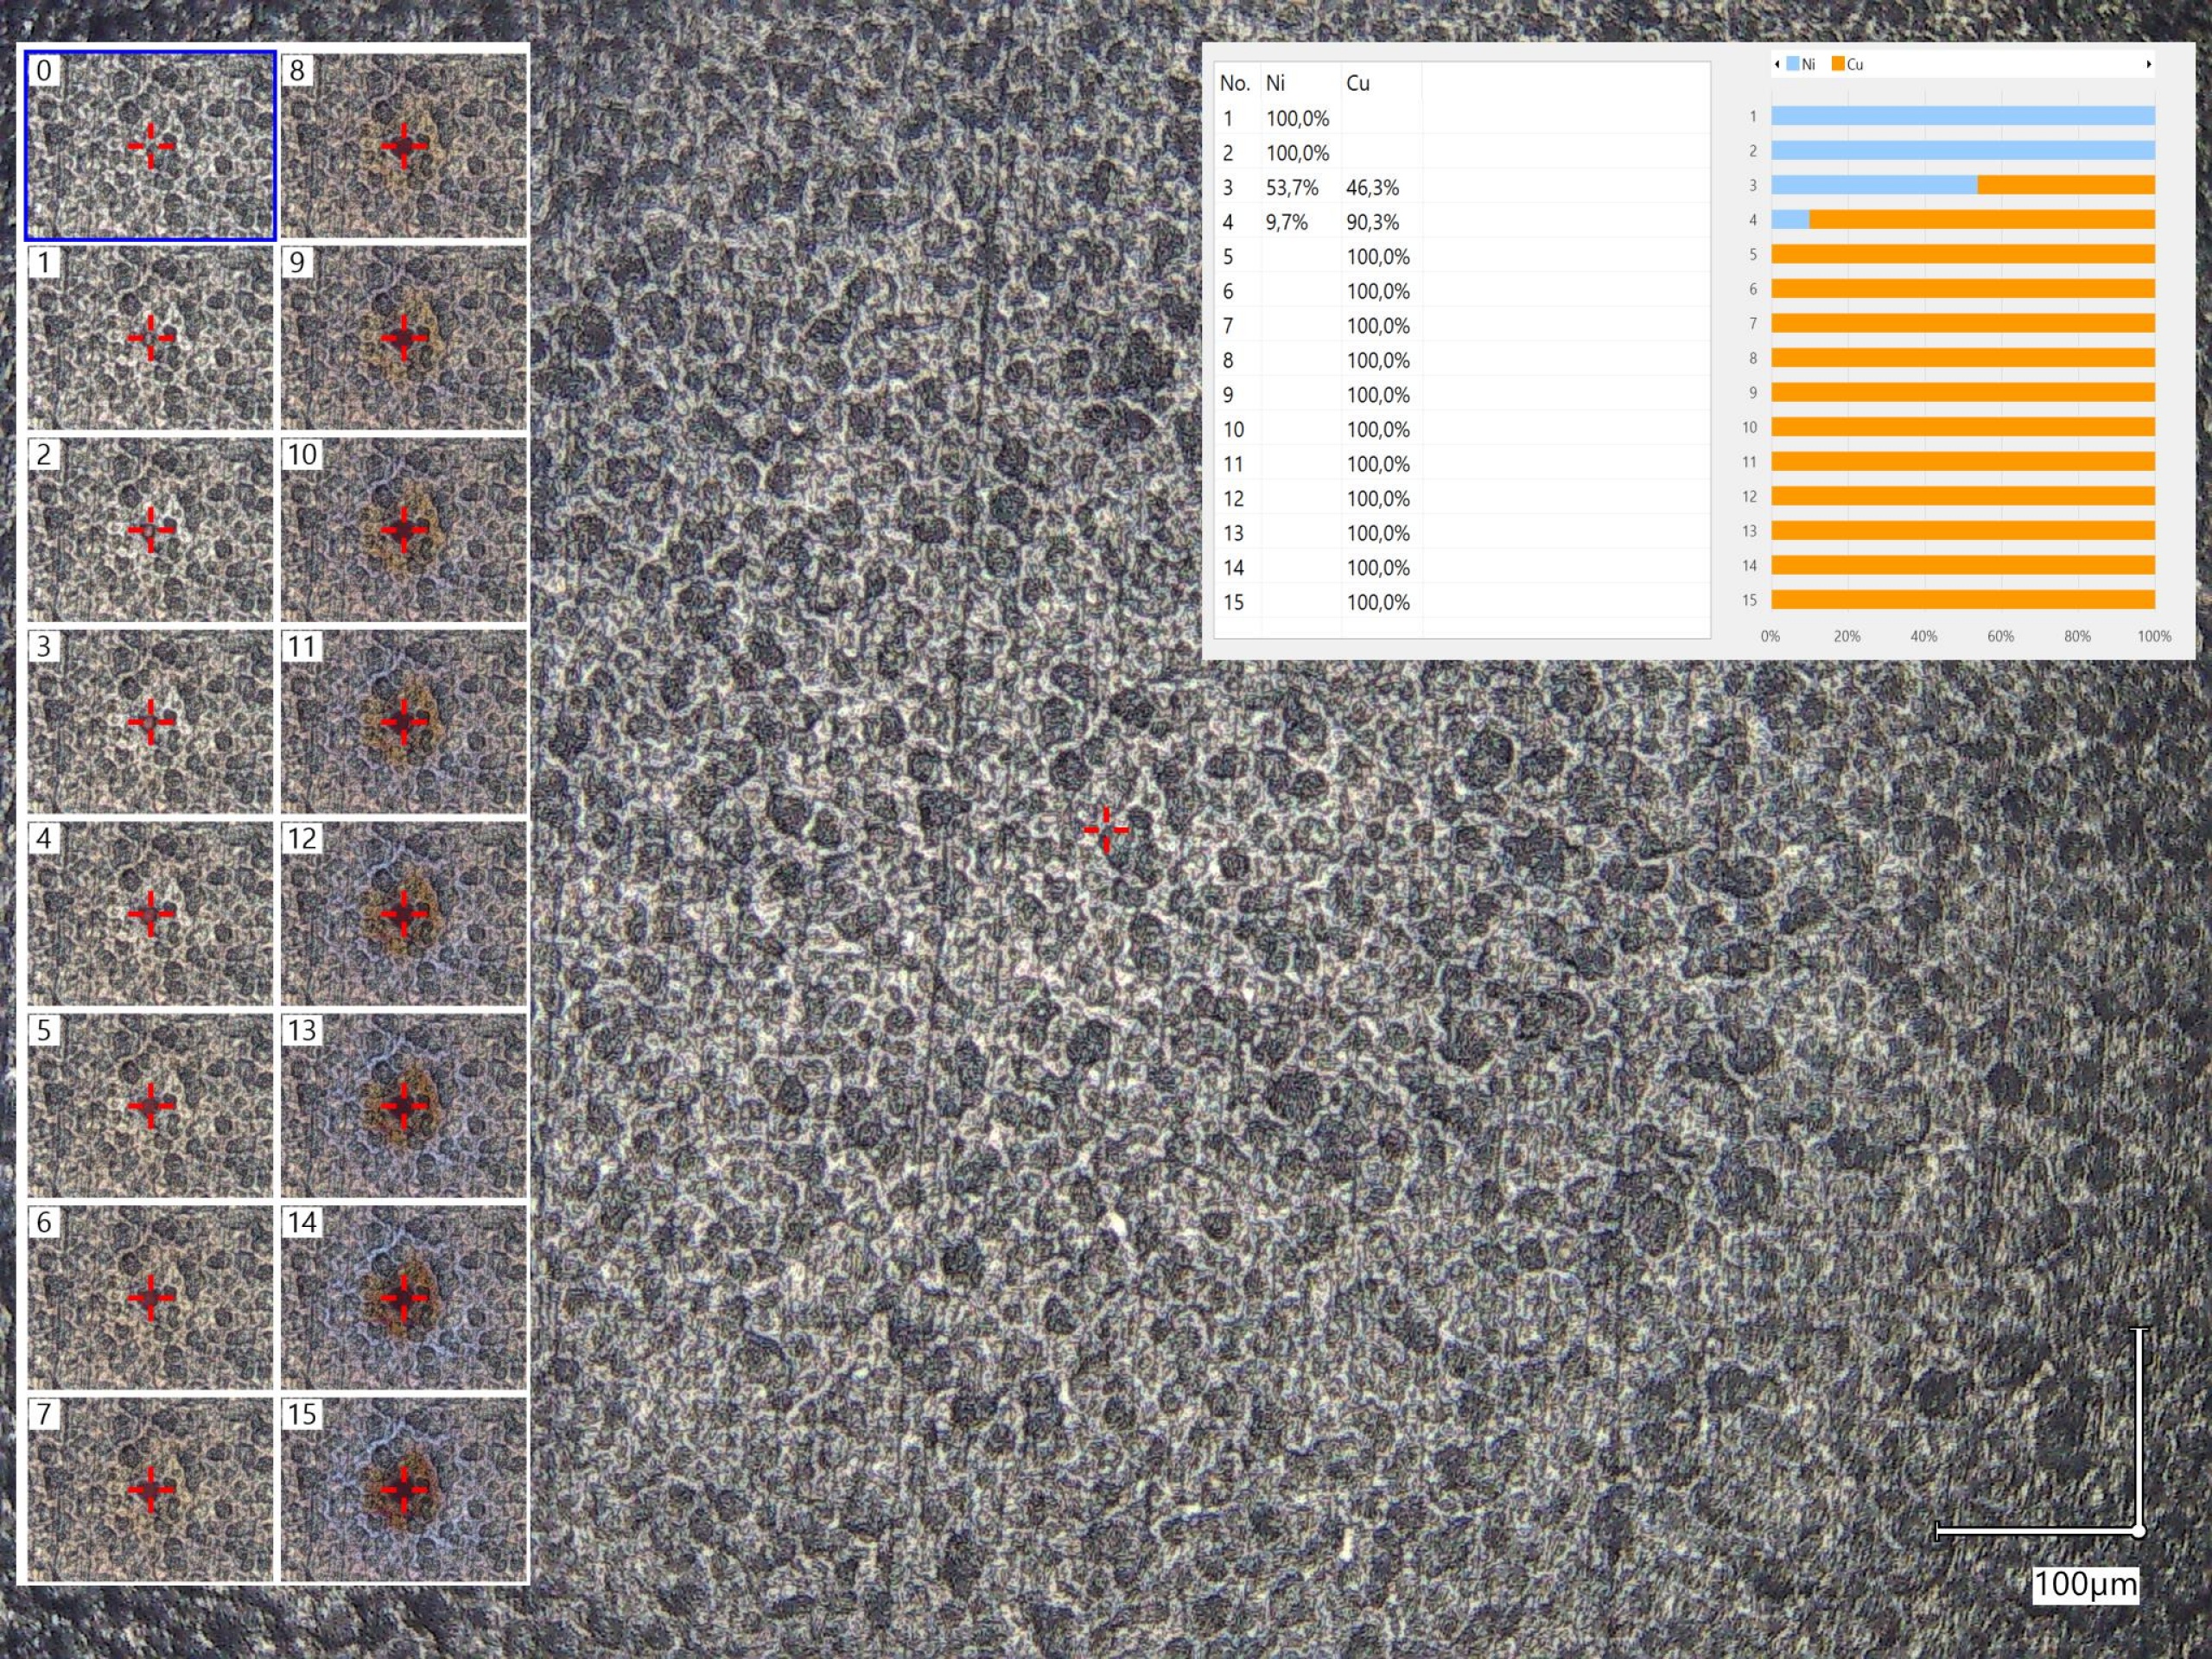
Finally, of course, I took a look under the silver plating and lasered the IHS deeper. Except for galvanized nickel (very thin coating) and solid copper, you won’t find anything there, not even impurities. That’s the way it has to be. And the CPU has recently been properly flattened at the factory.
With that, we are done with the “superficialities” and can now turn to the test system, the test methodology and of course the benchmarks. And for all to remember, also because it was so nice, once again the thing with the bending:
|
|
|
|

- 1 - Introduction, preliminary remark and CPU data
- 2 - Interesting details about the heatspreader
- 3 - Test setup and methodens
- 4 - Gaming Performance HD Ready (1280 x 720 Pixels)
- 5 - Gaming Performance Full HD (1920 x 1080 Pixels)
- 6 - Gaming Performance WQHD (2560 x 1440 Pixels)
- 7 - Gaming Performance Ultra-HD (3840 x 2160 Pixels)
- 8 - Autodesk AutoCAD 2021
- 9 - Autodesk Inventor 2021 Pro
- 10 - Rendering, Simulation, Financial, Programming
- 11 - Science and mathematics
- 12 - Power consumption and efficiency
- 13 - Summary and conclusion


255 Antworten
Kommentar
Lade neue Kommentare
Neuling
1
Neuling
Urgestein
Veteran
1
1
Veteran
Urgestein
Mitglied
Mitglied
Urgestein
Urgestein
Mitglied
Urgestein
Urgestein
Urgestein
Moderator
Alle Kommentare lesen unter igor´sLAB Community →