


Assembly
You can either follow the included instructions on paper, or as I did, and would also recommend, just use the video on the included SD card or watch it on YouTube. I will of course go over the most important steps right here as well, but the entire process is simply shown very well by the clip:
So let’s start by getting everything ready. The base with print bed and electronics, the gantry and the new Sprite Extruder Pro.

The touchscreen, filament holder and clamp for the cables can also be placed within easy reach.
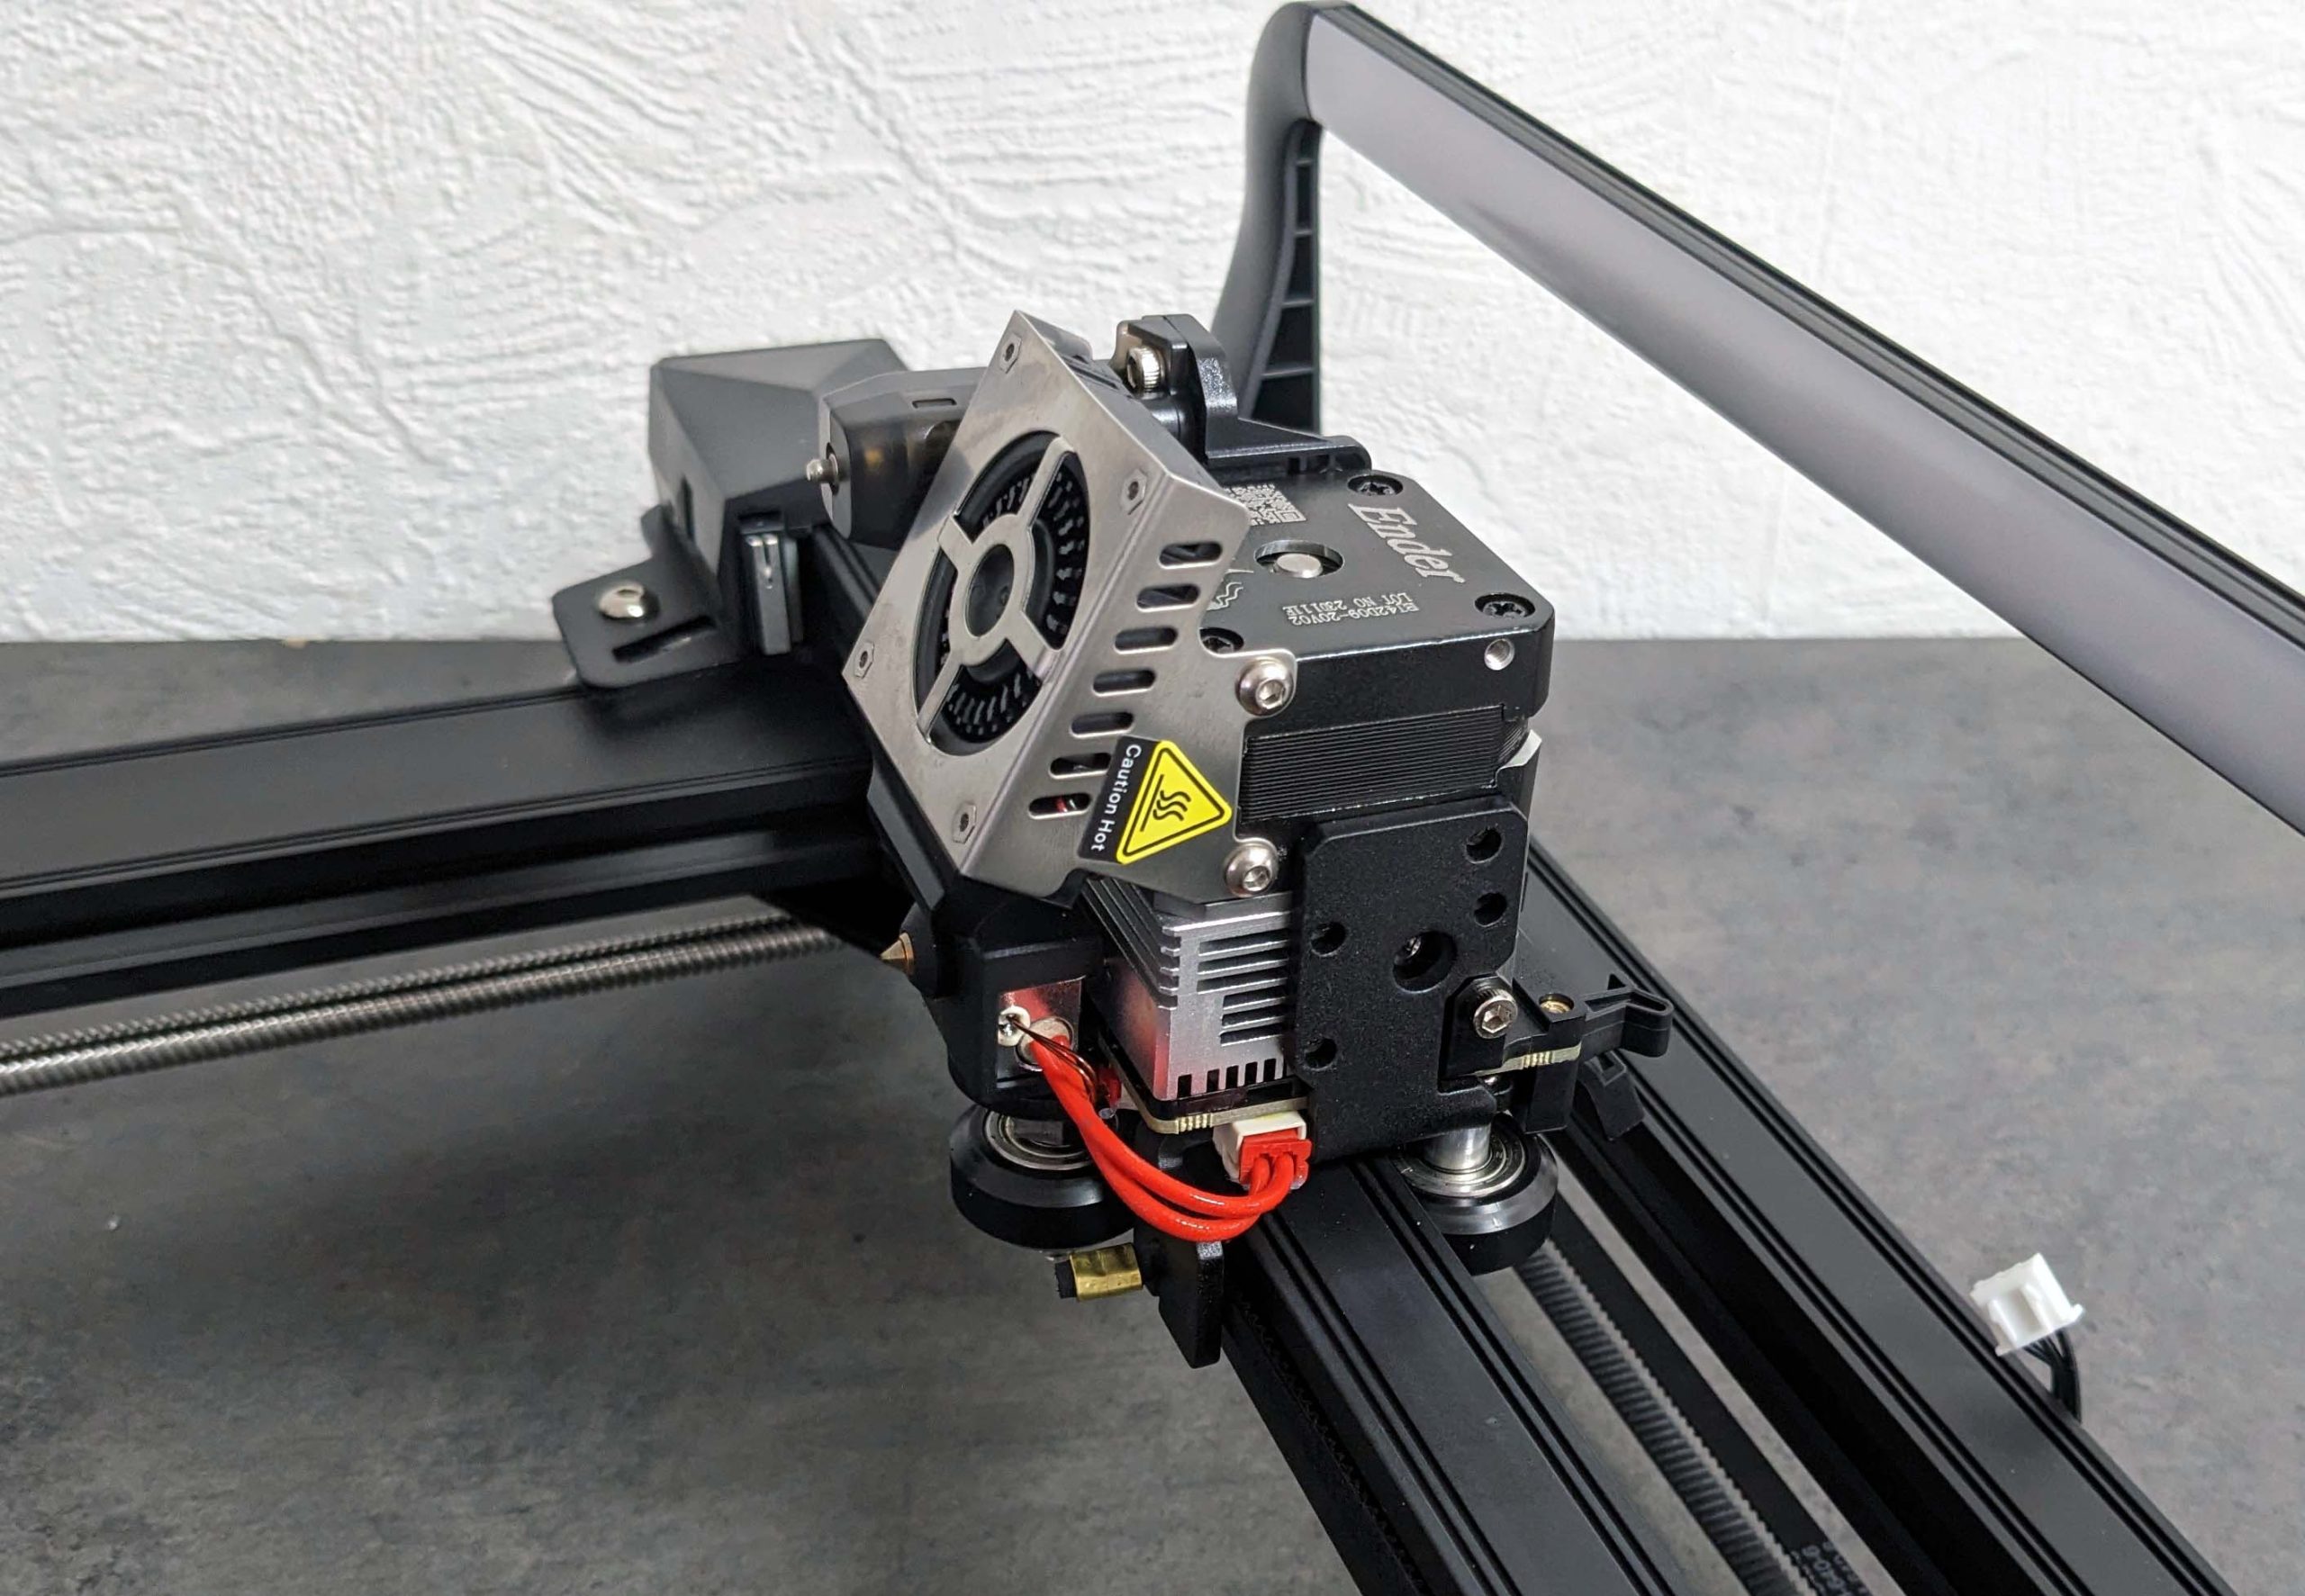
We then use the four M3x6 screws to attach the direct-drive extruder and hotend to the Y-axis of the gantry. The corresponding holes and threads are located on the sides. Tighten everything well, nothing should wobble here!
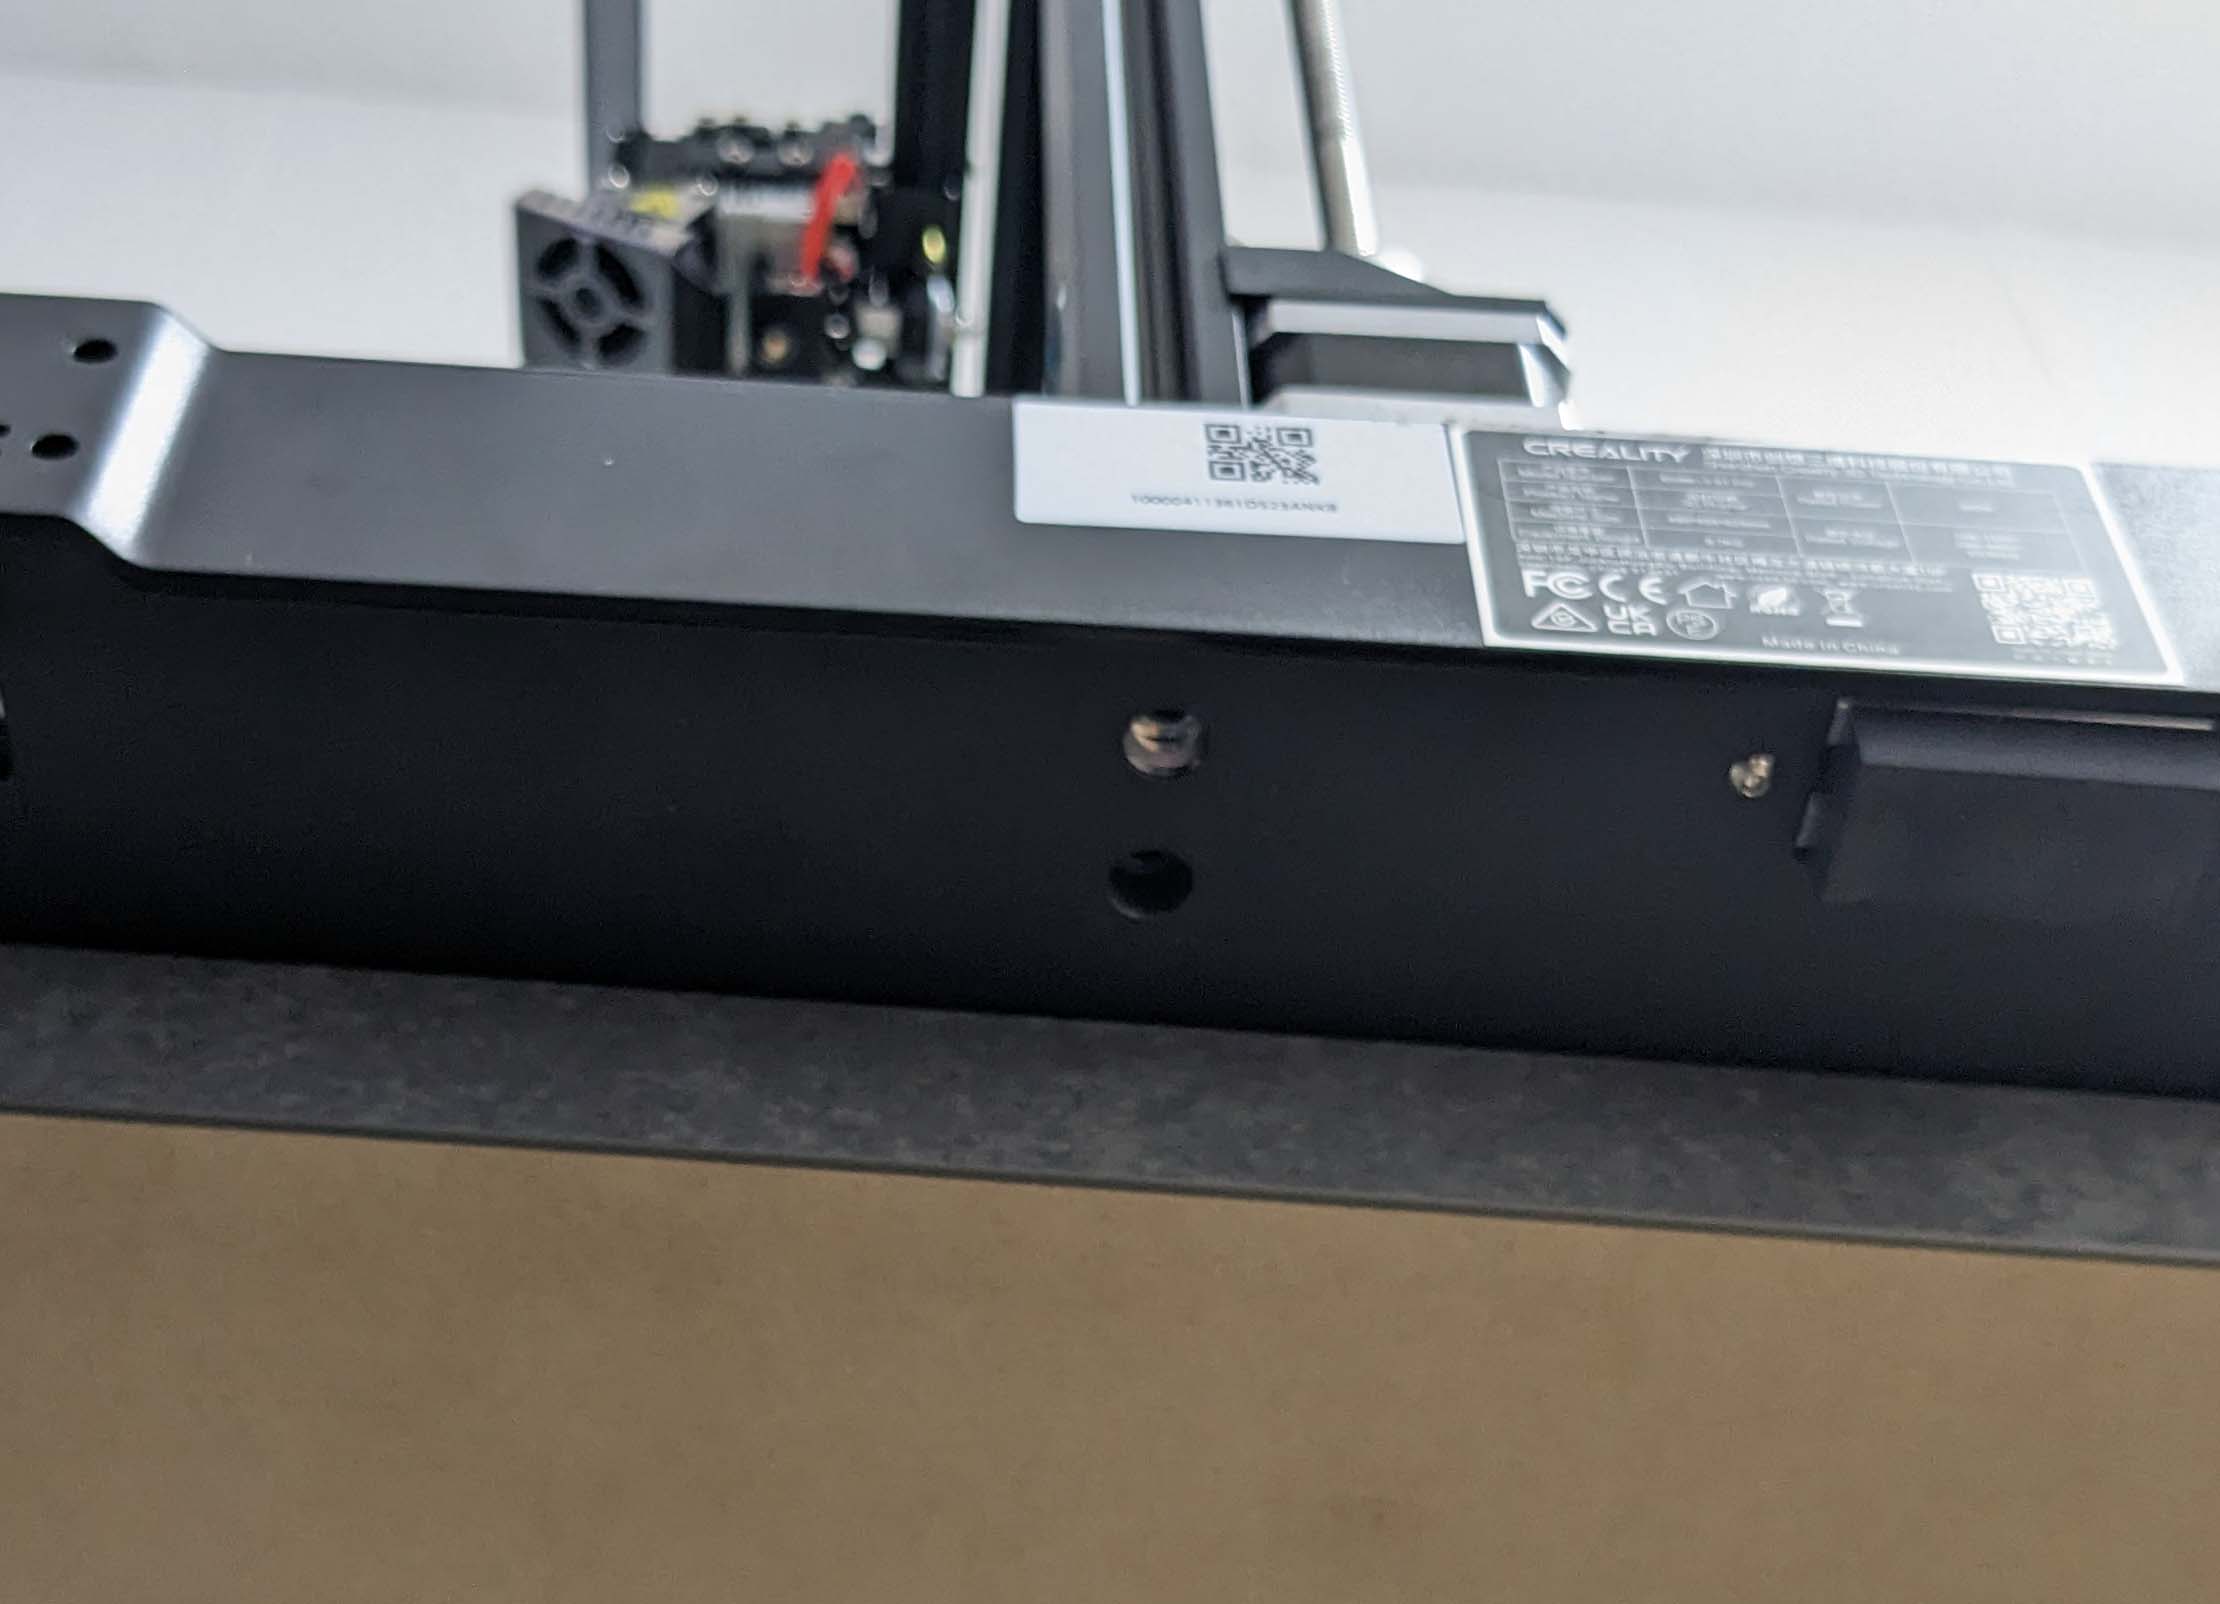
Seen from behind on the right side, the cable clamp can already be attached.
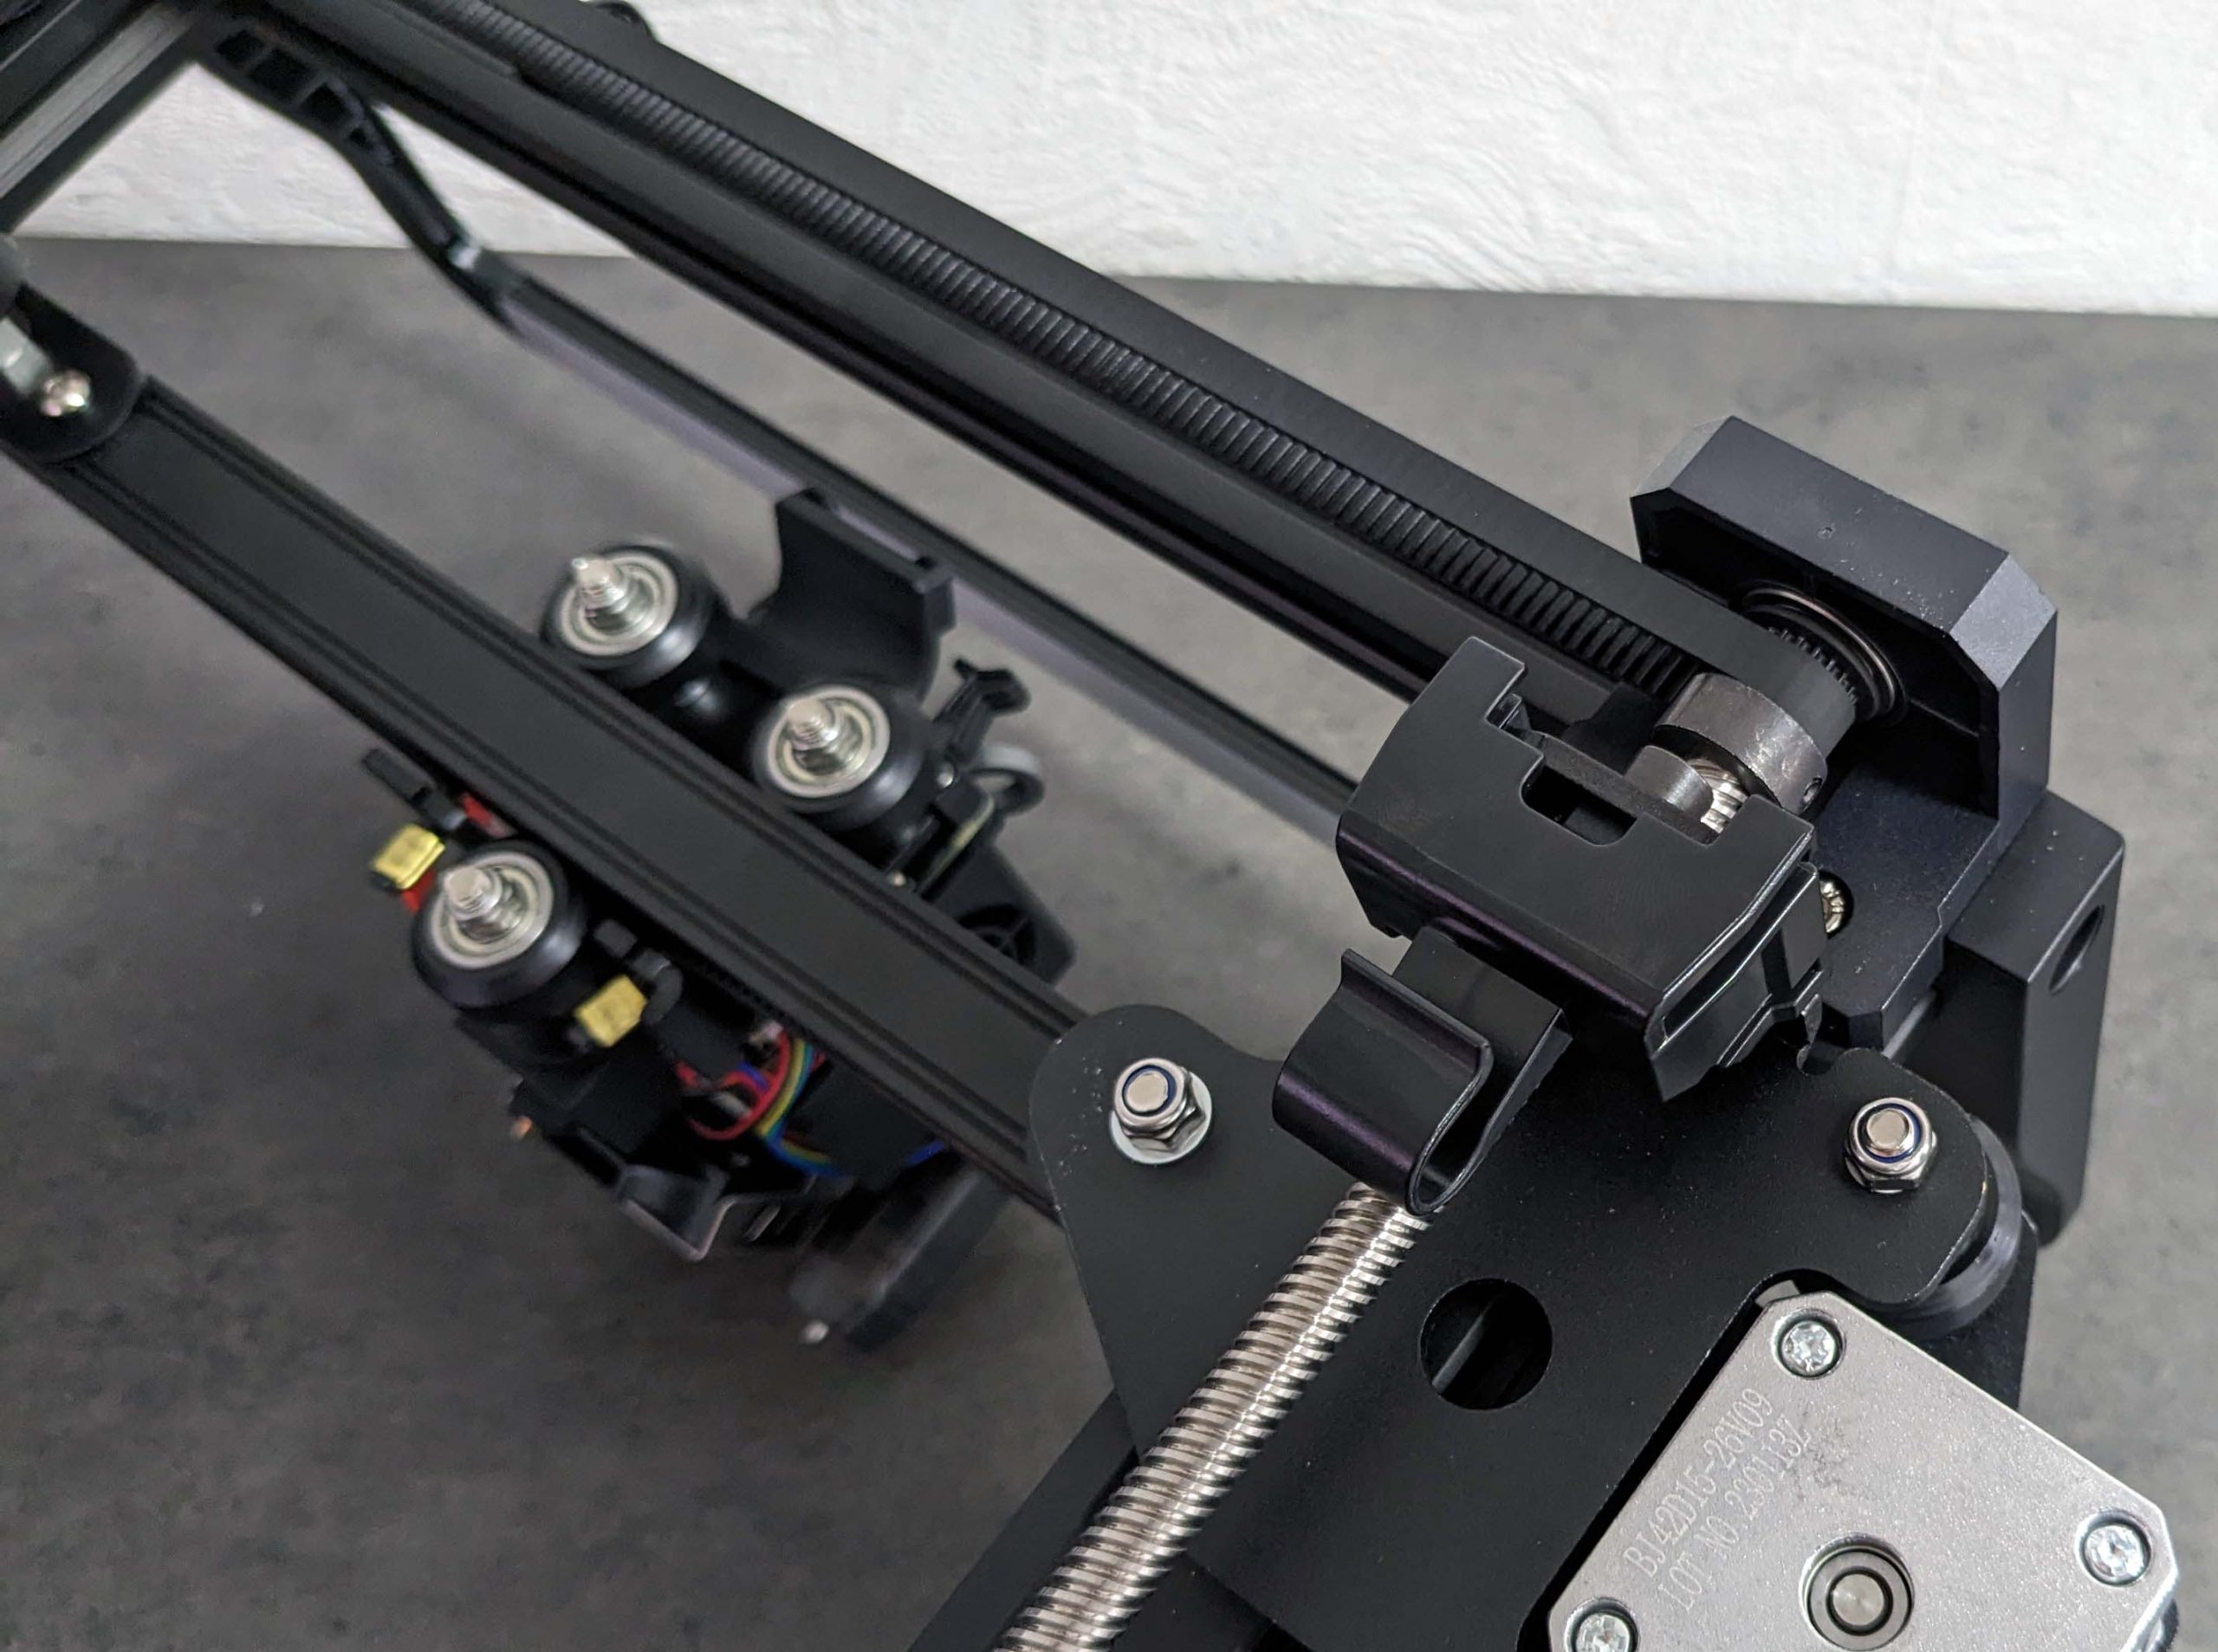
With two M5x45 screws on each side, the gantry is then connected to the base. My tip: Simply place the printer on a tabletop and let it protrude a bit to the side, then you can easily reach the threads and still have a secure stand for the base. On each side, it is best to screw in only one screw at first and then tighten all four screws alternately at the end.
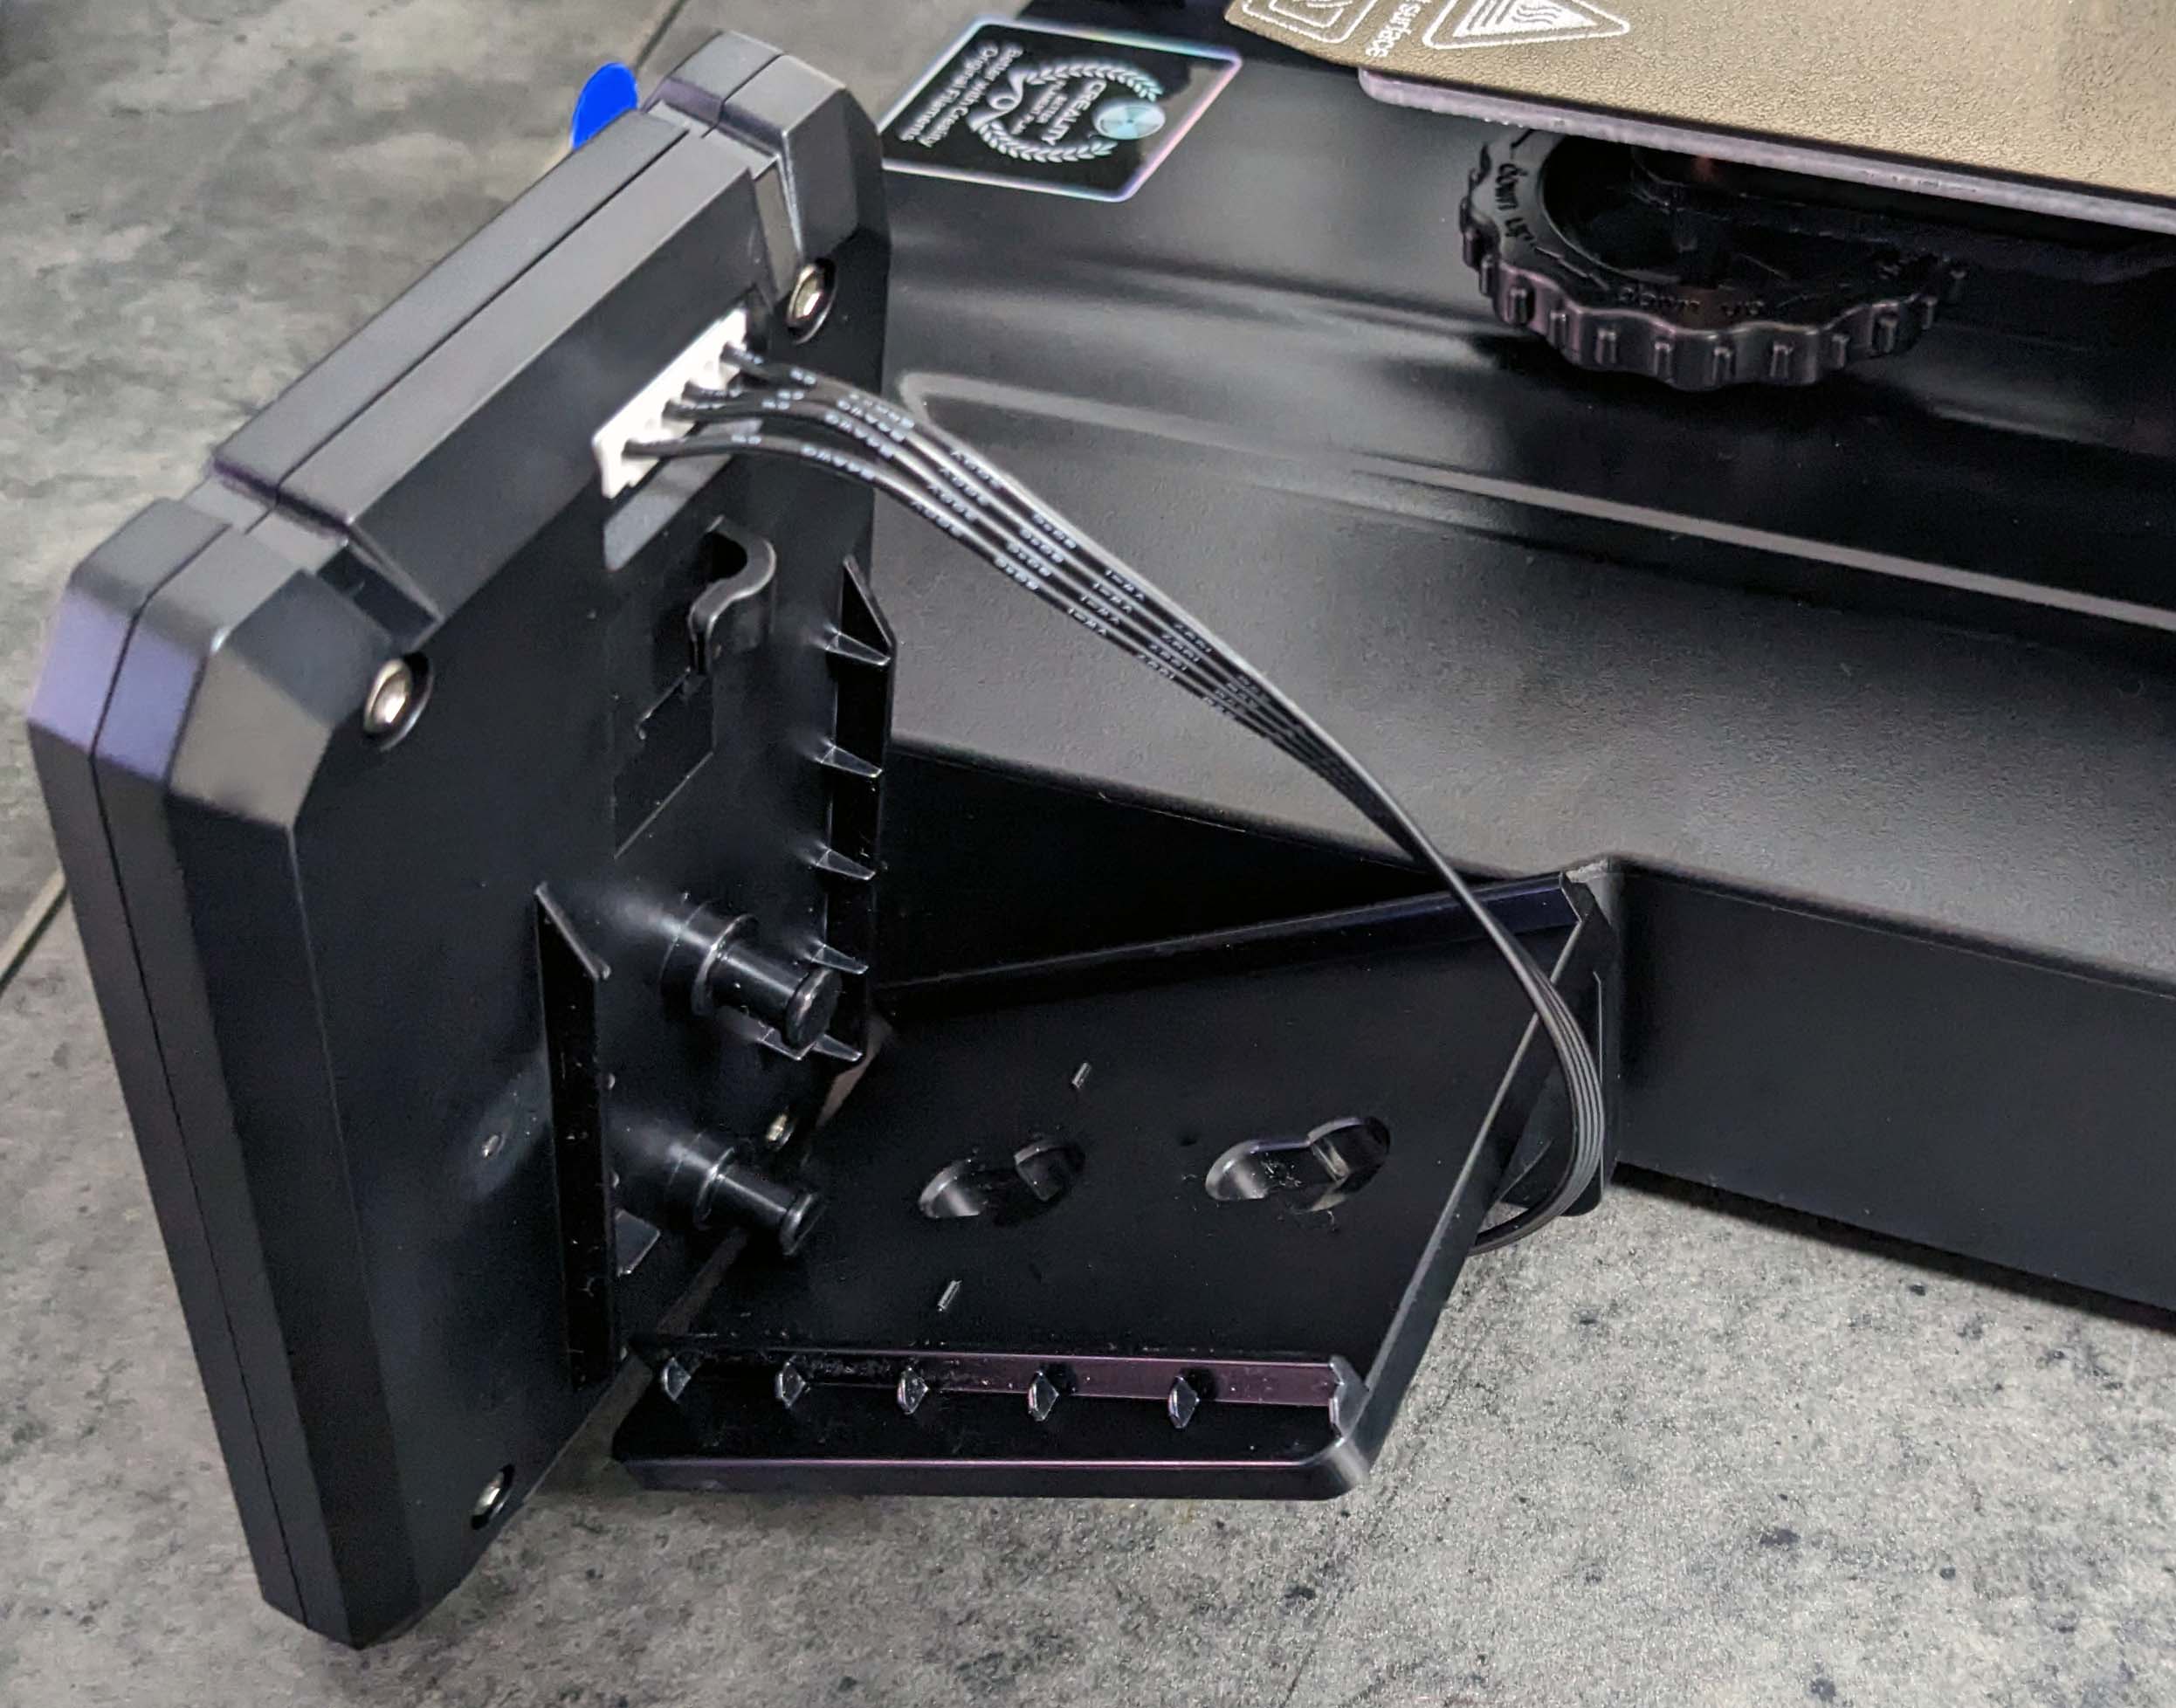
The display with touch function is mounted in a plastic holder on the right side of the printer. Three M4x30 are used for this, the module from the display itself can then be hooked in after the cable is connected.
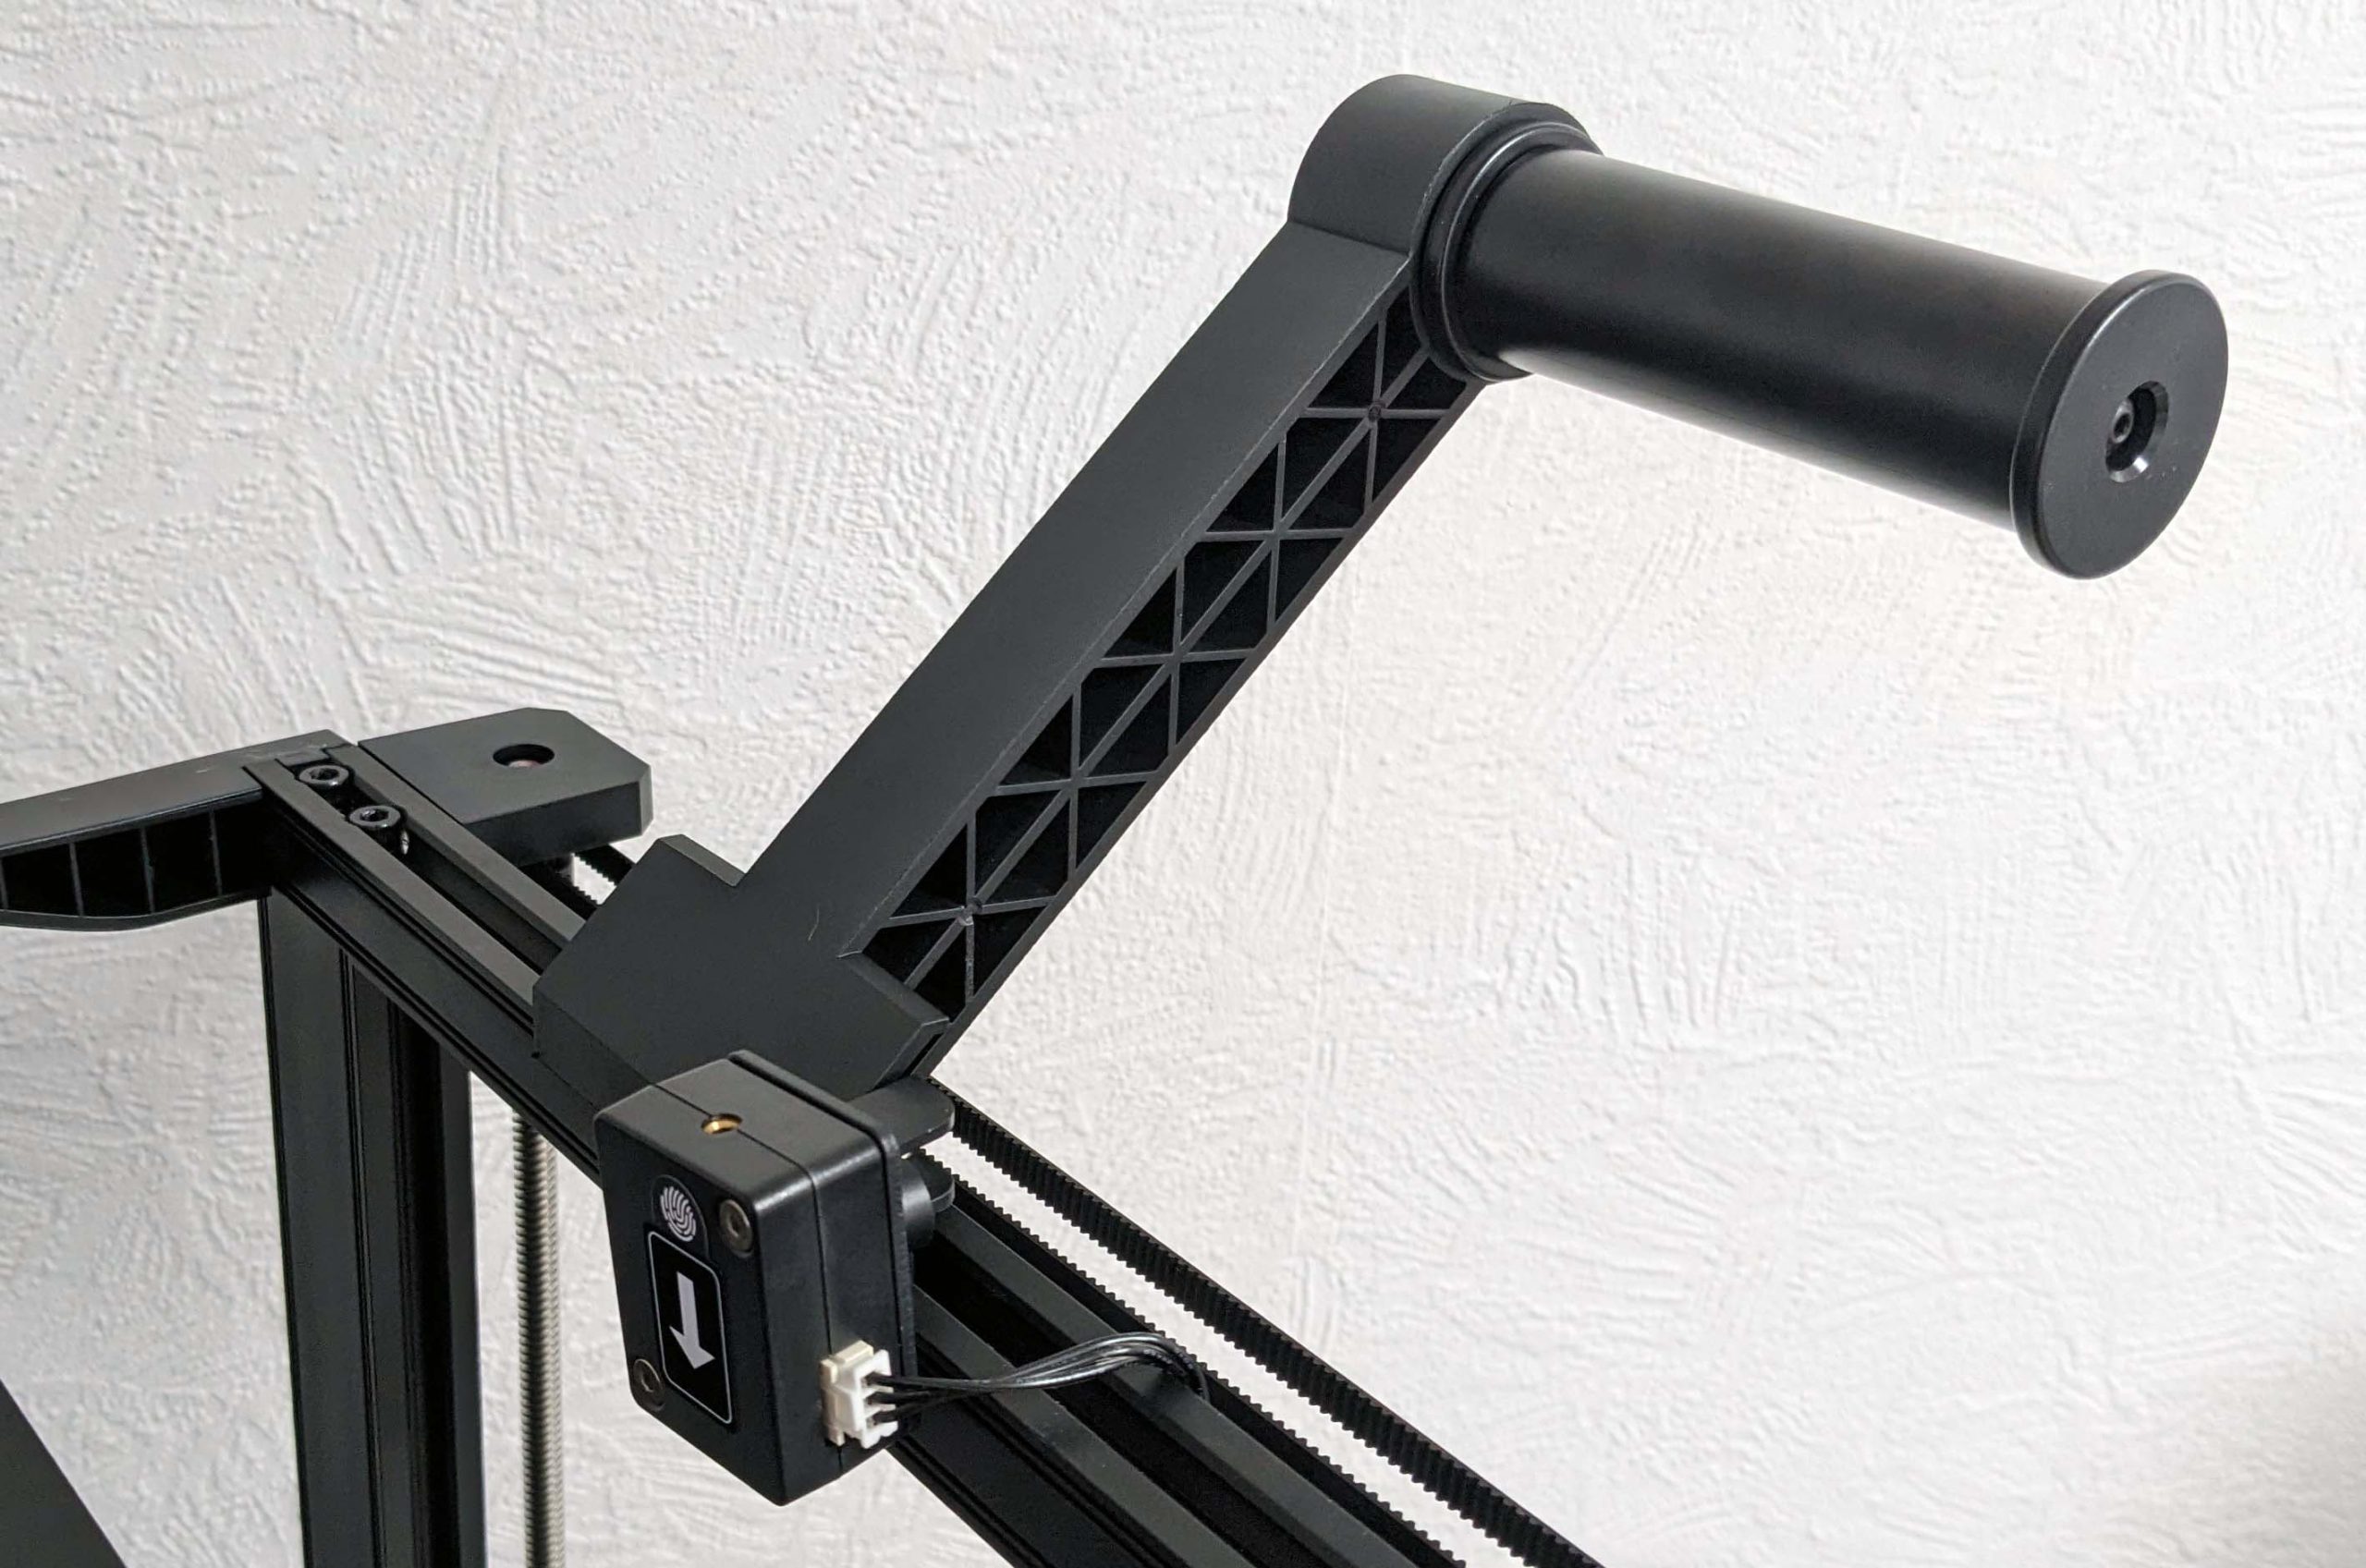
I then next clamped the filament holder into the top of the gantry so that the sensor is exactly centered. Again, don’t forget the small cable.
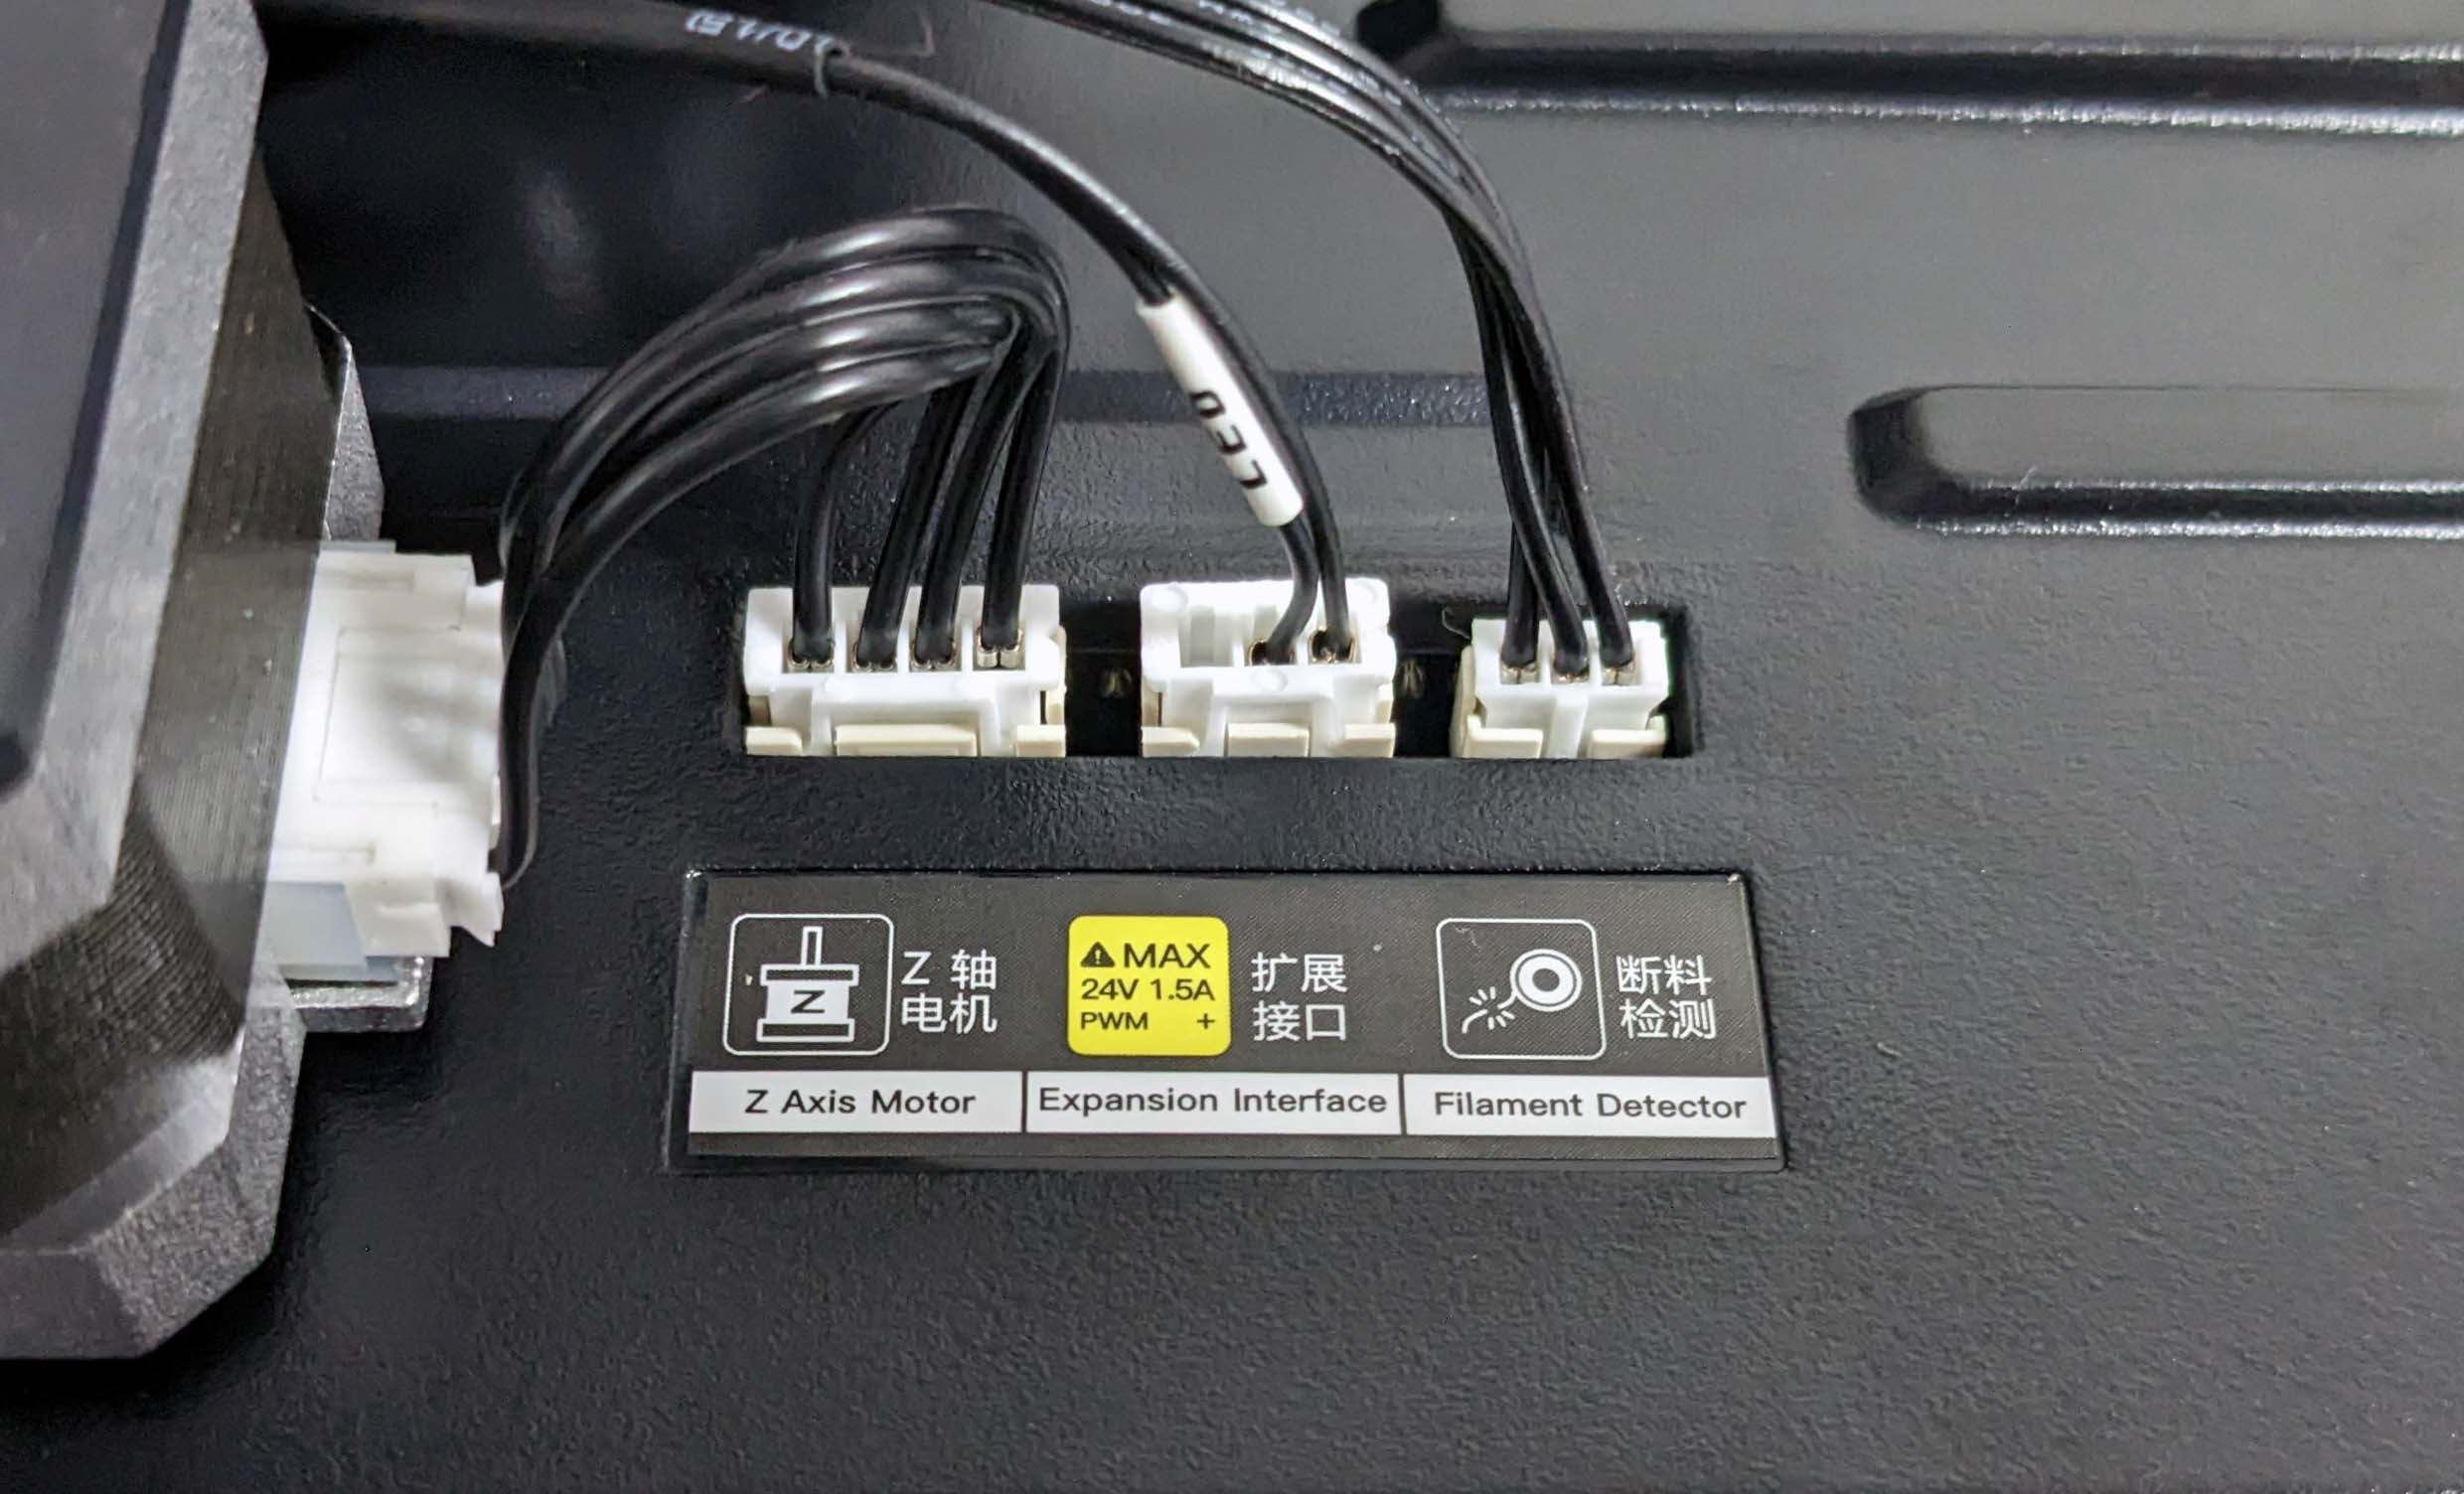
Then behind the right Z-motor, the cables for the Z-motor itself, the LED strip, and the filament sensor have to be connected.
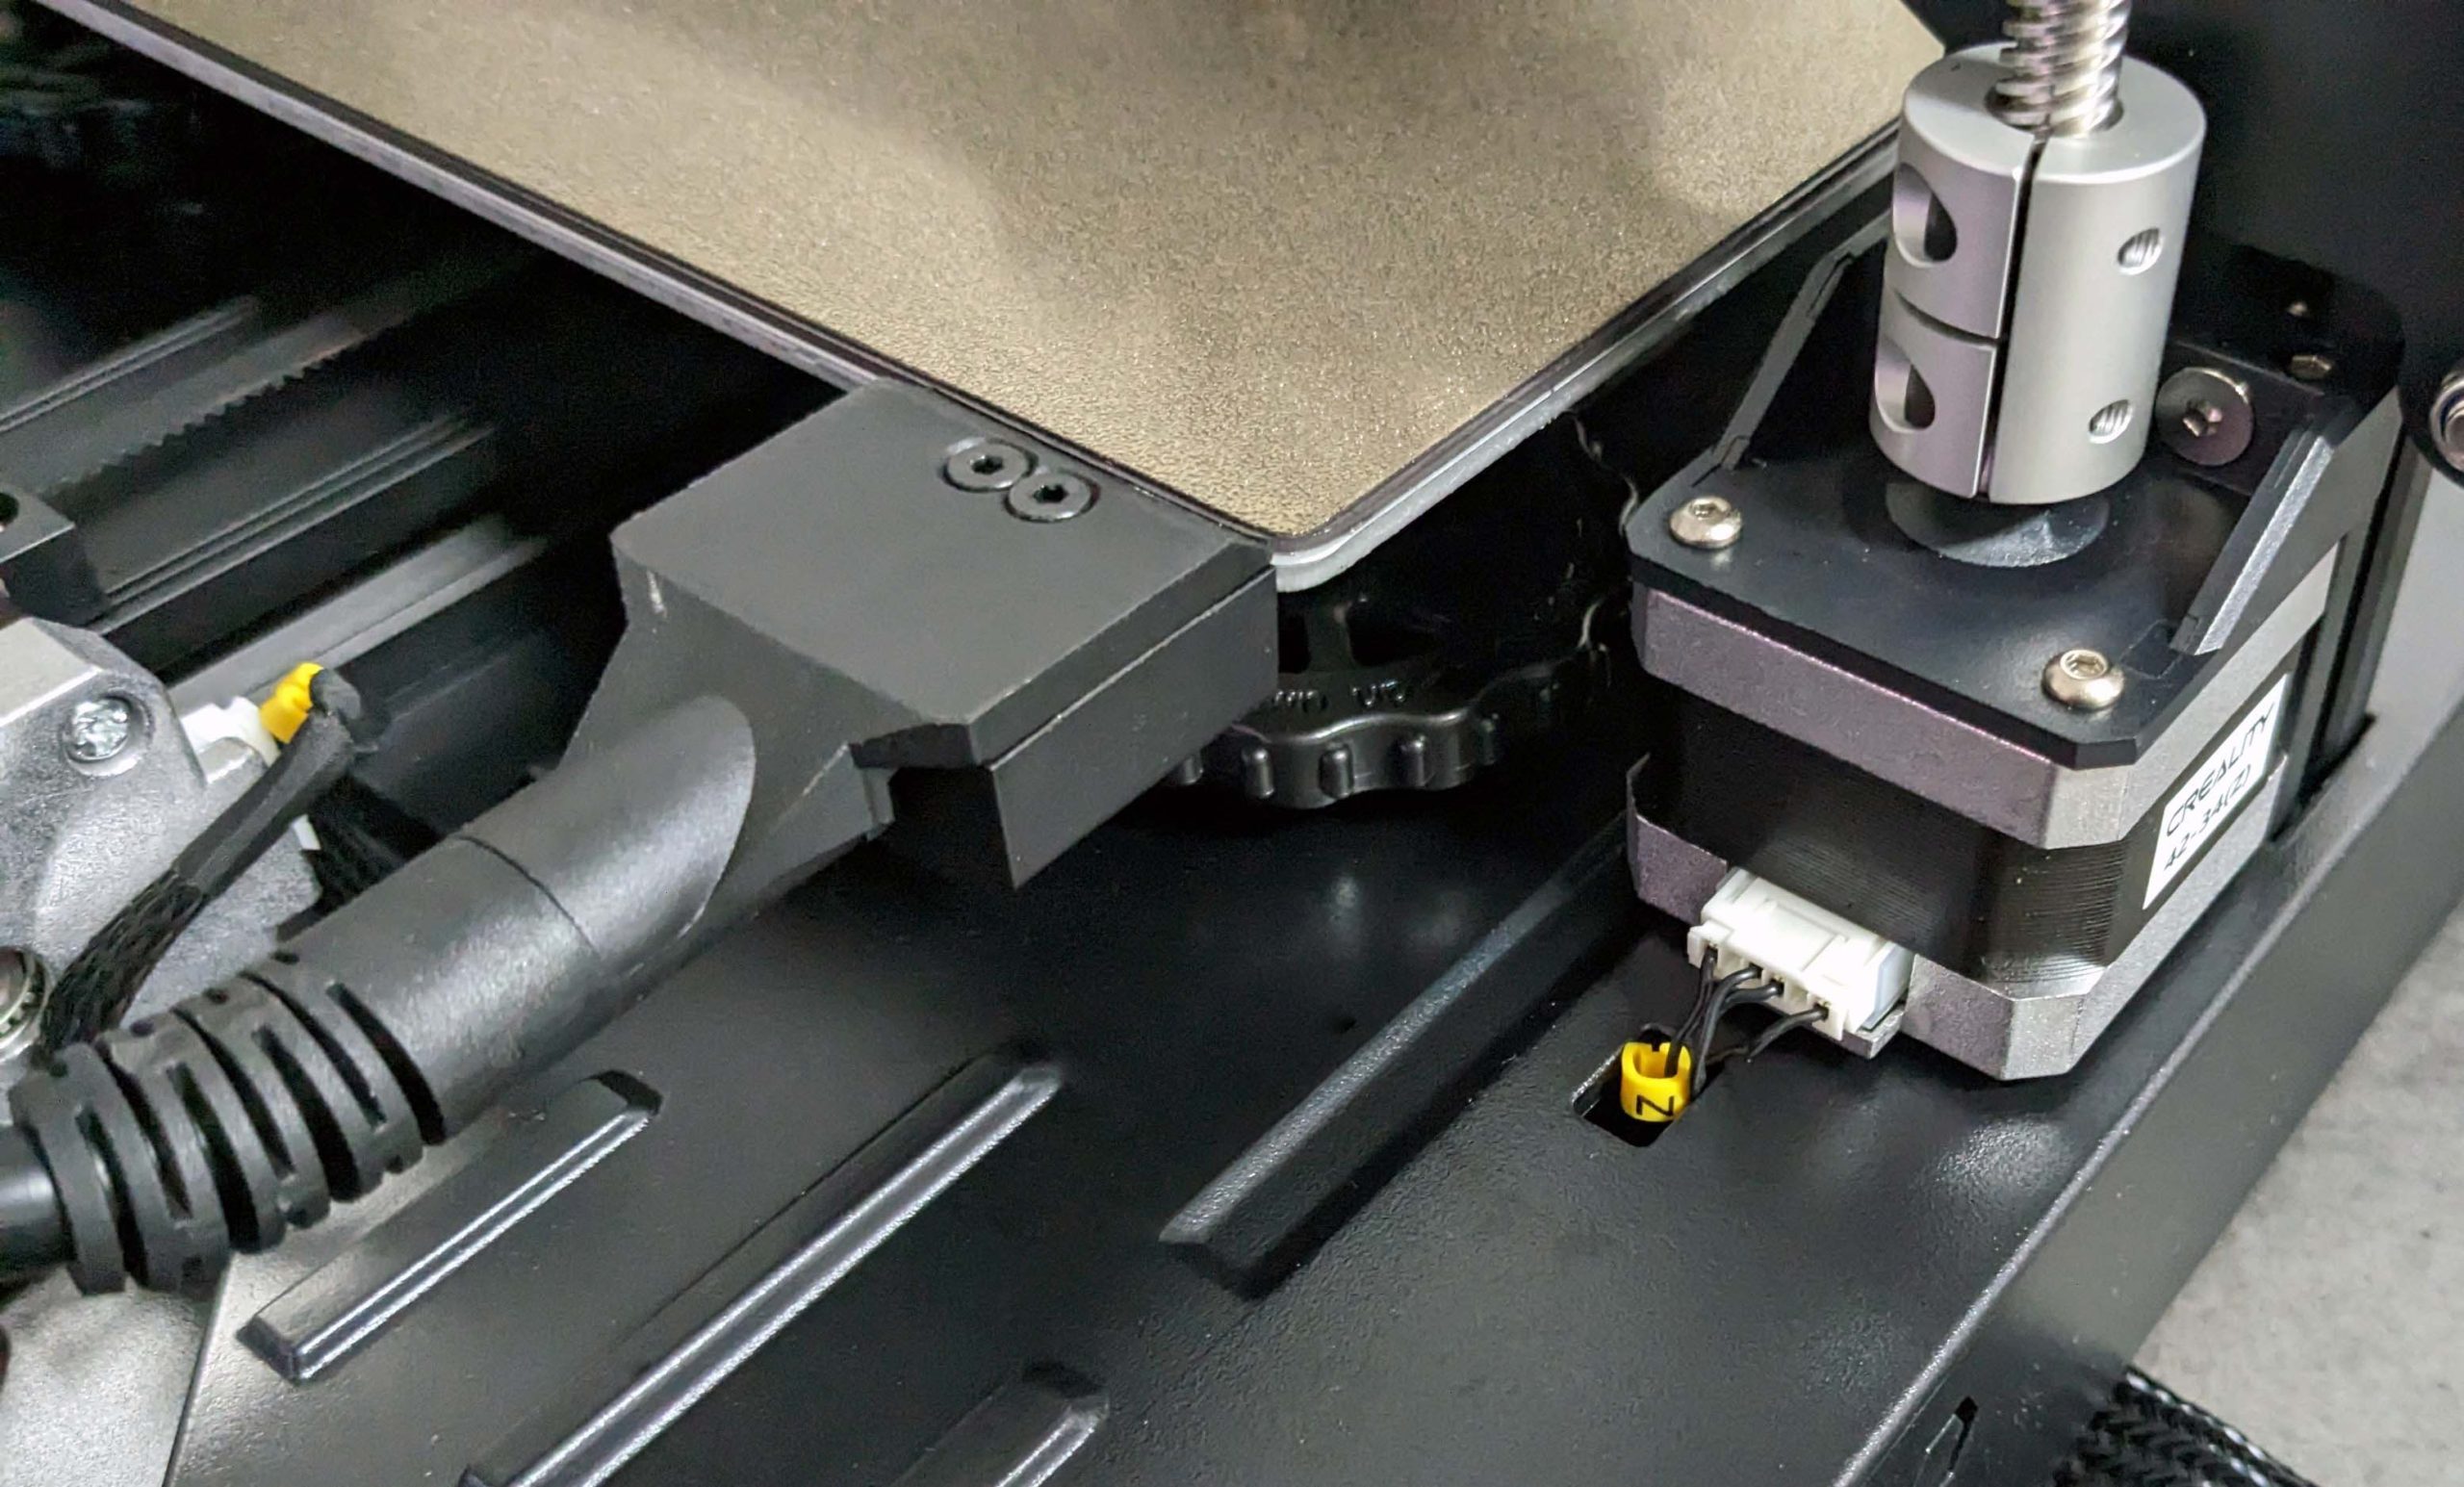
And we also have to connect the left Z-motor.
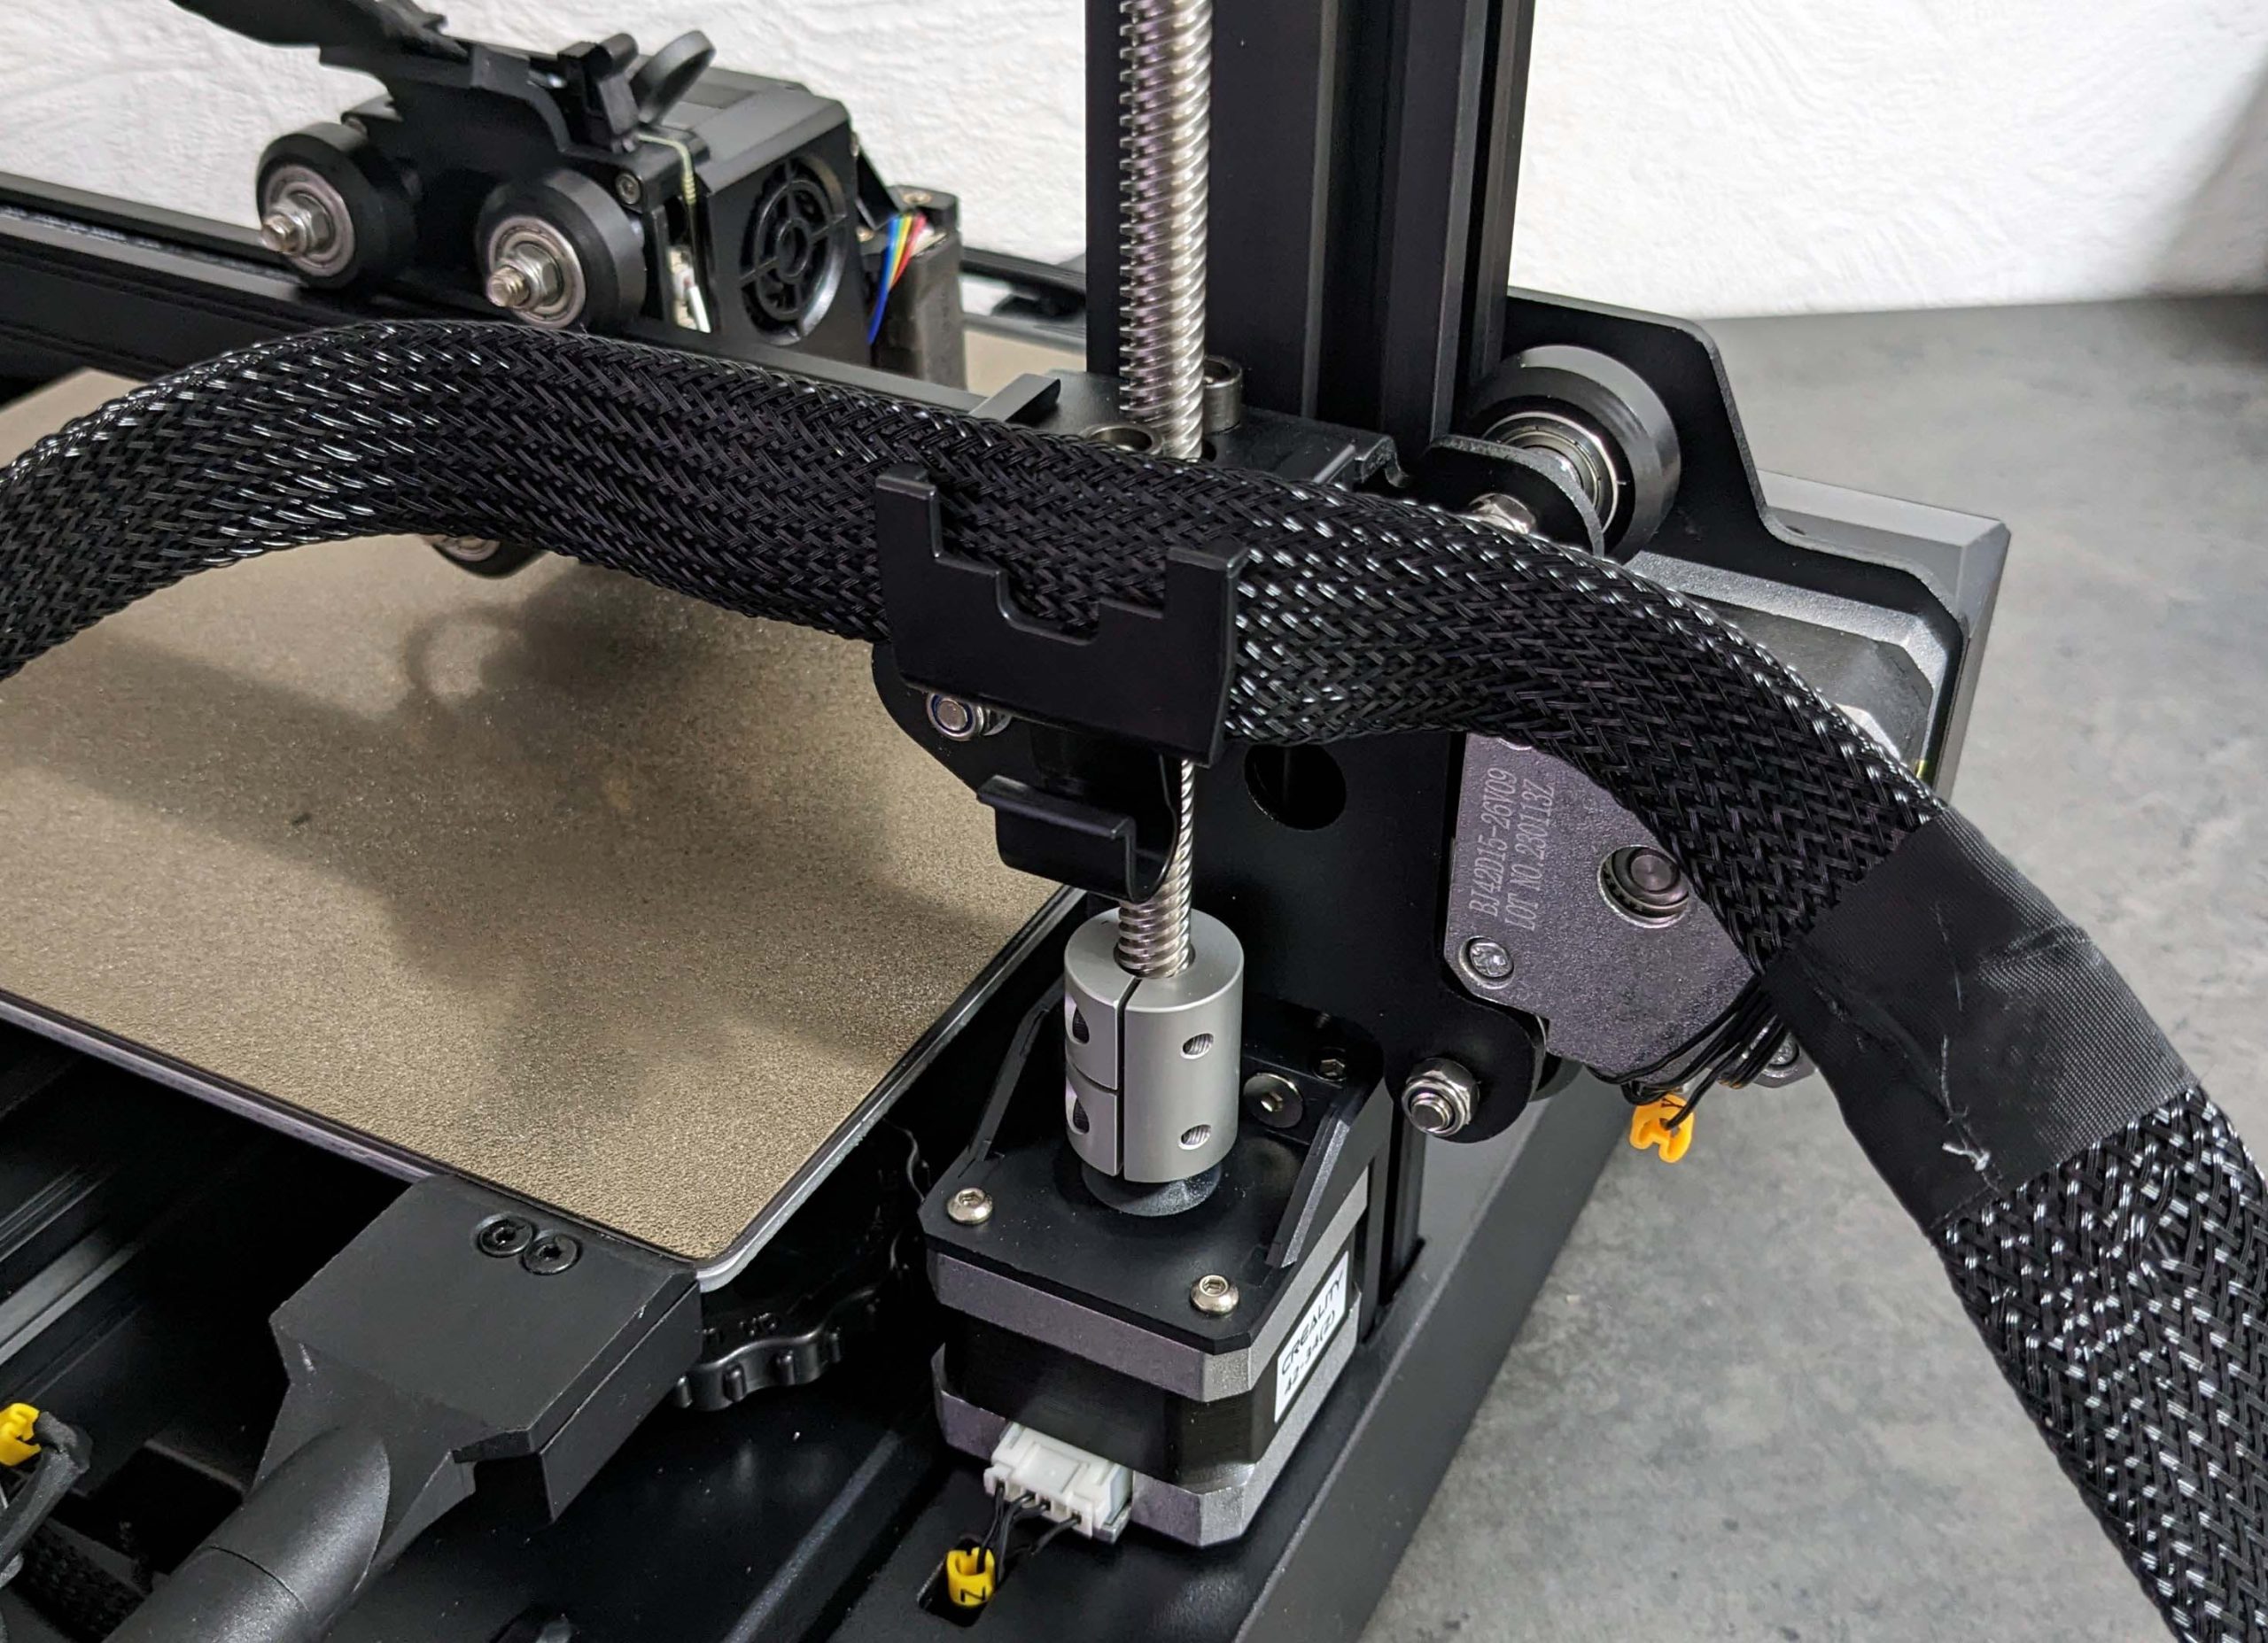
The holder for the ribbon cable that was attached earlier is now finally used, and the included cables for the Y-motor and end stop can also be connected at the same time.
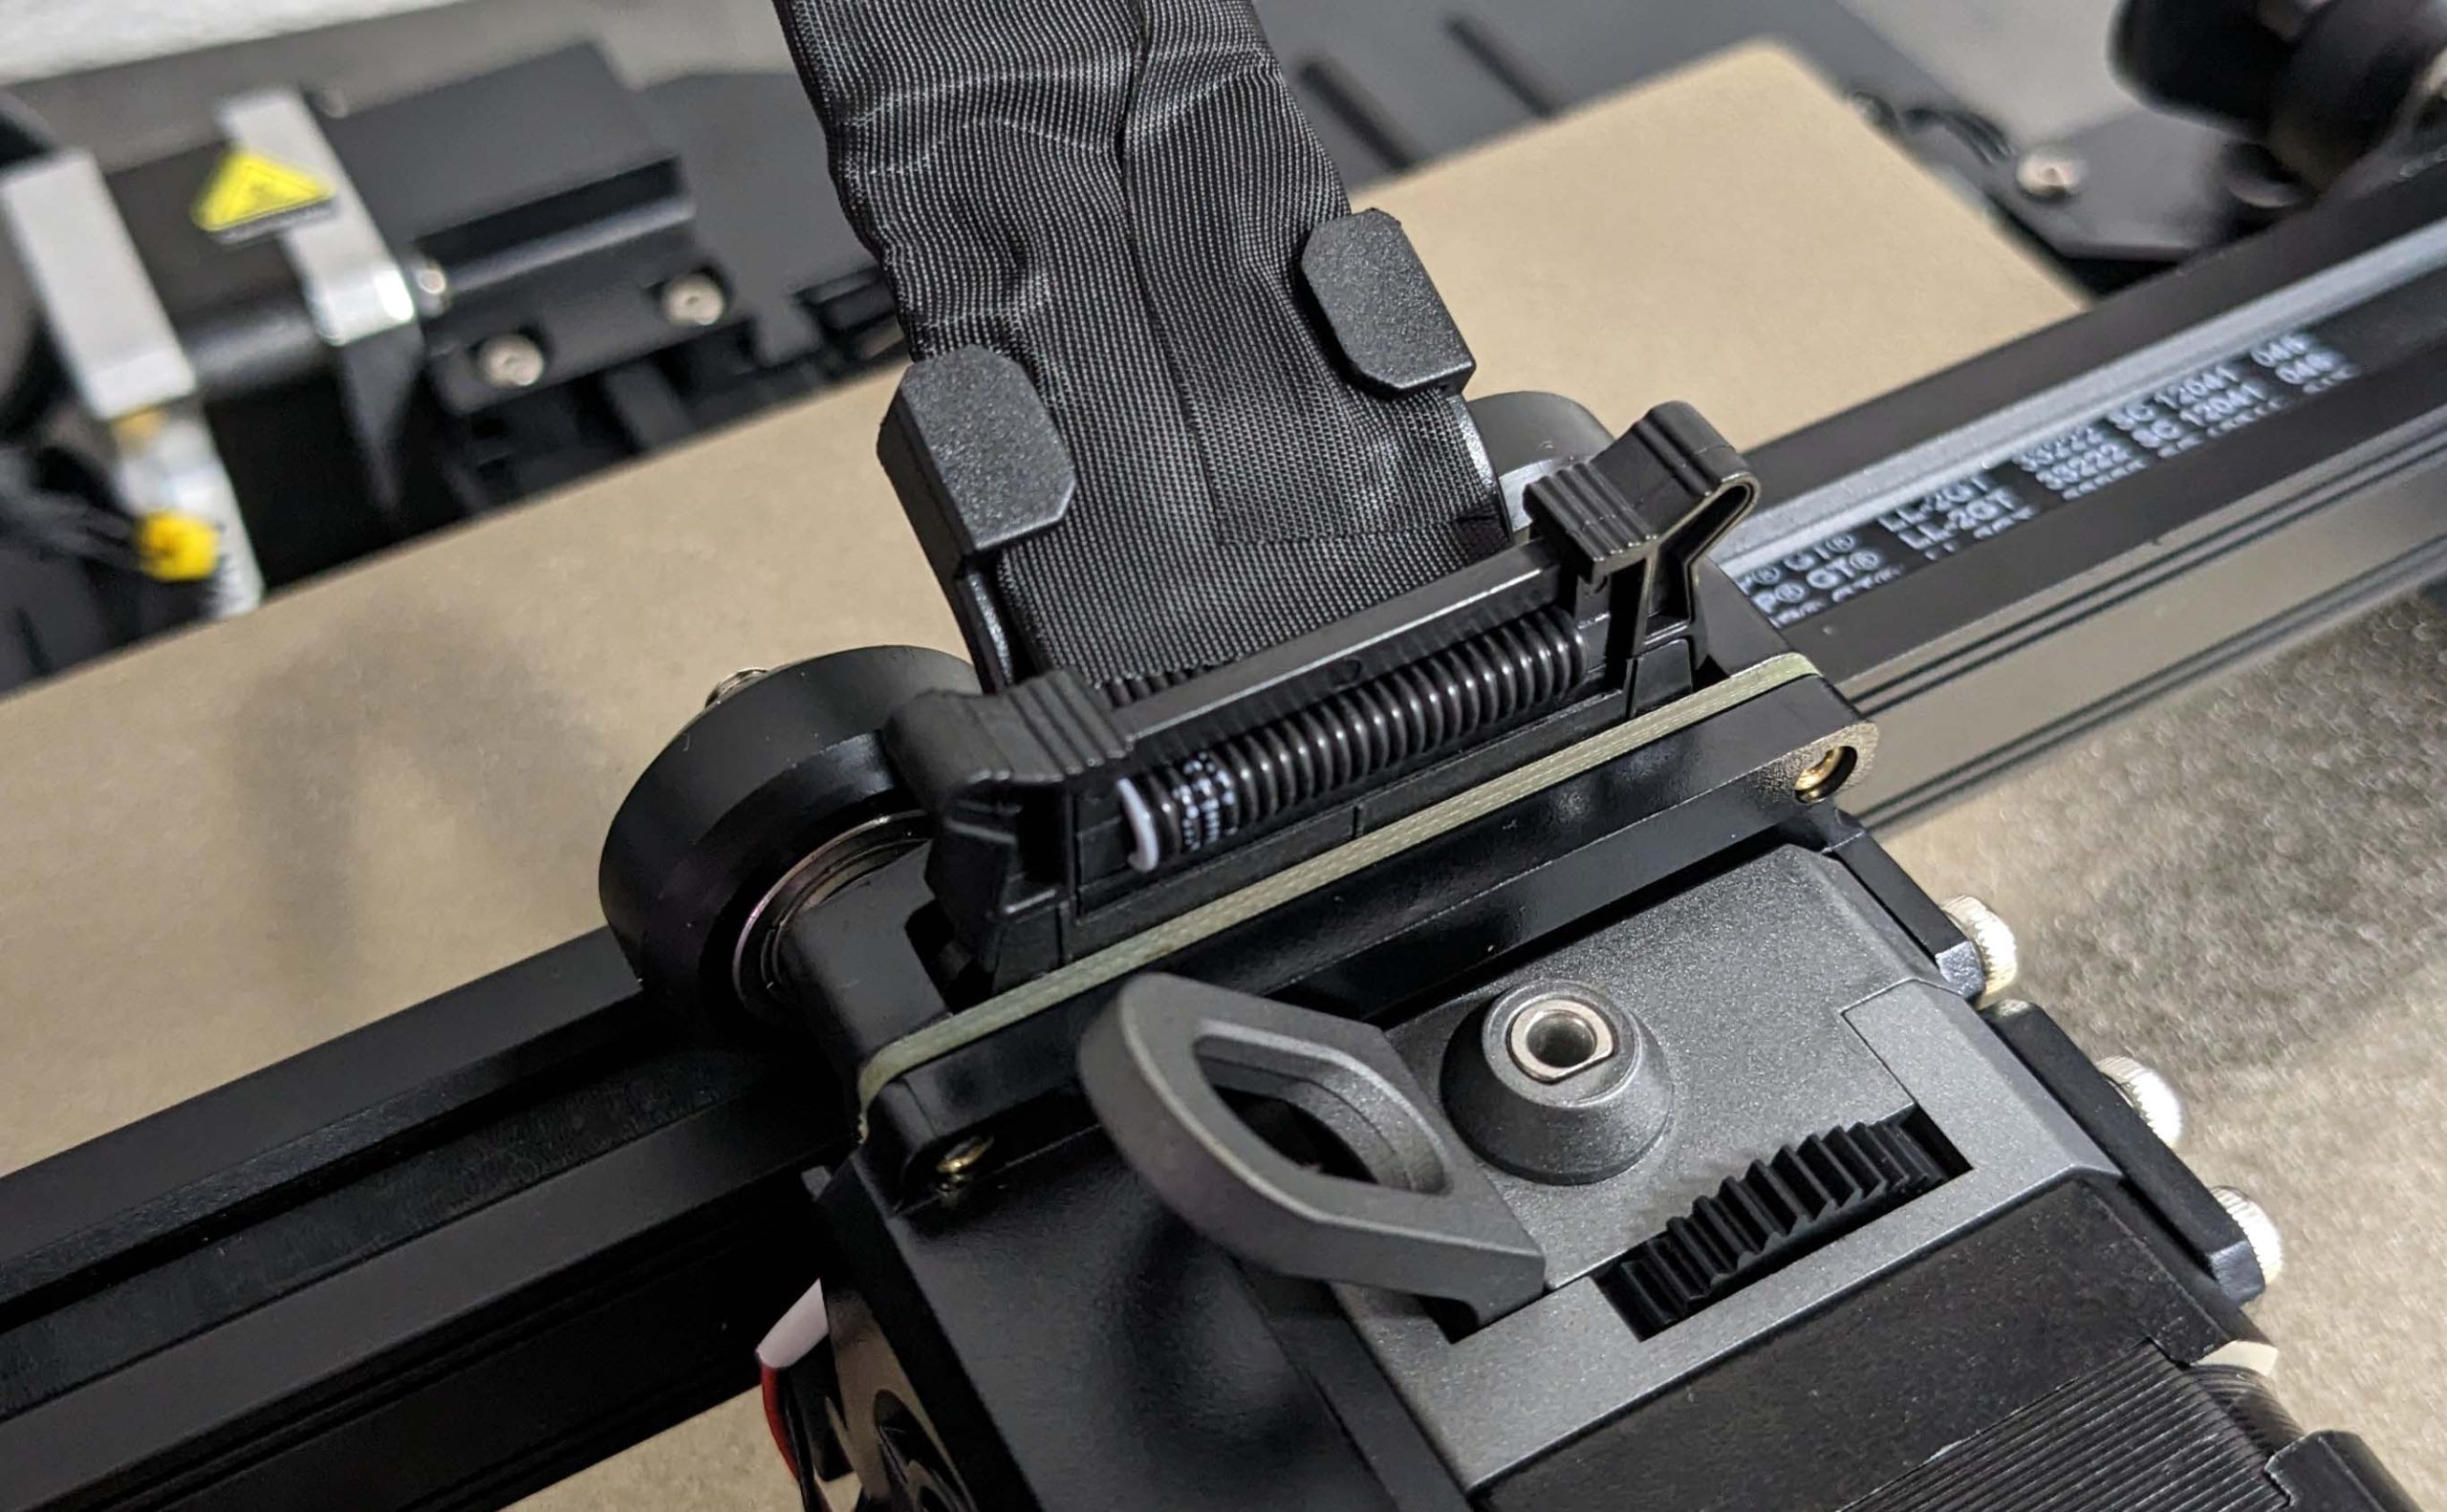
The wide cable is then threaded through the holder on the extruder and connected. Here, make sure that the two retaining clips are fully engaged to ensure a proper fit.
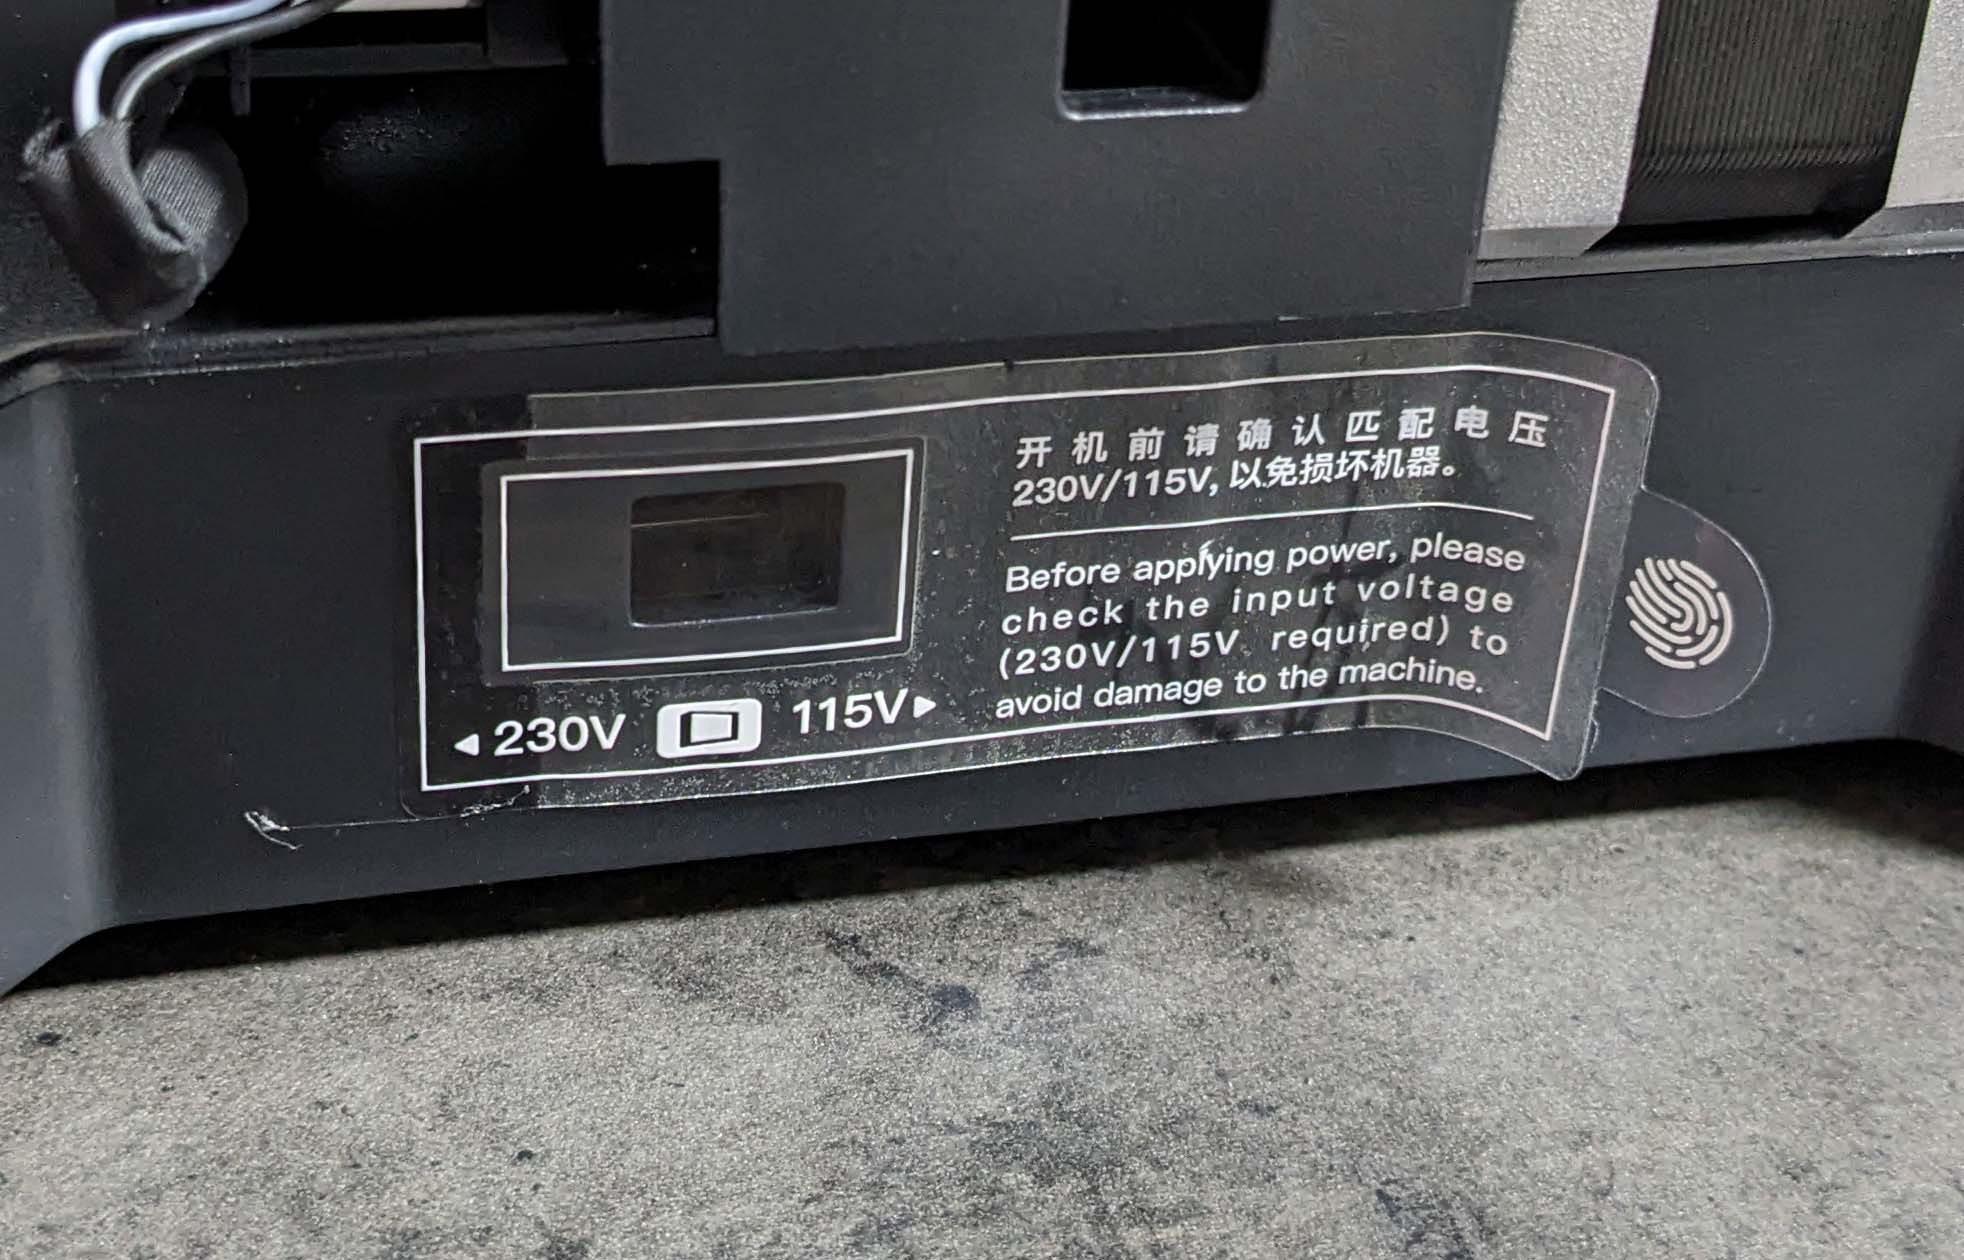
And then to the last, but probably most important step: Adjust the power supply to the correct voltage! To do this, take a screwdriver and move the small switch to the appropriate position. Do not connect the power cable to the printer beforehand!
All in all, the assembly should be doable in less than half an hour without any problems, even for someone without any previous knowledge. Most parts are now pre-assembled and only need to be attached and connected, very convenient.


30 Antworten
Kommentar
Lade neue Kommentare
Urgestein
Moderator
Urgestein
Moderator
Urgestein
Urgestein
Urgestein
Neuling
Moderator
Urgestein
Urgestein
Urgestein
Urgestein
Urgestein
Urgestein
Mitglied
Urgestein
Moderator
Mitglied
Alle Kommentare lesen unter igor´sLAB Community →