


Processing and mobility
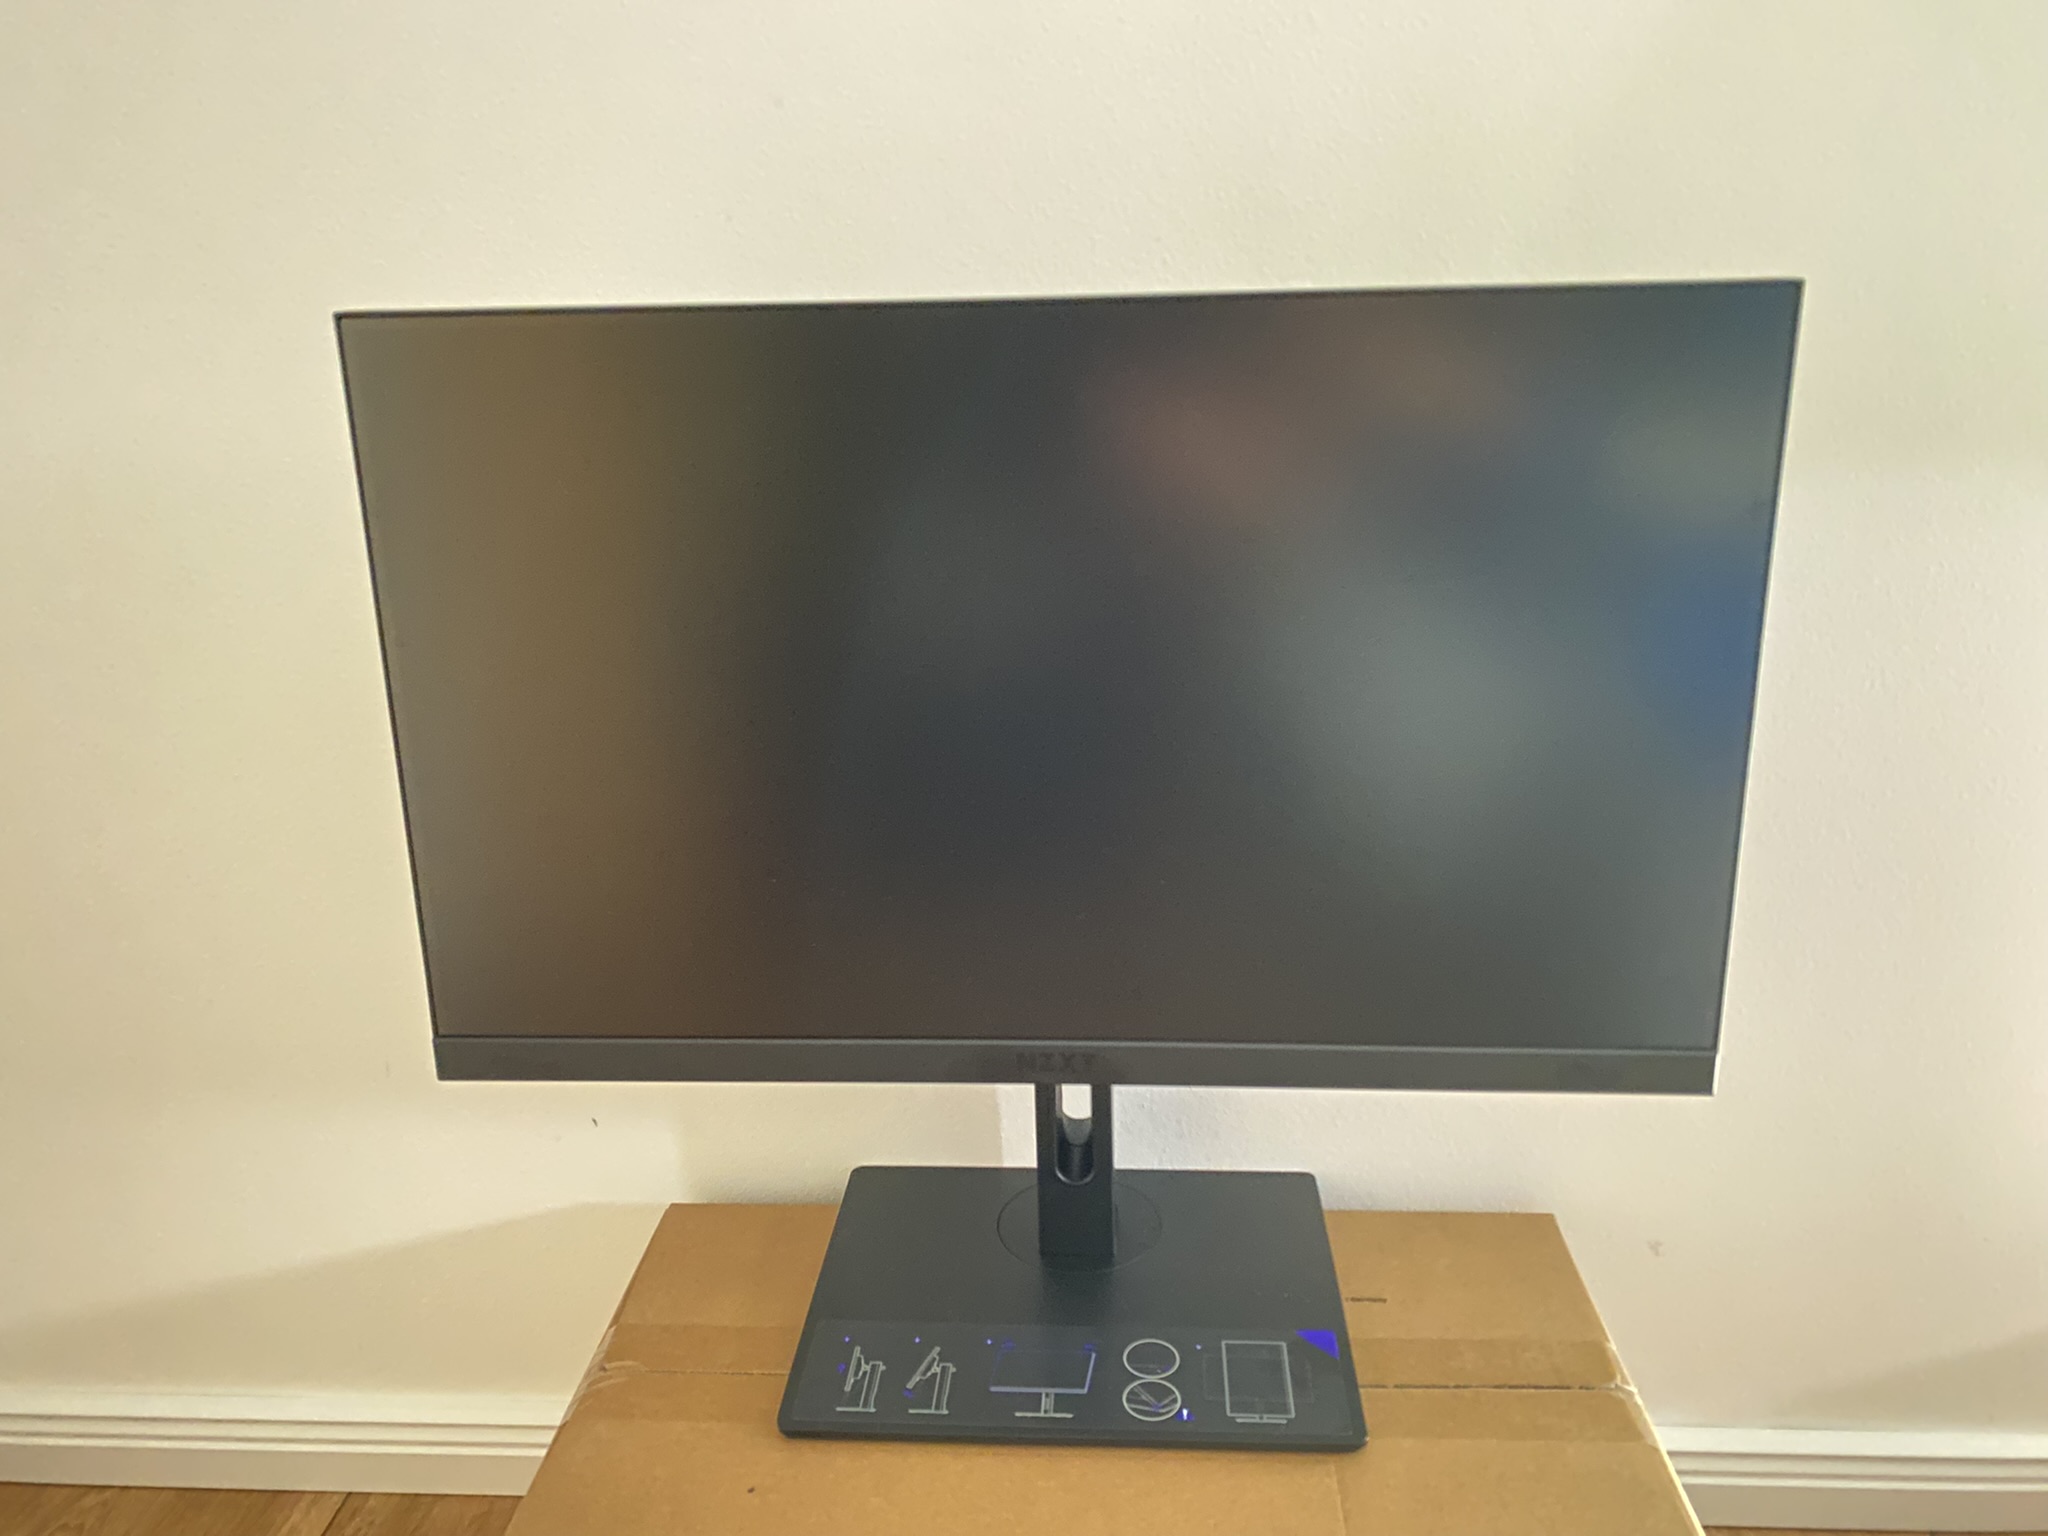
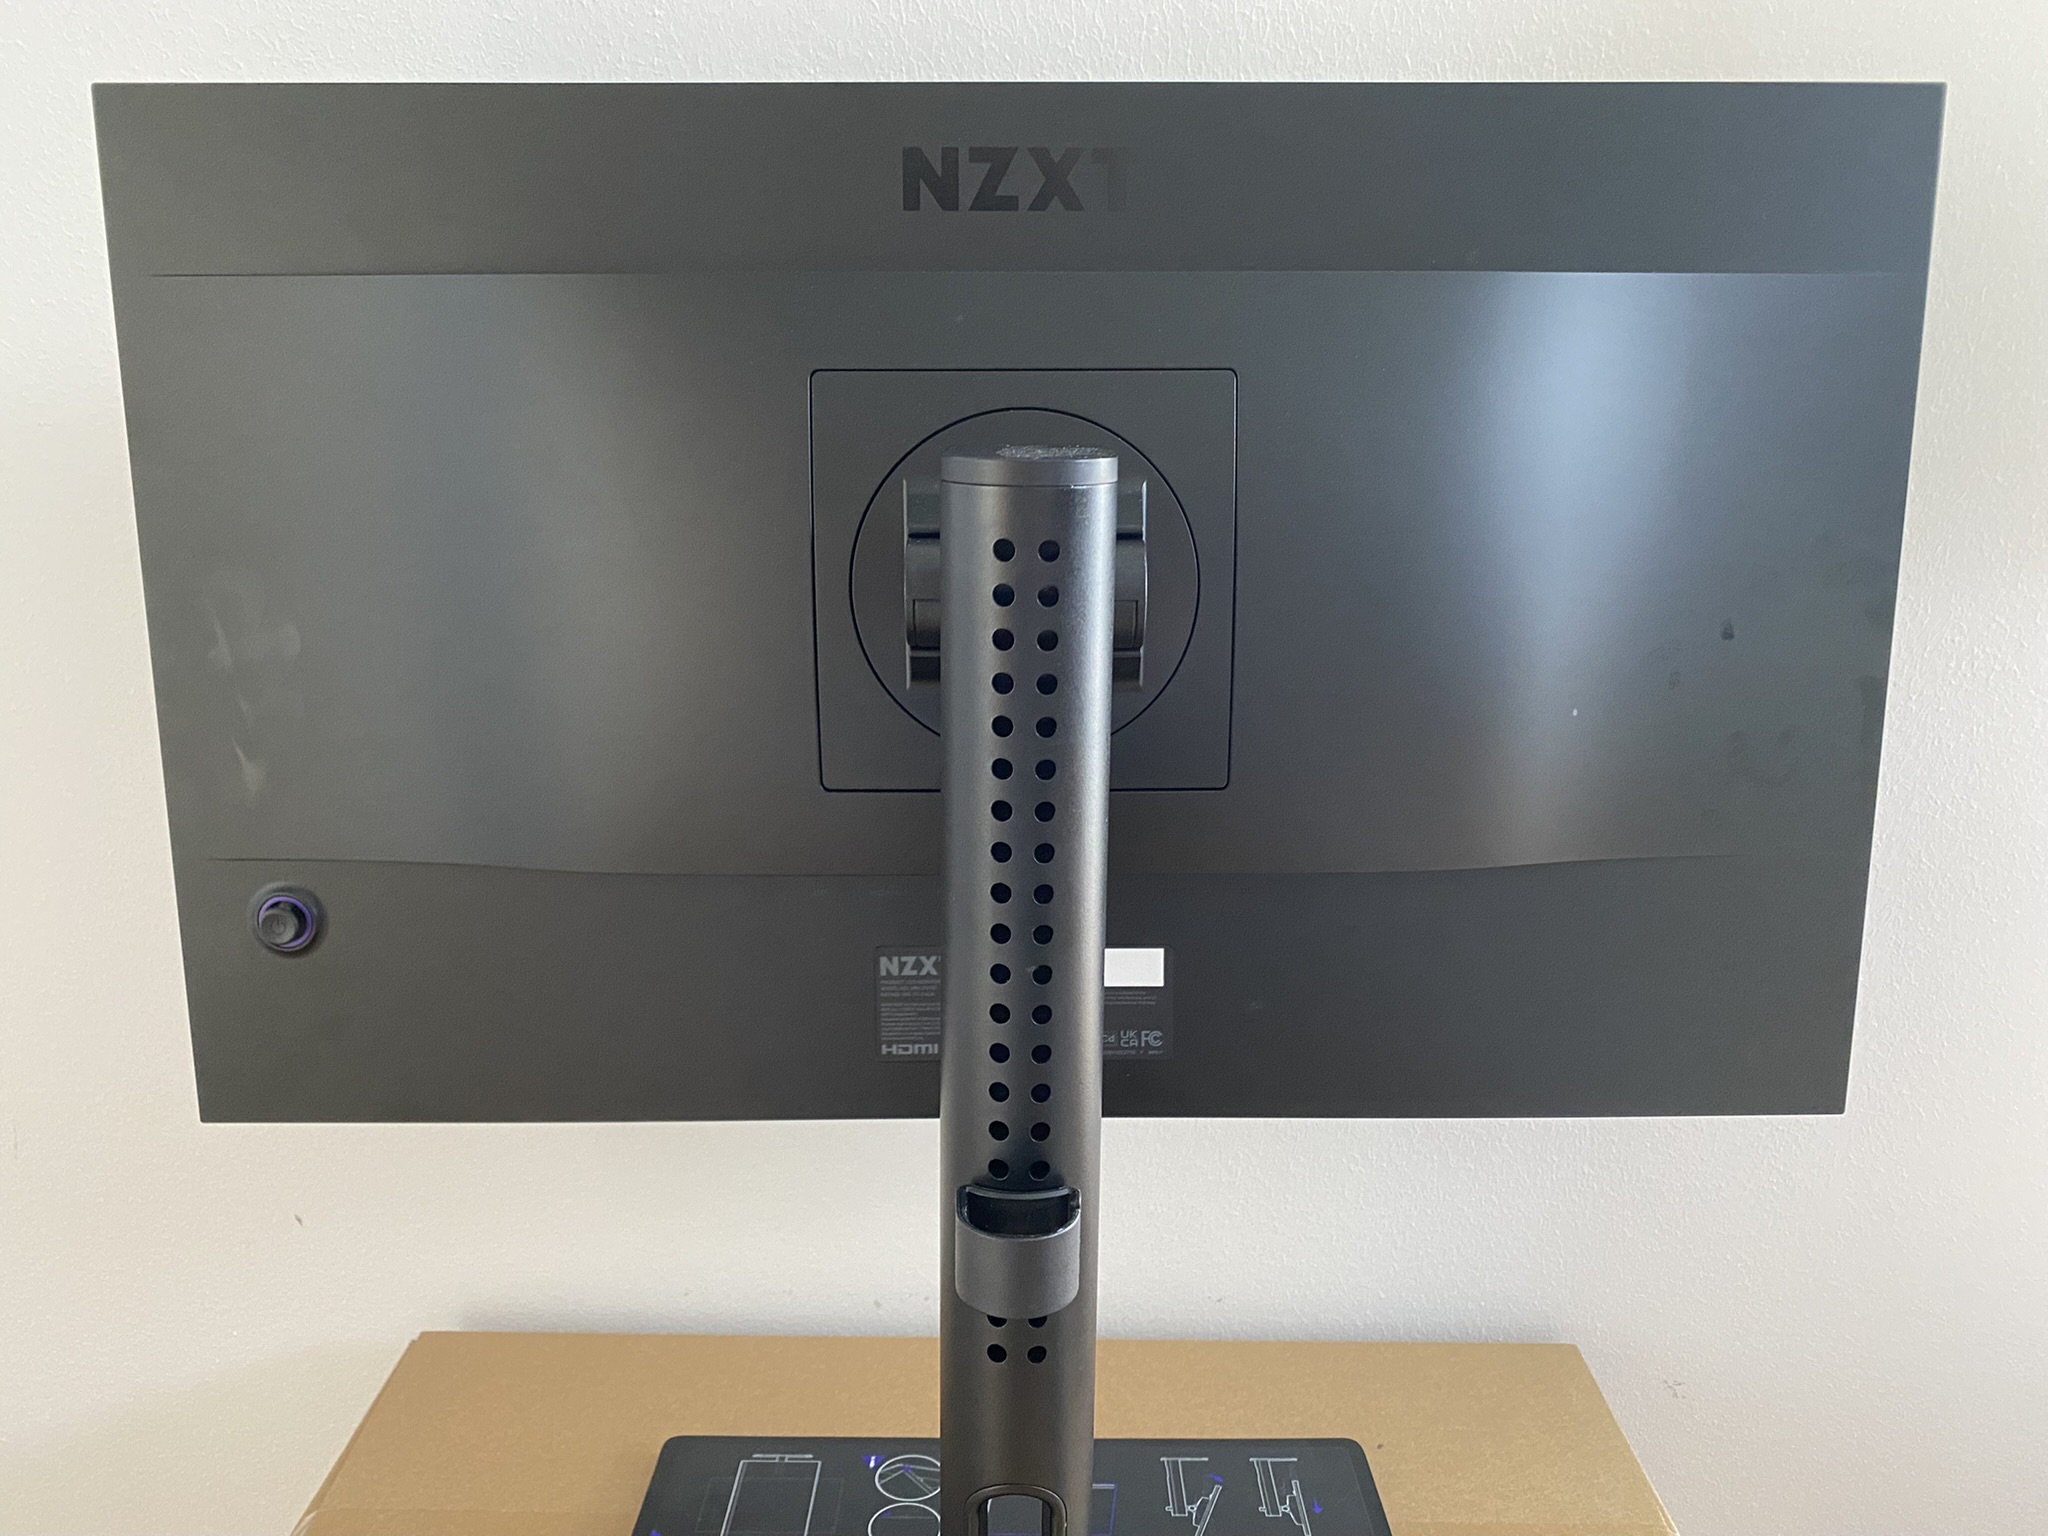
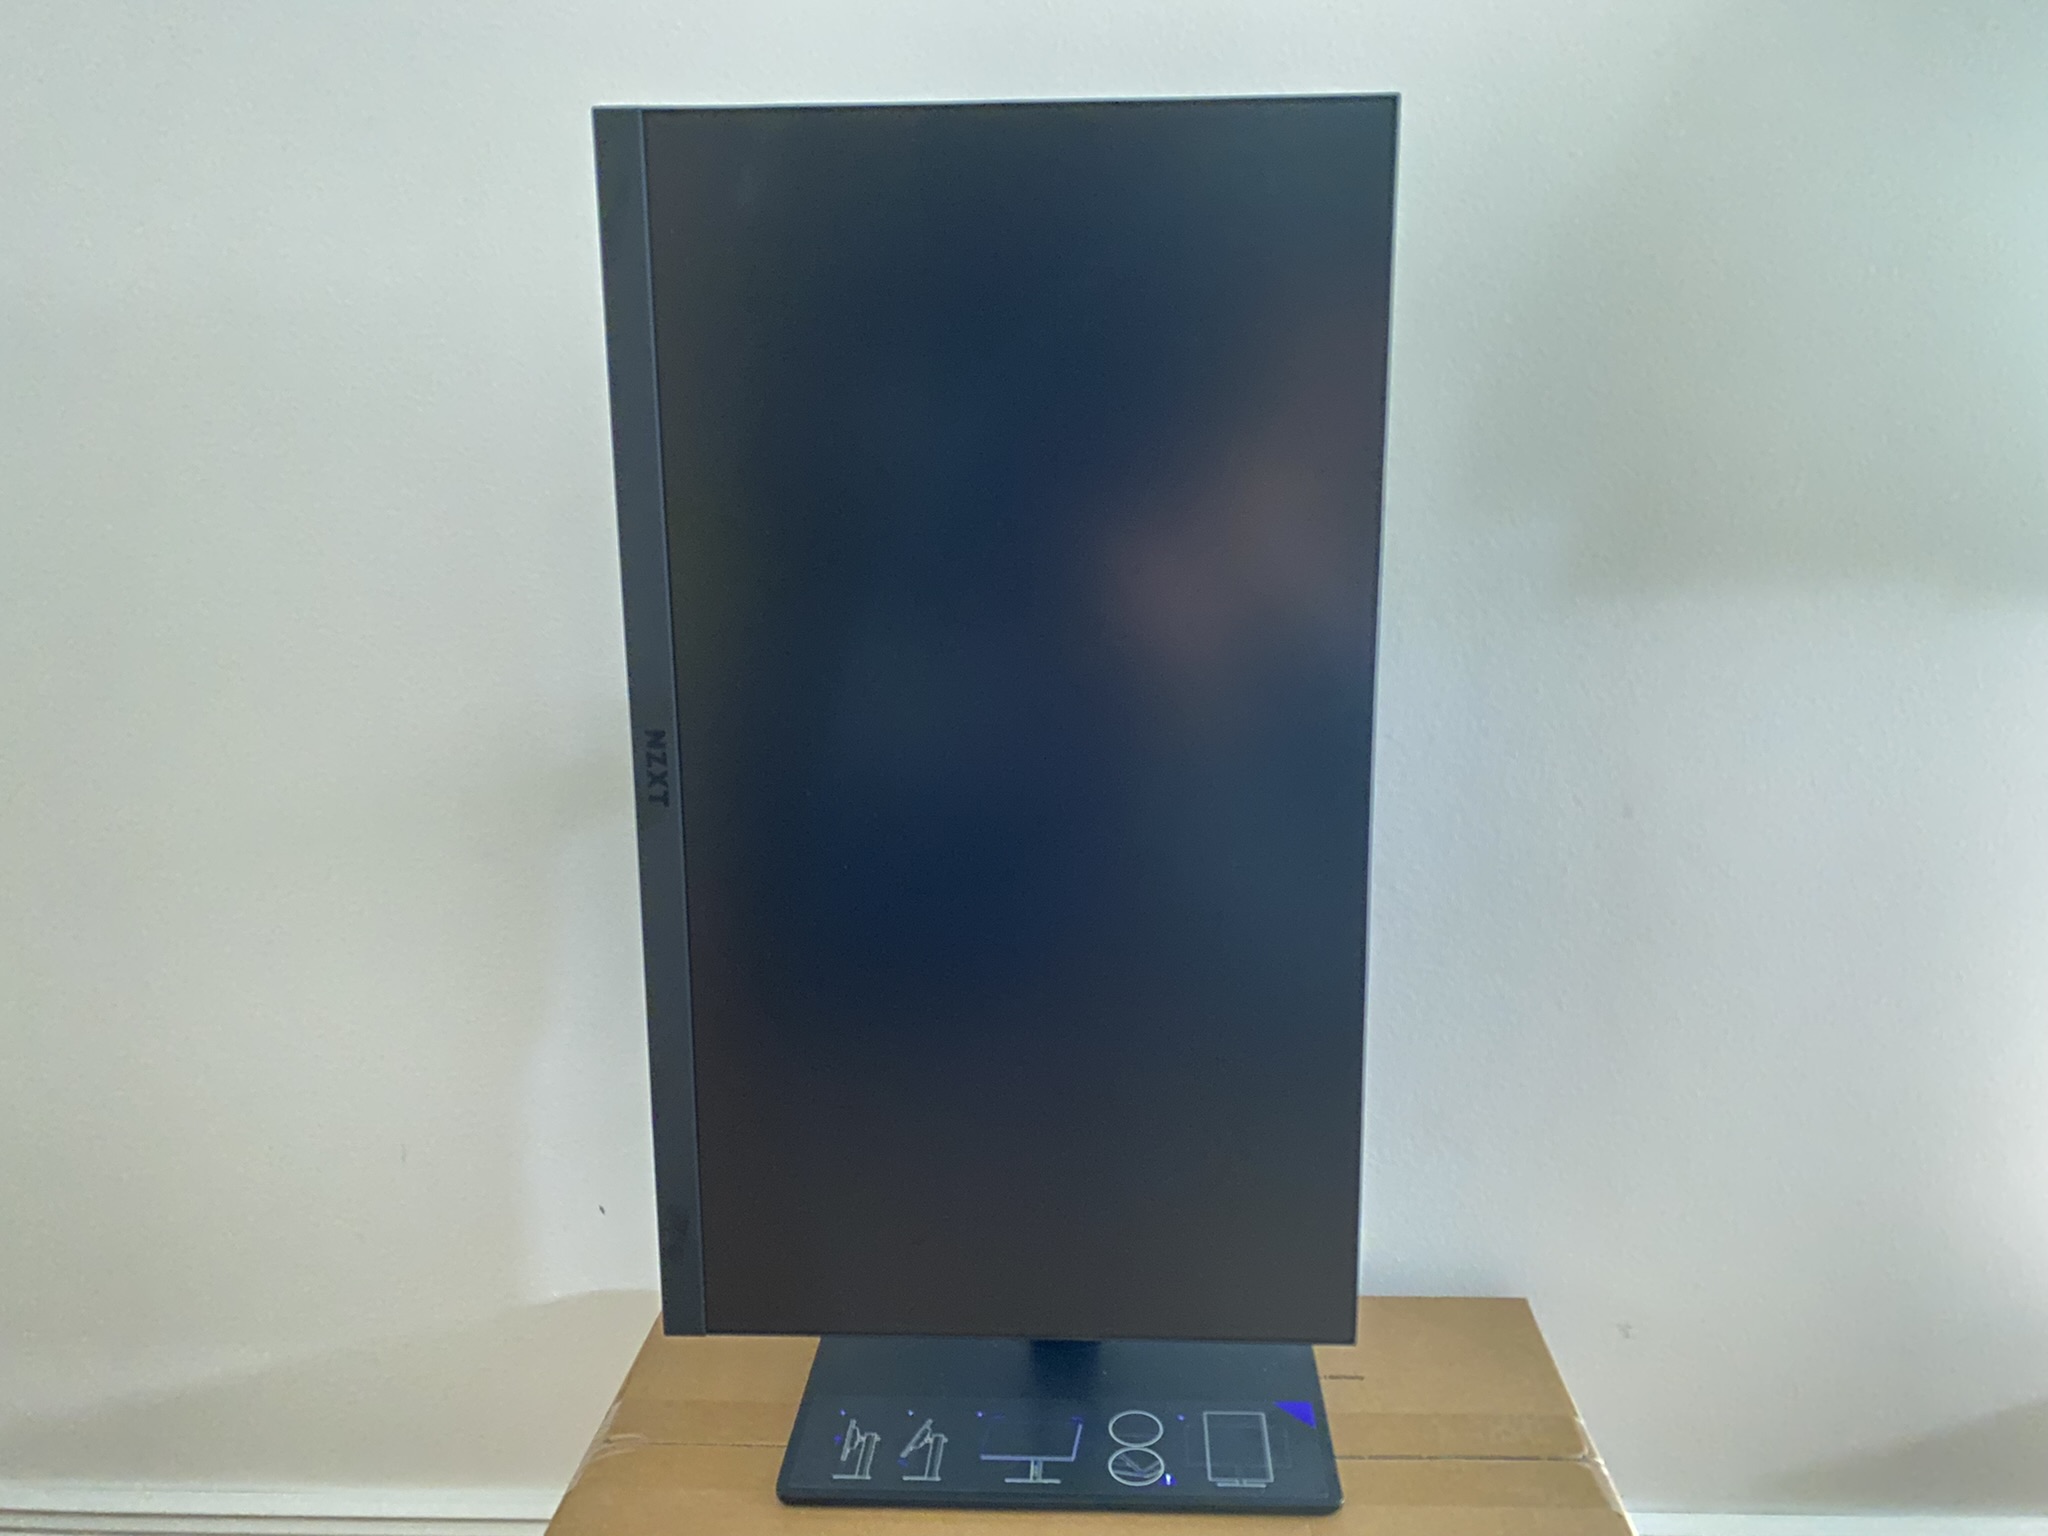
The NZXT monitor has a simple design, without RGB and other frills. The frame is only a bit thicker at the lower edge, so the NZXT logo could still be applied. Regarding cable management, you can use the slotted hole in the stand as well as the flexibly attachable cable clamp. There is nothing to complain about in terms of workmanship. Although the monitor is mostly made of plastic, it does not look cheap and the stand is made of metal (not steel, since it is not magnetic). Thus, the monitor is really fixed and nothing wobbles – even if you thunder against it.


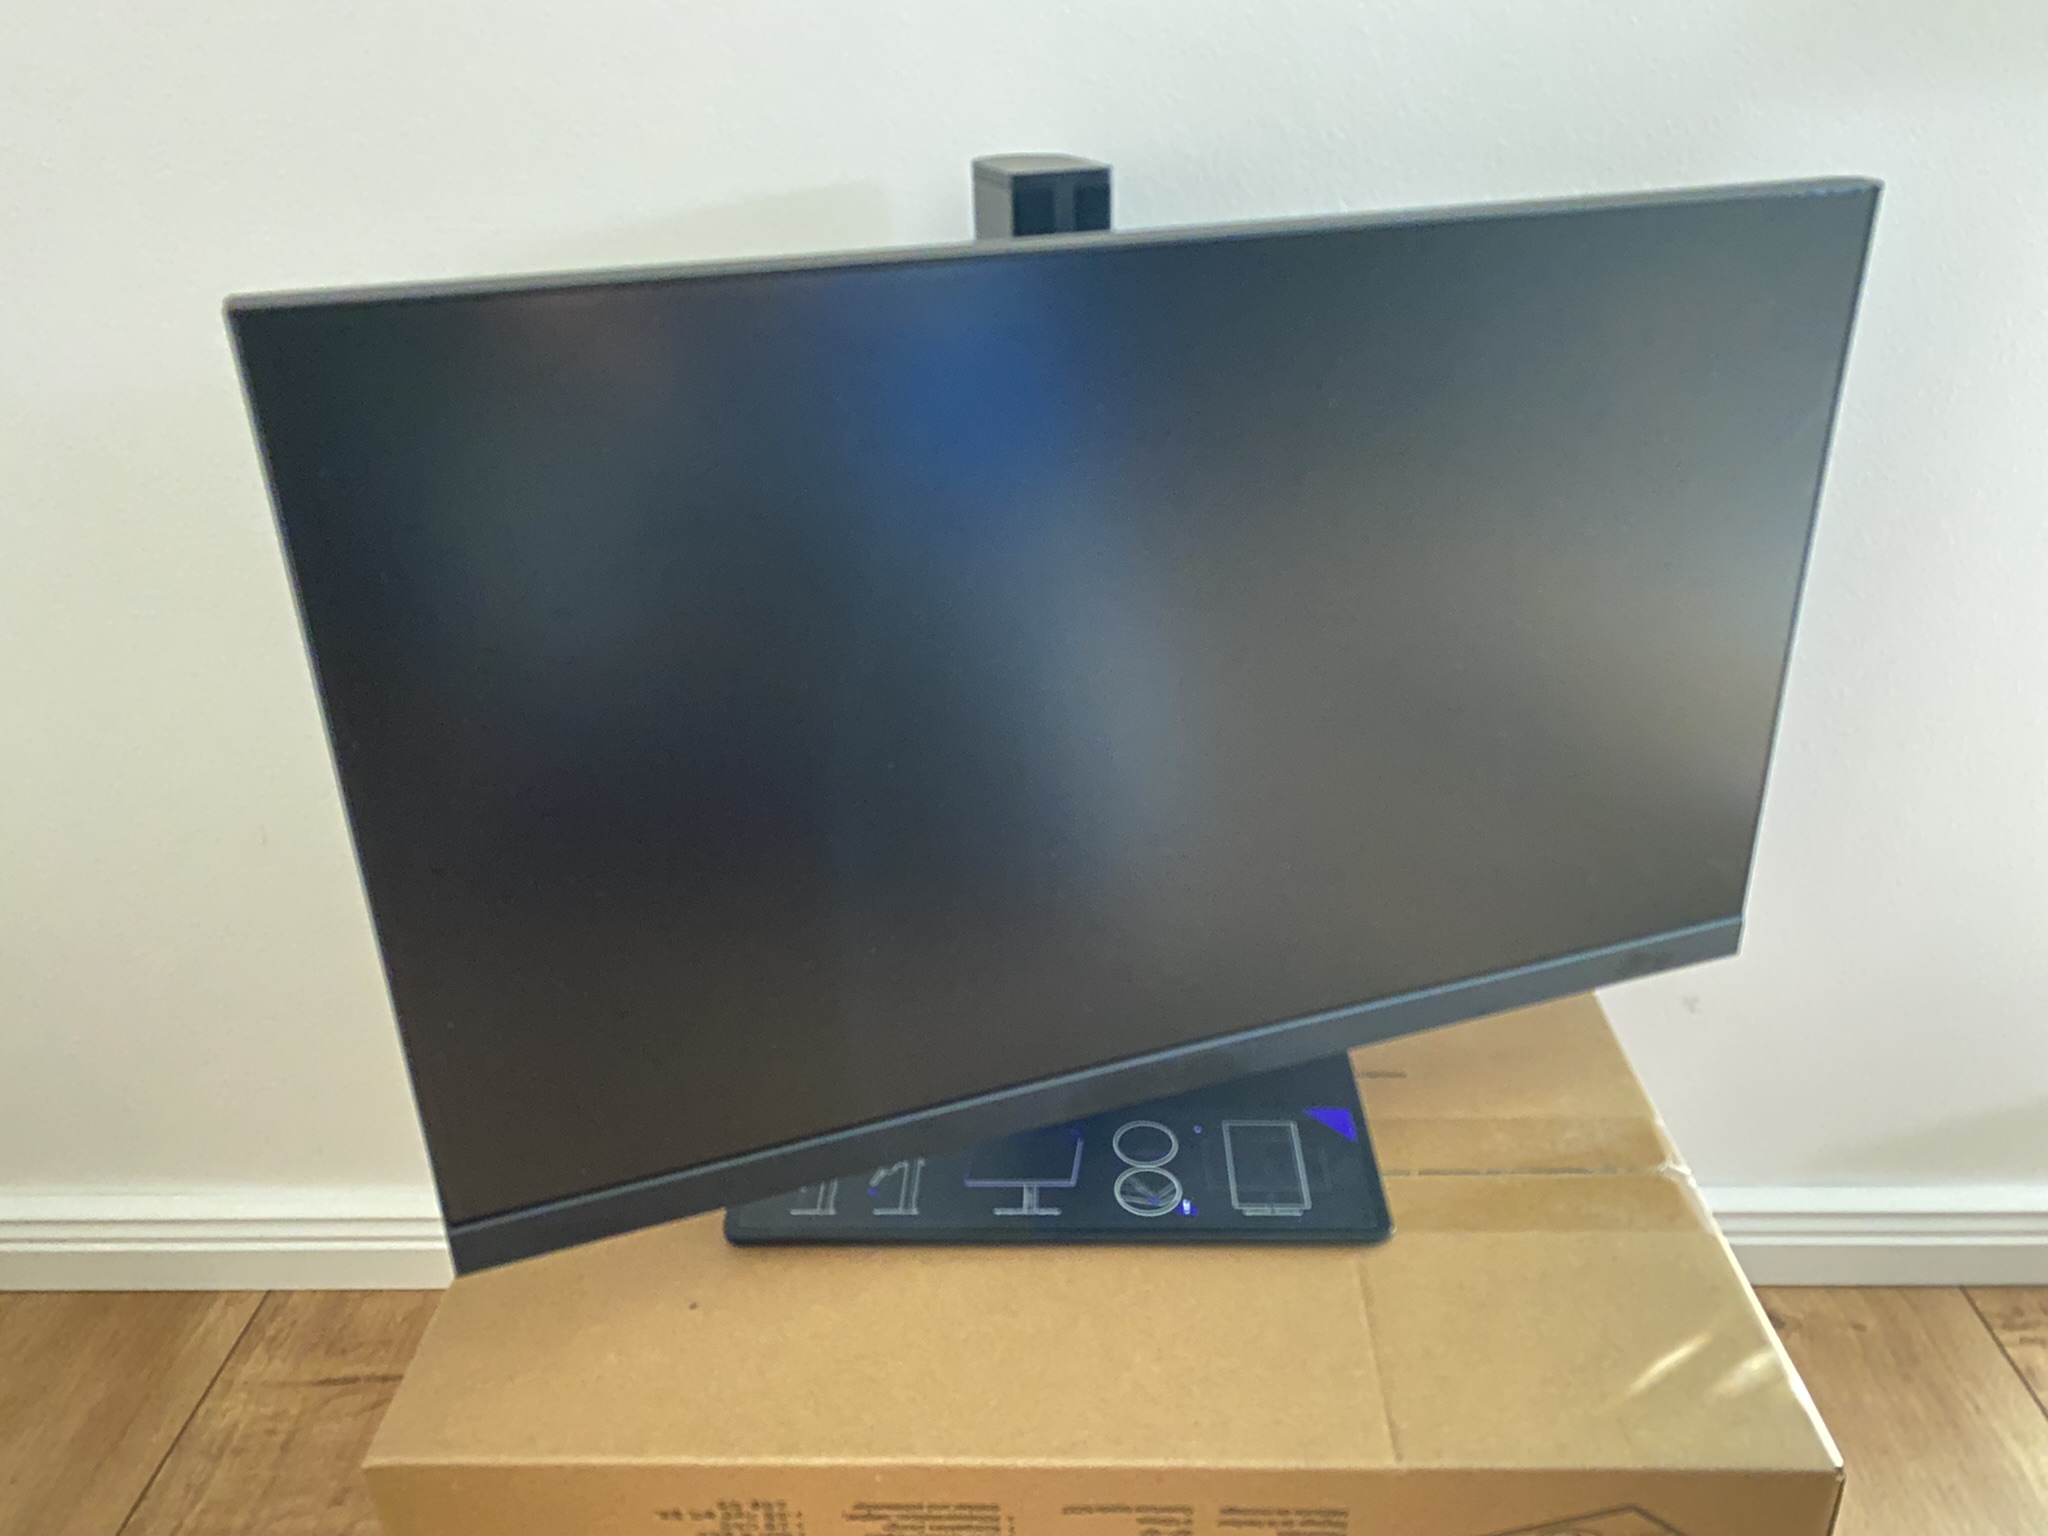
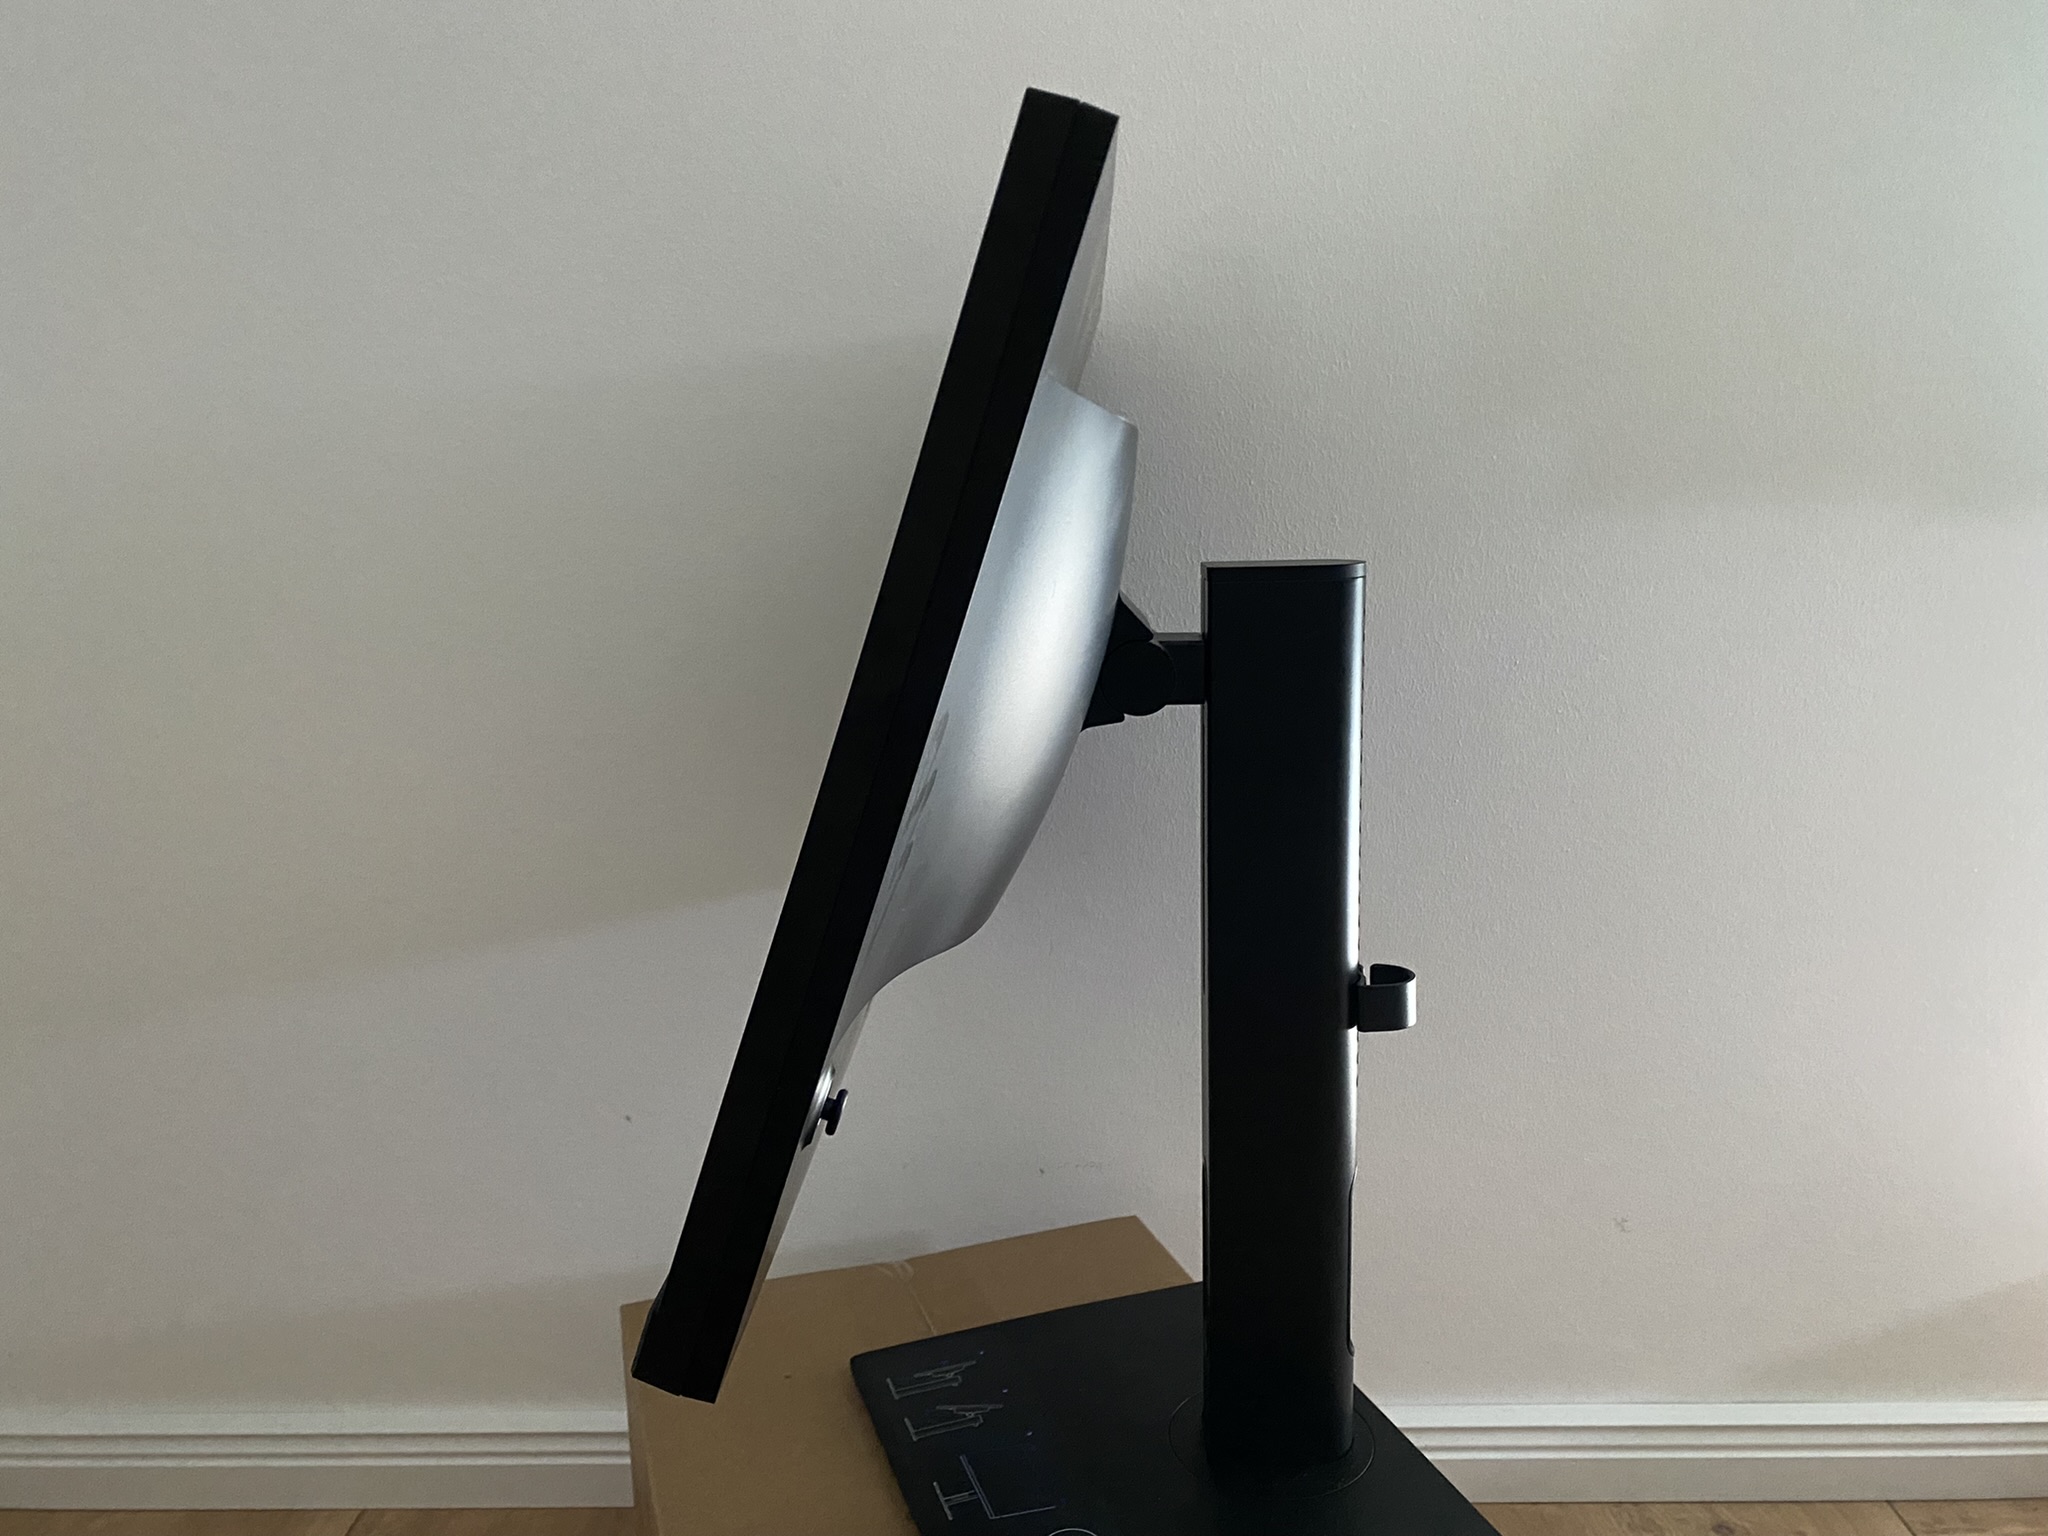
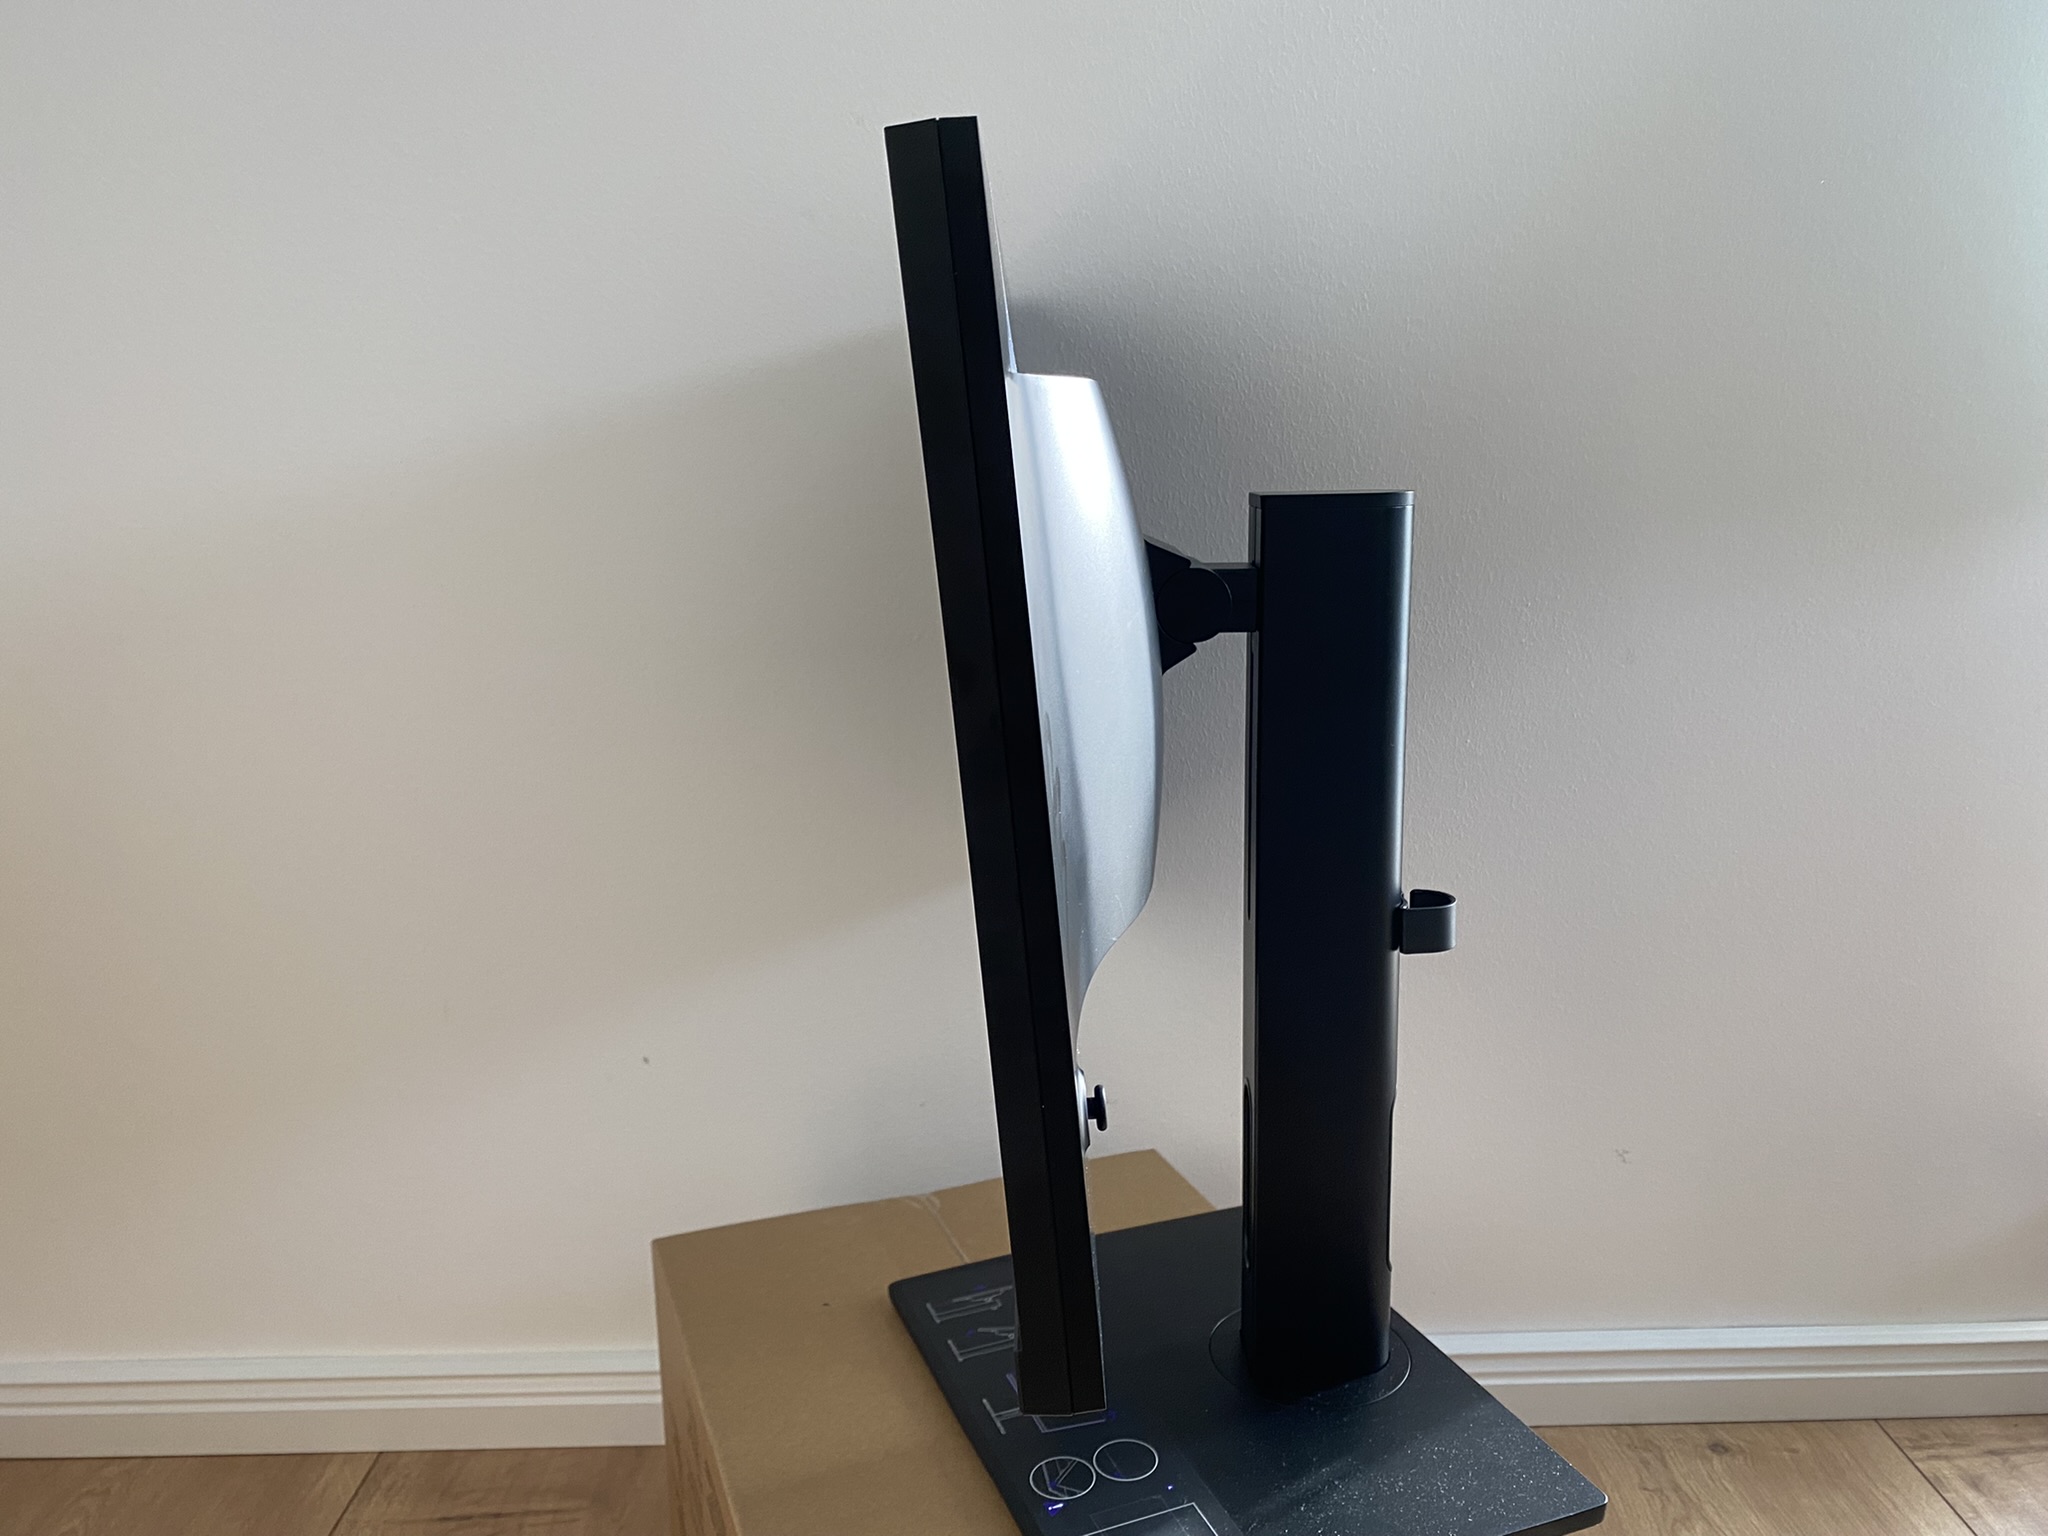
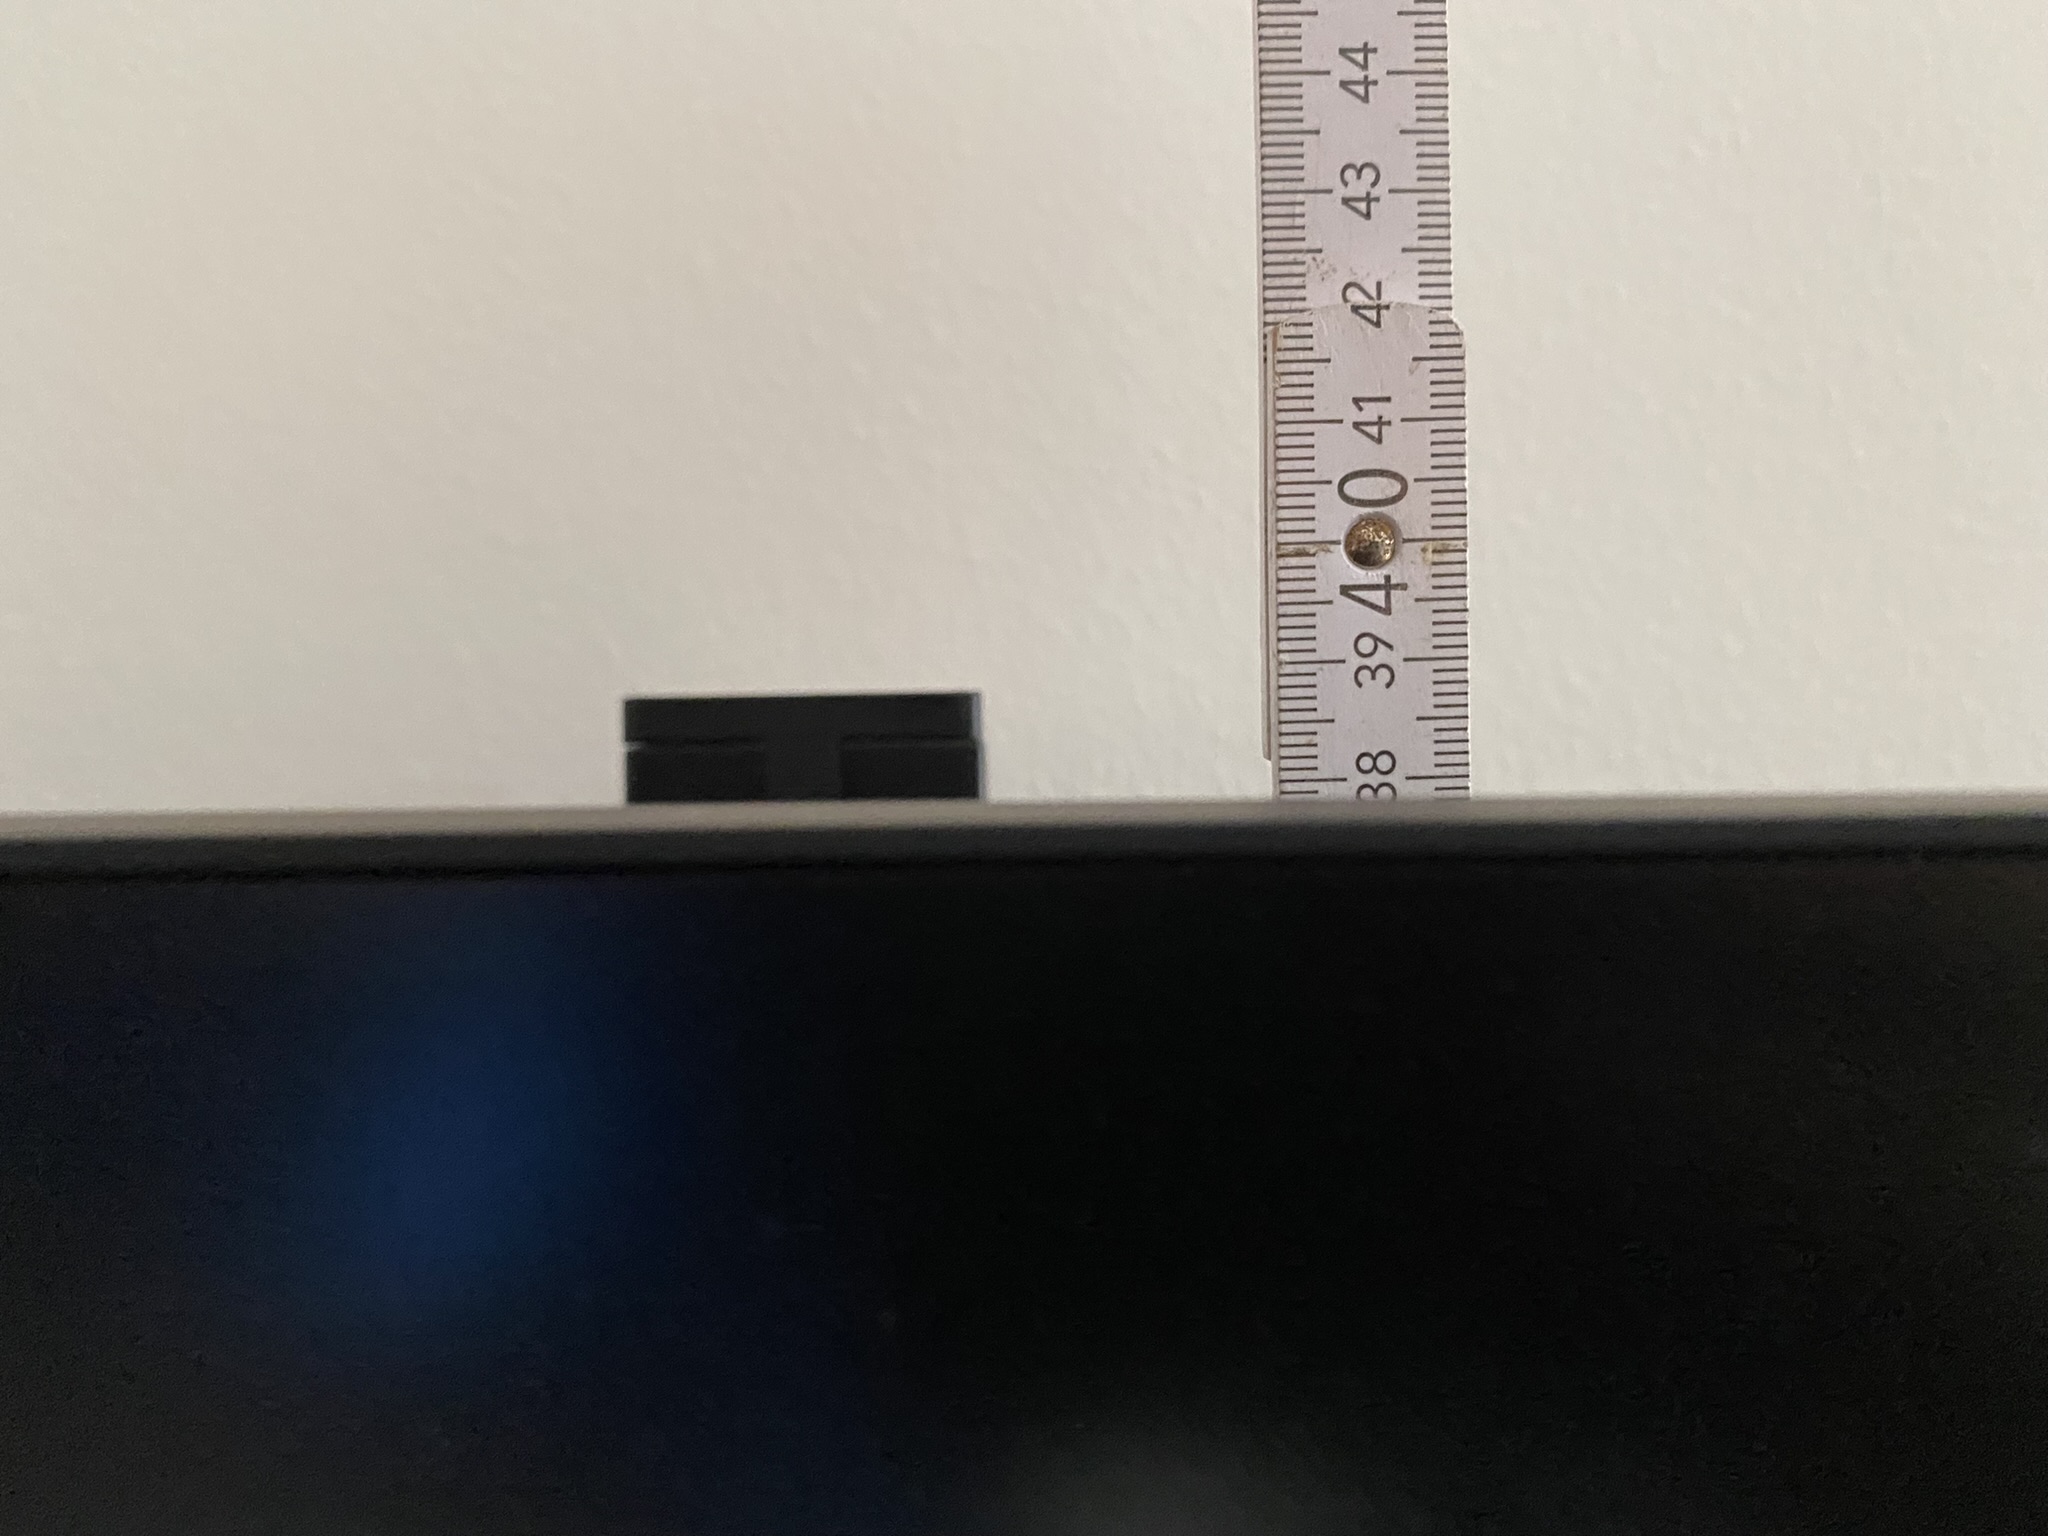
For those readers who may need to consider a pitched roof:
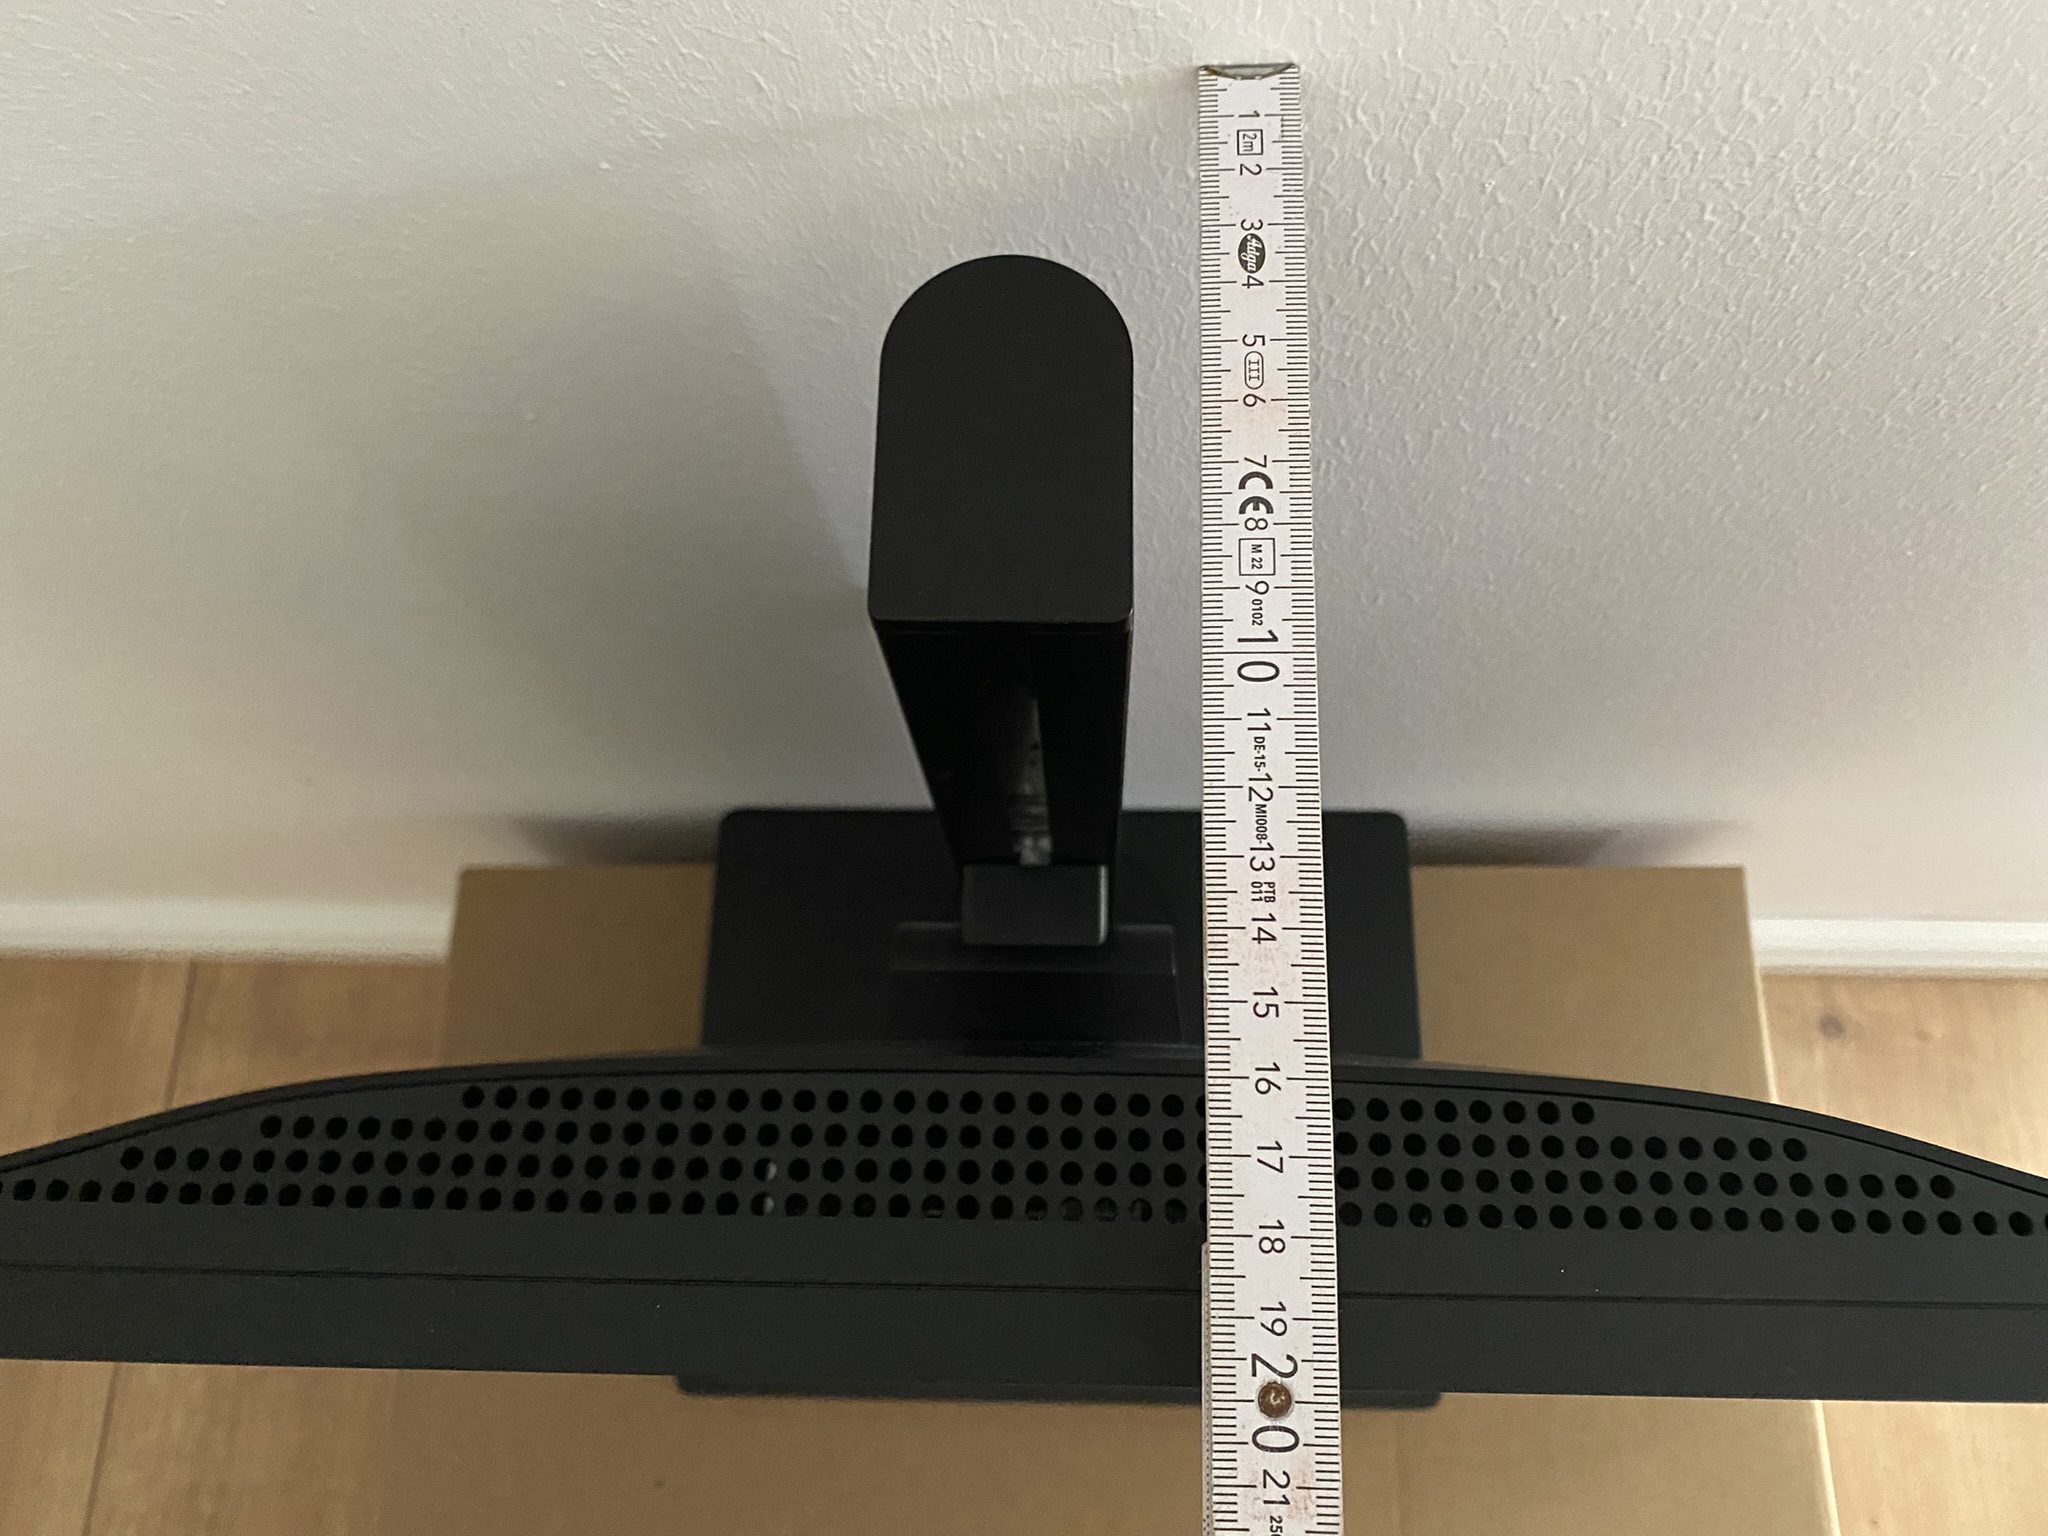
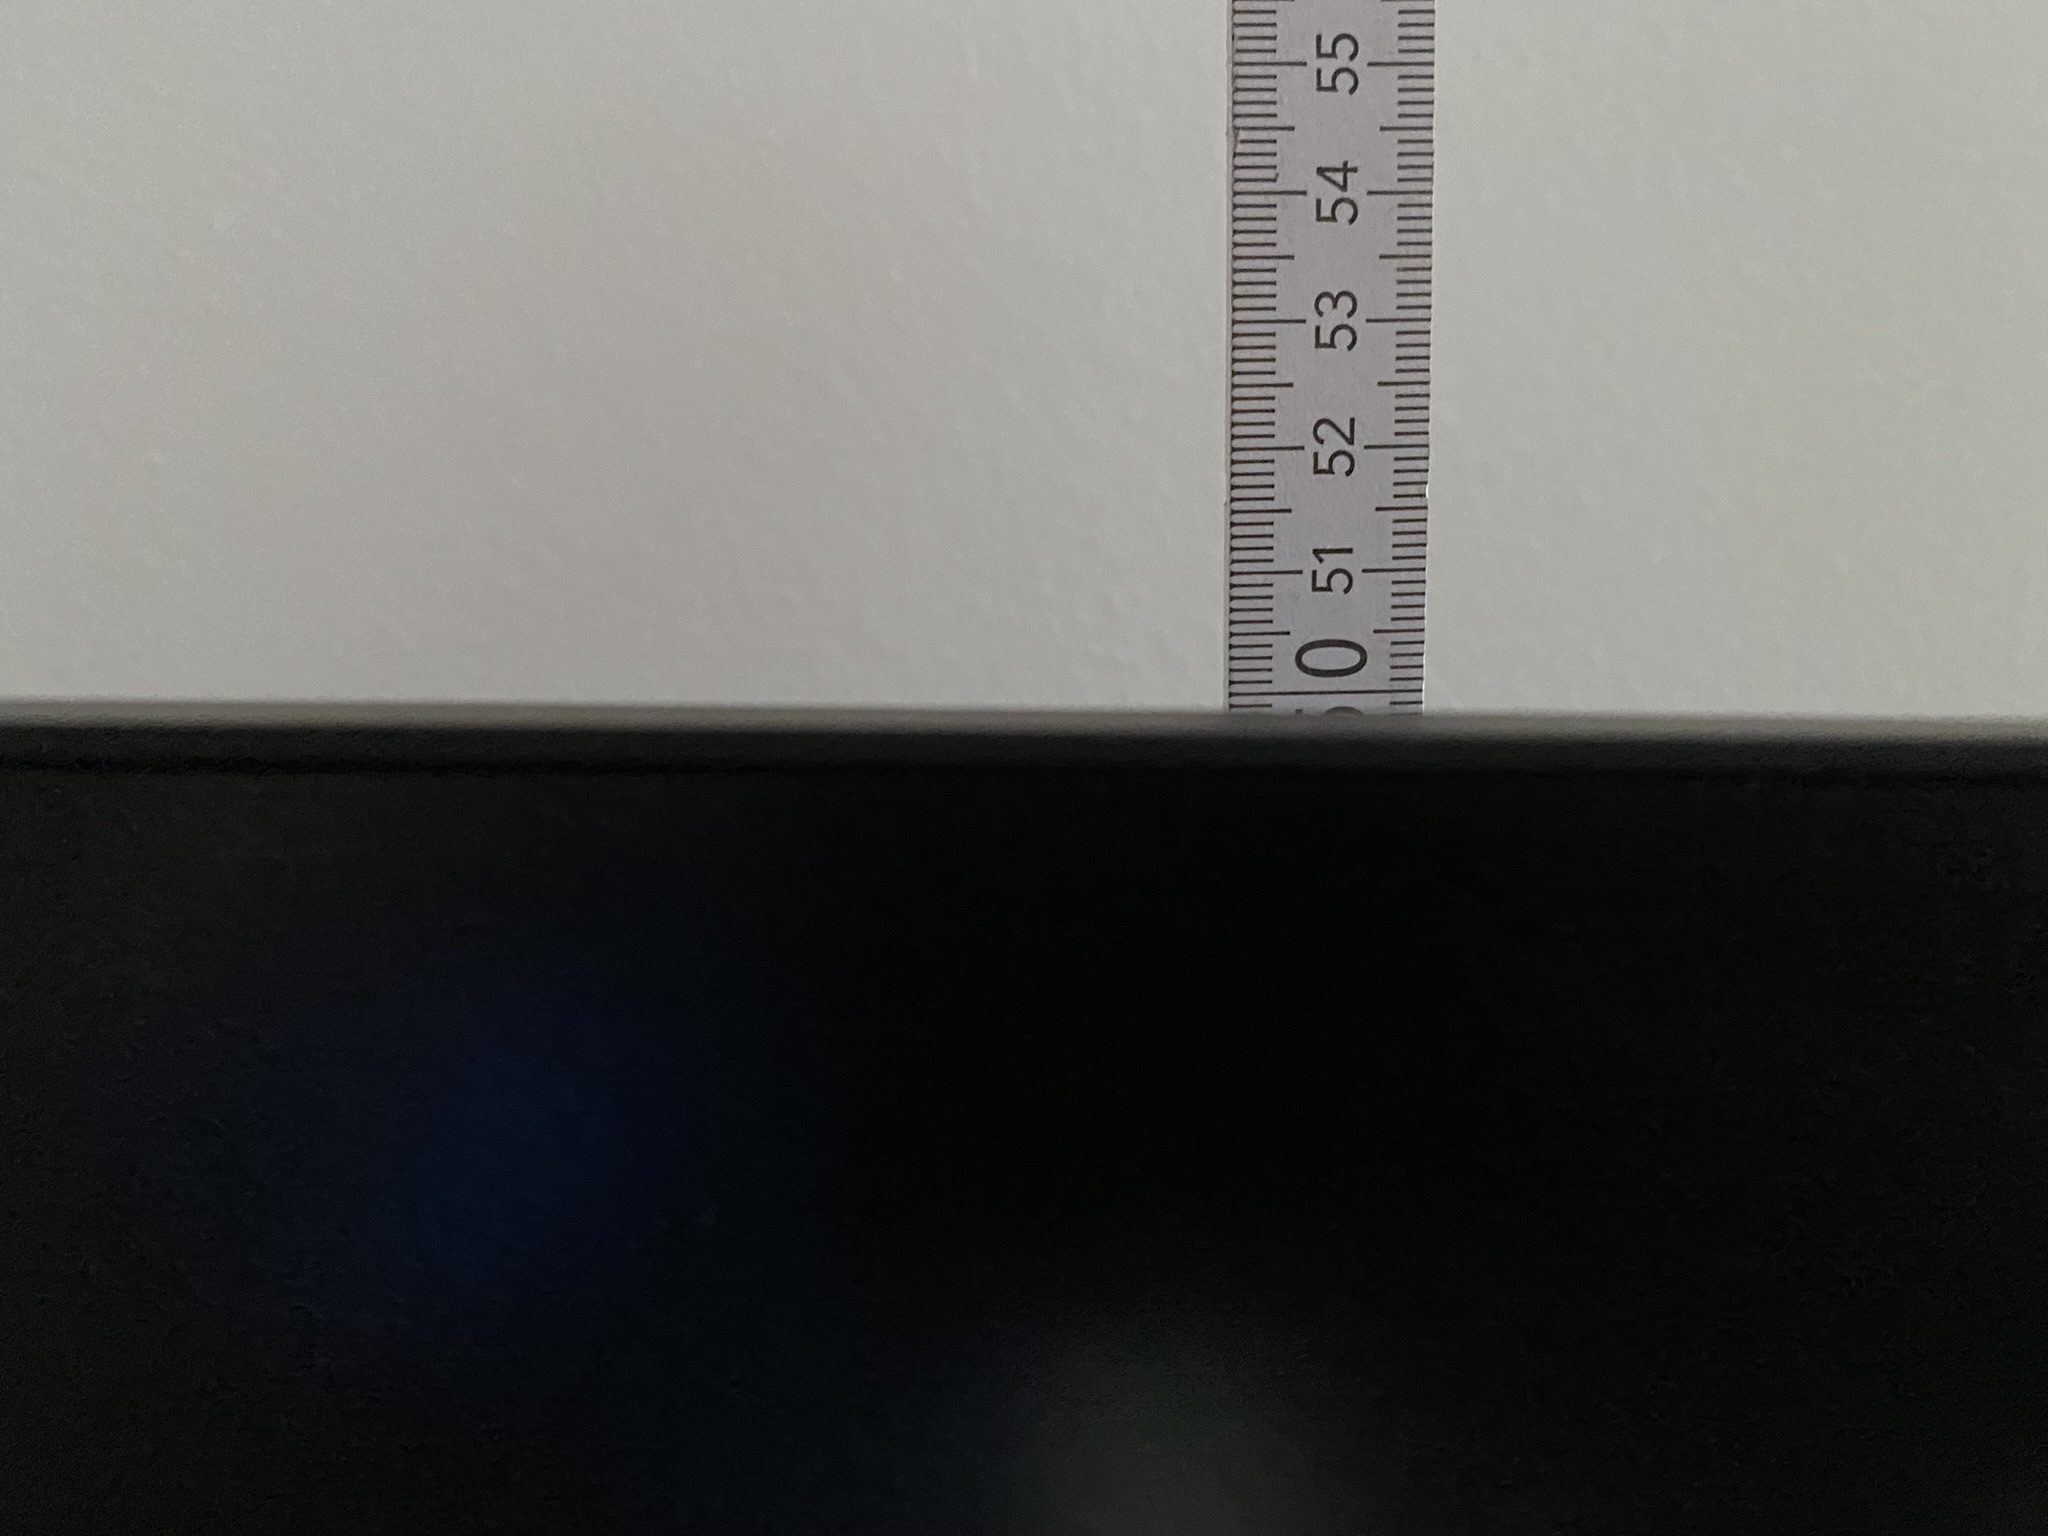
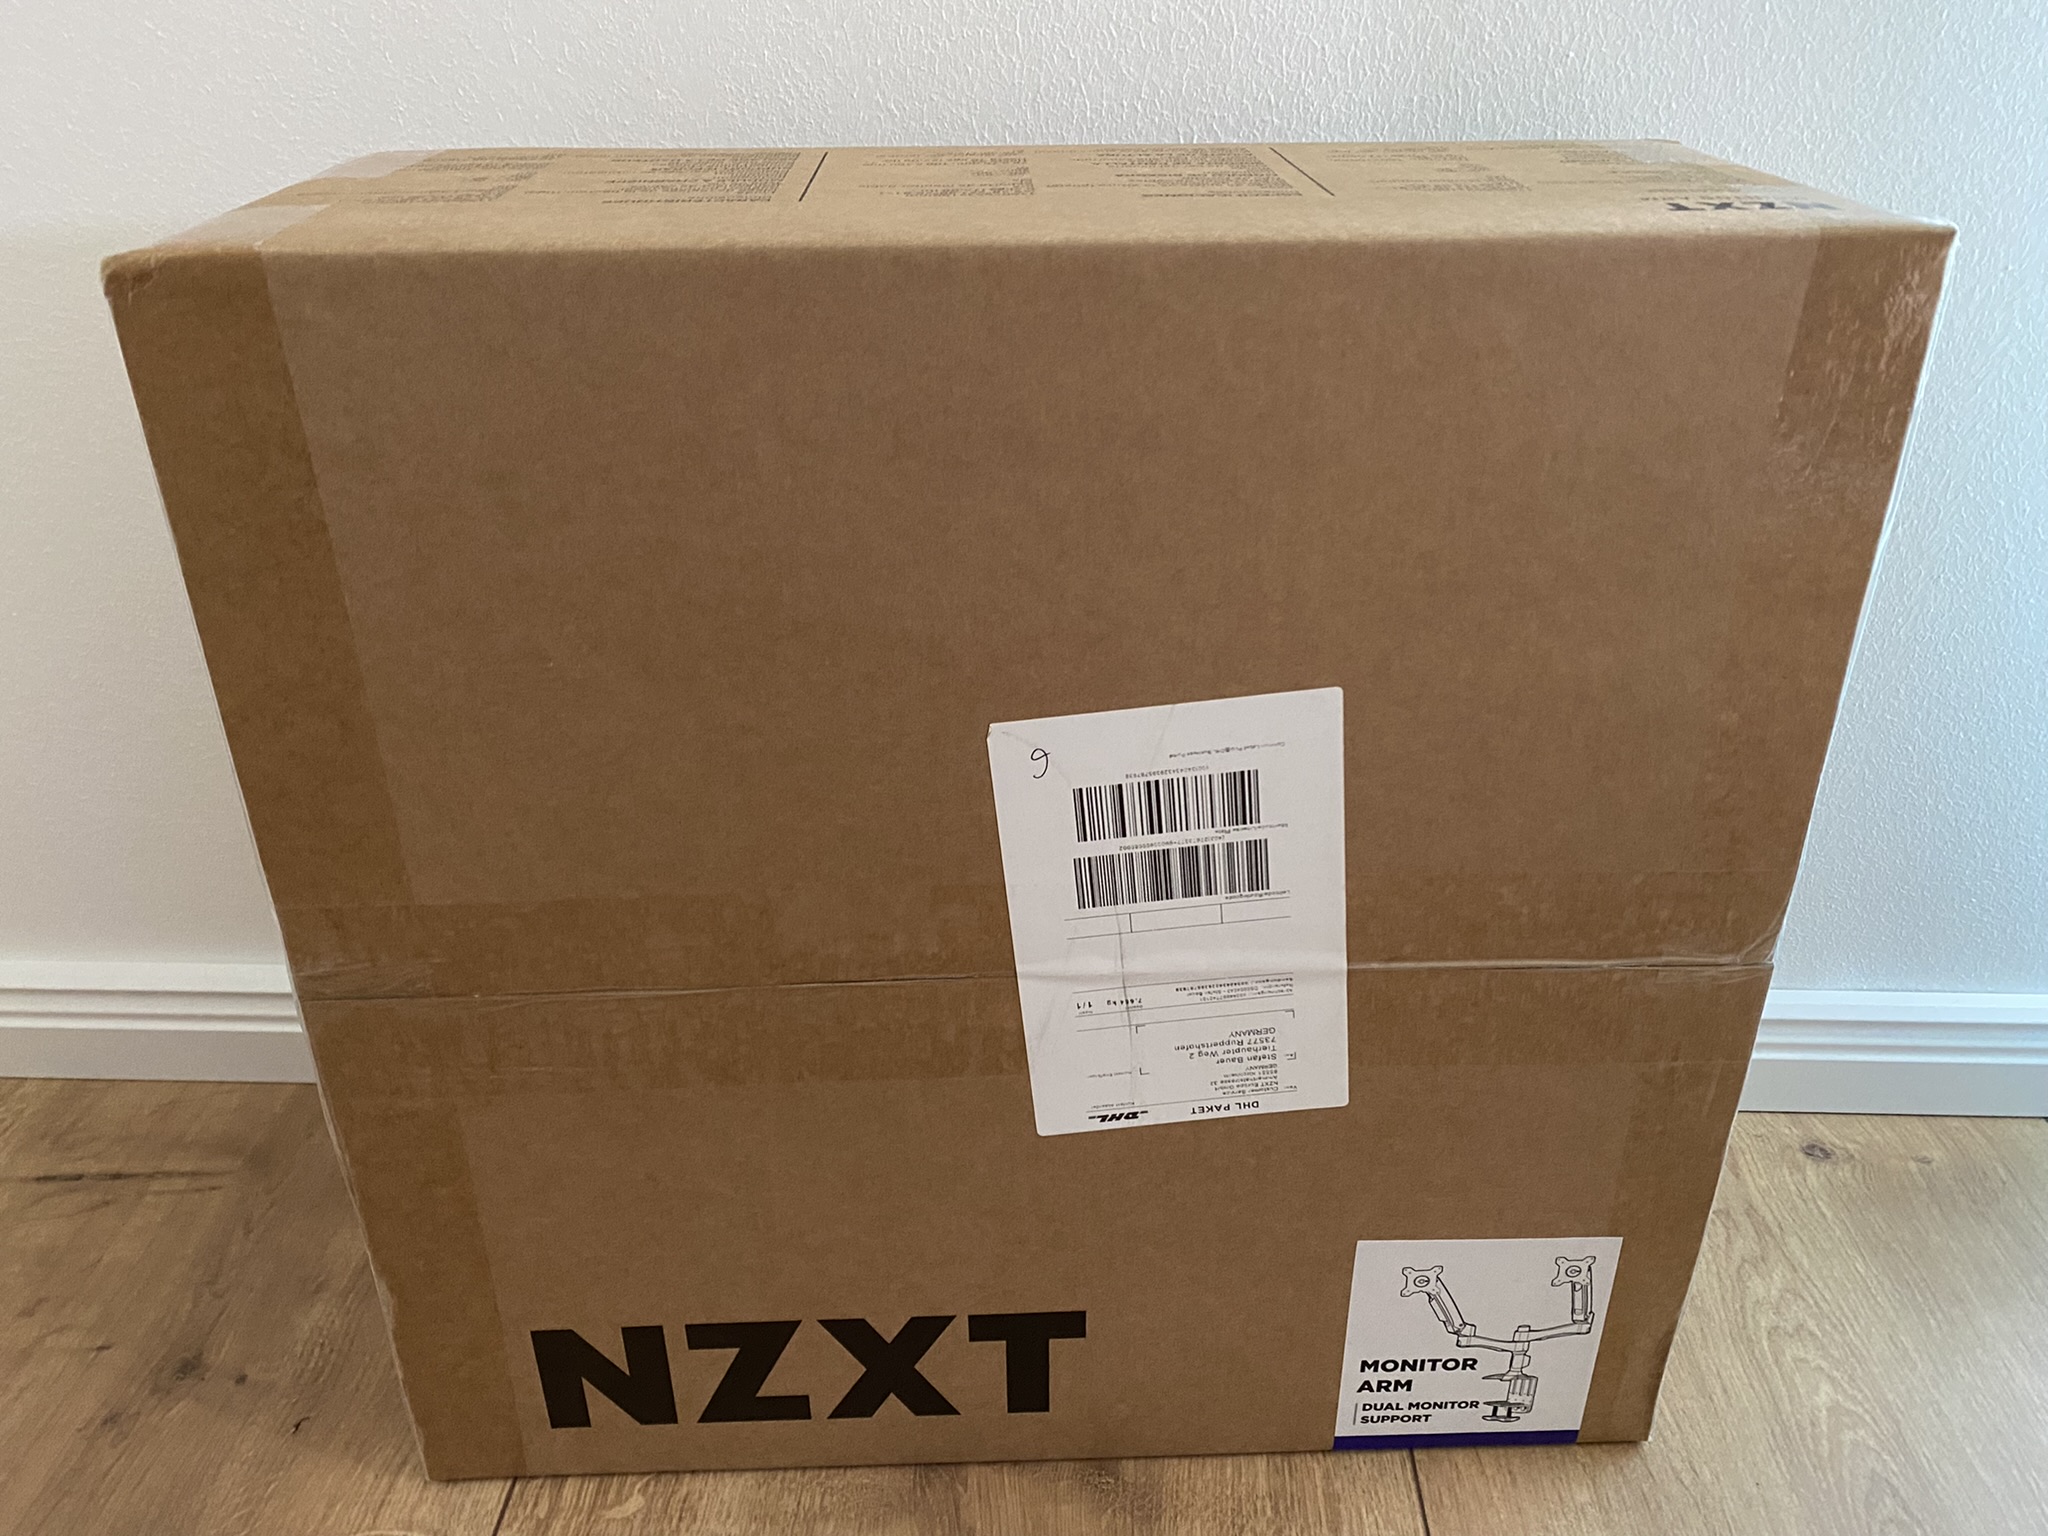
With the stand, the customer basically gets almost full flexibility. If you want more, you can also buy a monitor arm for the display from NZXT. They are available for – one monitor, or even for two monitors. I have also looked at the double arm – a separate article will come on this.
Connectors, cables and accessories
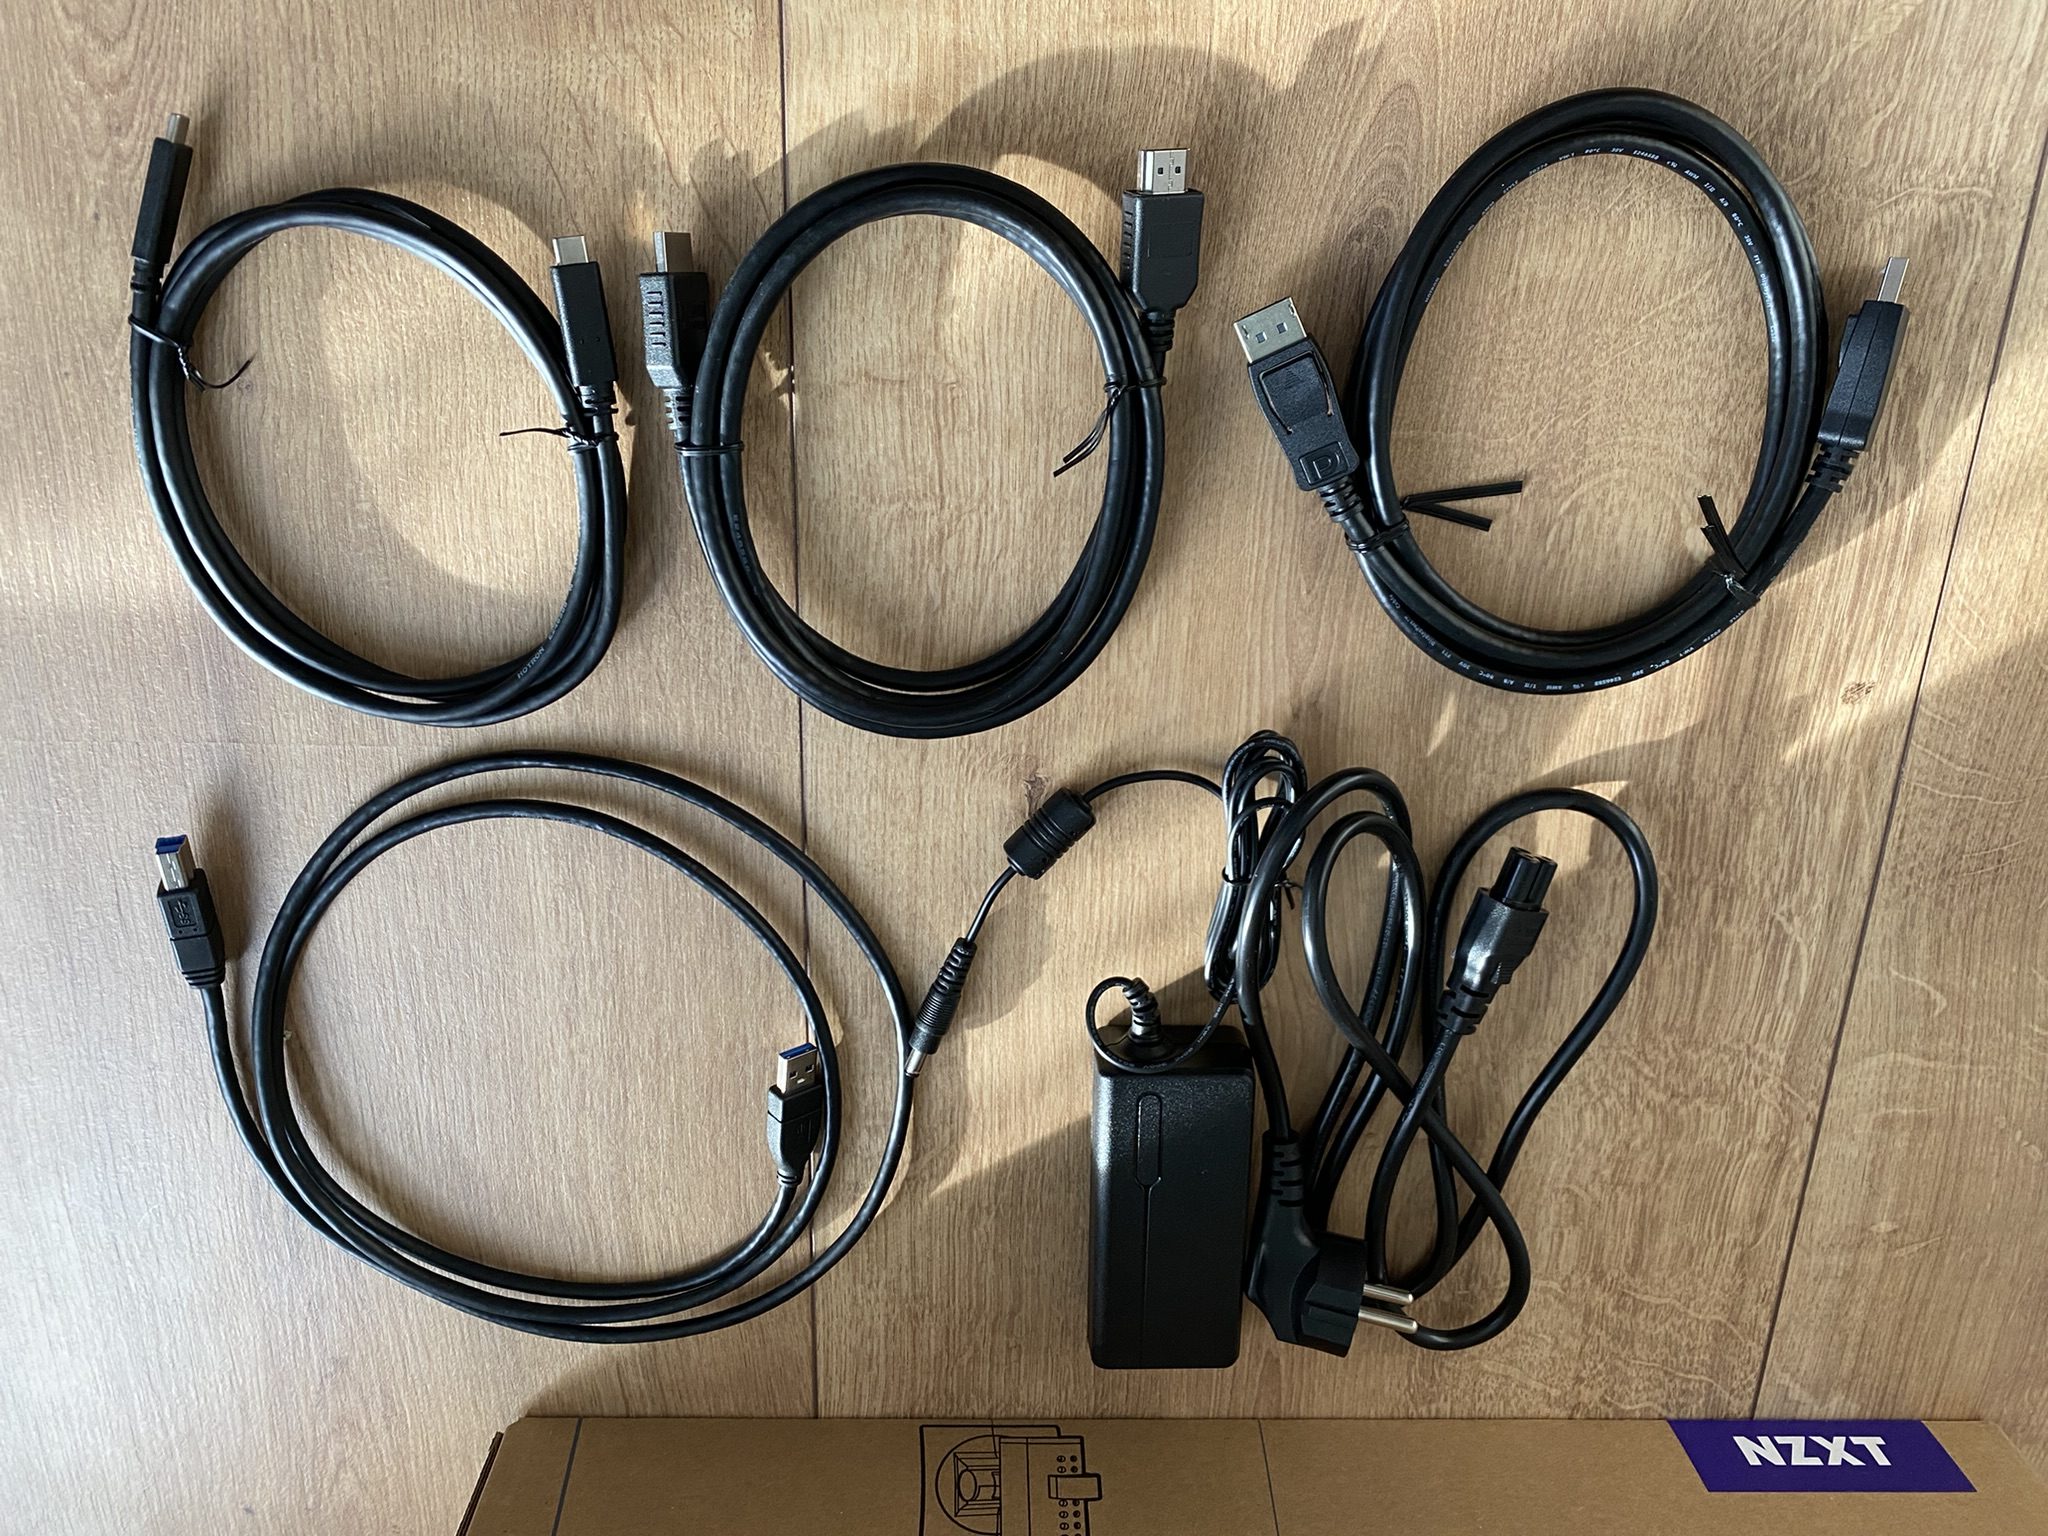
The display comes with all cables (1x HDMI, 1x DP, 1x USB Type B and 1x USB Type C) and the power adapter. If you still buy the stand, you will also get the small cable clamp. The connectivity is remarkable from my point of view.
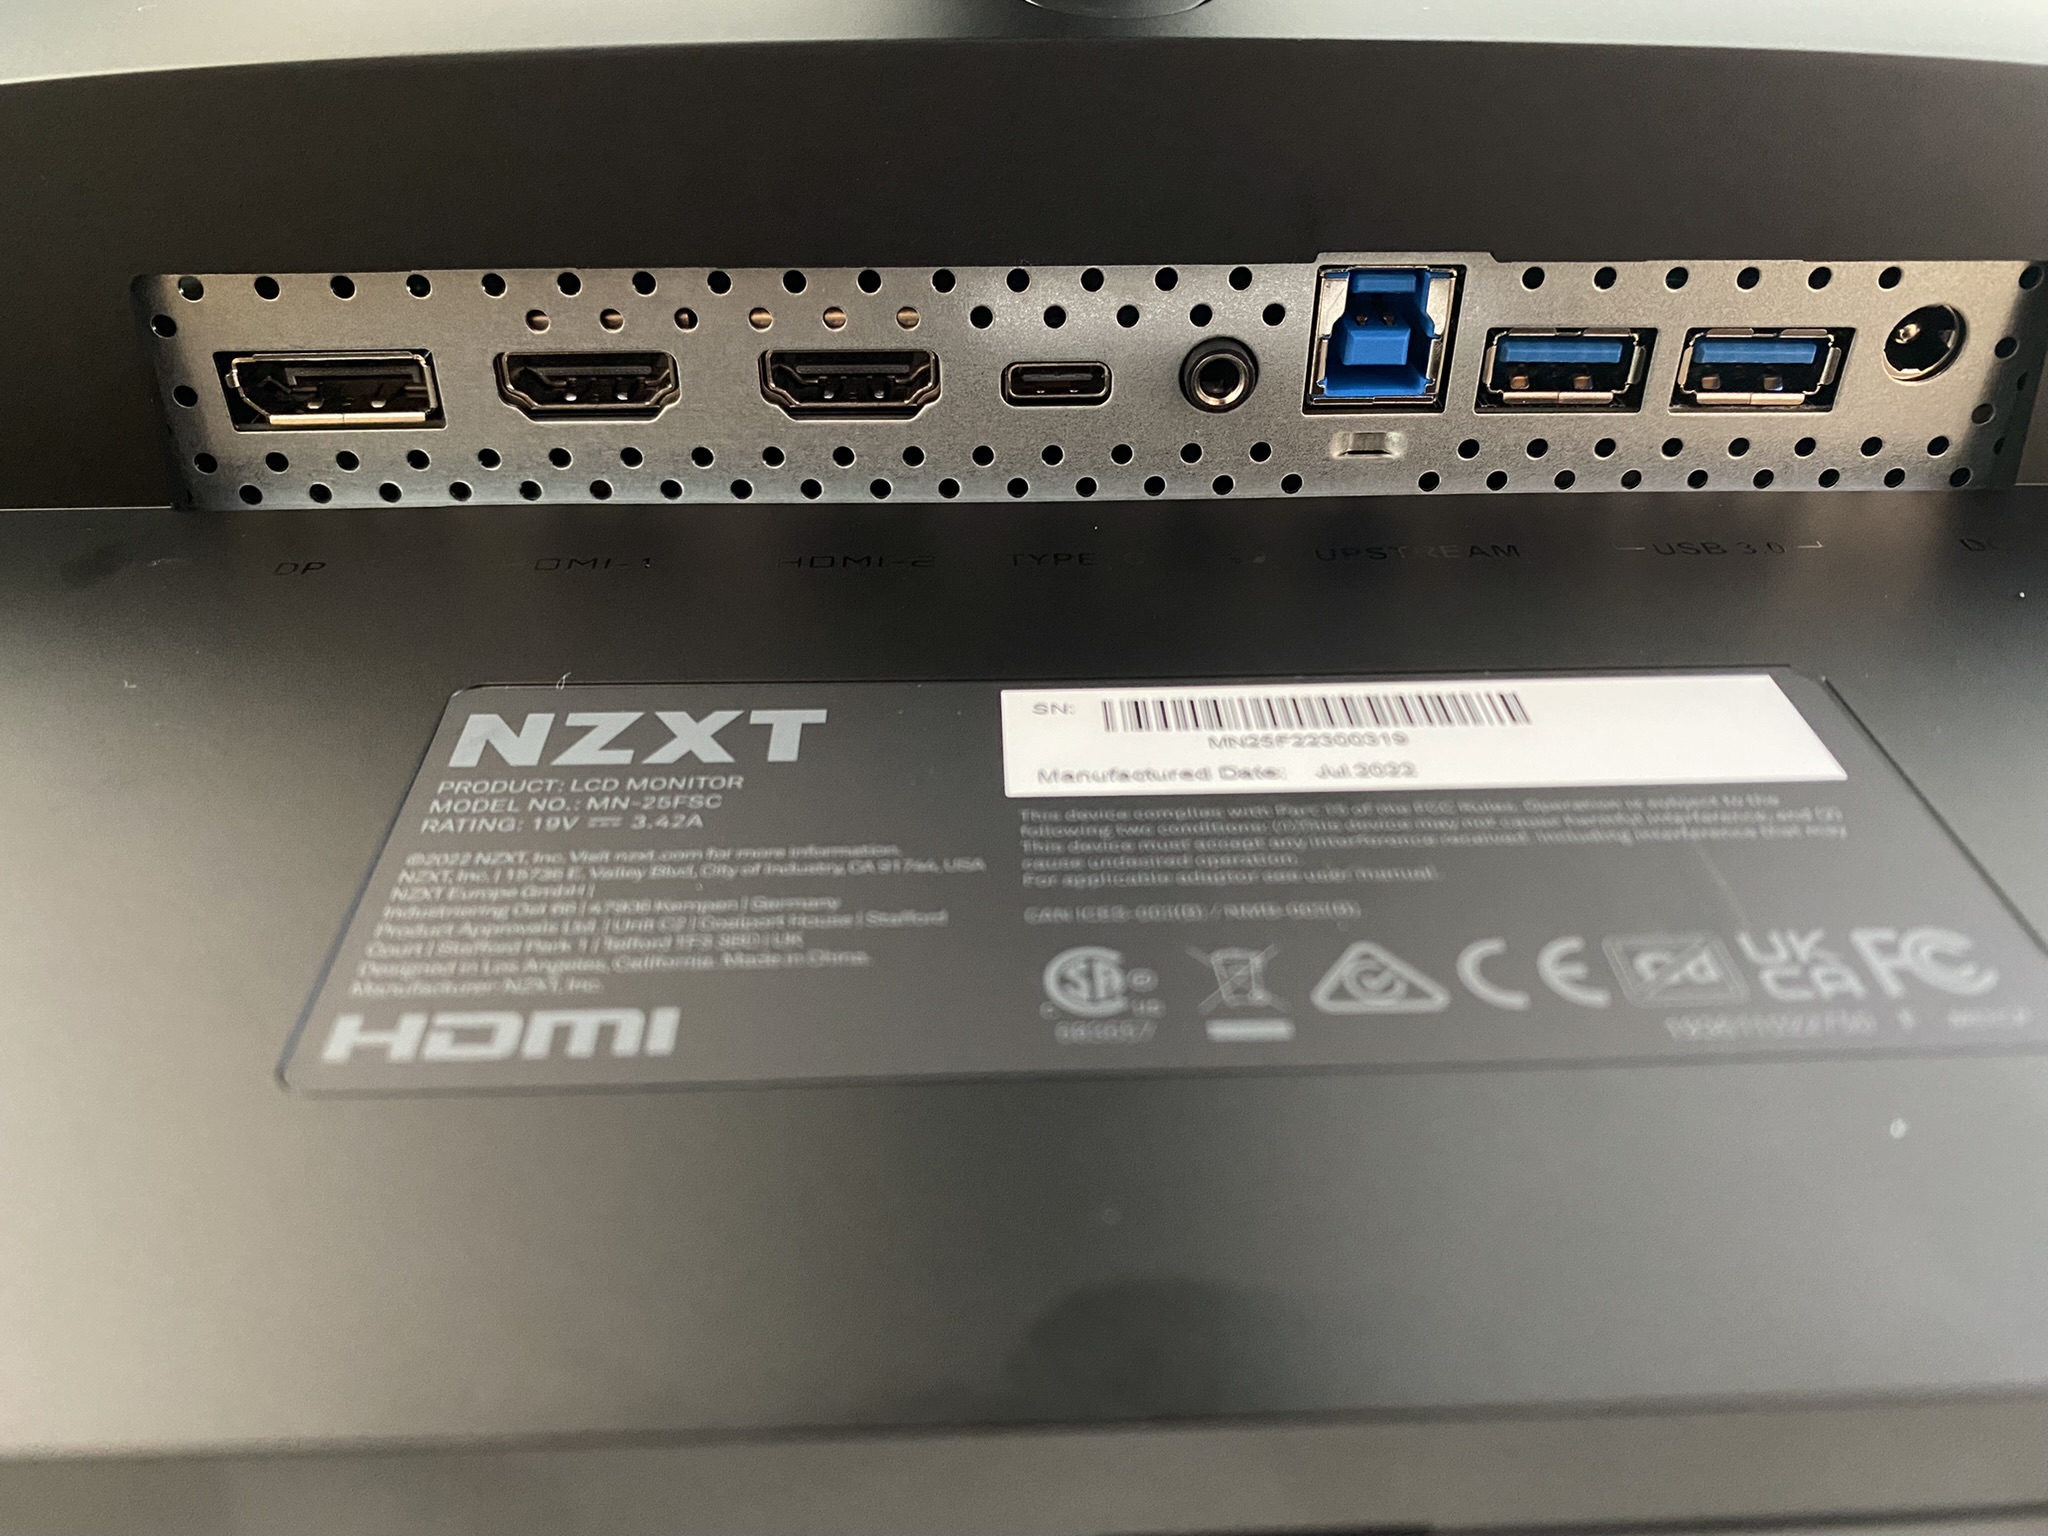
Despite the USB-C and USB-B, there is unfortunately no KVM switch. There is also no PiP or PnP mode. Those would have been nice features to justify the price a bit more.
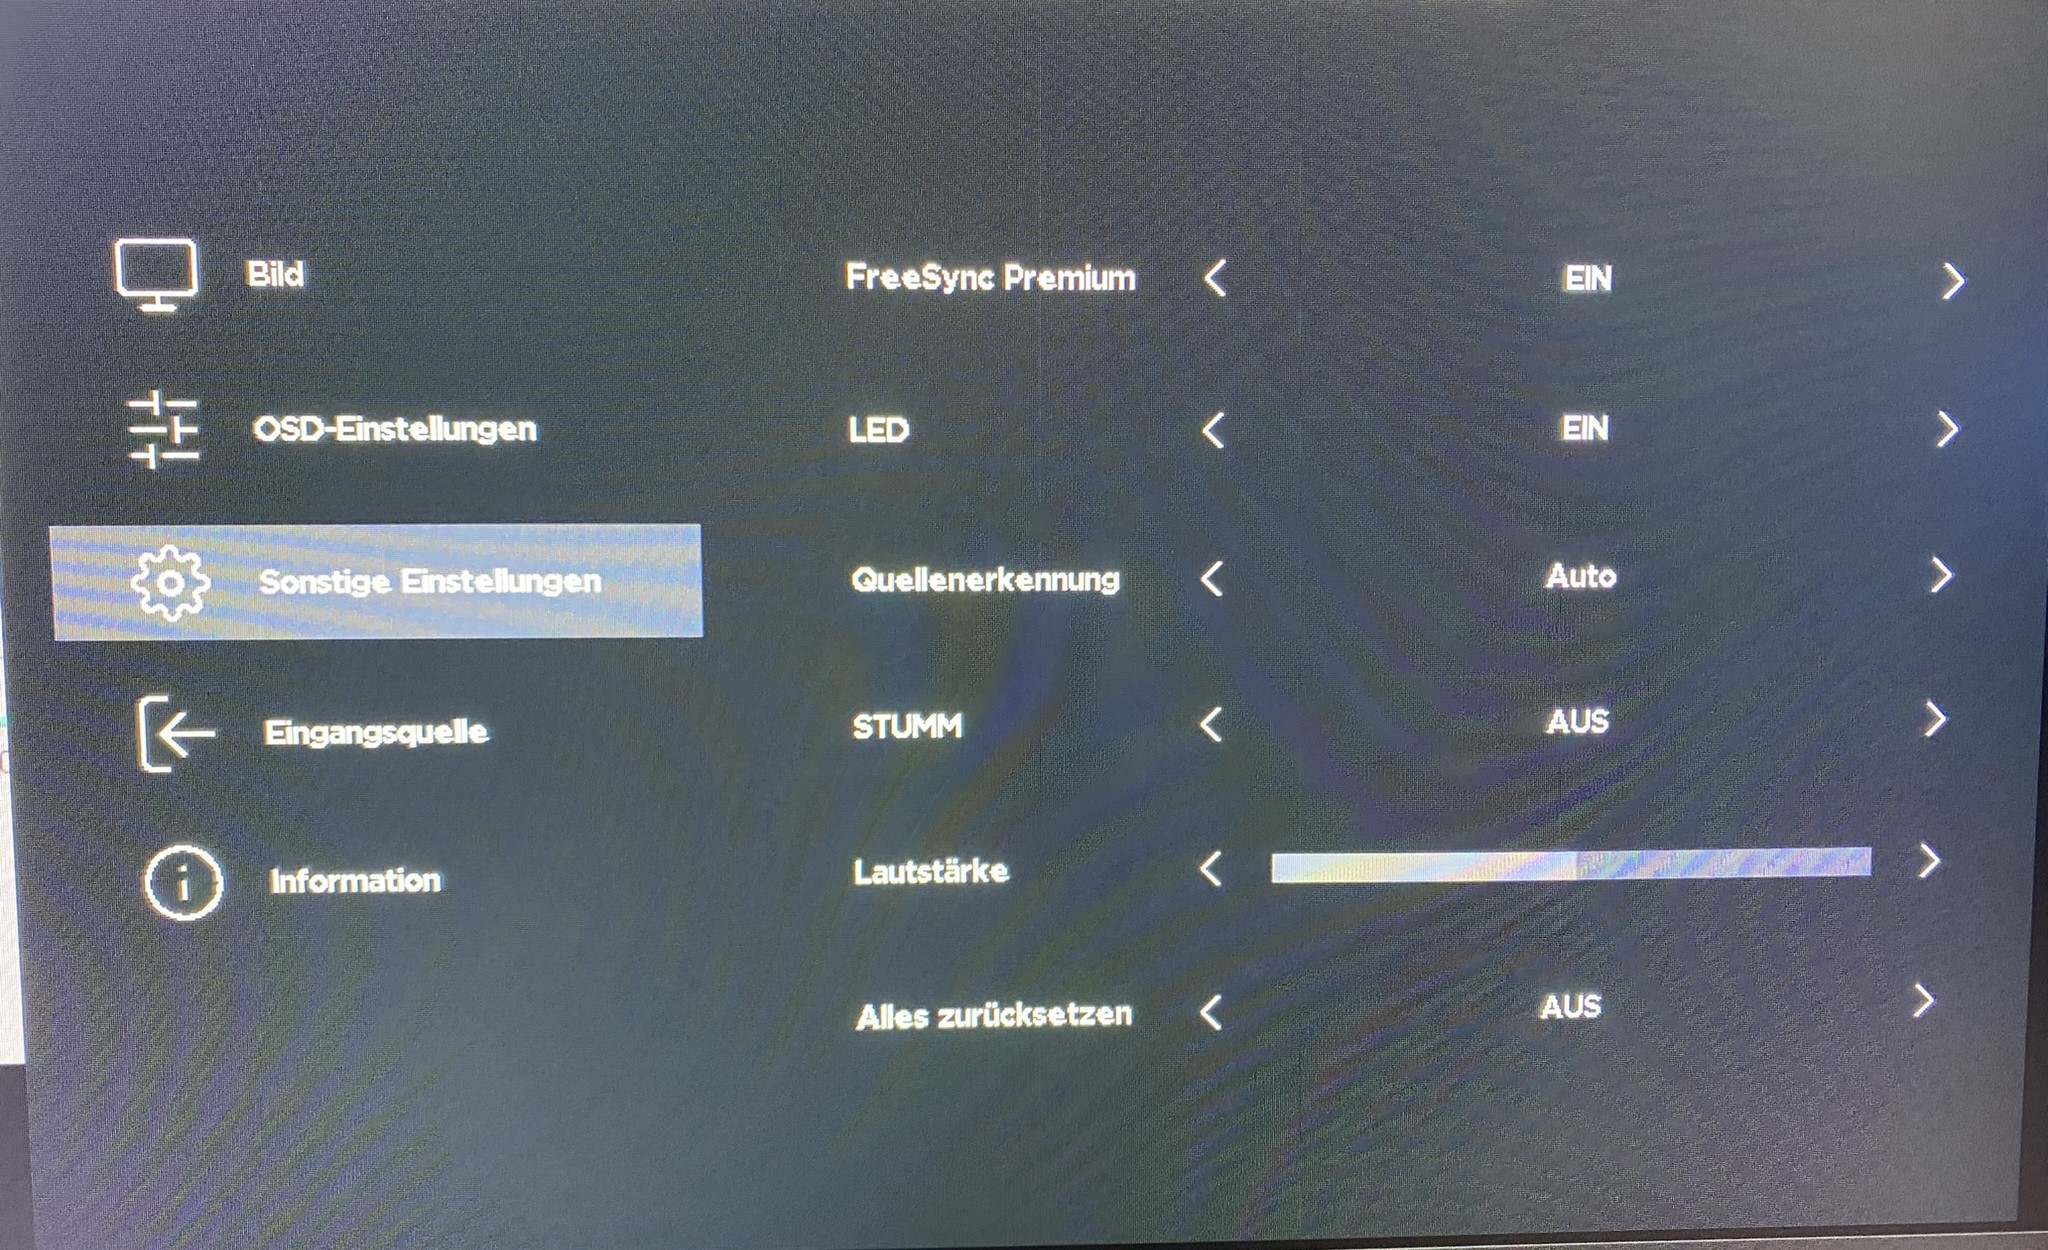
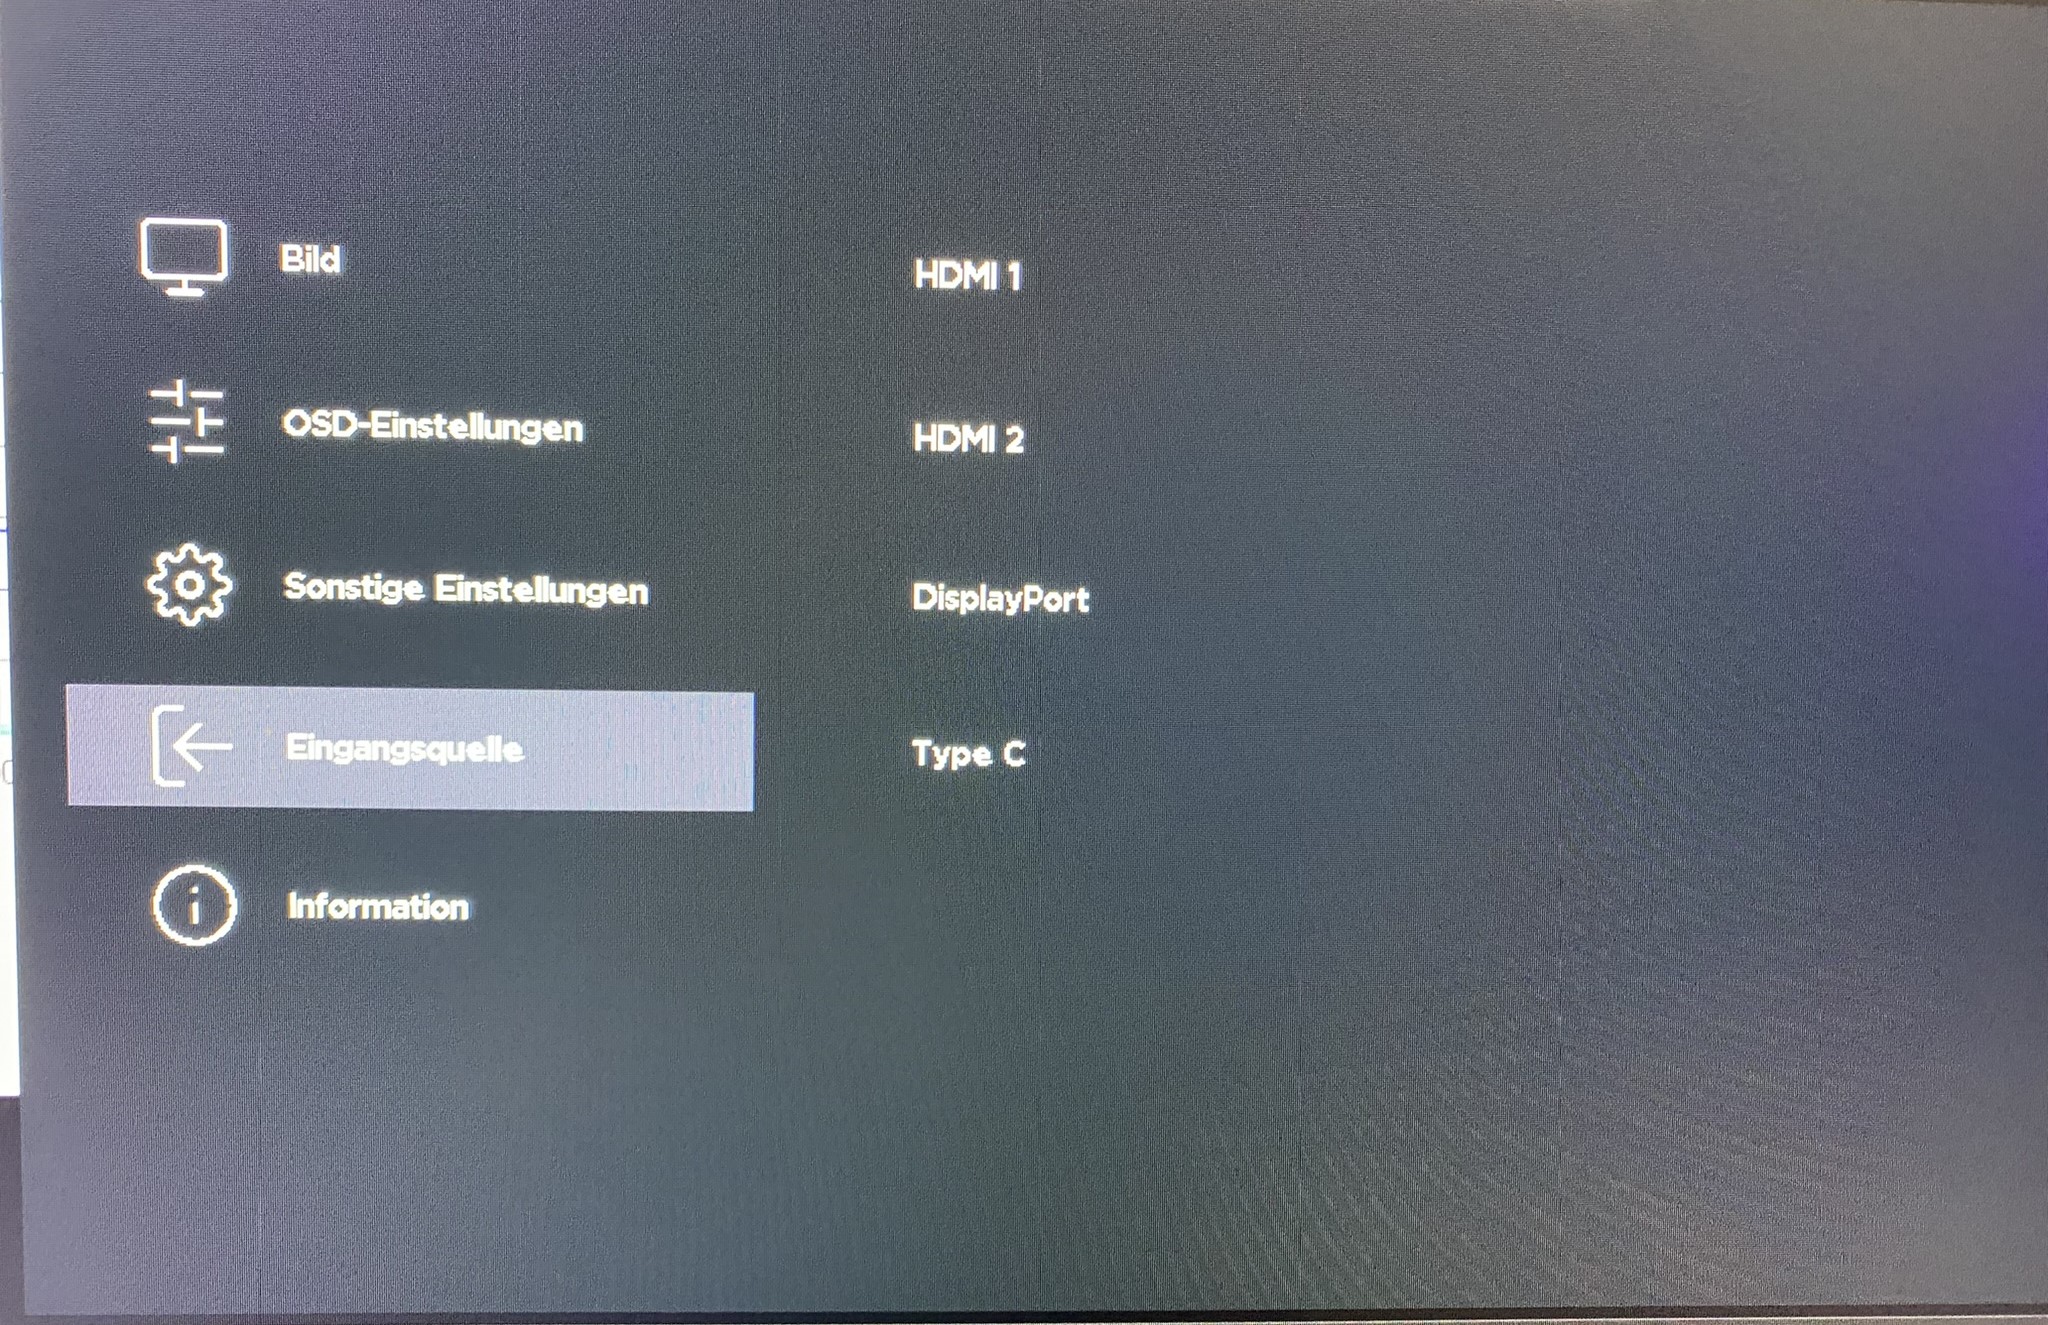
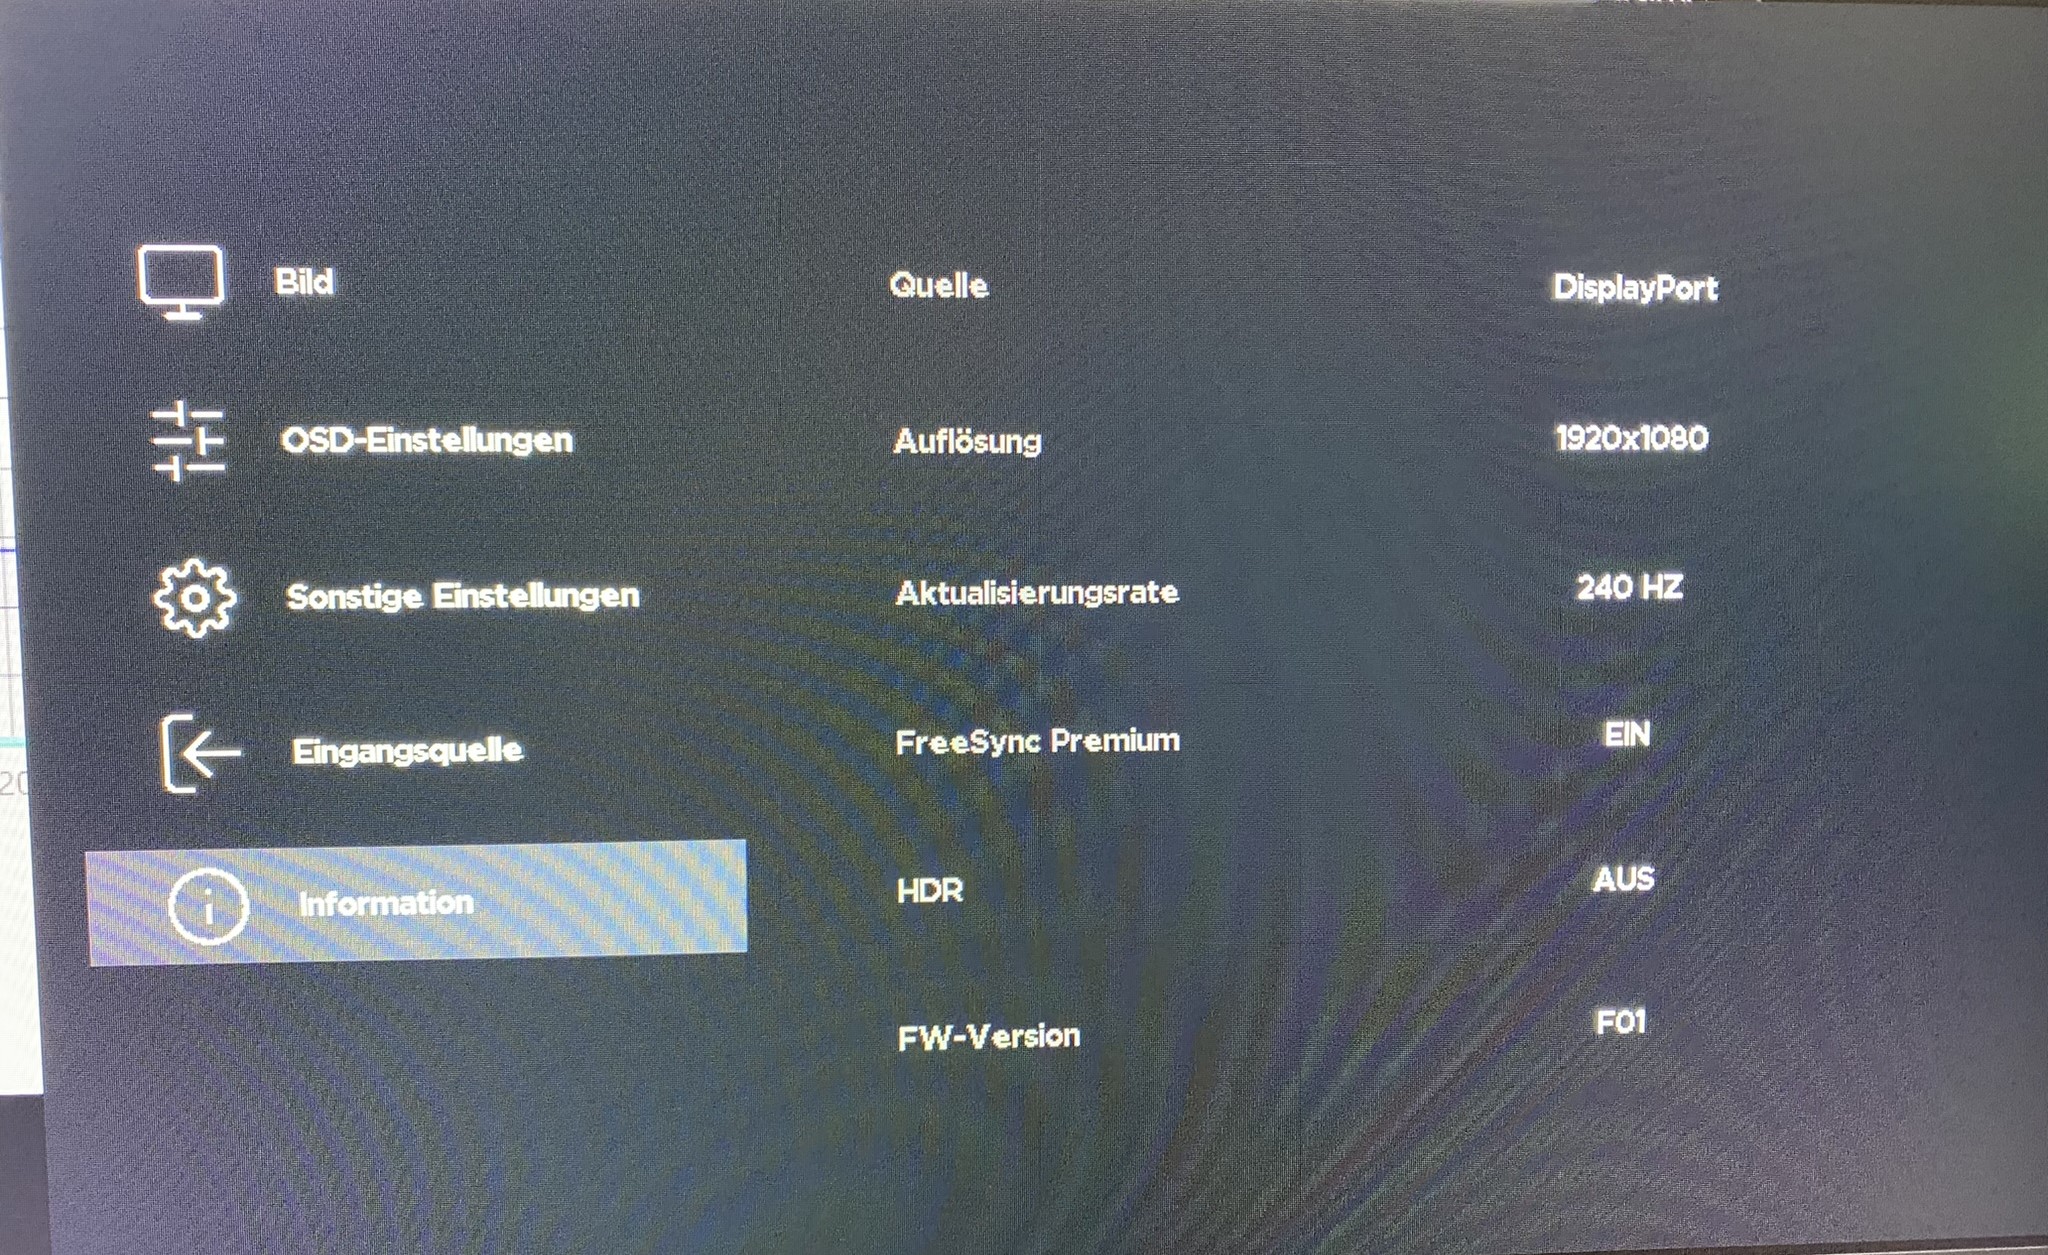
OSD menu
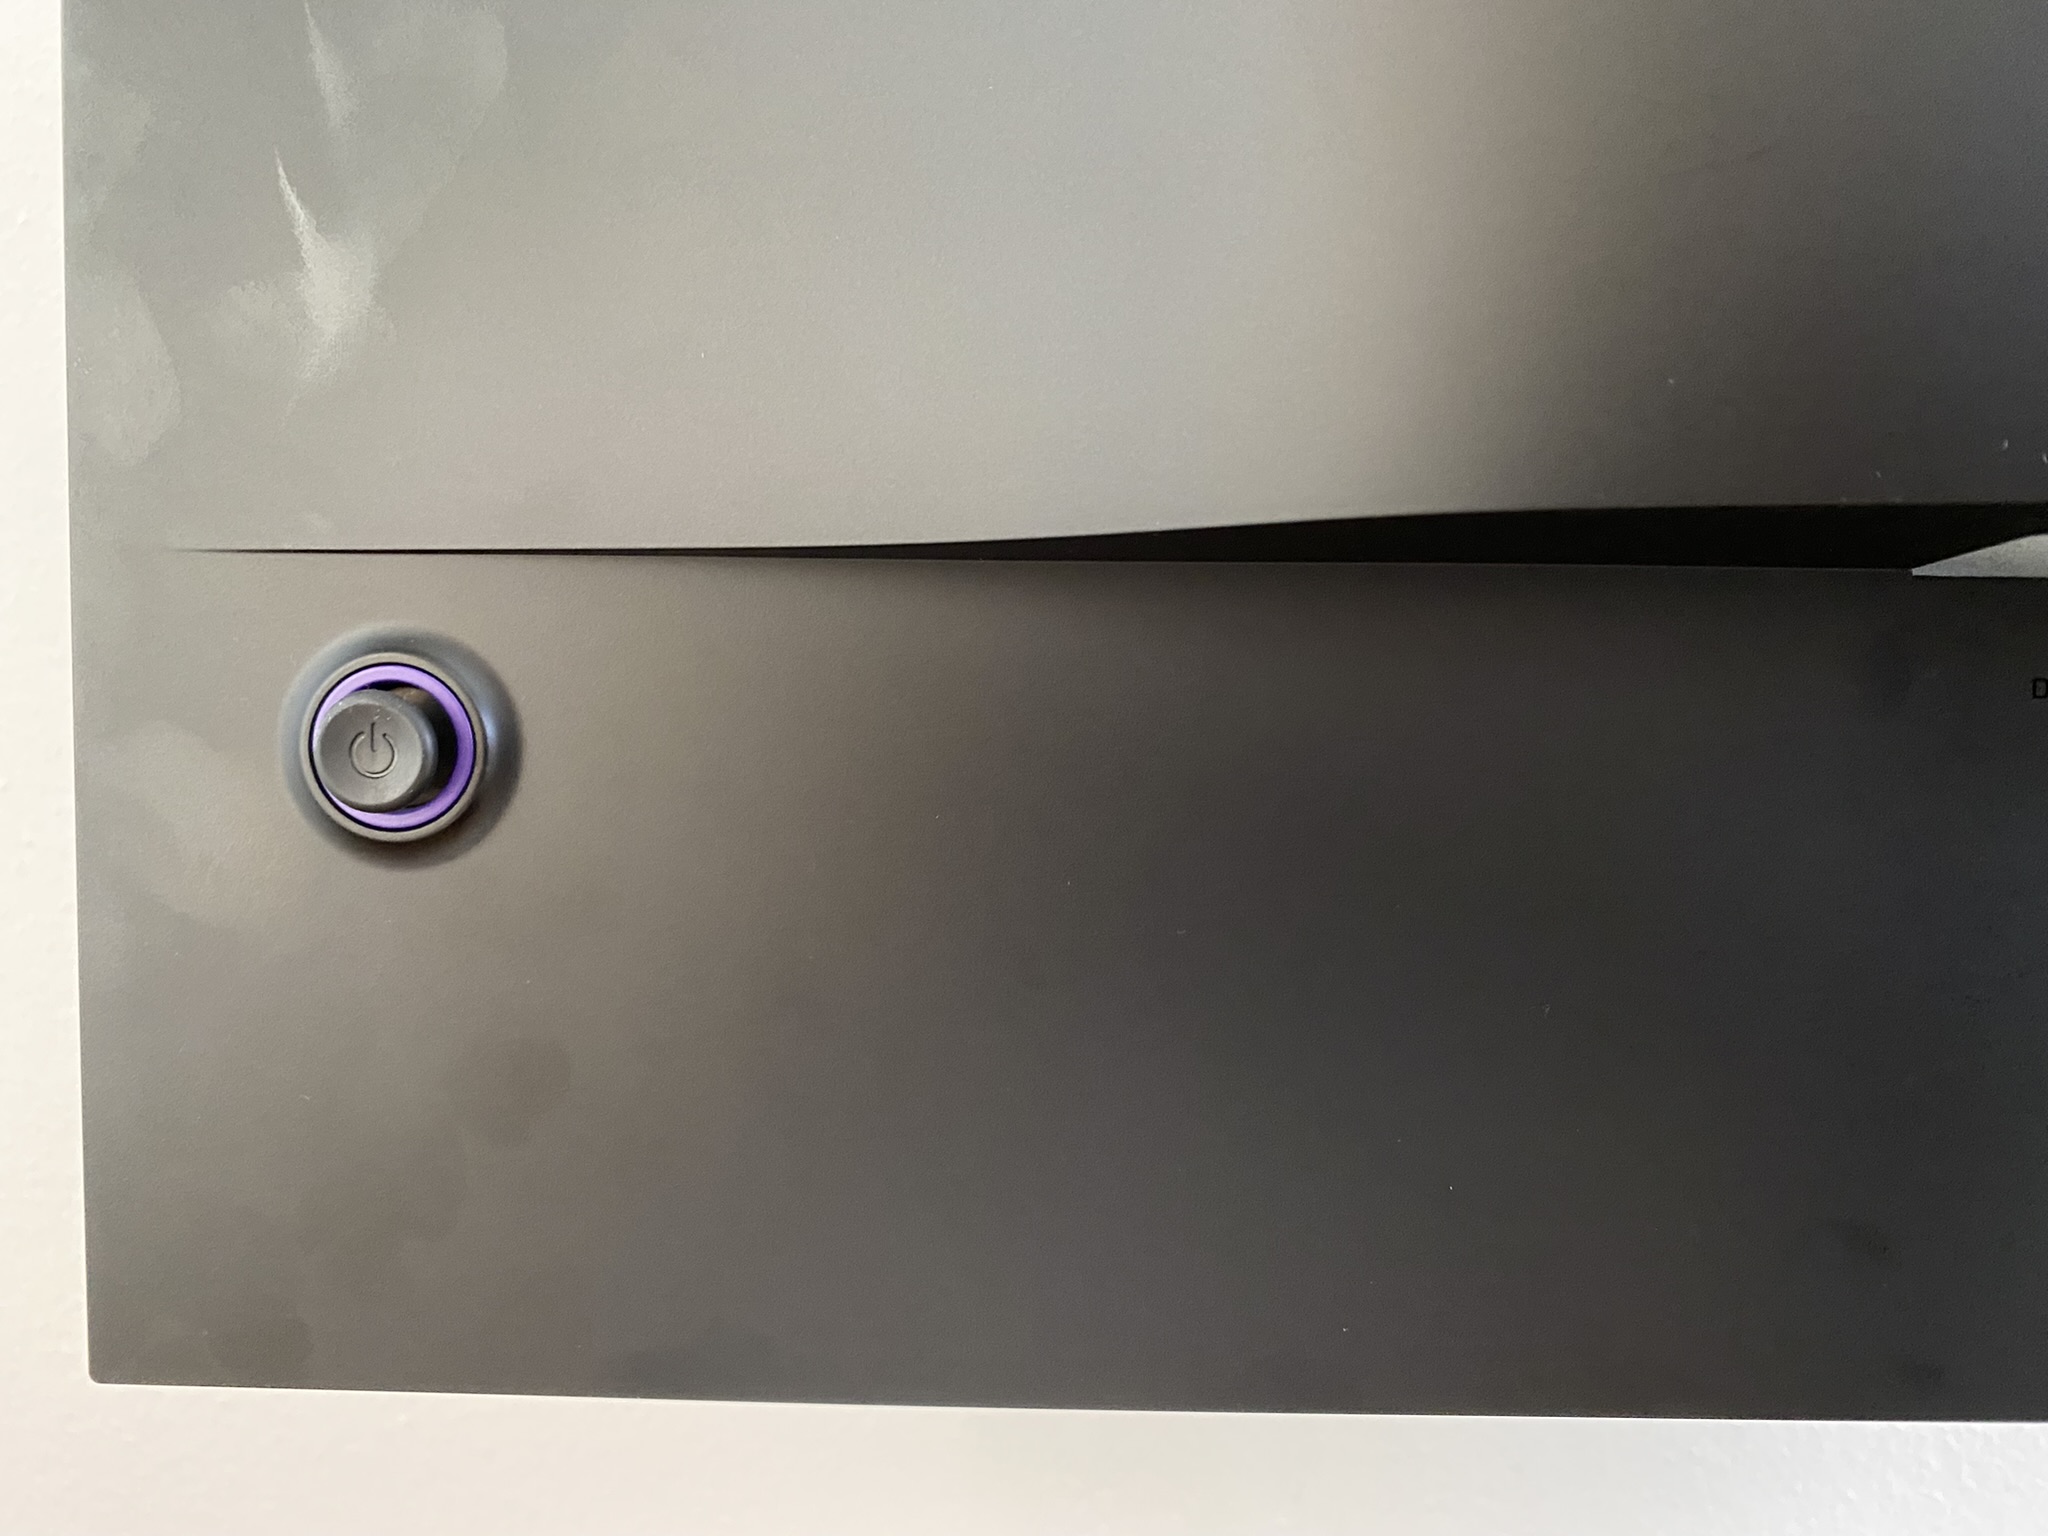
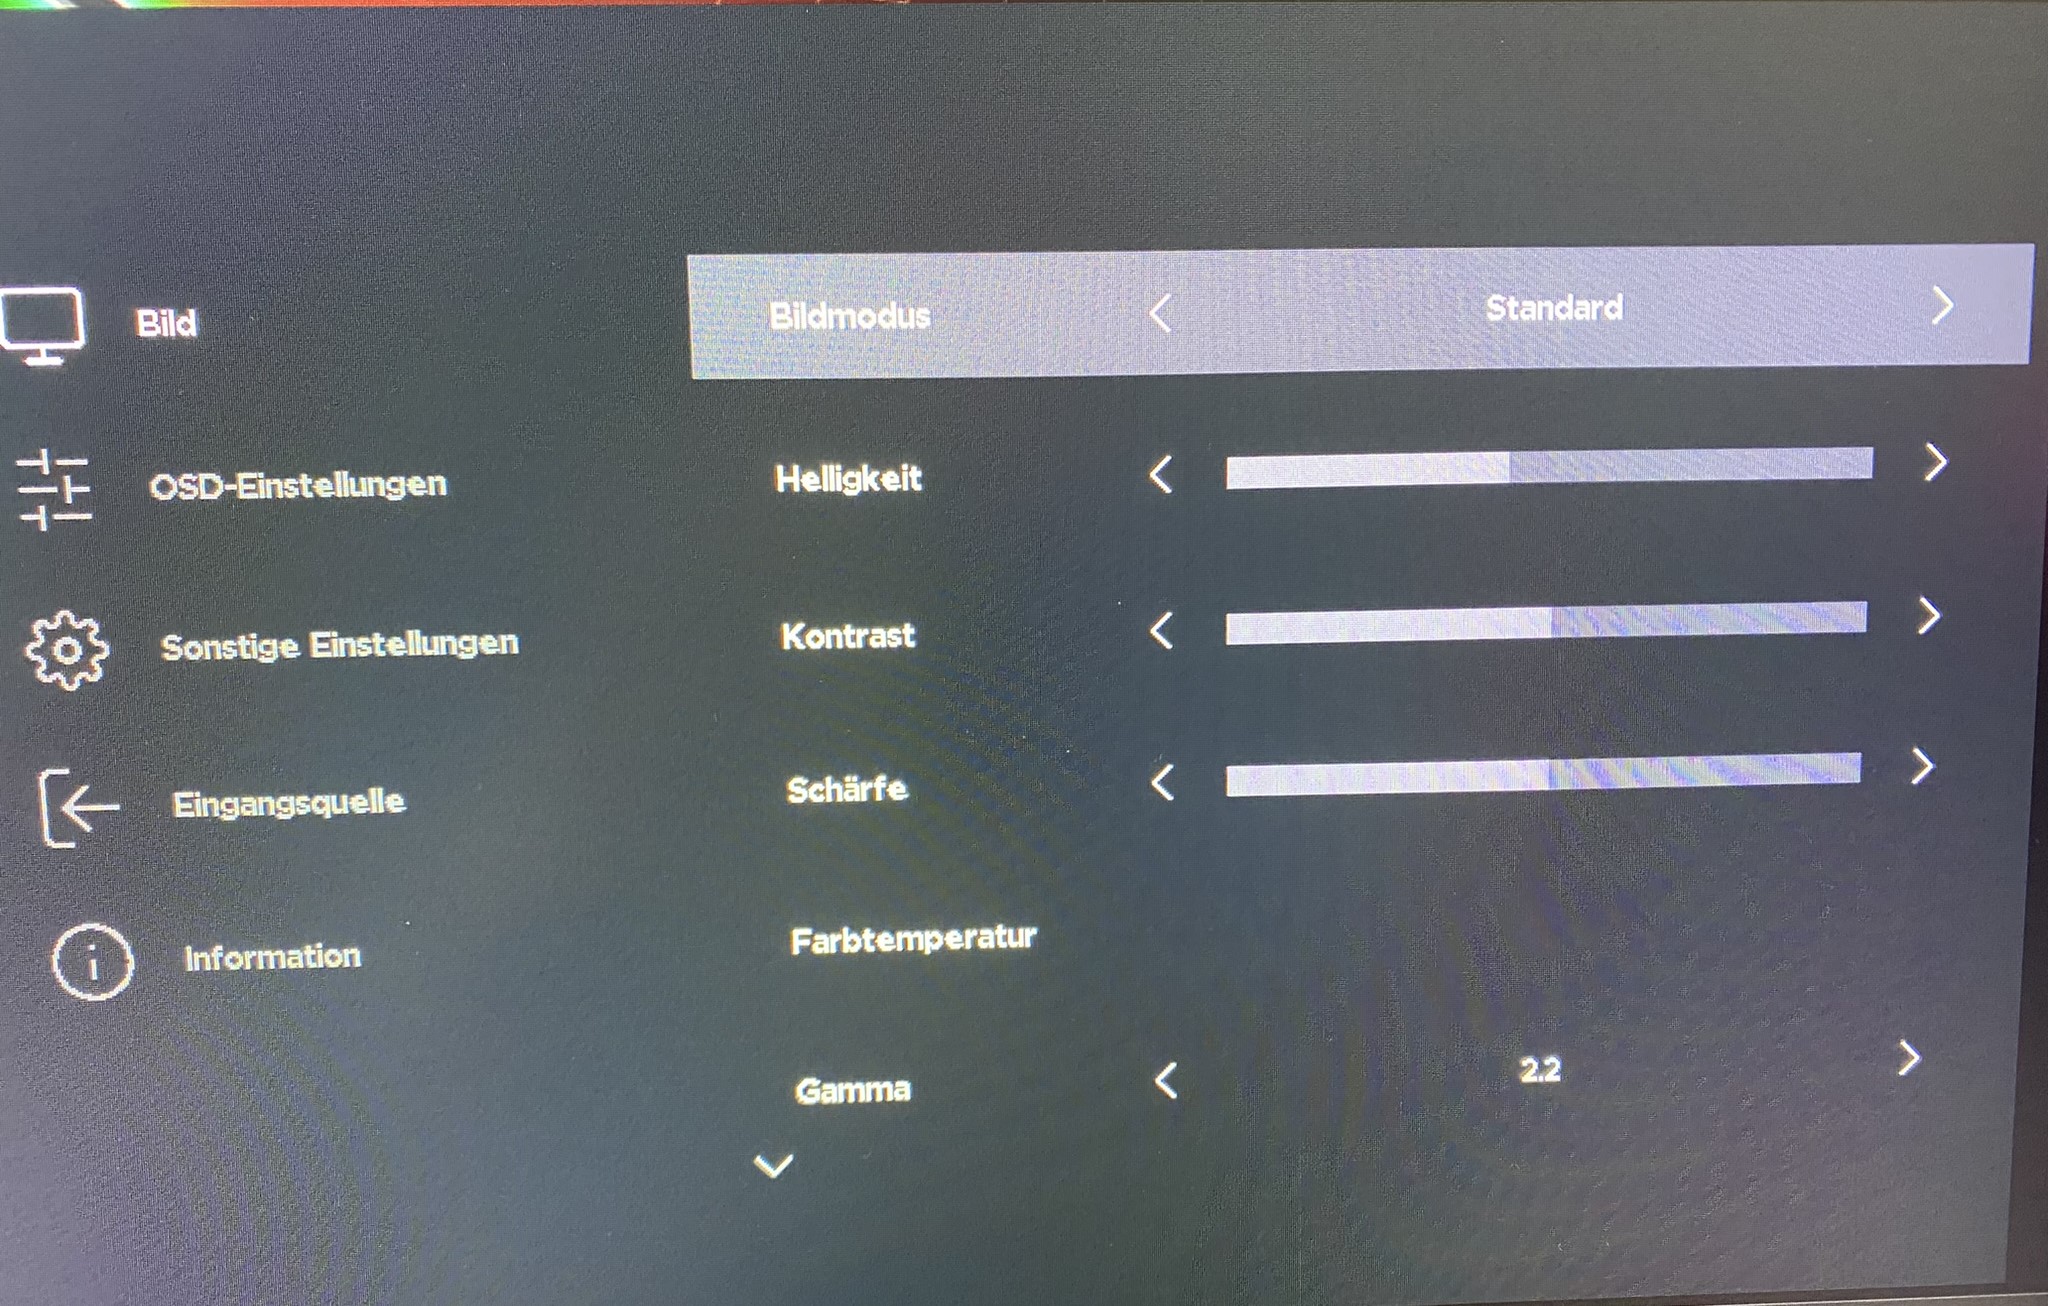
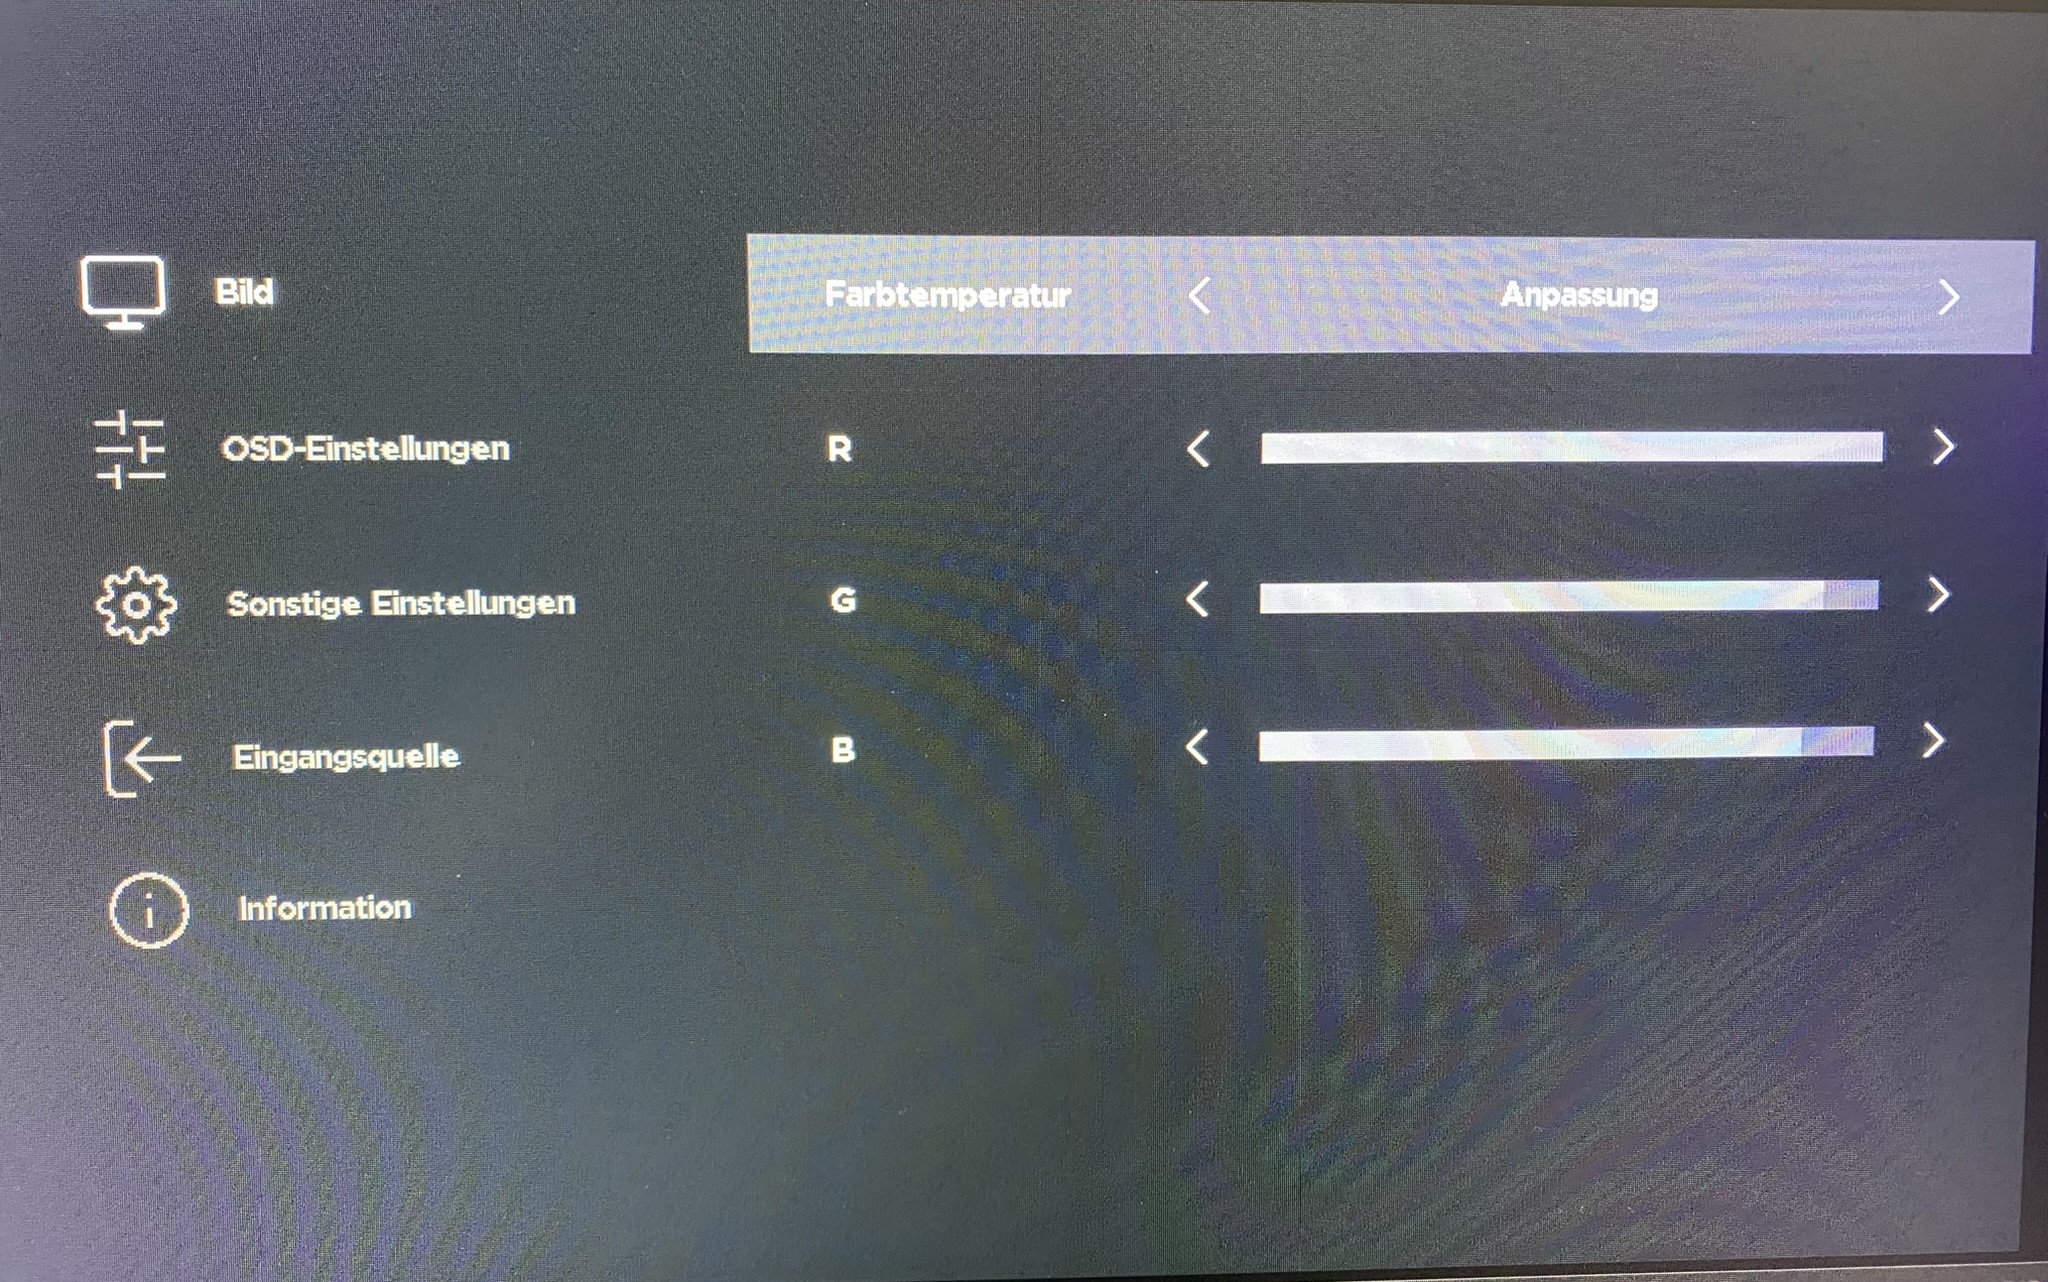
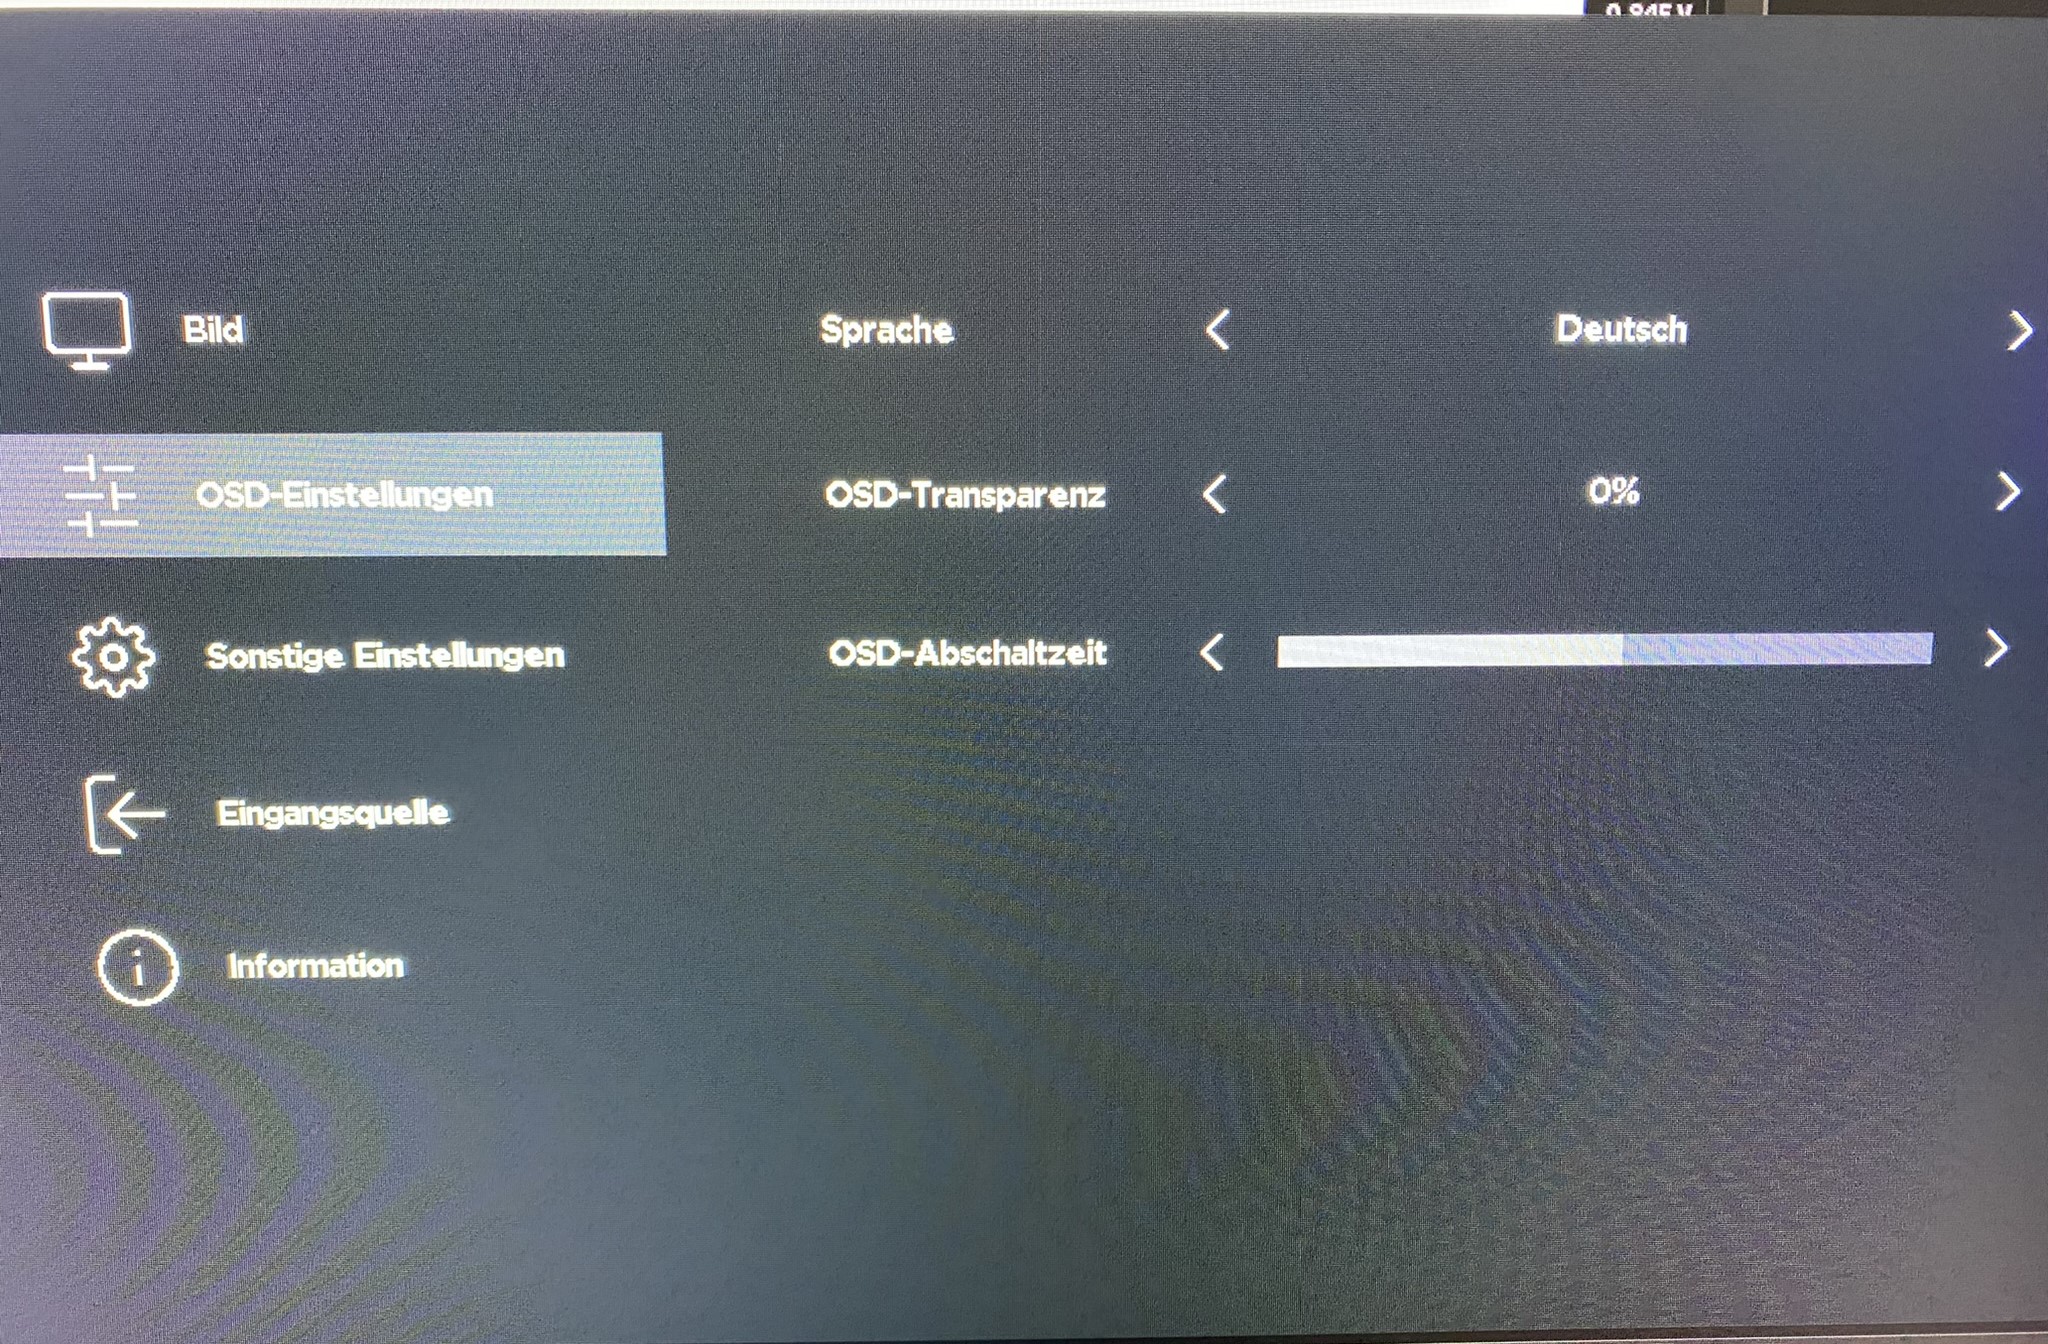
The whole thing is controlled with a small joystick, as is common today. If you keep this pressed for a longer time, the panel is switched off completely or on again. The OSD itself is clearly arranged and easy to use. Why there are no numerical values for most settings (e.g. brightness) is beyond me. Fortunately, the OSD can be made obsolete via software. What I also can’t understand is that there are no crosshairs as an overlay. According to NZXT, there was probably a customer survey, which should have shown: Nobody wants that! Ok, I wasn’t asked and I would have liked it. Let’s leave it at that…
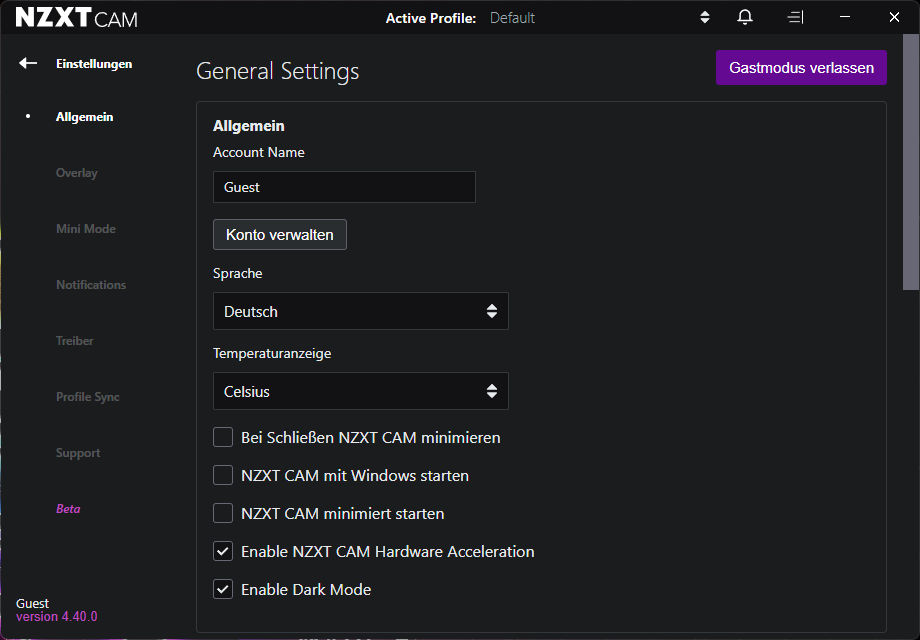
Software
NZXT offers its disciples a very comprehensive software. This not only lets you control the monitor in terms of the OSD. If you already own other components like an AiO water cooling, mouse, keyboard, etc., you can basically control everything via software. Also the RGB lighting. The software can be found here: Click!
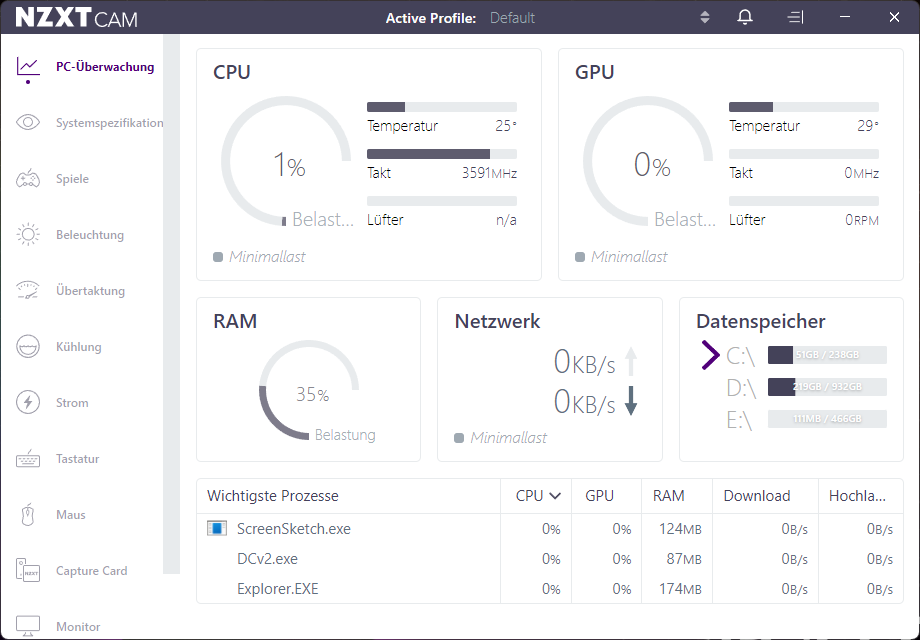
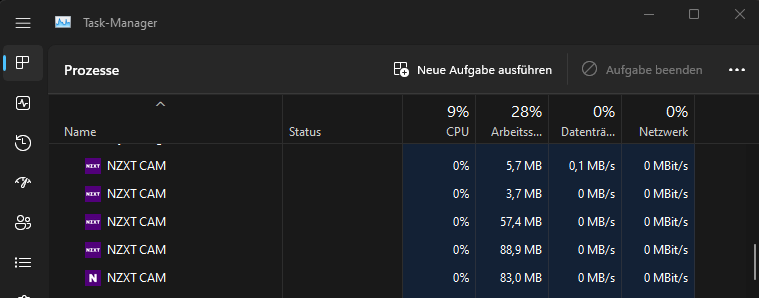
System Load:
So, let’s really get started. Turn the page!

- 1 - Introduction, Features and Specs
- 2 - Workmanship and Details
- 3 - How we measure: Equipment and Methods
- 4 - Pixel Response Times
- 5 - Variable Overdrive
- 6 - Display Latencies
- 7 - Color-Performance @ Default Settings
- 8 - Direct Comparison
- 9 - Color-Performance calibrated
- 10 - Summary and Conclusion


7 Antworten
Kommentar
Lade neue Kommentare
Moderator
Moderator
Veteran
Moderator
Urgestein
Veteran
Moderator
Alle Kommentare lesen unter igor´sLAB Community →