


Test setup
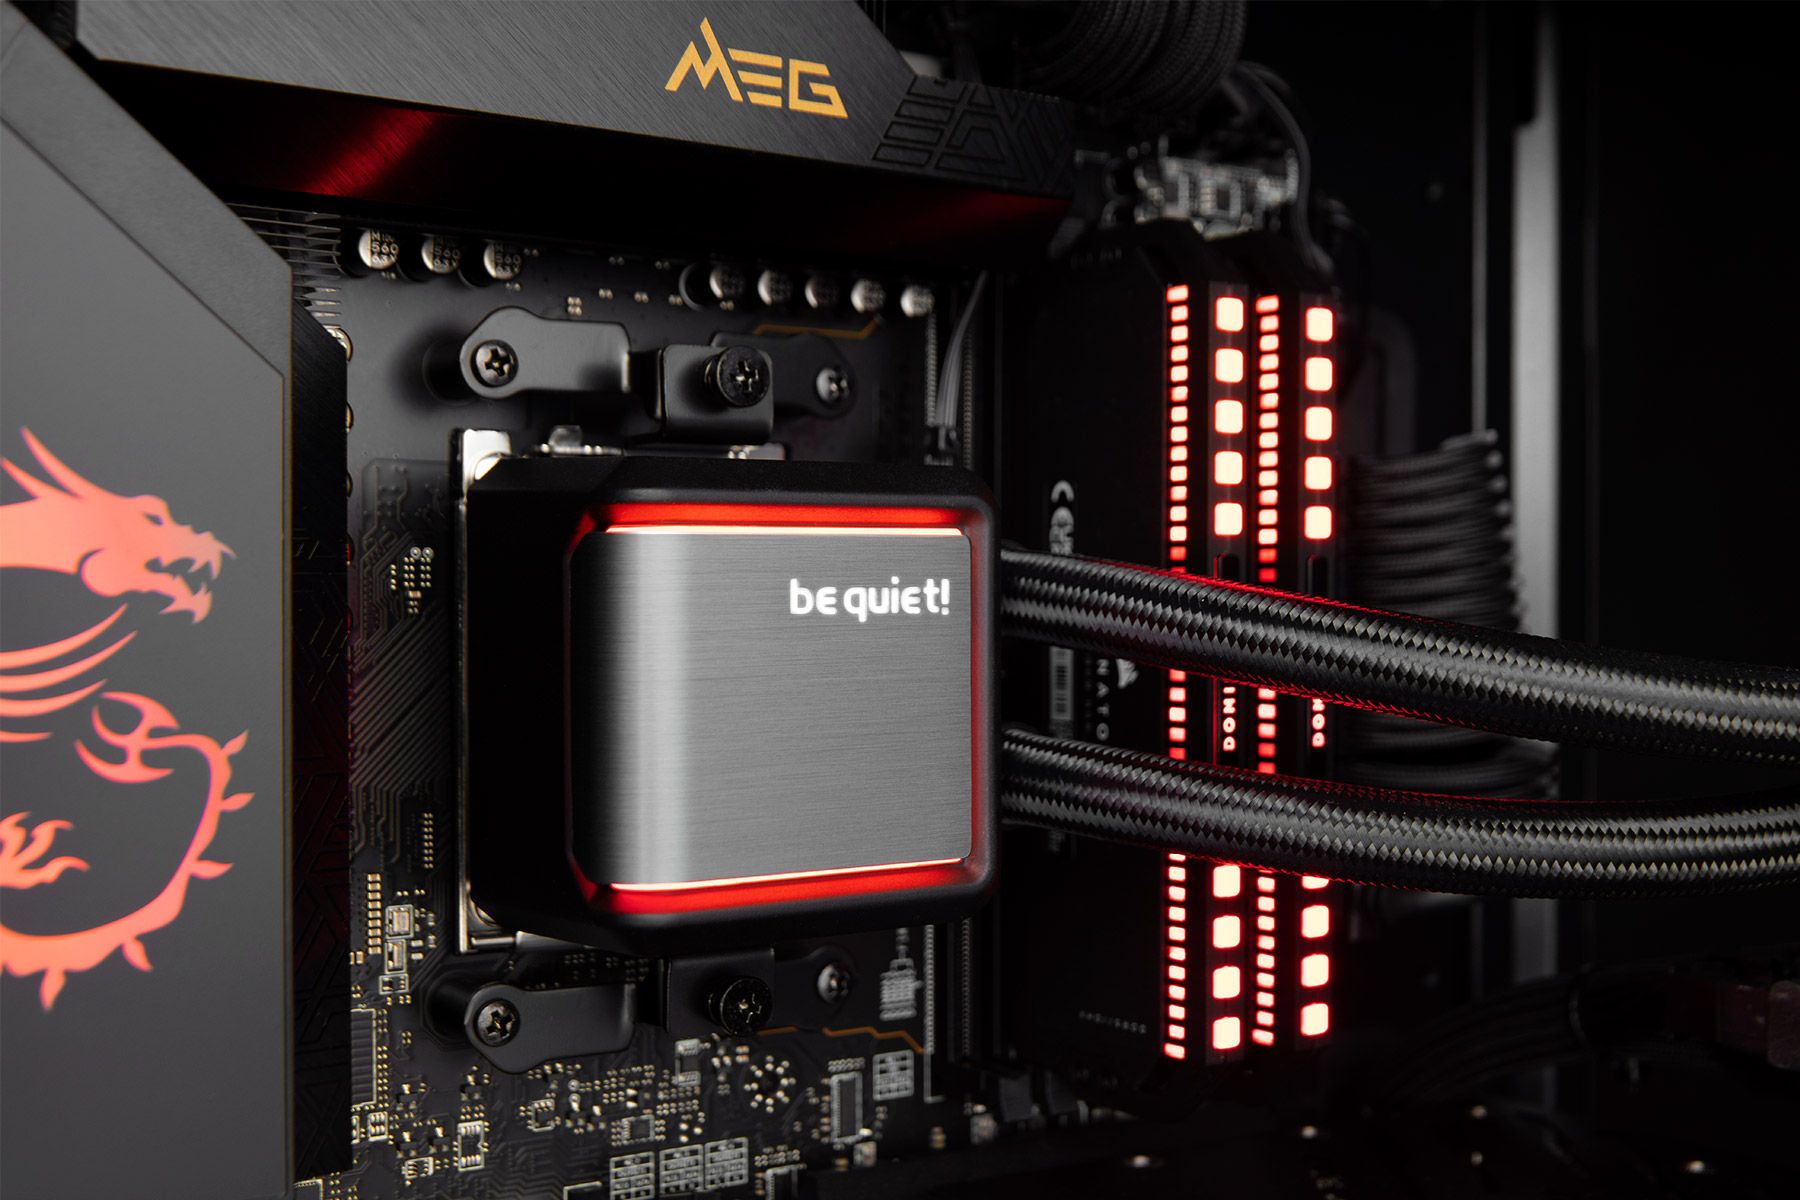
By popular demand, I’m going for a closed system in the form of a PC specially assembled for igor’sLAB by MIFCOM(exemplary product link, not an affiliate) this time. The case used is really good, has enough internal volume and also an excellent airflow. The used AiO compact water cooling in the form of Be Quiet’s Silen Loop II visually matches the GeForce RTX 4090 FE and the RGB accents of the RAM and motherboard can either be set to plain white or turned off completely in case of doubt. When things get too colorful again.
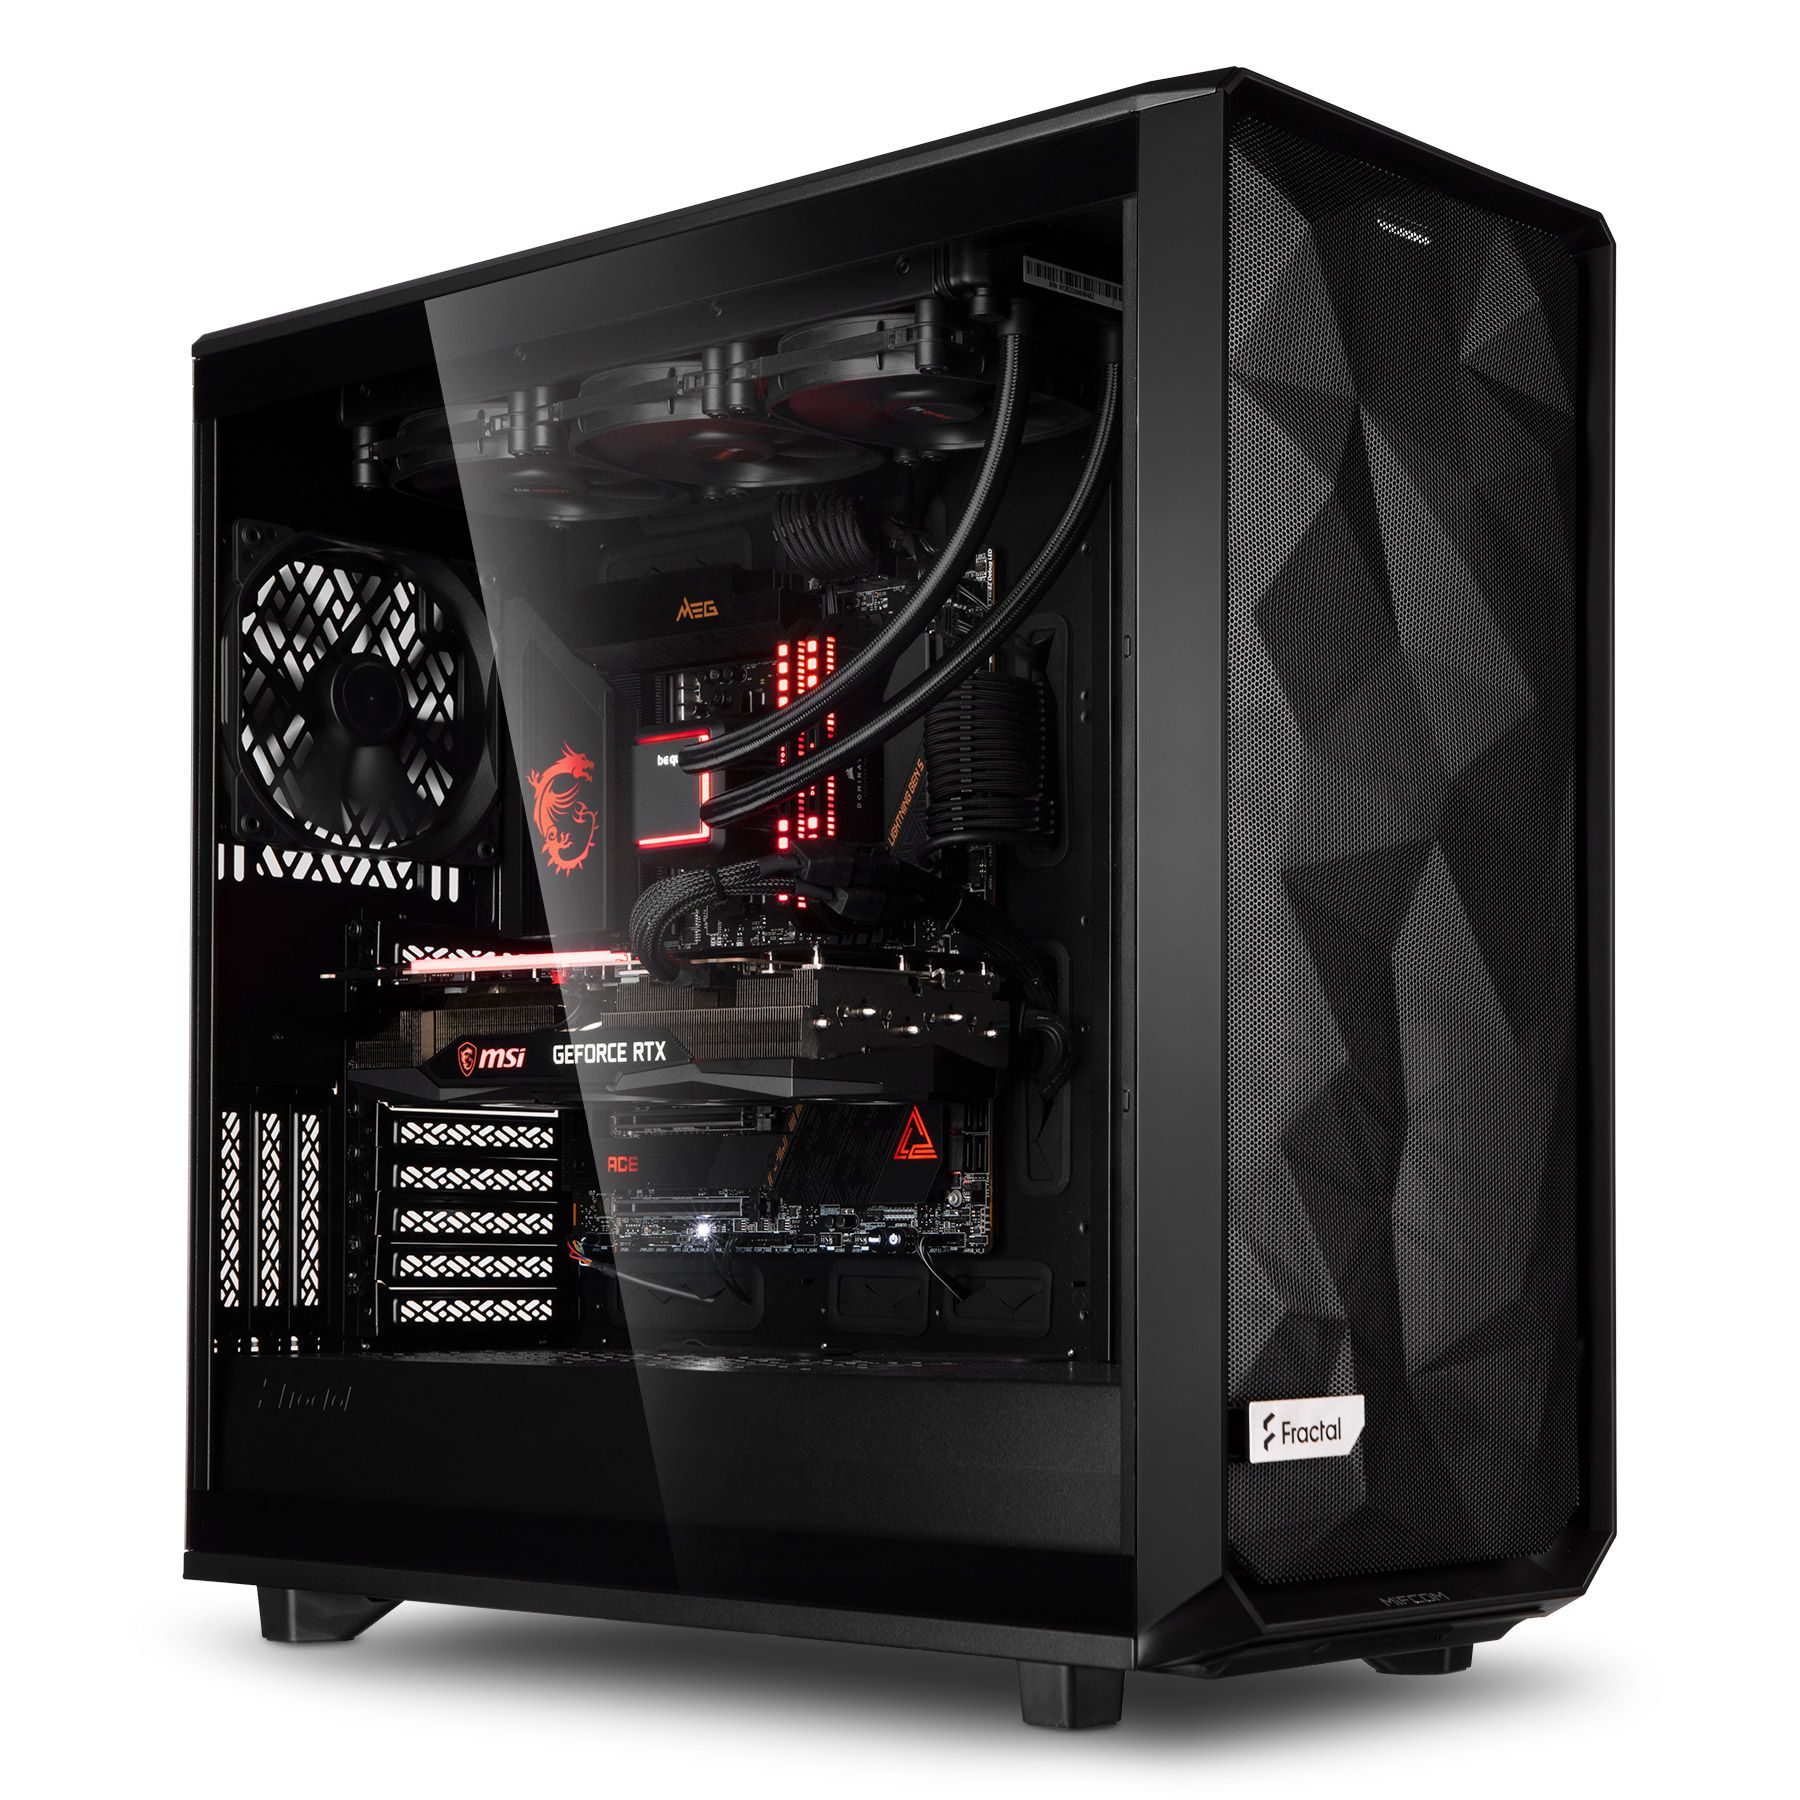
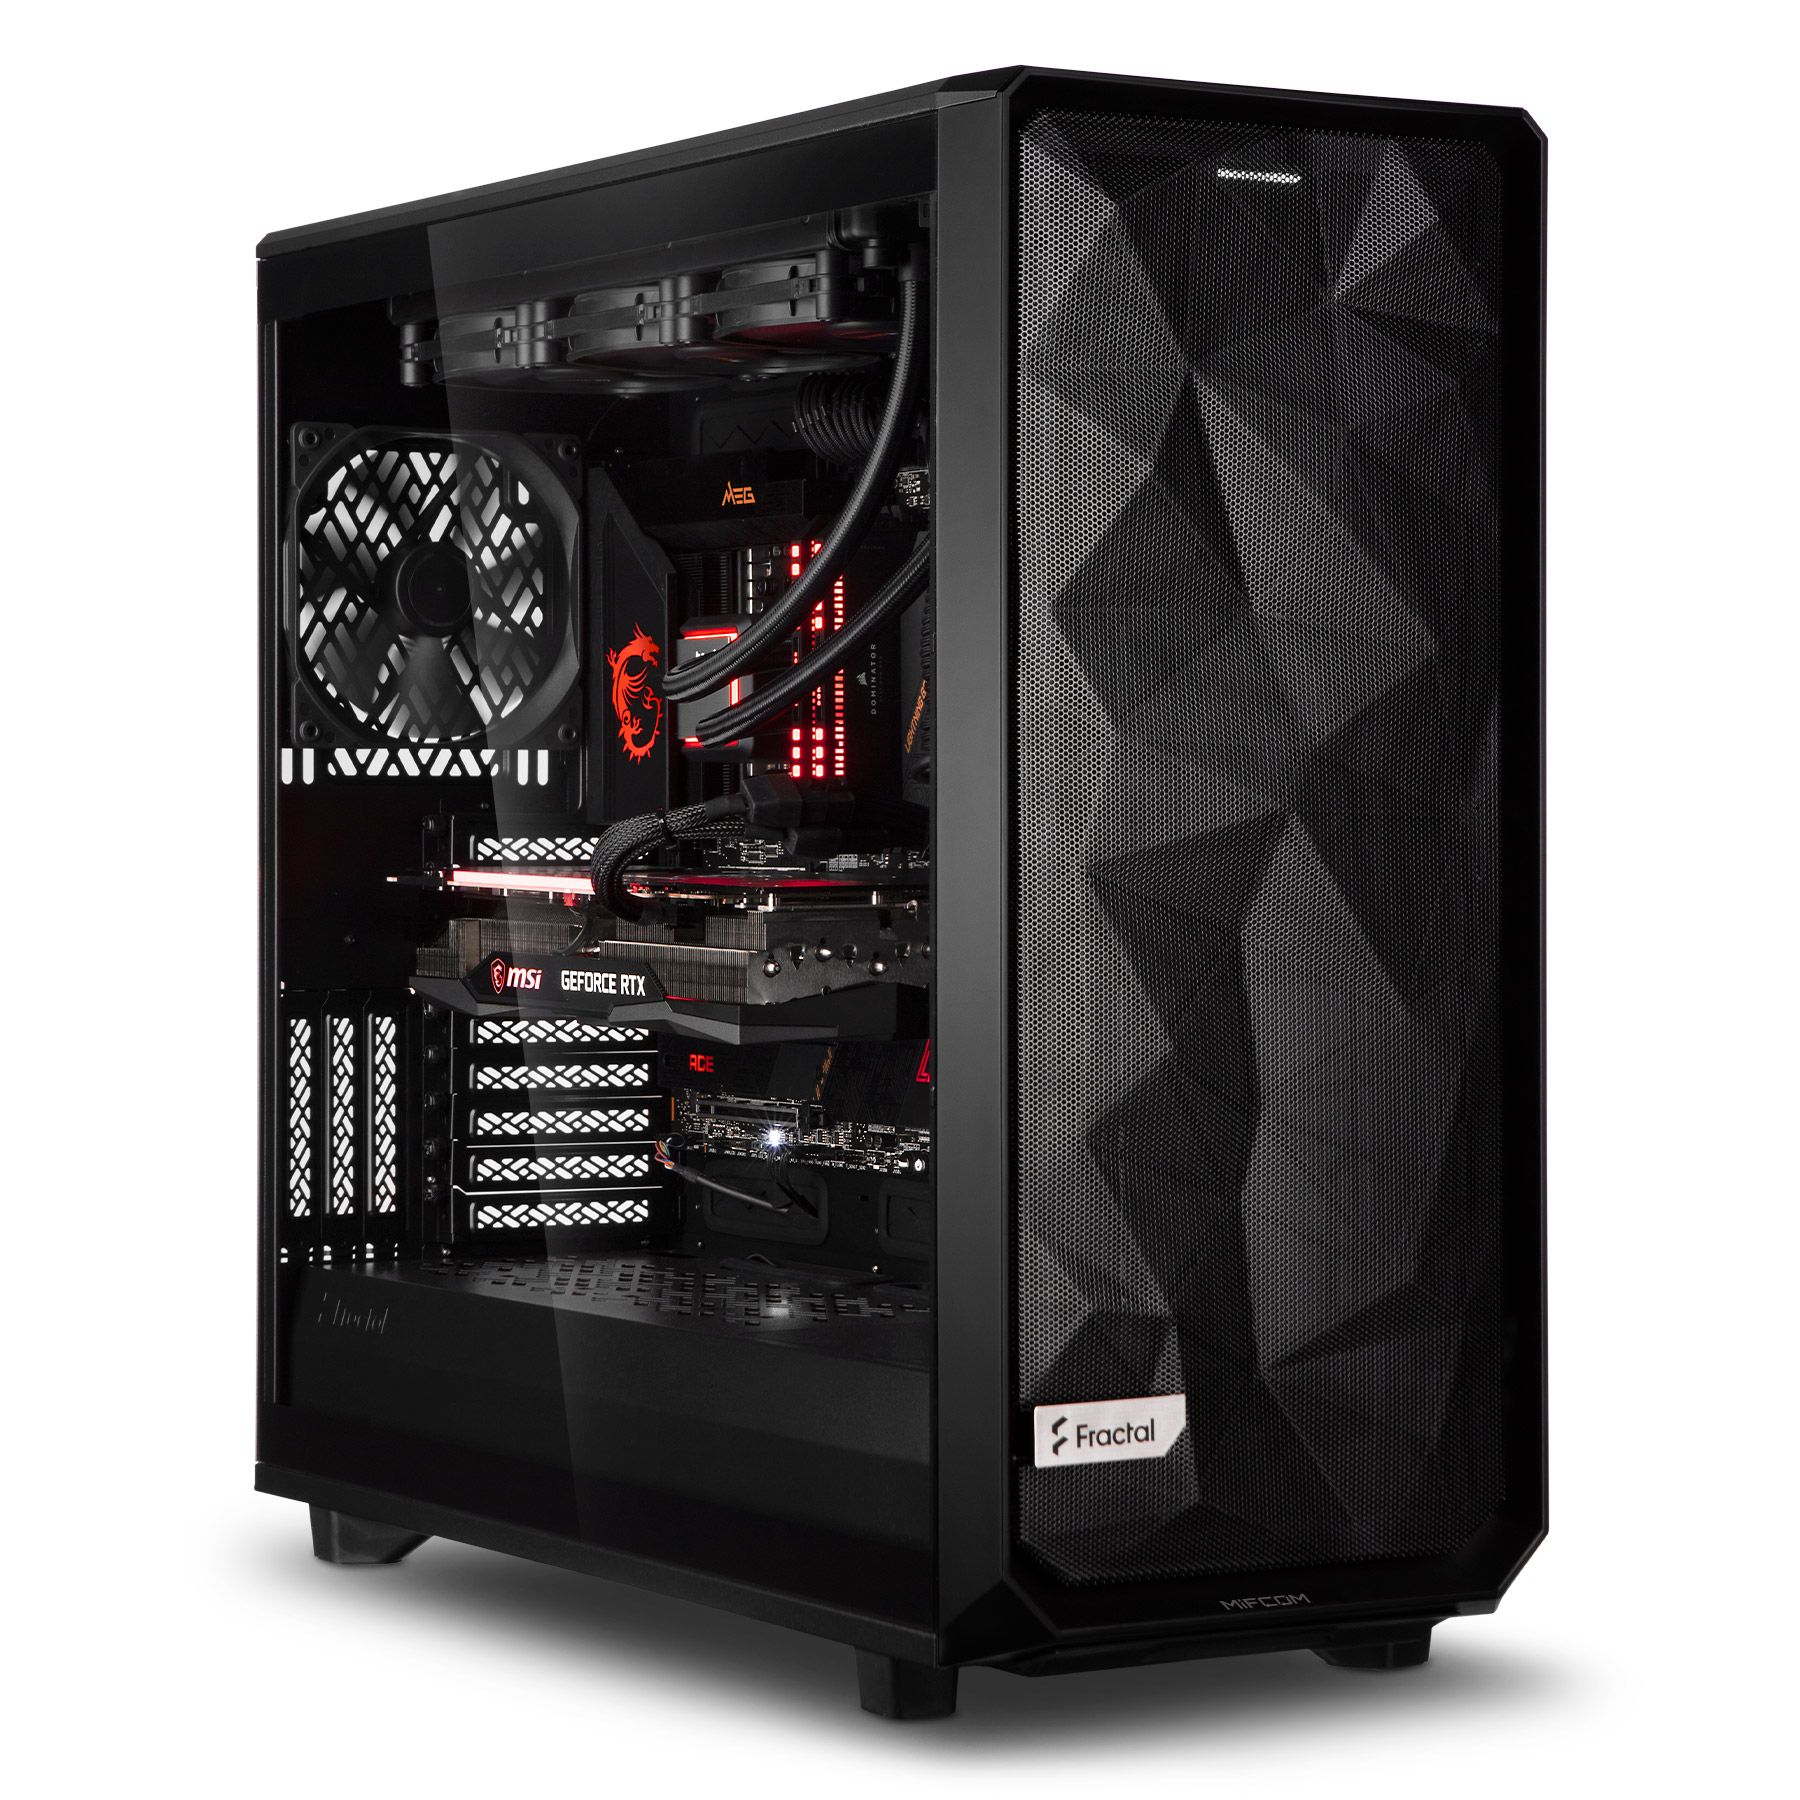
I deliberately did without all the bling-bling in my configuration, but use a current AMD CPU and a solid motherboard for the potent underpinnings. However, the radiator of the SUPRIM X could only be installed in the front, which would have meant an enormous effort during conversion and deconstruction. Therefore, the radiator only stands vertically on the PSU split tunnel in the test. Provisional and not really photogenic. So I’d rather do without that and show you the measurement setup for the power consumption instead 🙂
The PC was assembled nice and neat by MIFCOM (I’m always like that with the cables) and can be purchased in this configuration (see below) exactly the same or modified at the dealer. It was simply important to me here to use a commercially available solution and not my extremely chilled lab hardware in the climate oasis. There is enough space between the side panel (glass) and the graphics card and the storage space of the XL case was not even close to being used. Thus, even all other RTX 4090s without AiO still have enough room to breathe. So that should fit. I also only need two fans in the front (or else blowing out the radiator of the SUPRIM X). Unfortunately, the side panel doesn’t close here because of the hoses and I don’t own a riser setup for this case.
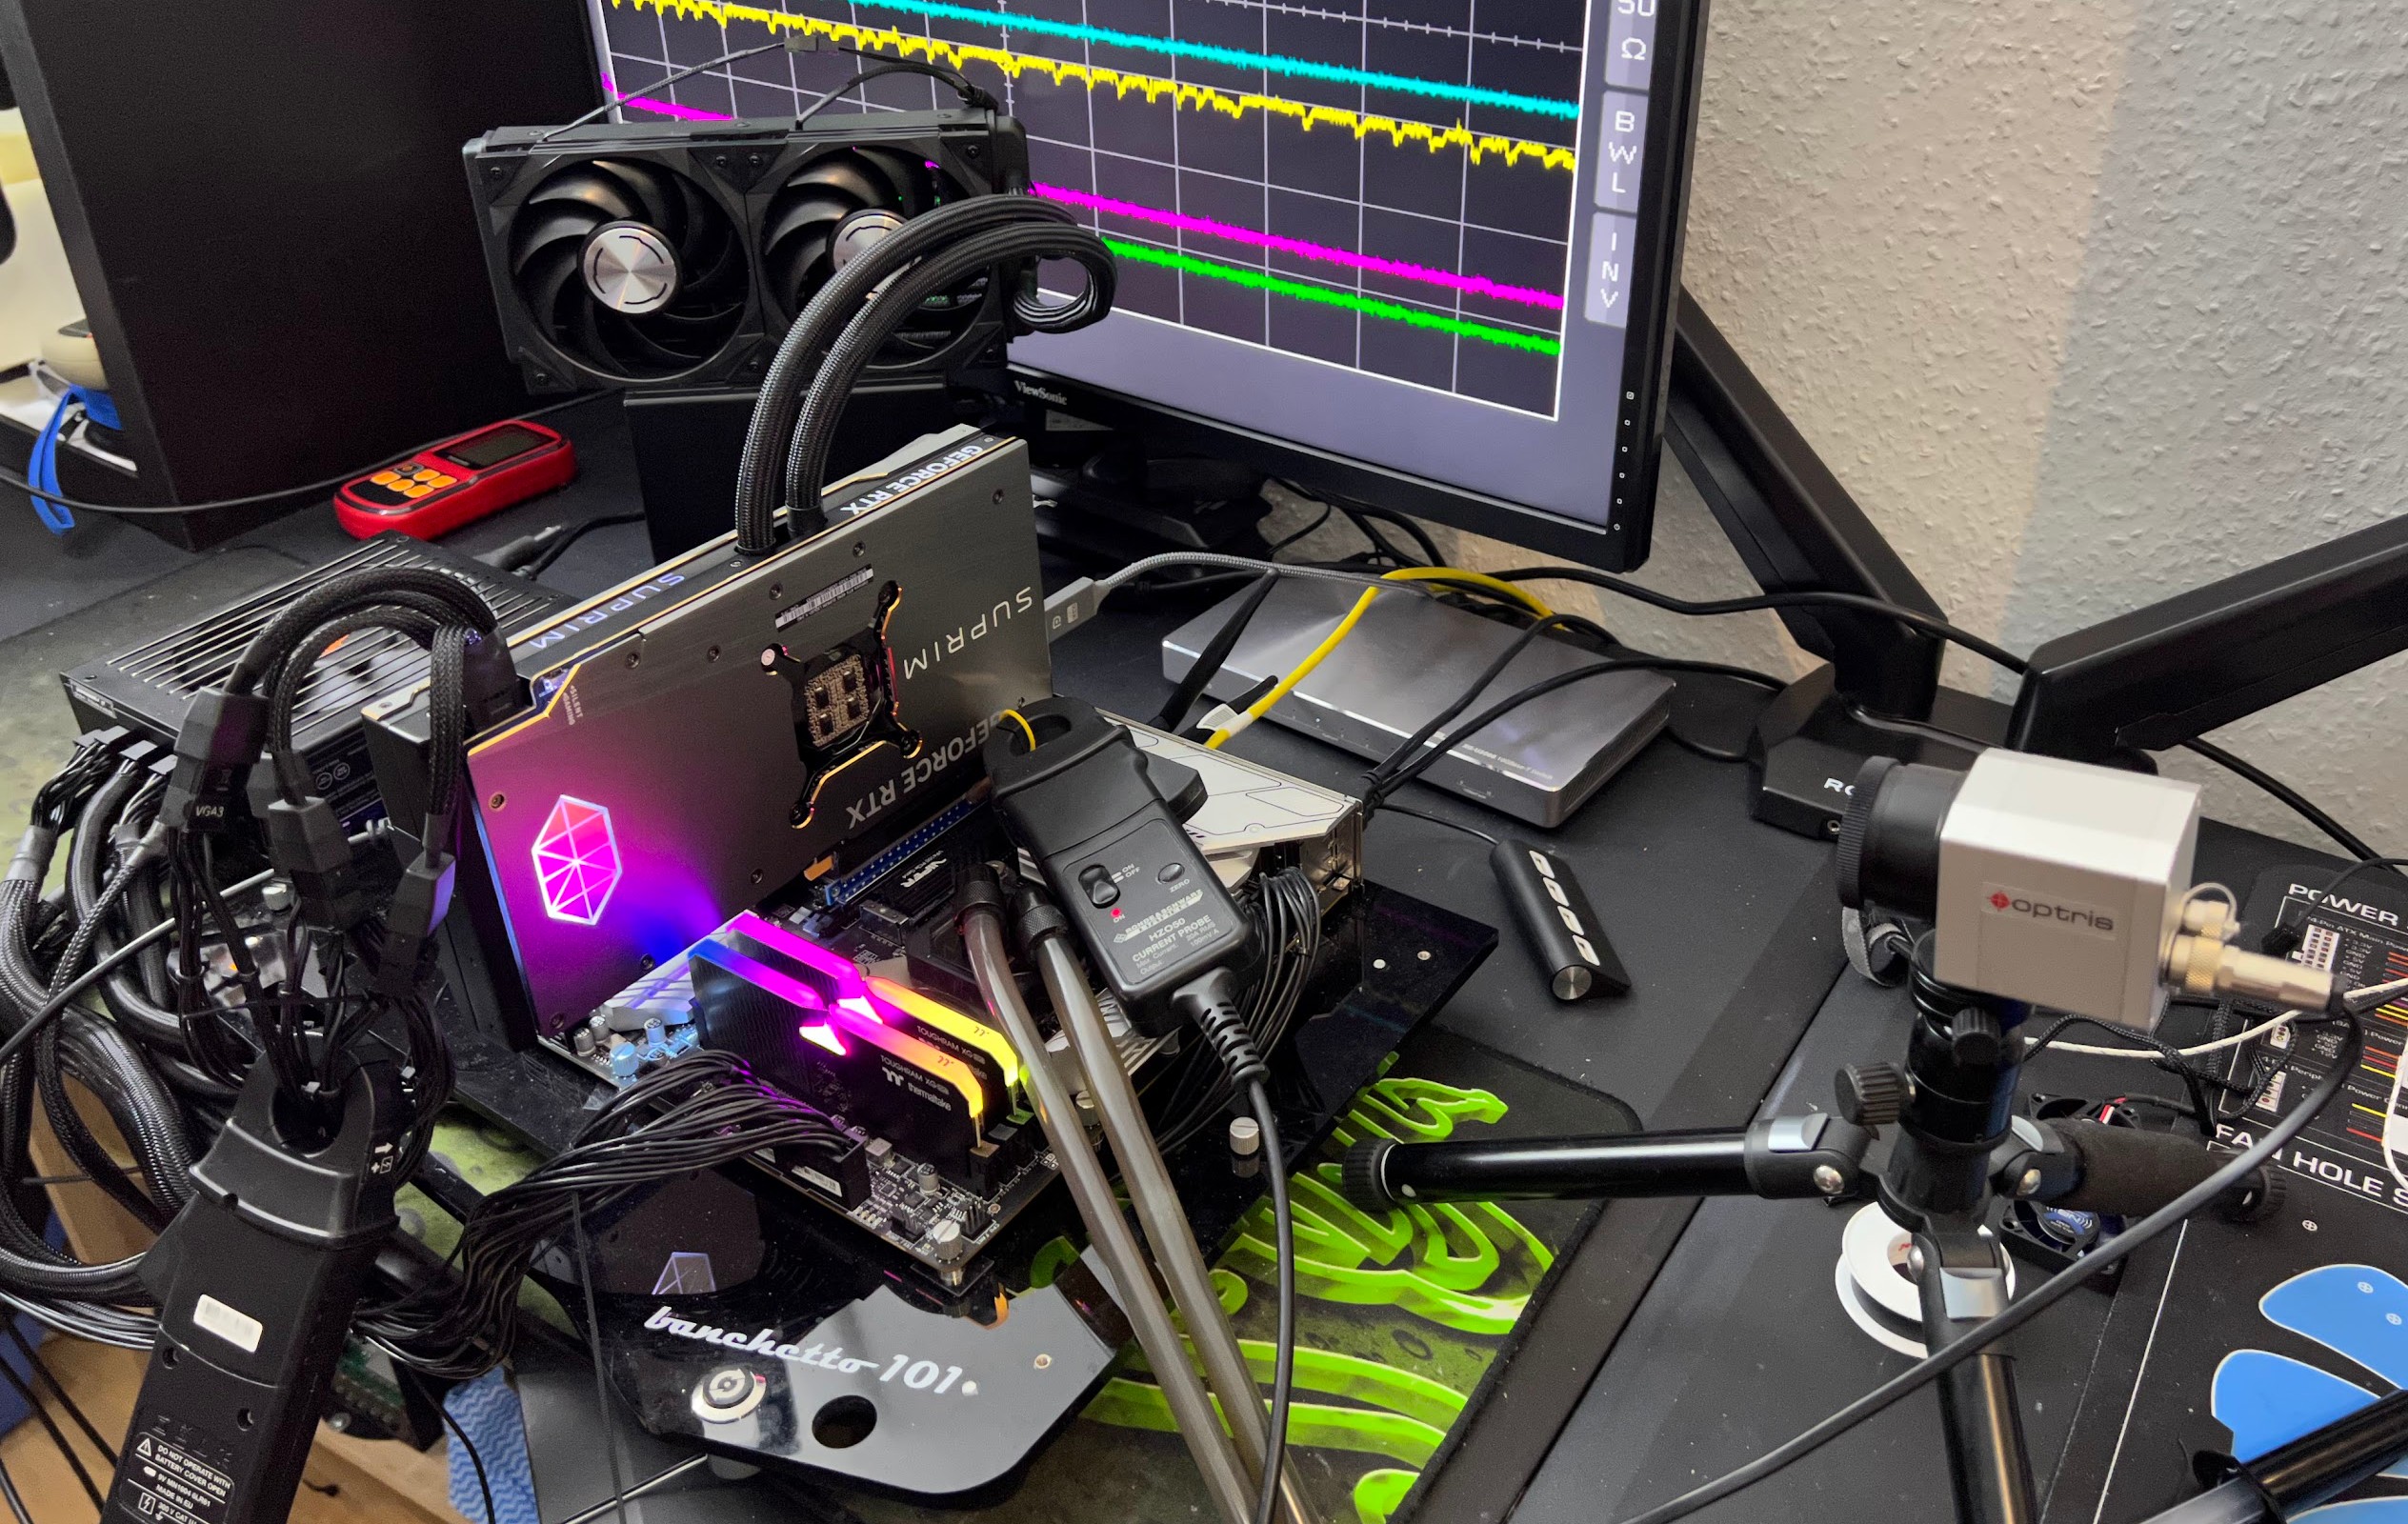
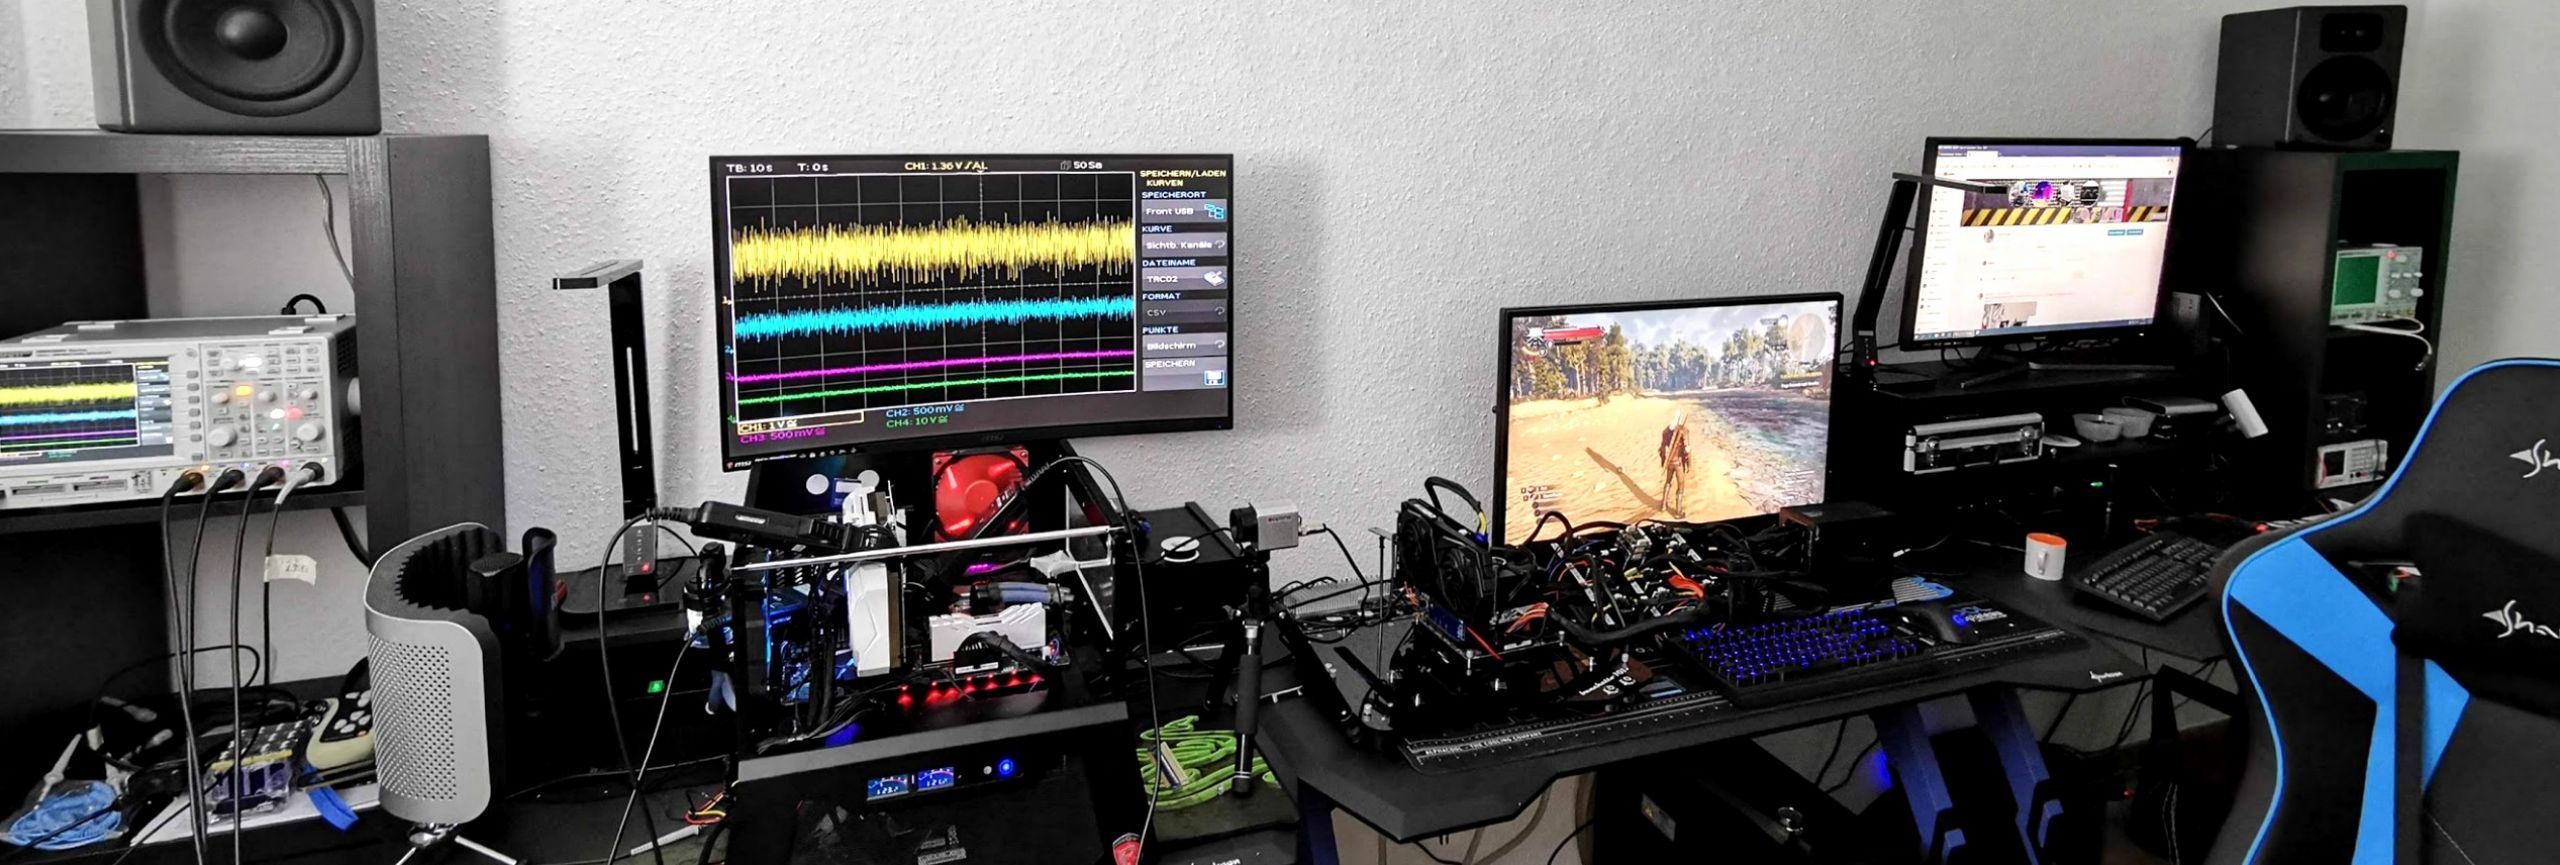
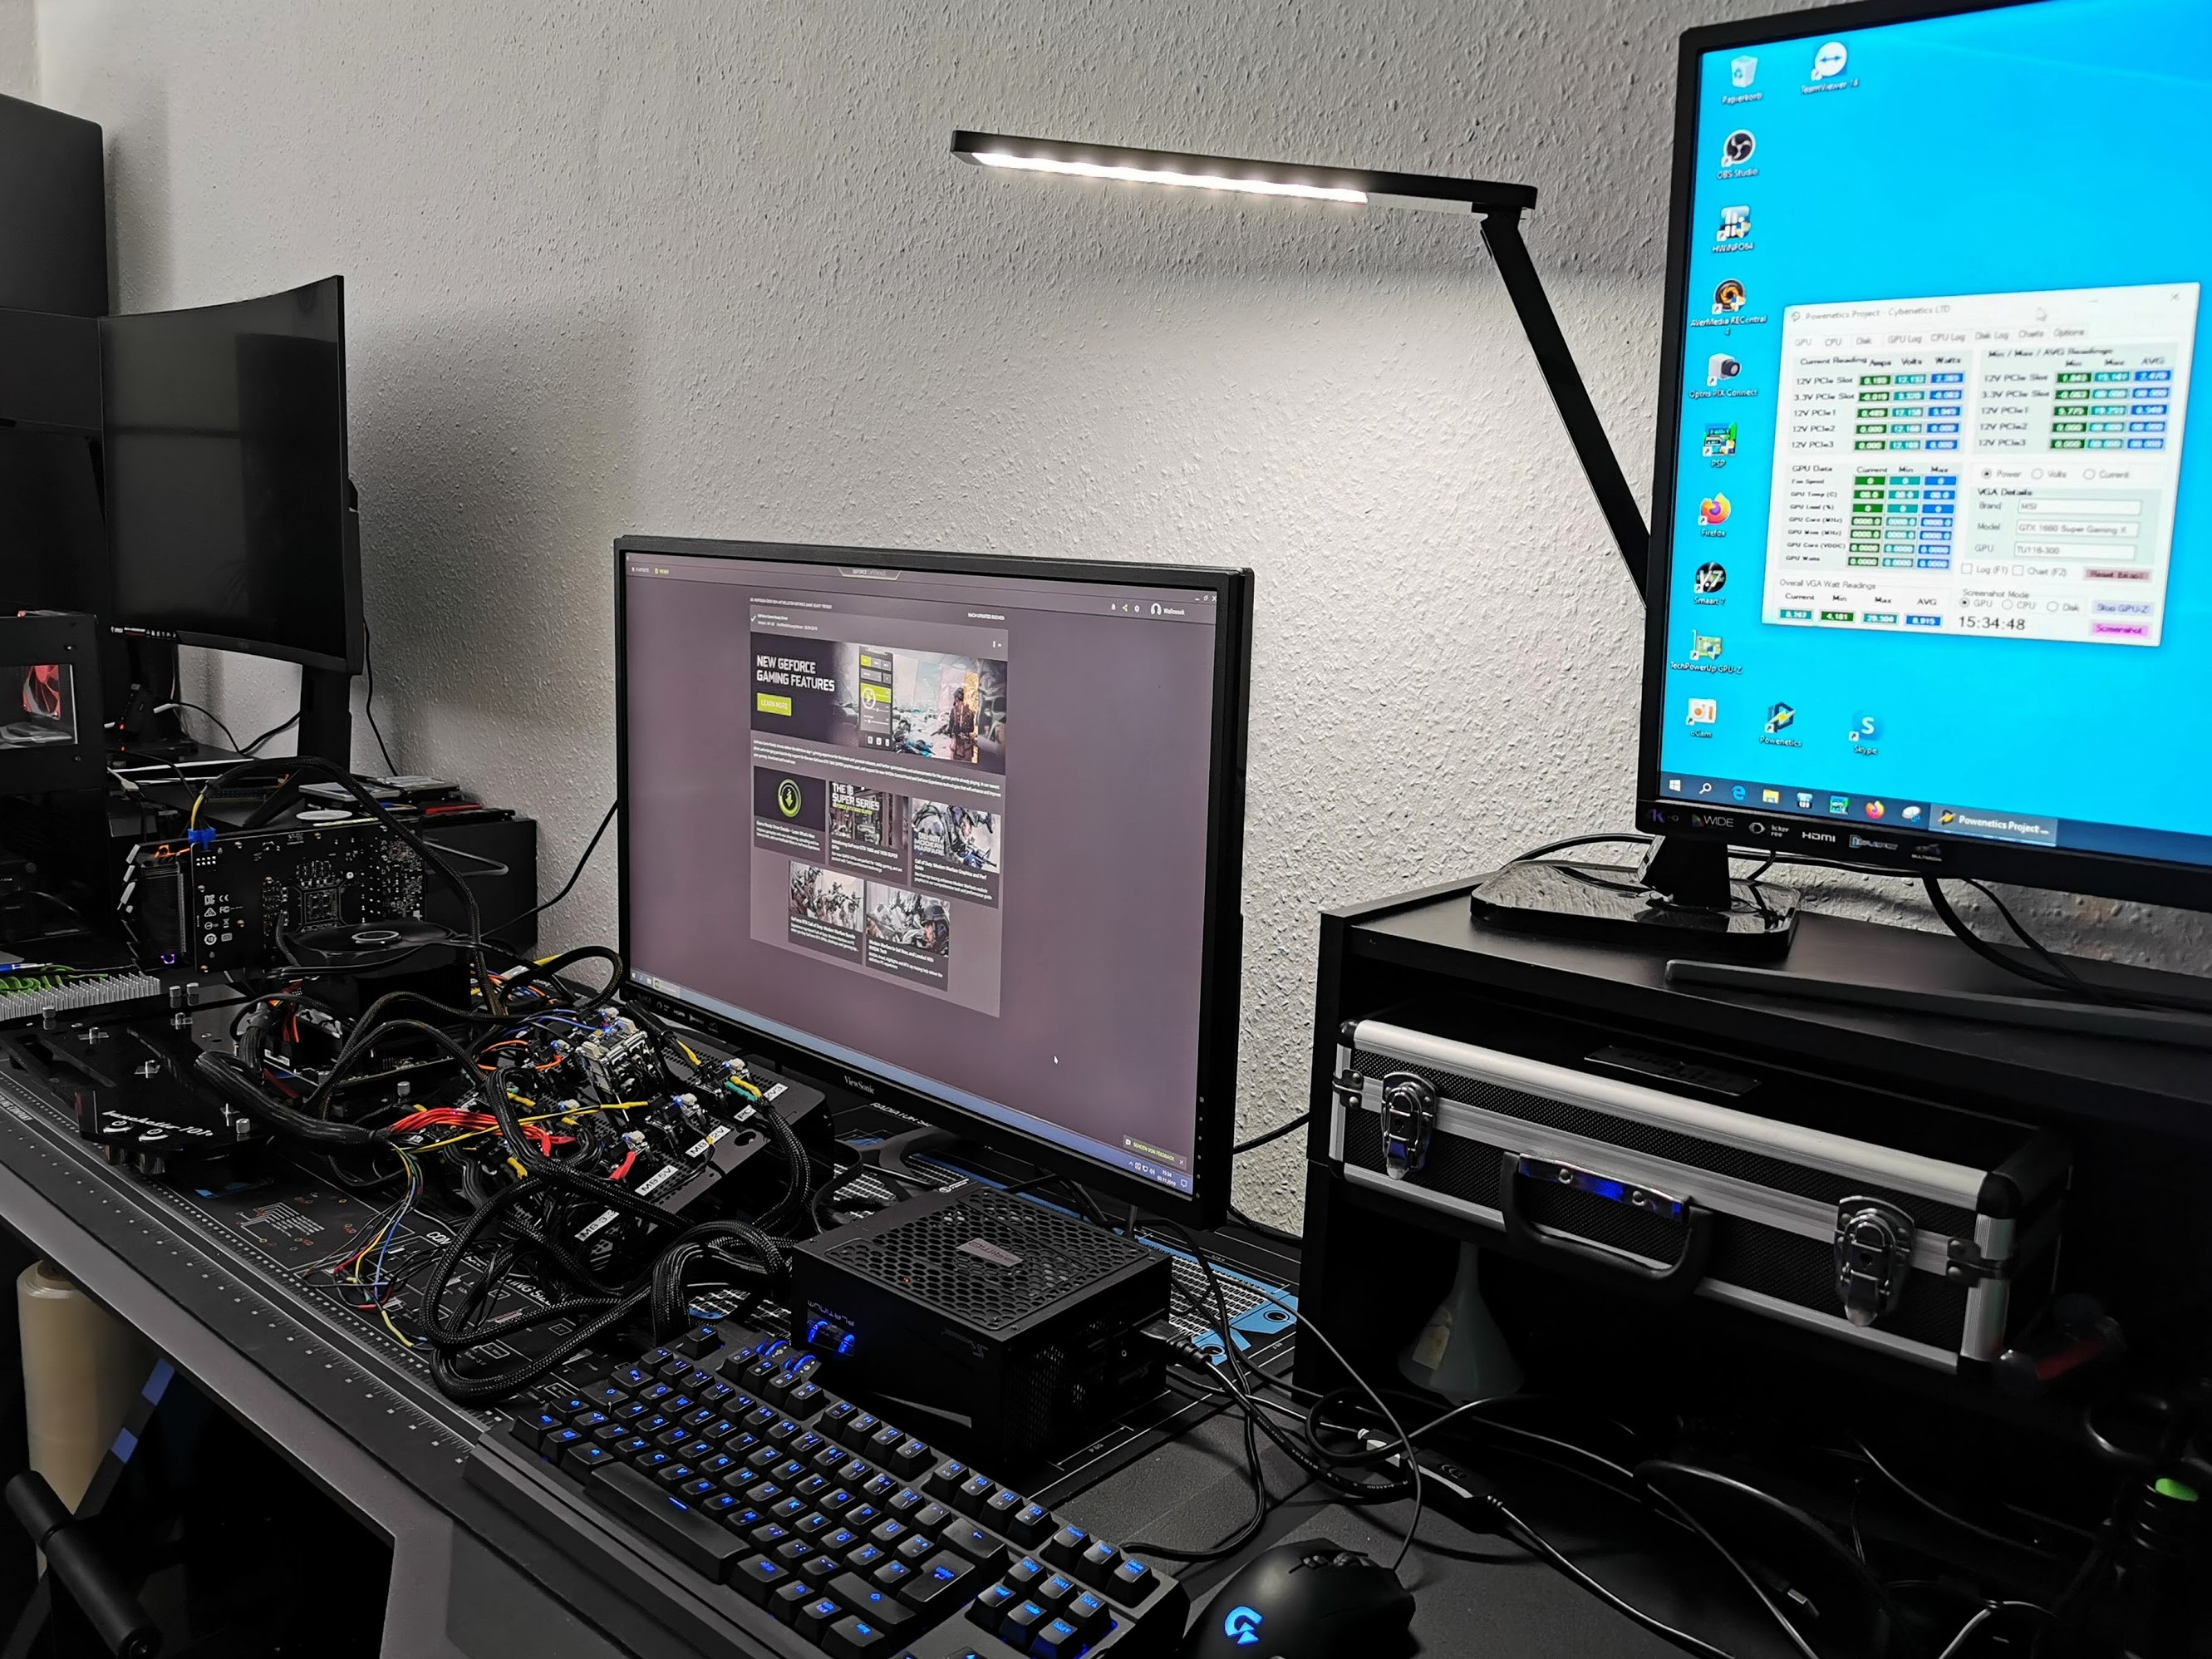
However, the measurement of the detailed power consumption and other, more in-depth things is done in the lab on two tracks using high-resolution oscilloscope technology (there are also various follow-ups!) and the self-created, MCU-based measurement setup for motherboards and graphics cards (pictures below) or NVIDIA’s PCAT. For this, of course, I use a redundant system, with the same components, because such measurements in the housing are rather difficult.
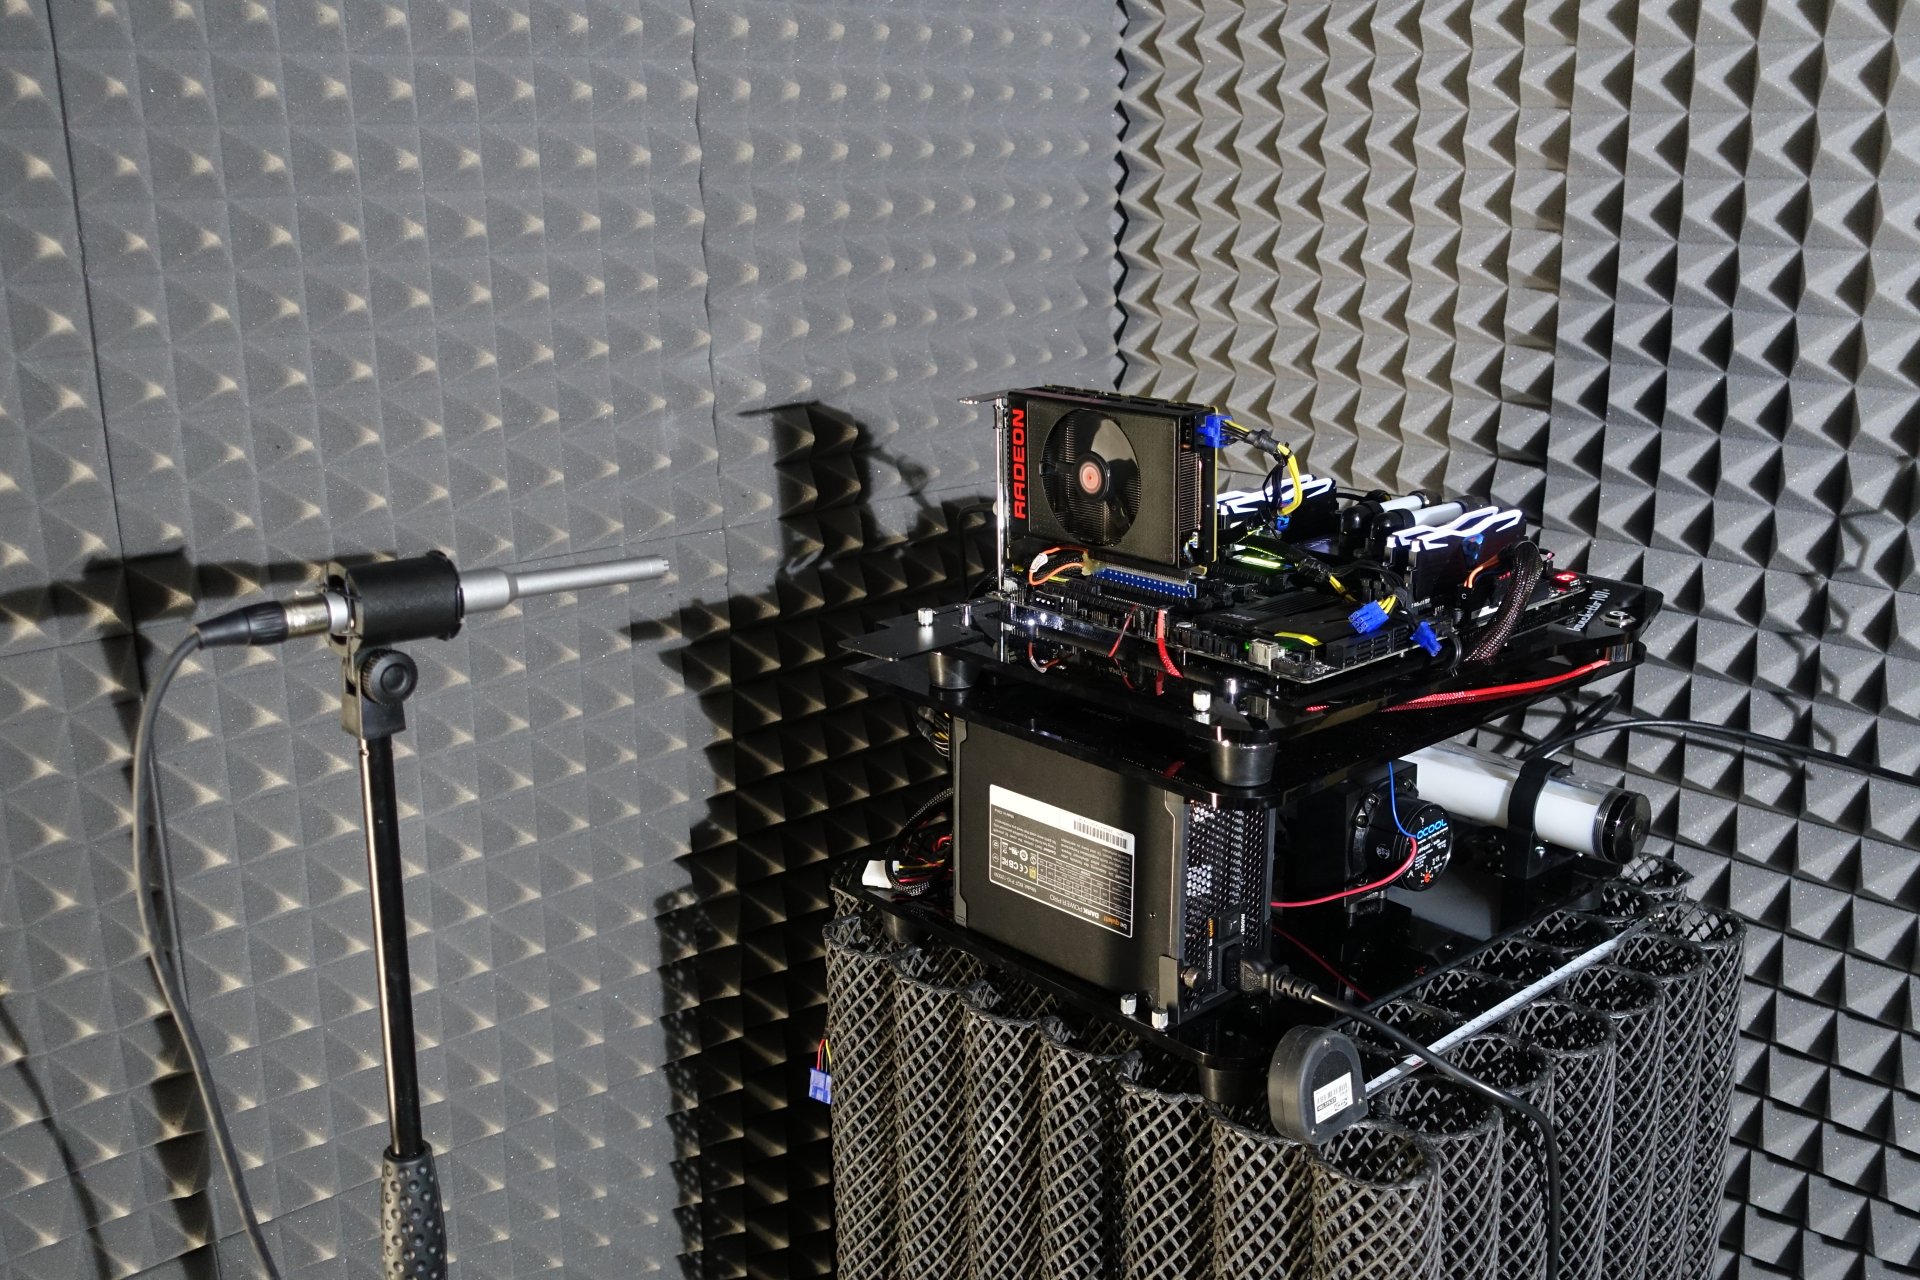
The audio measurements are done outside in my Chamber (room within a room).

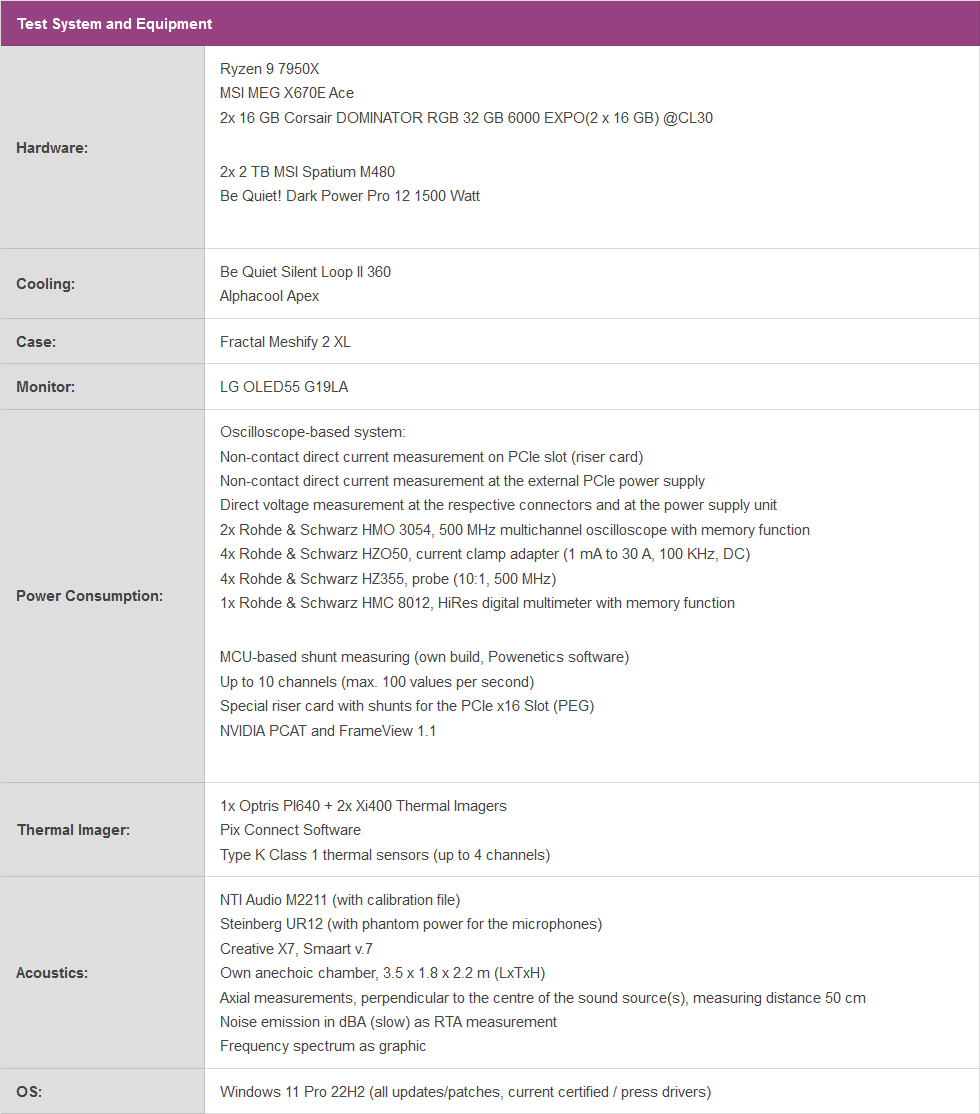
I have also summarized the individual components of the test system in a table:

- 1 - Introduction, technical data and technology
- 2 - Test System and the igor'sLAB MIFCOM-PC
- 3 - Teardown: PCB and Cooling System
- 4 - Gaming Performance
- 5 - Power Consumption and Load Balancing
- 6 - Load peaks, capping and PSU recommendation
- 7 - Temperatures, Clock Rate, OC, Fan Speed and Noise
- 8 - Summary and Conclusion


93 Antworten
Kommentar
Lade neue Kommentare
Veteran
Urgestein
Urgestein
1
Urgestein
Urgestein
Urgestein
Mitglied
Urgestein
Urgestein
1
Urgestein
Veteran
Mitglied
Mitglied
Mitglied
1
Mitglied
Veteran
Alle Kommentare lesen unter igor´sLAB Community →