


Installation report
After I had almost completely disassembled the case for the unboxing and for photographing the details, the construction diary is a bit shorter today. The case test system was used, which I will go into more detail on the following page.
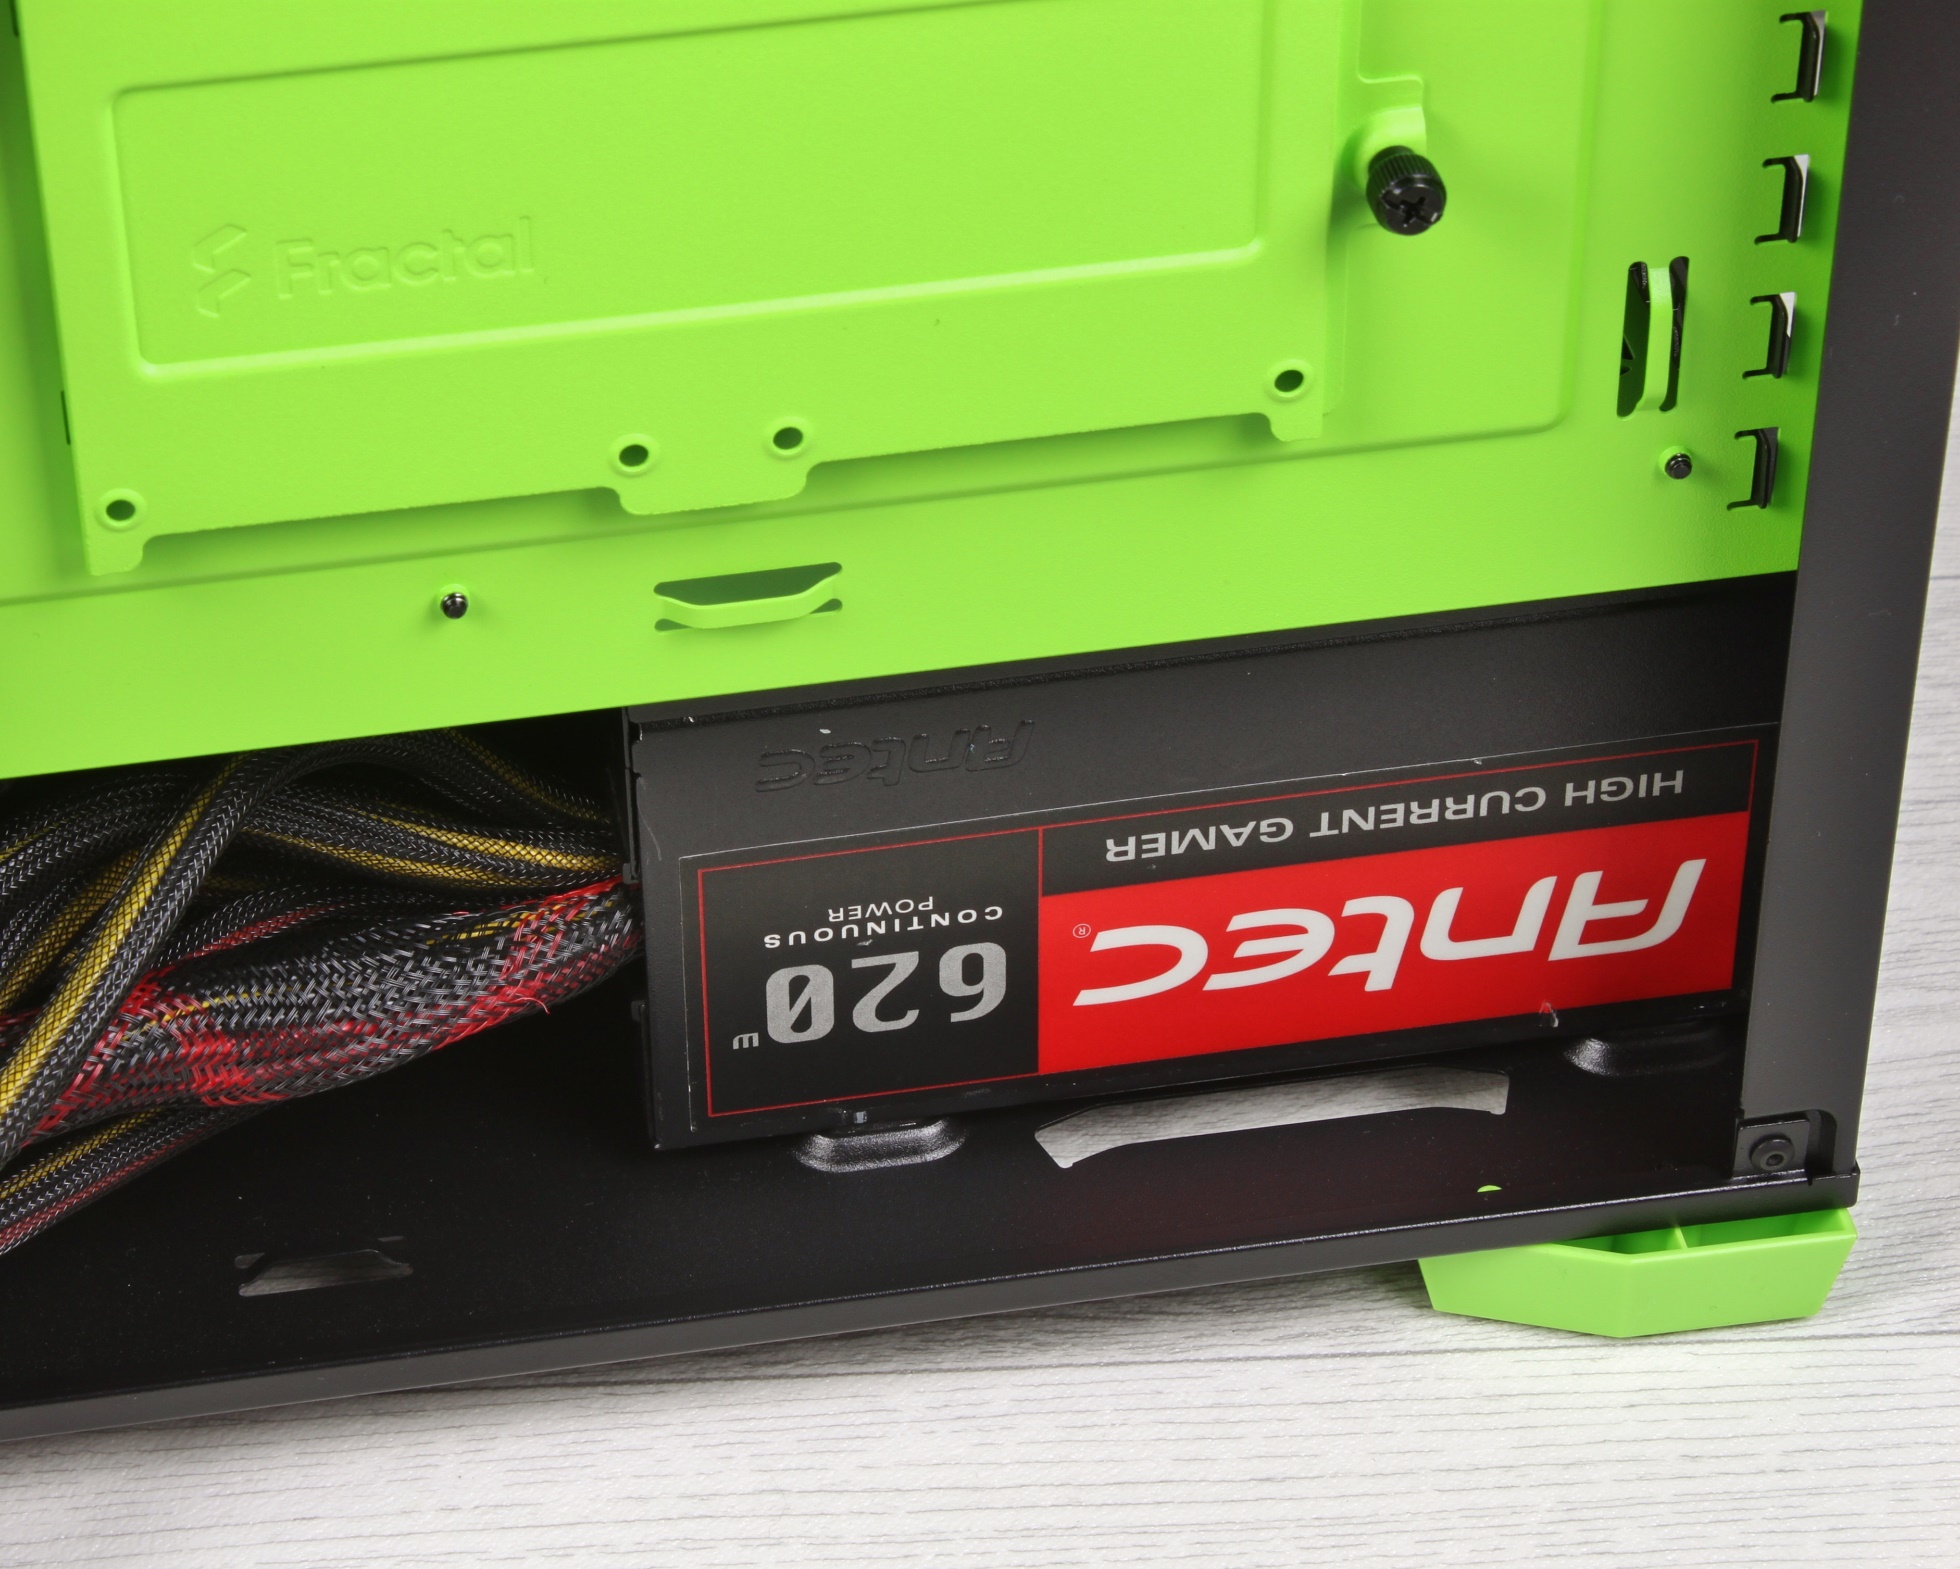
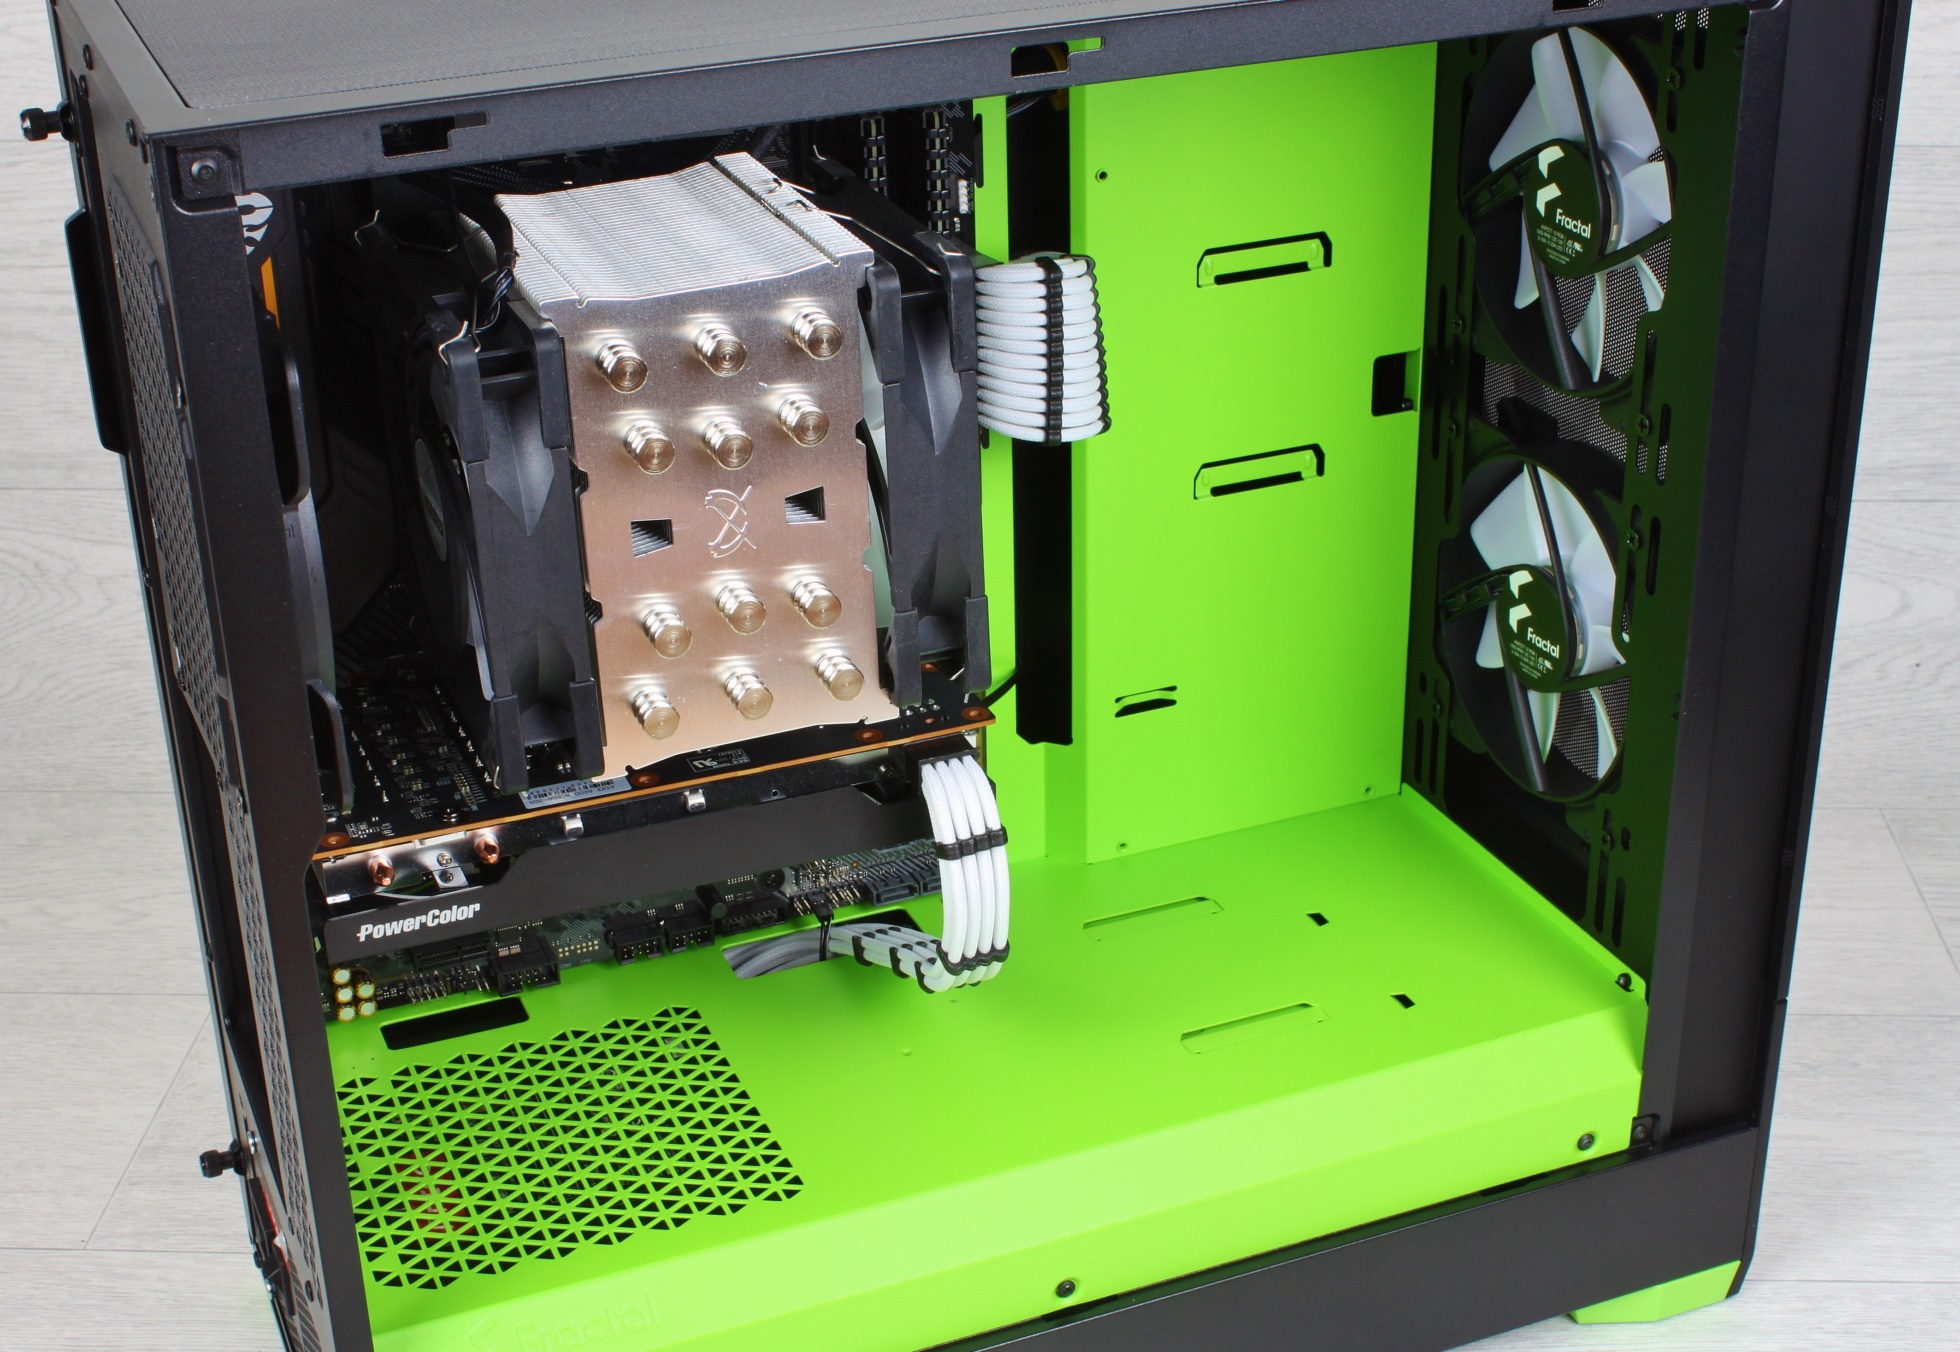
To get an idea where the cables are routed along, the power supply was mounted first. For a case test, it really makes sense to use a power supply without cable management – this way, you can see how much space is available for the cables.
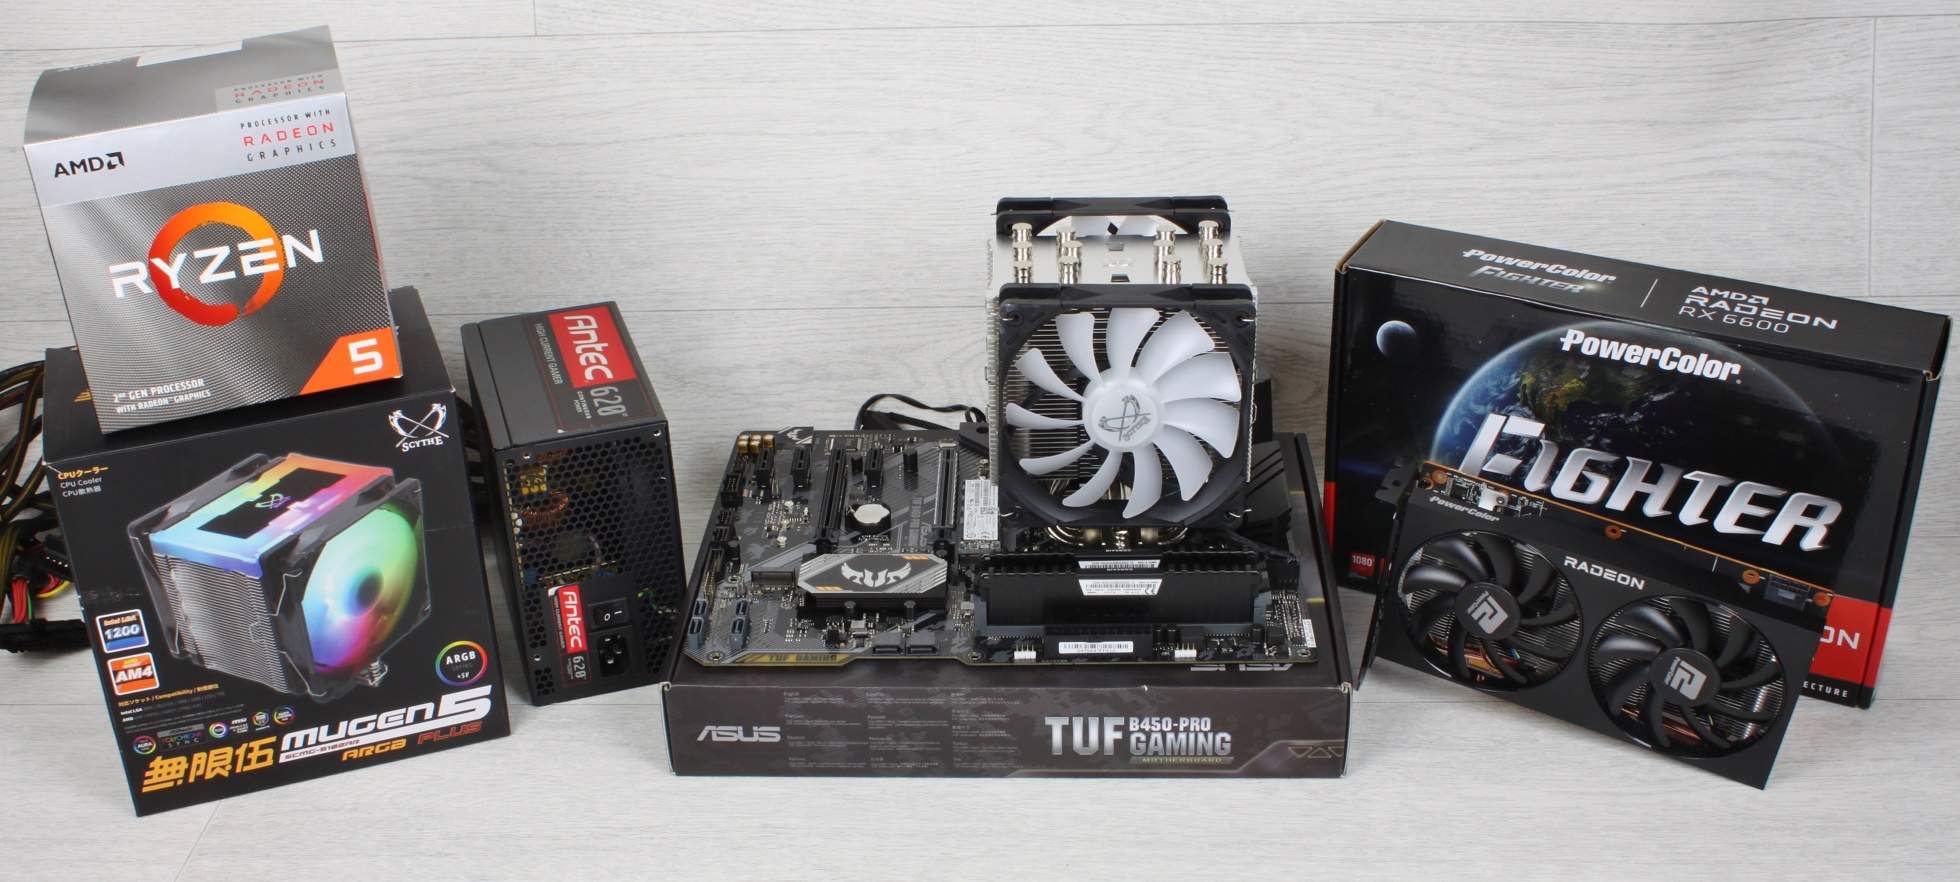
Since I had already pre-assembled the CPU including cooler, RAM and SSD, the following step was of course very fast.
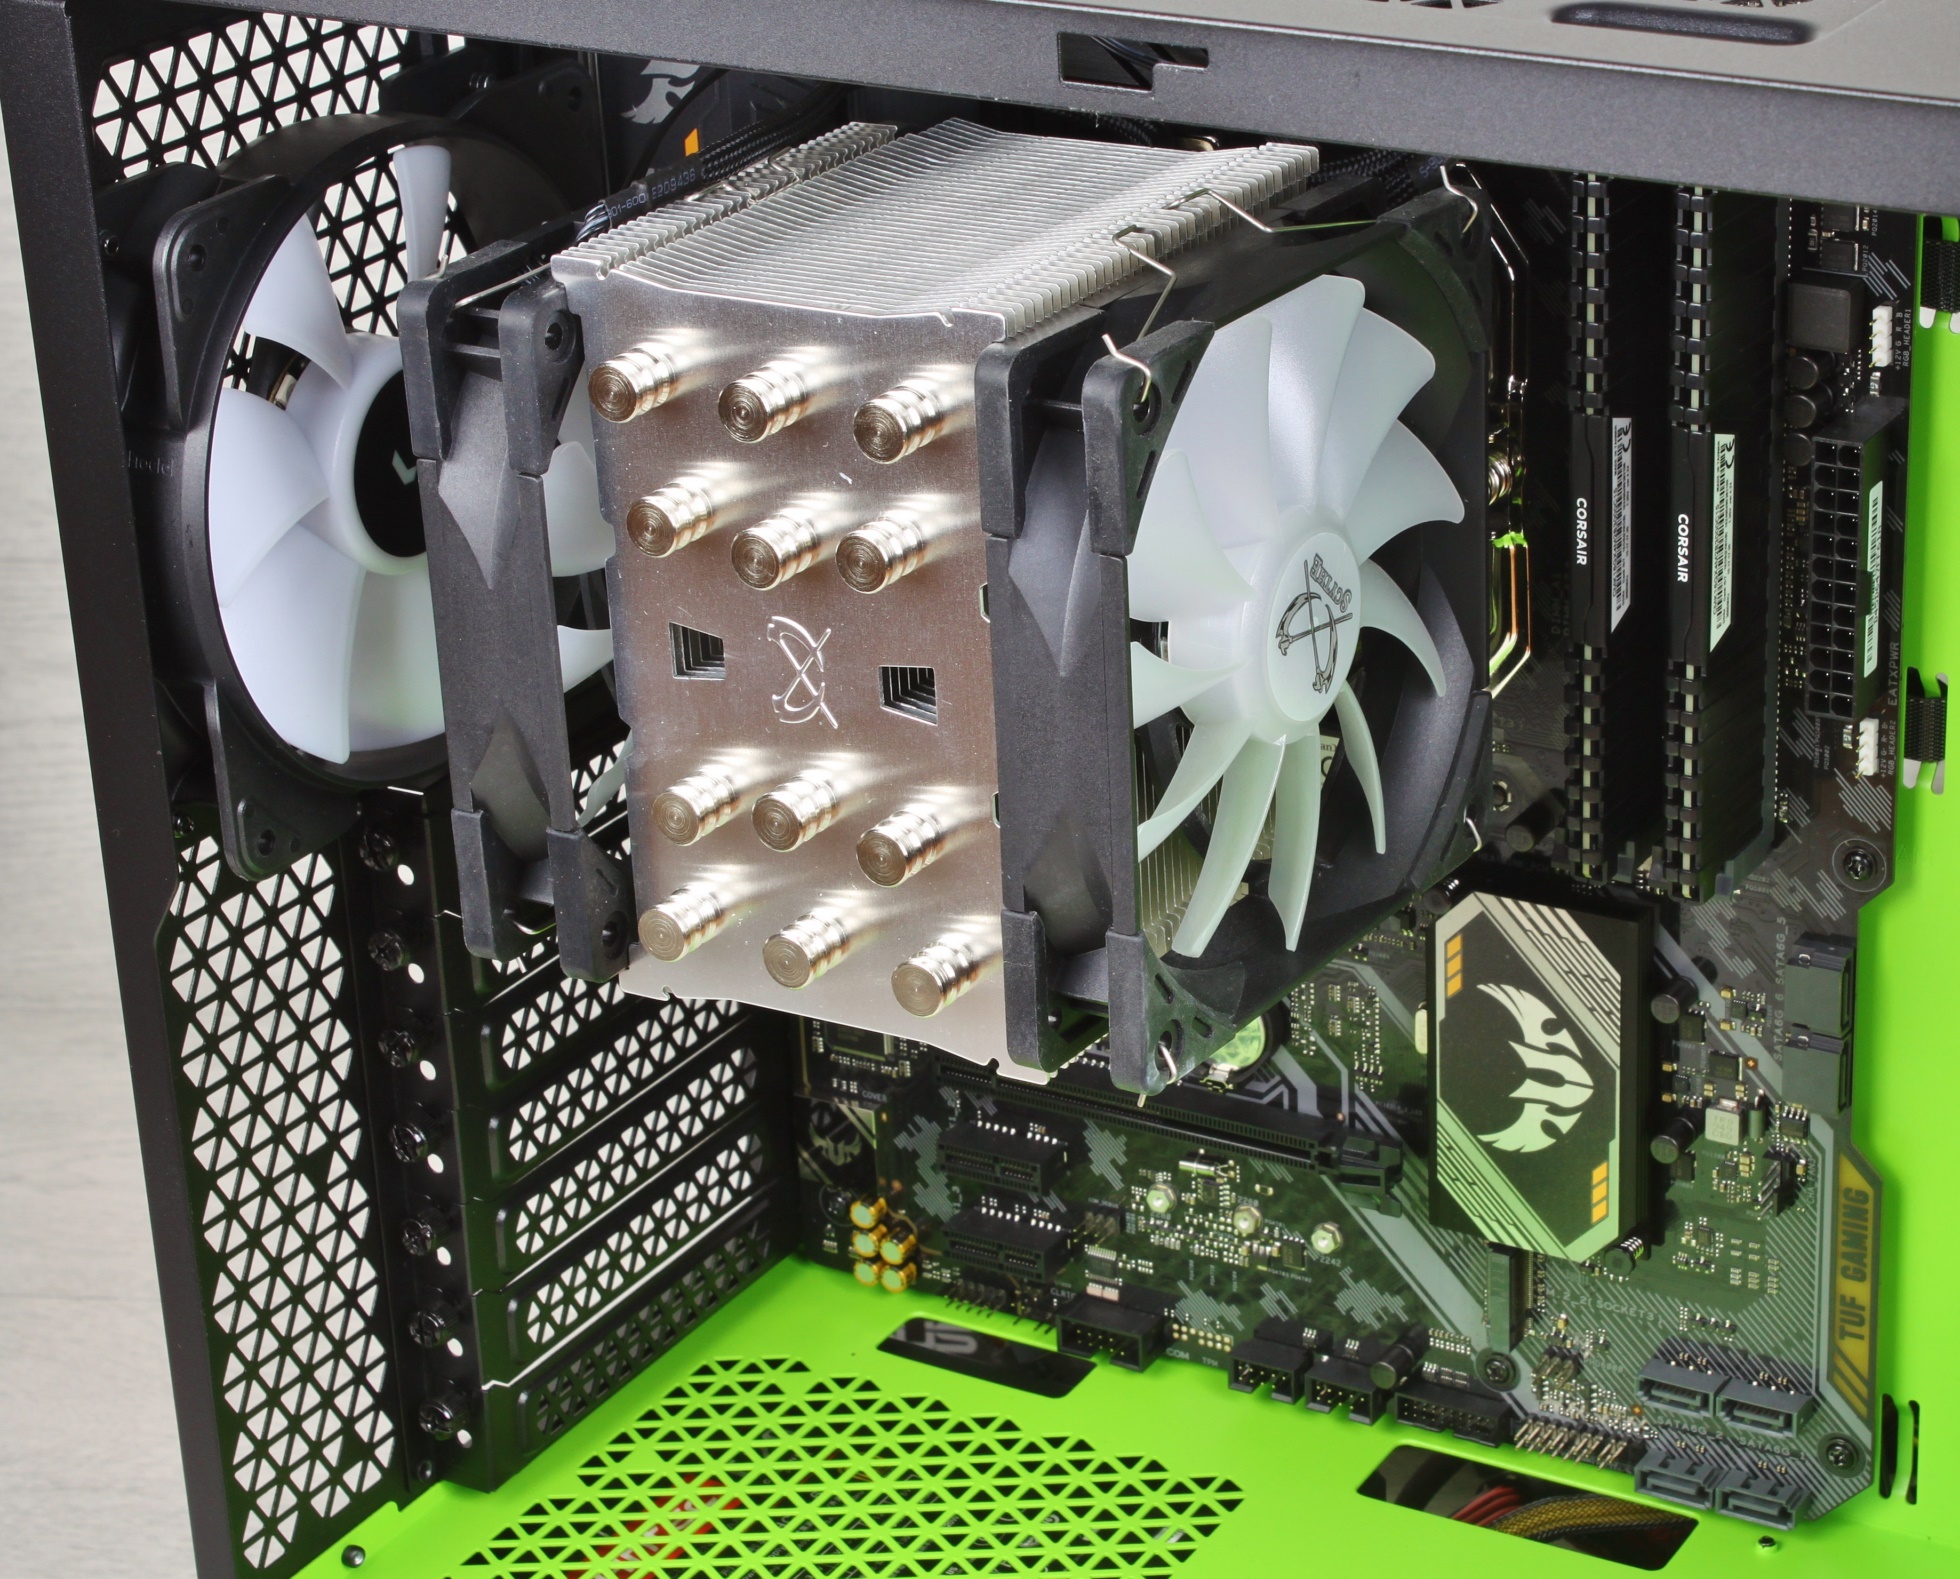
The next step was to complete the wiring. Because I didn’t install any additional drives and the fans can all be looped through as a “daisy chain”, the effort here was really limited. Even the two ARGB fans from the CPU cooler I could simply hang on the chain, that’s practical. Because I had forgotten the picture last time, I paid extra attention to it in this setup. The existing 19mm are plenty, even when using a power supply without cable management and fat extensions for motherboard and graphics card.
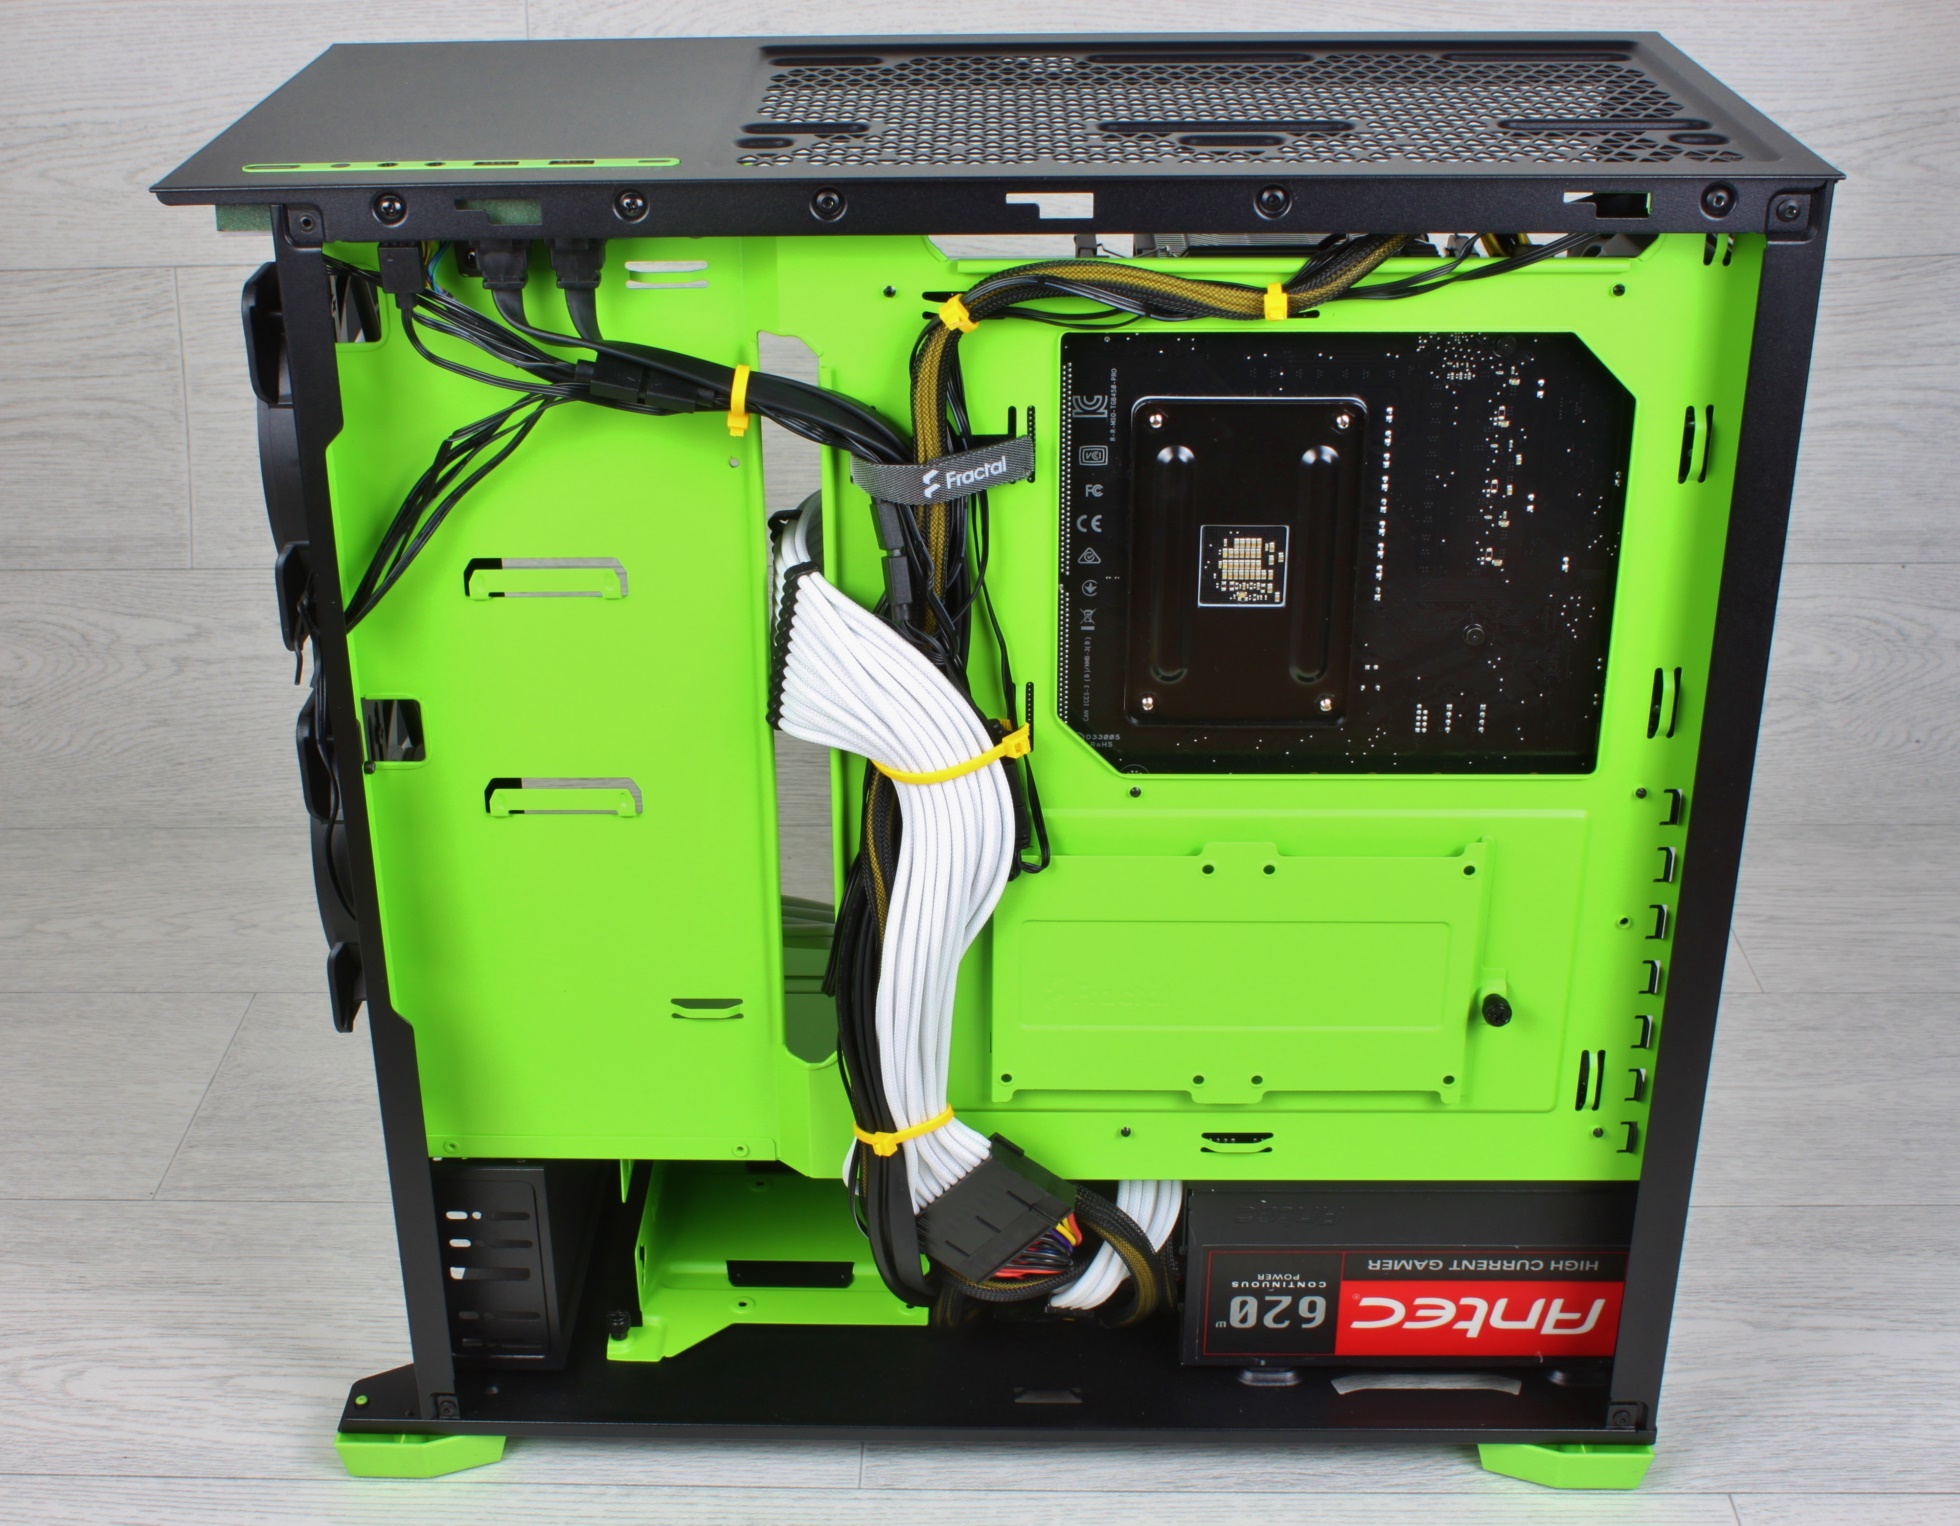
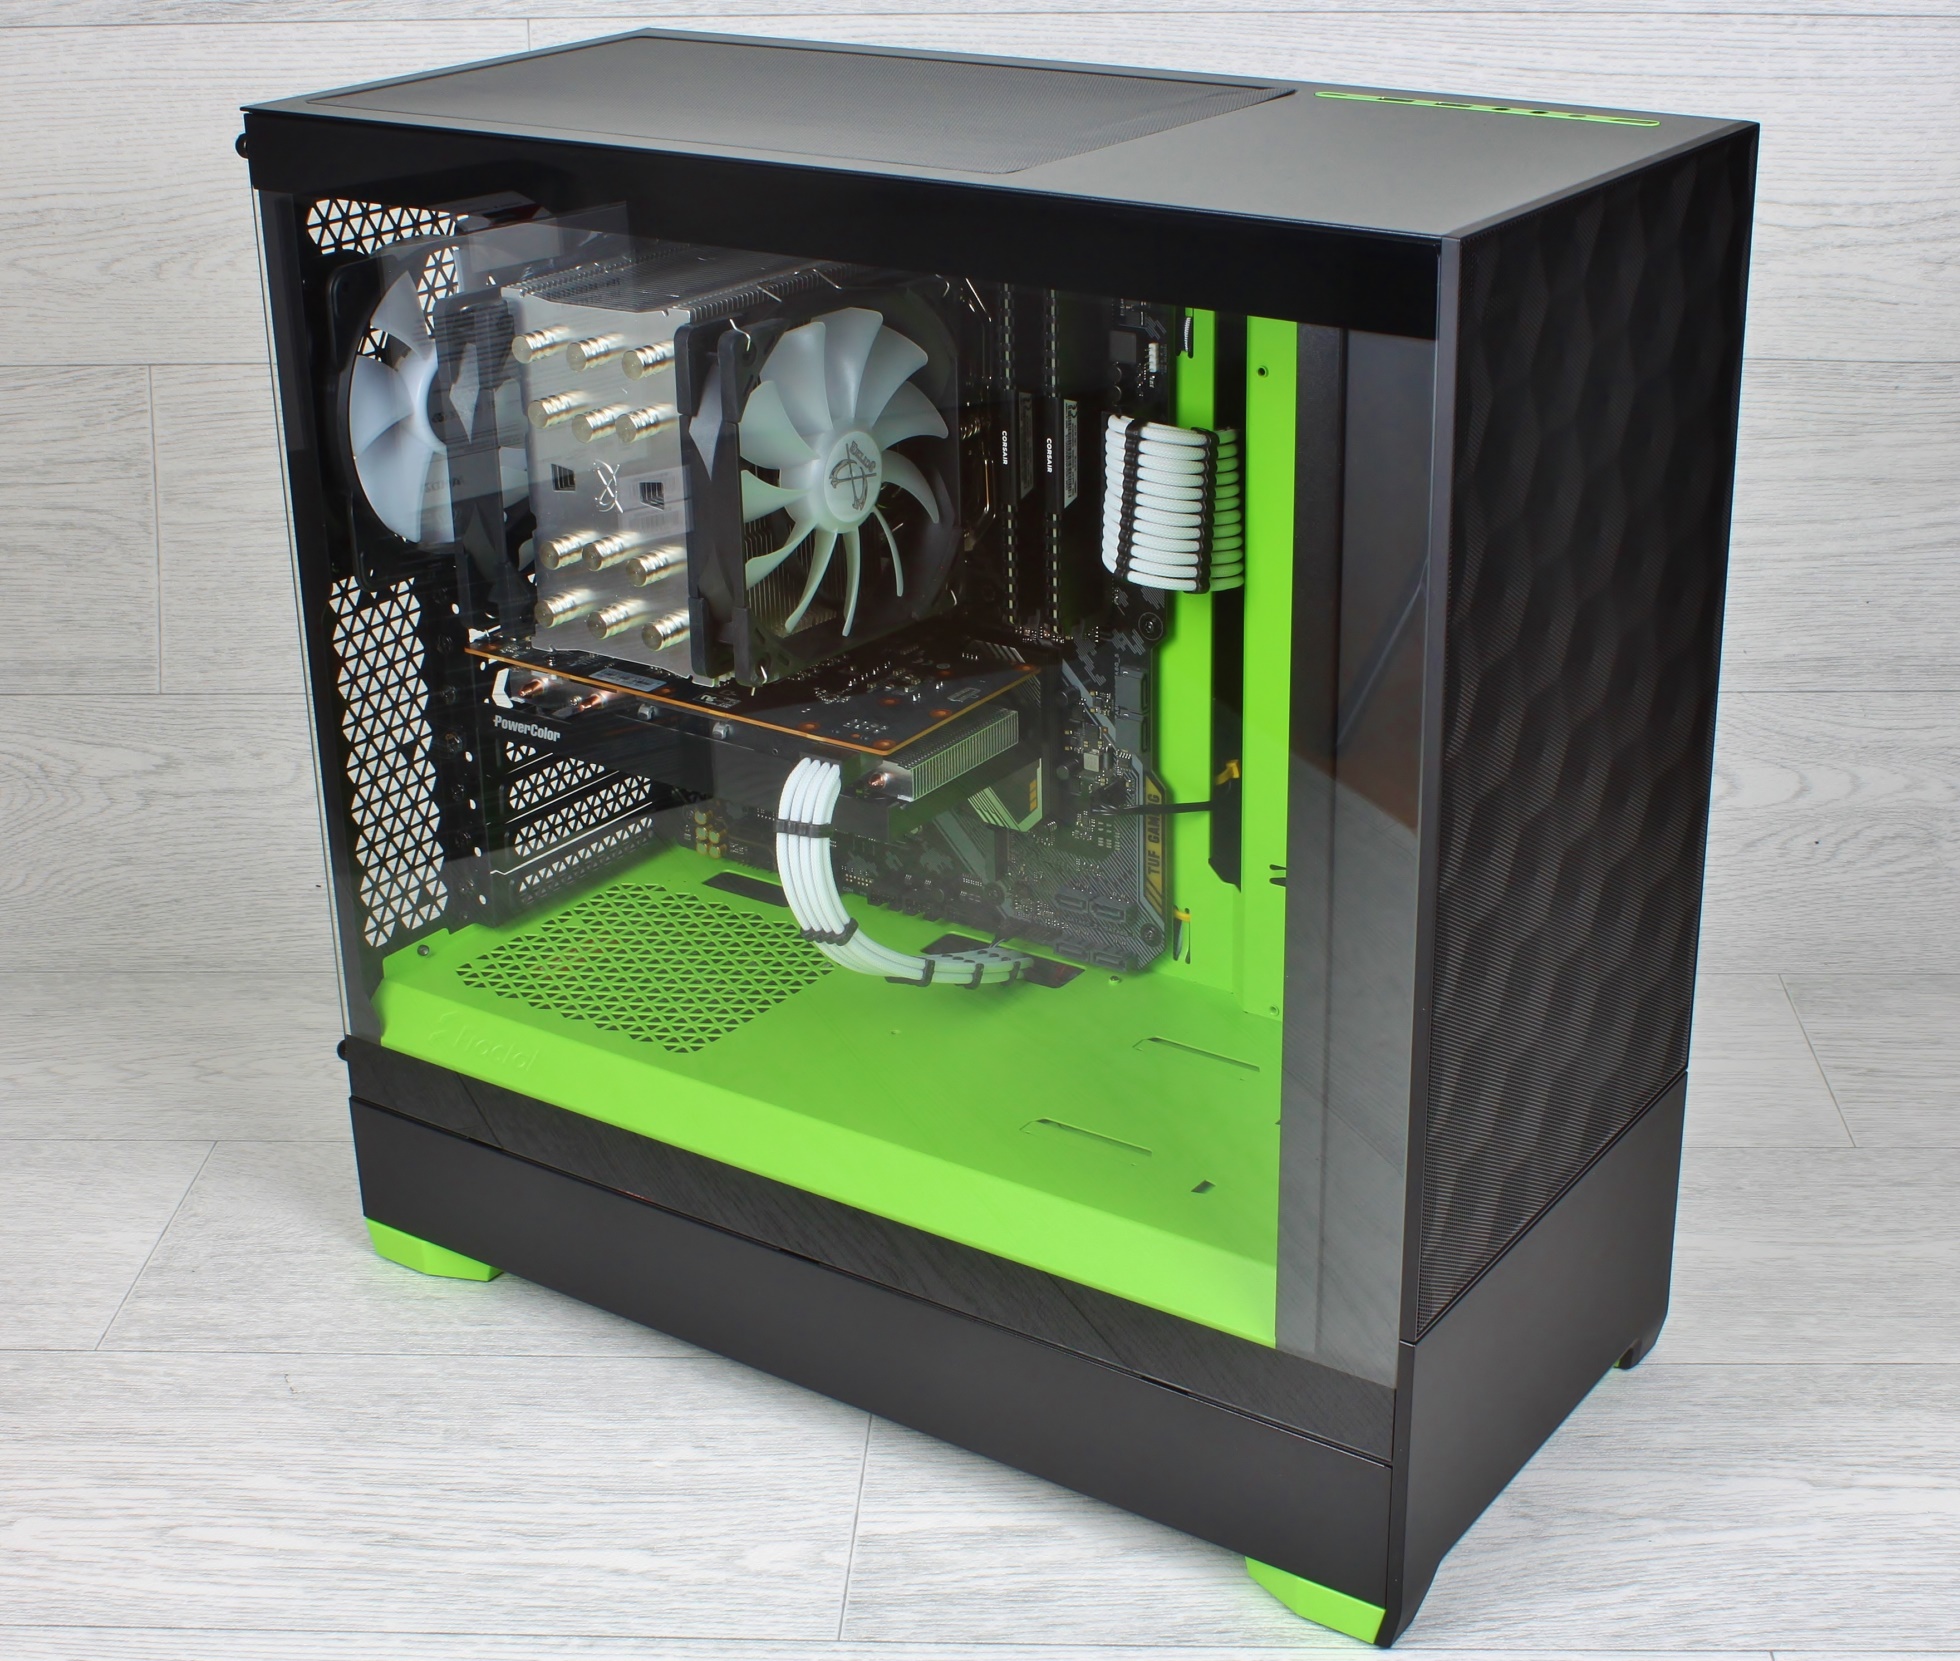
Inside the case, everything is clean, the build is well thought out and the cable grommets are all in the right place – so virtually all cables can be conveniently connected without any awkward bending or shaping.
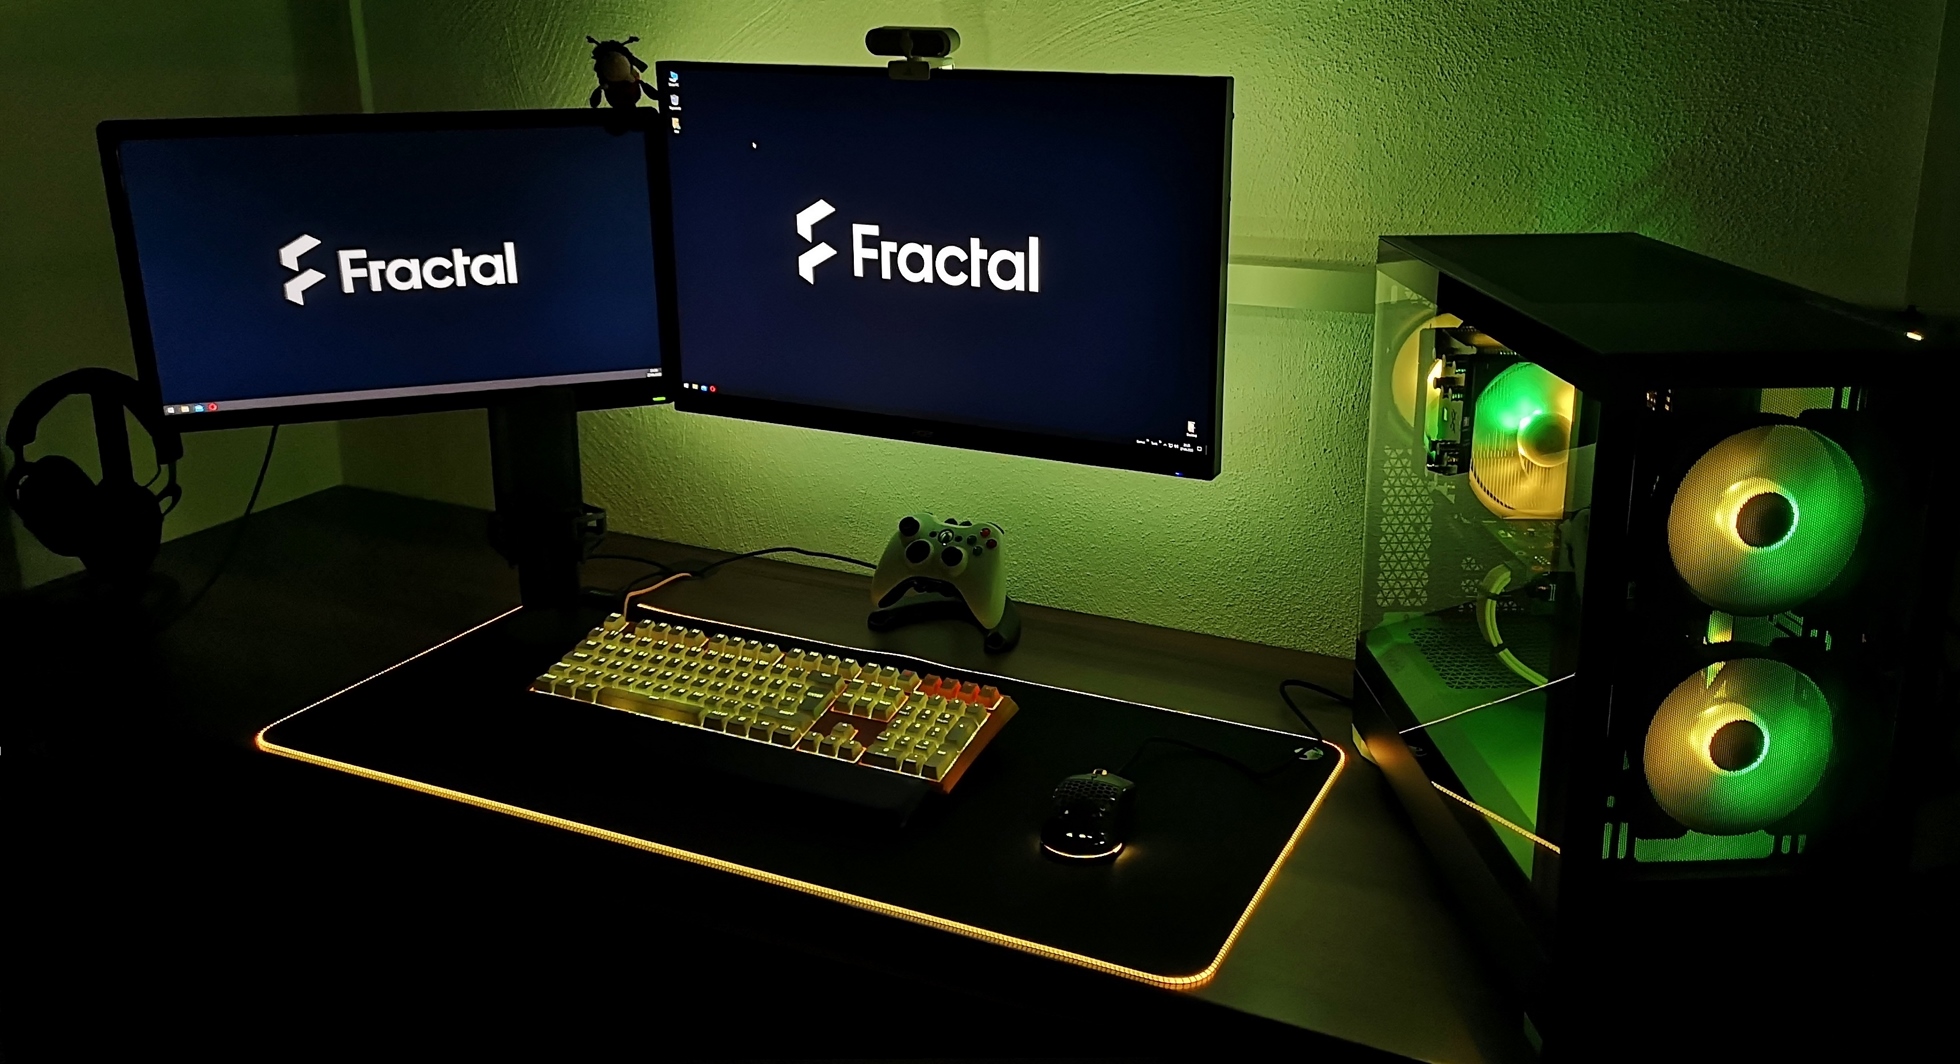
Cover closed and Problelauf!
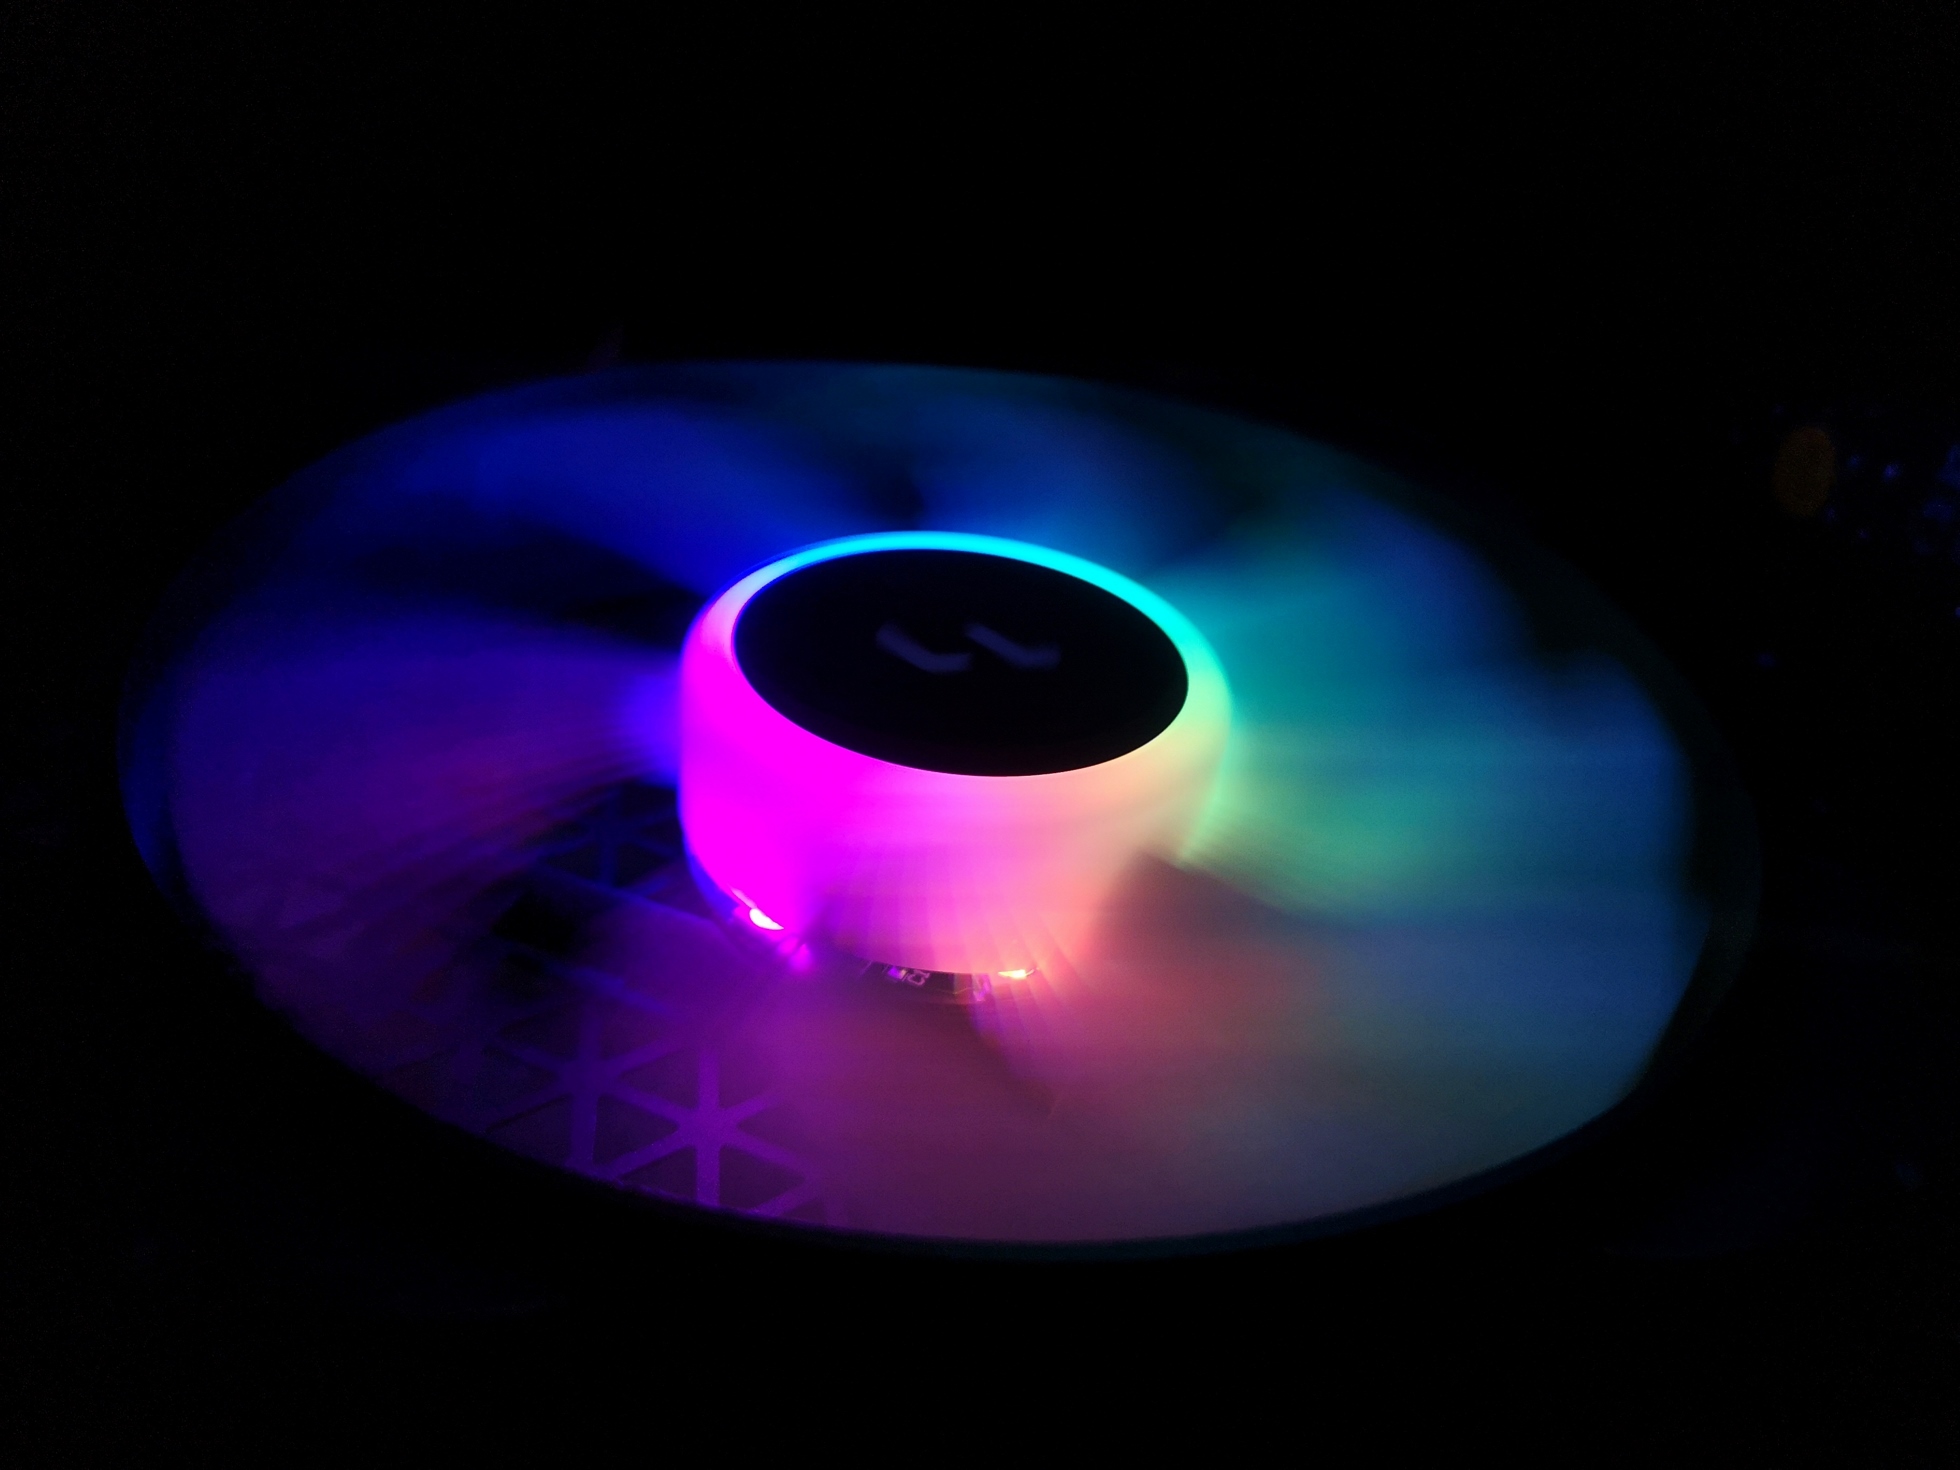
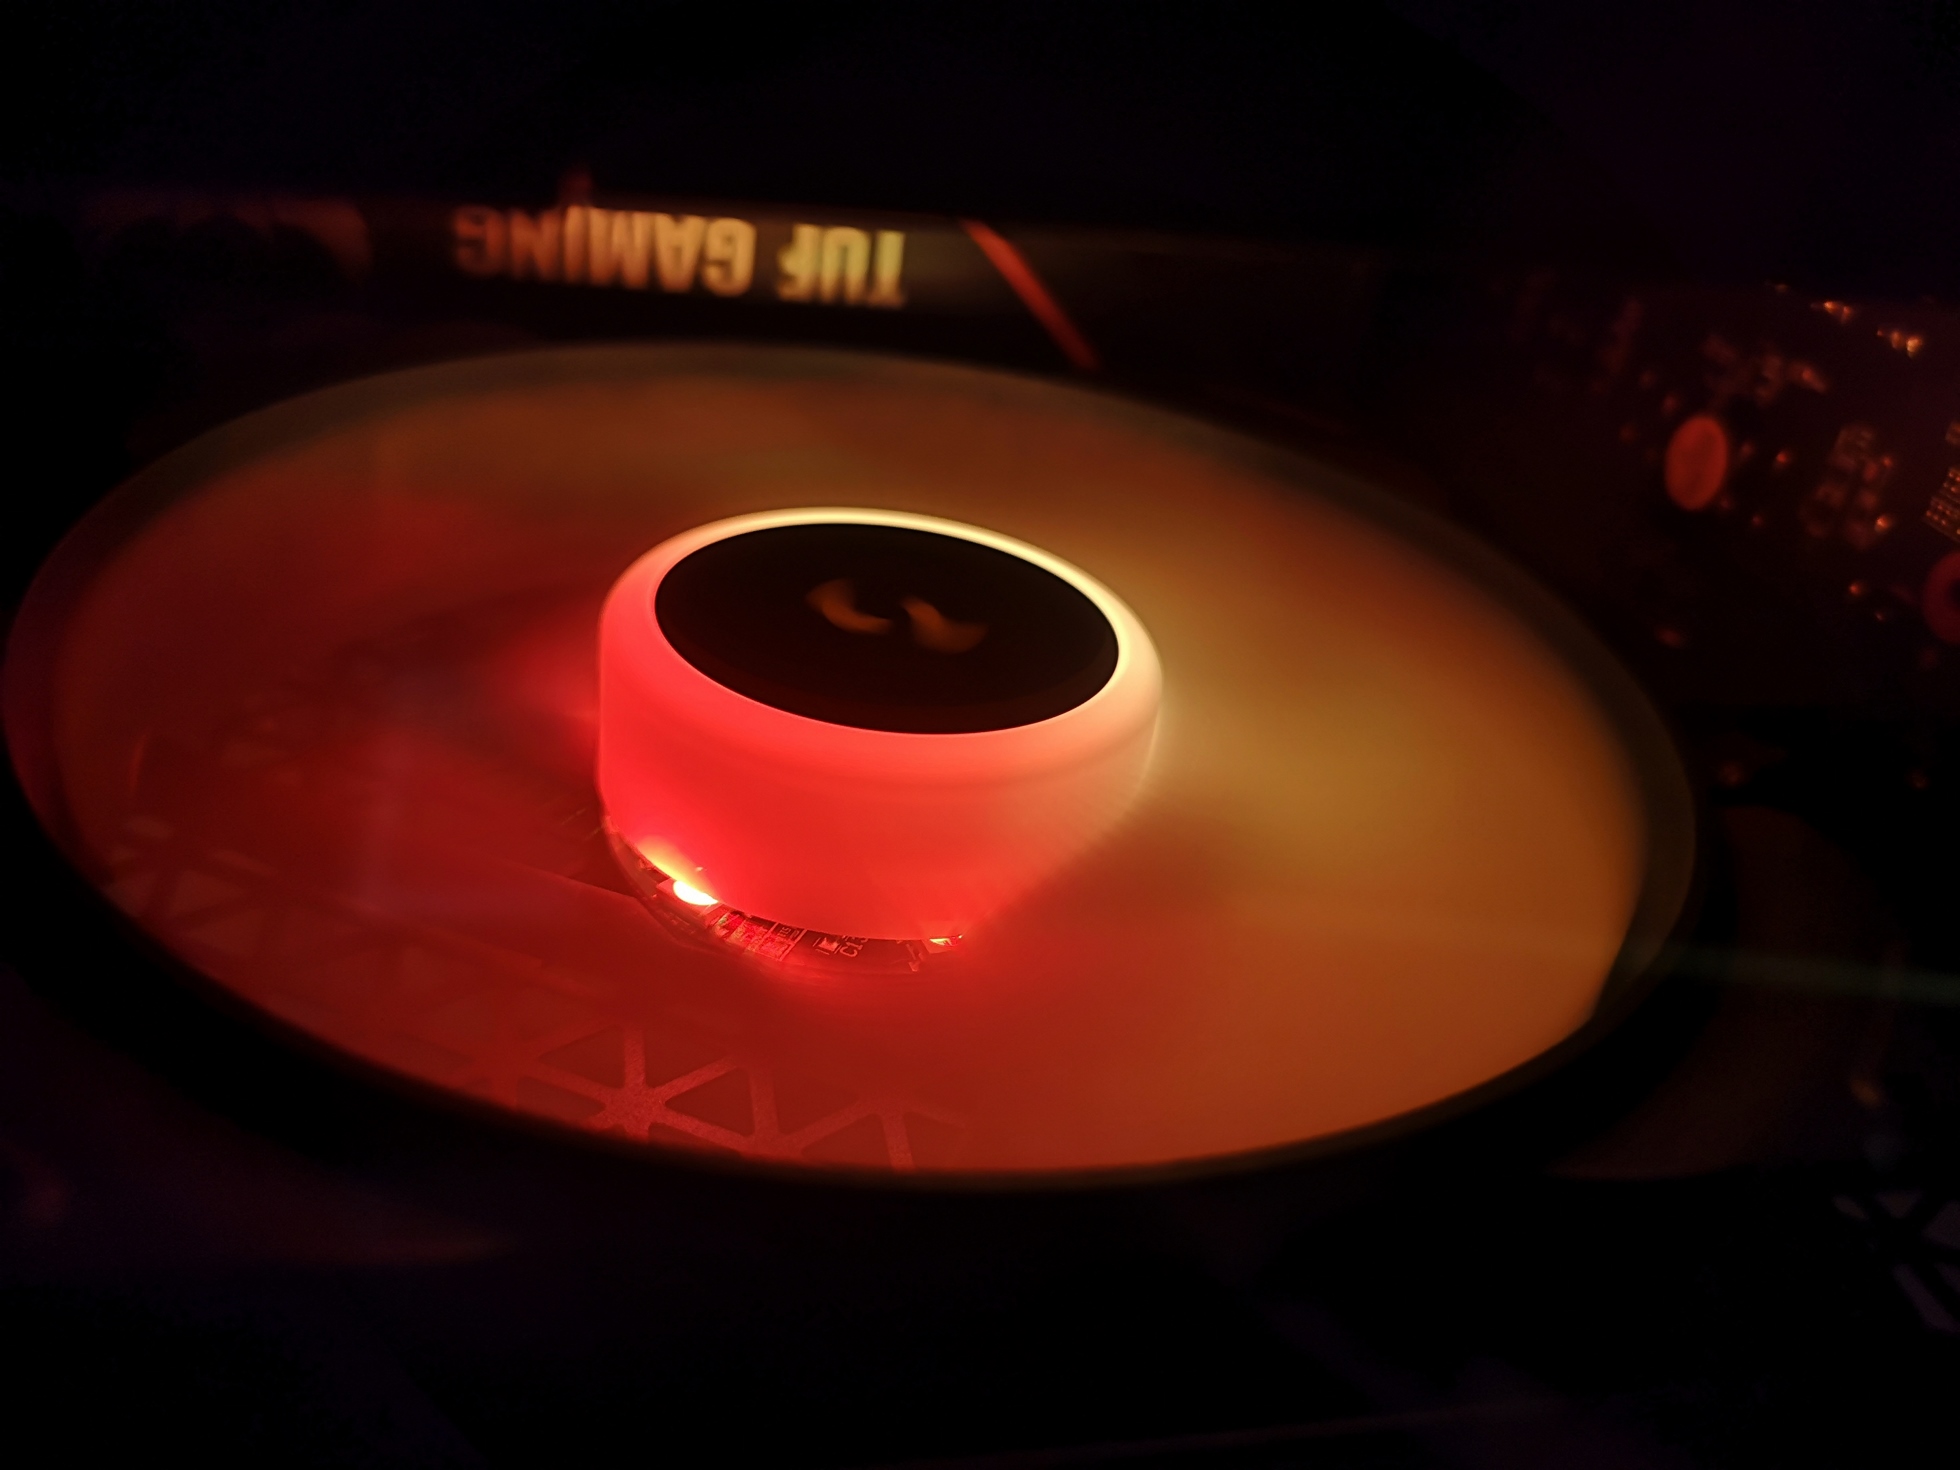
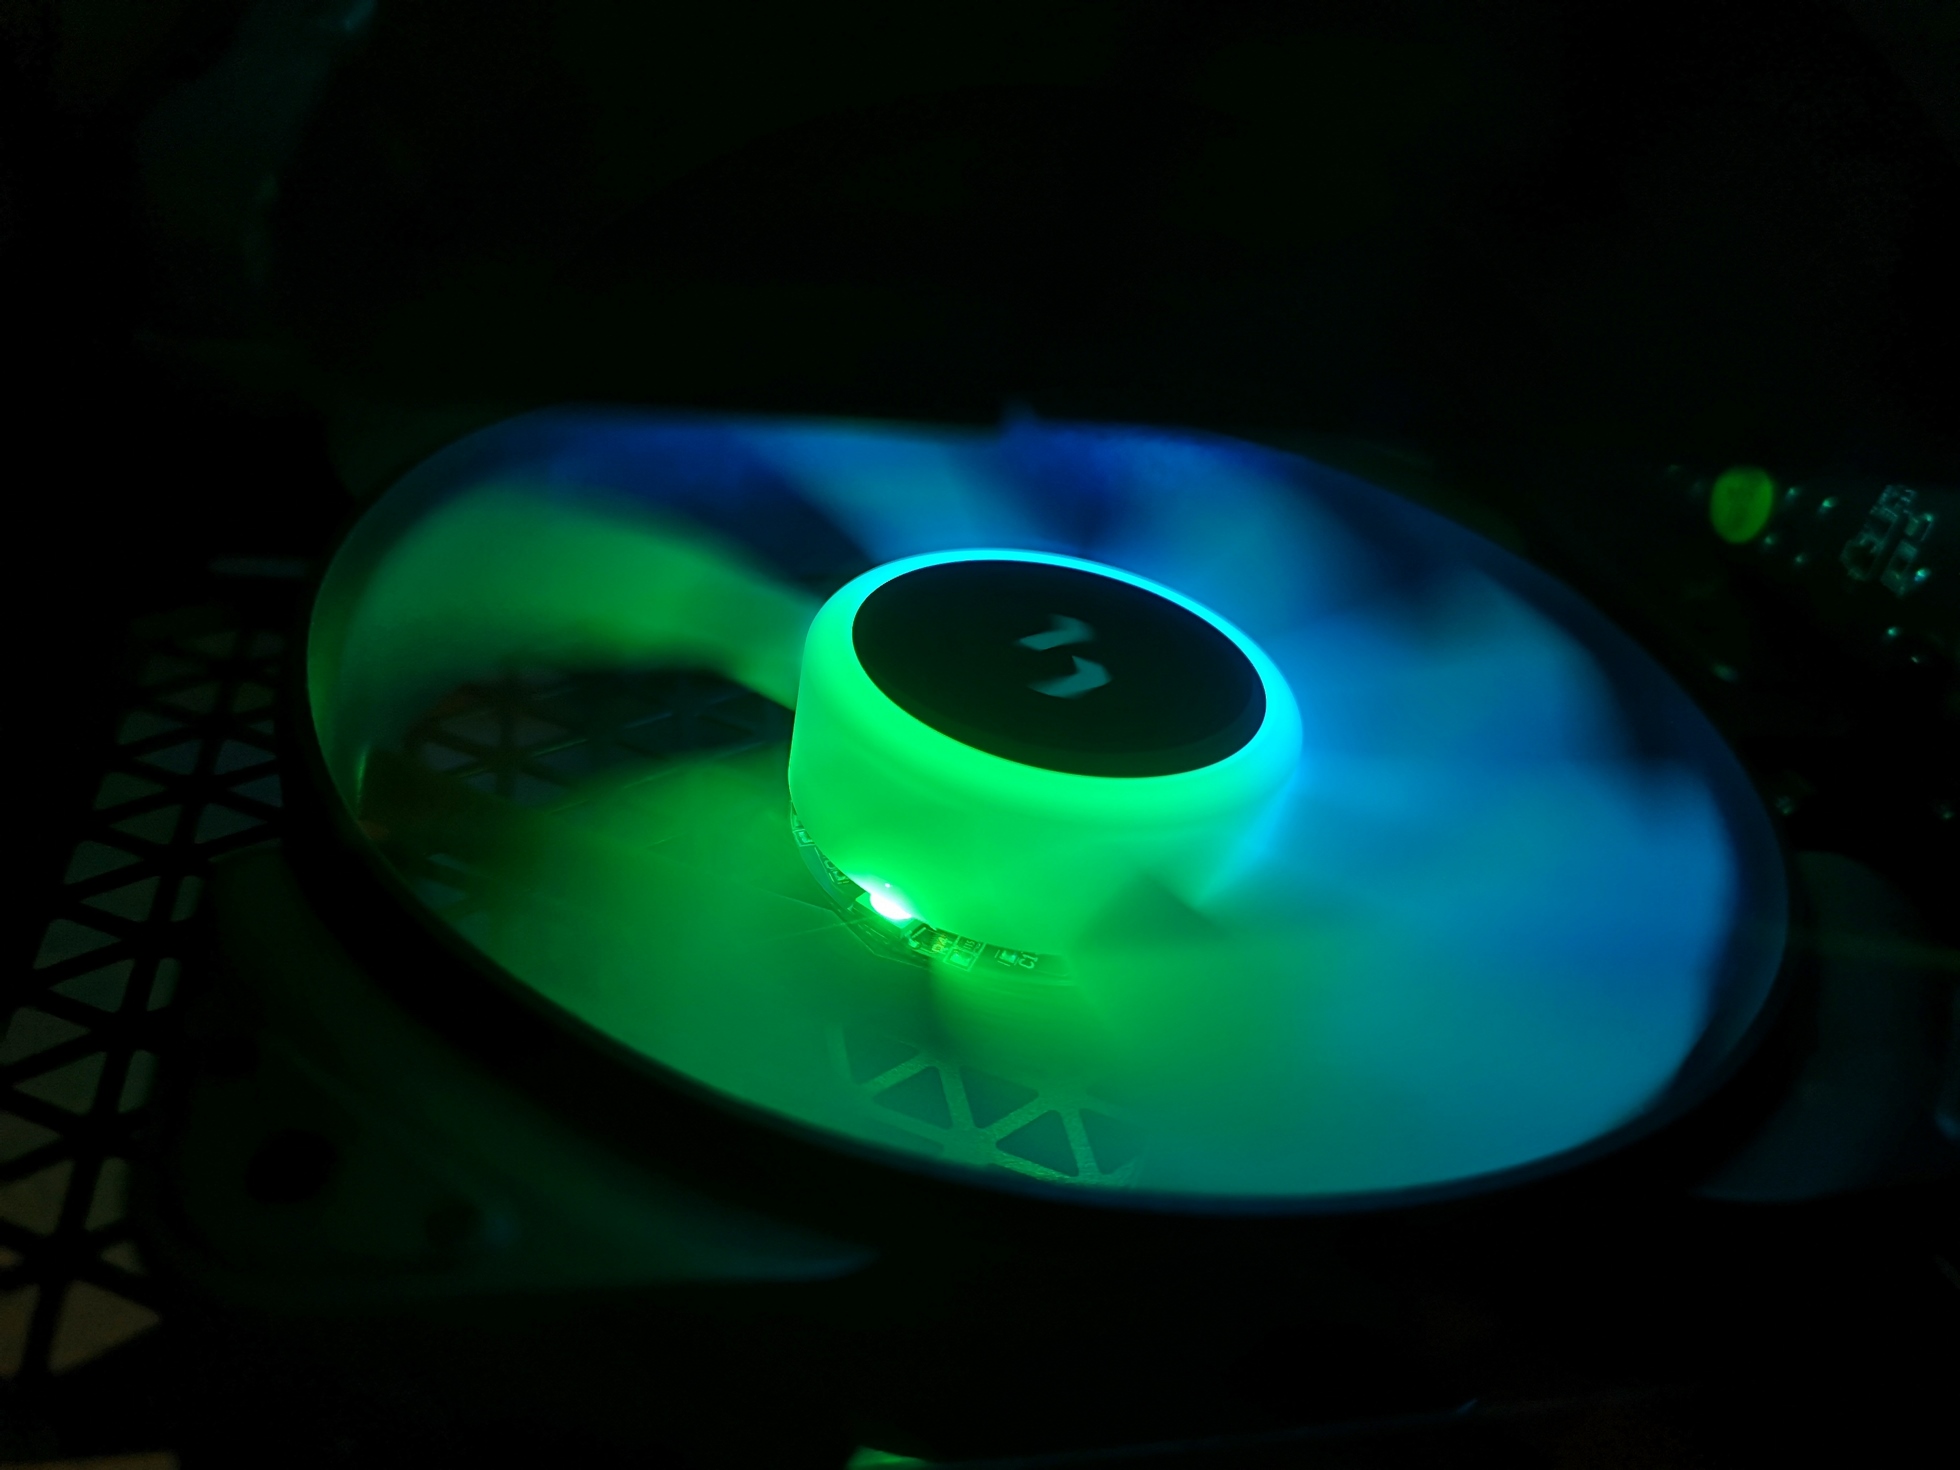
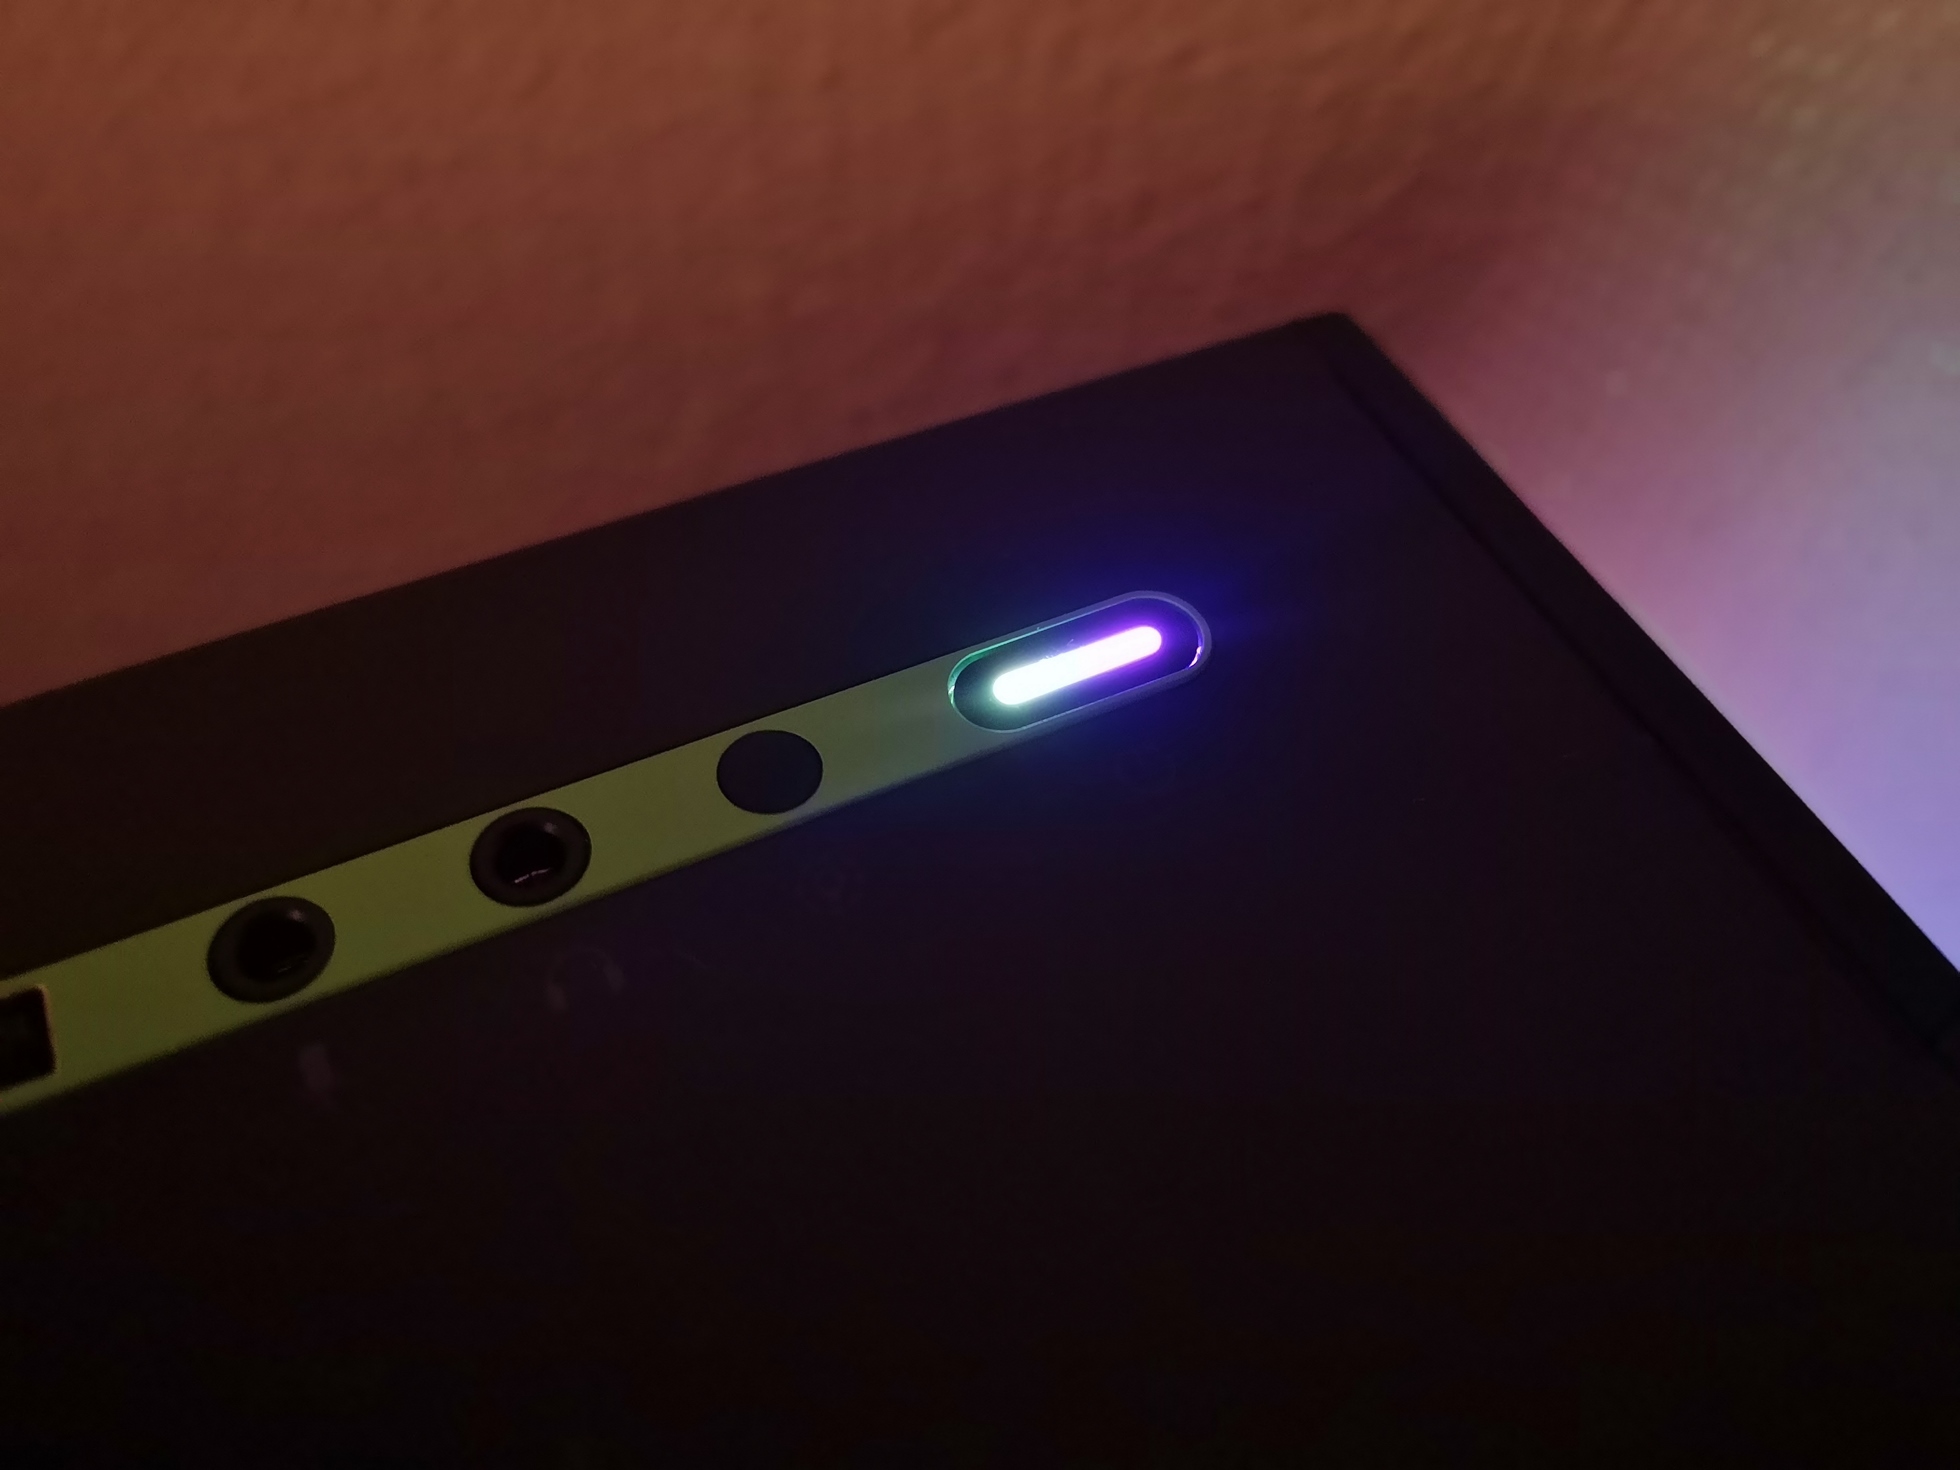
As a little bonus, I tested a few color settings and took detail shots of the fans. The Aspect RGB fans namely enable a very intense color reproduction and thus ideally match the colorful painted cases. Nice gimmick: Even the button is ARGB.


28 Antworten
Kommentar
Lade neue Kommentare
Urgestein
Veteran
Mitglied
Veteran
Urgestein
Urgestein
Urgestein
Veteran
Veteran
Urgestein
Veteran
Urgestein
Mitglied
Urgestein
Urgestein
Moderator
Urgestein
Alle Kommentare lesen unter igor´sLAB Community →