


Design overview and features
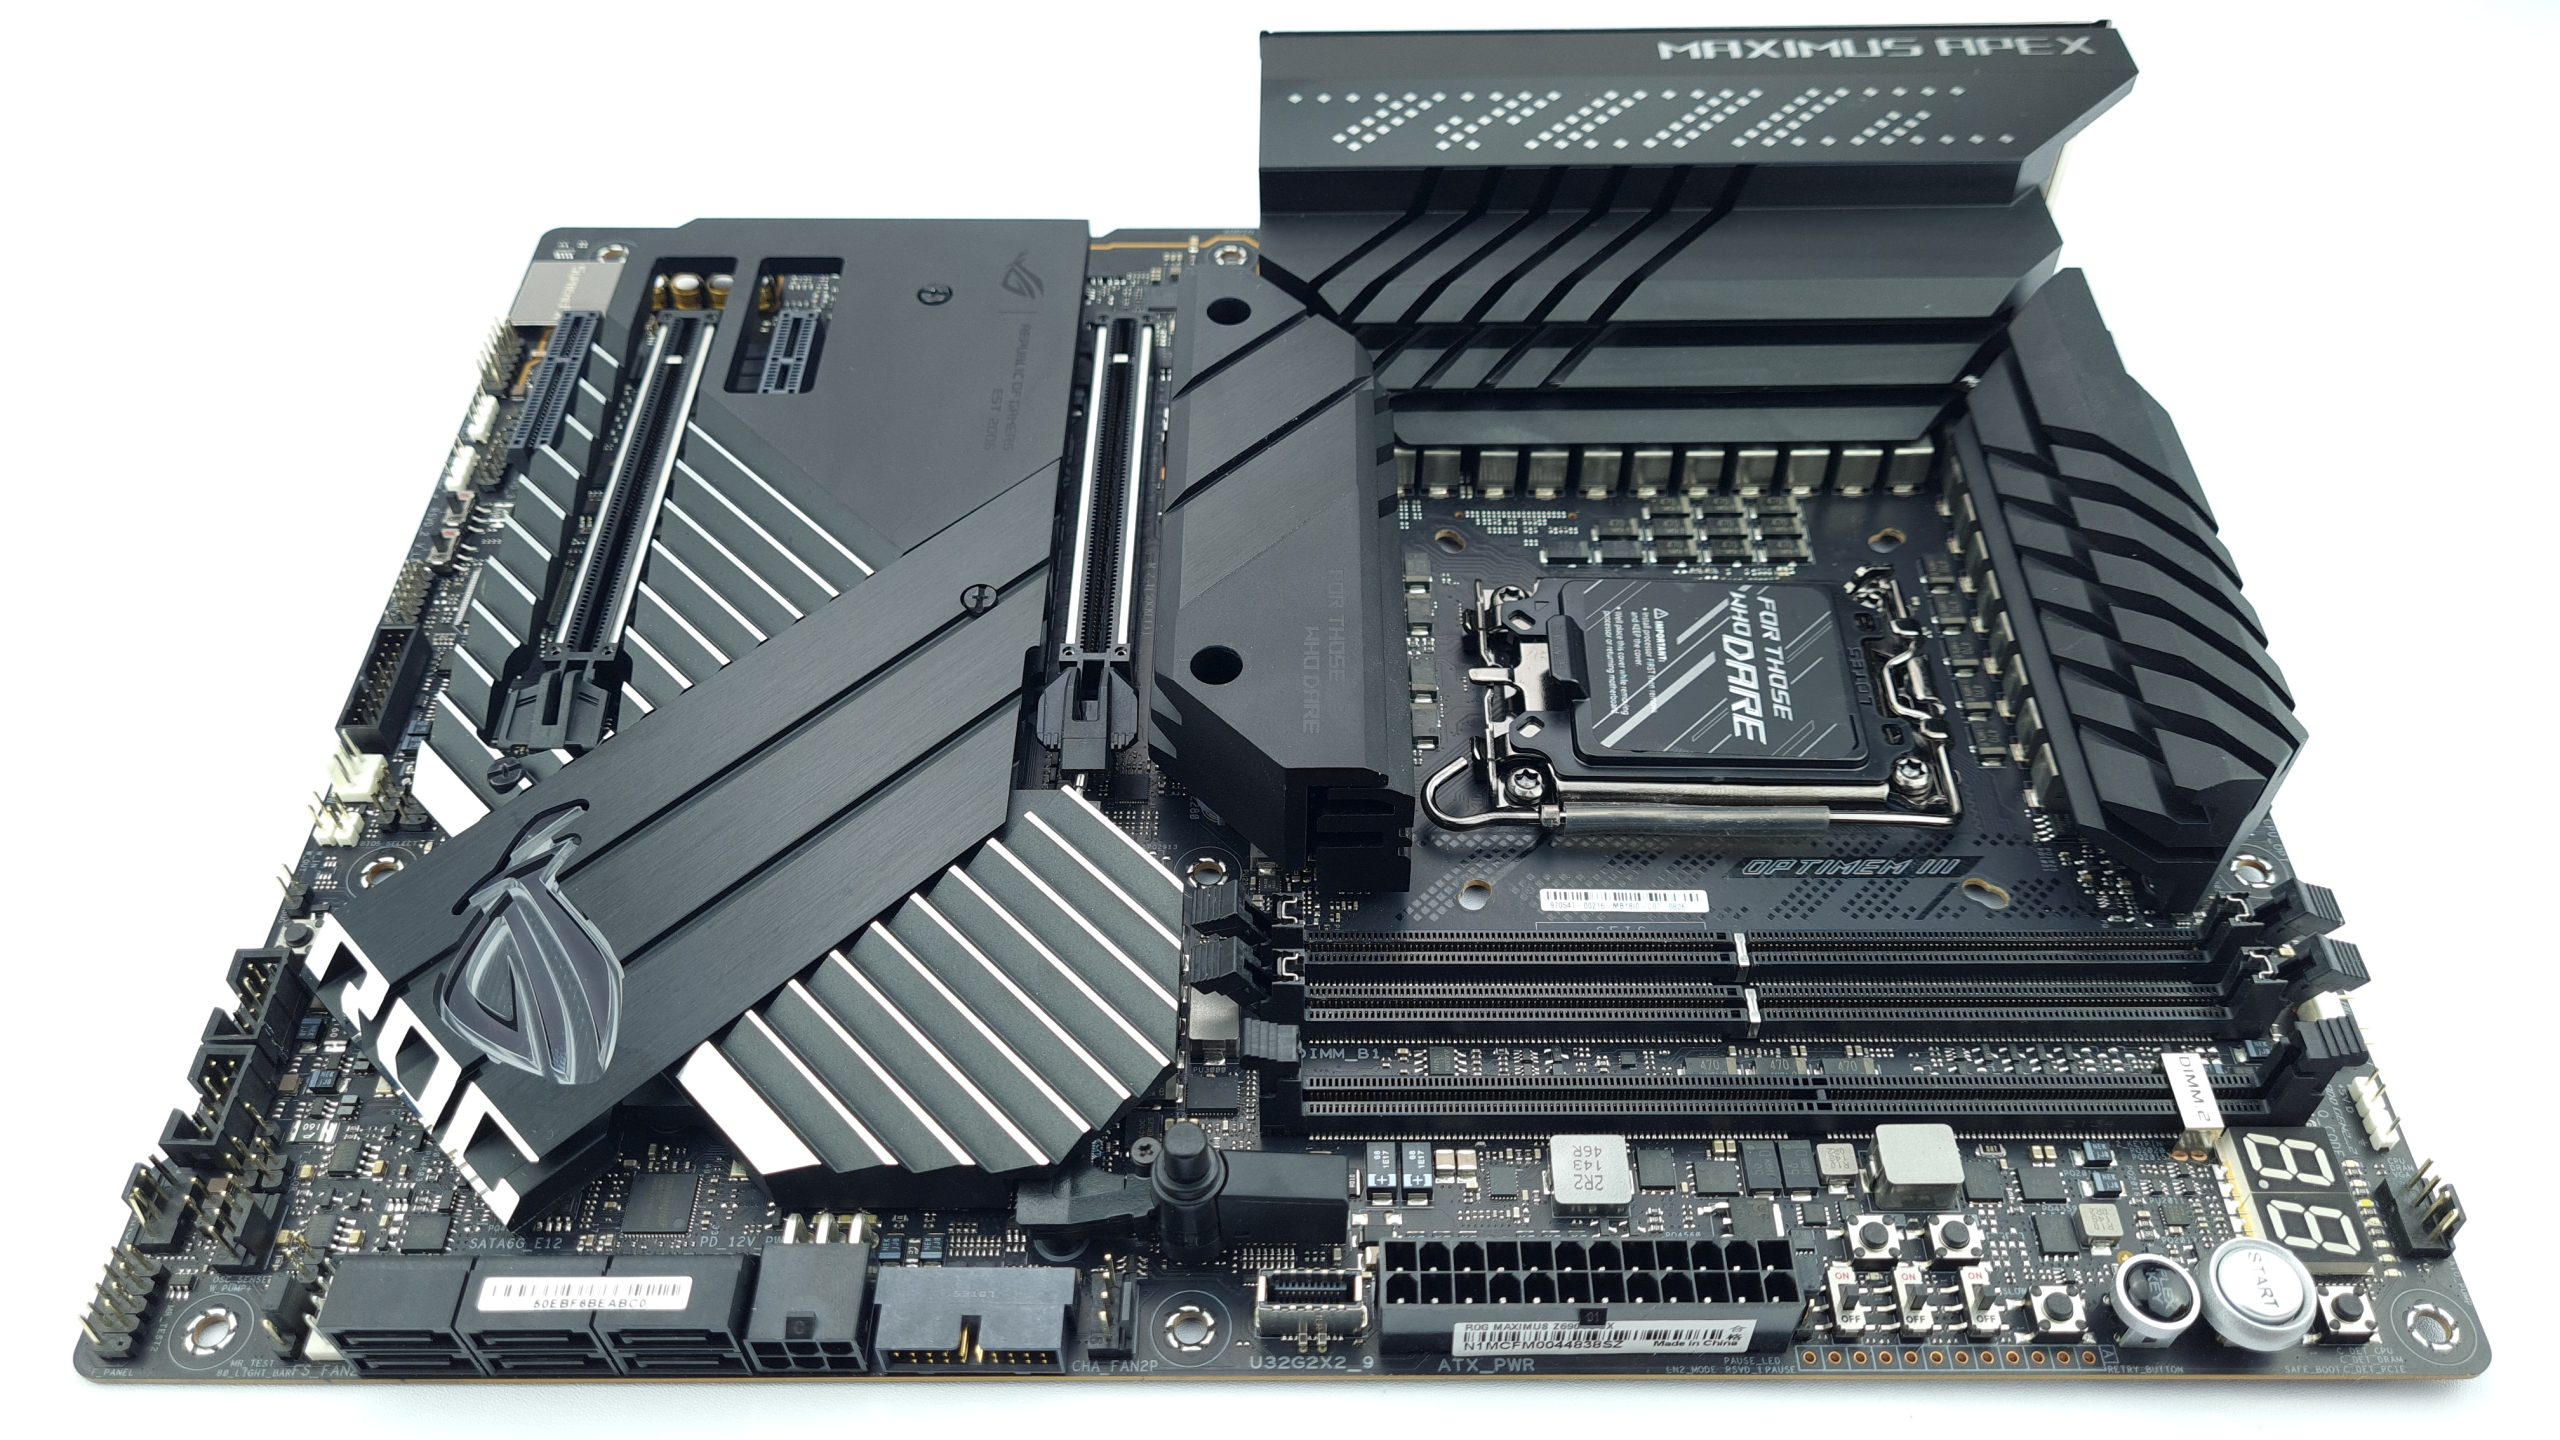
So let’s take a look at the board first. Of course, this is a 1 DIMM per channel (1 DPC) configuration with only 2 RAM slots as close as possible to the Intel LGA1700 socket. In addition to the RAM slots, we also find the DIMM.2 slot, which can be used to install two additional M.2 SSDs via a special riser PCB. Special features worth mentioning in the scope of delivery are a PCI Express 5.0 to M.2 expansion card and a USB stick with the drivers and tools instead of a DVD.

The base is framed by a black u-shaped aluminum heatsink, with an anodized or brushed texture, which at the same time merges into the IO cover. There is also a ROG logo in pixel design and a rather classic Maximus Apex logo. Asus has stopped counting in roman numerals since this generation and use the chipset name instead. The lower section of the board is dominated by the two PCI-Express 5.0 x16 slots, which also support Nvidia SLI if a corresponding BIOS with SLI key is used. Again, aluminum heatsinks are integrated to cool both the chipset and the hidden M.2 slots. A transparent ROG logo is embedded in the lower right corner of the cooler, which is of course also RGB-lit.
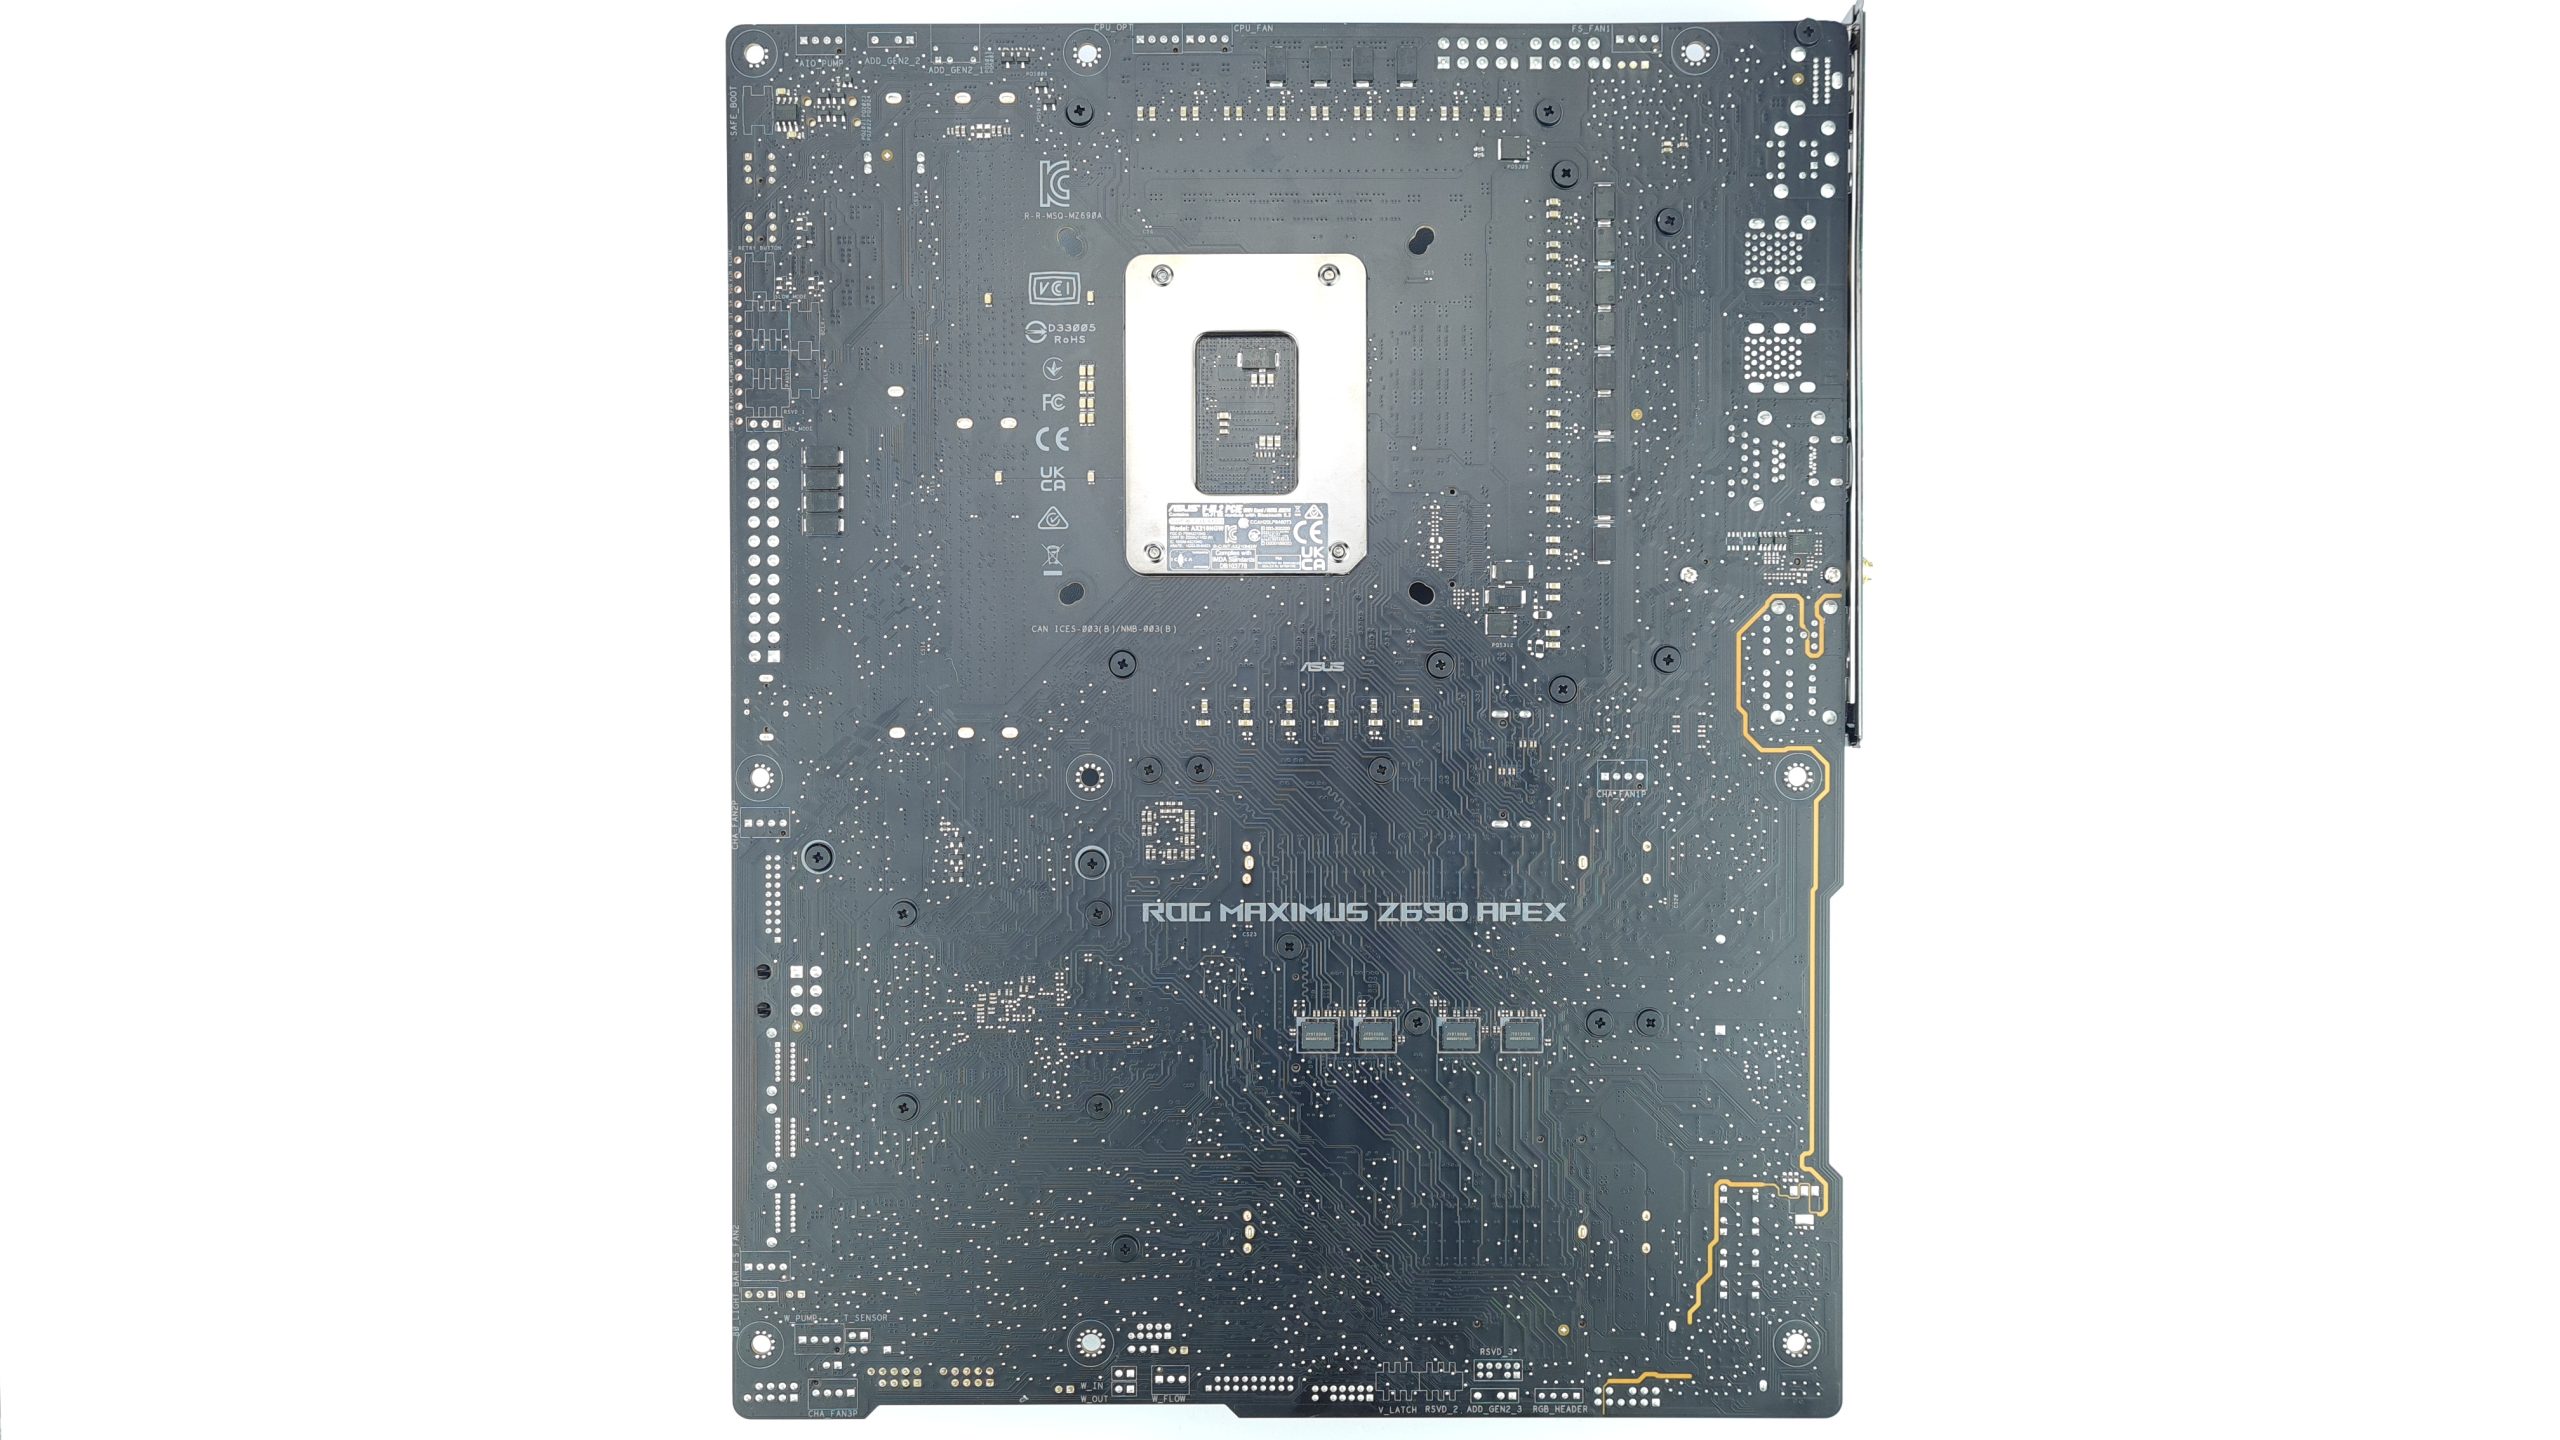
At the same time, there is not much to see on the back, but still more than on many other motherboards, because Asus does not install a backplate on the Apex. On the back of the socket area, there are some input filtering capacitors that we will take a closer look at during the teardown. In the center there is still a “ROG MAXIMUS Z690 APEX” lettering and just below that again the PCI-Express 5.0 switches, which enable x8/x8 operation and thus also SLI.
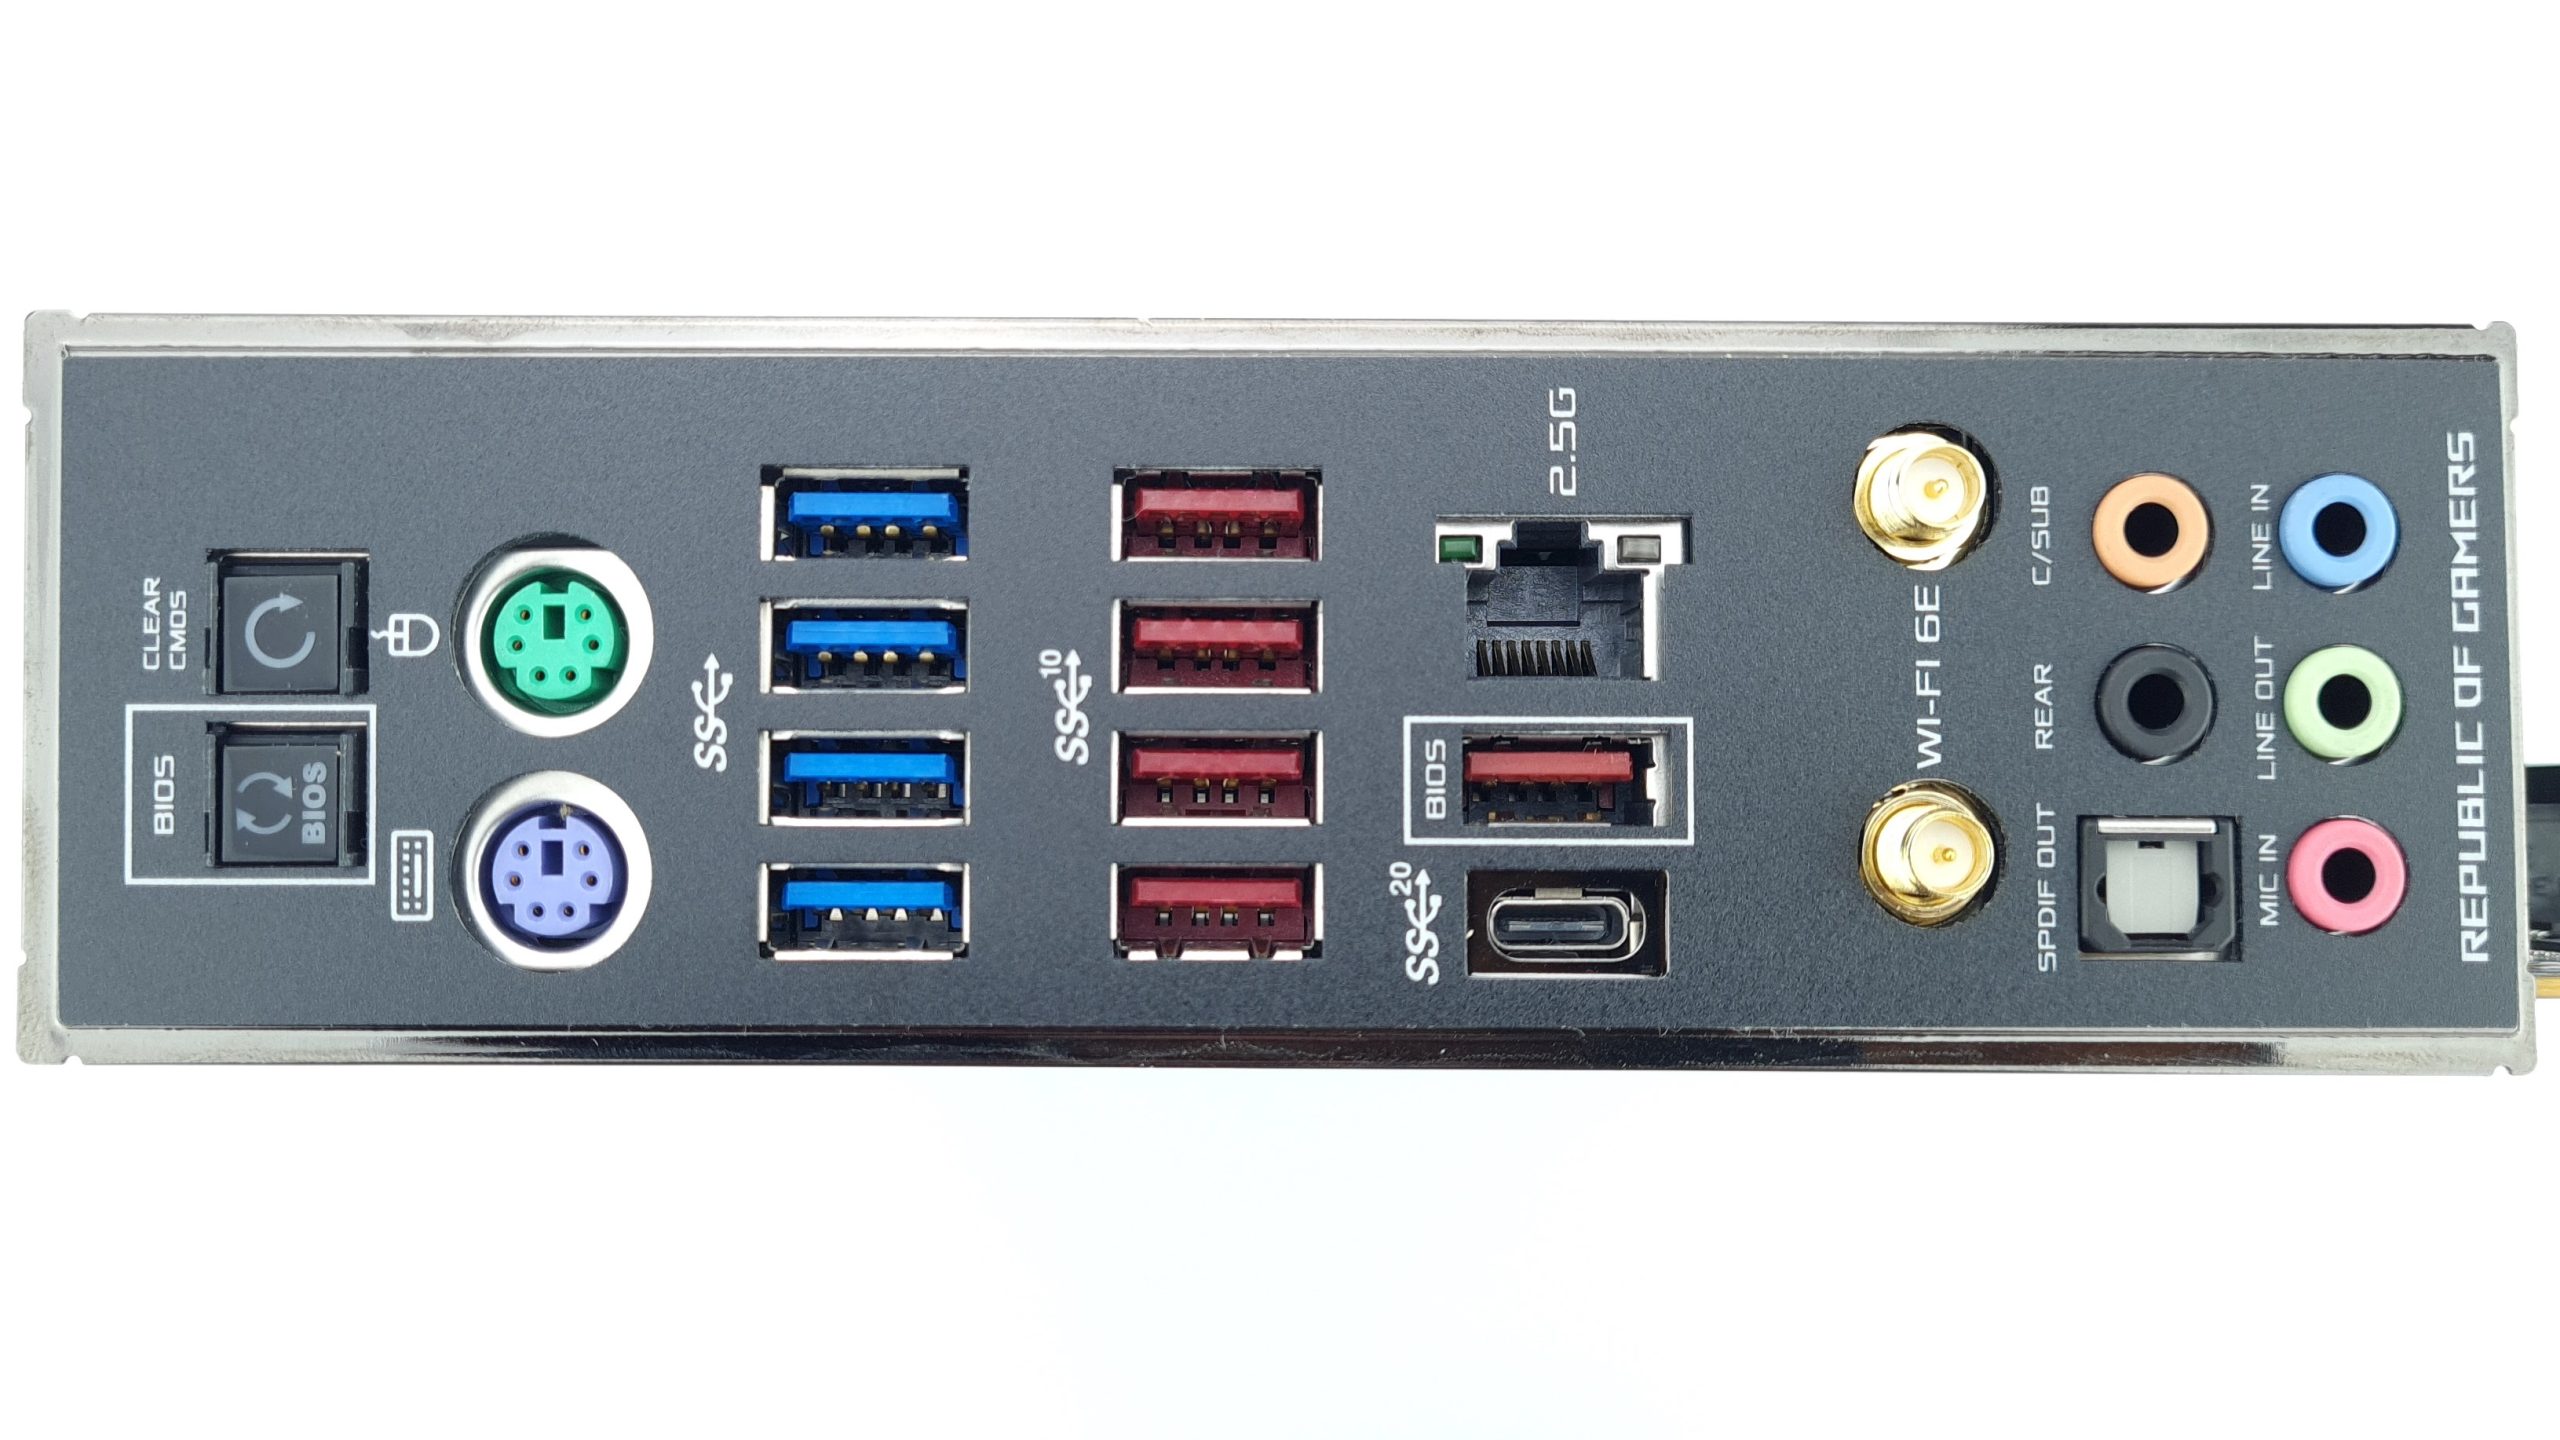
The IO is adequate for a board in this class, with a total of 10 USB ports, 2.5 Gbit Intel LAN, dedicated PS/2 ports for mouse and keyboard, and Wi-Fi 6E. Of course, there are also the usual 7.1 audio ports optical and analog, as well as the buttons for CMOS Clear and BIOS Flashback. Even though you might get more from other boards, the vast majority of overclockers and gamers should be happy with this.
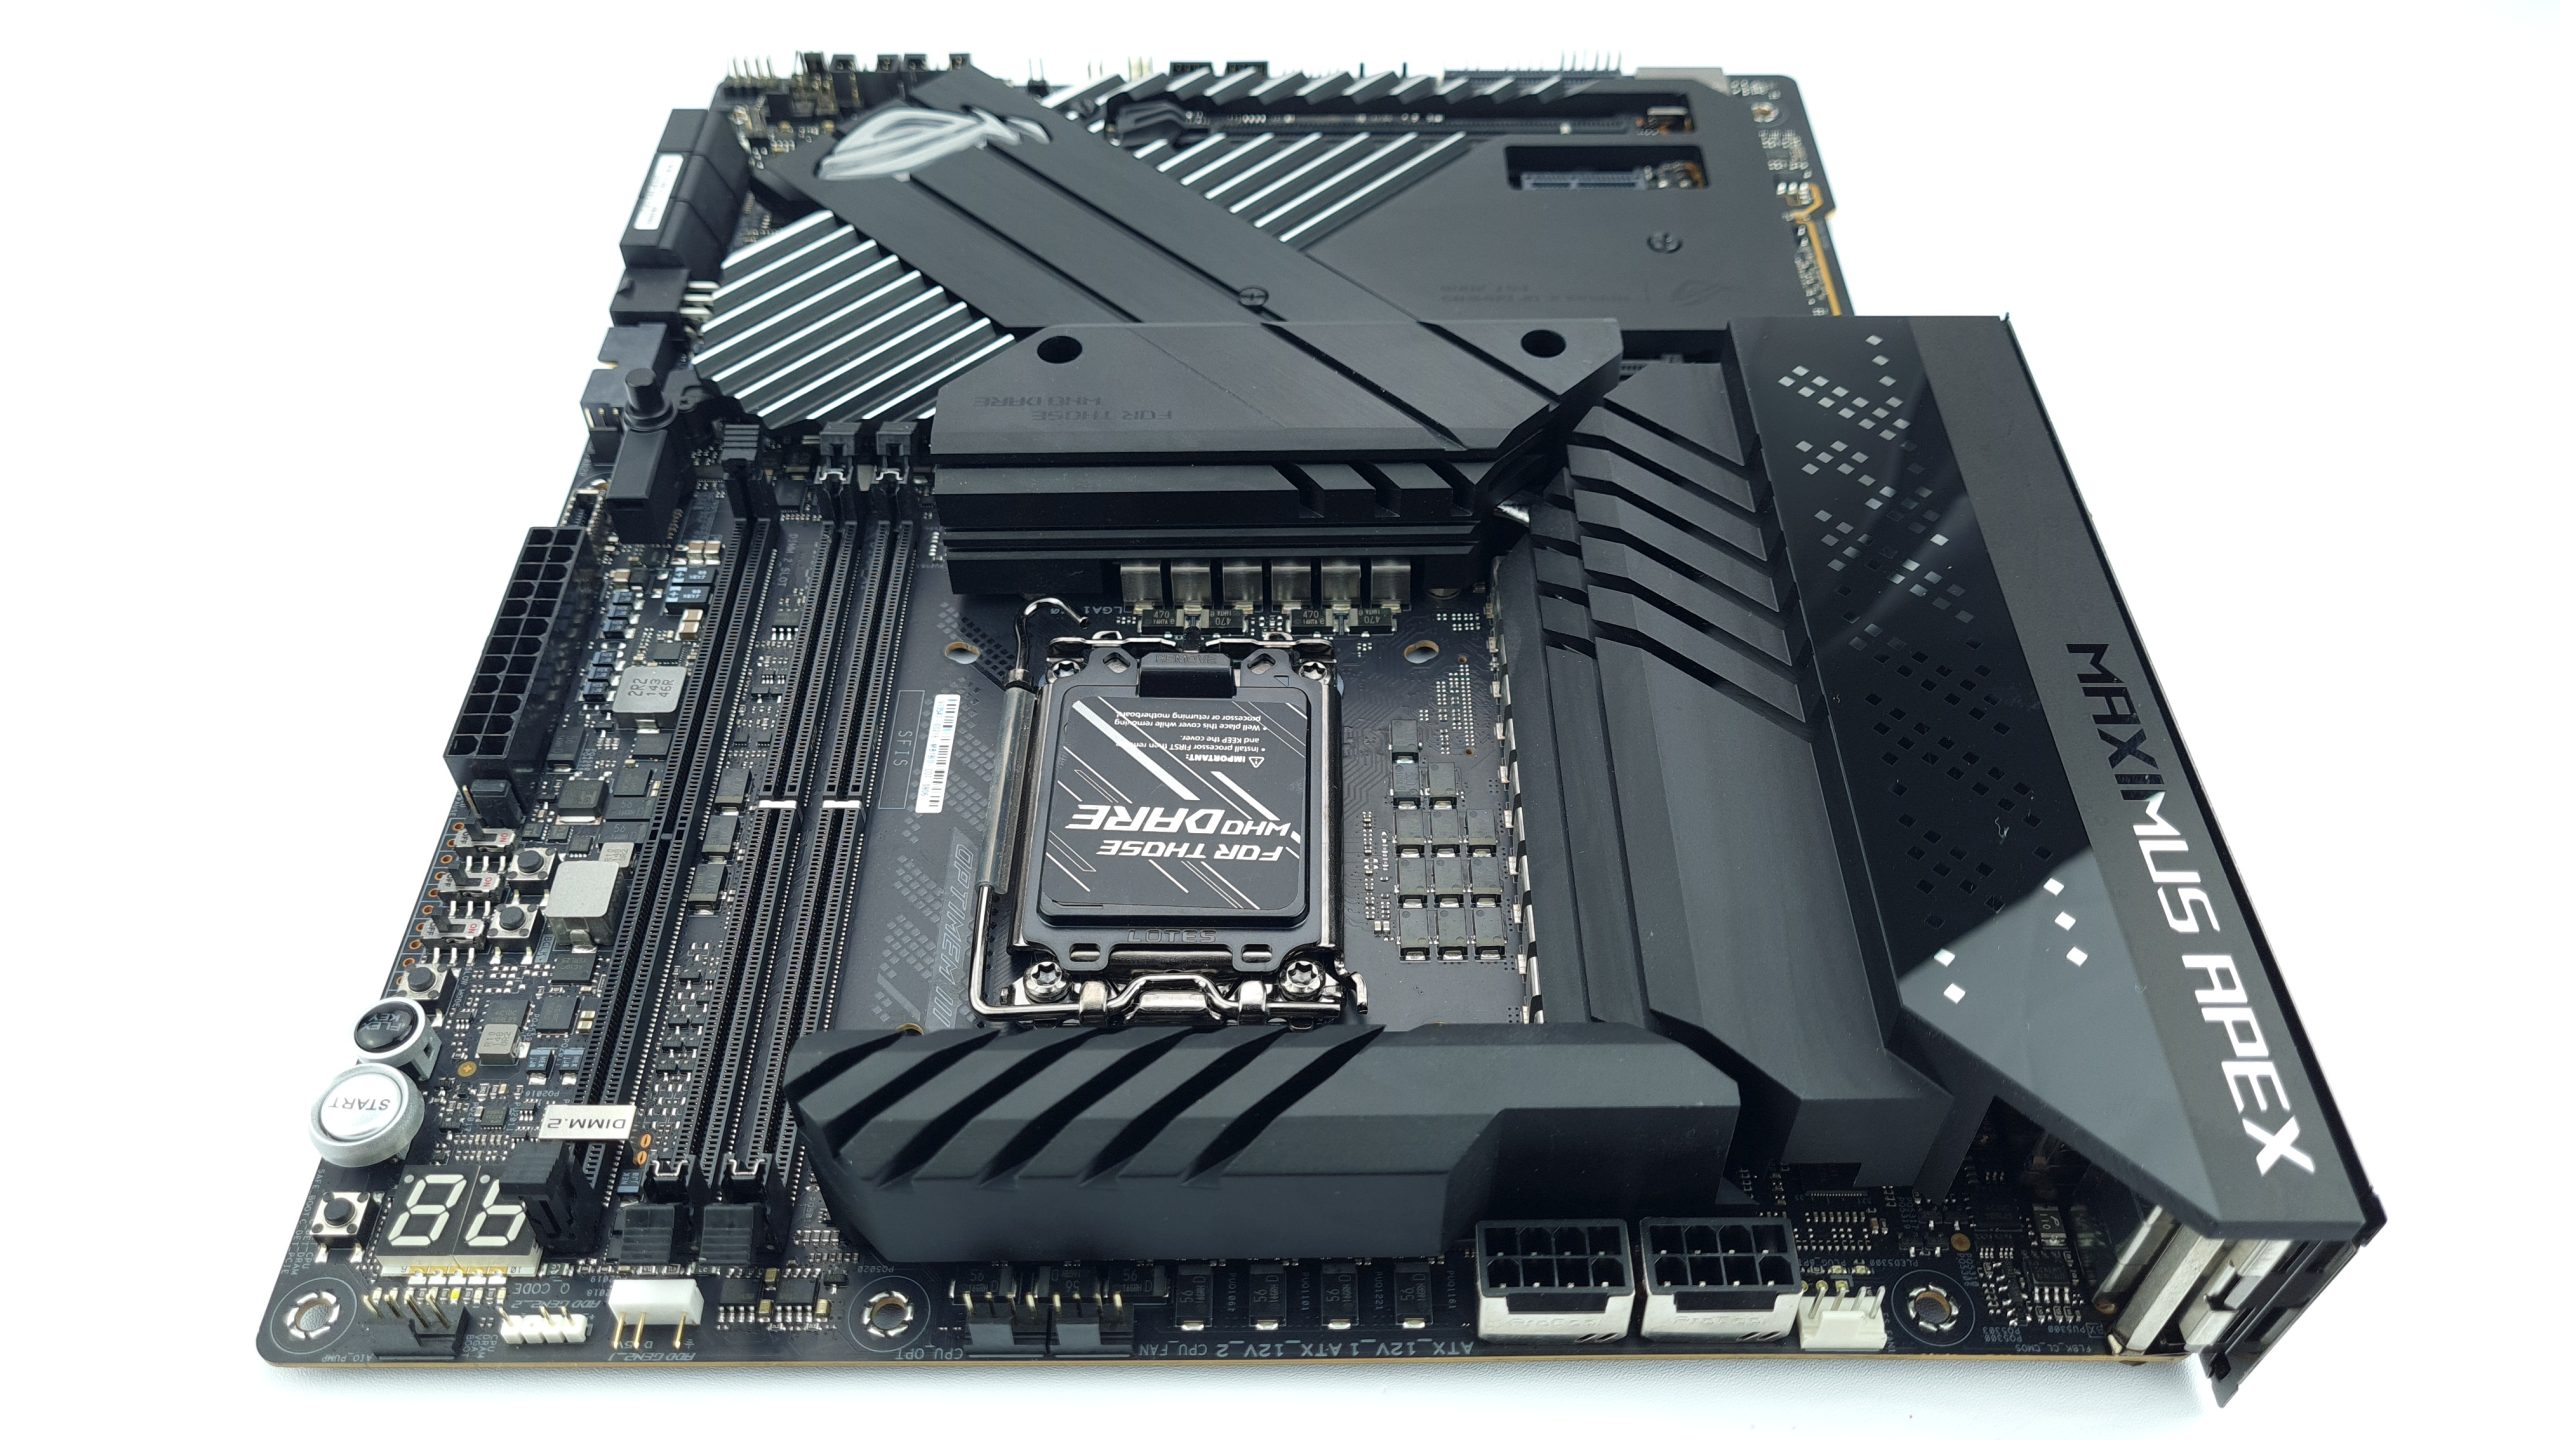
In the upper right corner is the entire control panel with power and reset buttons, a gigantic Qcode display and many more buttons useful for overclocking. Besides buttons for slow mode, LN2 mode, pause, as well as buttons for retry and safe boot, Asus has finally given the Z690 Apex BCLK buttons. Thank you! Especially for RAM overclocking and benchmarking at the stability limit, these are incredibly useful and far easier to use than in-OS software.
Along the top edge of the board there are plenty of 4-pin fan connectors, with the black ones being controllable and the white “full speed” headers always running at full speed, whether via DC or PWM mode. The full-speed switch, which switches all fan connectors on the board to full speed, is unfortunately omitted in this board generation – I have missed it several times. As usual, the board has two 8-pin EPS power connectors for the CPU, with Asus using solid PINs for lower resistance. 4- and 3-pin RGB terminations for ambient lighting fans are of course included on the board, with one being right-angled.
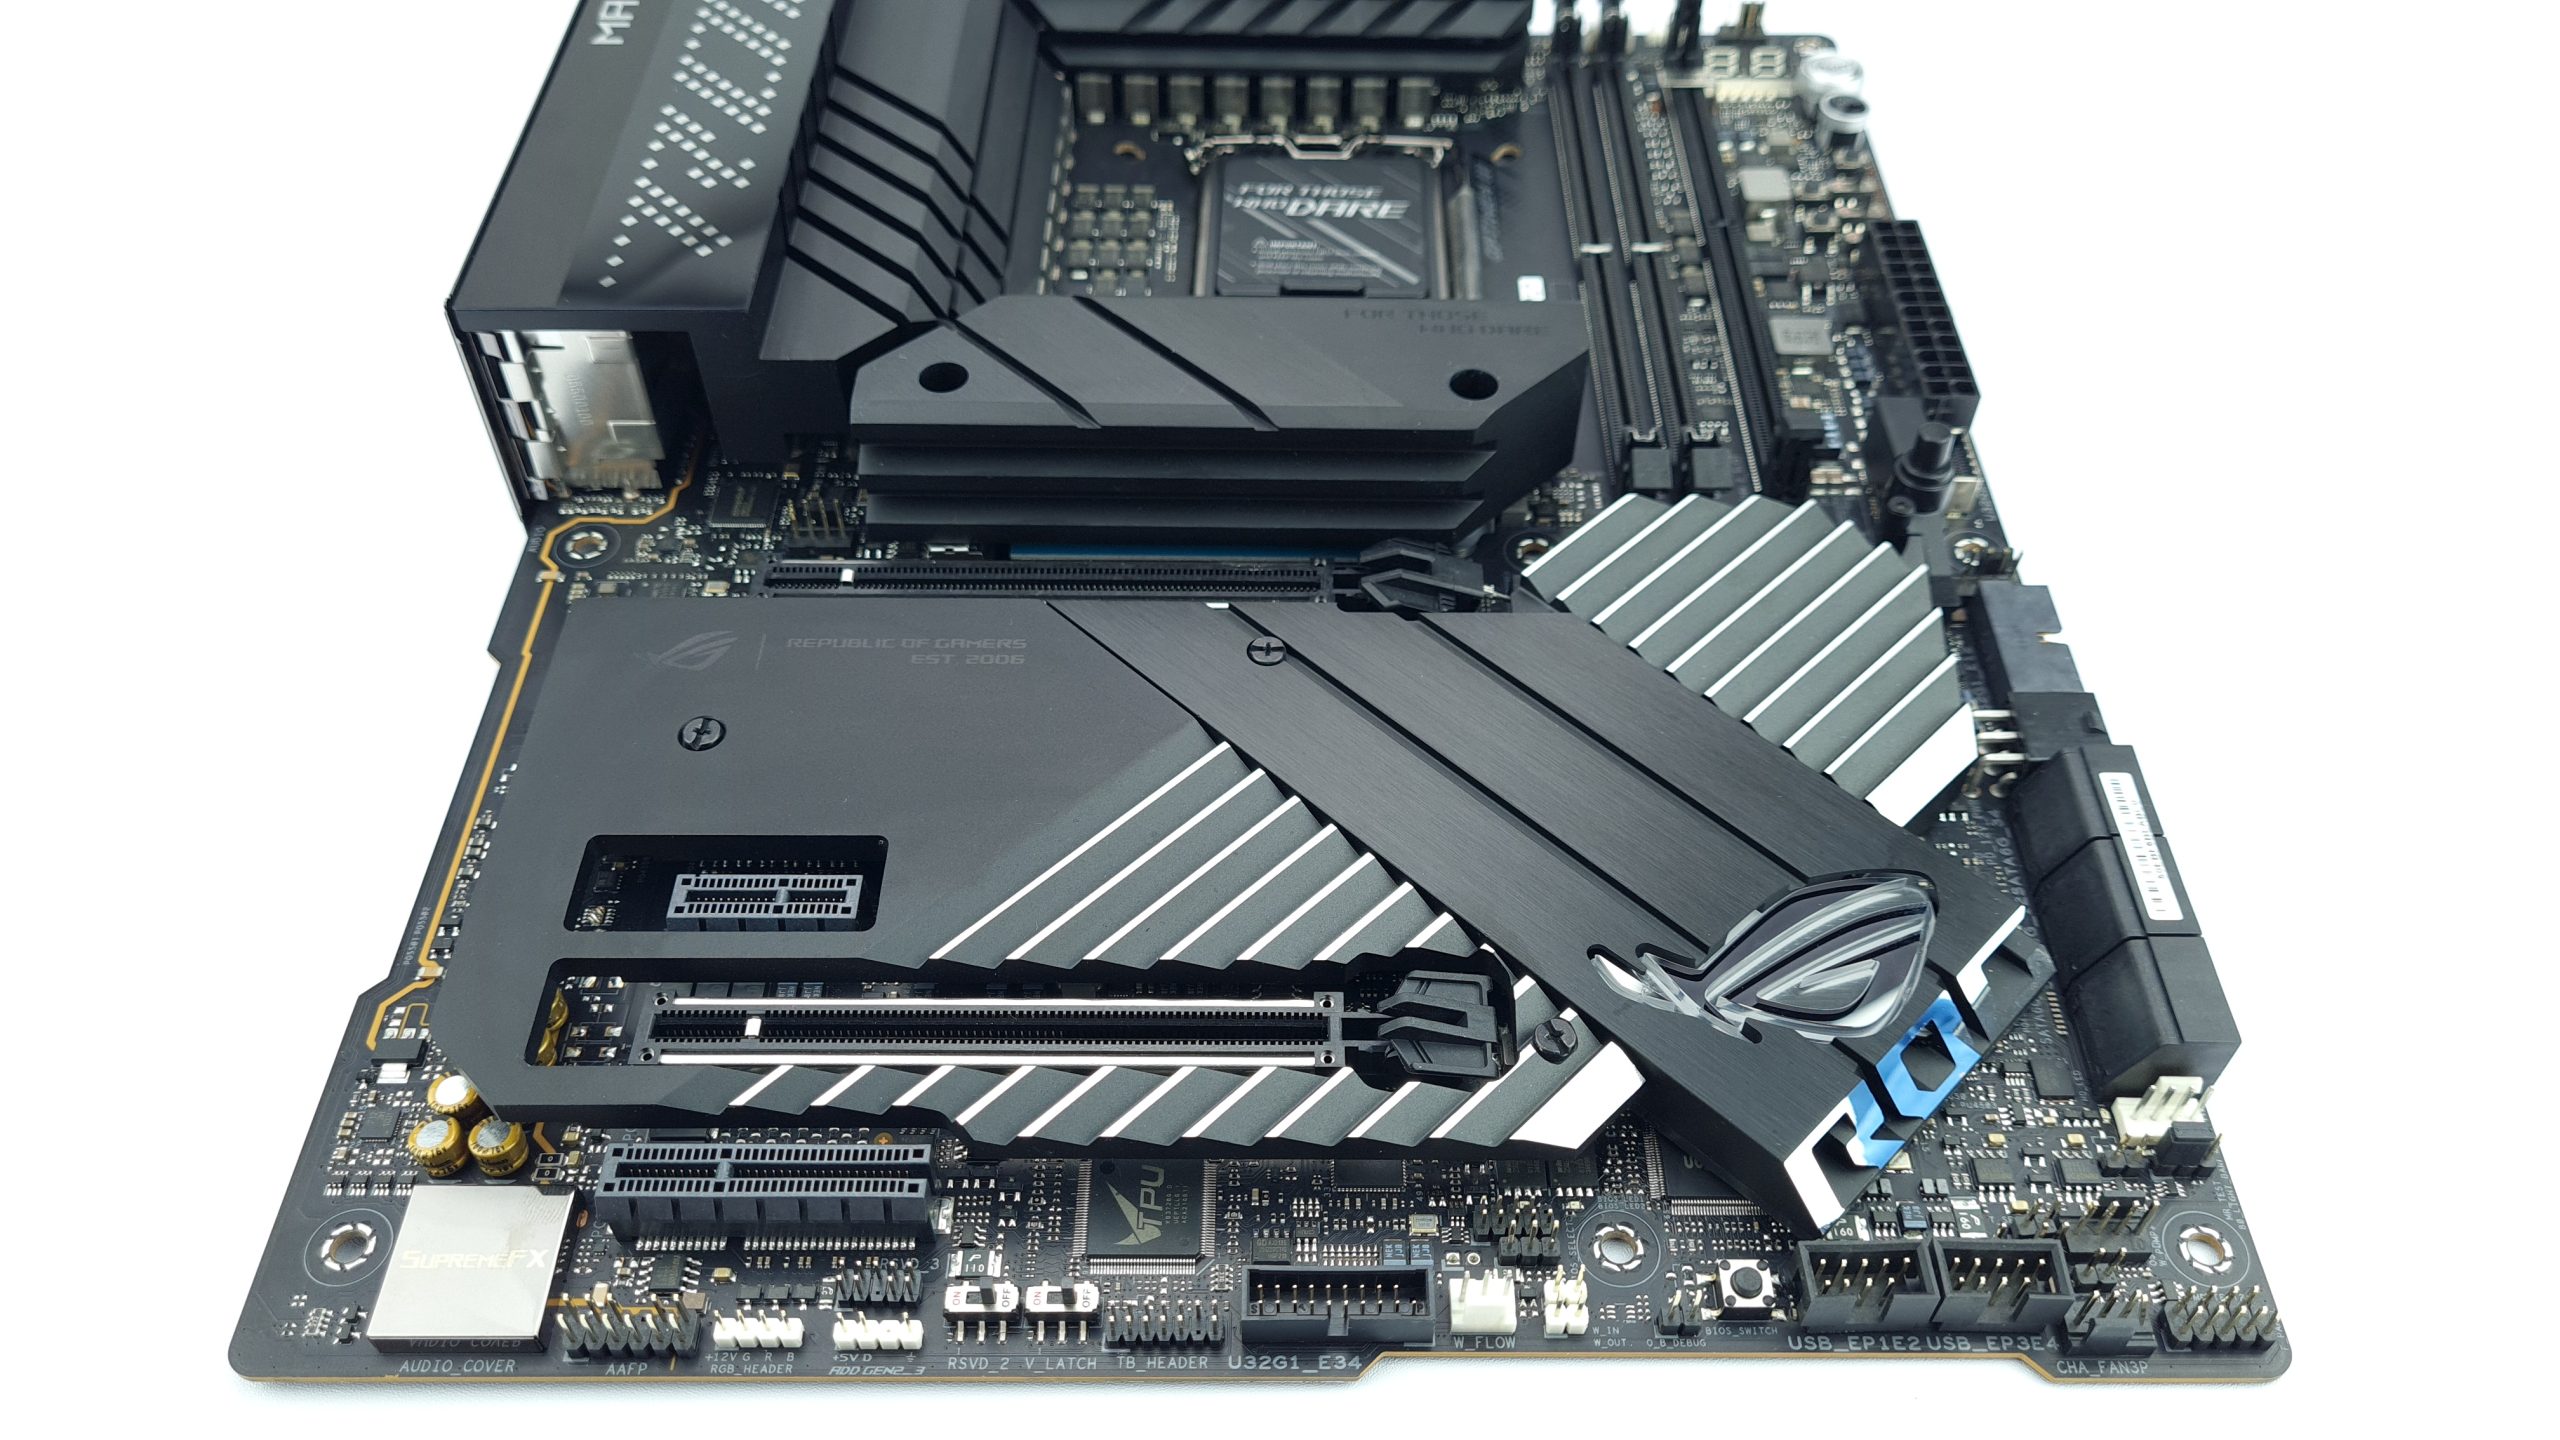
On the bottom edge, there are more various connectors for fans, 3- and 4-pin RBG standards, as well as connectors for a flow sensor and temperature sensor, intended for water cooling systems. But we’re far from done, there’s also a second USB 3 5 Gbit/s header, two USB 2 ports and even a Thunderbolt 3 header for corresponding expansion cards. Here are also more toggle switches for RSVD2 and V_Latch. With the latter, the highest and lowest value of the Vcore voltage can be registered hardware-based and then read out in software – comparable to minimum and maximum values of an oscilloscope.
Hidden among all the pins and connectors is also the button to switch between the two BIOS chips, which are located on the other side of the screw hole with their corresponding indicator LEDs. These are both orange, so you can only identify the selected BIOS by its position. Of course, there is also a connector for the front panel of the case and next to it here are the pins for the “ROG True Voltitian” USB oscilloscope, which we will also look at in detail later. Phew, what a latte of features..
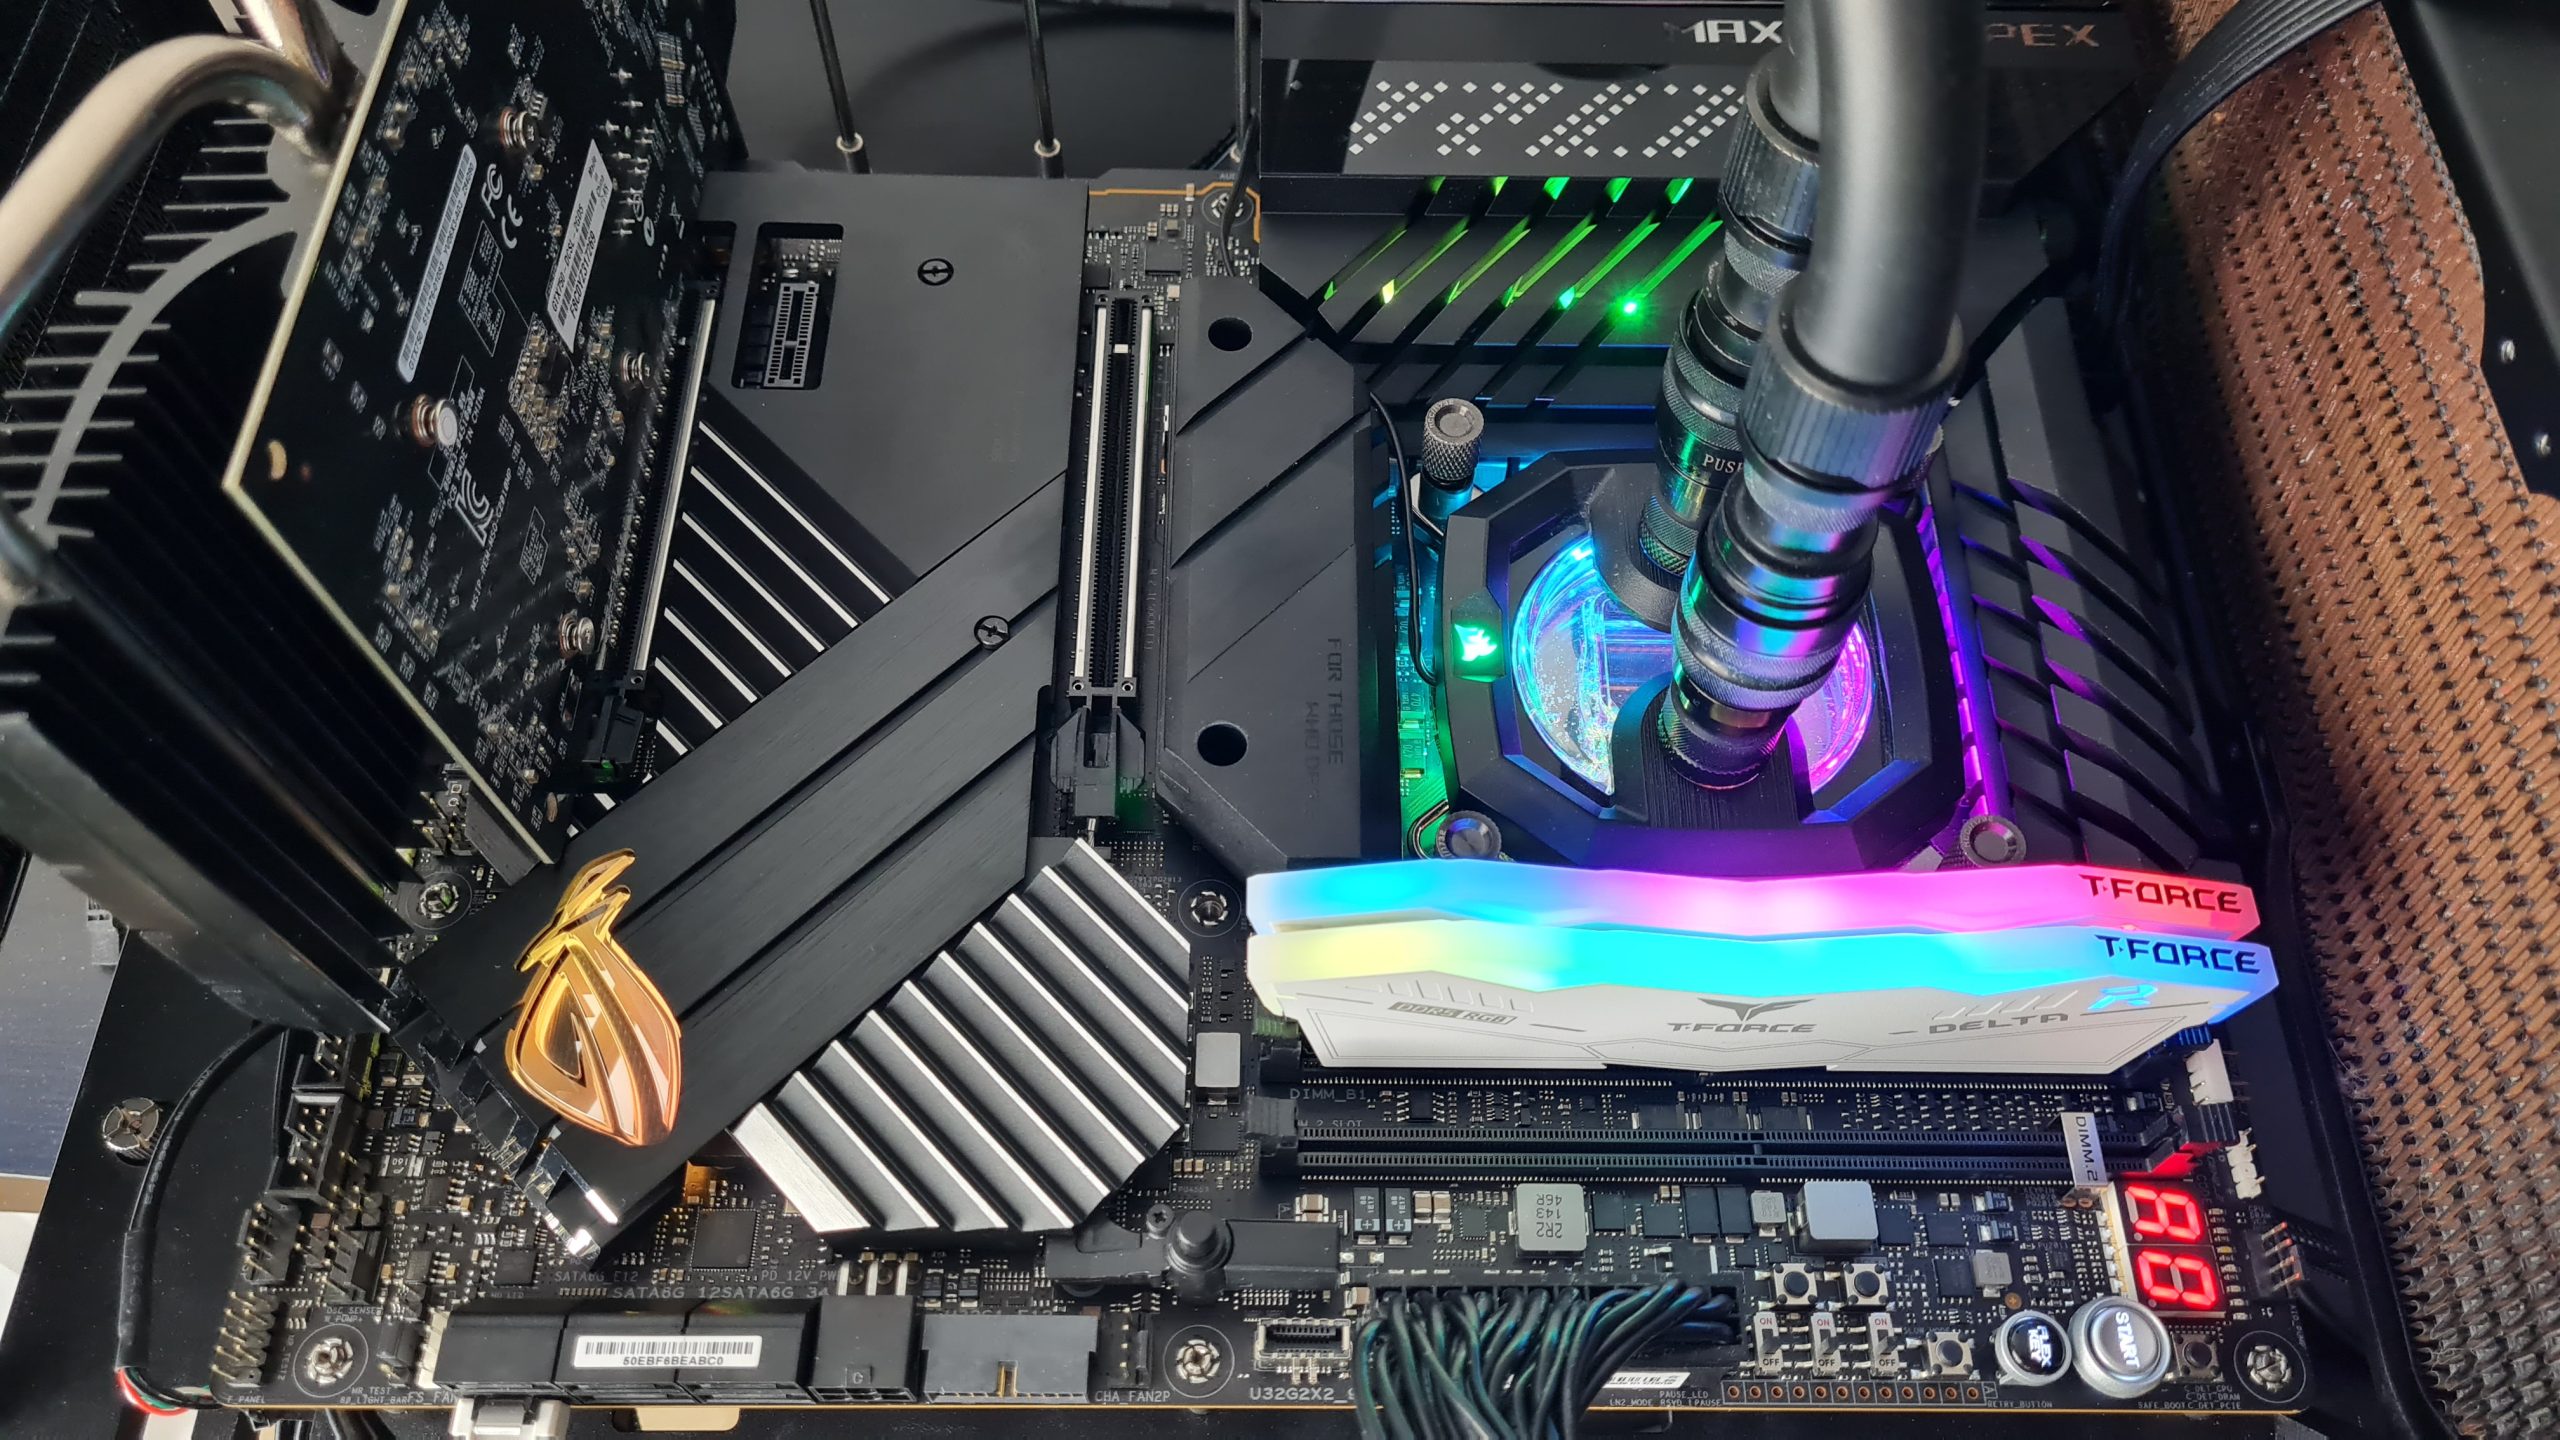
I personally like the black and silver design of the board quite a bit. Only the glossy ROG logo in pixel look on the IO cover somehow does not quite fit into the overall picture. The heatsinks are lush and at the same time reflect the design language of previous Asus Maximus boards, especially of course the chipset cooler with integrated ROG logo and 3-dimensional lettering. By the way, the CMOS battery is also hidden under the same cover, which makes access difficult in favor of the optics.


43 Antworten
Kommentar
Lade neue Kommentare
Veteran
Mitglied
Veteran
Urgestein
Veteran
Mitglied
Veteran
Veteran
Urgestein
1
Veteran
Veteran
Veteran
Urgestein
1
Mitglied
Urgestein
1
Mitglied
Alle Kommentare lesen unter igor´sLAB Community →