


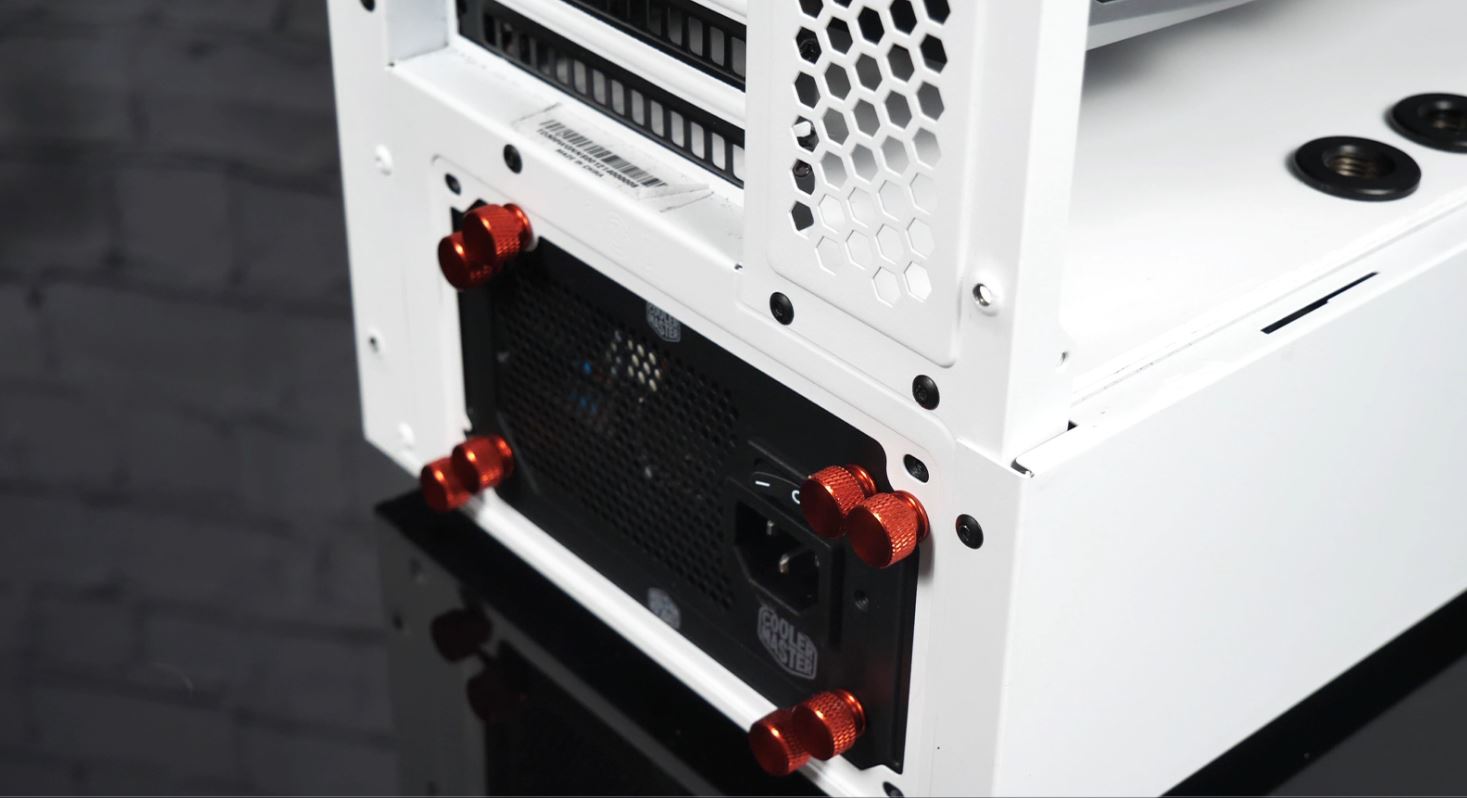
In this build, I’m using the Cooler Master V850 SFX, although a regular ATX power supply would have fit as well. The reason I use an SFX power supply is the size, because invisible and hidden from the public, the hoses for the custom loop run later in the power supply bay. The pump is also hidden down there, and space is a precious commodity. With a normal ATX power supply it would have been a bit cramped with all the cables and hoses. Cooler Master fortunately includes a bracket with the V850 SFX that allows us to mount an SFX PSU in an ATX opening as well.
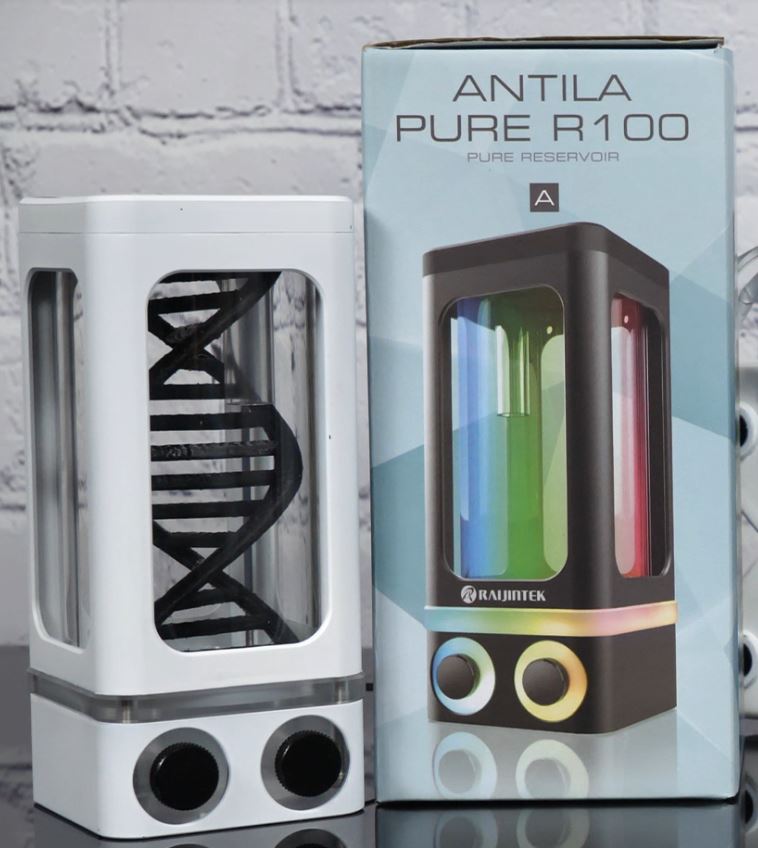
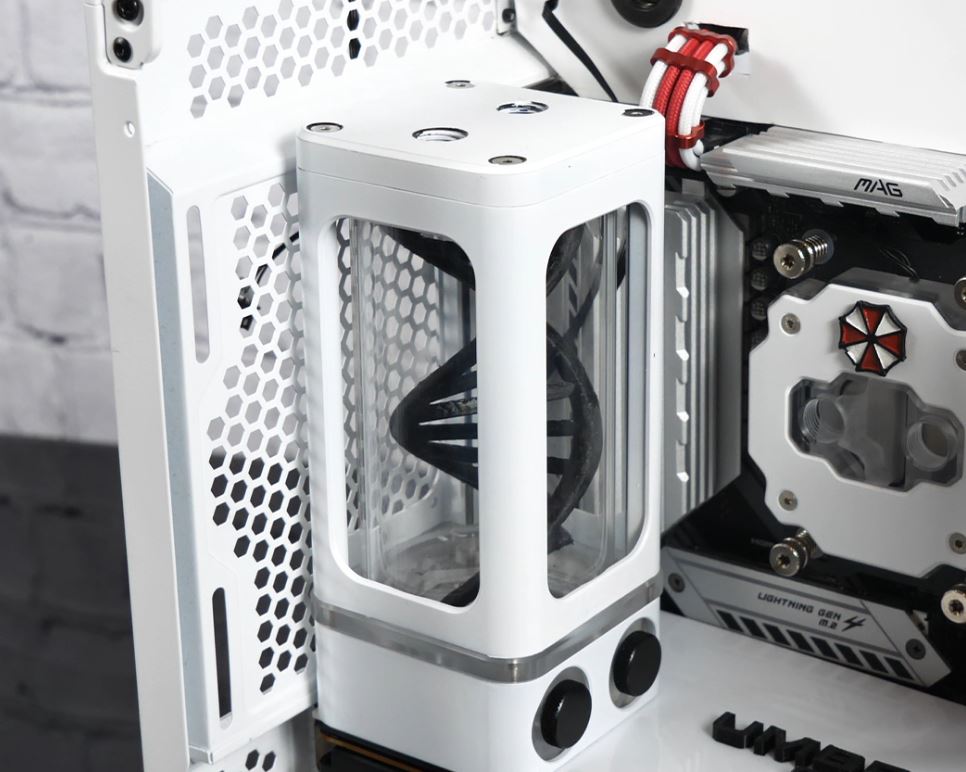
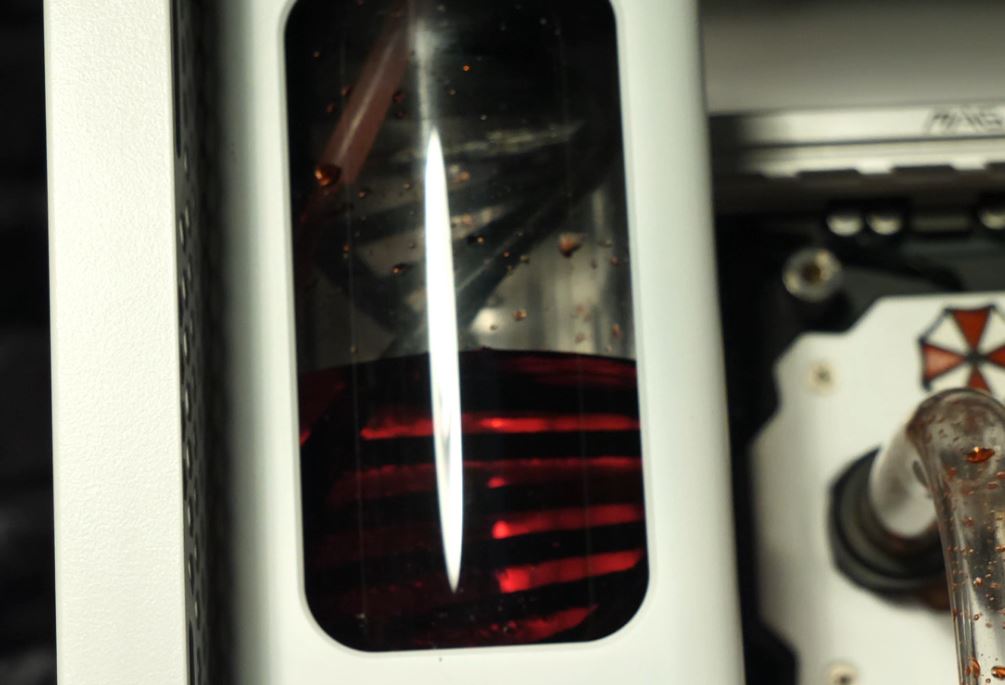
After the small hurdle was cleared, it was time for the custom loop. Here I wanted to provide a little eye-catcher and visually emphasize the theme. For this, I used my 3D printer to print a DNA helix out of PLA and placed it in my balance tank. After all, the eye eats with you.
I position the AGB at the back of the case, where there would actually be room for a fan, but since I had no worries about not enough air coming in through the mesh front and not cooling the voltage converters enough, I didn’t see this as a problem.
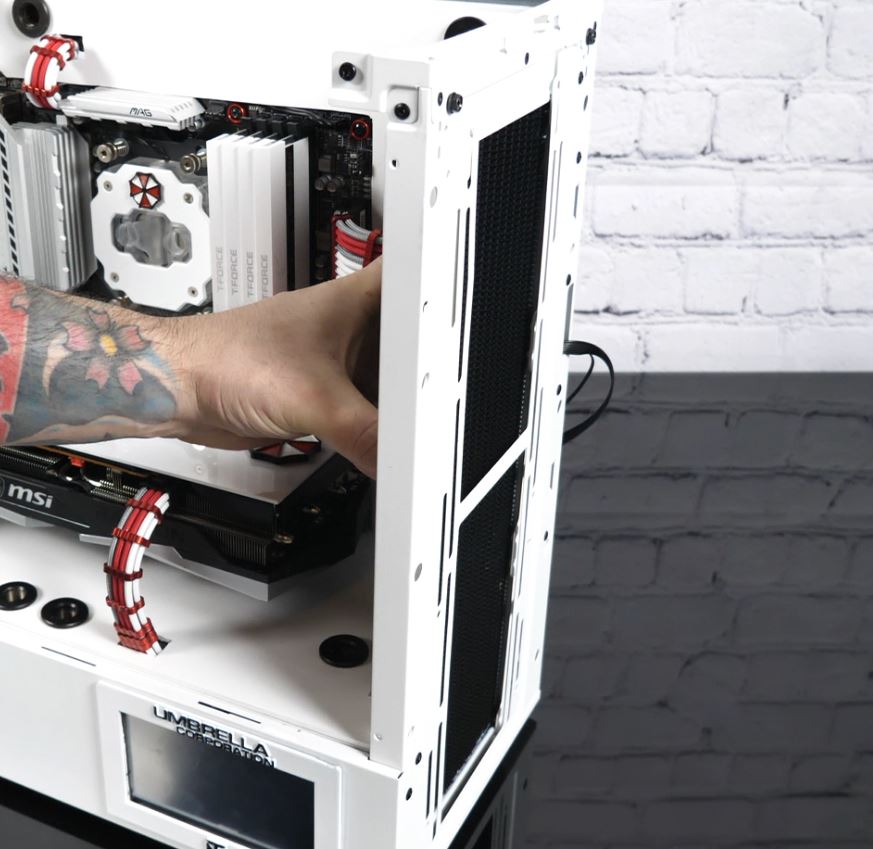
Next, it was time to install the radiator. At the beginning, I wrote that Cooler Master specified a maximum radiator support of 280 mm in the front. That’s not true, because as I’ll prove to you here, you can also get a 360 slim radiator in the front with a little trickery. For this, we just need to move the cables of the I/O panel to get enough space for our 360 radiator.
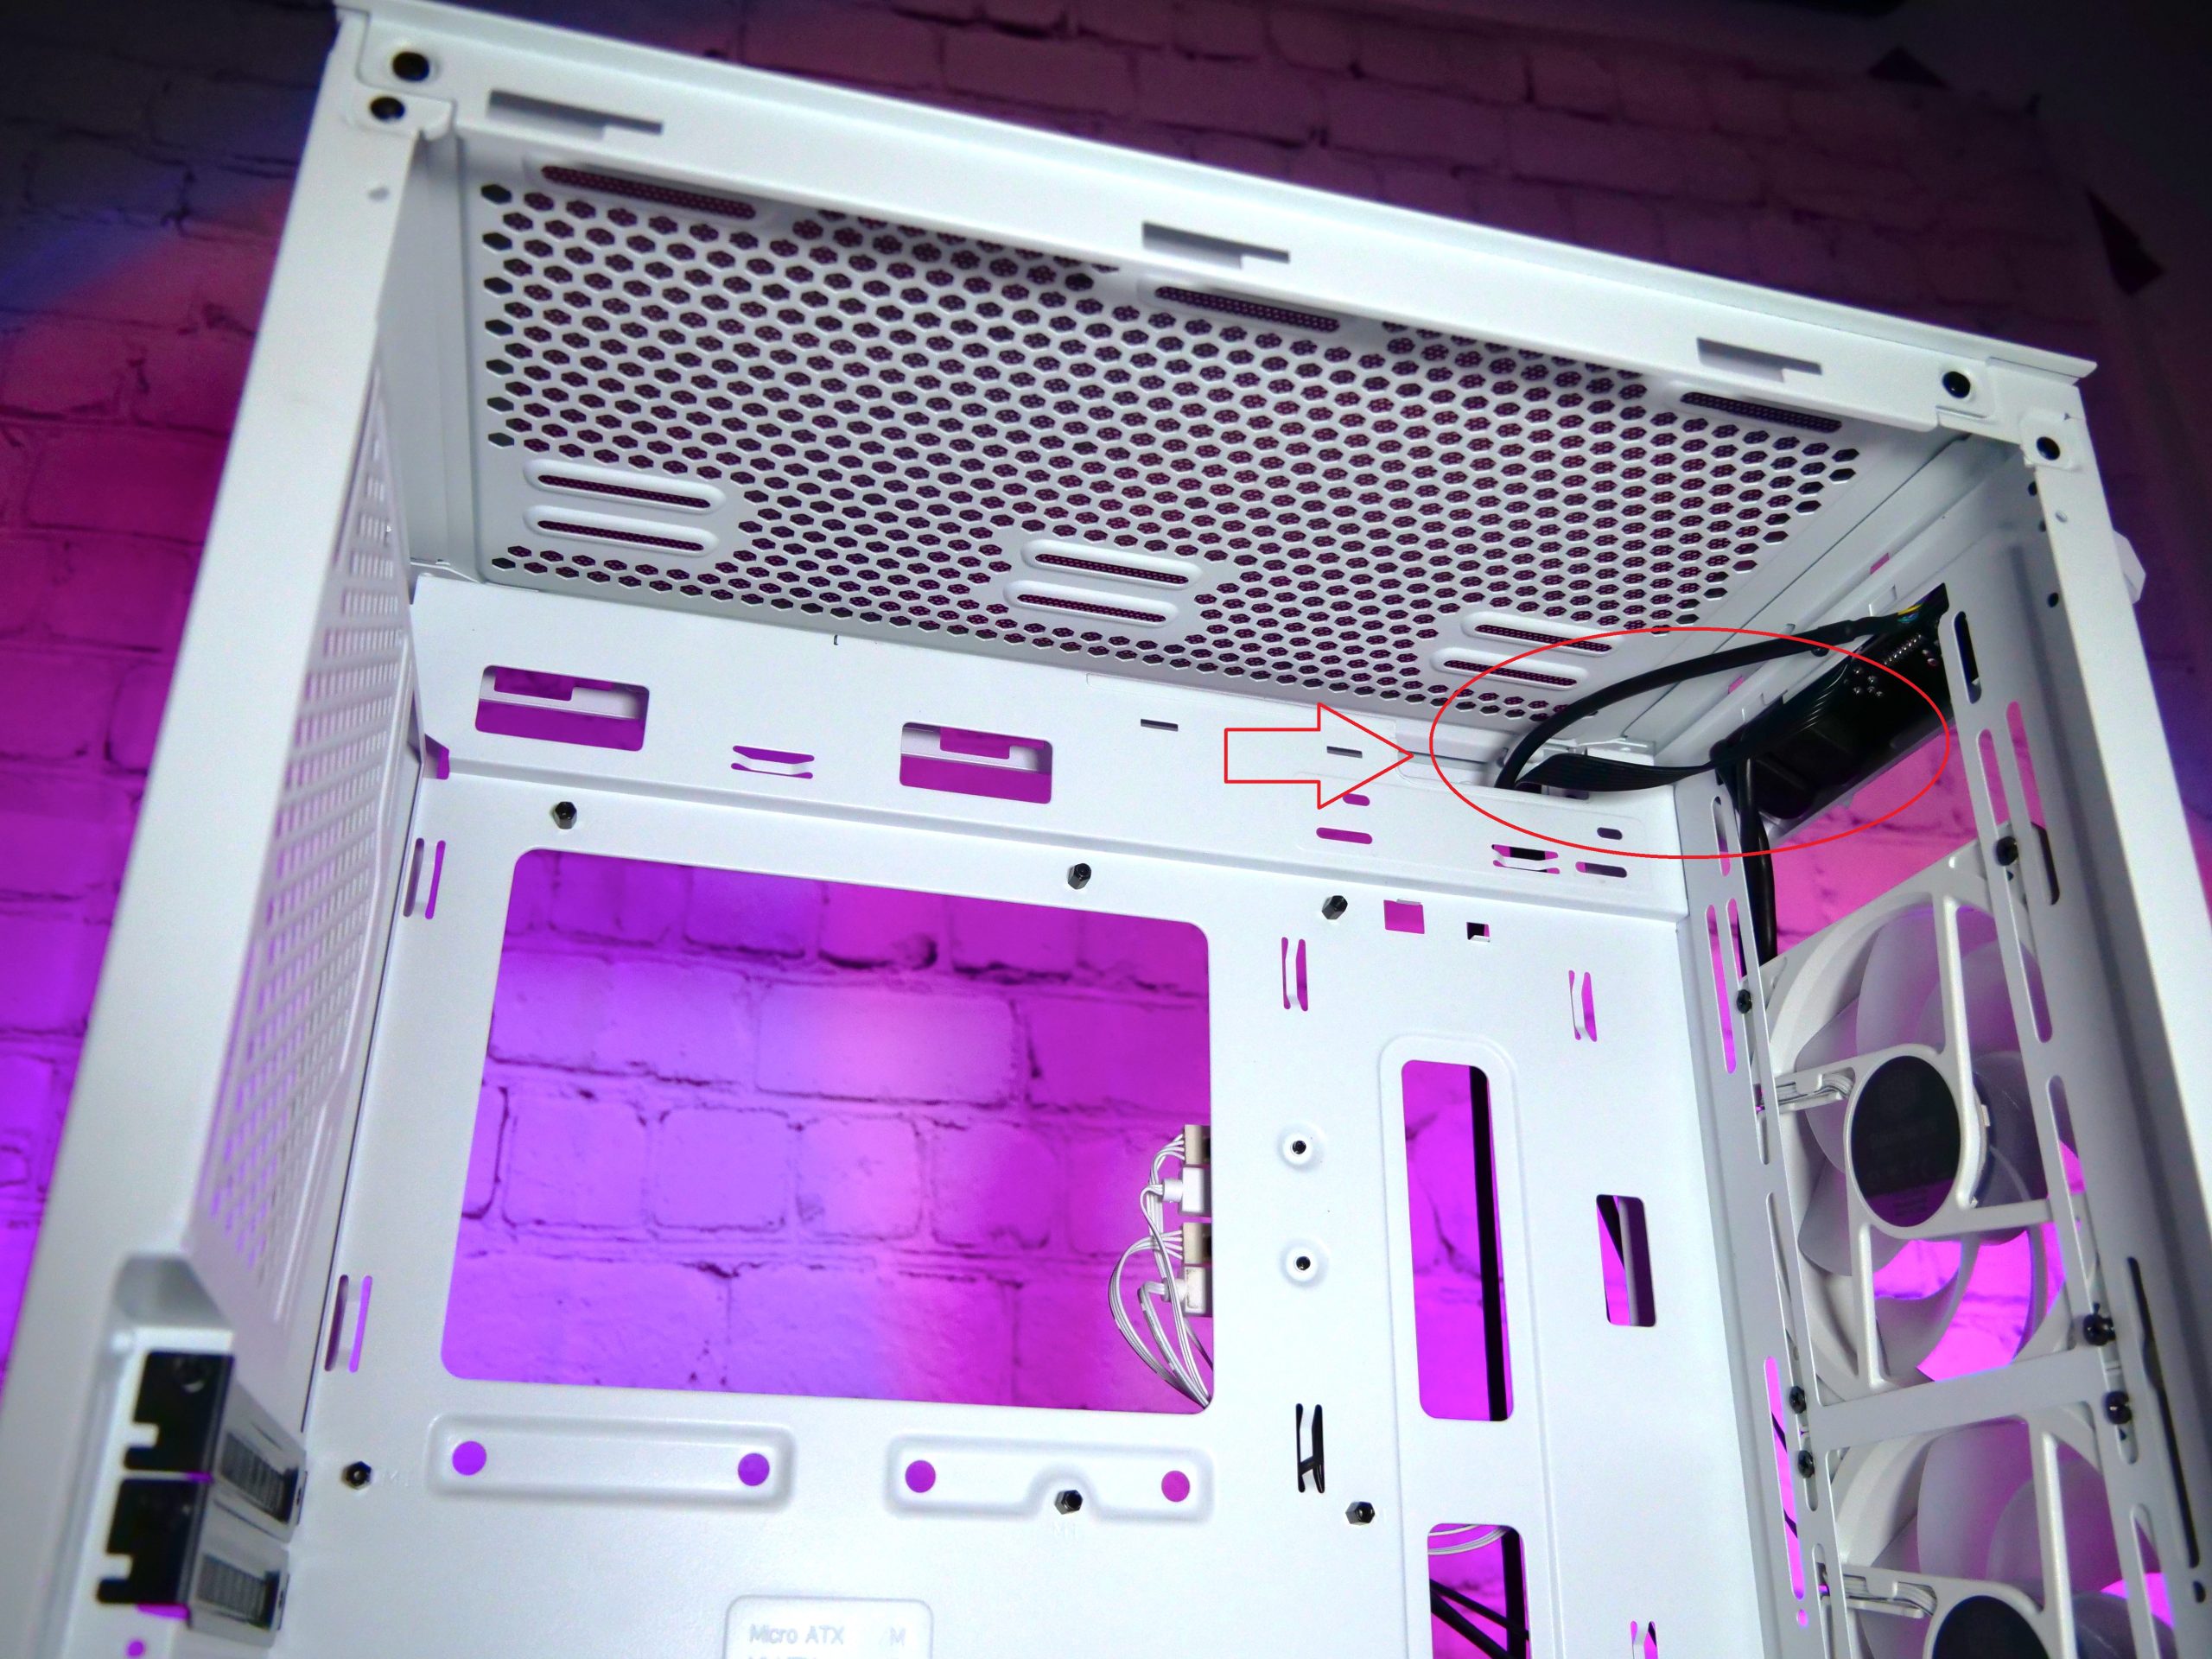
Granted, it’s a little tight, but doable. Another obstacle is the radiator itself, because not all 360 radiators fit equally. It depends on the respective design and so I unfortunately had to test myself a bit until a 360 radiator finally fit. Where there’s a will, there’s a way – you just have to dare.
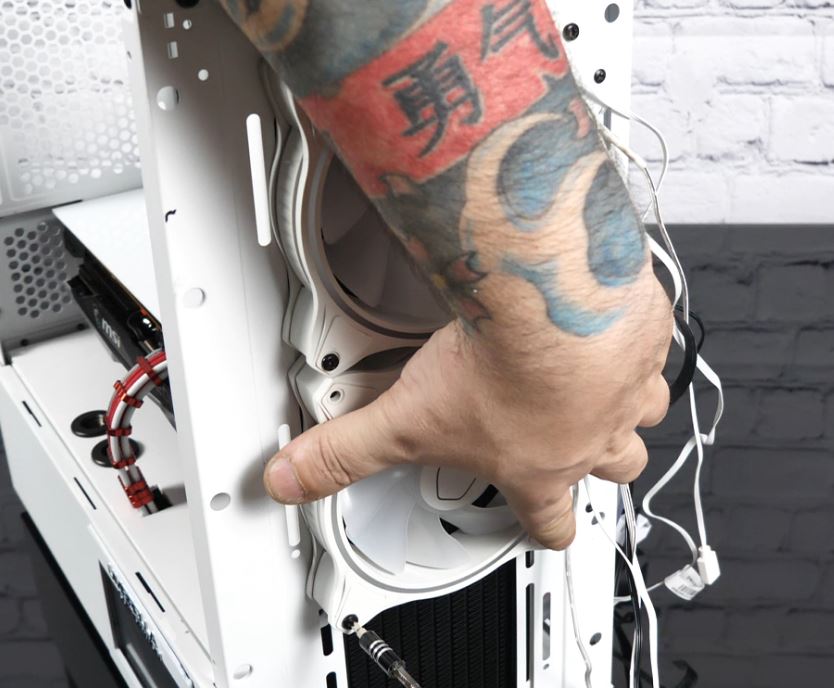
Once the radiator is in place, the three Cooler Master Halo in white are installed in the front.
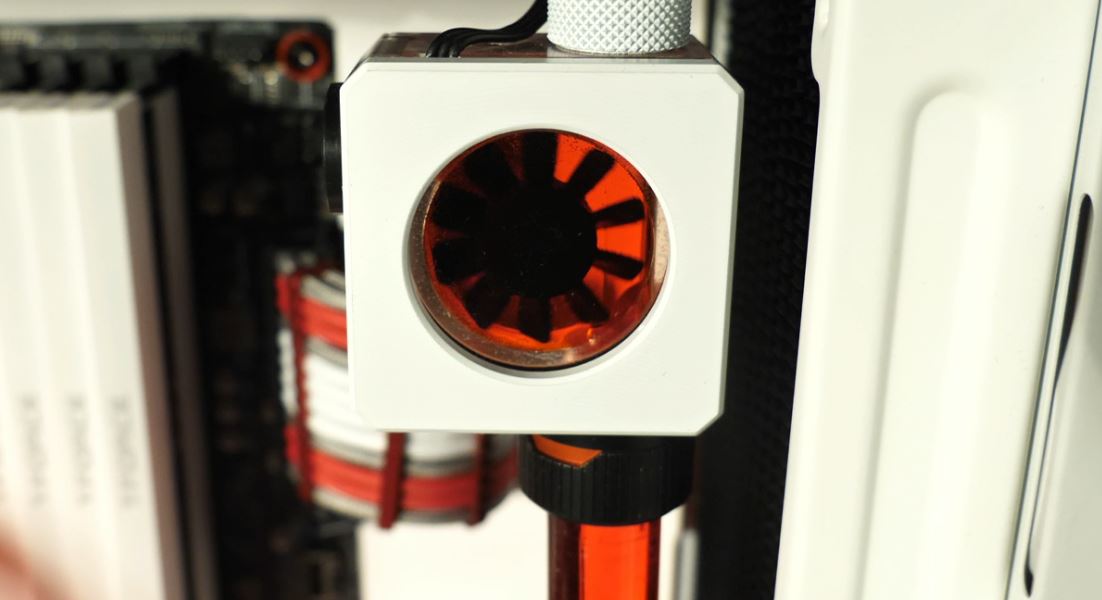
Now it was time for the exciting part: tubing. Here I chose the EK-Quantum Torque HDC 16, which fit in well with the color theme due to its interchangeable color ring. Since I am a fan of moving parts, I have still installed a flow indicator for visual monitoring. This allows me to see whether the pump is actually running.
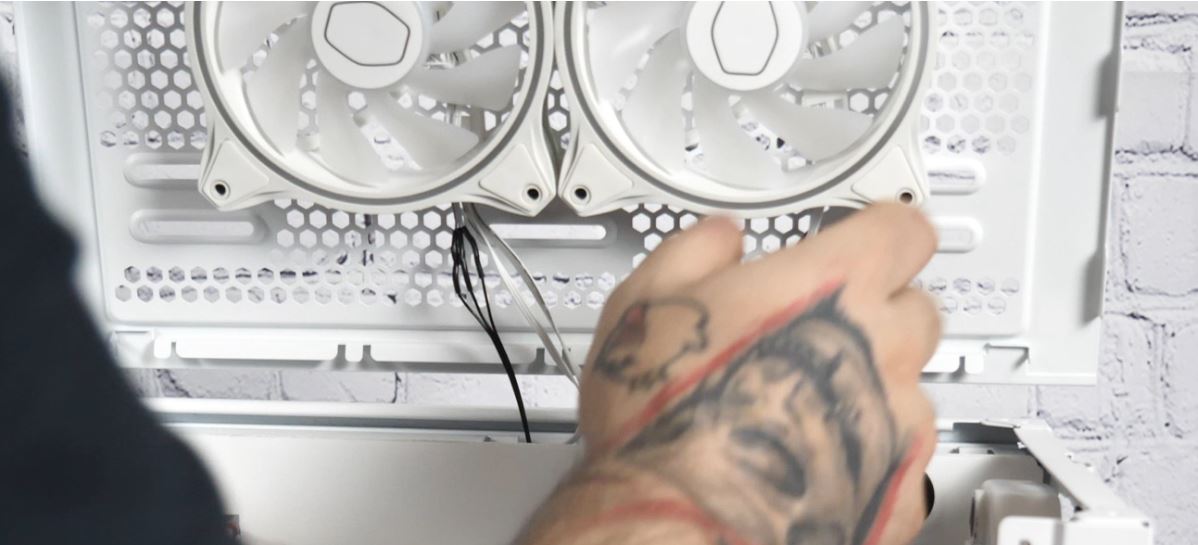
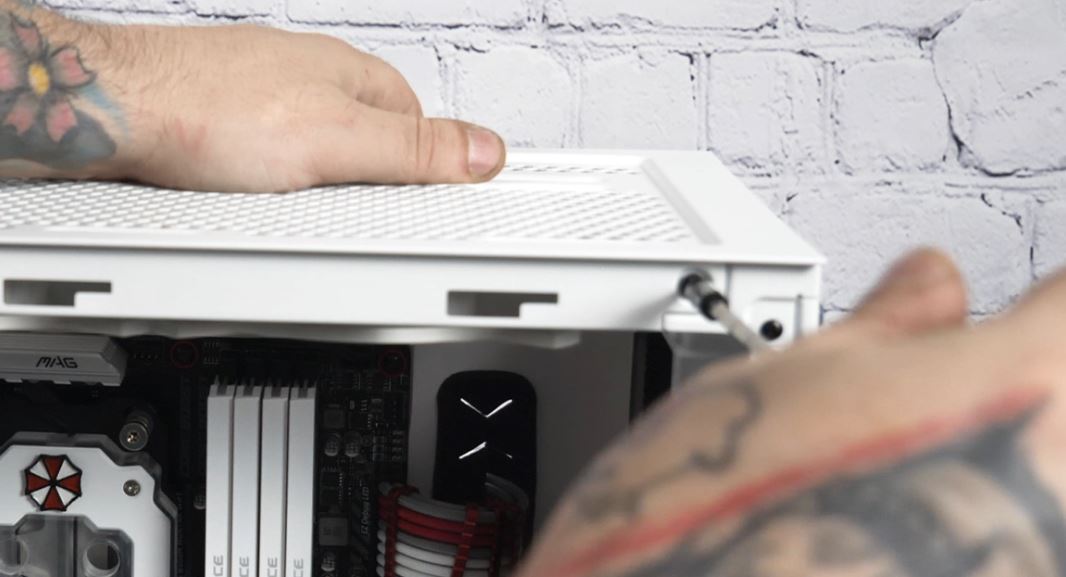
Finally, I had to install 2 fans in the lid and put the sandwich into the case.
Shut the lid and be done with it?
No now check the loop for leaks with a leak tester! After ca.30 Minutes with the value unchanged, it was time to finally fill the loop.
Those who have been paying close attention in this installation report will have noticed another small detail, however. Since I’m a fan of hardware monitoring, as mentioned, I wanted to provide a real Oho experience in the build in the form of an integrated screen.
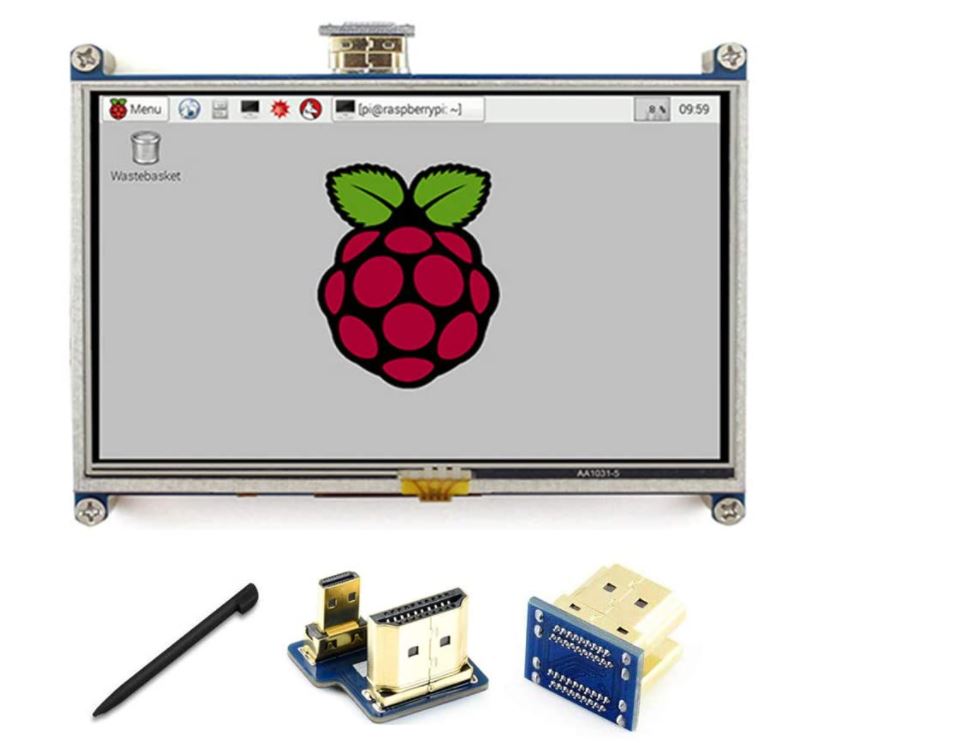
For this purpose, I had already made an opening in the case from the outside and inserted a 5 inch HDMI screen there. Such screens can be found on the Internet for as little as 30€.
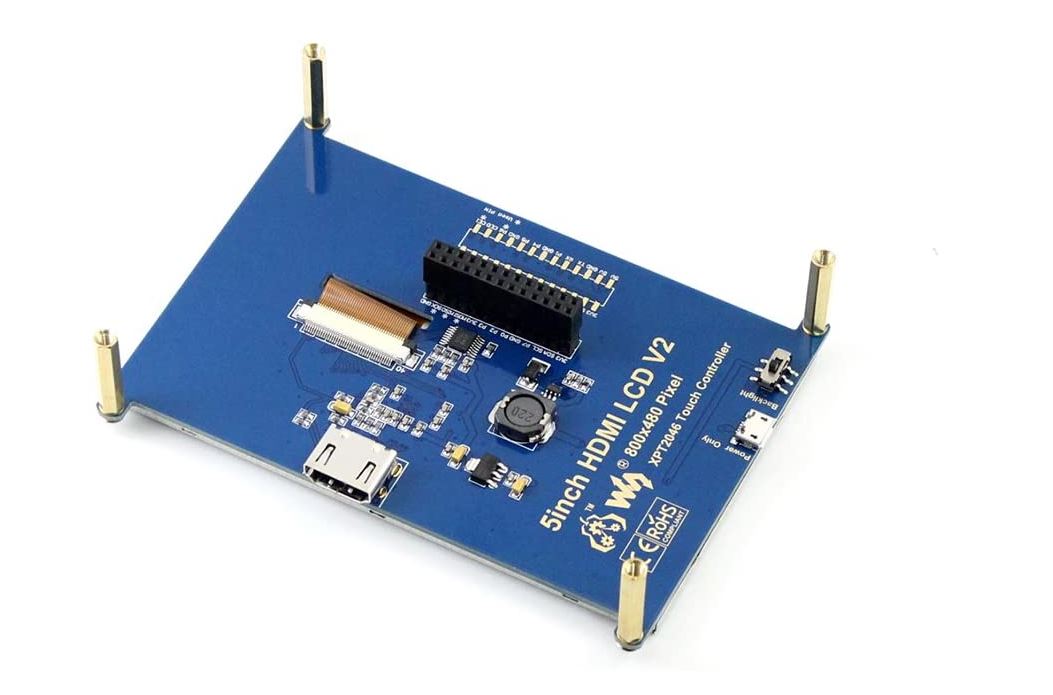 The power is supplied via USB and the image playback is taken from a free GPU port. I use Aida64 as the display medium here. This program offers the possibility to display a sensor panel and customize the content as you wish. Other software, such as NZXT Cam etc. are of course also possible.
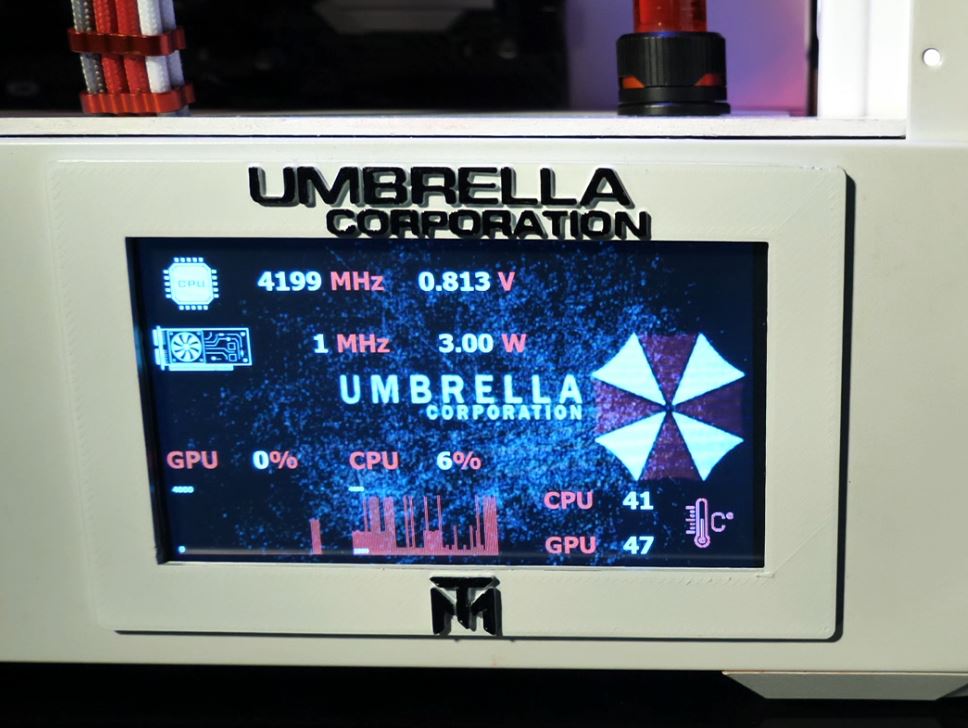
Admittedly, since my cuts were not 100% perfect now, I still printed with the 3D printer einwn matching the theme frame and glued.


11 Antworten
Kommentar
Lade neue Kommentare
Urgestein
Urgestein
Urgestein
Urgestein
Urgestein
Urgestein
Mitglied
Urgestein
Veteran
Veteran
Urgestein
Alle Kommentare lesen unter igor´sLAB Community →