


And why no infrared thermometer?
First of all we have to remember that even many of the better infrared thermometers are absolutely useless for our measurements due to the resolution (diameter of the measuring range), because only an average value for the whole area is determined and so many details (hot or cold) are simply lost in the average value. After all, we don’t measure roughly, but want to discover hotspots and potential weak points in detail on our technology. So, as always, it’s a question of what you actually intend to measure!
The core problem here is also the emissivity. In cheaper devices, this is preset and cannot be changed. Unfortunately, fixed targets of 0.95 are usually standard. While many (aluminium-free) lacquers and most matt paints are still between 0.9 and 0.97 and thus fit into the scheme, metals and even wood, leather or concrete are already excluded. Water is just fine, glass may or may not, depending on the composition.
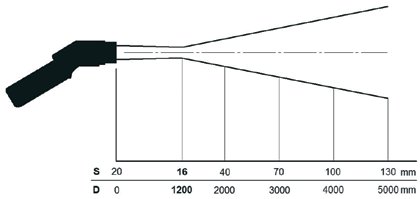
Another thing that is important to note is the actual measurement point. Even with good thermometers, one rarely finds less than a 20:1 ratio between the distance to the object and the diameter of the detected area! So you almost always measure the environment, which also leads to falsifications, because in the end only the average is displayed! Good handheld thermometers, which have an emission value specification and a sophisticated laser positioning aid, cost about 150 Euro (incl. VAT) or more and you have to be really lucky to find anything useful under 100 Euro. The following two graphics show the approx. 2 cm measuring spot of an infrared thermometer:
We will come to the problems with the different emissivities of the various surfaces – and how we protect ourselves from errors in concrete cases – in a moment on the next pages.
Measuring instead of estimating: the high-resolution thermal imaging camera including software
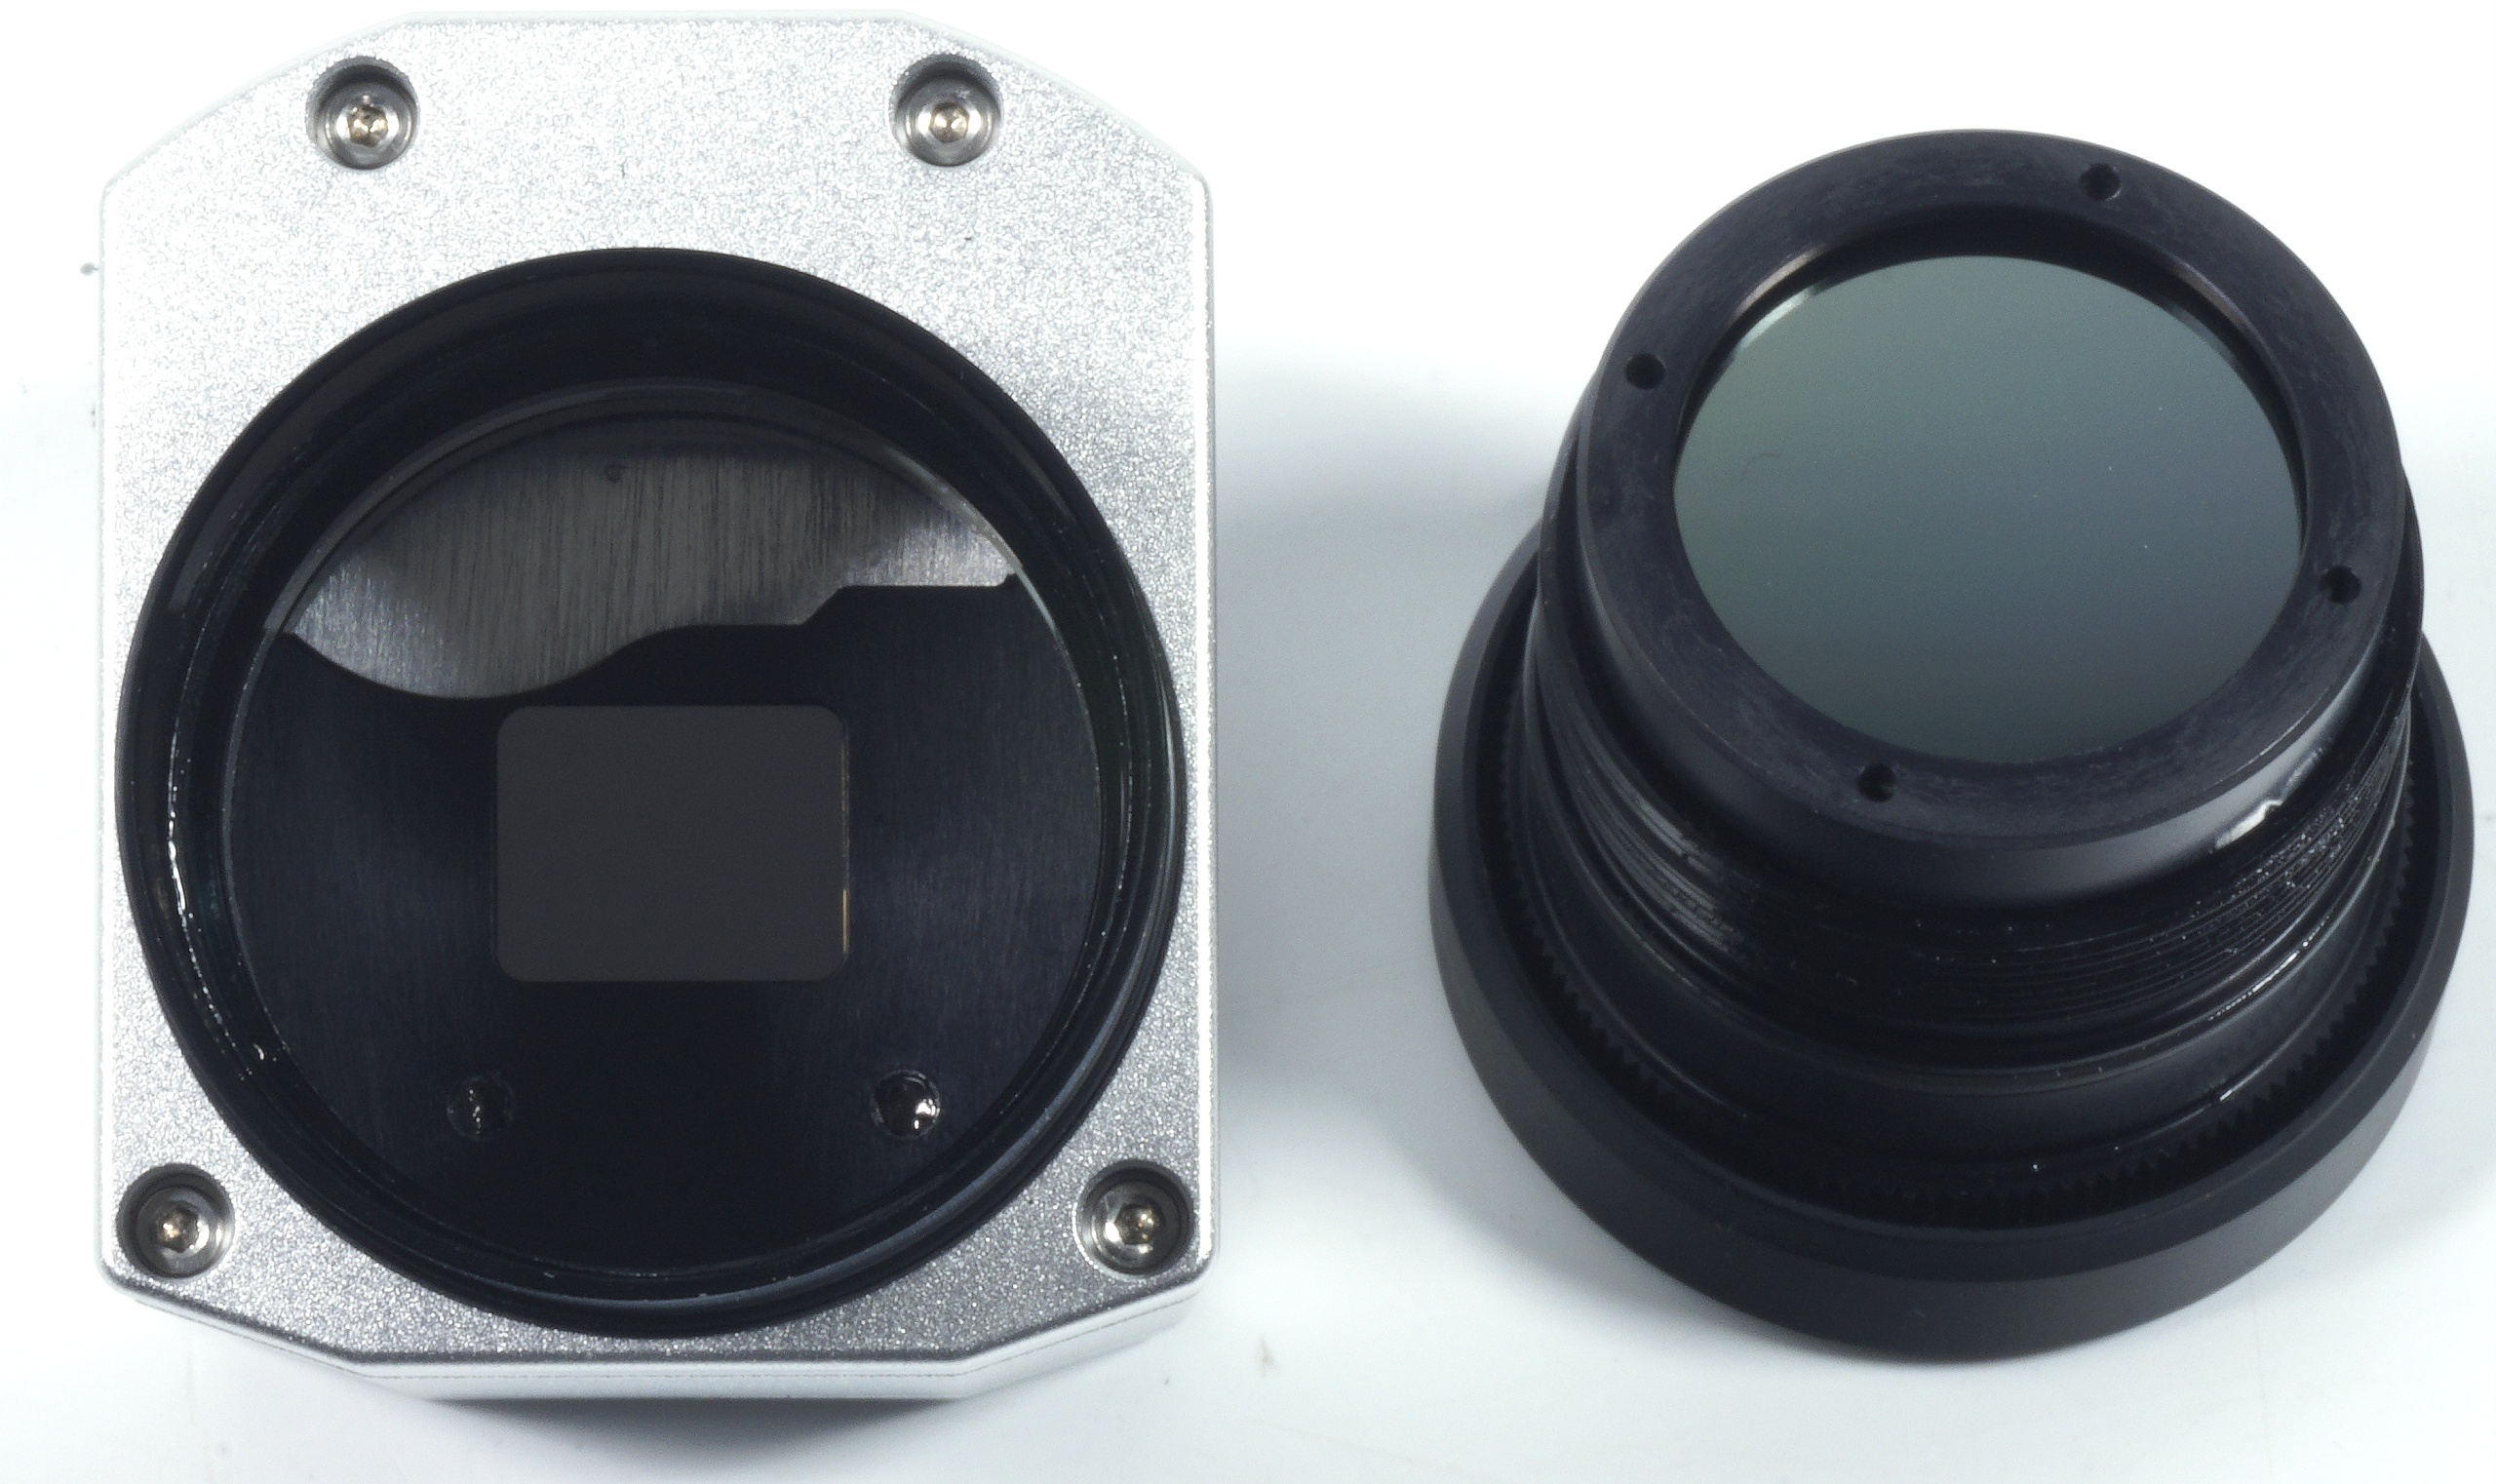
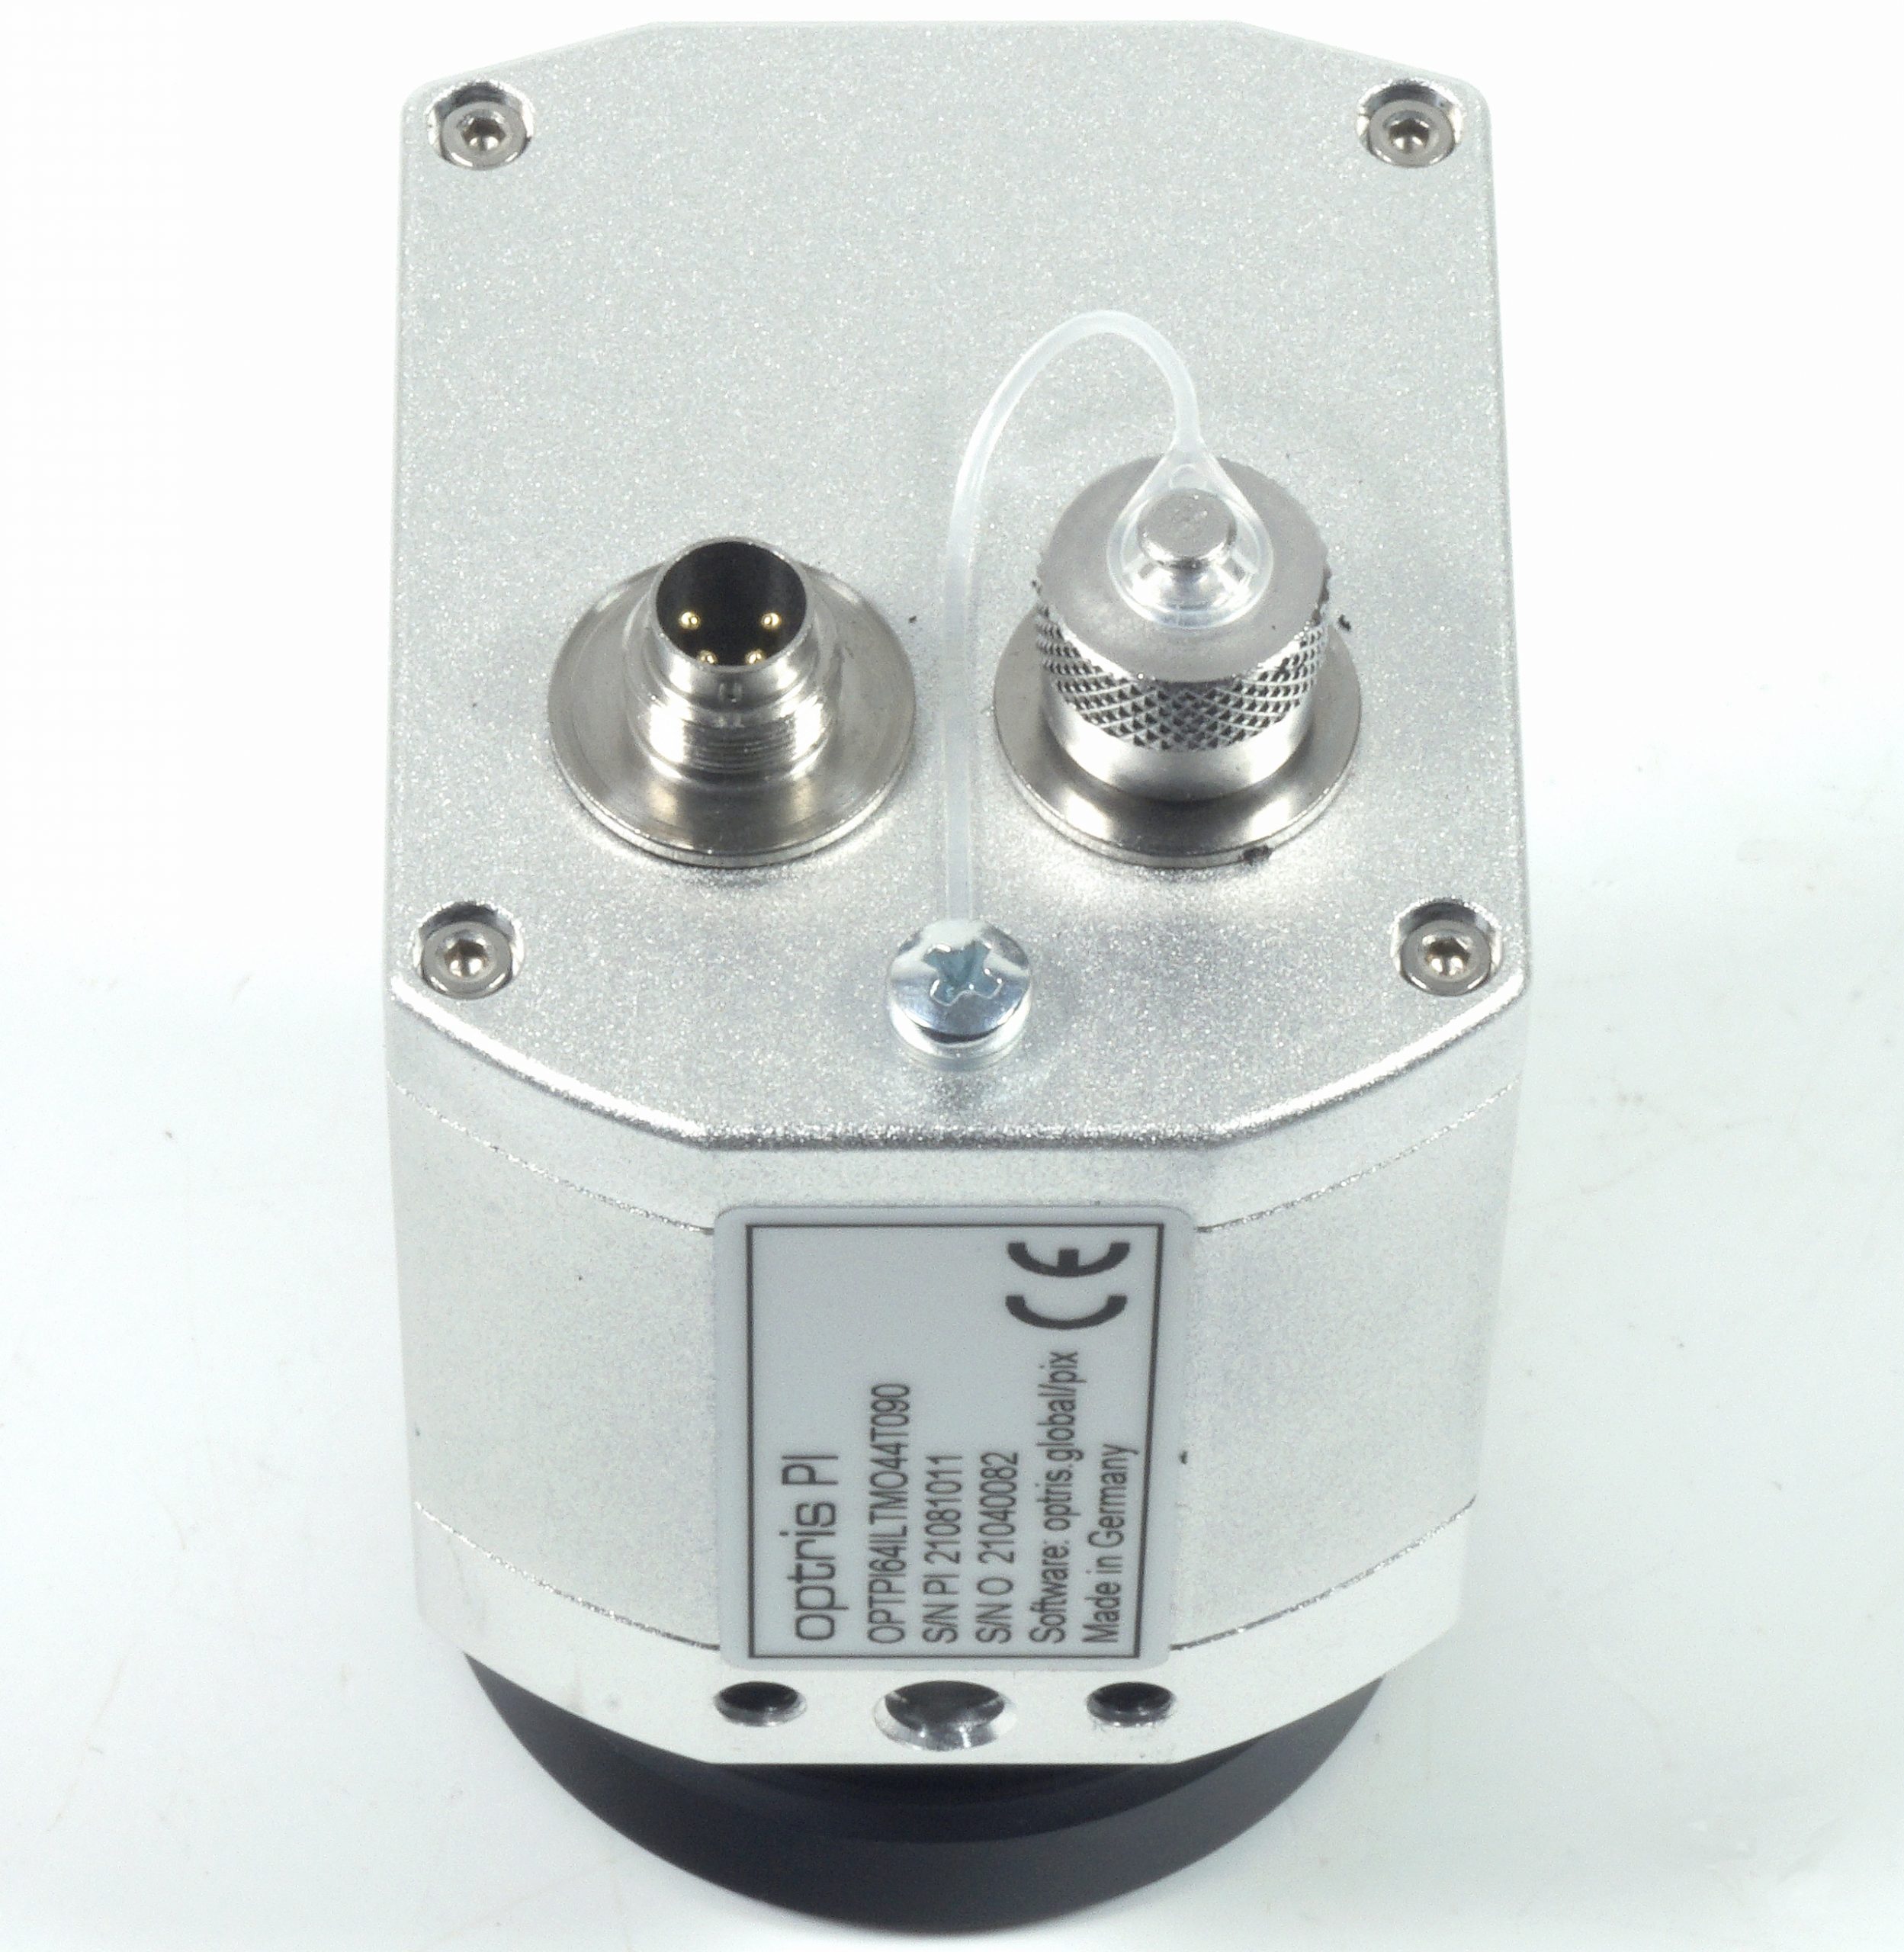
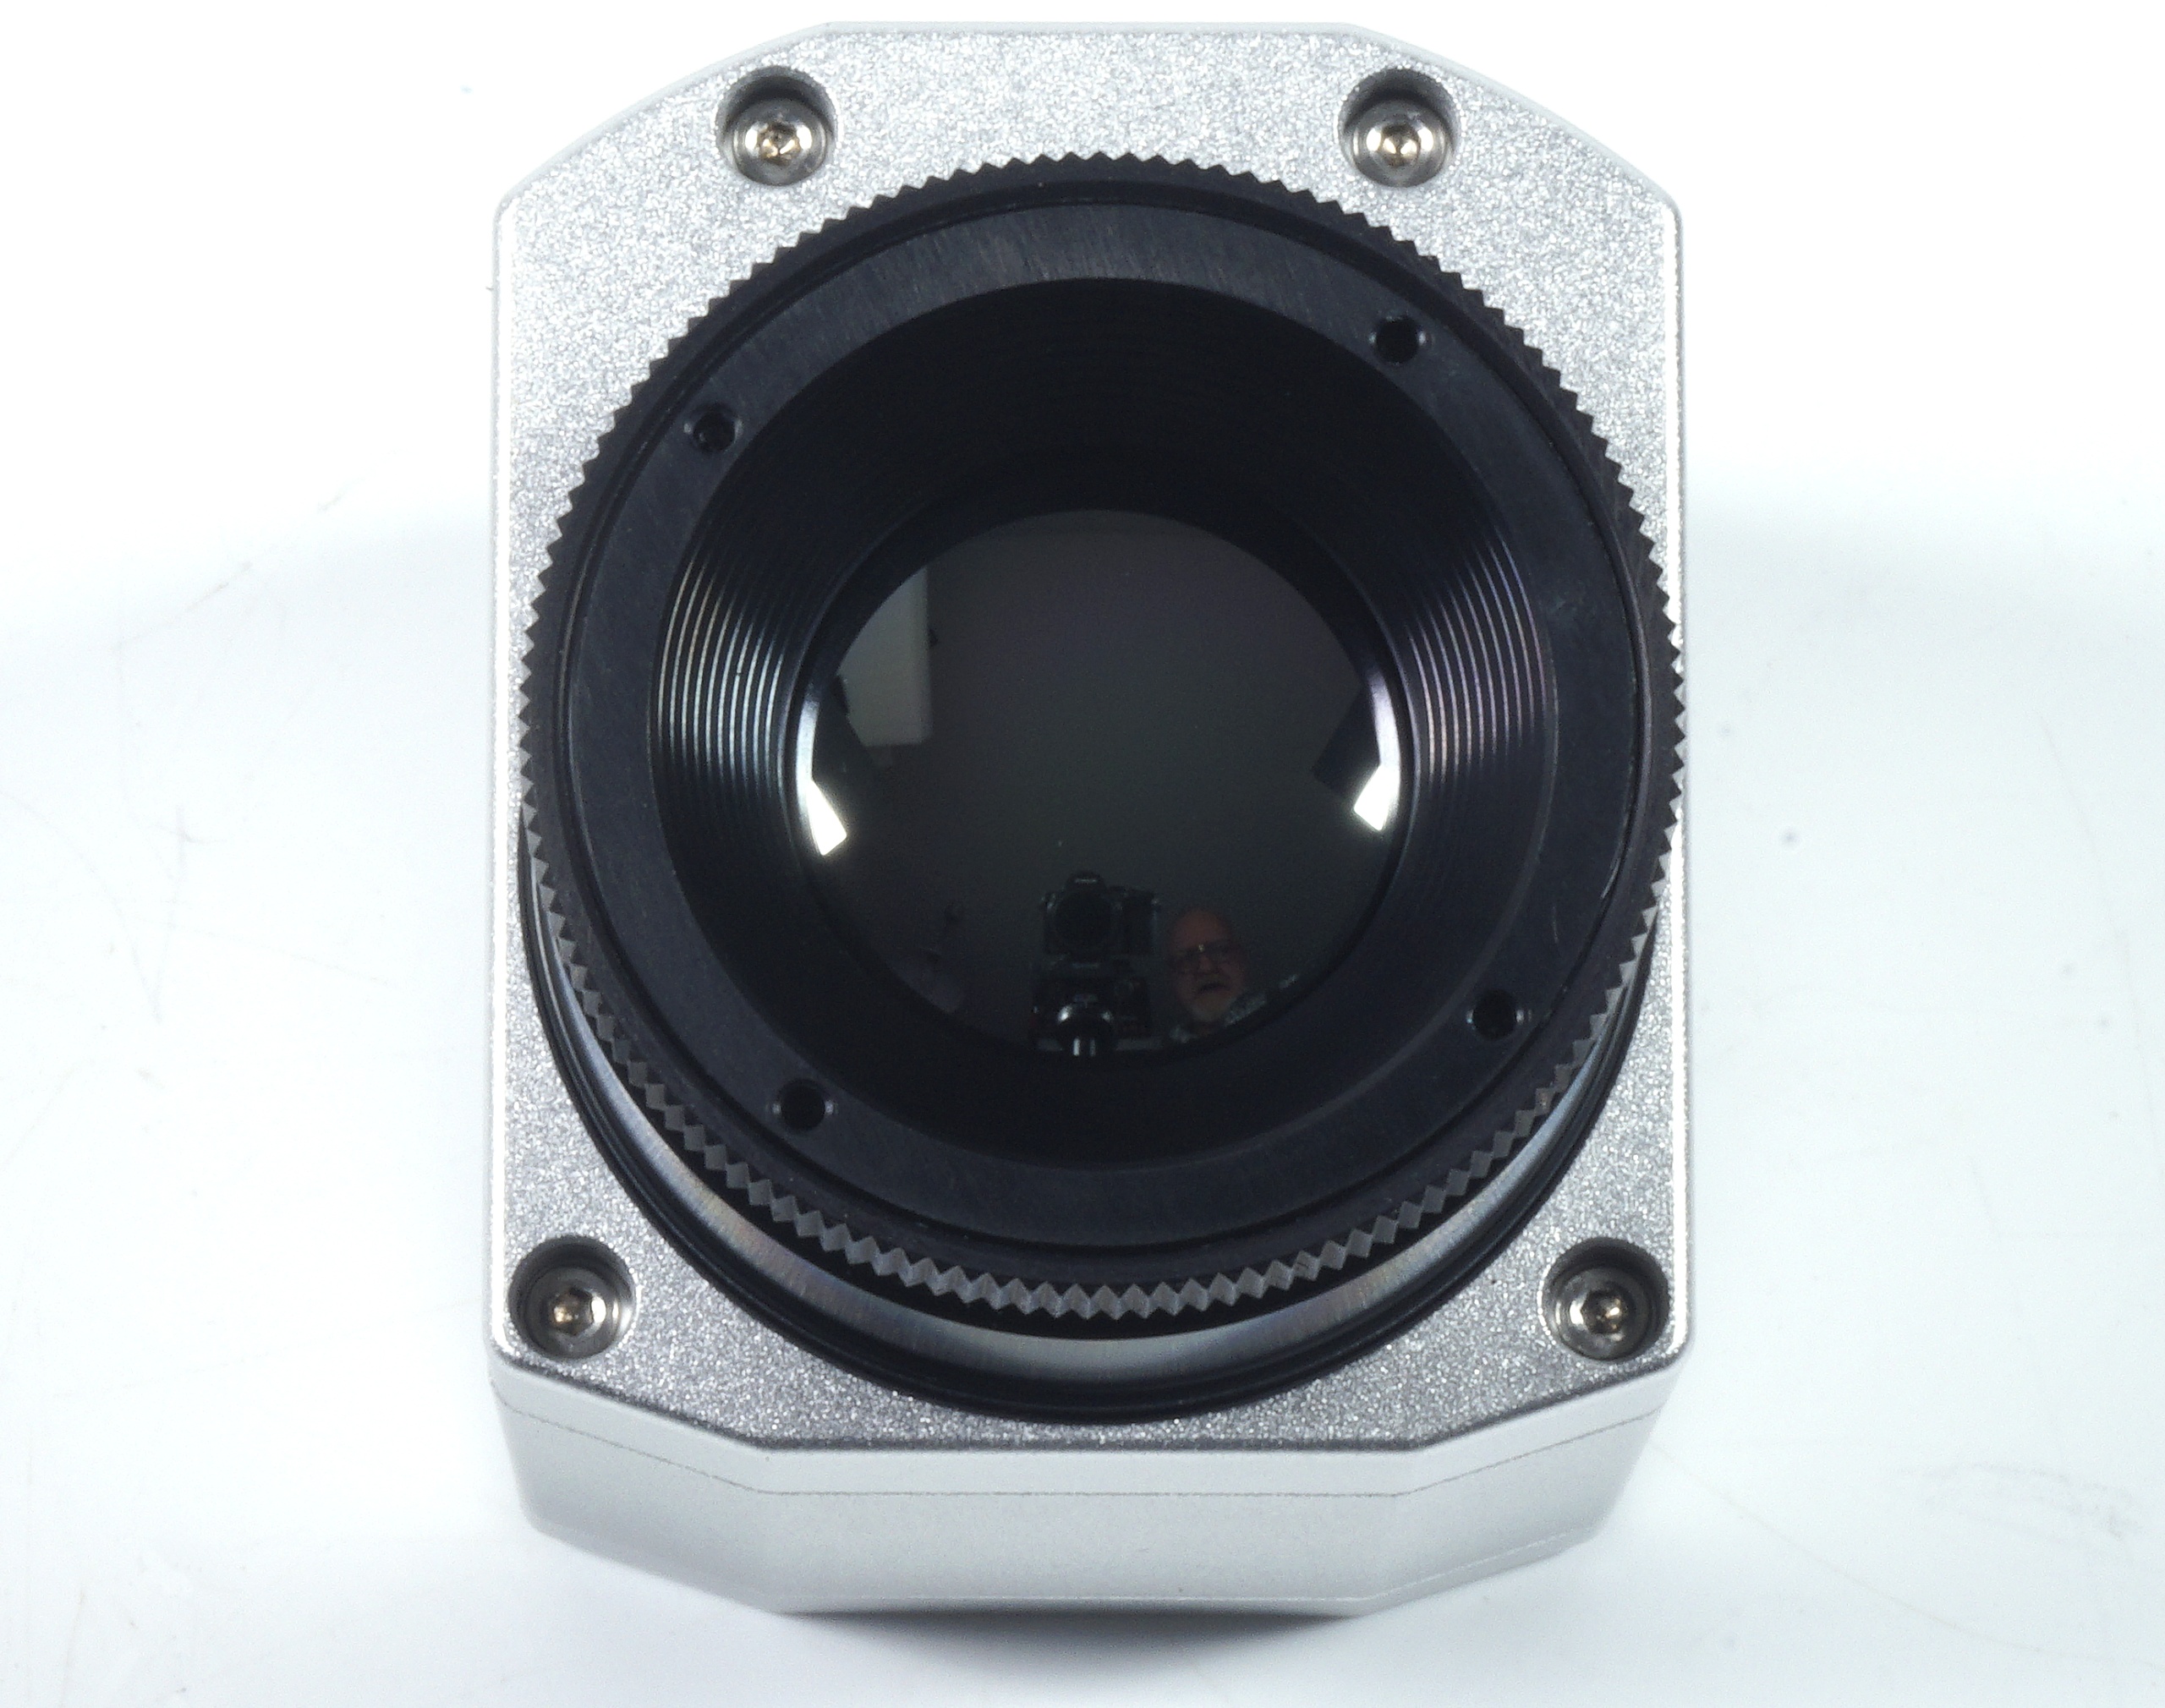
Now we come to the equipment in the form of an Optris PI 640i, because in the end only a good resolution camera will be the tool of choice. But stop: It’s not quite that simple after all. After all, my tool is not a conventional video camera, but a much more complex structure, even if many basic principles are the same. That’s why I want to briefly explain how it works and how it’s structured, because you’ll quickly notice that the typical end-user action sequences á la turn it on, hold it down and be happy can‘t work at all.

My camera in the lab works on the basis of a bolometer in the range between 8 to 14 µm. These bolometers exploit the temperature dependence of electrical resistance, which changes when thermal radiation is absorbed, and thus also the signal voltage that drops across it. In order to be able to convert these values into a two-dimensional image, you need many resistors lying next to and below each other in the form of a matrix. These so-called FPAs (Focal Plane Arrays) are manufactured for the infrared cameras on the basis of thin-film bolometers.
With a rate of 32 Hz, the PI 640i provides me with real-time thermal images in true VGA resolution (640 x 480 pixels), which are transferred via USB to a separate system, so that each preview can also be recorded as a (radiometric) image or video. With a thermal sensitivity of 40 mK, it is particularly suitable for detecting minimal temperature differences, which of course suits us very well.

In the end, you can measure all kinds of things without knowing the most important theoretical principles – just not what you really need and actually want to measure. Therefore, after the presentation of my technique on the following pages, I also want to describe what can go wrong and what you as a reader should always pay attention to when classifying infrared measurement results from different sources when it comes to trust and plausibility.
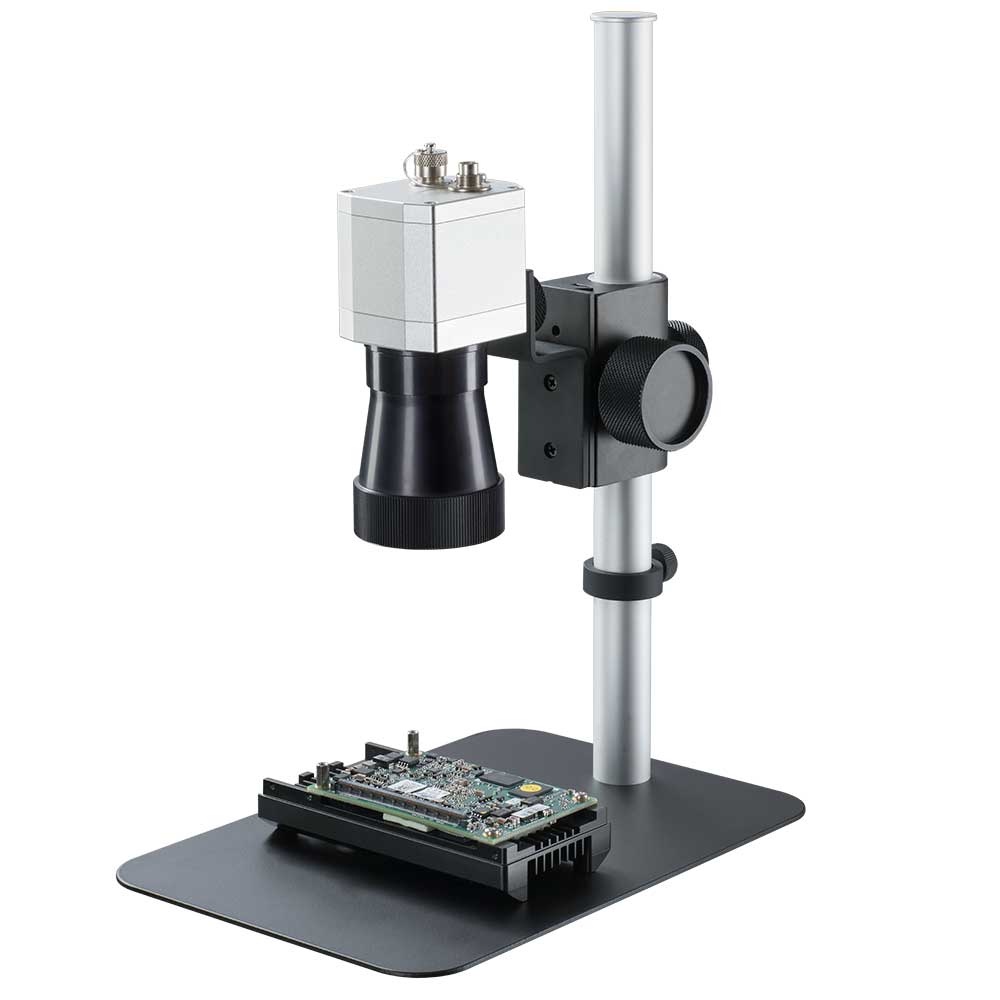
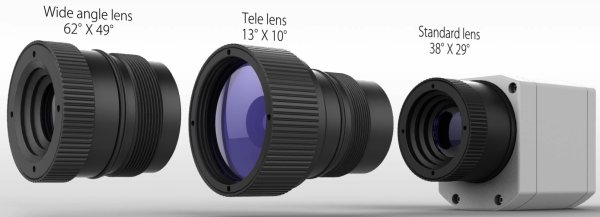
There are many reasons why I avoid the use of convenient “handhelds” and instead use a camera that can be fixed in a stationary position and that can be optimally adapted to the respective measurement setups (distance, area to be covered) with real and high-quality interchangeable lenses. However, this type of use also requires more work and time to set up and calibrate accurately. Only this also benefits the readers – and that’s what it’s all about in the end.
But before we go into our concrete measurement methods and setups, we would first like to briefly introduce our Optris PI 640i IR camera, which is probably less well known in this form (quite unjustifiably), although it is possible to make really reliable measurements if handled correctly. From a purely price point of view, it is actually a cheaper alternative compared to certain handhelds, with significantly more possibilities and ultimately also higher accuracy, even if it is mostly at home permanently installed in the industrial sector.
However, such devices not only involve extensive development and production processes, but also complex calibration and maintenance. Without regular calibration, even the best technology is of no use, because many things can change and age over the course of daily use. In addition, of course, everything should be on the technical cutting edge, so that always new devices must be developed.
Once again, a brief overview of the technical data before we go into more detail about our measurements:
| Technical data of the IR camera Optris PI 640i | |
|---|---|
| Detector: | FPA, uncooled (17 μm x 17 μm) |
| Optical resolution: | 640 x 480 Pixel |
| Spectral range: | 7.5 to 13 µm |
| Temperature ranges: |
-20 °C to 100 °C 0 °C to 250 °C 150 °C to 900 °C |
| Frame rate: | 32 Hz / 125 Hz (640 x 120) |
| Optics (FOV): | 33° x 25° FOV / f = 18.7 mm or 15° x 11° FOV / f = 41.5 mm or 60° x 45° FOV / f = 10.5 mm or 90° x 66° FOV / f = 7.3 mm |
| Thermal Sensitivity (NETD): | 40 mK |
| System Accuracy: | ± 2 °C or ± 2 |
| Interfaces: |
PC interface USB 2.0 Process interface (PIF): 0 to 10 Volt input, digital input, 0 to 10 Volt output |
| Housing (size / protection class / weight): |
4.6 x 5.6 x 9.0 cm IP 67 (NEMA 4) 320 g incl. standard lens |
| Shock / Vibration: | 25G, IEC 68-2-29 / 2G, IEC 68-2-6 |
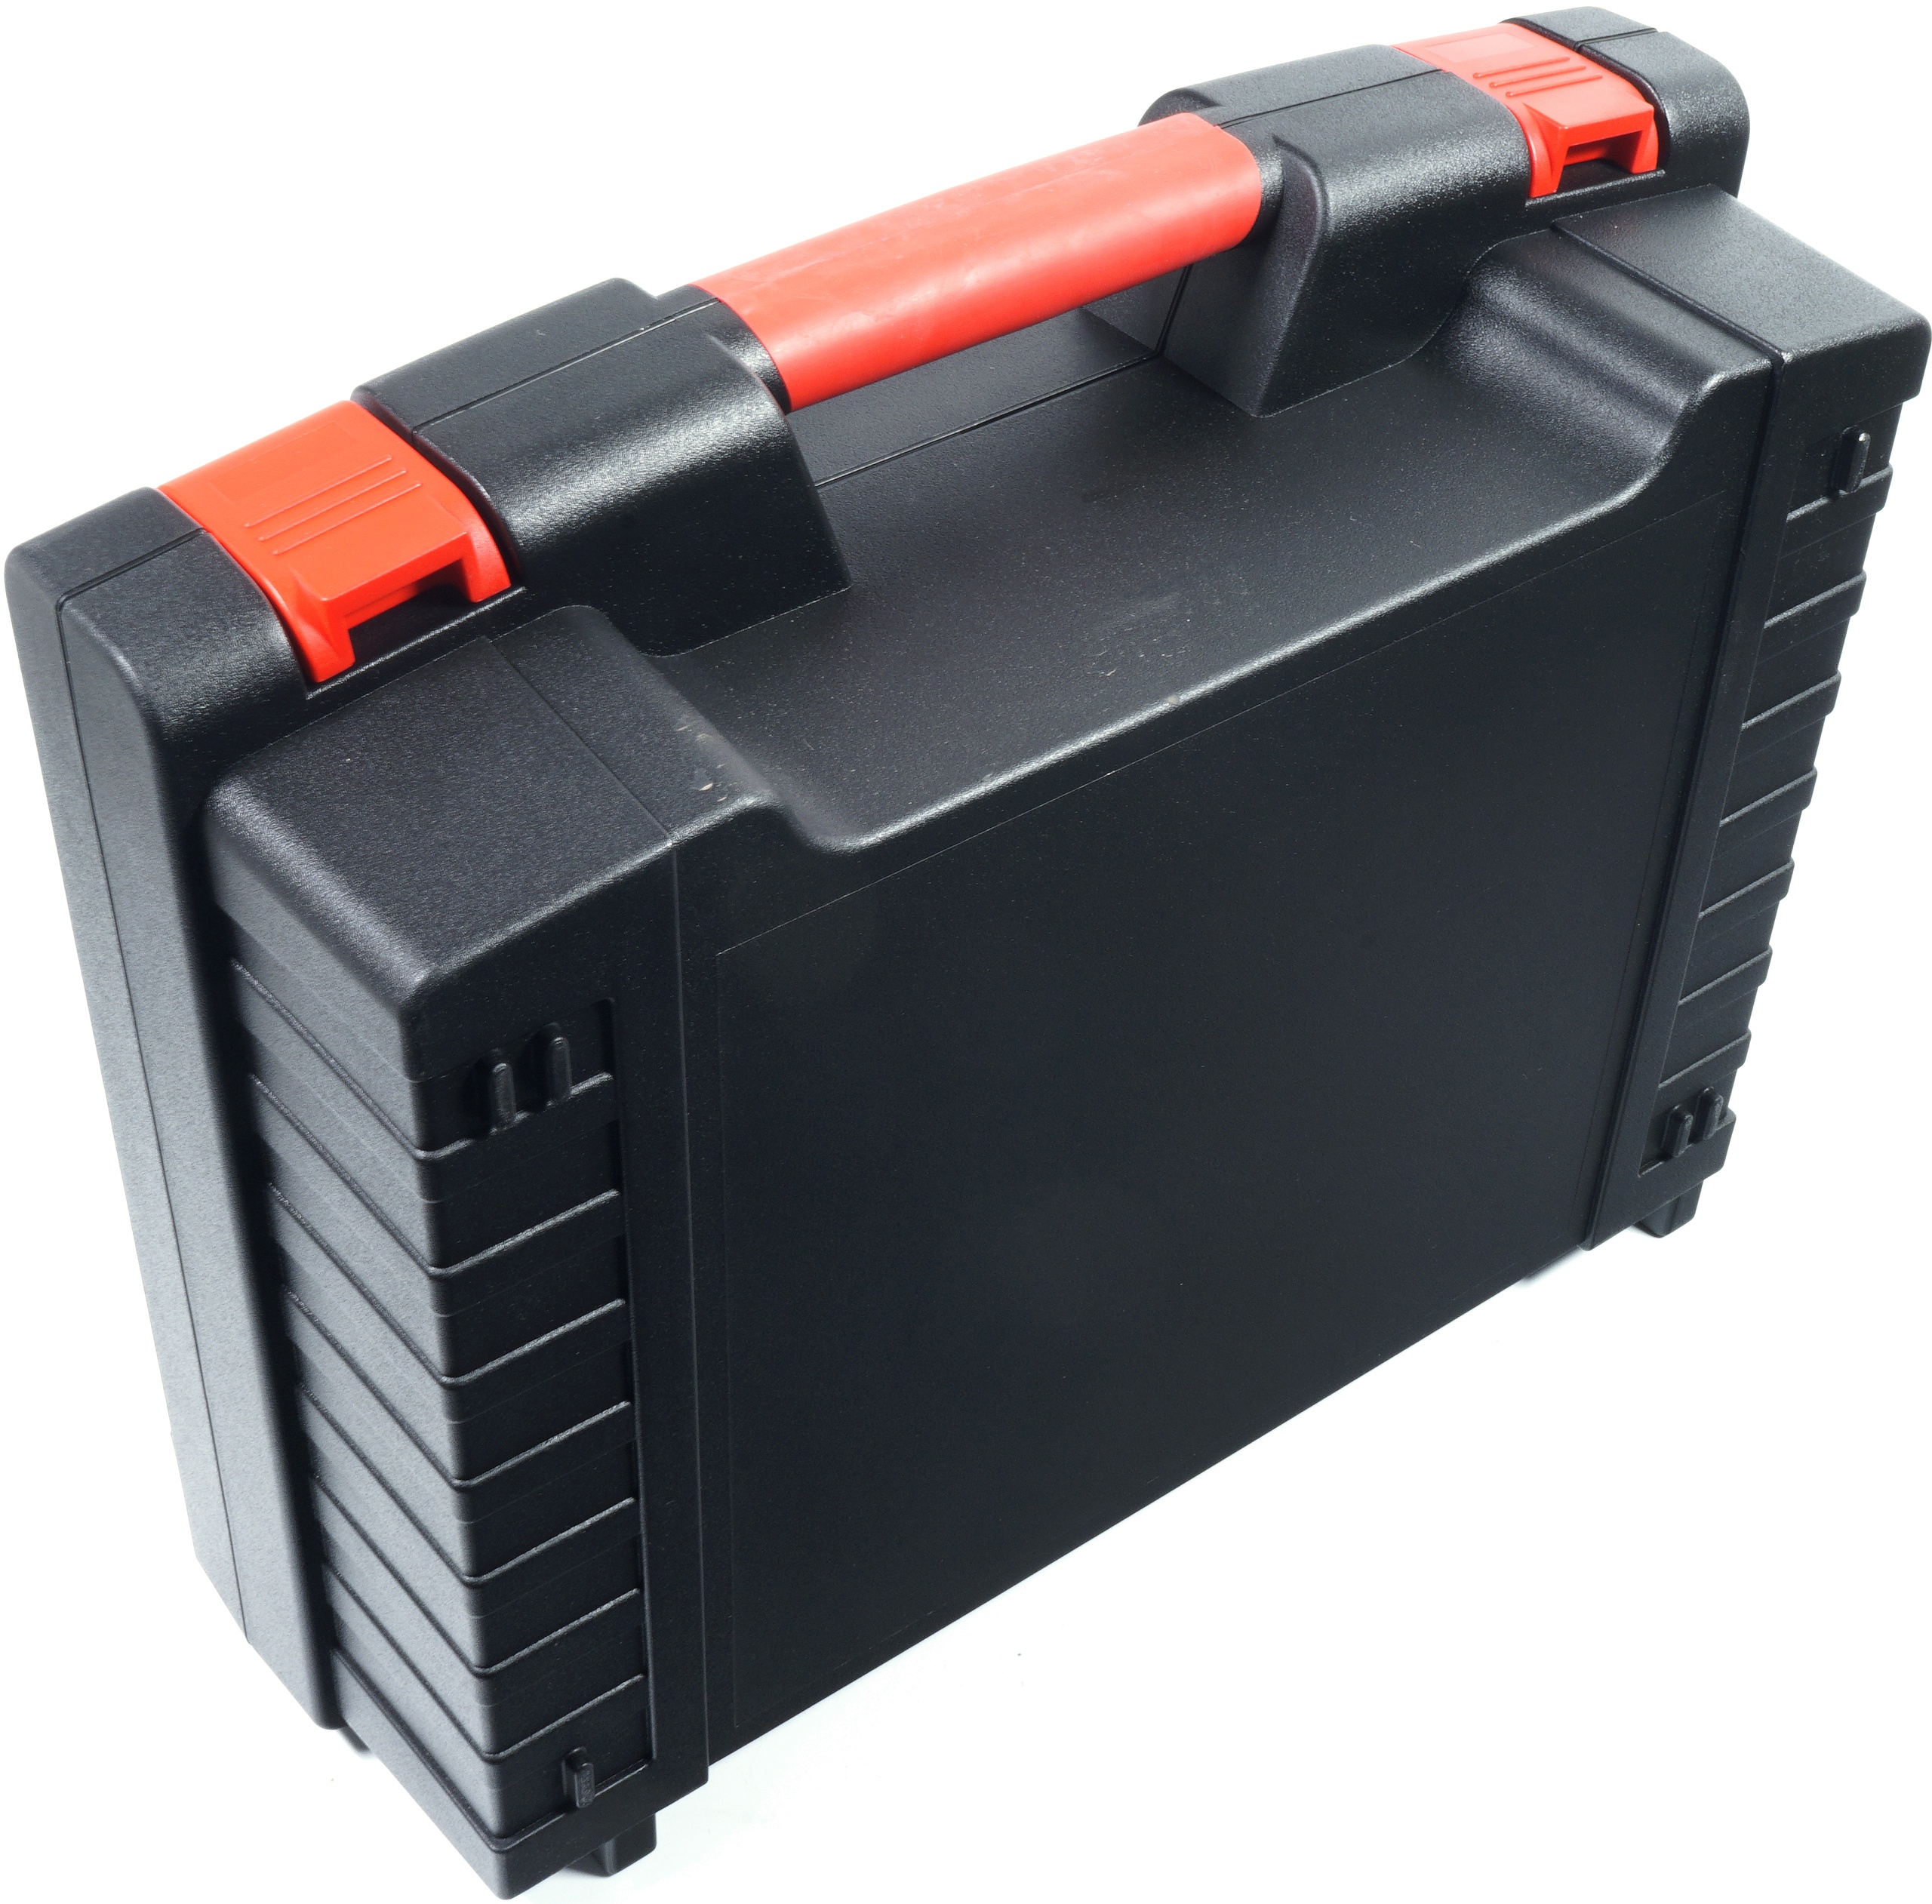
| Scope of delivery: |
USB camera with 1 lens |
The game is now on!


43 Antworten
Kommentar
Lade neue Kommentare
Urgestein
Veteran
Urgestein
Urgestein
1
Urgestein
Urgestein
Mitglied
Urgestein
Urgestein
1
Urgestein
1
Urgestein
Urgestein
Urgestein
Mitglied
Mitglied
Urgestein
Alle Kommentare lesen unter igor´sLAB Community →