


Let’s first take a look at the scope of delivery of this colossus of a motherboard. The name is also the program for the packaging and accordingly we find nothing on the outer carton except the product name. But whoever chooses this board probably already knows what he’s getting.
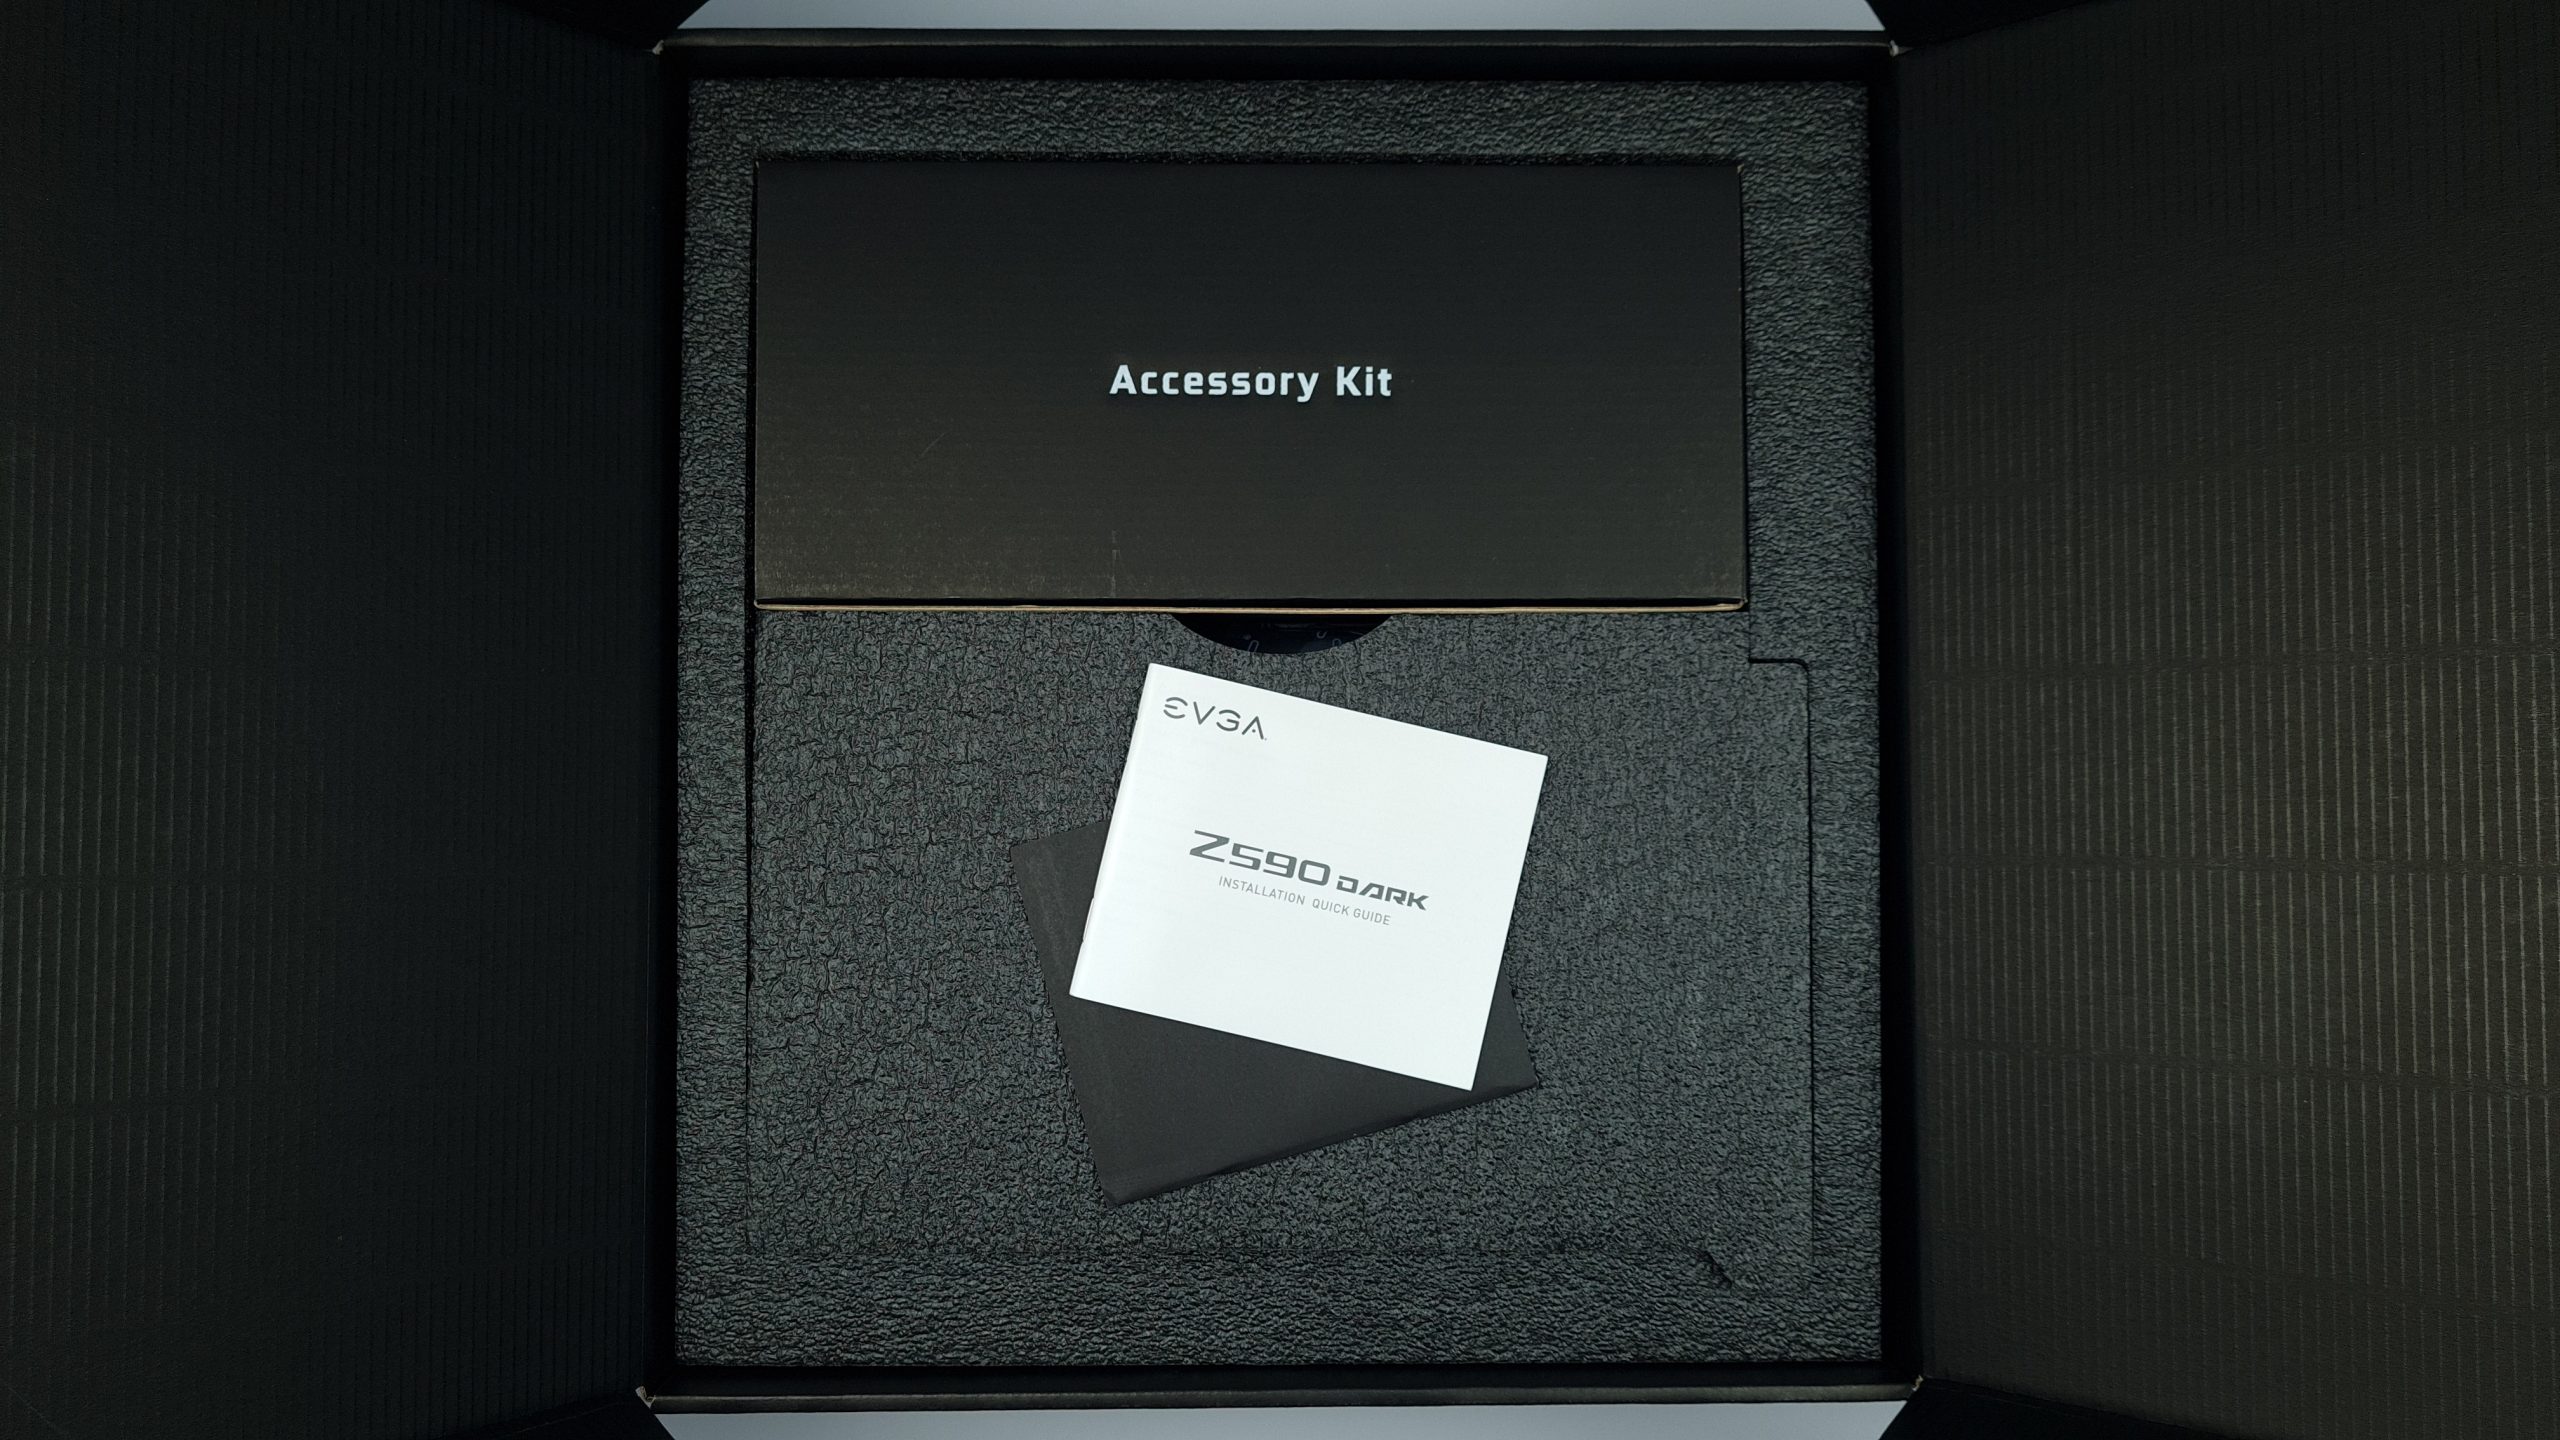


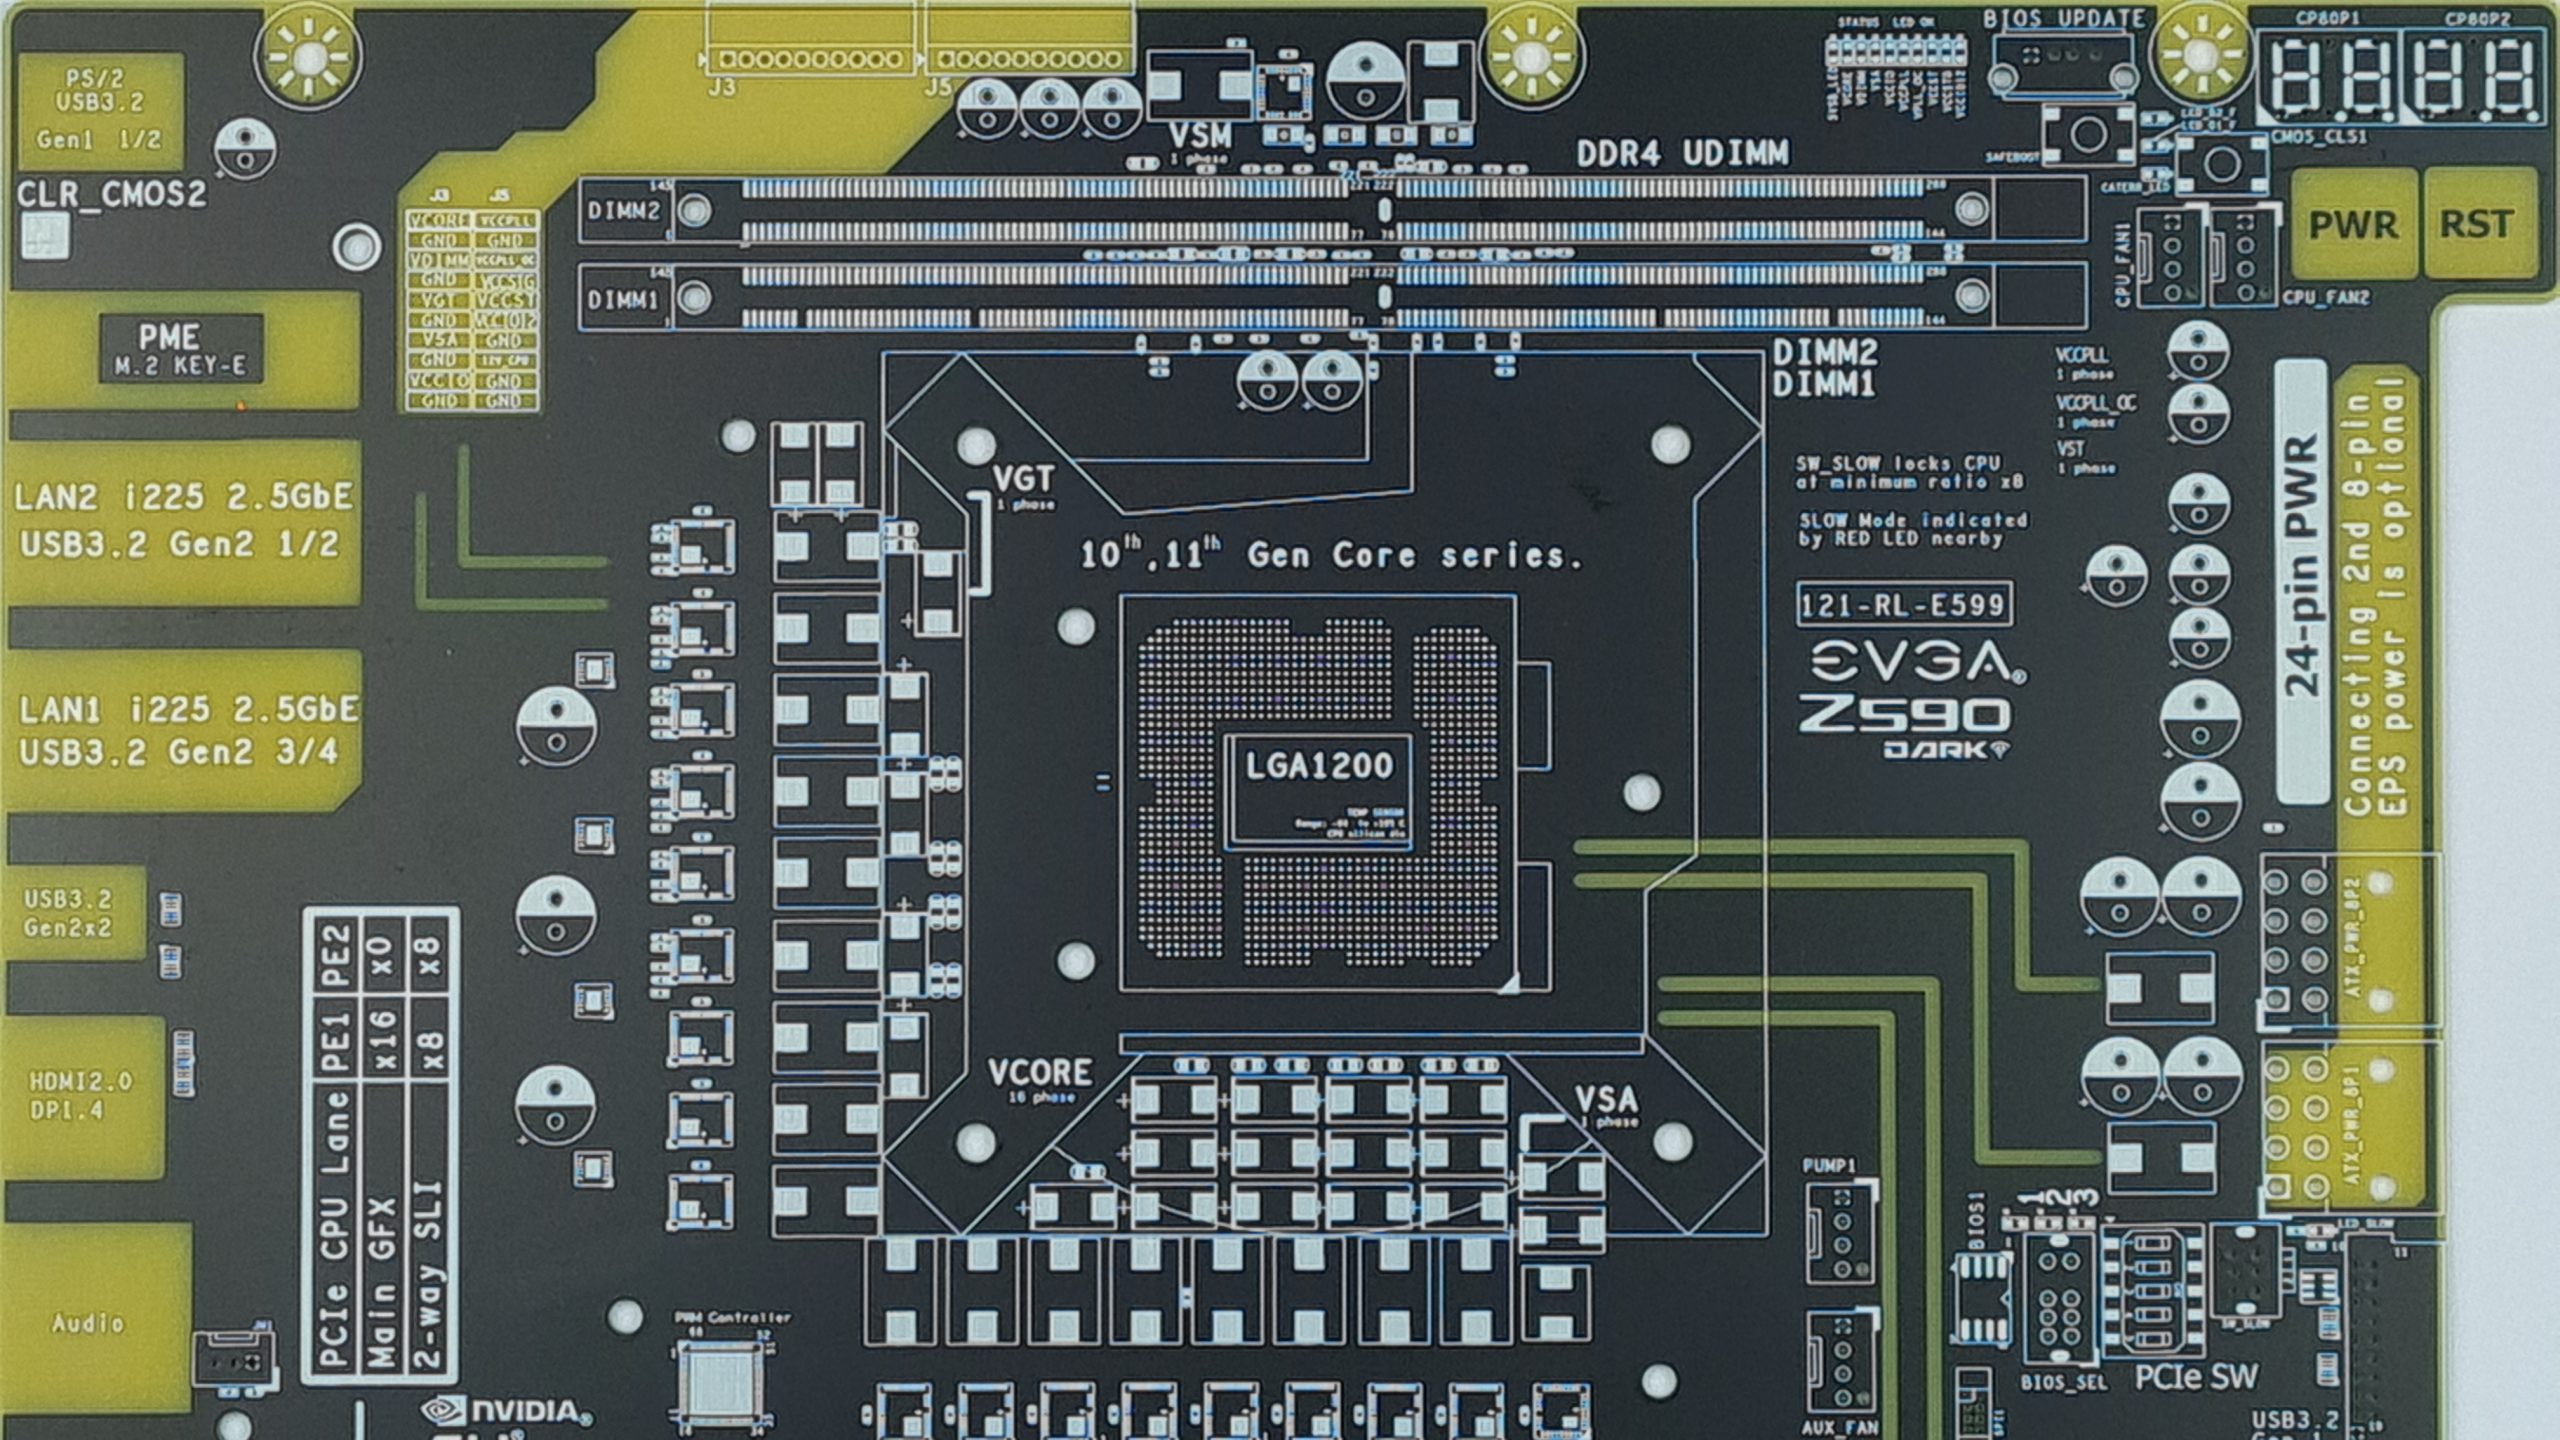
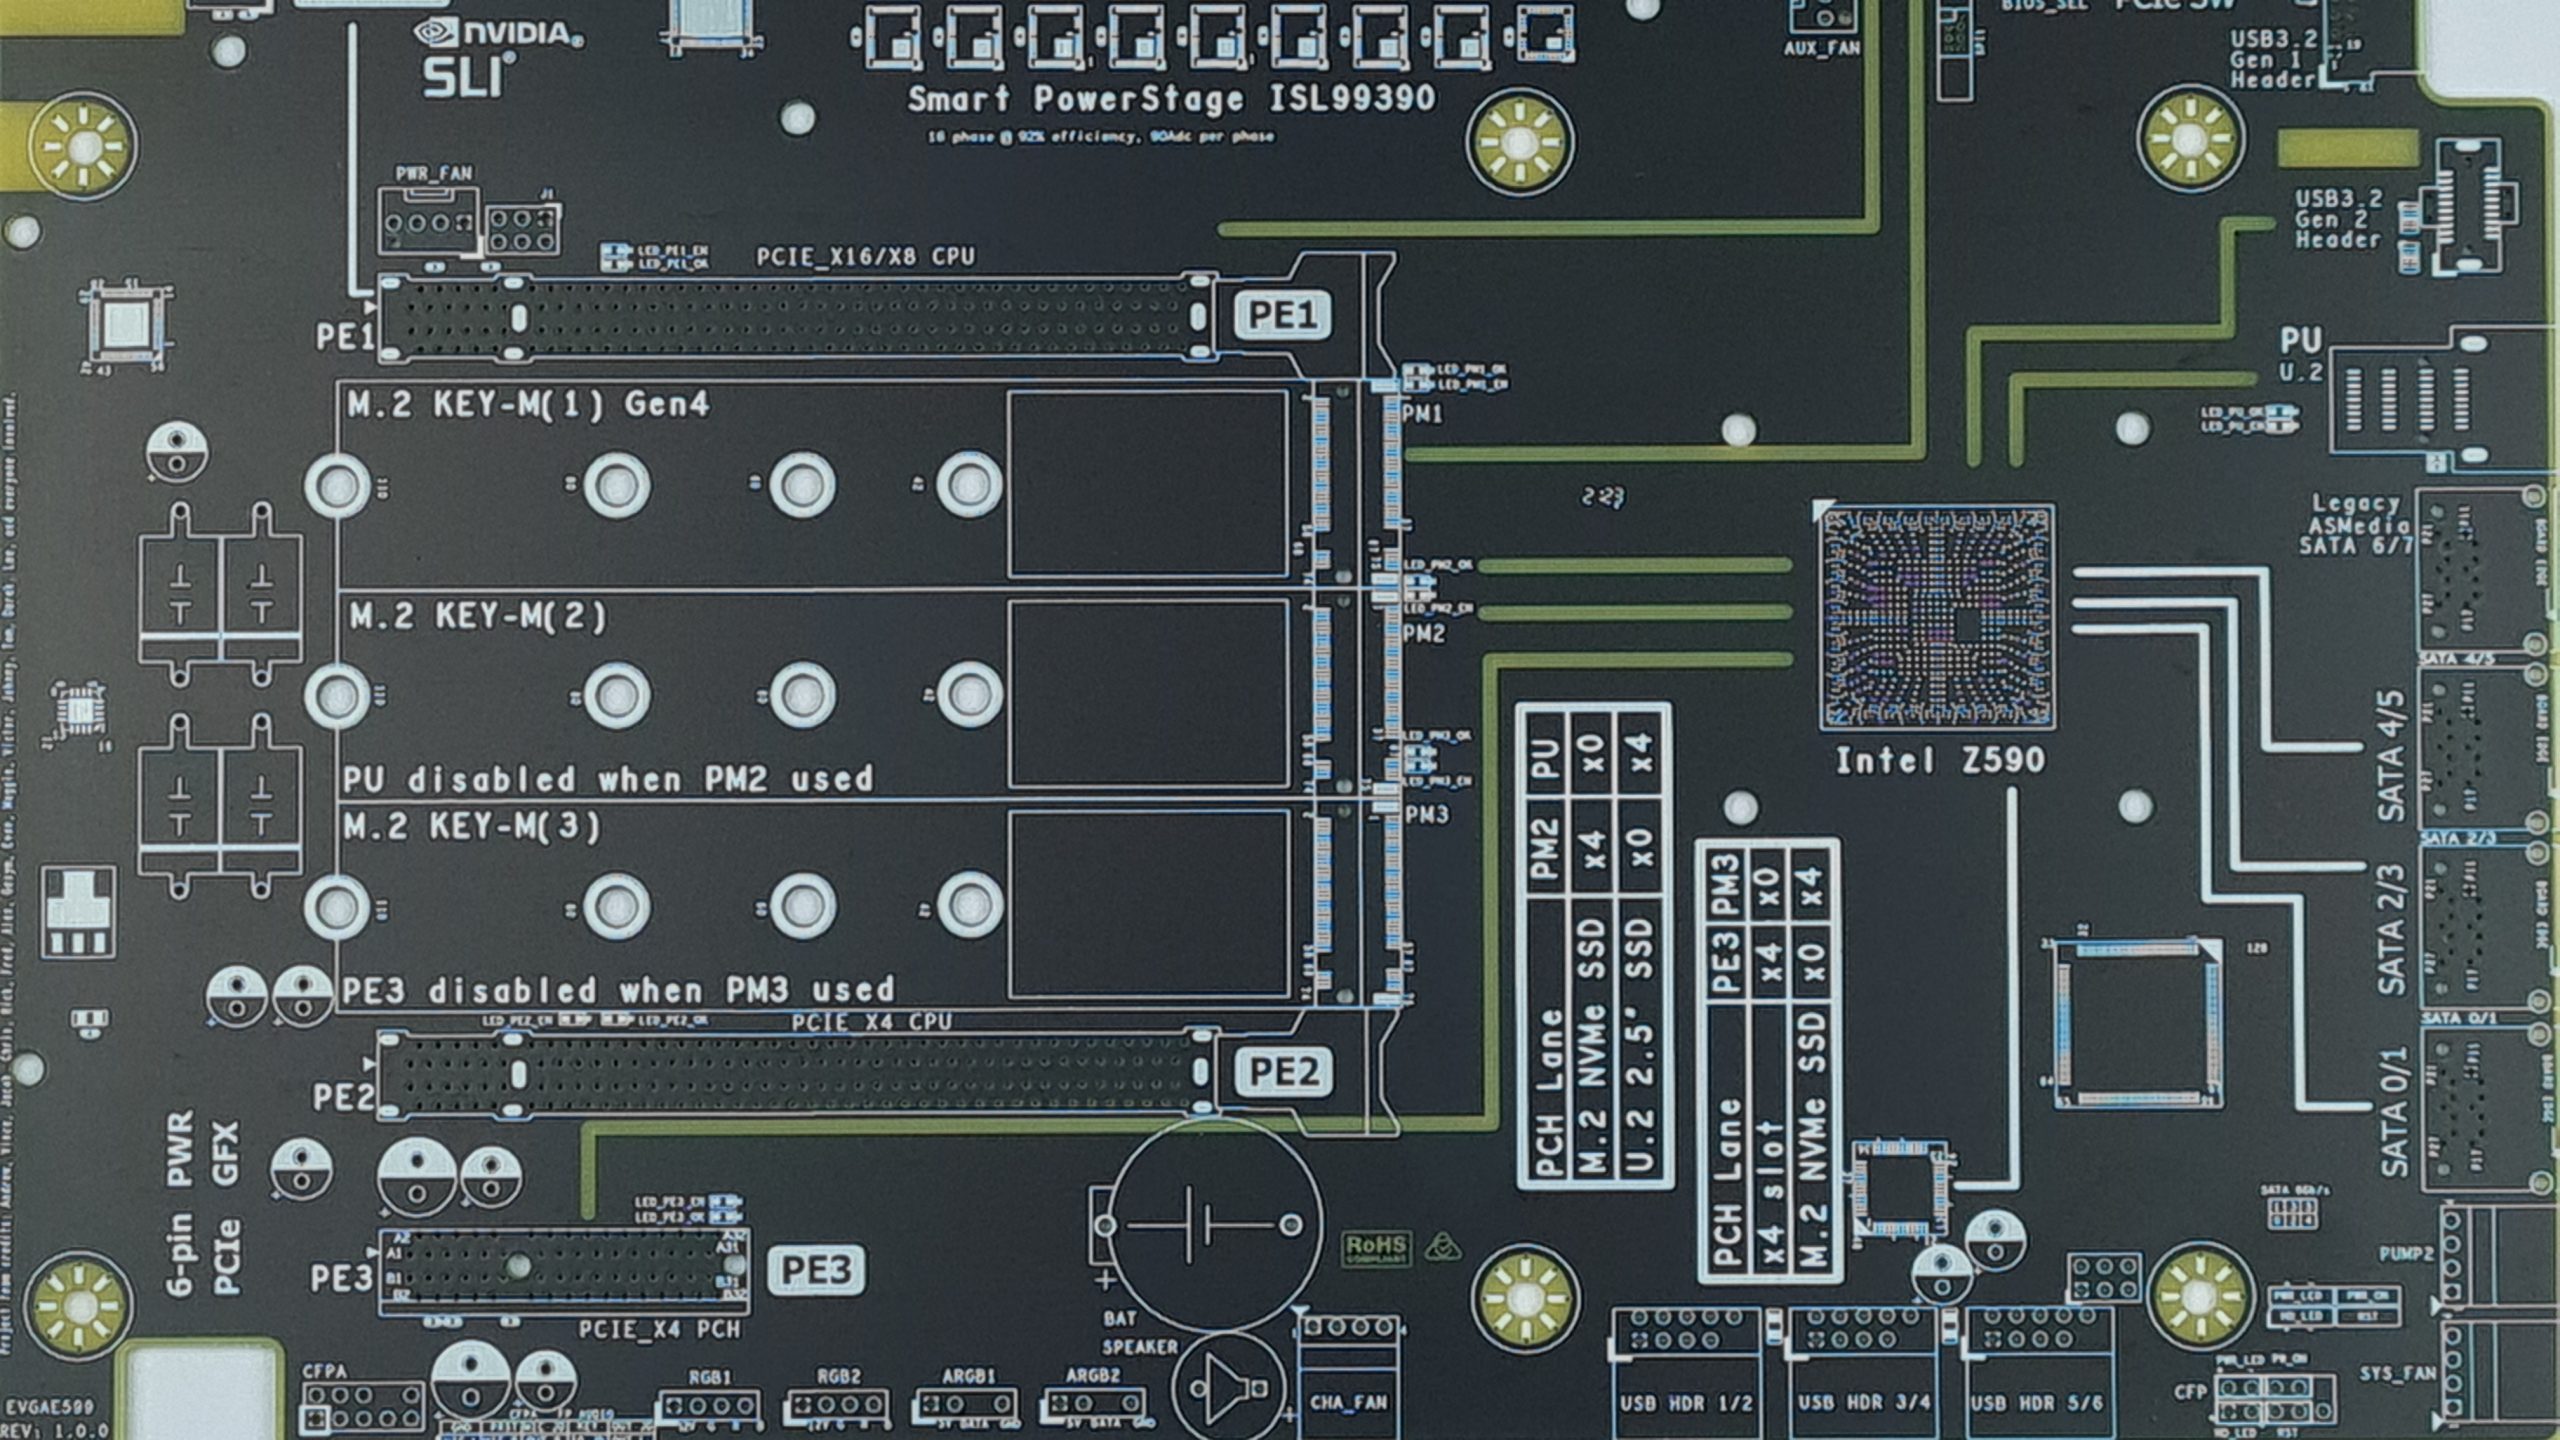
The packaging is very nice and simple, with the Installation Quick Guide greeting us first in a plain black EVGA envelope. Under the double bottom there is a frame made of soft foam in which the box with the accessories is integrated. Underneath again, the mainboard with its copper heatsinks is already shimmering in antistatic foil, and under the last false bottom, there is still a bare pcb with schematic labeling and explanation of the components – a quickstart guide to touch, so to speak, very cool.
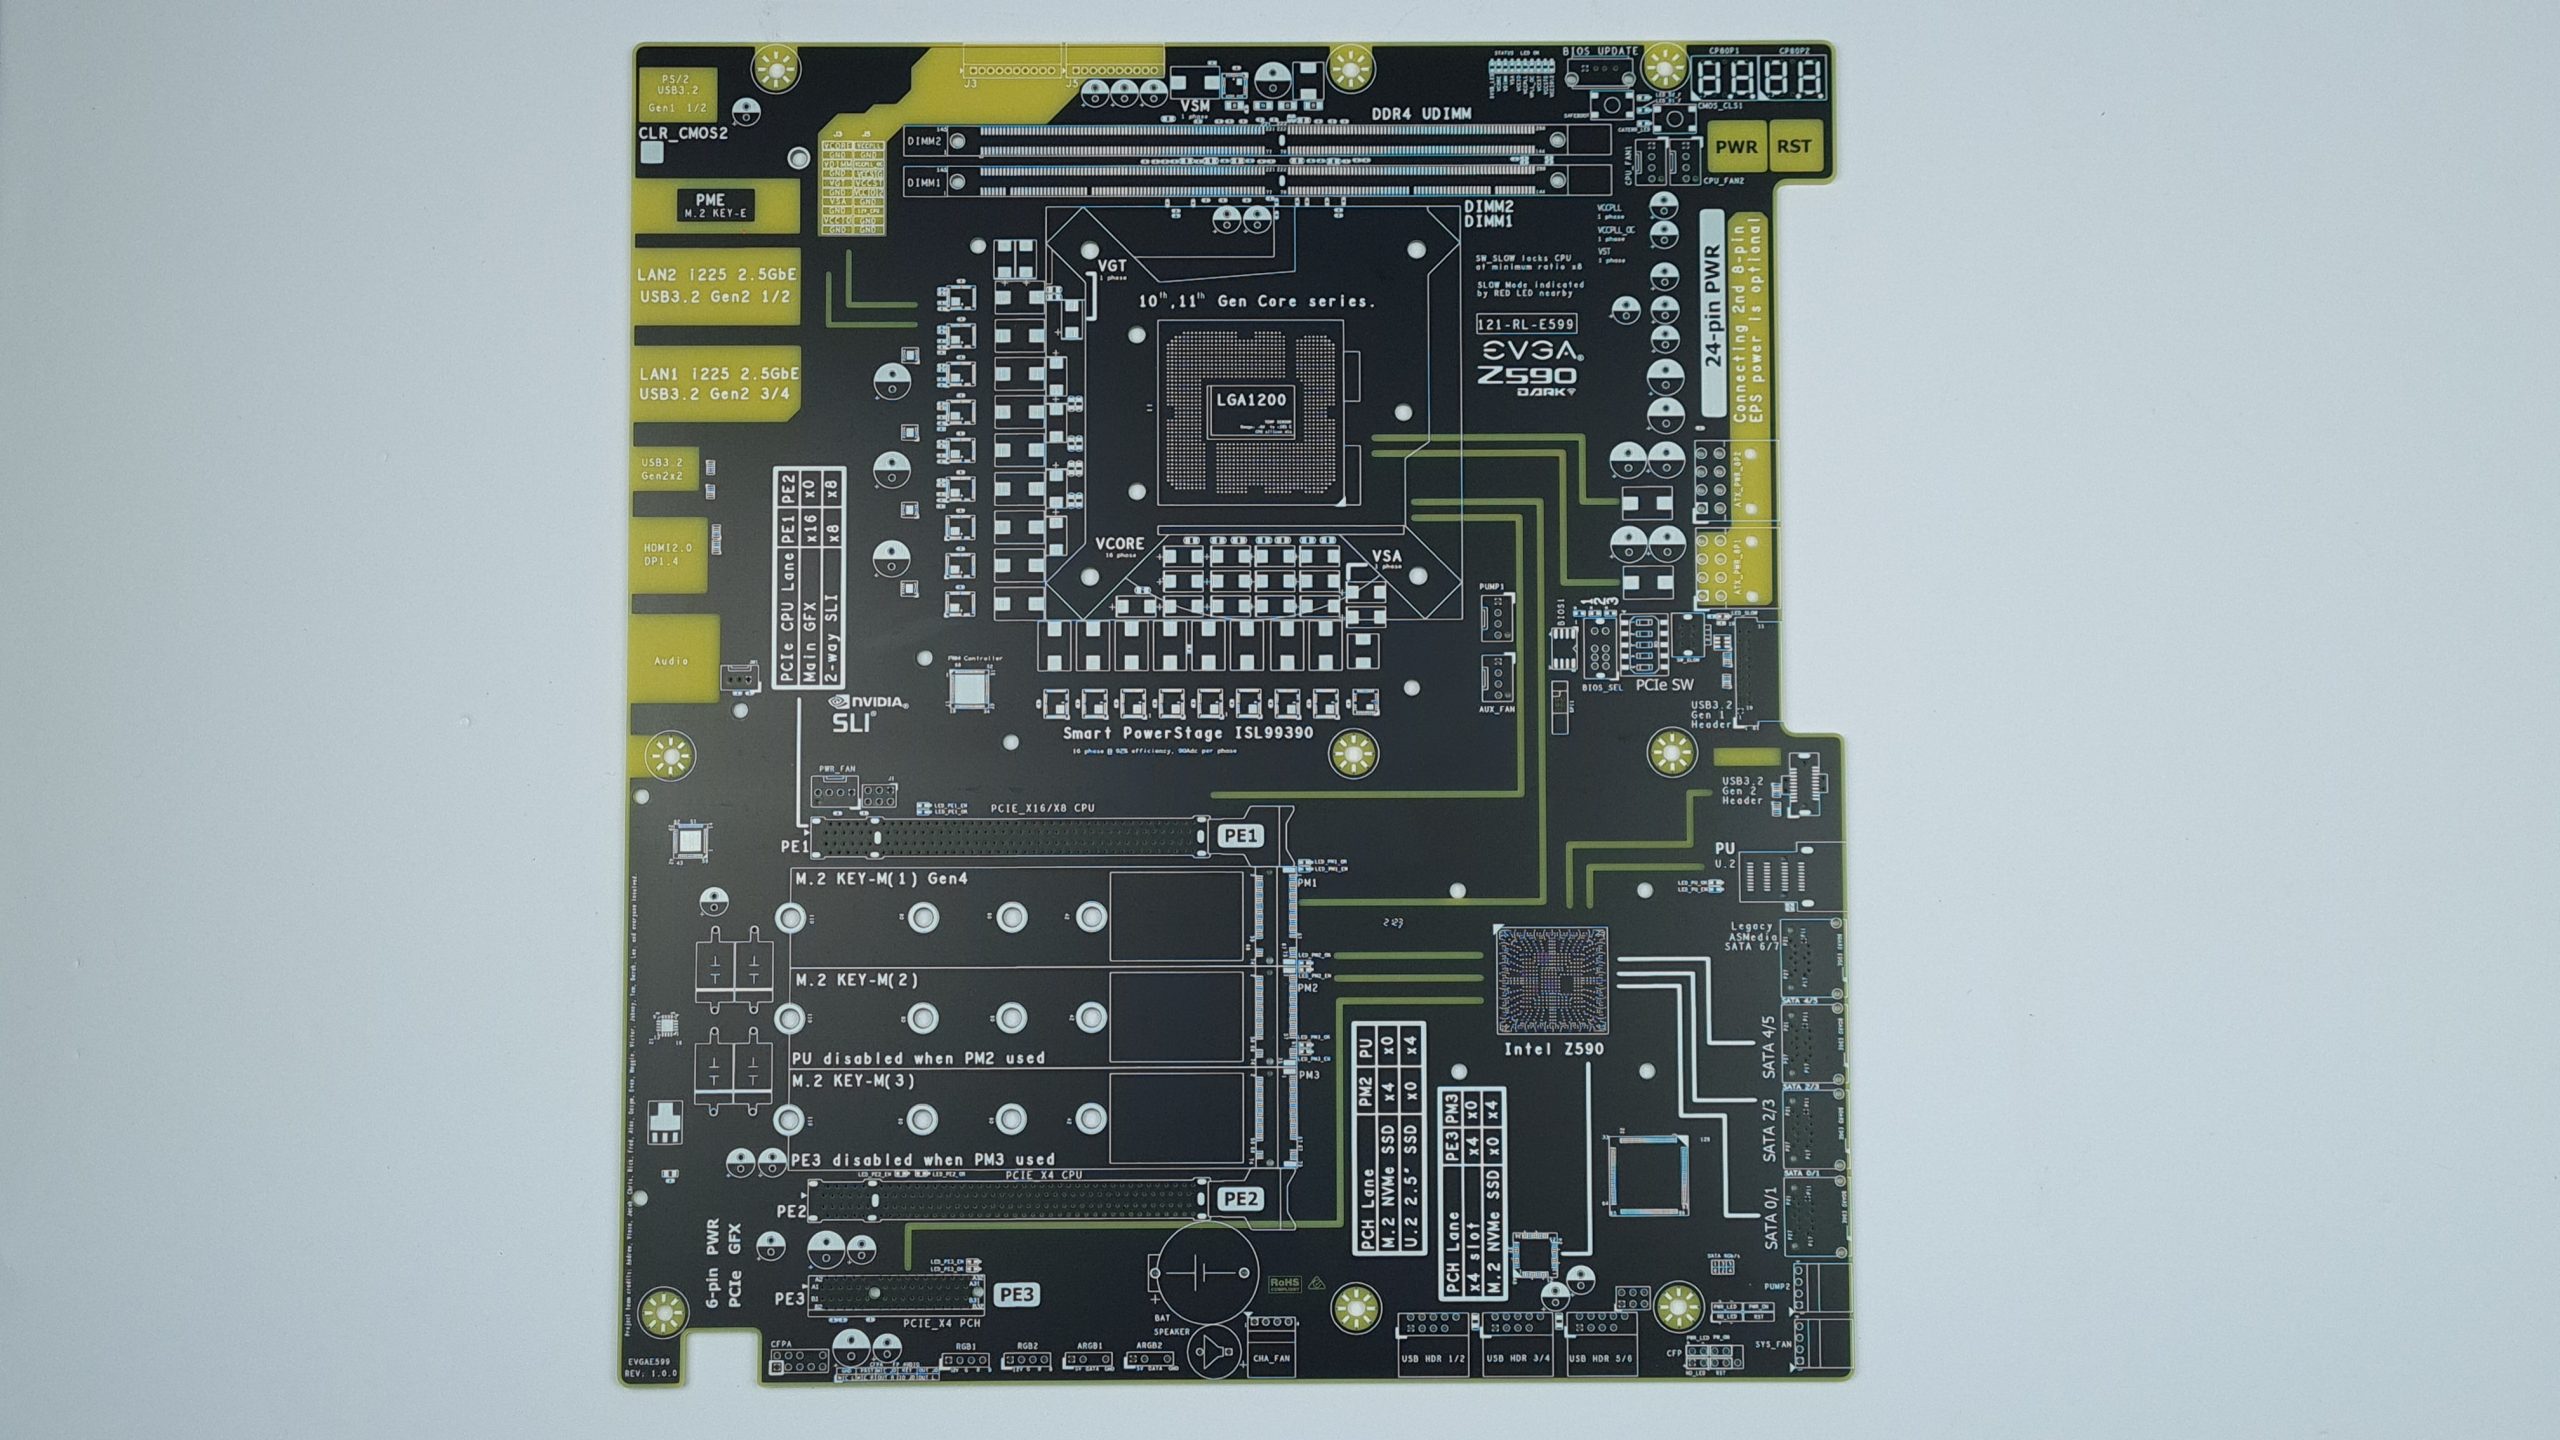
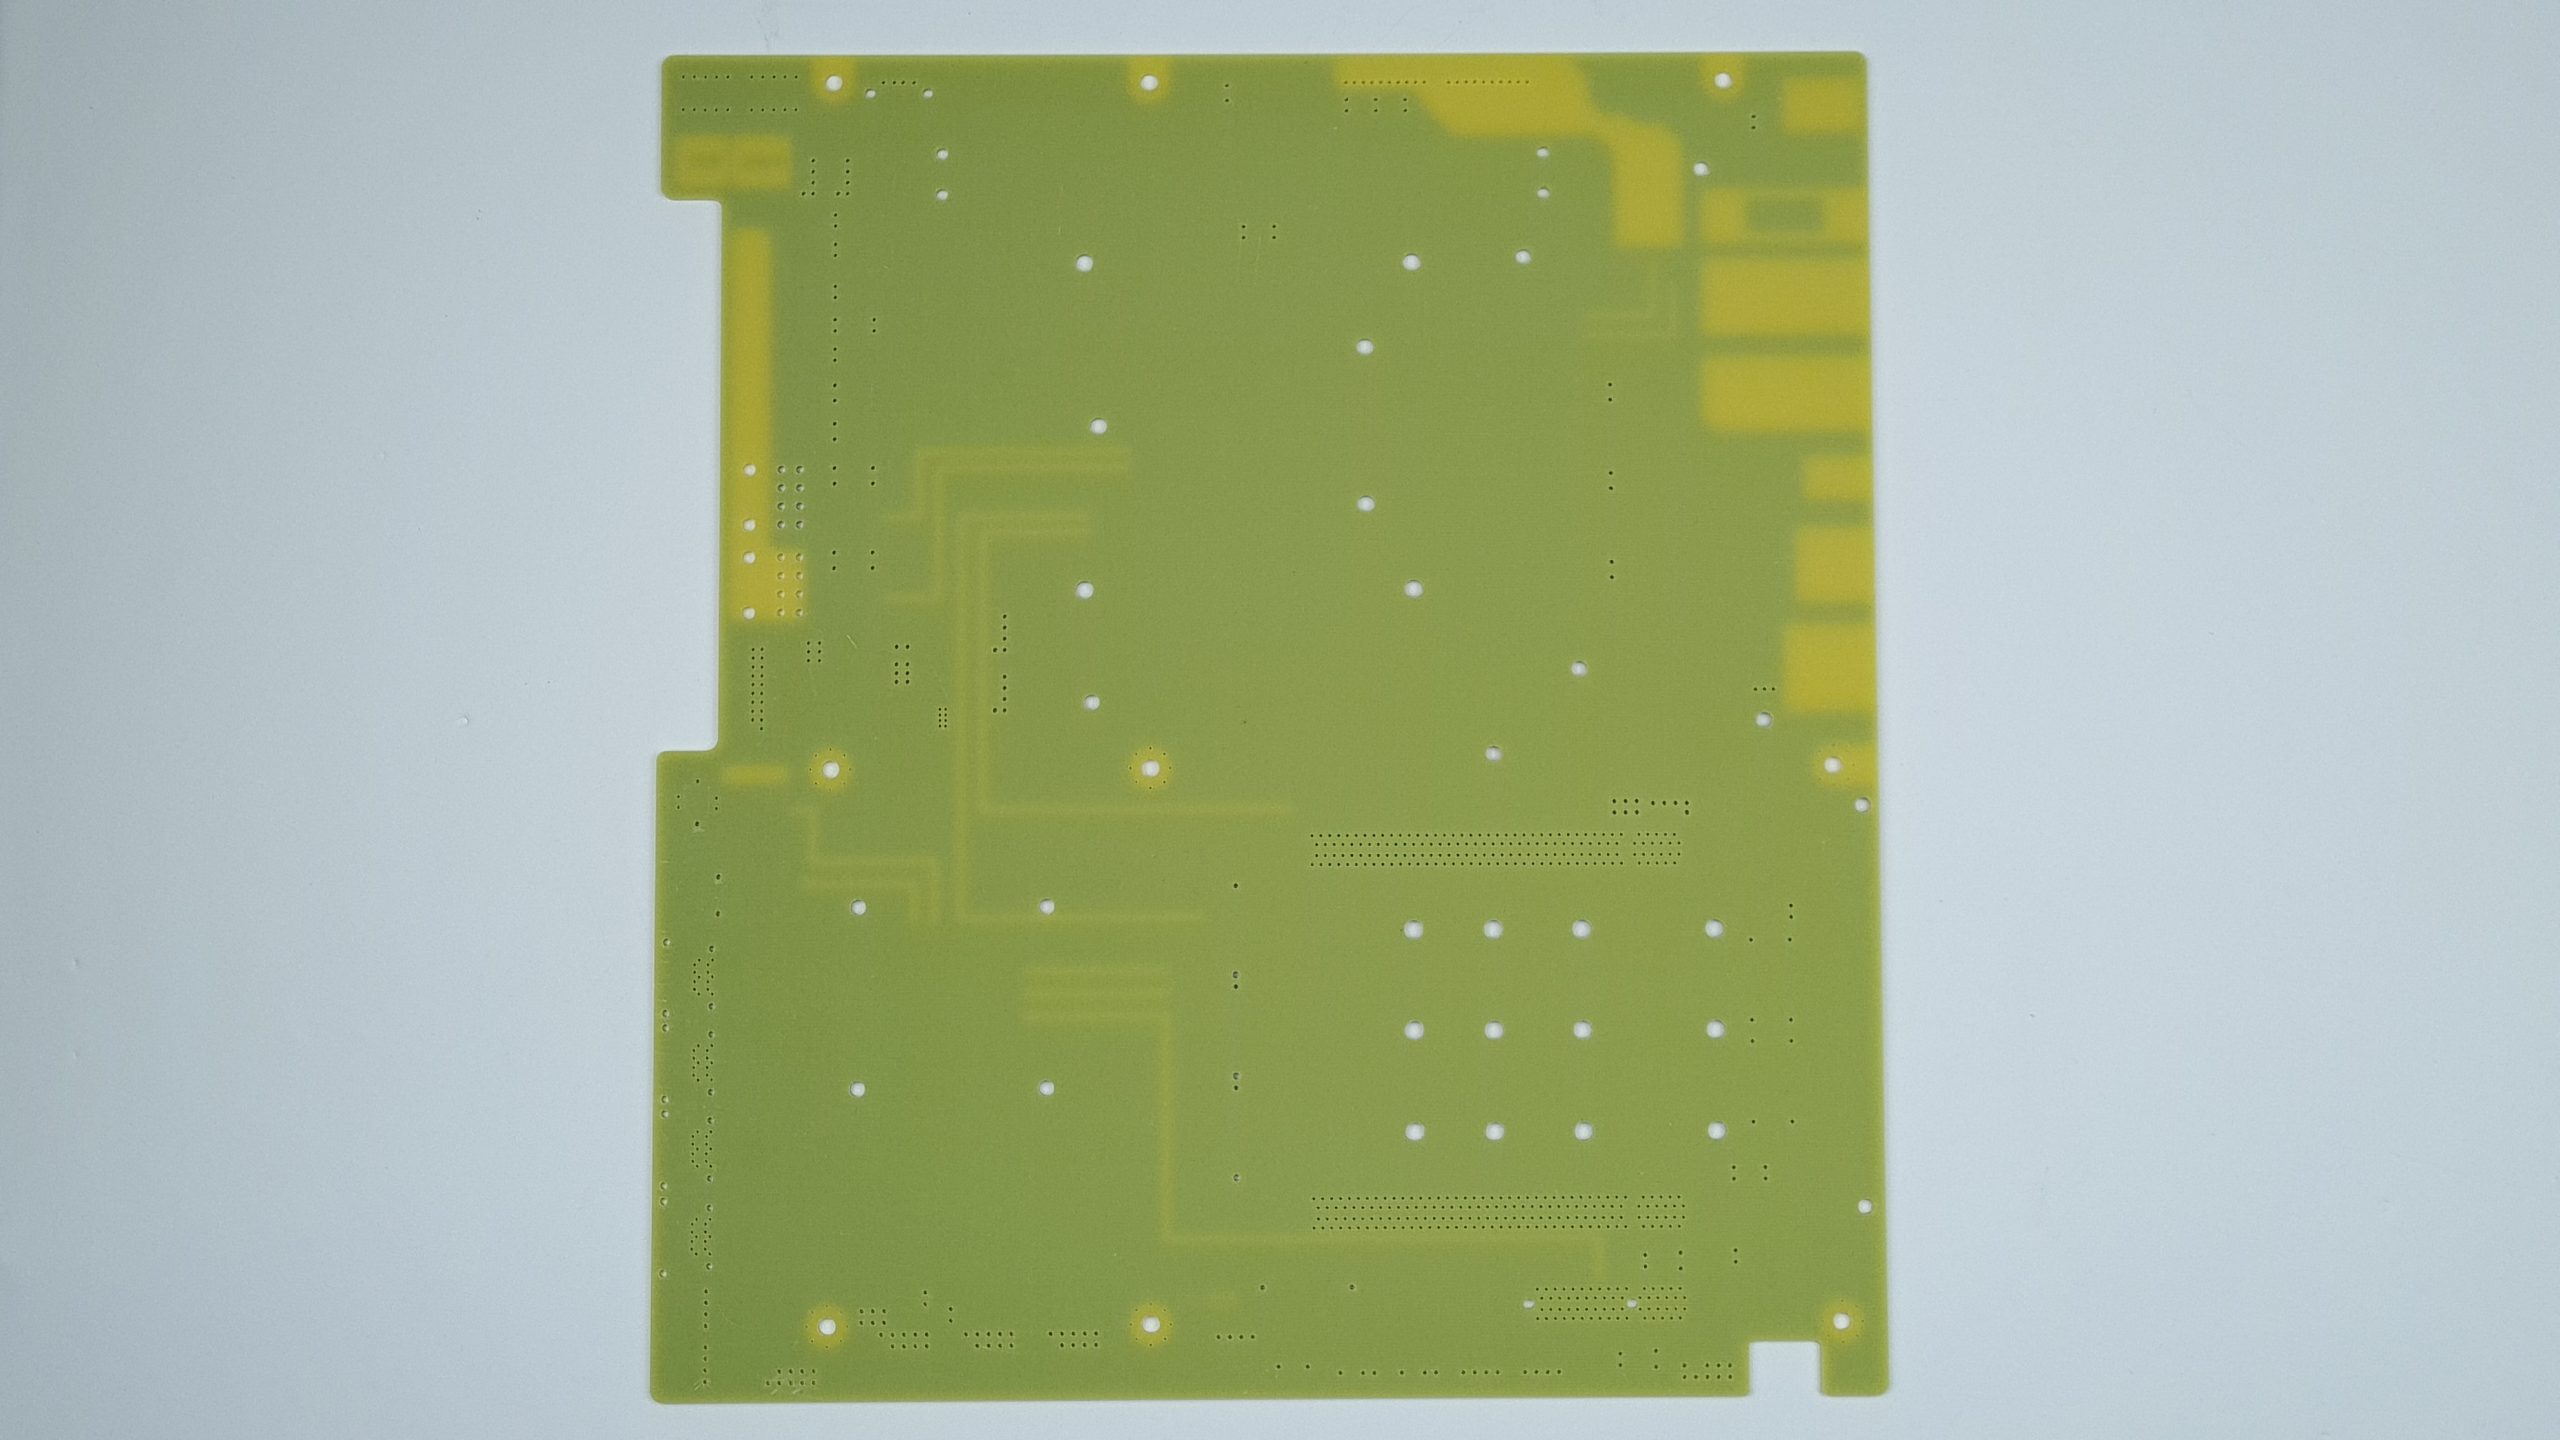
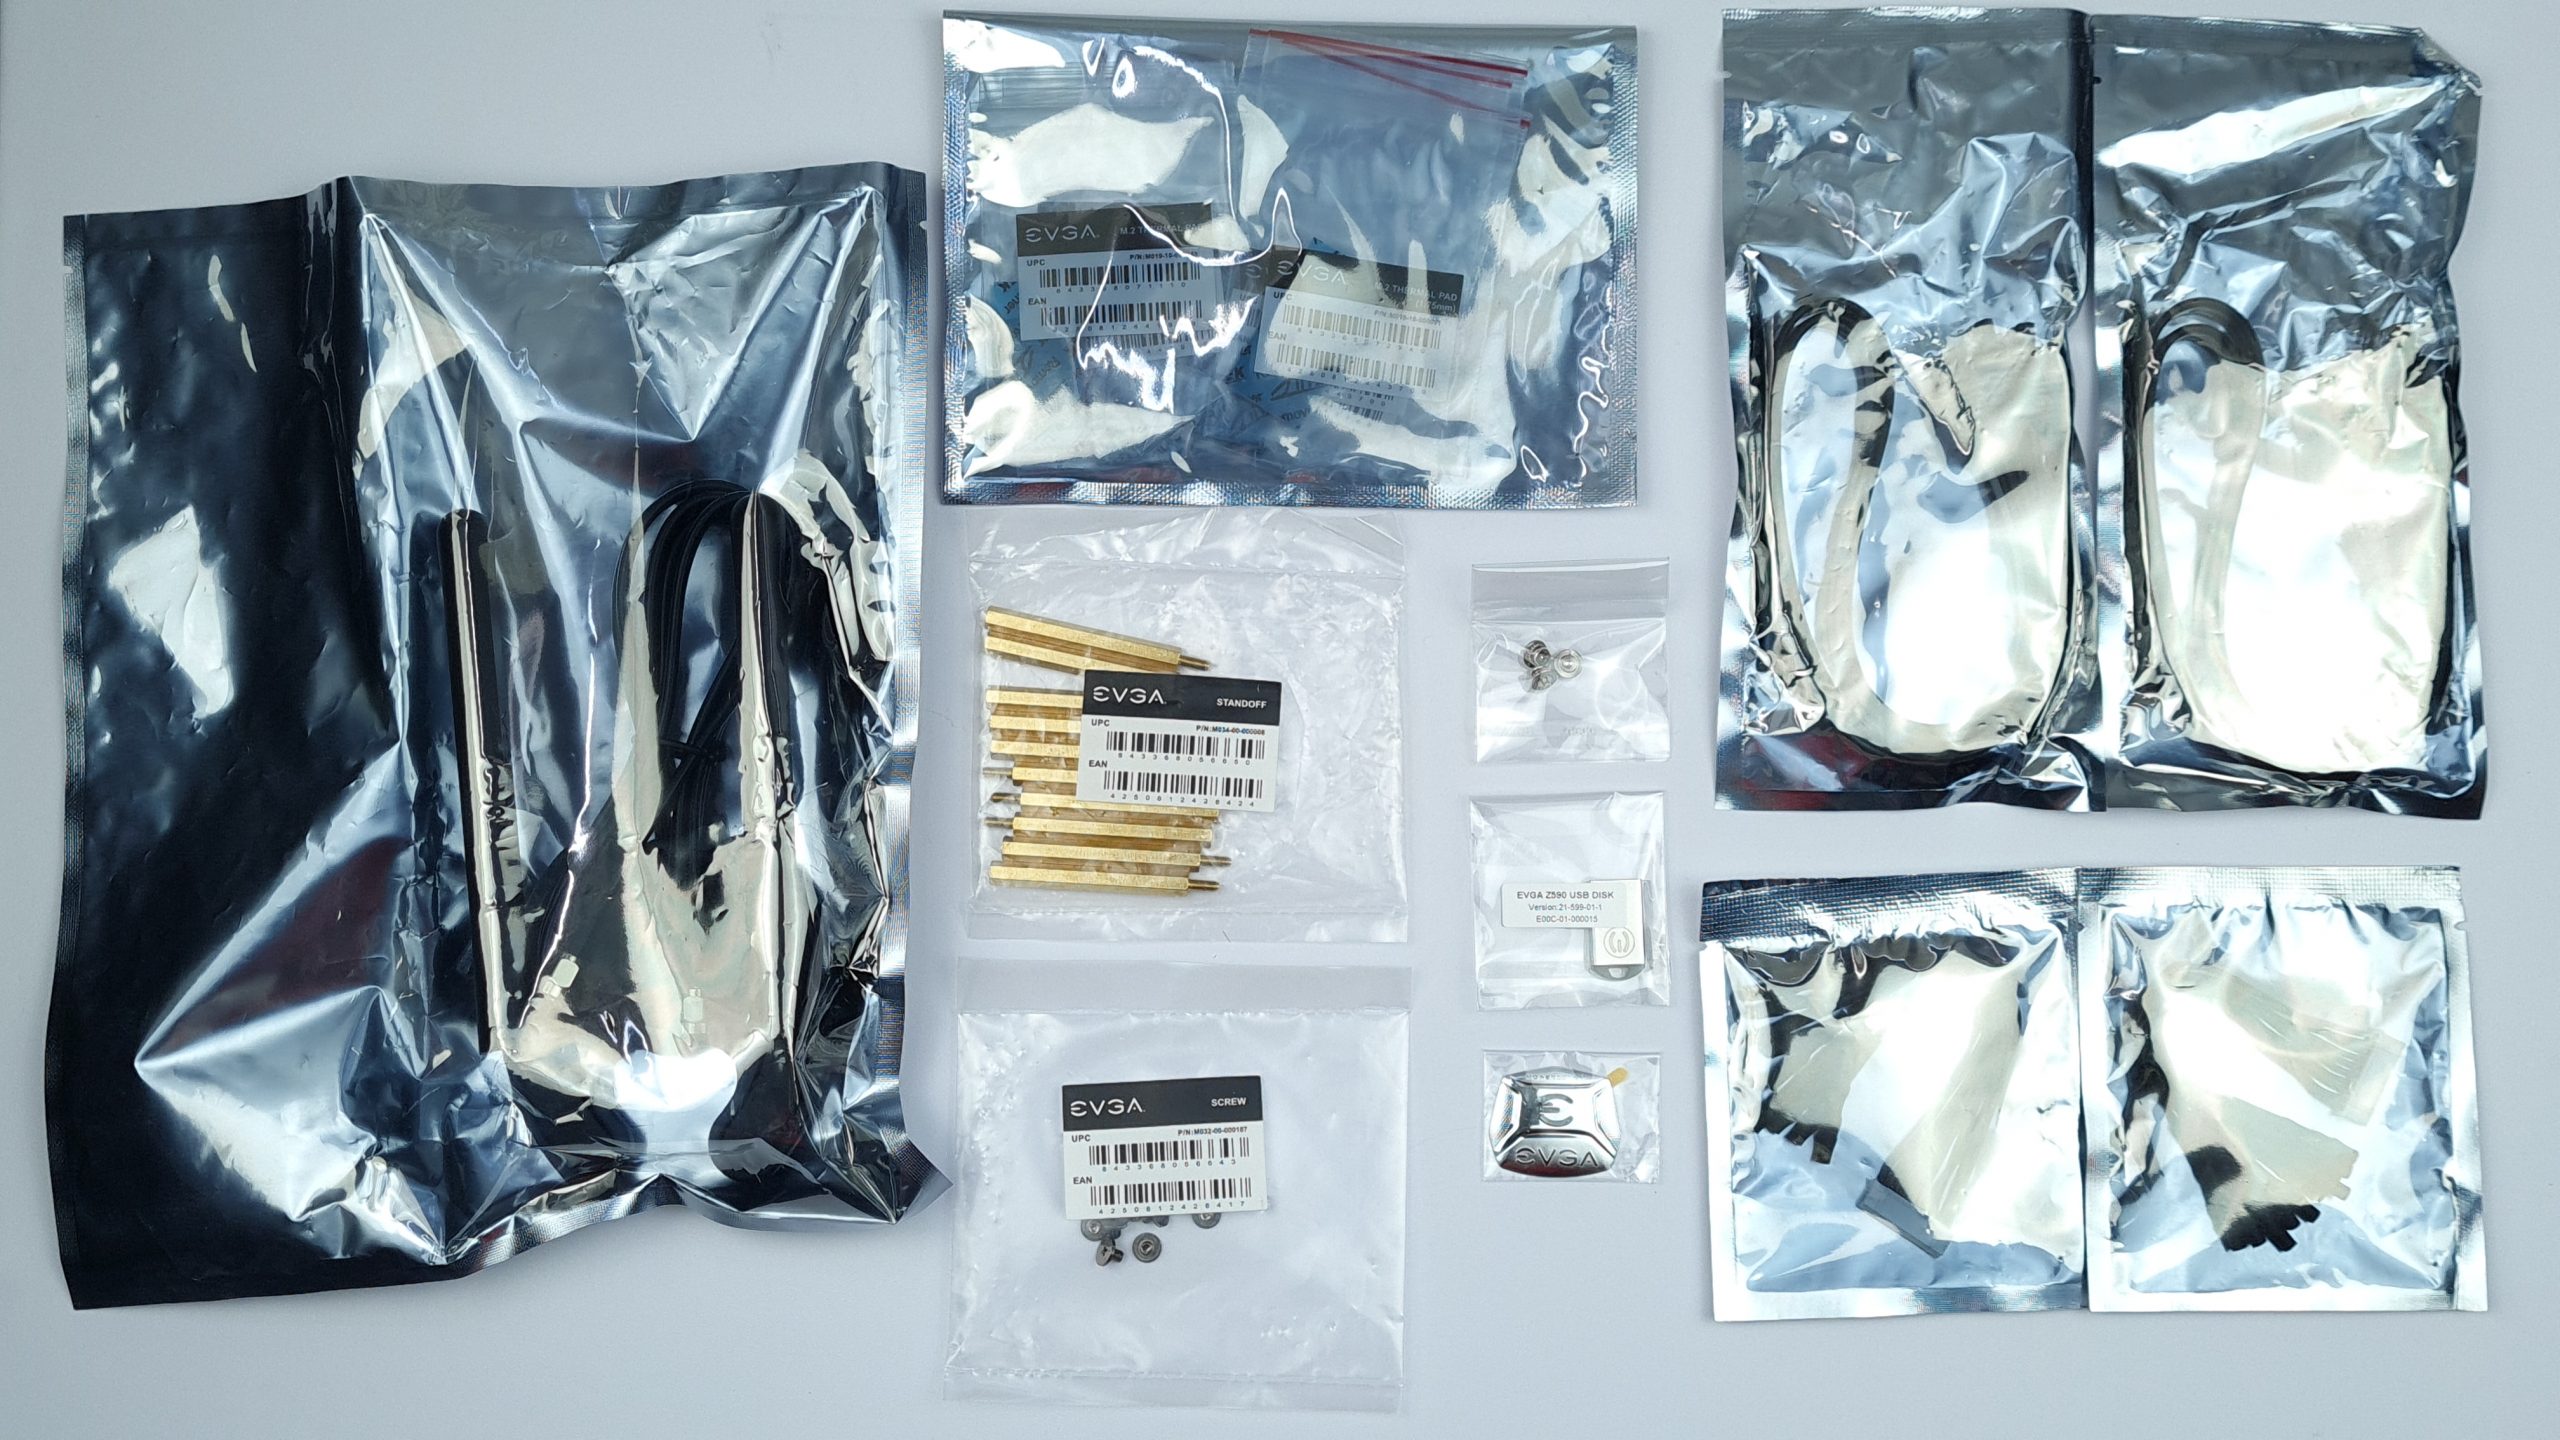
Besides the usual candidates like Wi-FI antenna, SATA cables, M.2 screws and thermal pads, there are also a few special features in the accessories. For example, long motherboard standoffs are included so that the pcb just mentioned can be used as a testbench for the actual board. Also included are two adapter cables for the ProbeIt connectors that provide direct measurement jacks with corresponding grounding for use with a digital multimeter. In addition to a case sticker, there’s even an EVGA-designed USB stick that contains the drivers and tools, rather than the traditional DVD. So when it comes to accessories, they definitely haven’t skimped and gone the extra mile to provide the user with every possible convenience.
The board itself is black and silver with yellow, gold and copper accents all around. Especially the huge heat sink stands out, which extends from the power supply to the chipset with a long heat pipe. A nice detail are the rubberized covers of the right-angled power connectors to prevent possible short circuits caused by the open conductor surfaces. Everywhere on the board, e.g. at the PCIe slots or at the upper edge, there are many small white LEDs, which make the activity of individual slots or voltages immediately visible – especially useful, of course, for diagnosing problems.
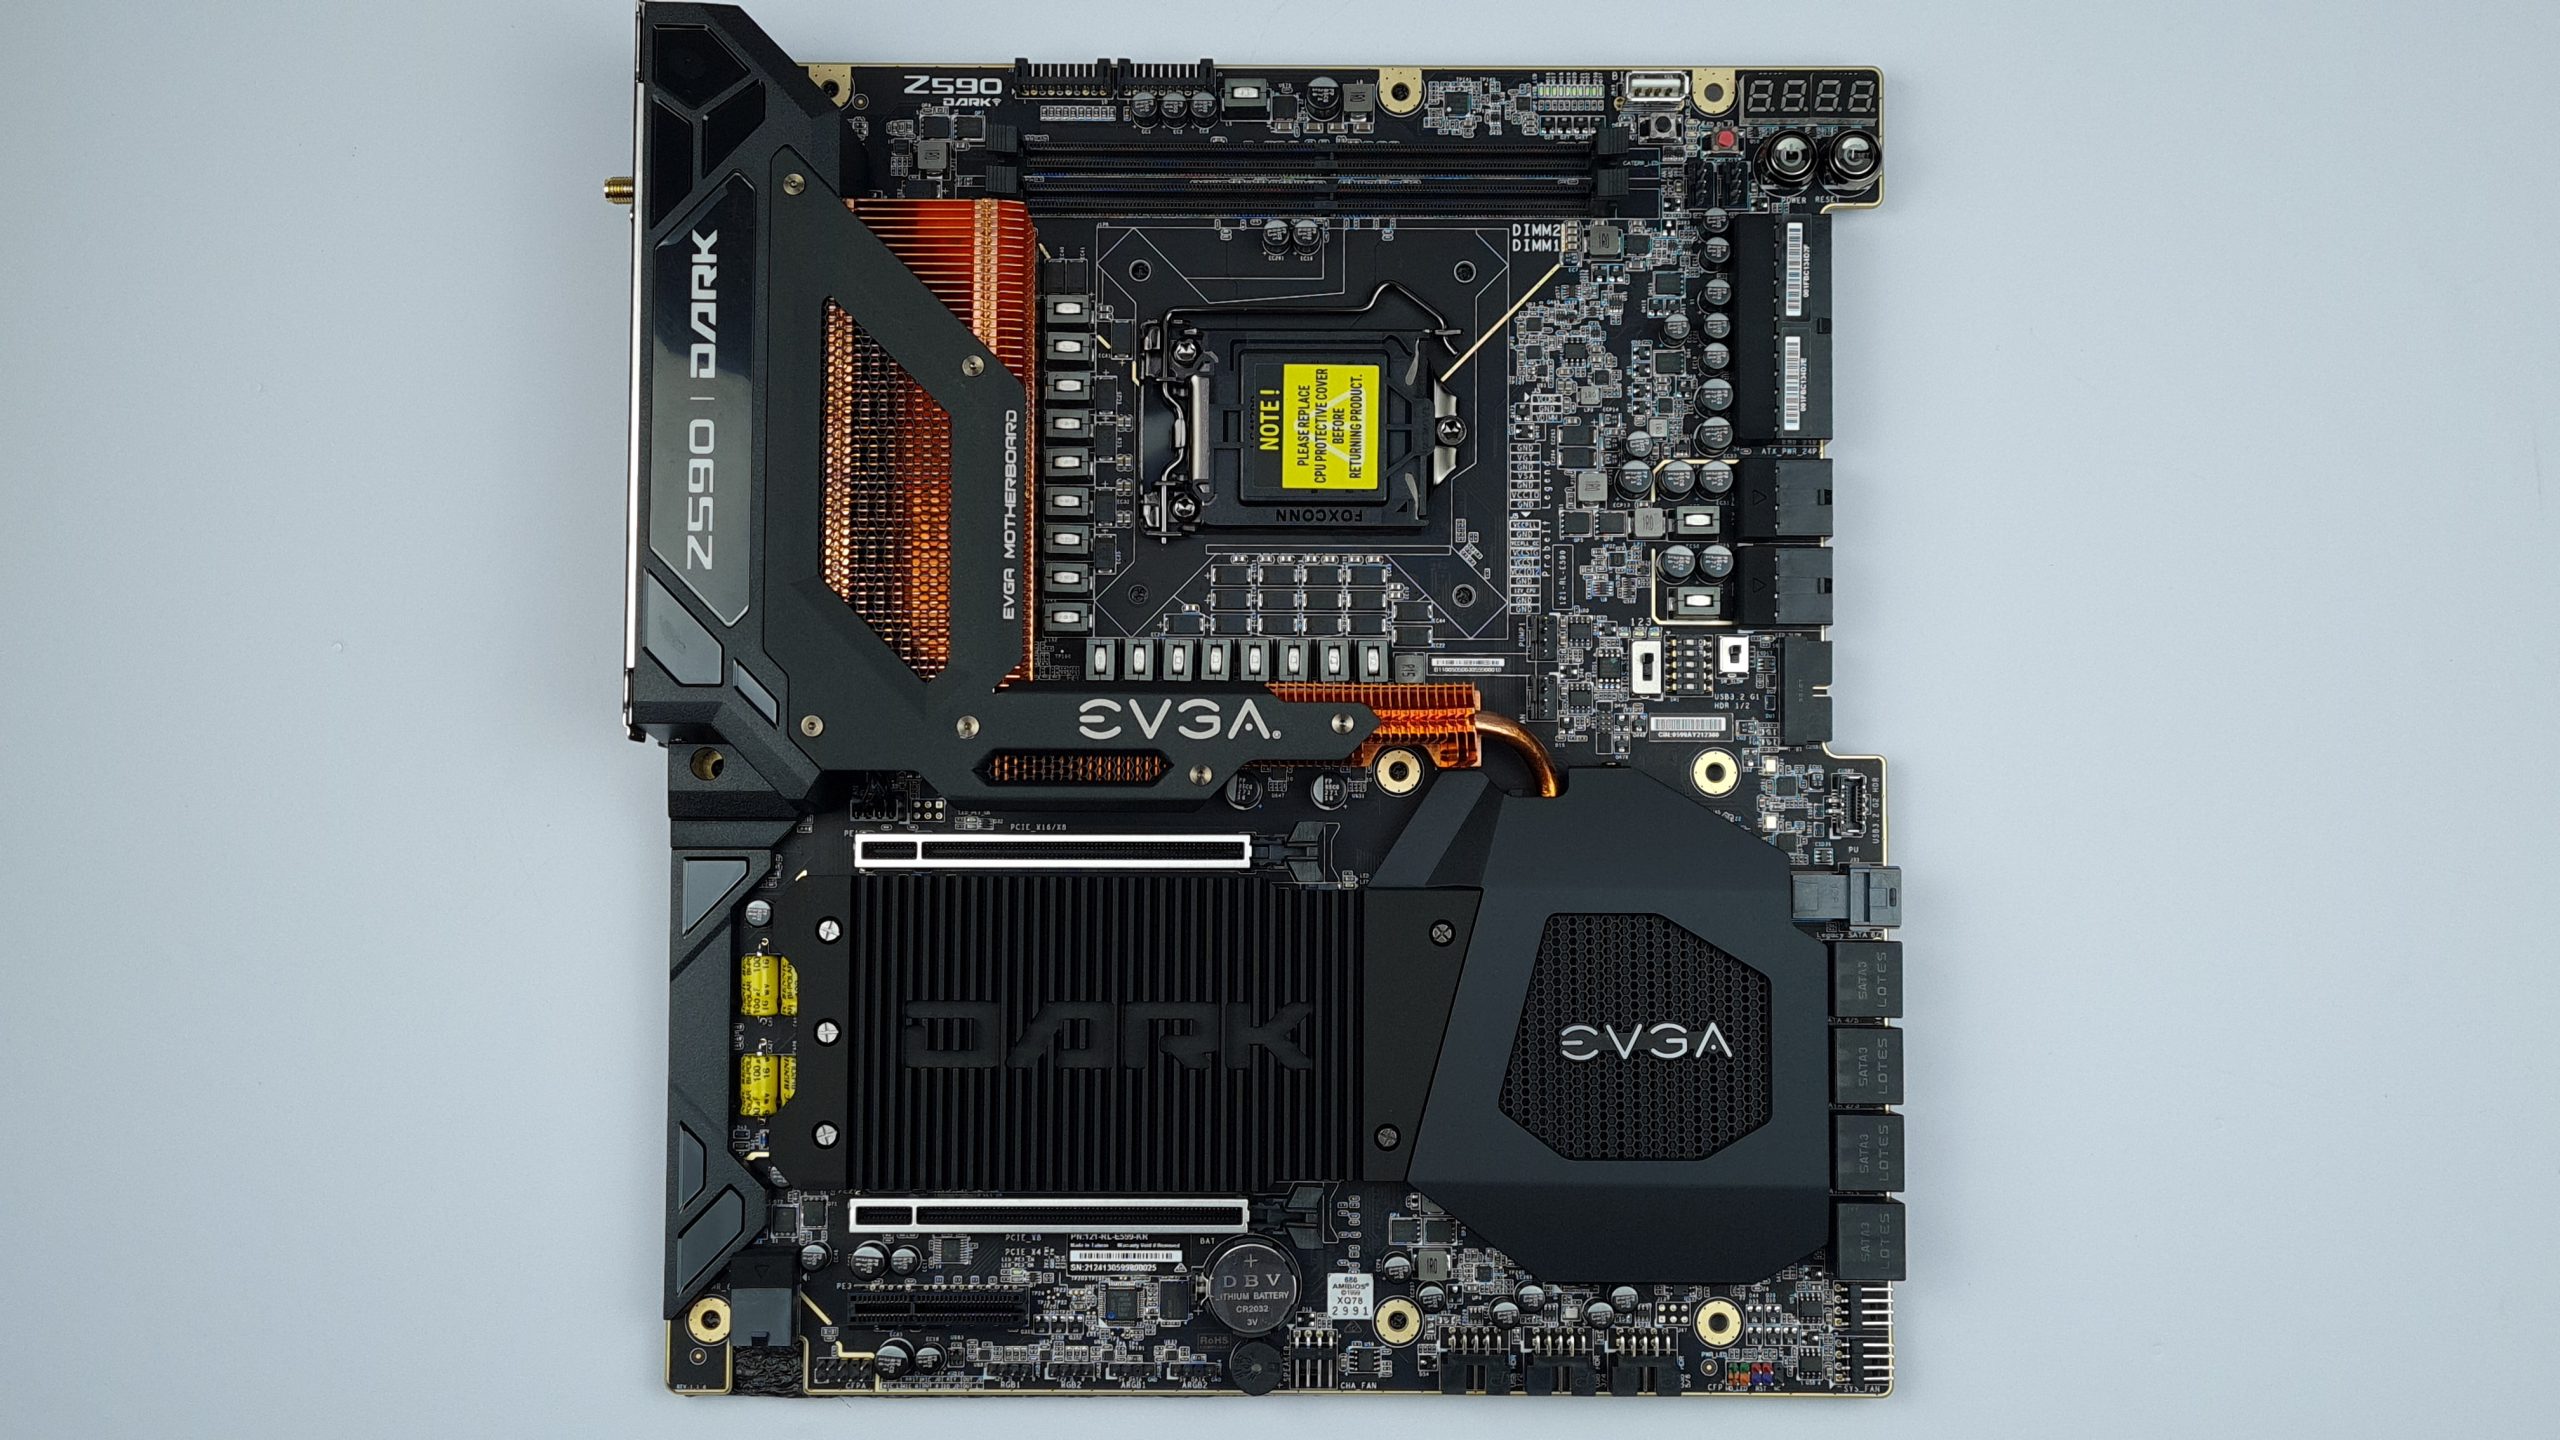
Speaking of which, in the upper right corner you’ll find the on-board buttons, a 4-digit postcode display that can also be configured to display voltages or temperatures, and even a USB Type A port that can be used for BIOS updates without a CPU installed. All you have to do for that is hold the reset button until a countdown on the postcode display has counted down and if a compatible BIOS is found on the Fat32 formatted USB stick, it will be flashed to the currently selected of the three EEPROMs. Yes, this board has tripple BIOS.
As mentioned earlier, the black safe boot button does not use a predefined BIOS profile with guaranteed working settings, but rather the last saved configuration that successfully completed POST, which of course has it’s pros and cons. Next to it, there is only one Clear CMOS button, though this is redundant to the one on the IO. Unfortunately, the board does not have a retry button to interrupt the powergood signal and force a “cold” reboot of the system via the power supply.
To select between the mentioned BIOS chips, there is a corresponding switch below the power connectors, next to which LEDs indicates the active BIOS 1, 2 or 3. Next to it, there are dip switches for the PCIe and M.2 slots and a switch for the slow mode, where the CPU is throttled to multiplier 8x for cores and cache. Adjacent is another right-angled port for USB 3.0, and below that one of the few vertical ports, for USB 3.1 Type C. Further along the right edge we find the port for a U.2 disk and eight SATA 3 6 Gbit/s ports, the top two being powered by a special Windows XP-compatible ASMedia chipset. The reason for this is of course the better performance of some older benchmarks on older operating systems, which otherwise don’t have drivers for modern controllers.
Below the two SLI-capable PCIe 4.0 x16 slots, there is a third x4 slot that is connected with PCIe 3.0 via the PCH/chipset. Unfortunately, the placement of the CMOS battery next to it is a bit awkward, as even though the end of the slot is open, an x16 card would collide. On the bottom edge you’ll find the usual front panel, audio, two types of RGB, USB 2.0 and PCIe power connectors, with only the last two being right angle. Why it’s necessary to have an an additional PCIe-slot power source for only two graphics cards is not quite clear to me, but the option is there.

Finally, we should mention the various 4-pin fan or pump connectors, which can also be configured in 3-pin mode, and a speaker that accompanies the post-sequence acoustically with beeps. Even though this may seem a bit antiquated at first, an additional, non-visual indicator can often come in handy, and if it bothers you, you can disable it in the BIOS. Noteworthy features on the IO are the DisplayPort and HDMI outputs for the iGPU in case you need to use it for diagnostic purposes, the external ClearCMOS button for resetting the BIOS, and the PS/2 mouse and keyboard port, mainly intended for use with Windows XP.


21 Antworten
Kommentar
Lade neue Kommentare
Urgestein
Moderator
Urgestein
Mitglied
Veteran
Urgestein
Urgestein
Veteran
Urgestein
Urgestein
Urgestein
Urgestein
Veteran
Urgestein
Veteran
Neuling
Urgestein
Veteran
Alle Kommentare lesen unter igor´sLAB Community →