


The conversion
Akasa does not provide any instructions that would describe how to extend the NUC board from the original housing. Guides such as e.g. ifixit.com. Akasa herself shows this in a quick pass in her own video:
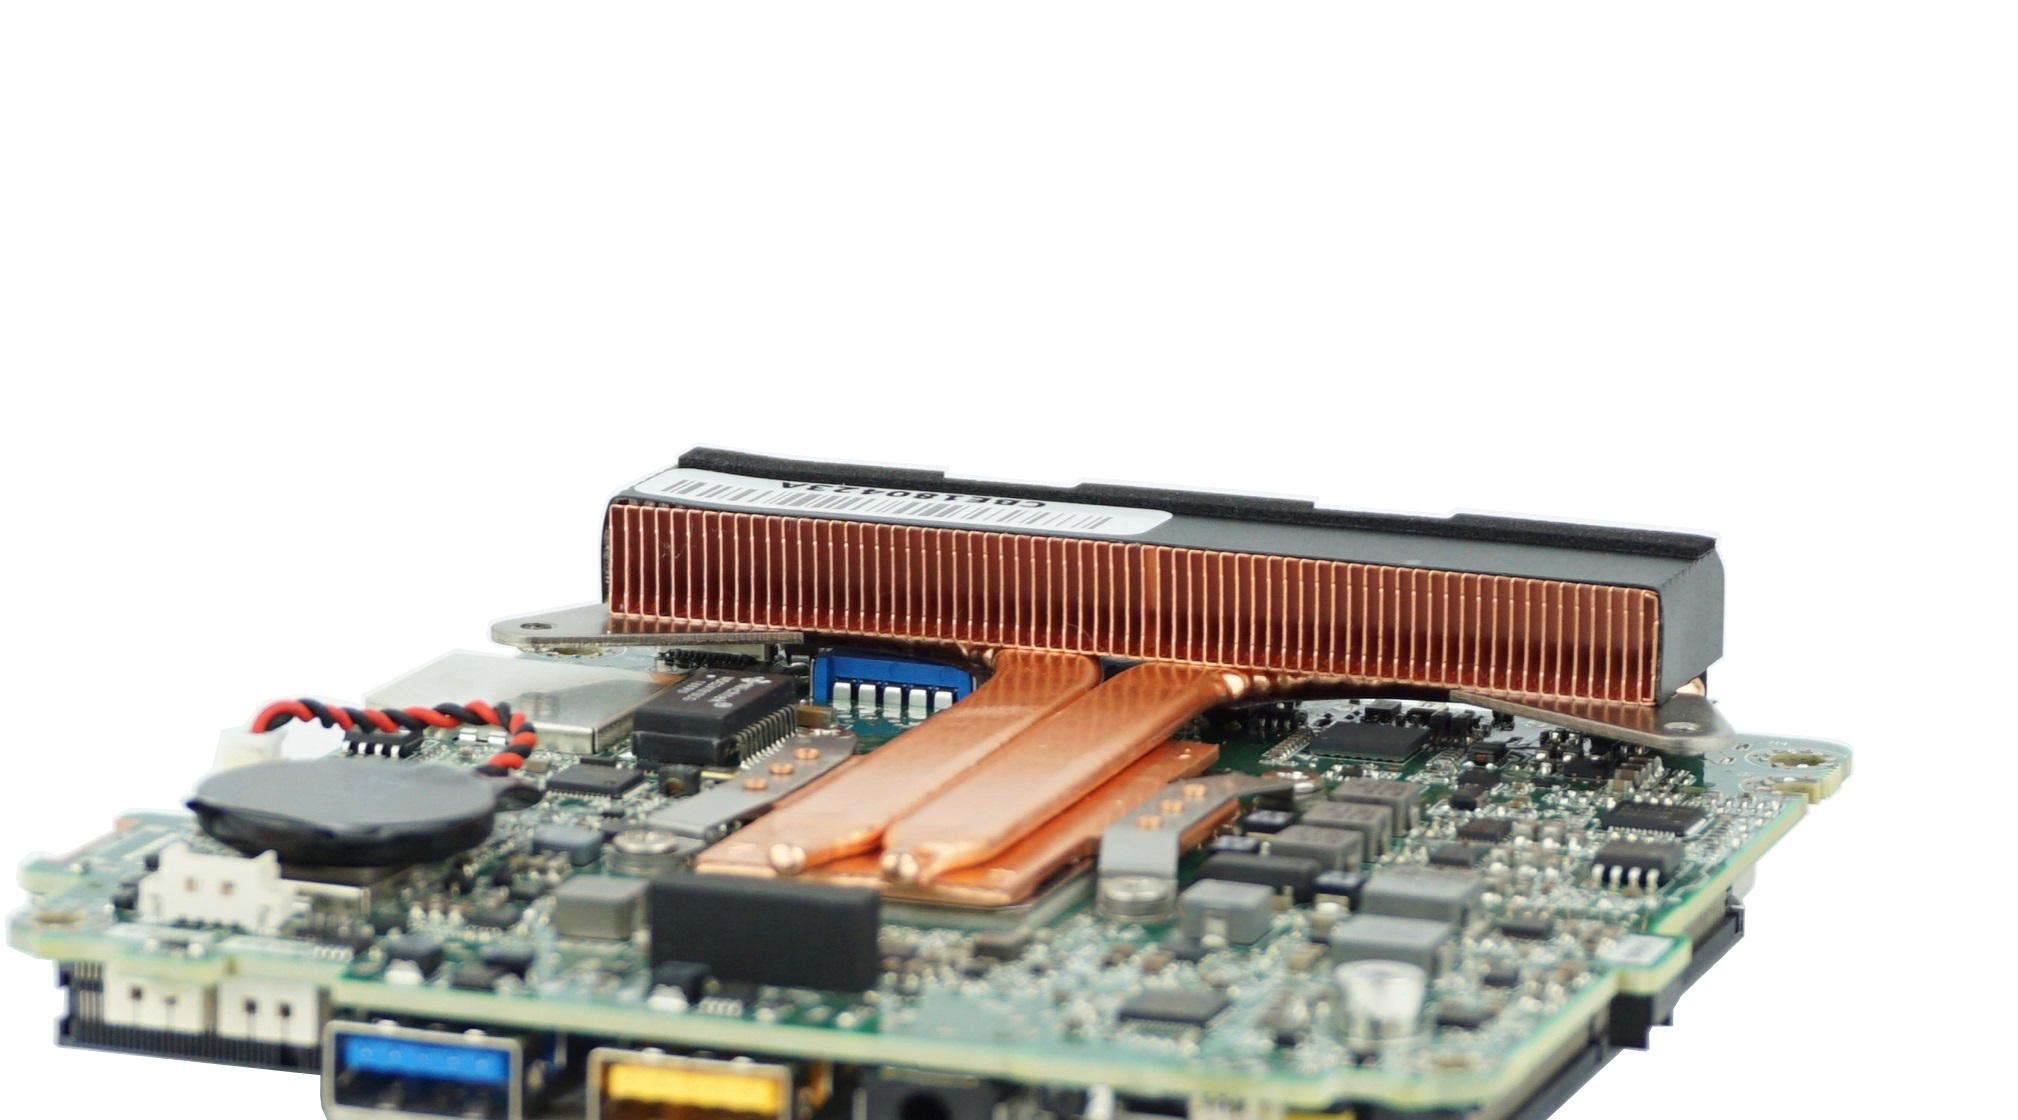
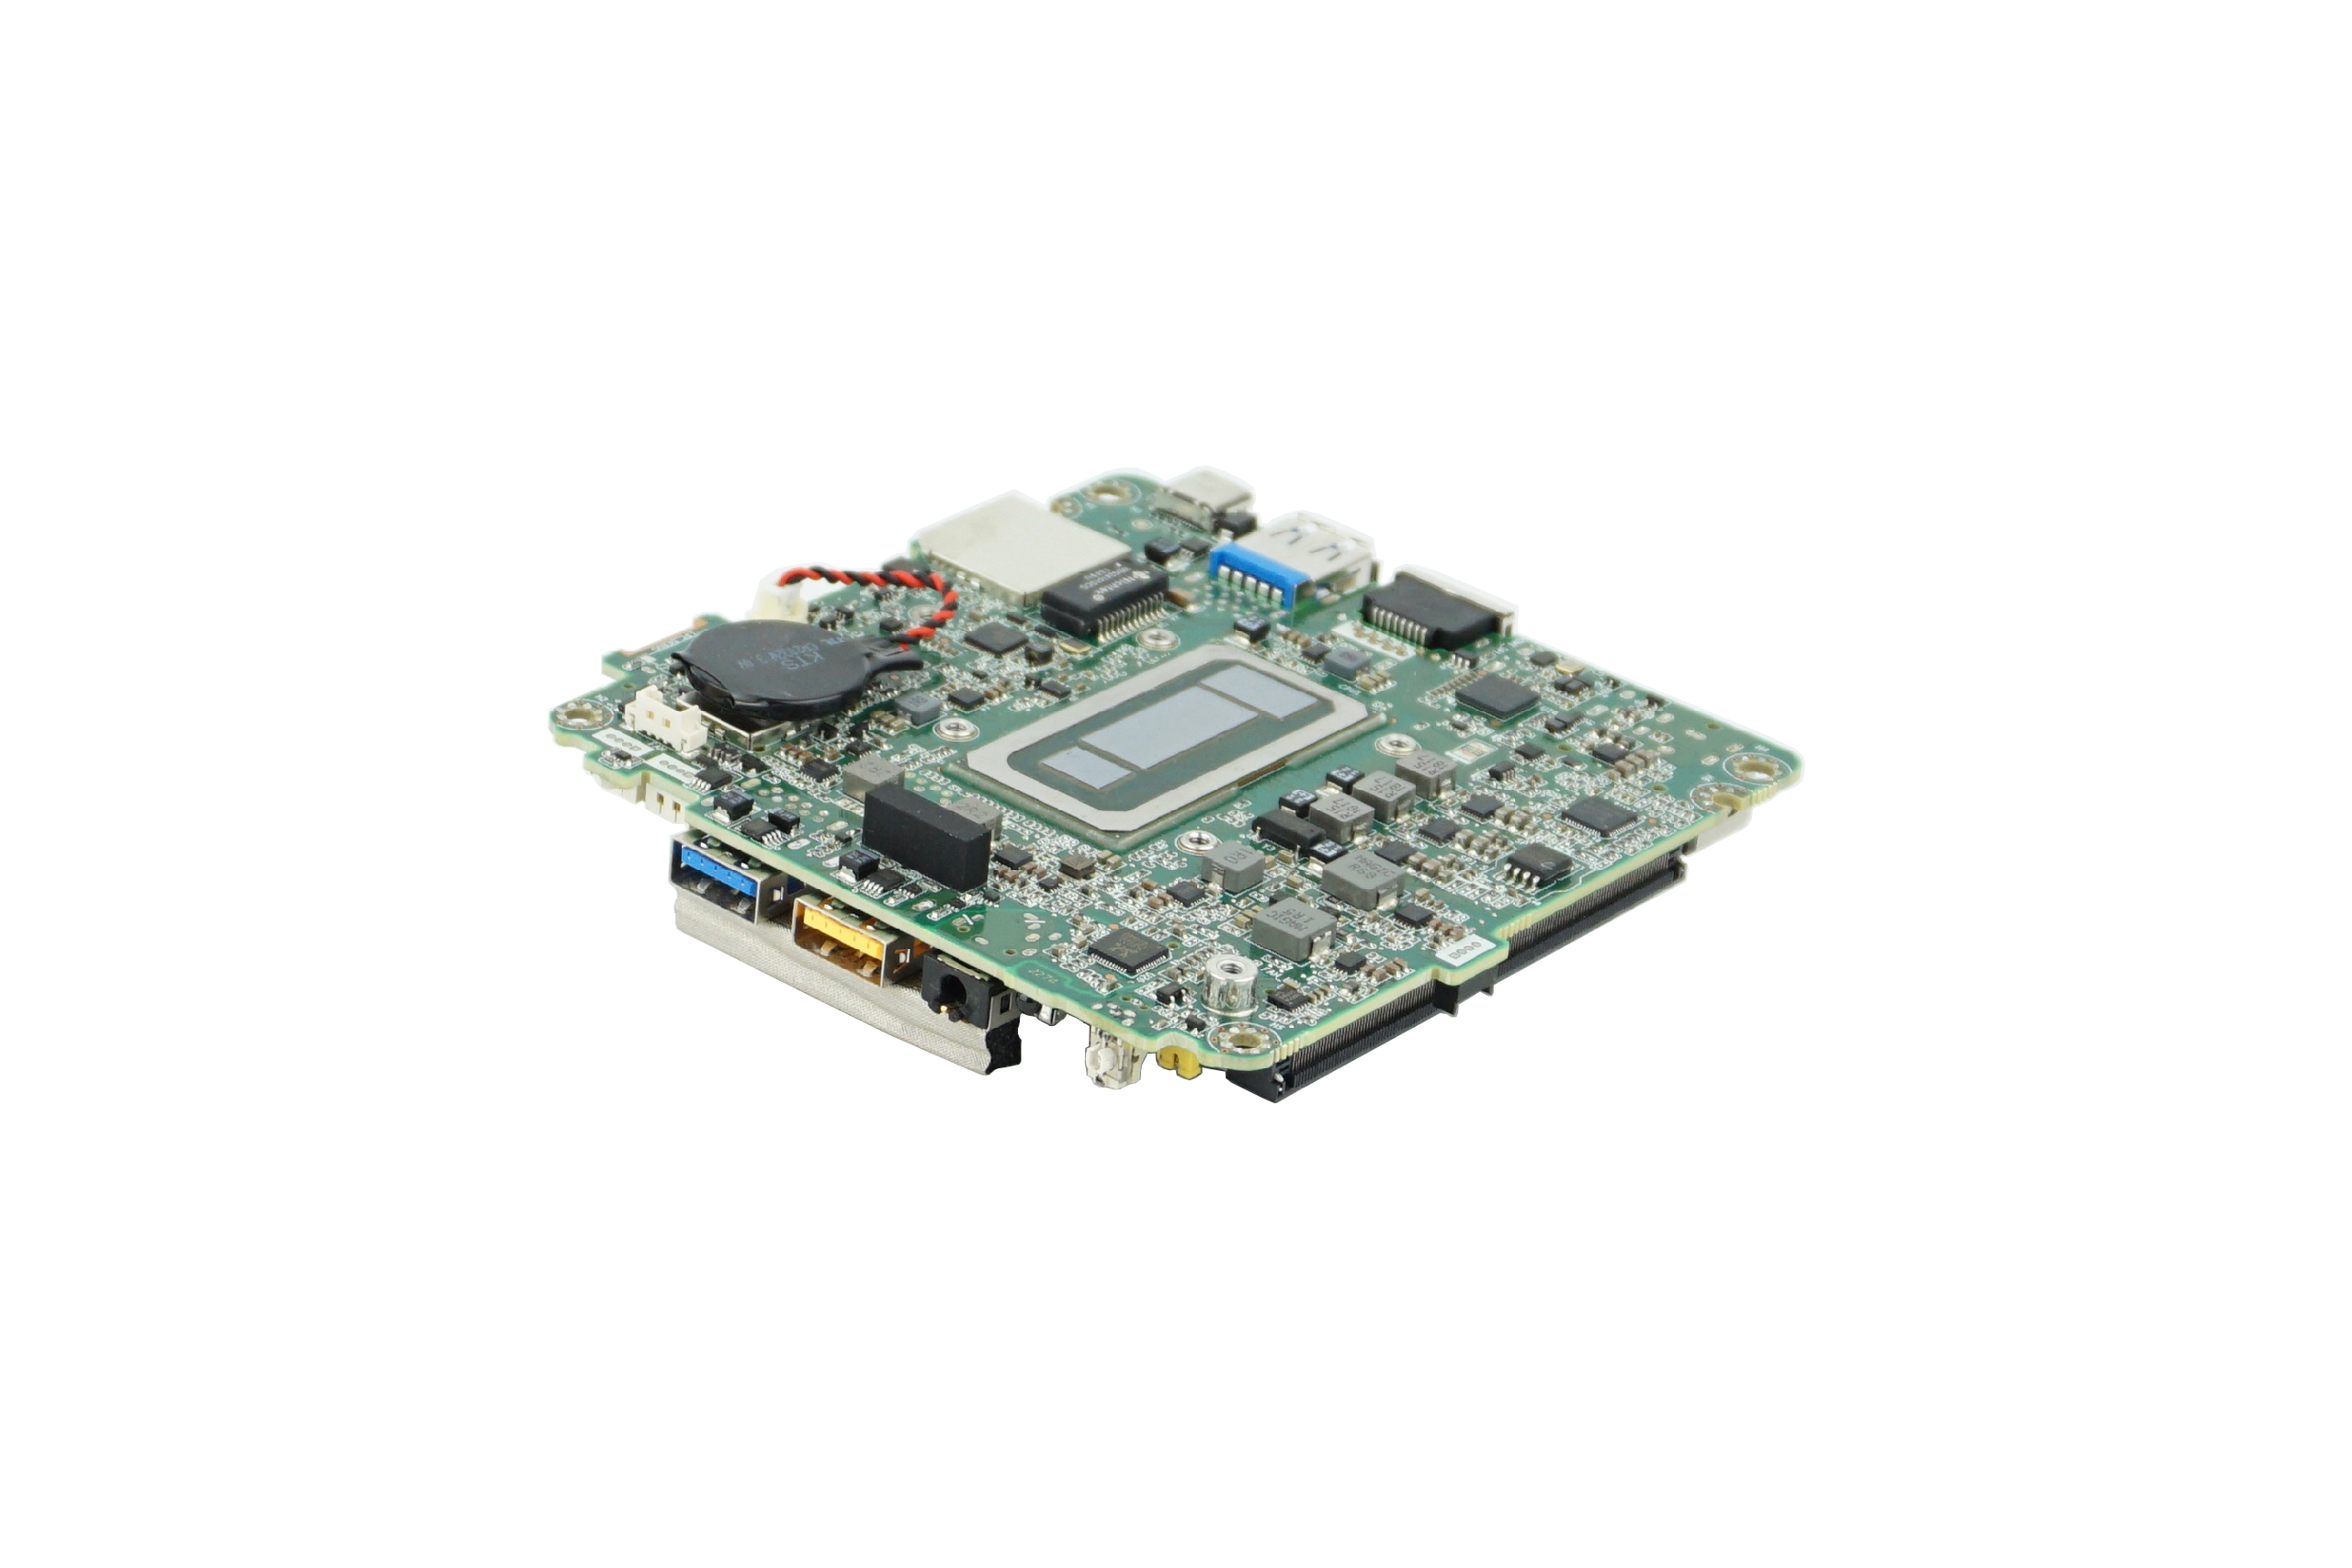
The fan and small heat sink must then be removed from the board of the NUC. Thermal paste and pads of the NUC can also be removed and the chips cleaned. For this purpose, cleaning gasoline or alcohol as well as cotton swabs or kitchen paper.
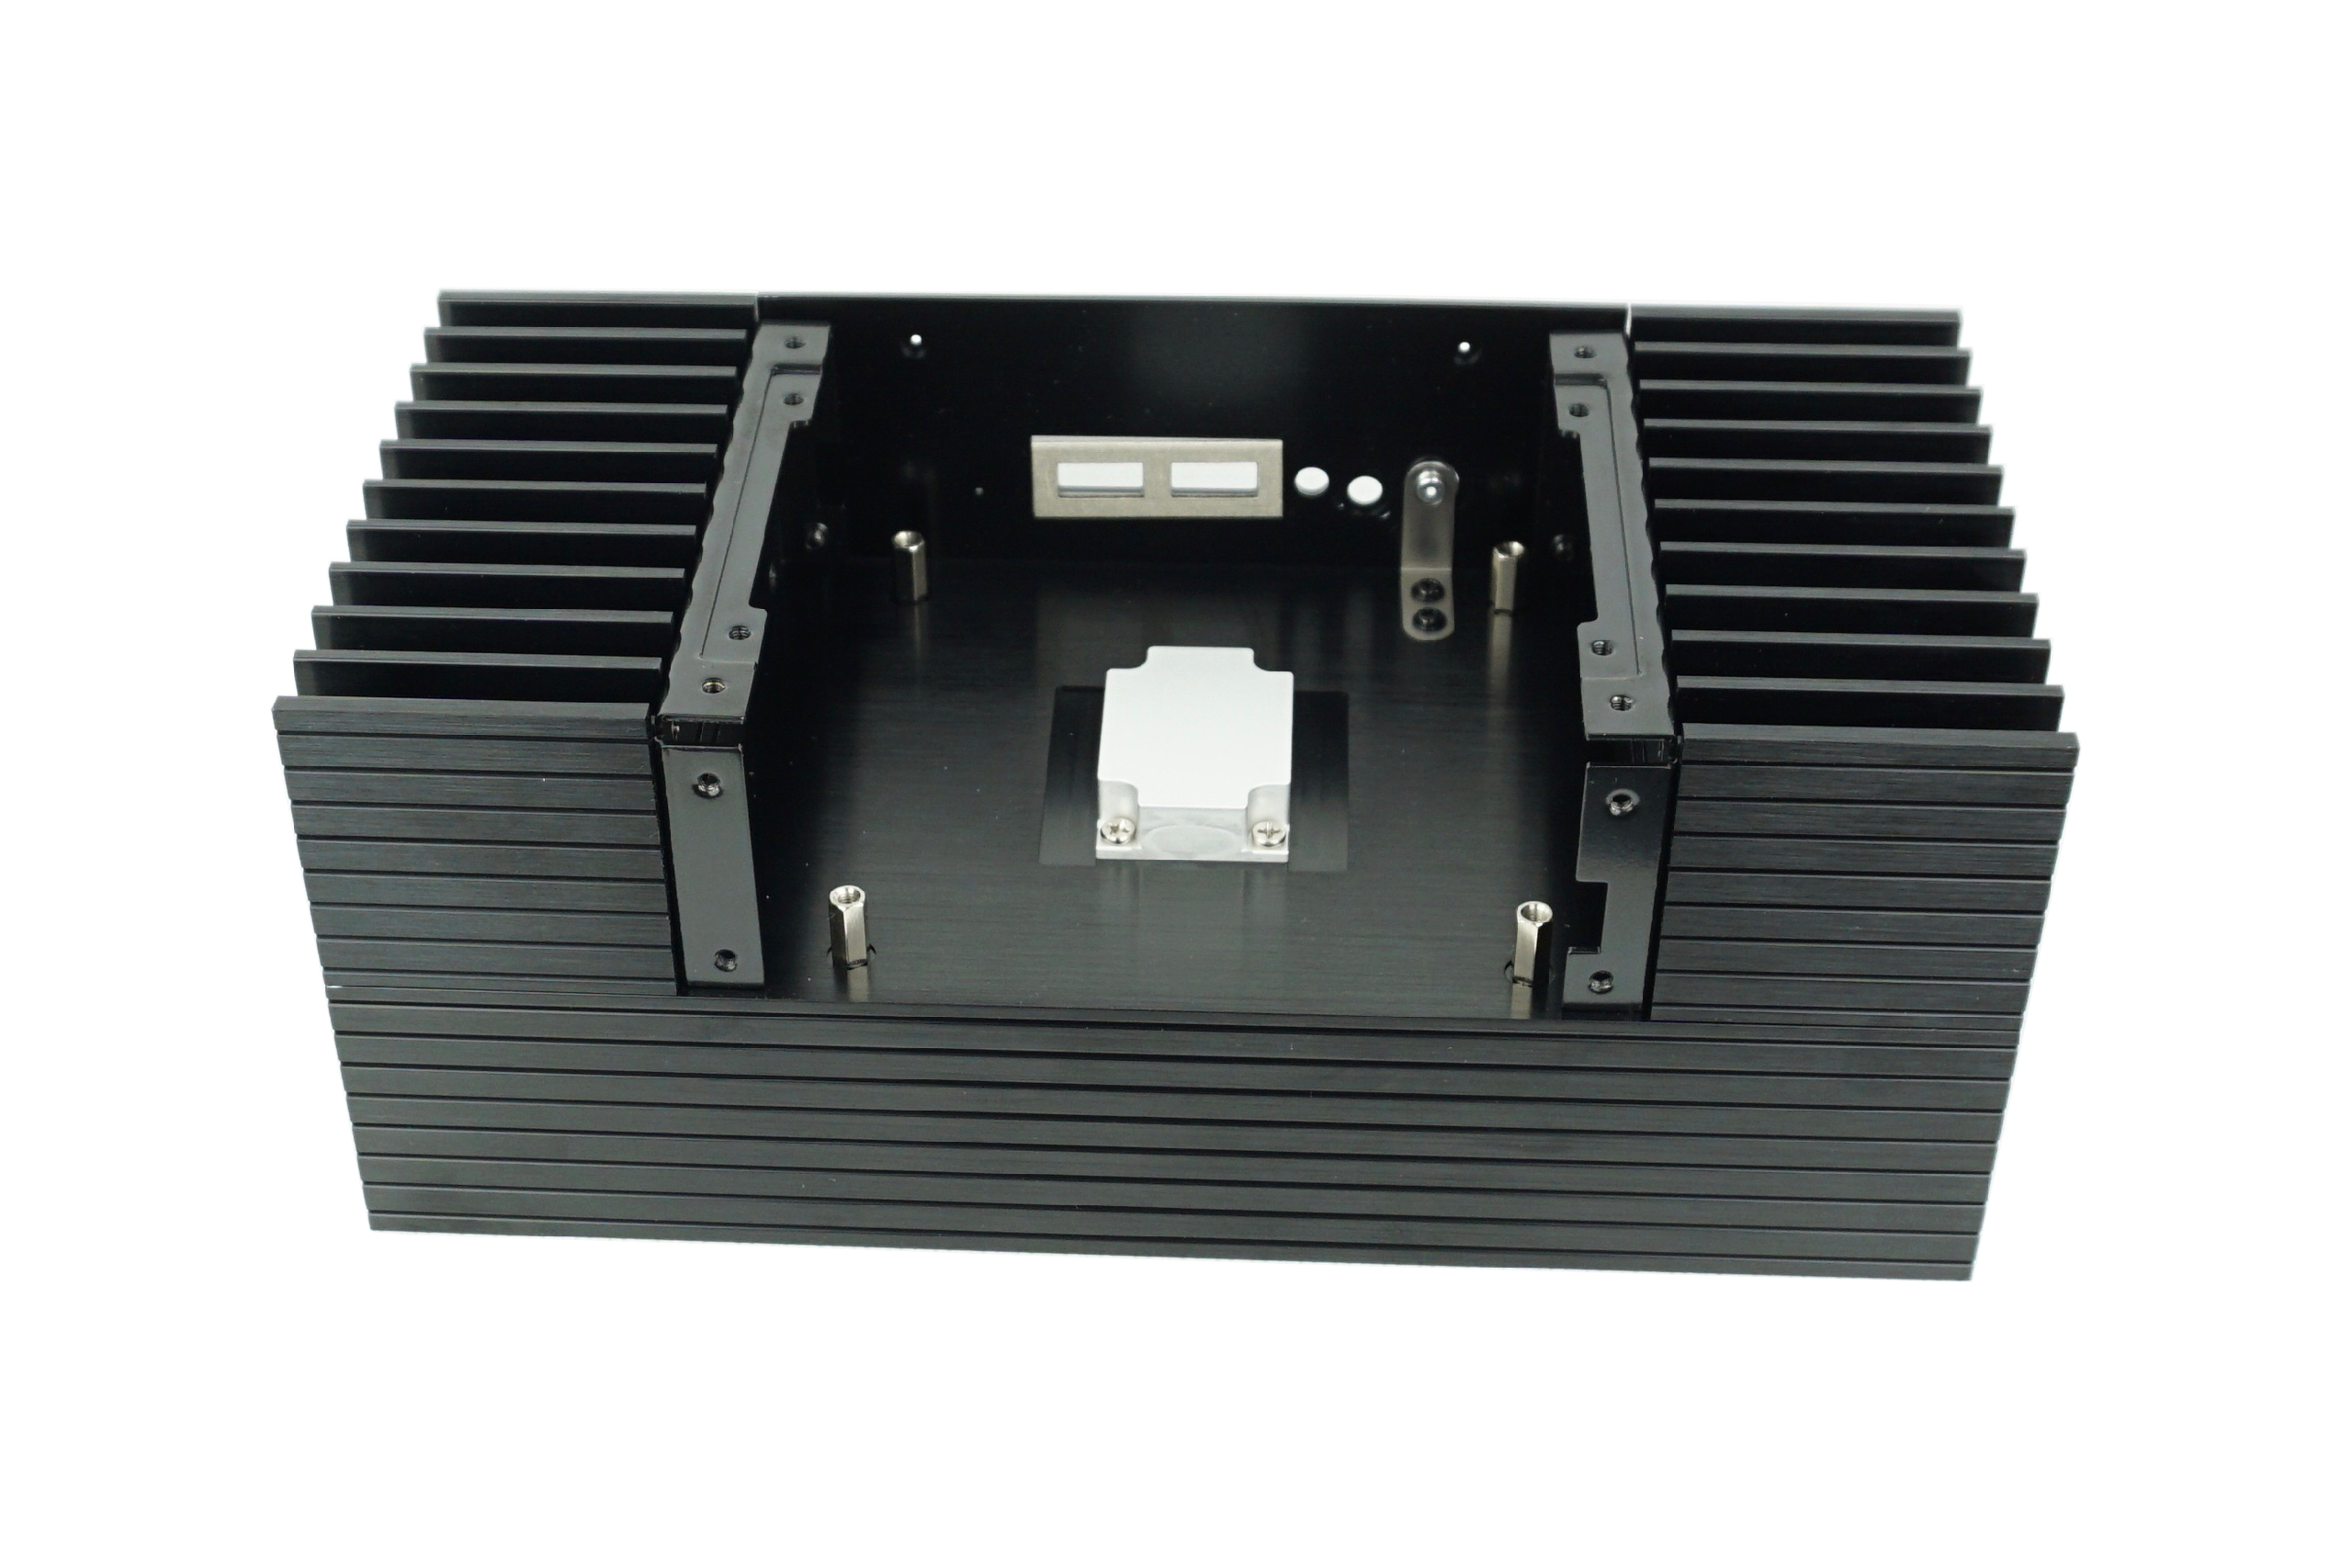
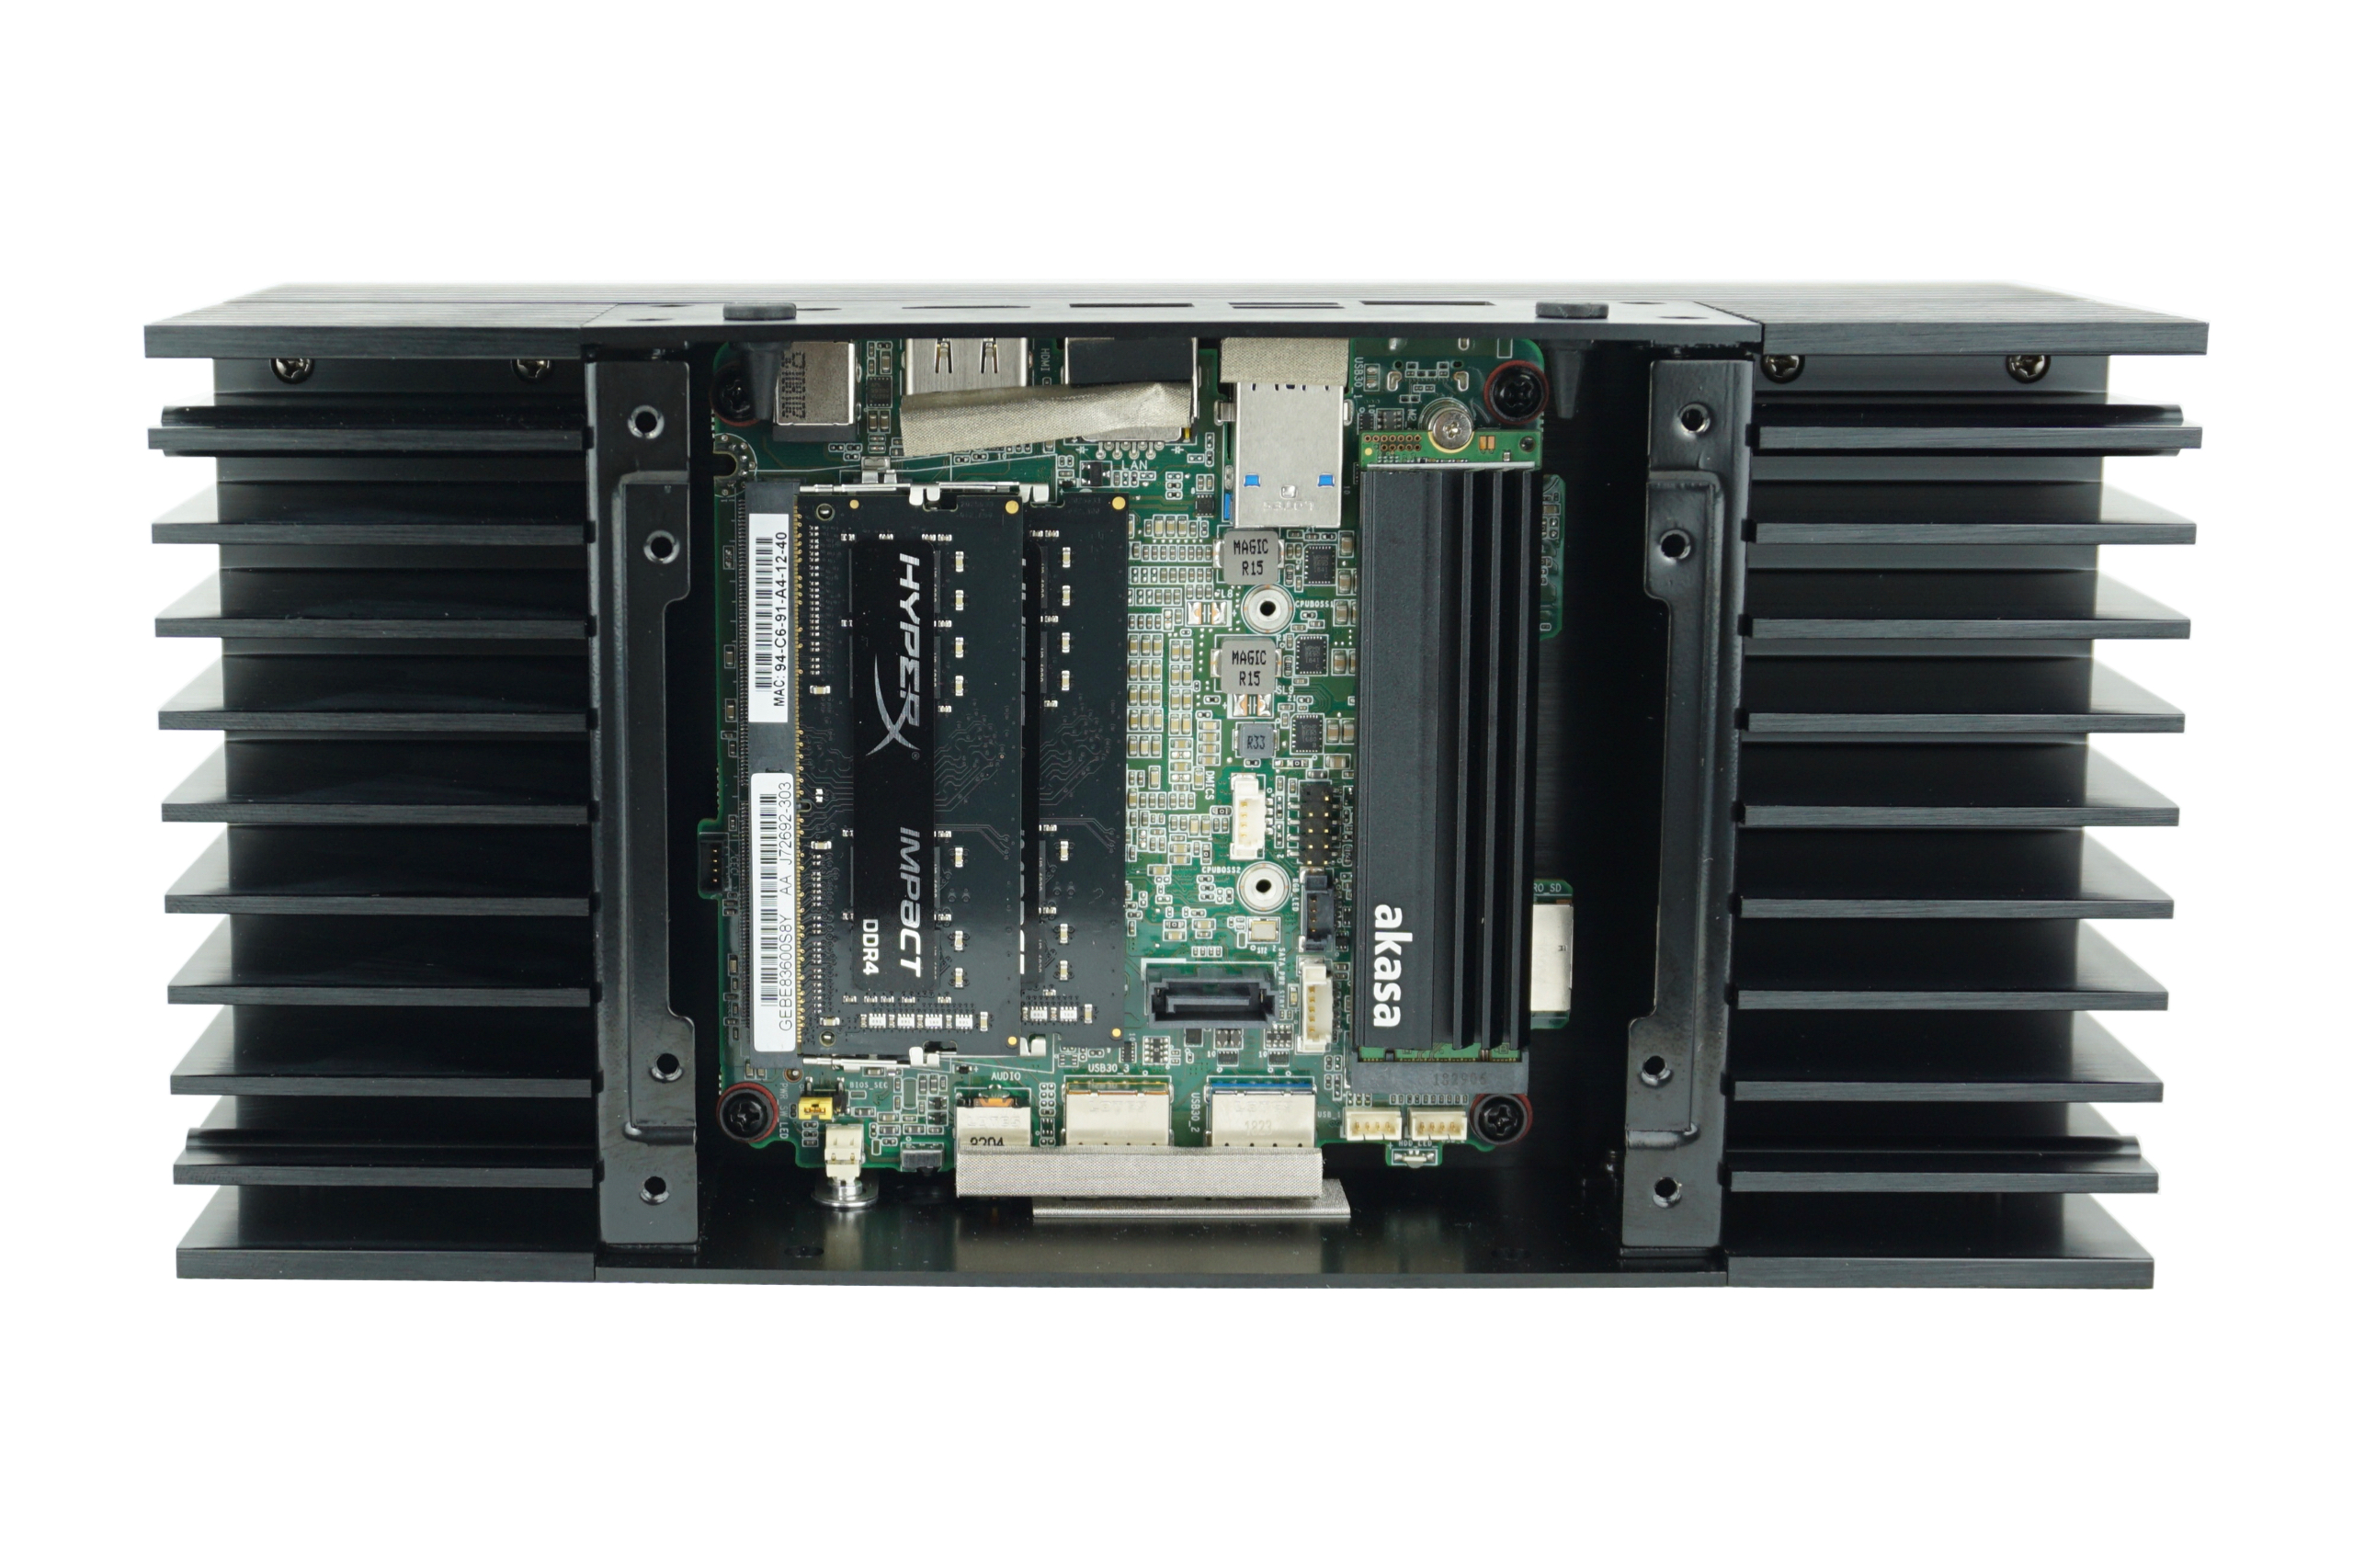
The Turning housing is opened as preparation and the surface of the cooling block is cleaned just as thoroughly. After applying the supplied akasa thermal paste to the three chips of the NUC, the board with the chips is placed downwards in the Akasa Turning. Afterwards, everything is screwed.
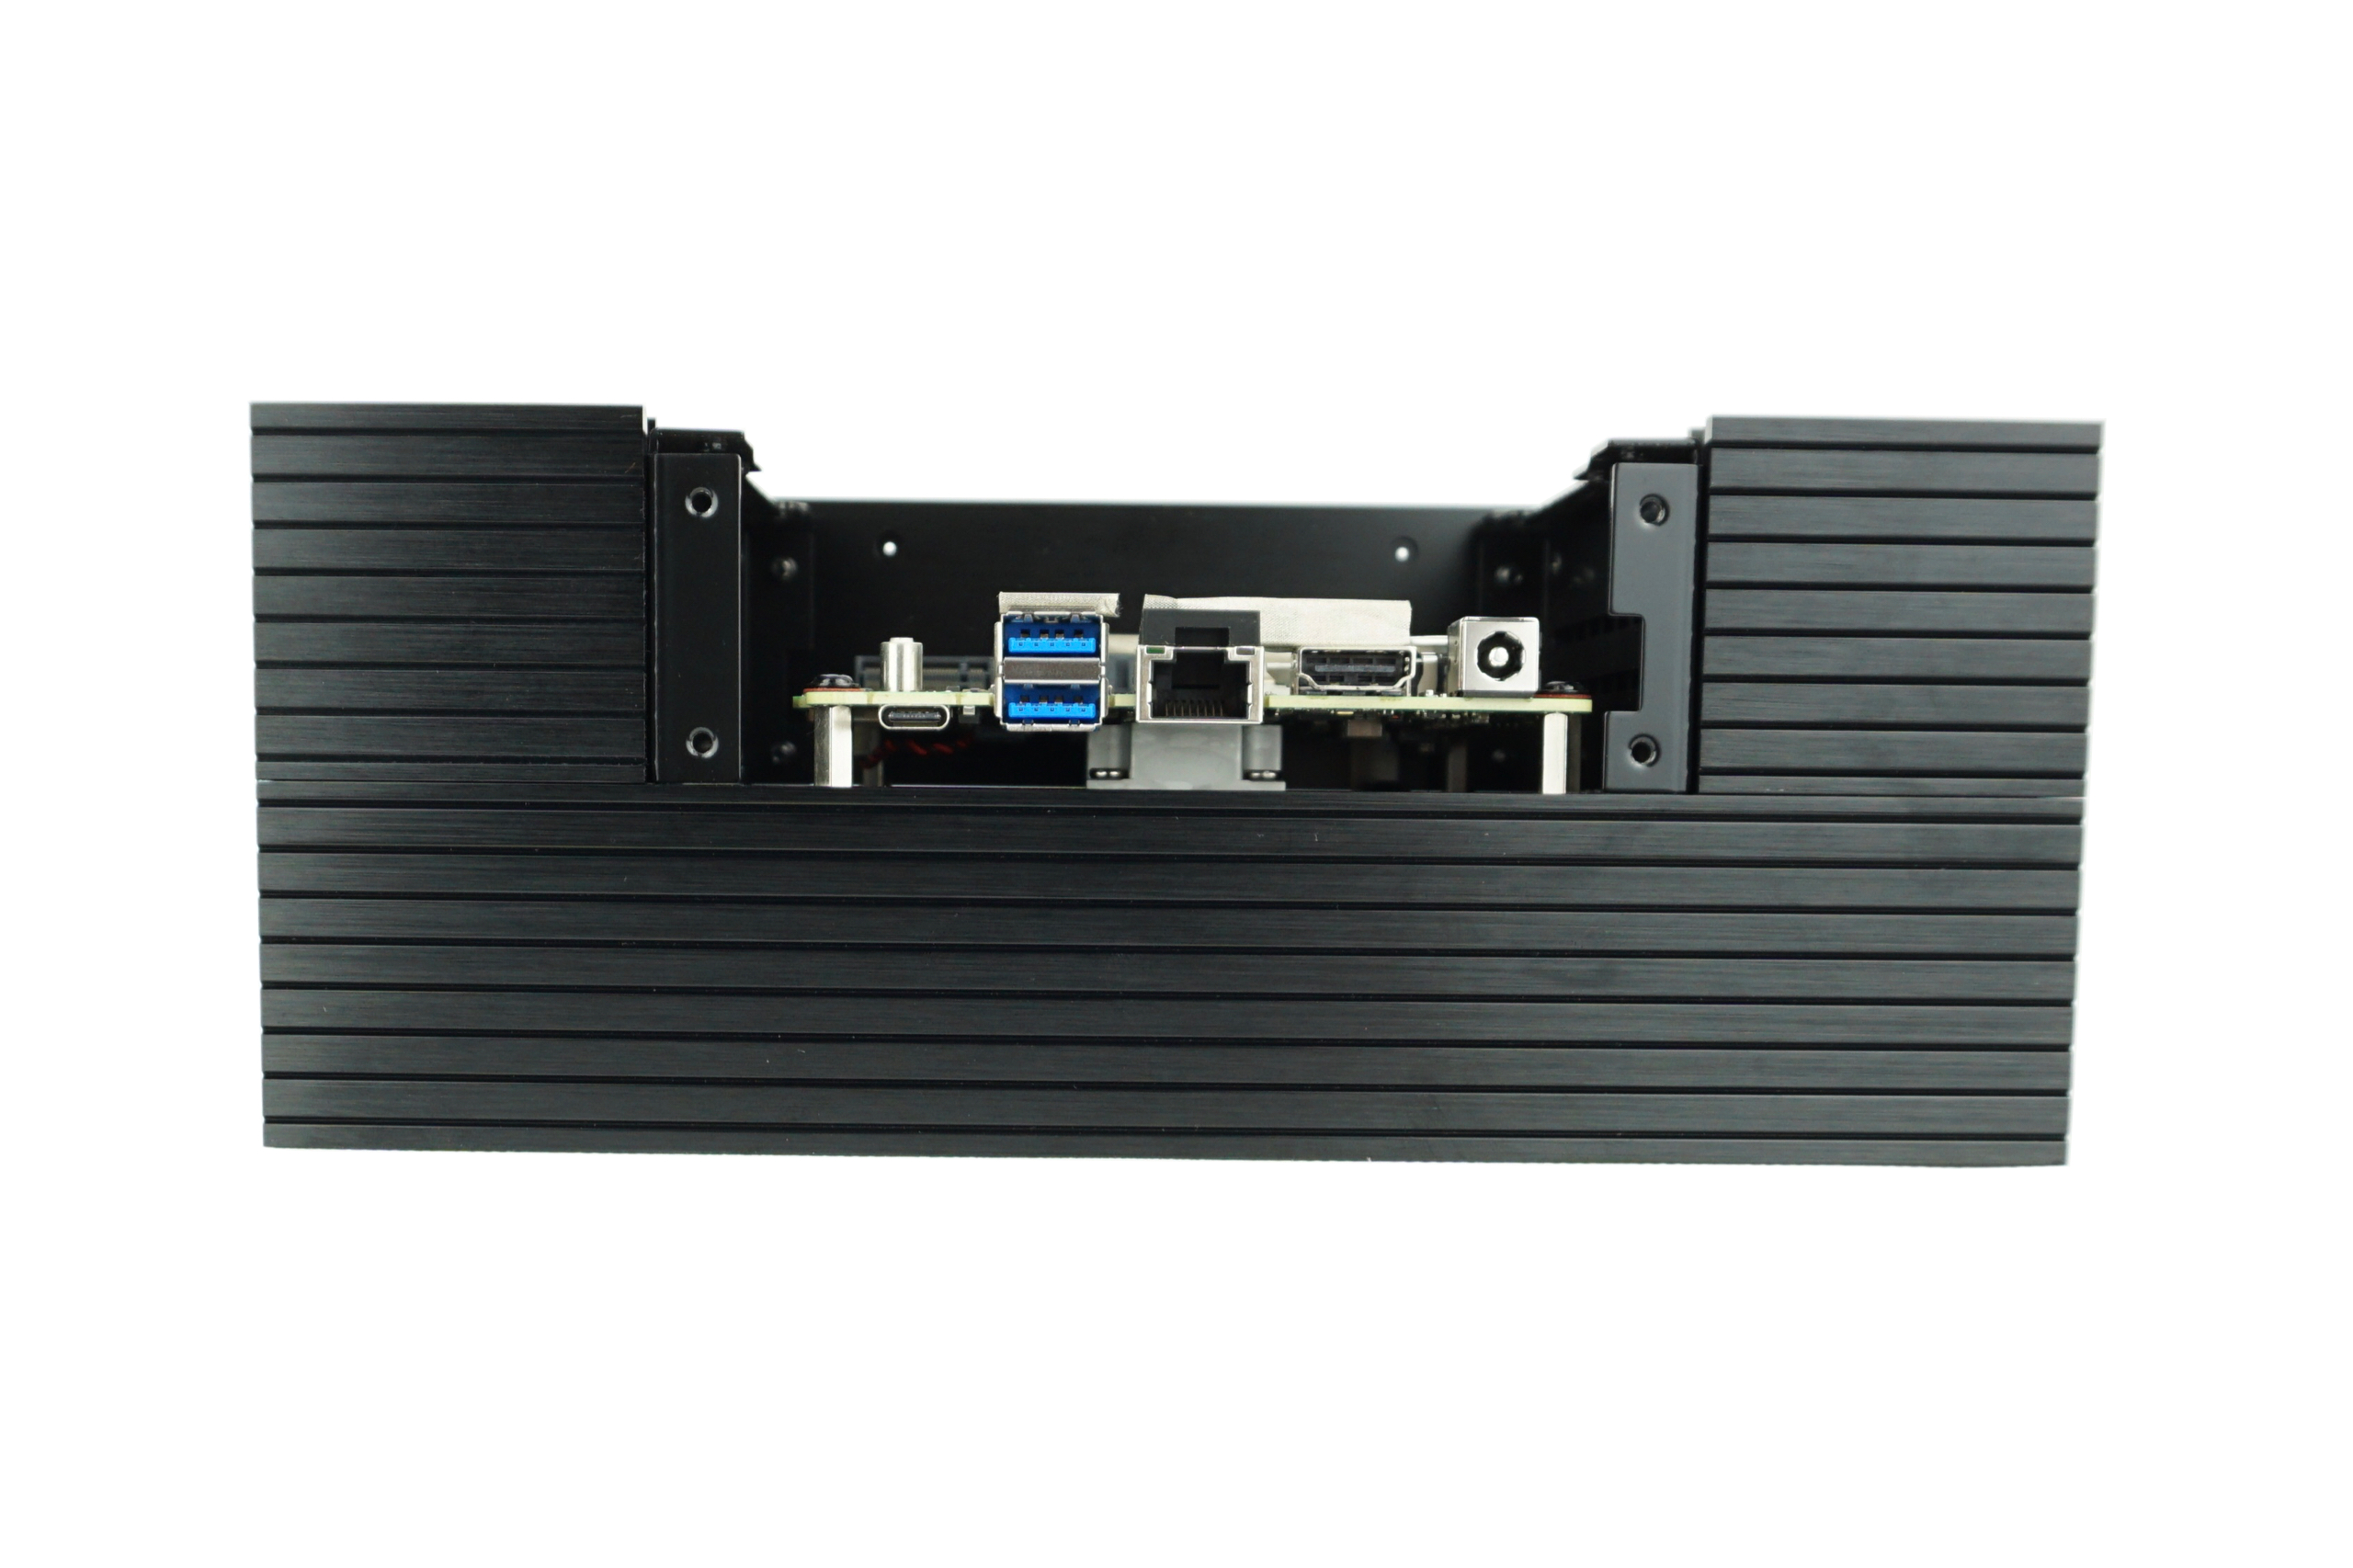
After that, the microphone cable and, if necessary, the Bluetooth and WiFi antennas. Once this is done, RAM and the SSD or HDD connected and then installed. Finally, the housing must be closed and the feet screwed to the desired position. This is possible in two orientations, so that the Akasa Turning is upright or horizontal. Optical apertures are used for decoration and can be optionally mounted.
All in all, the conversion is very simple, only the removal of the hardware from the original NUC case is a bit cumbersome, because the board was clamped into the case by Intel.


Kommentieren