


Installation & Setup OctoPrint
Once you’ve downloaded and installed everything, you’re ready to get set up.
To do this, insert the SD card into the reader and start the Raspberry Pi Imager. The Octopi zip archive is selected as the operating system.
Unpacking the file beforehand is not necessary, the tool does that itself.
OS Select & Custom Image & Octopi Zip | Select SD Card & Select | Write

After the write and verification process is complete, a new drive named “boot” should appear.
If this is not the case, simply pull the SD card out of the reader and insert it again.
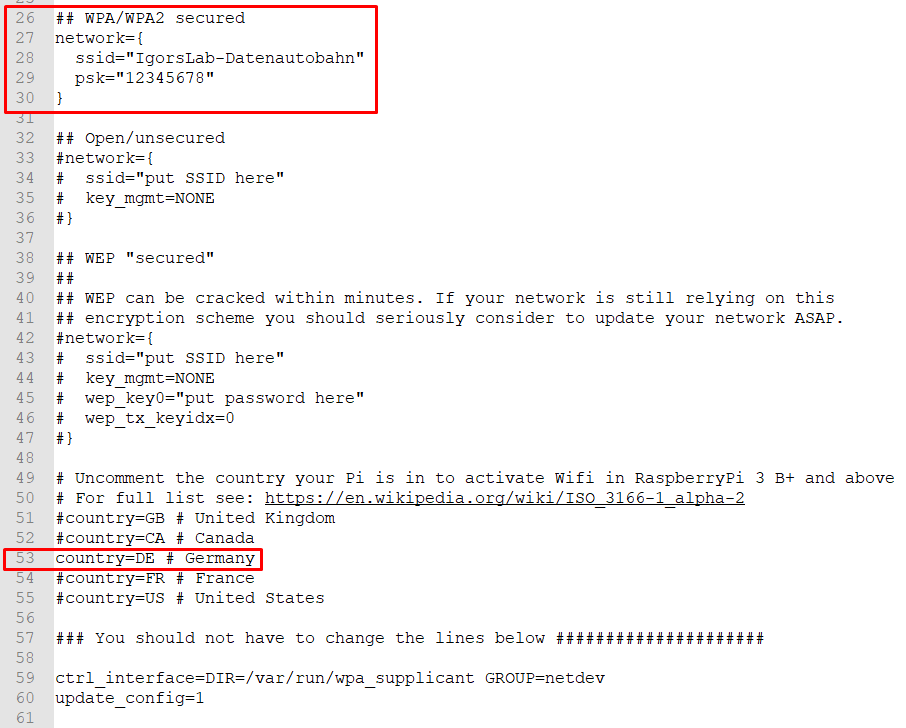
Open the file “octopi-wpa-supplicant.txt” in the boot partition of the SD card with Notepad++, DO NOT use the Windows editor!
Remove the # as shown and enter the access data for your own WLAN network.
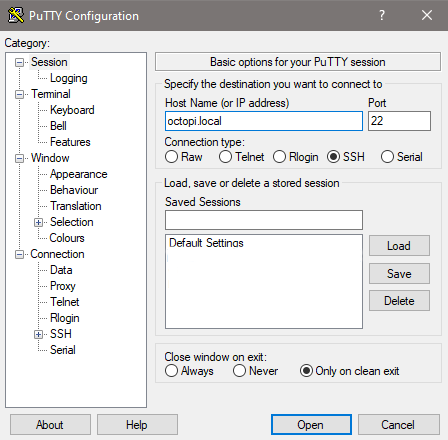
Then plug the SD card into the Raspberry and connect power. Optionally, a monitor can also be connected via HDMI, but the way via SSH shown in the same way also leads to the goal. Start PuTTY and enter octopi.local or the IP of the Pi assigned by the router as the address. Alternatively, as the IP address is also displayed by the Pi when you connect a monitor. The first time you connect to the Pi you may get a security warning, just acknowledge it.
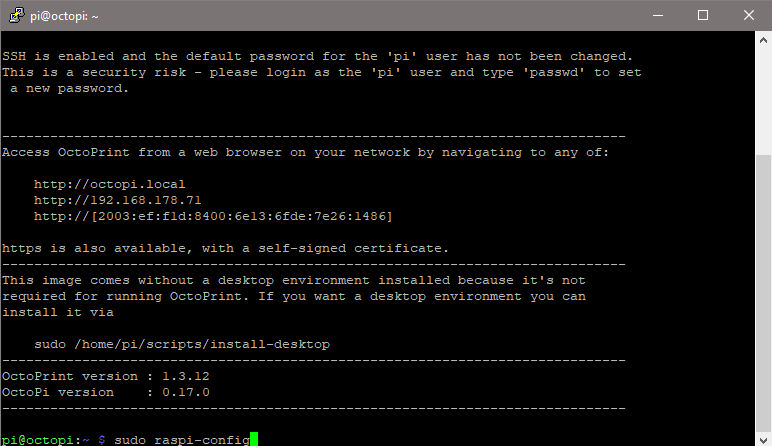
The login data for the first login is user: pi and password: raspberry.
Use the command sudo raspi-config to start the setup tool and download the latest version of the tool directly via Update.
The next step is to change the password raspberry to something of your own via Change User Password.
Do not allow devices with default password to access the Internet!
Optionally, use Network Options > Hostname to change the address at which the Pi is accessible on the local network.
With you <Finish>come back to the console, there with the command sudo apt full-upgrade all packages on the Pi update</Finish>. Once all updates are through, the Pi is shut down with sudo shutdown now and can be connected to the 3D printer via USB.
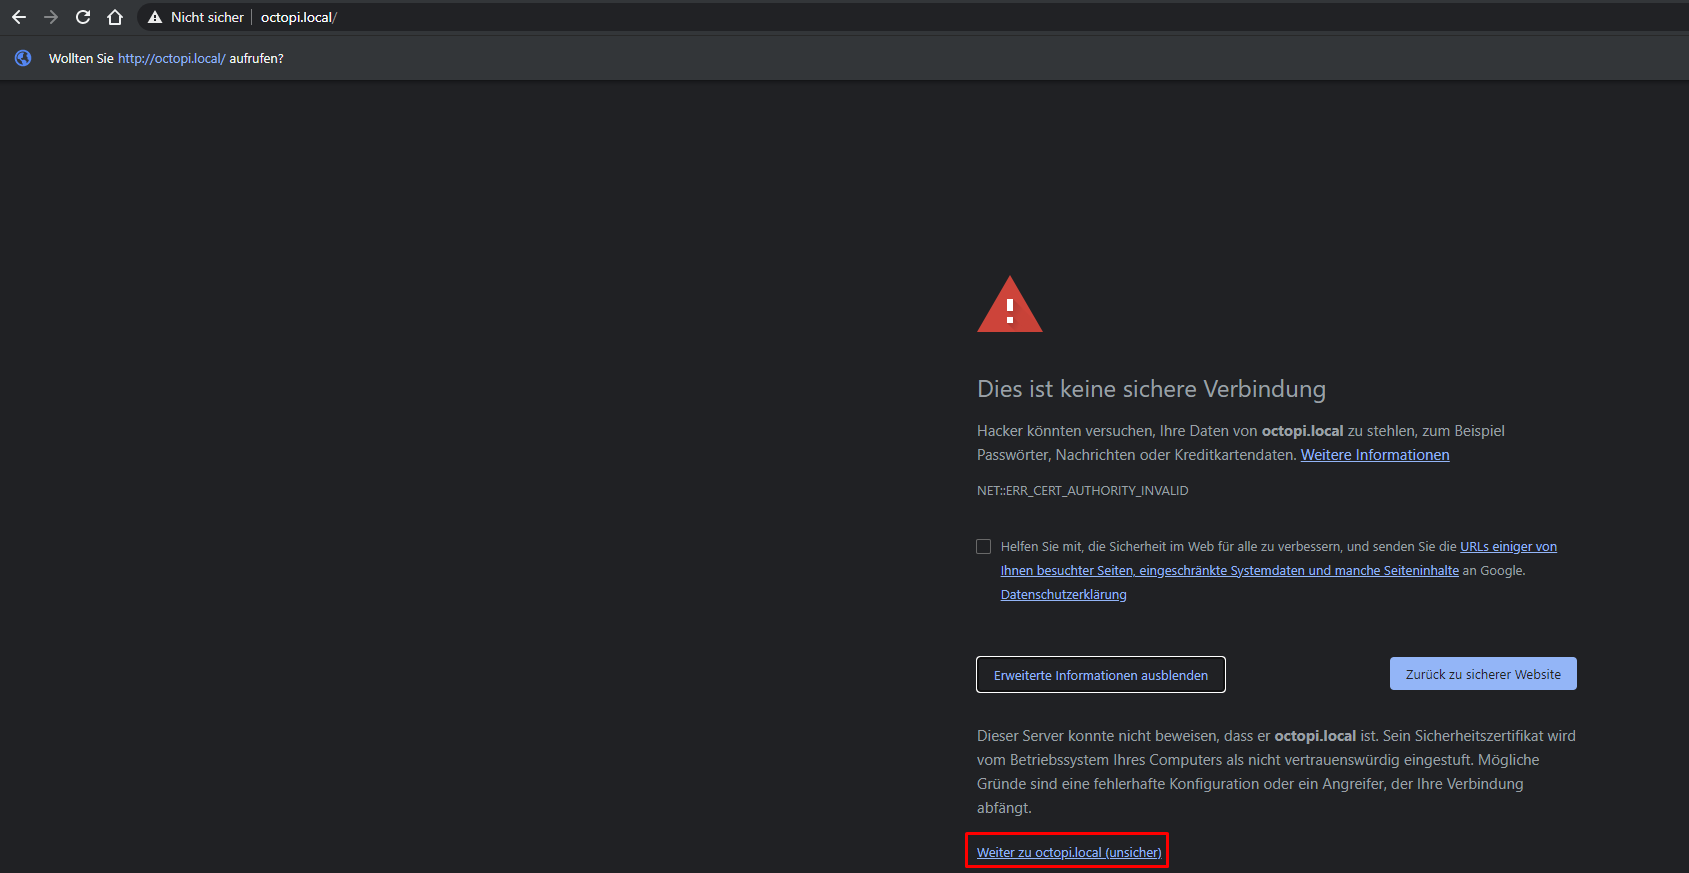
On the computer then call the IP, self-defined .local address or just by default http://octopi.local/ in the browser. Ignore the SSL error and navigate to the page via “Advanced Information”.
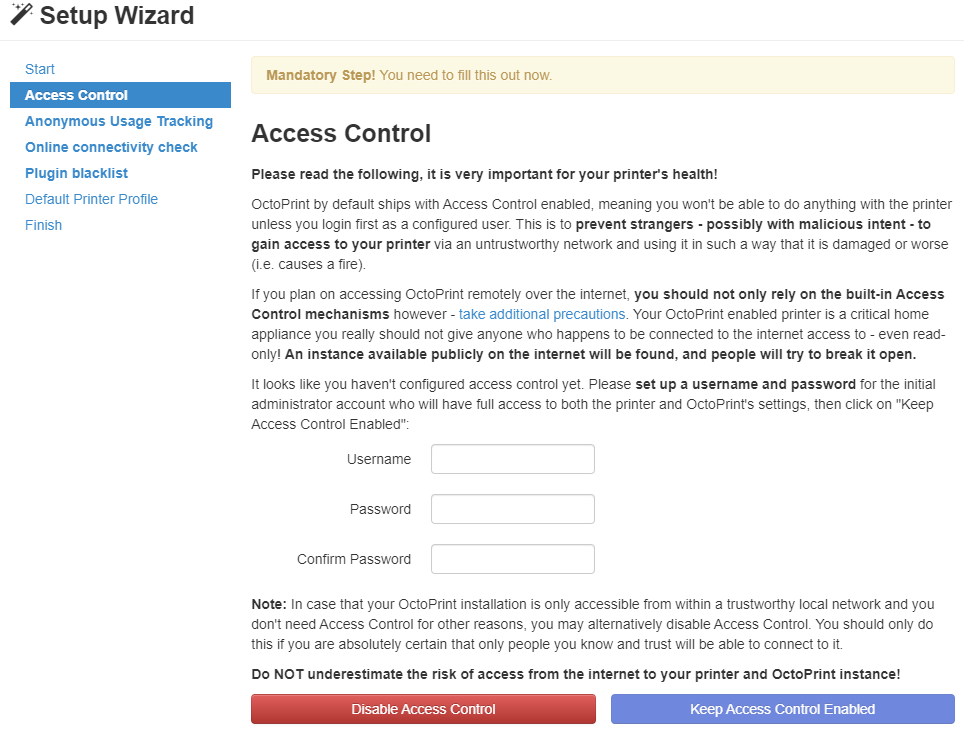
Once there, the Setup Wizard should greet us. In the Access Control window we set the user name and password for the web interface and confirm with Keep Access Control Enabled.
In the next window, you can turn anonymous information collection off or on:
![]()
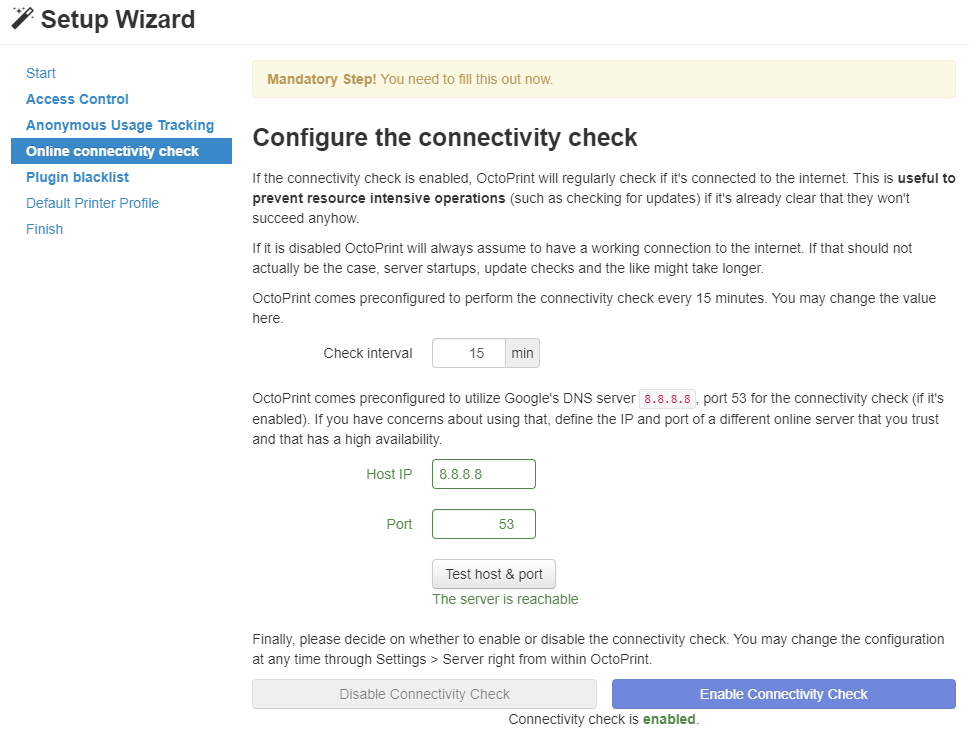
You can save the Pi some unnecessary work with the connection test. Leave the already entered values unchanged and try them with Test host & port.
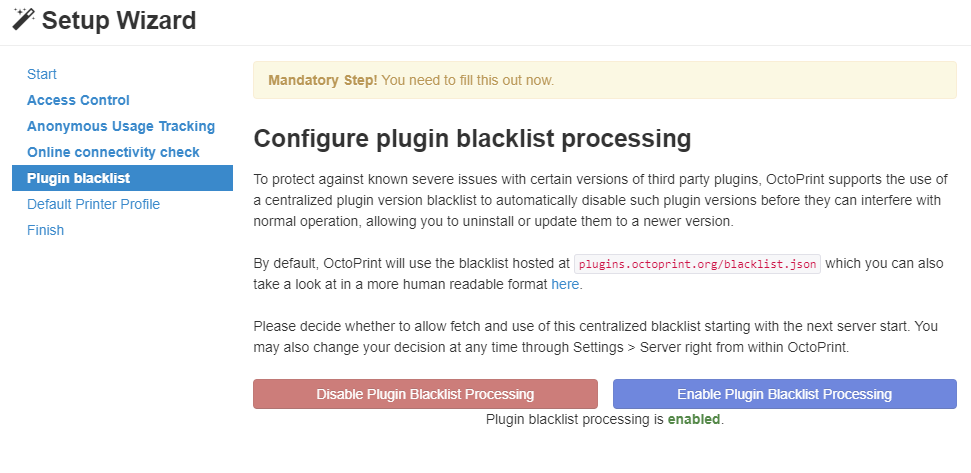
The plugin blacklist prevents the installation and operation of extensions with known problems, should be activated. A readable blacklist is available here.
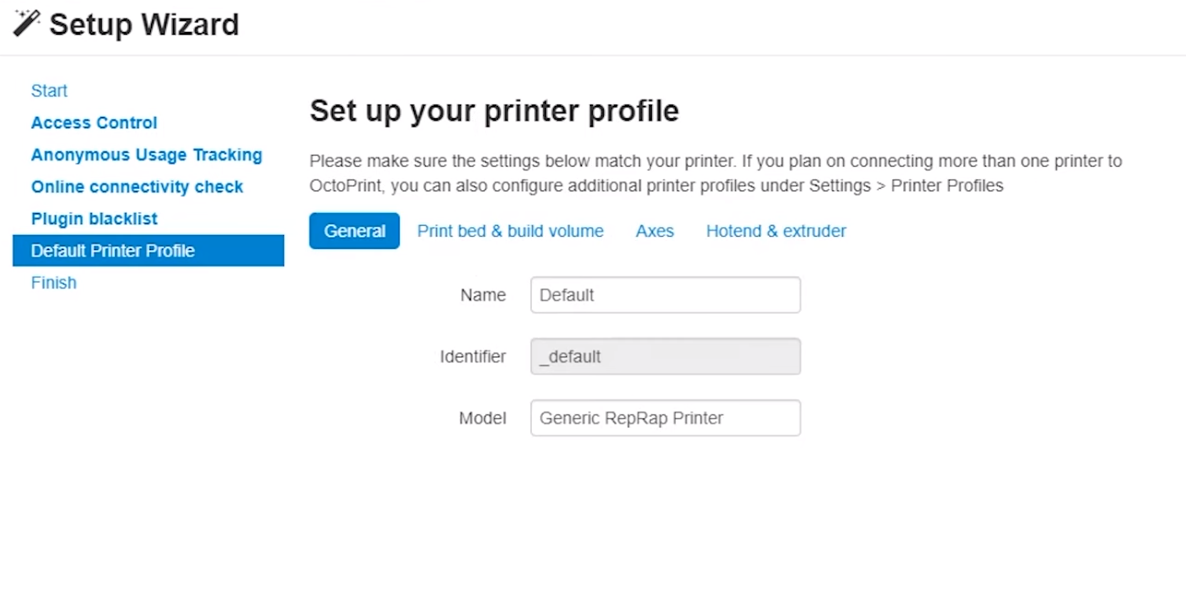
The printer profile can be taken either from this list, some search on the Internet or the data sheet of the printer.
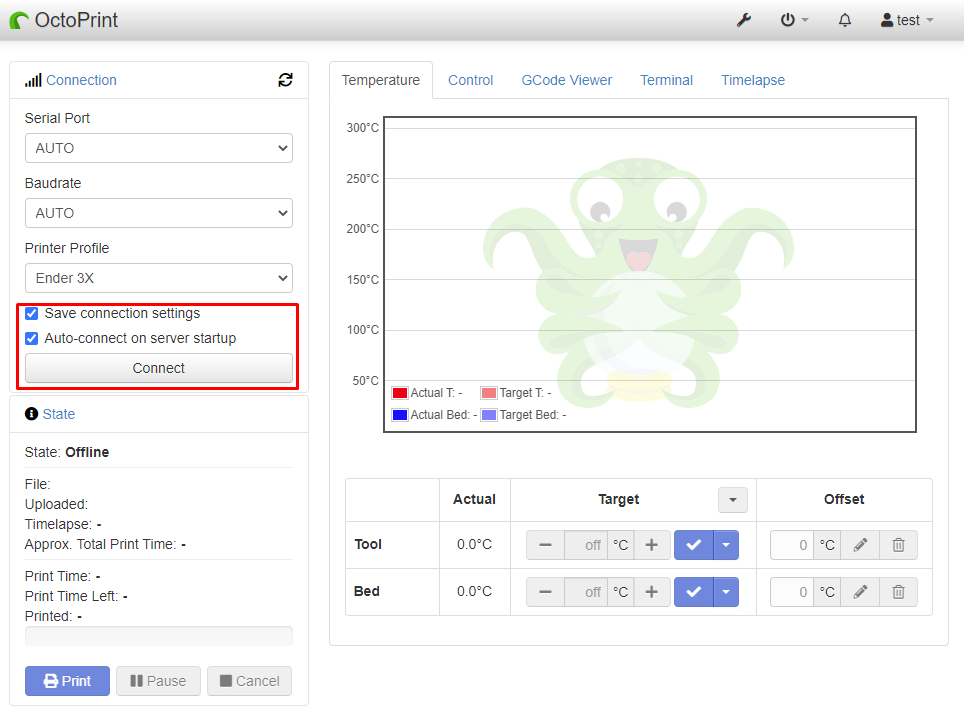
Once the wizard is finished, you should land on the main page of OctoPrint. Use the “Connection” tab to establish the connection to the printer, leave Serial Port and Baudrate set to AUTO and check both “Save Connection Settings” and “Auto-connect on Server startup”.
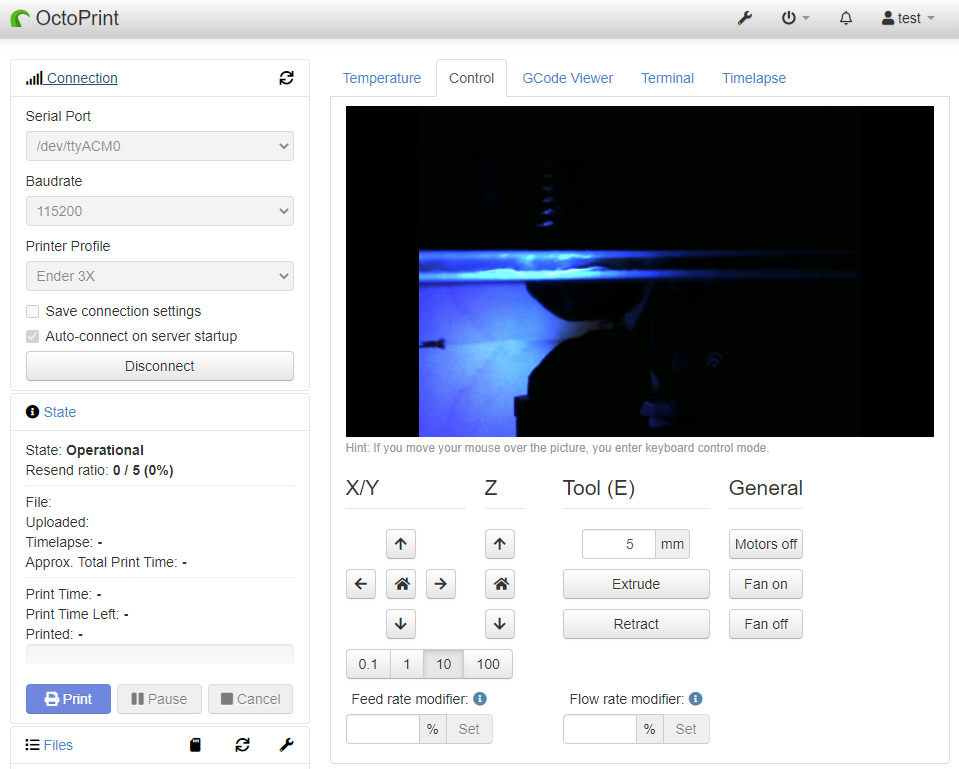
If the status changes to “Operational”, the connection to the printer’s board was successful, congratulations! Your camera should show up in the “Control” tab, maybe some fine tuning is needed in Settings & Webcam & Timelapse.
Many slicer programs provide a way to send the GCODE directly to the Pi.
If you use the PrusaSlicer (my recommendation), proceed as follows
:
In OctoPrint via Settings & API copy the Global API Key and then switch to the PrusaSlicer.
There, navigate to Print Host in Printer Settings & General & Upload. Host type is OctoPrint, hostname octopi.local (or the IP / own name) and the API key is simply copied in. The connection can be checked via the test.
In the future you will have a button to send to OctoPrint after slicing.

Optionally, you can configure OctoPrint via Settings & Plugin Manager & Get More.. also install a few useful extensions, here are my recommendations:
- Print Time Genius – Calculates the duration of a print very accurately
- Themeify – Lets you customize the look extensively
- Navbar Temp – Displays temperatures in the navigation bar of OctoPrint


Kommentieren